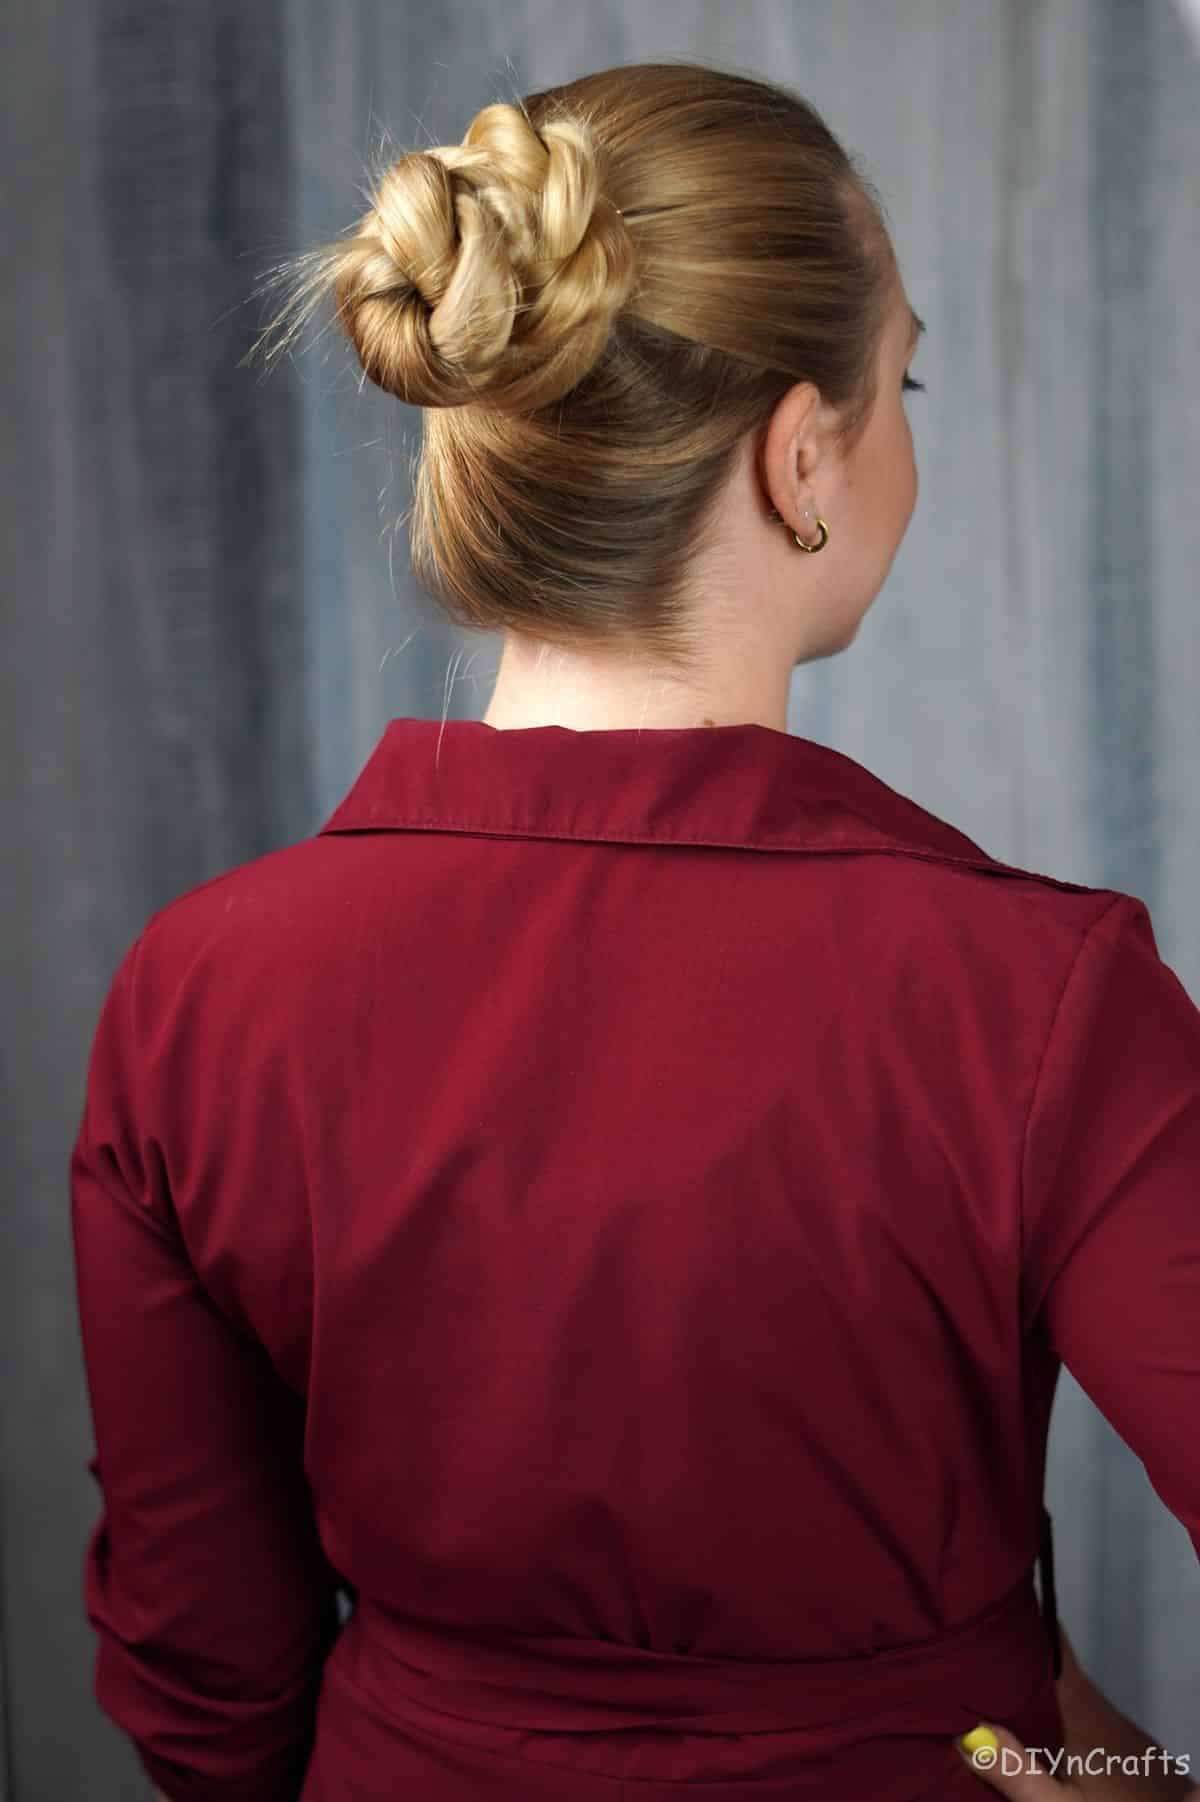
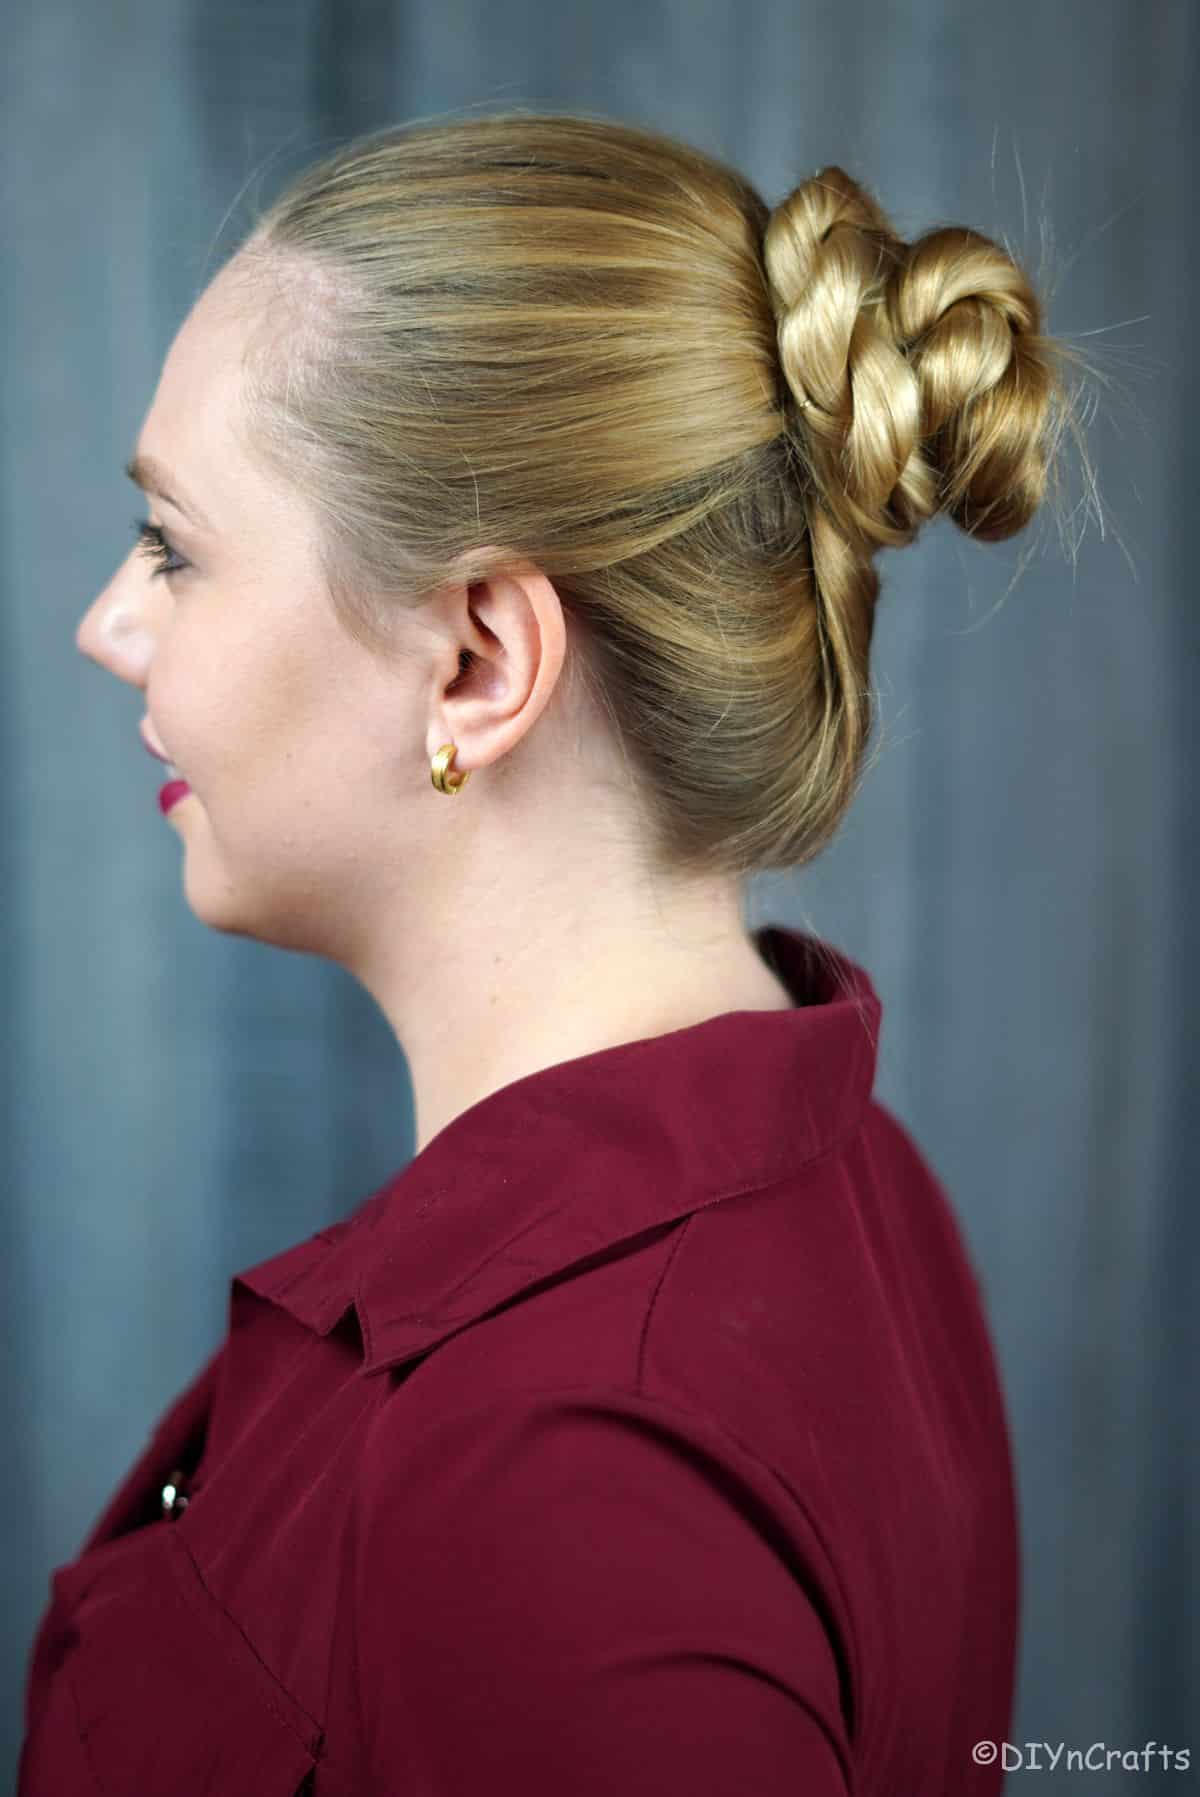
Nothing beats an easy hairstyle for those busy days. This rope twist bun hairstyle is super easy to do with long hair, and it takes truly minutes. In under 10 minutes, you can make your hair go from boring to special. Whether you dress up the bun with accessories or leave it as shown, it is sure to become one of your go-to looks.
Rope Twist Bun
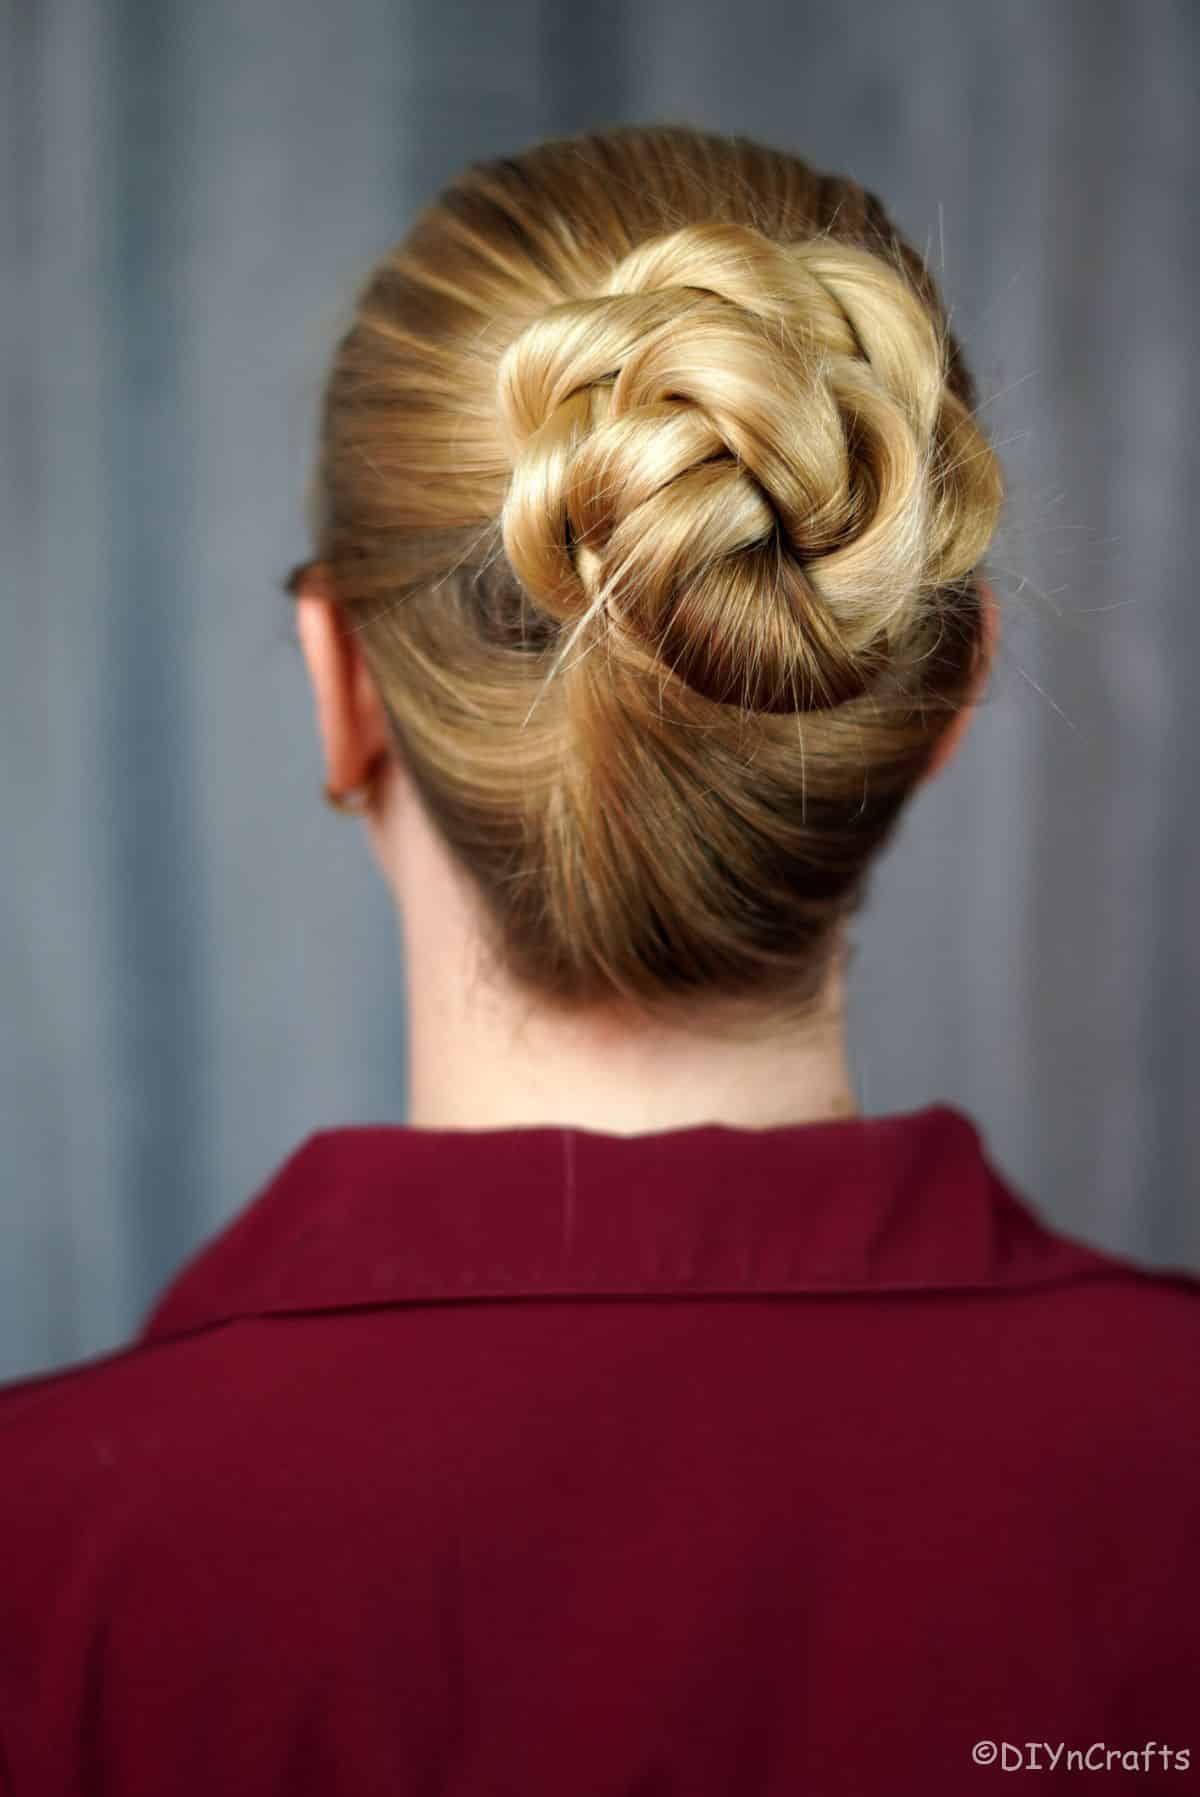
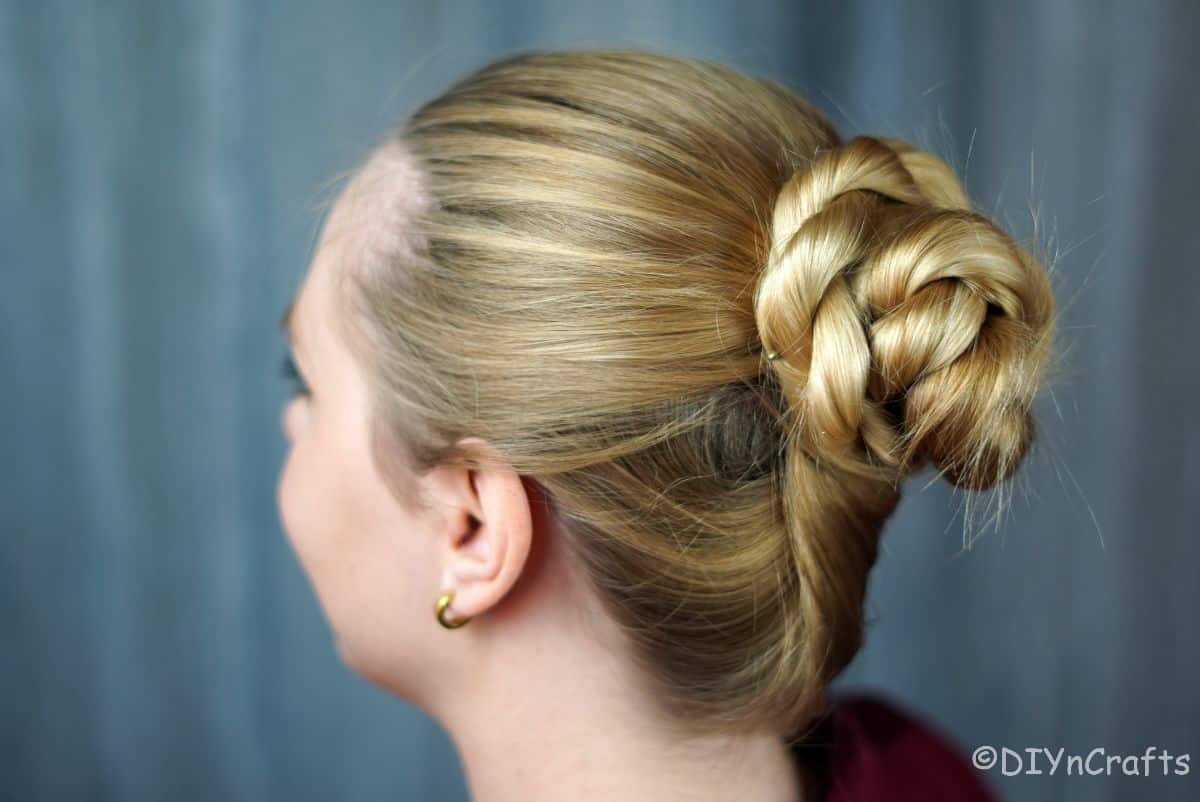
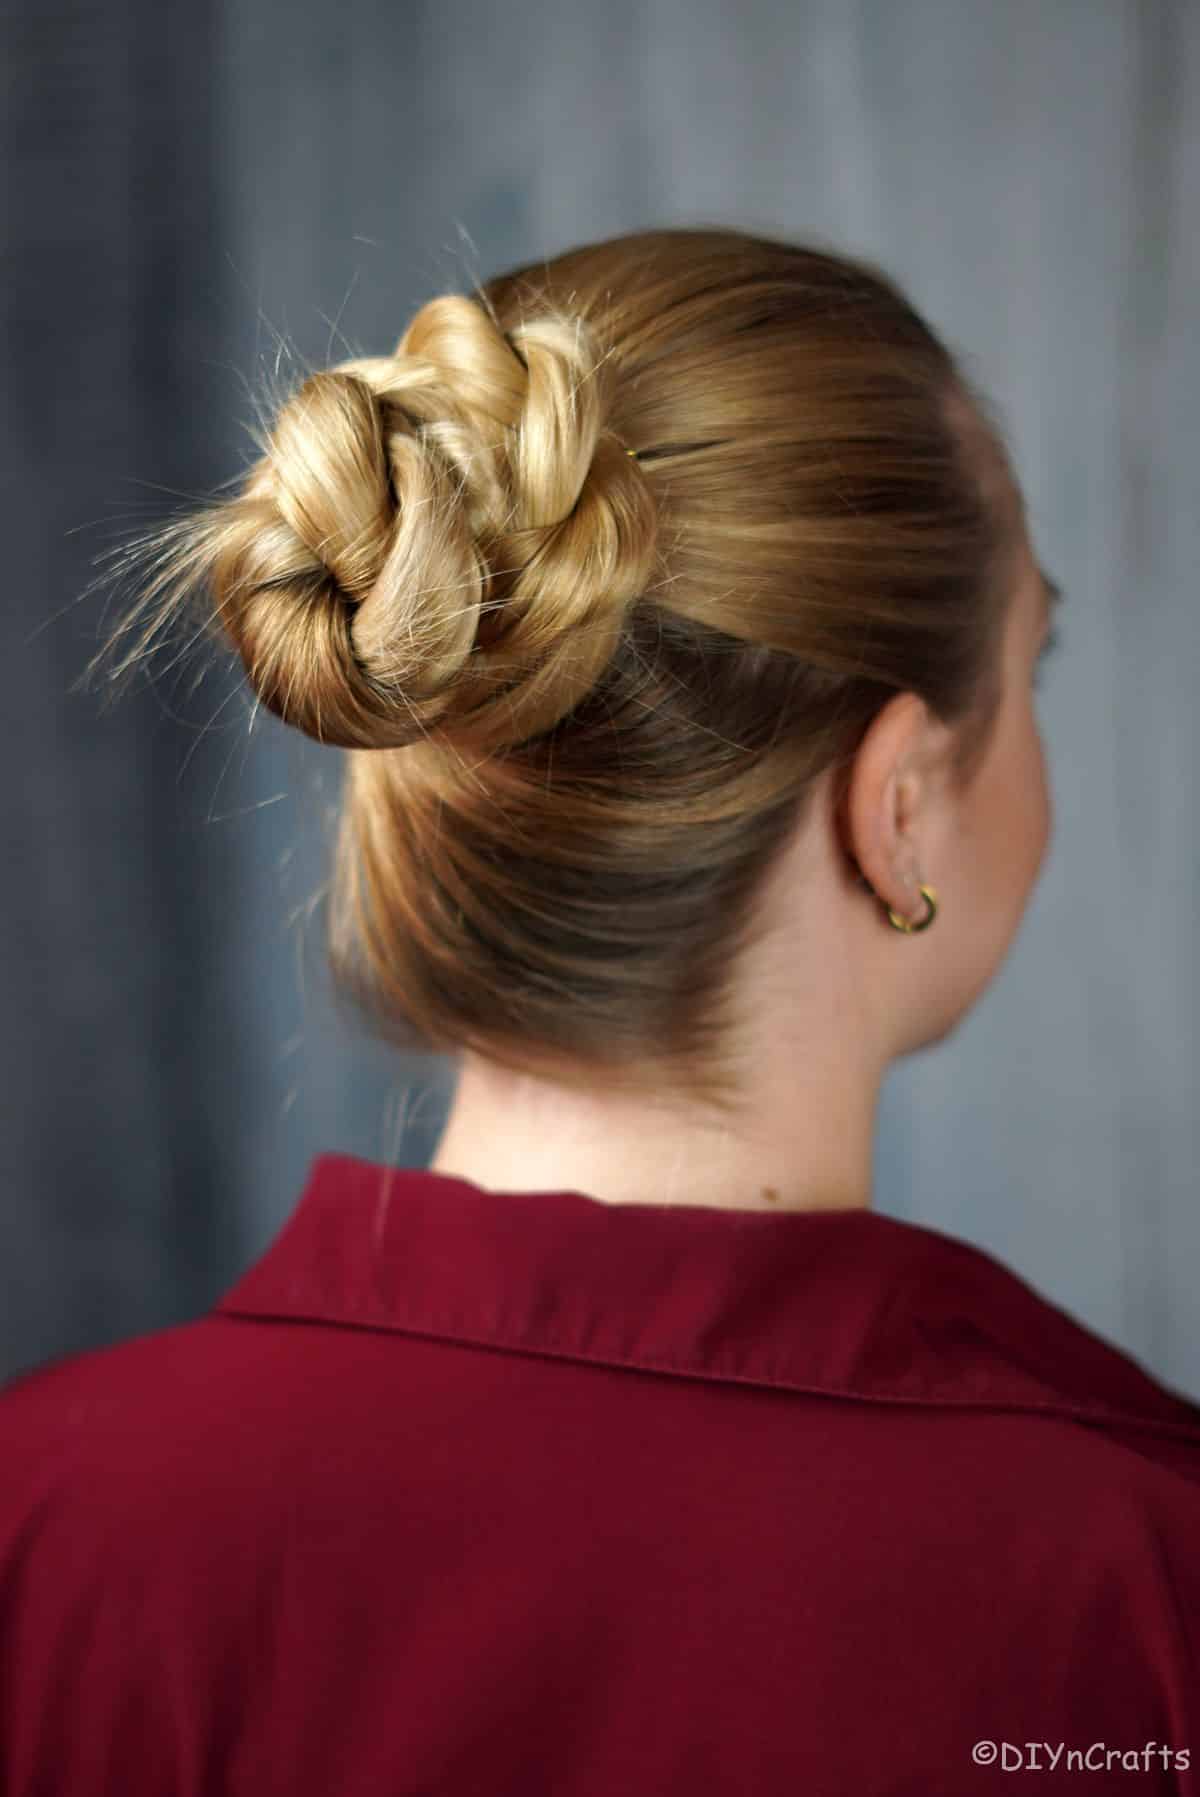
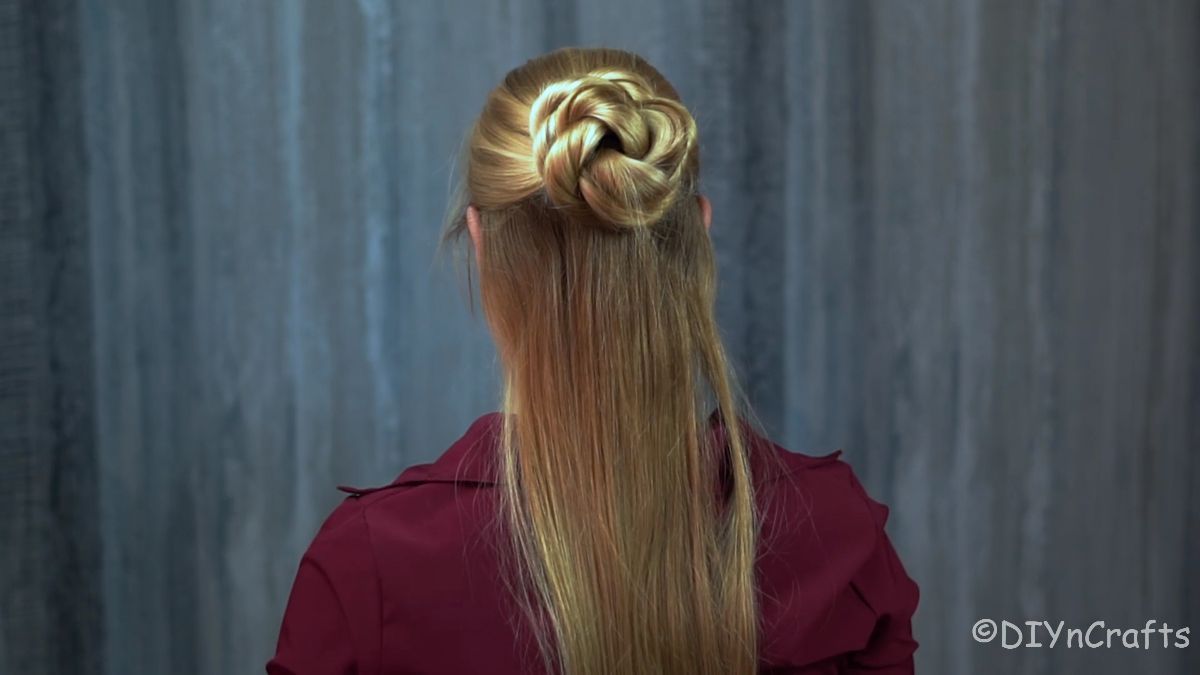
Having long hair means you are often looking for ways to get it up and out of your face, but still look pulled together. A rope twist bun is a great choice. This style is unique in that it doesn't gather all of your hair at once into a bun, but sections things out to give a smoother and yet still layered look.
If a more upscale option is needed, you can check out this braided messy bun tutorial for another spin on this look. Shifting the bun down and braiding instead of twisting gives it a whole new look that is ideal for events or even a wedding look.
What Do I Need to Make a Rope Twist Bun?
One of the things I love about this hairstyle is you don't need many things to make it work. In fact, a hair brush or comb, hair ties, and some bobby pins are all that is necessary for making this rope twist bun.
Tools I Use
While you don't need a bunch of extra things to put this together, you may want to add accessories or need tips for how to keep your hair combed easily. Below are some of my favorite tools and products that I recommend everyone invest in.
- Wide-tooth comb
- Detangling brush
- Hair rubber bands
- Satin hair ribbon (optional)
- Topsy Tail braiding tool (optional)
Other Items I Love:
Rope Twist Bun Hairstyle Tutorial
For this bun, you will just need to start by combing out your hair so there are no tangles. If you haven't invested yet, I can't say enough about a good detangling brush to make this easier. Once everything is combed out, you can begin with the steps outlined below.
Note: This style is ideal for medium to long hair. It does not require clean hair and can be created with freshly washed or dirty hair.
Step 1
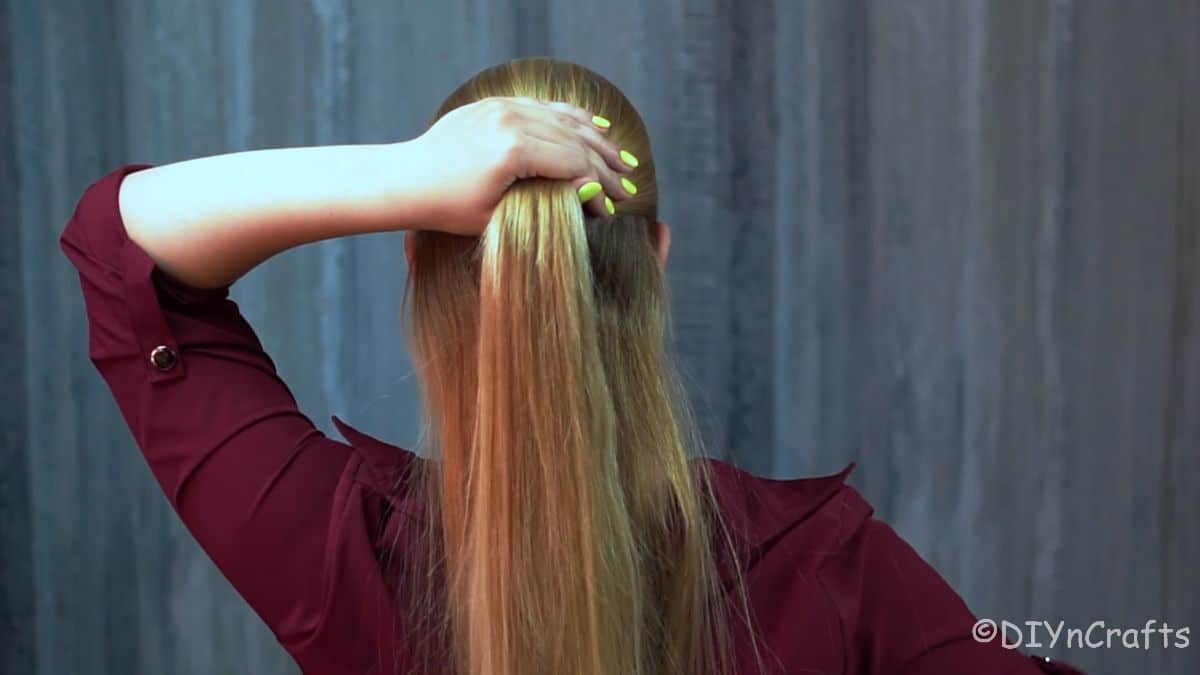
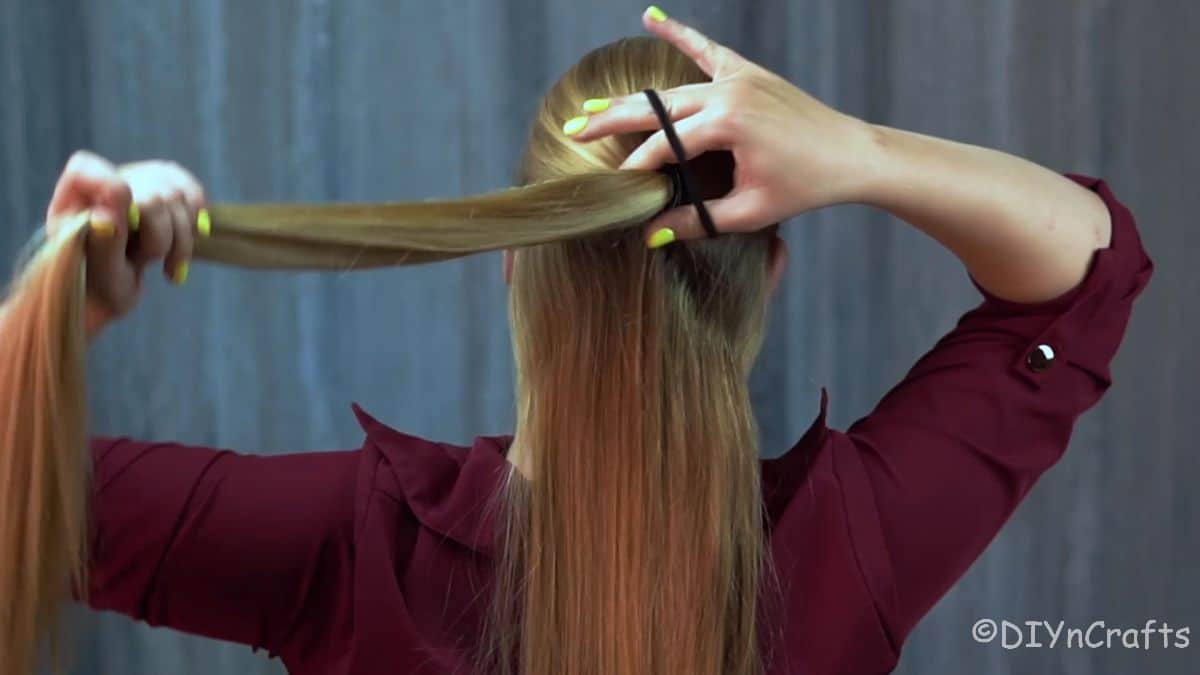
Comb and then pull the front section and top of your hair up into a half-up and half-down ponytail and secure it with an elastic hair tie or ponytail holder. Brush any flyaways back and spray with hairspray if needed to keep them in place.
This ponytail will be the front and top sections, but leave the back hanging down below the ponytail. The bottom part will be wrapped later into the bun but isn't needed right now.
Step 2
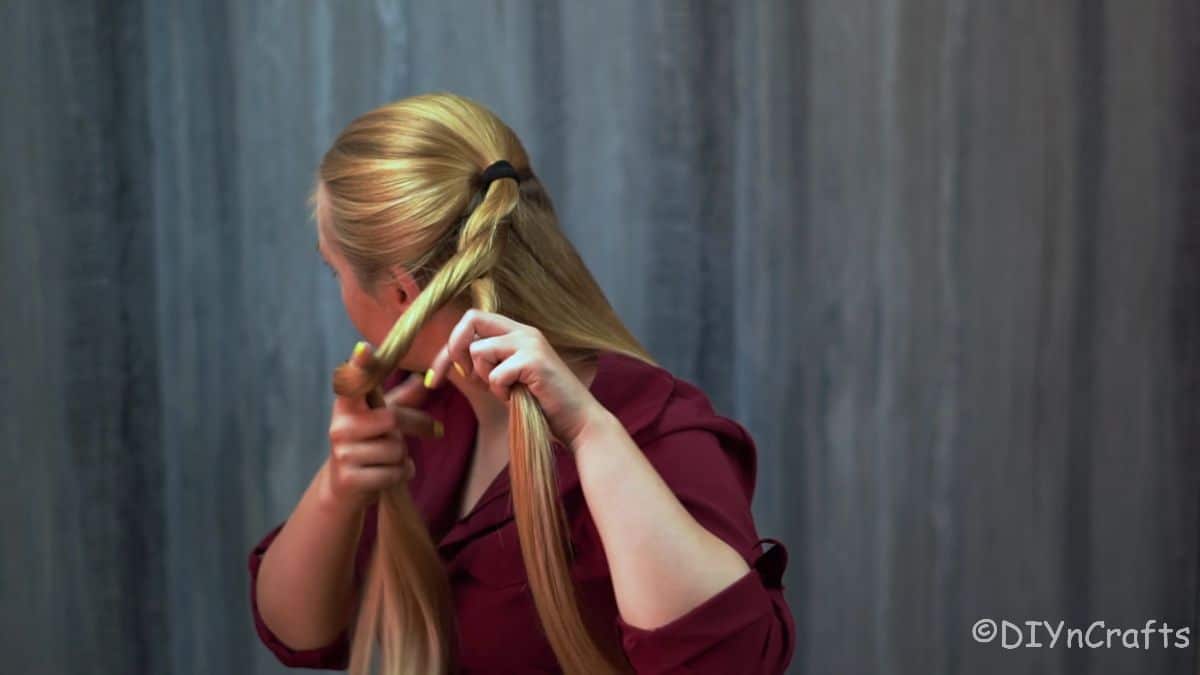
Now, divide this ponytail into two sections.
You will create the rope braid look by twisting the hair together. Watch the video for a better visual explanation of this process.
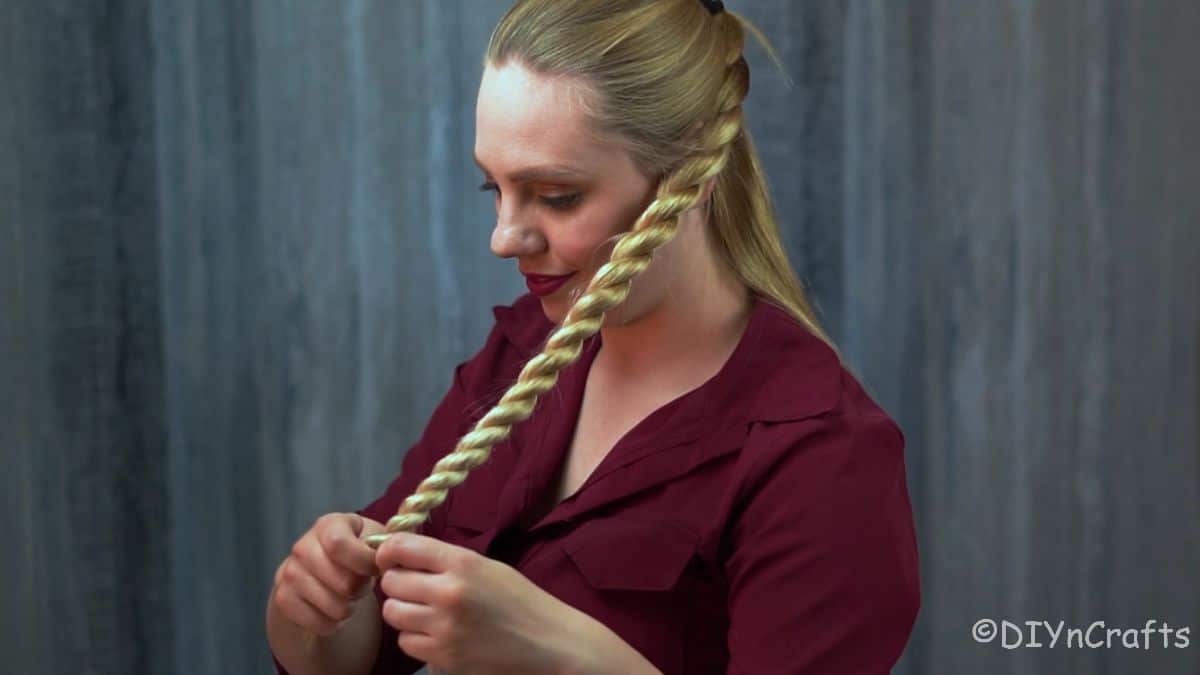
You will twist each section, then twist them around each other as well. So, you are keeping a constant tension on the hair to retain the twist.
Begin twisting them into the rope and continue until the entire length of the ponytail has been twisted. Secure at the end with a hair tie.
Step 3
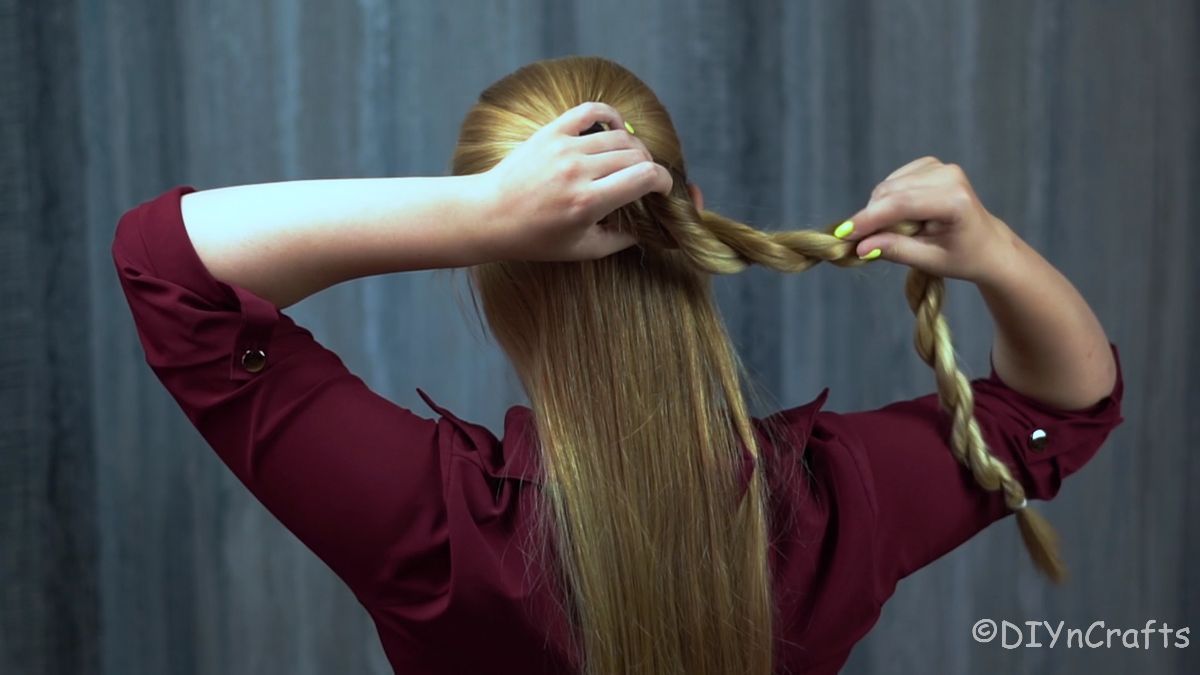
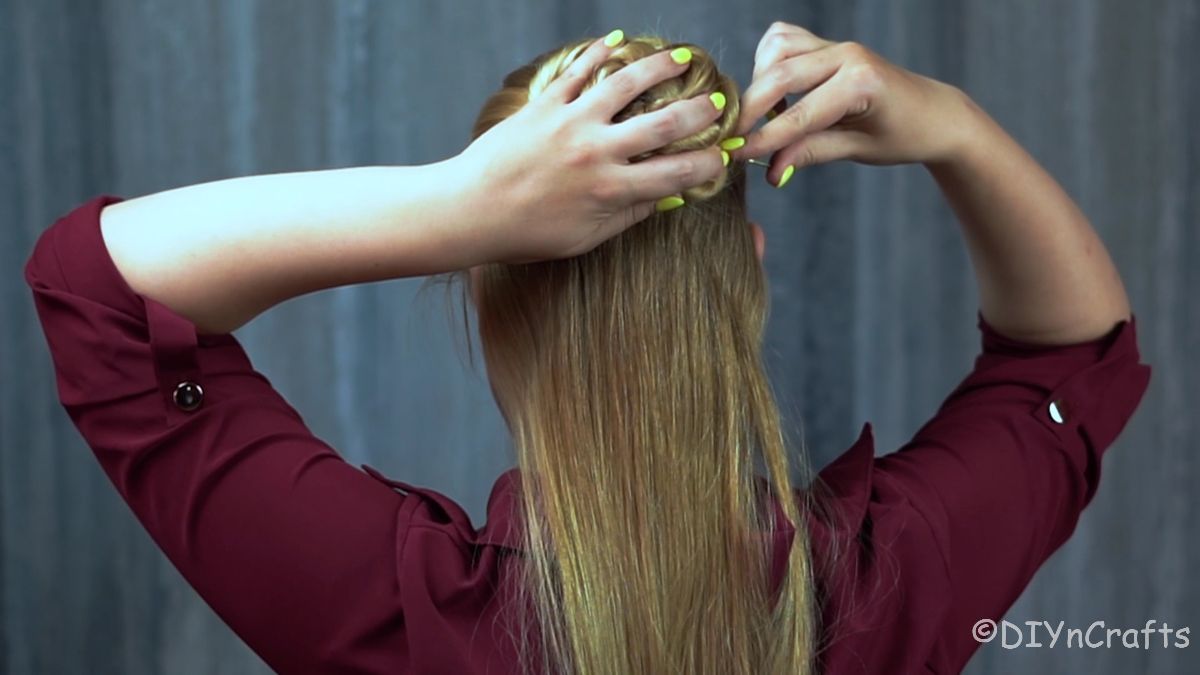
Now, you will take this rope of hair and wrap it around the ponytail holder at the top. You are creating a bun with this, so you will want to hold it into place and wrap it tightly.
Once it is wrapped around, you will use a few bobby pins around the sides to secure it into place. This is the base of your bun, so you may want to add a few extra pins for security, depending on how thick and heavy your hair is.
Step 4
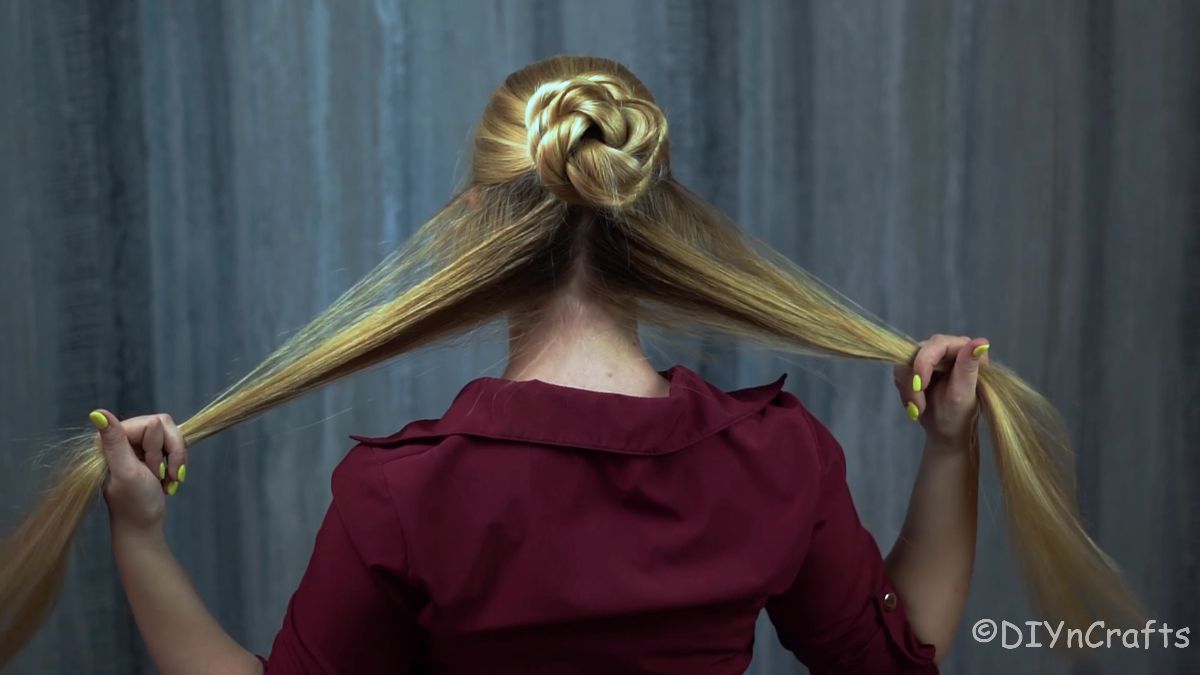
Now, you will divide the remaining hair you have hanging down into two equal sections. Pull one to the side, then lift the other to finish the bun.
Step 5
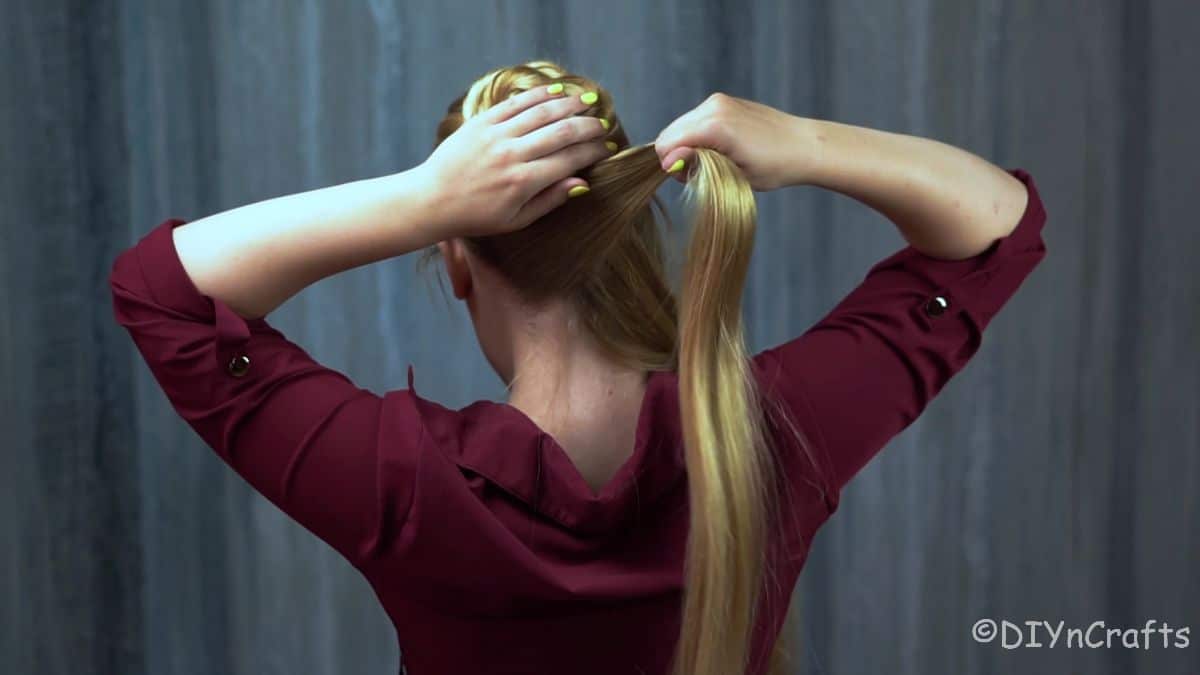
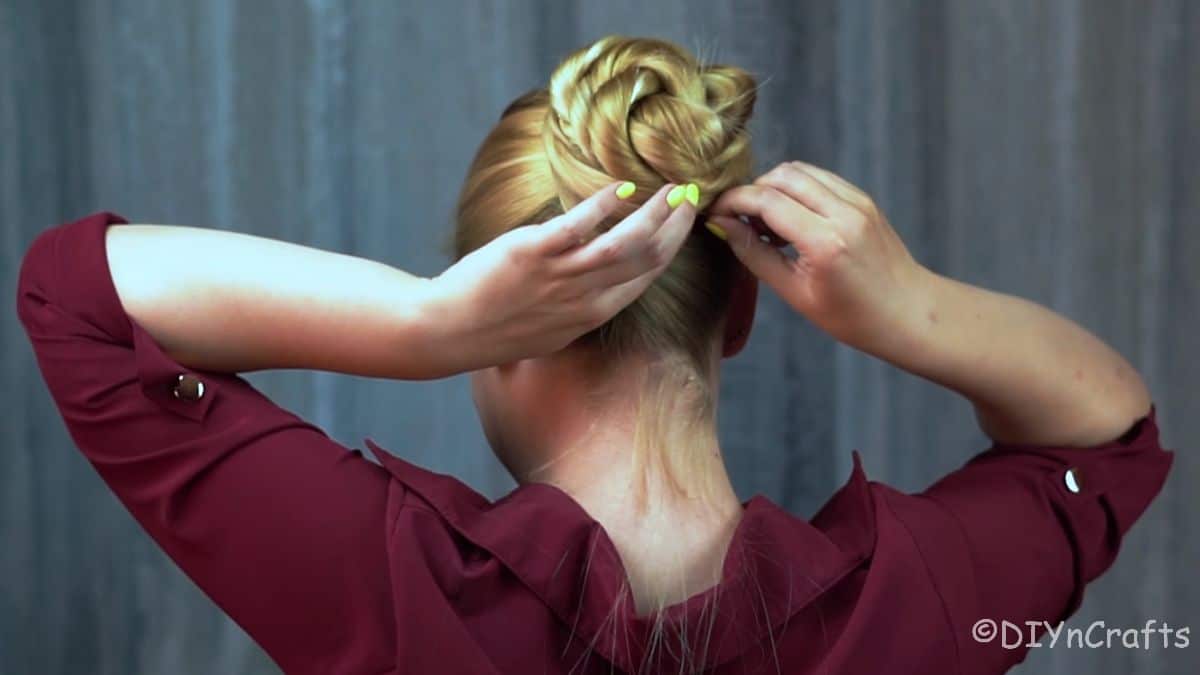
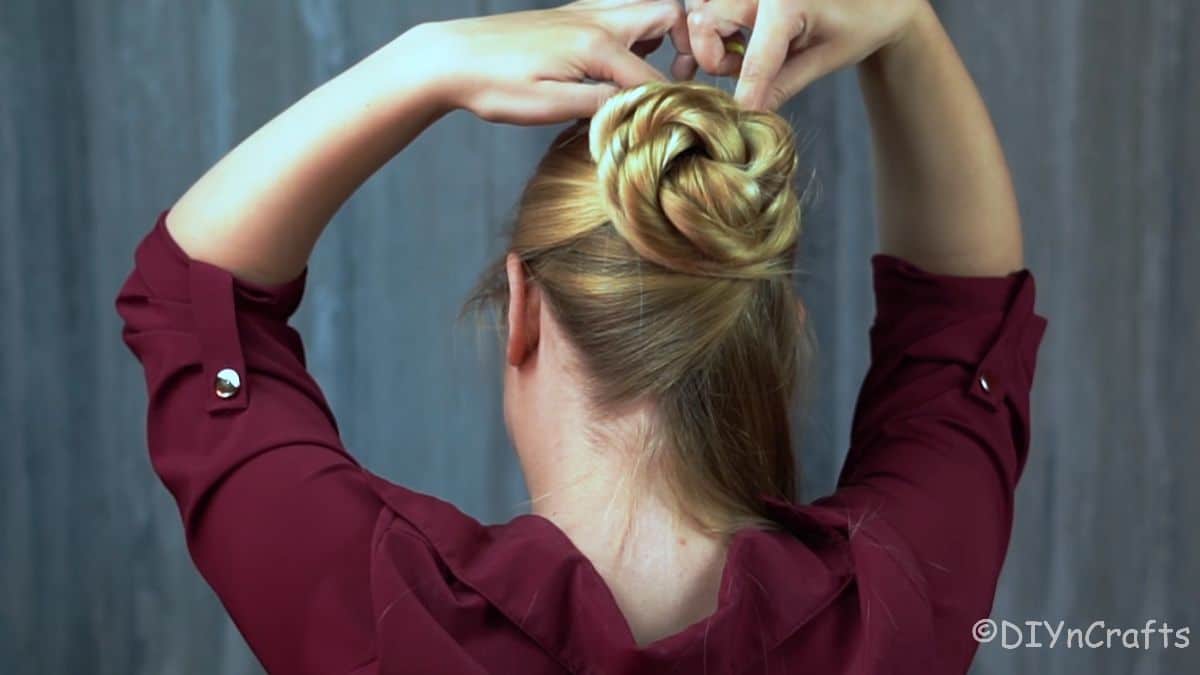
Take the piece you have lifted up, and wrap it around and over the bun, so that it is going opposite side it hangs on. You want the bottom, below the bun, to lay flat against your head, and the top to be twisted as you wrap it around the base of the bun.
Pin this into place and tuck any loose ends underneath the base bun to secure.
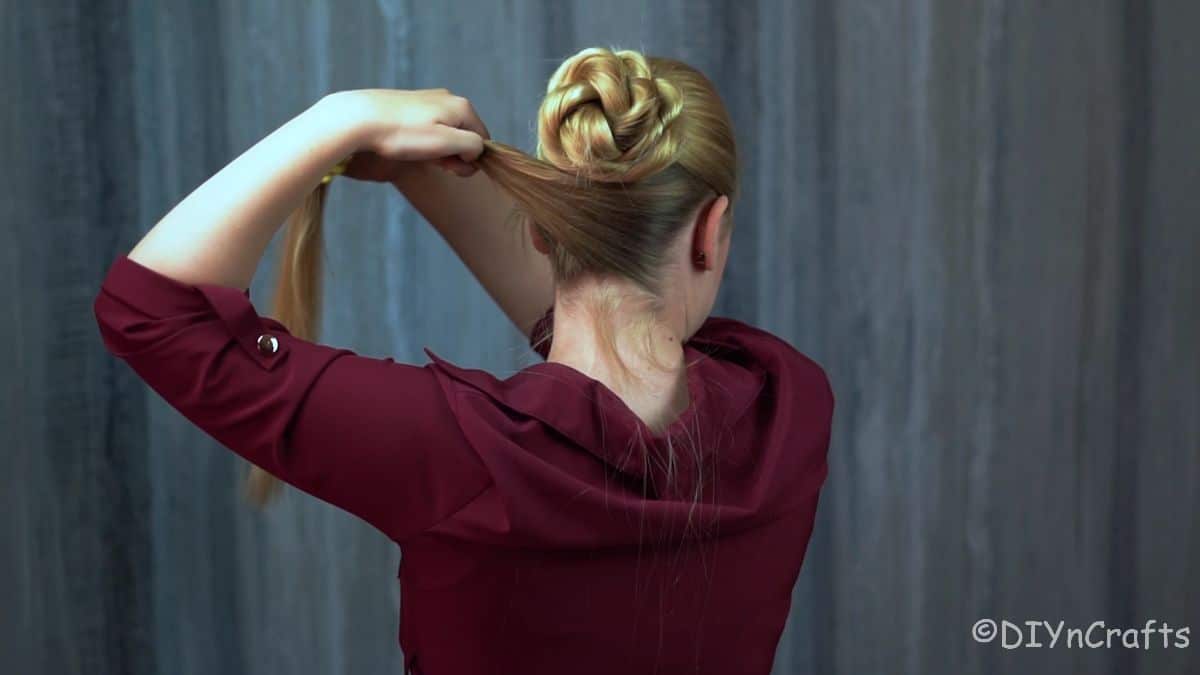
Repeat this with the second section of hair. As you pull this around, you may twist it if you desire or leave these last sections straight.
Tuck all loose ends under the bun and secure all around with hair pins or bobby pins until you are happy with the look.
What Can I Add To A Bun To Make it Unique?
One of my favorite things about this look is that it is so versatile. As it looks here, it's just a simple bun. It isn't exact and looks perfectly casual for everyday wear. However, you can easily make it a different look that can be worn for business meetings, events, or even a wedding. Below are some simple options that make this braid unique.
- Use gel or mousse when pulling the hair into the twists and wrapping around the bun so you have no small flyaways or pieces poking out the sides.
- Add a decorative scrunchie or ribbon around the base of the bun once in place.
- When pulling the hair around, leave a small portion of the hair loose at the end, and curl adding an extra element to the bun.
- Place decorative combs or pins on both sides of the bun.
- Weave a ribbon into the twists for an added bit of color.
- Decorate the bun with beaded bobby pins or hairpins for an upscale look.
More Easy Styles for Long Hair
If you have long hair as I do, then you know it's a struggle every day to find something new to do with your hair. Below I have gathered some of my favorite styles that are easy, fun, and versatile. Whether you need a casual look for work or an updo for an event, we have you covered. Make sure that you bookmark these ideas, print out the tutorials, or pin them to Pinterest to use soon!
- Elegant Braided Side Ponytail Hairstyle
- Single Twist Half-Up Prom Hairstyle
- Braided Dual Top Knots Half-Up Hairstyle
- Spring Inspired Half Up Half Down Hairstyle
- Half Up Half Down Hairstyle Tutorial with a Twist
- Easy Bubble Braids Festival Hairstyle
- Lazy Day Knot Braid Hairstyle
Easy Rope Twist Bun Hairstyle
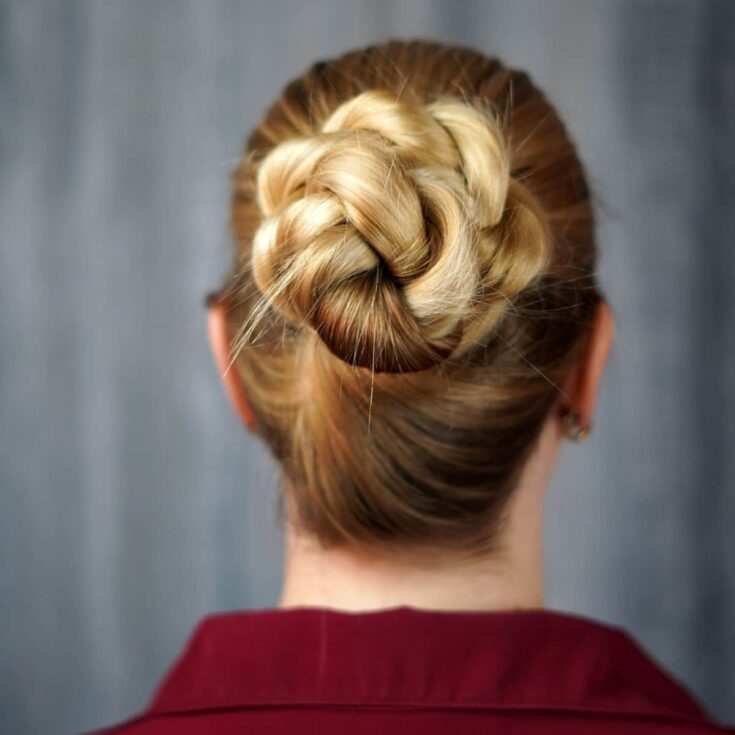
Make an easy rope twist bun hairstyle in just a few minutes' time. A great way to put your hair up while still looking pulled together!
Materials
Instructions
- Pull your hair into a half-up and half-down ponytail.
- Divide the hair from that ponytail into two sections, then twist them around each other creating the rope braid. Secure at the end with an elastic band.
- Wrap this twisted rope around itself into a bun shape at the base ponytail holder against your head. Use bobby pins to secure this into place.
- Divide the remaining hair hanging down into two sections. Then, pull a section over and around the bun going in the opposite direction.
- Smooth it down against your head against the base, then wrap the end around the bun and secure it with bobby pins. Repeat with the second side.
Notes
If you prefer a traditional braid over the twist, braid the half ponytail instead of twisting.
Recommended Products
As an Amazon Associate and member of other affiliate programs, I earn from qualifying purchases.
-
 Crave Naturals Glide Thru Detangling Brush for Adults & Kids Hair - Detangler Hairbrush for Natural, Curly, Straight, Wet or Dry Hair (TURQUOISE)
 -
 Bartosi Star Hair Pins Rhinestones Hair Clips Crystal Hair Barrettes Decorative Bobby Pin Fashion Hair Pieces Hair Accessories for Women and Girls (Pack of 4)
 -
 LilMents 12 Mixed Designs Satin Head Hair Handbag Handle Highlights Scarf Tie Lot (Solid Colors A)
 -
 8 Pcs Big Satin Hair Bows for Women Girls, 8 Inch Large Bow Hair Clip Barrette Hair Ribbon Bows French Style Hair Accessories
 -
 Multy-Colored Hair Ties for Thick Hair, 120 PCS Large Hair Elastics, No Damage Ponytail Holders for Women, Men and Girls
 -
 Laicky Bobby Pins, 200Count Brown Hair Pins Hairpins with Box for Women Lady Girls Kids Hair Pin Invisible Wave Hairgrip Barrette Hairclip Bulk Hair Accessories (Brown,2.2 Inch)




Leave a Reply