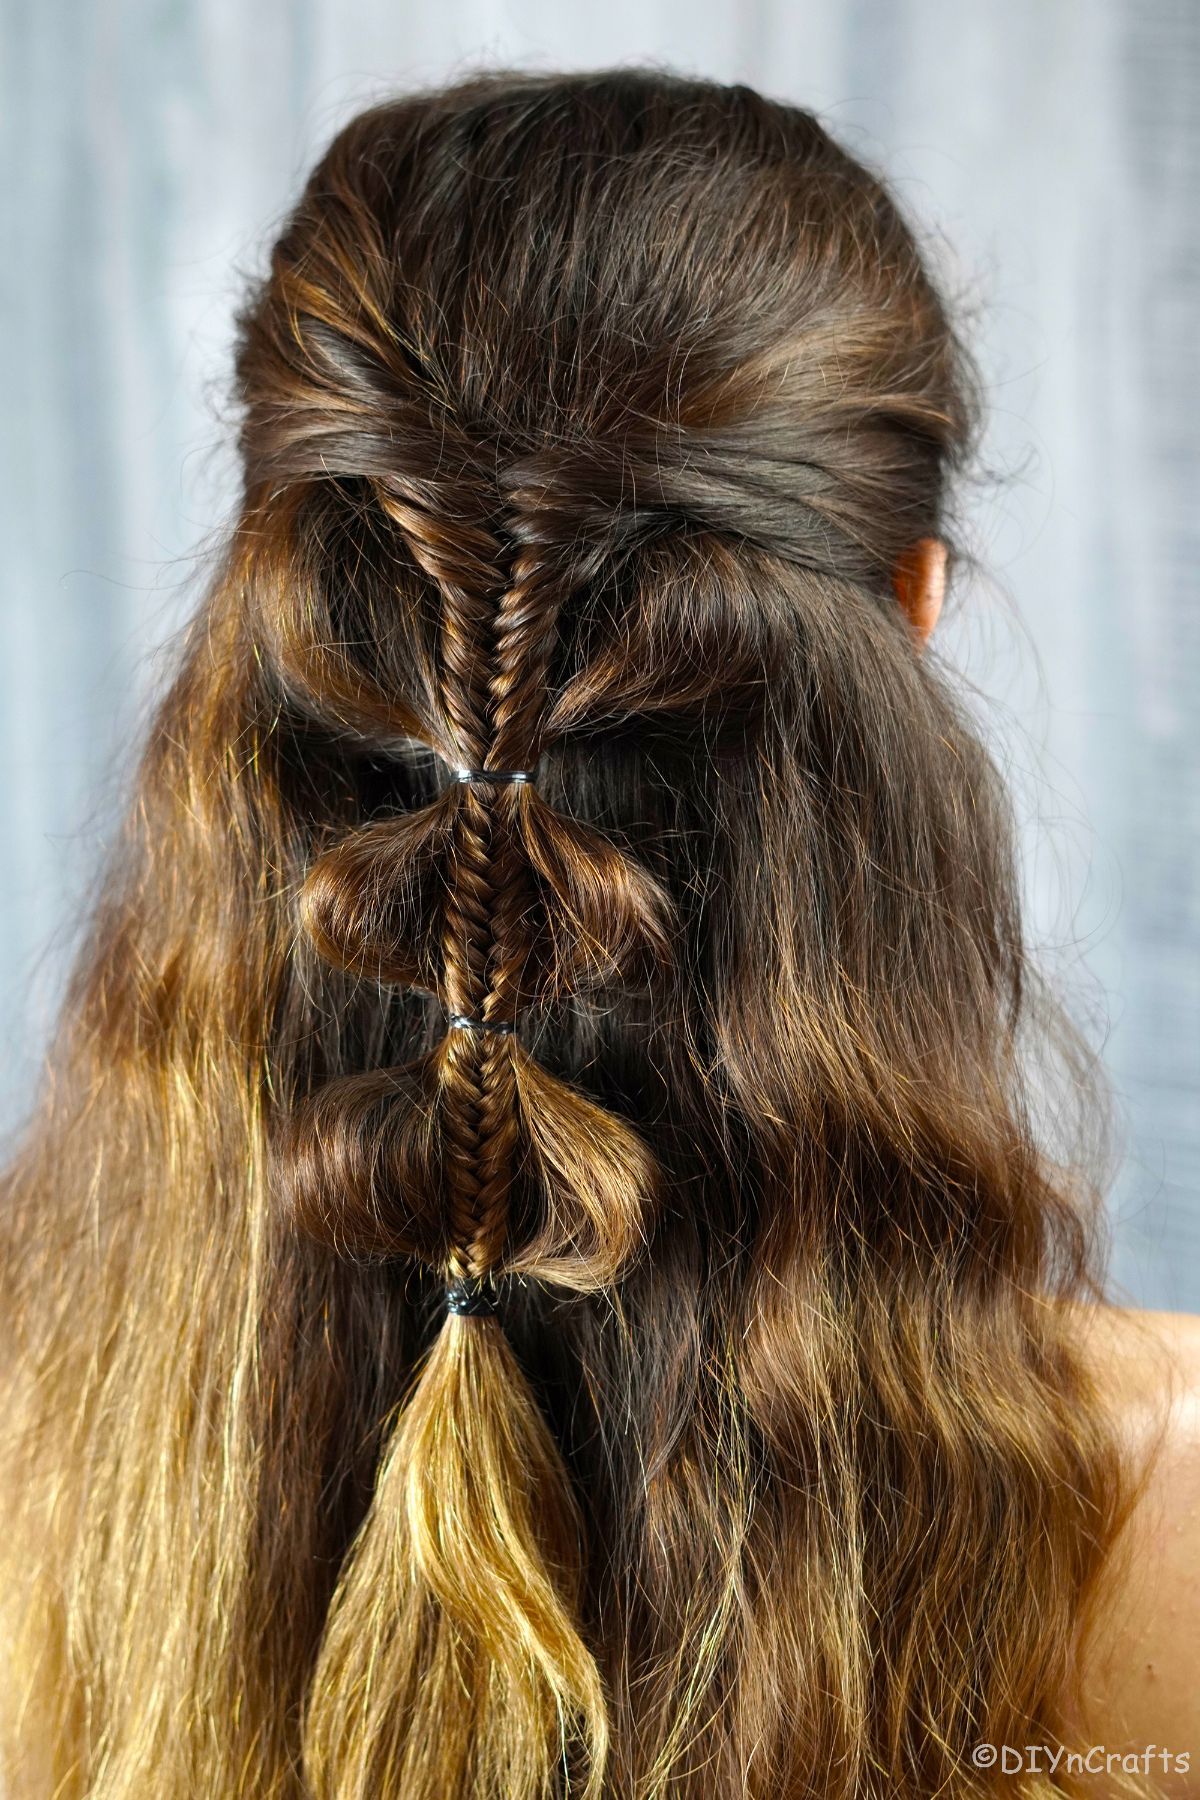
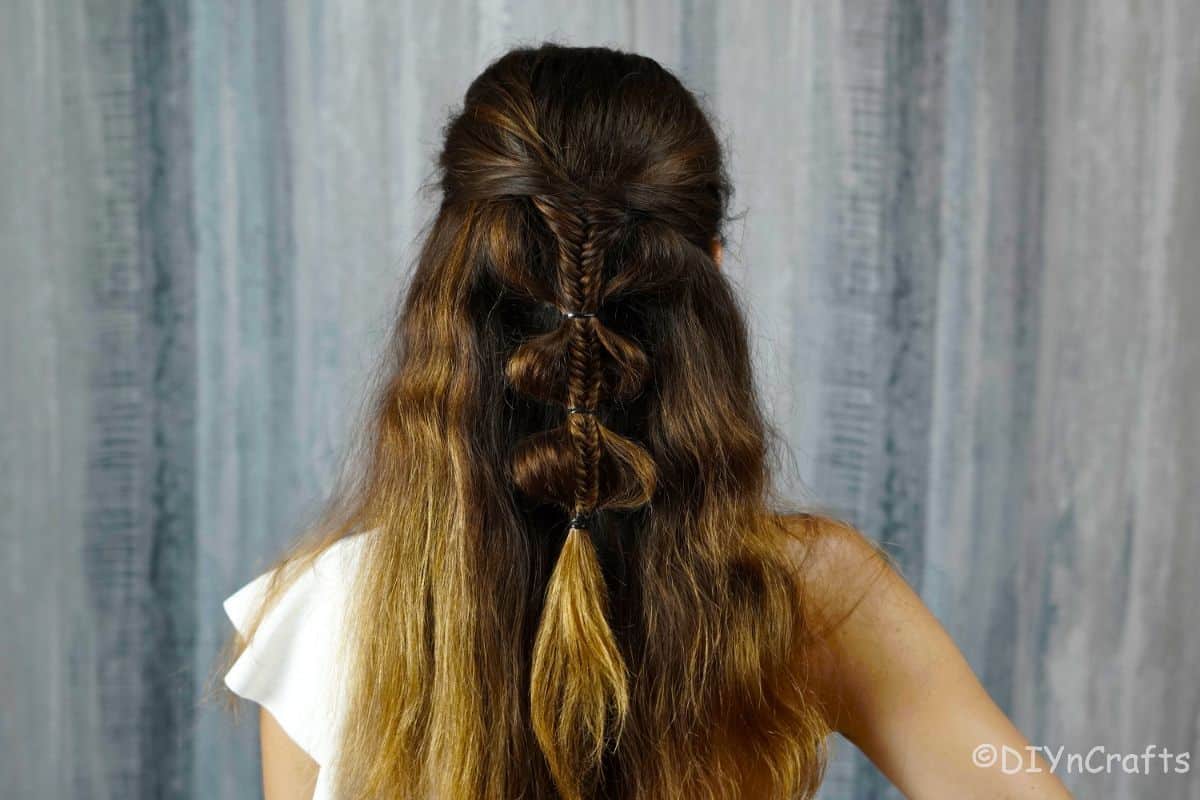
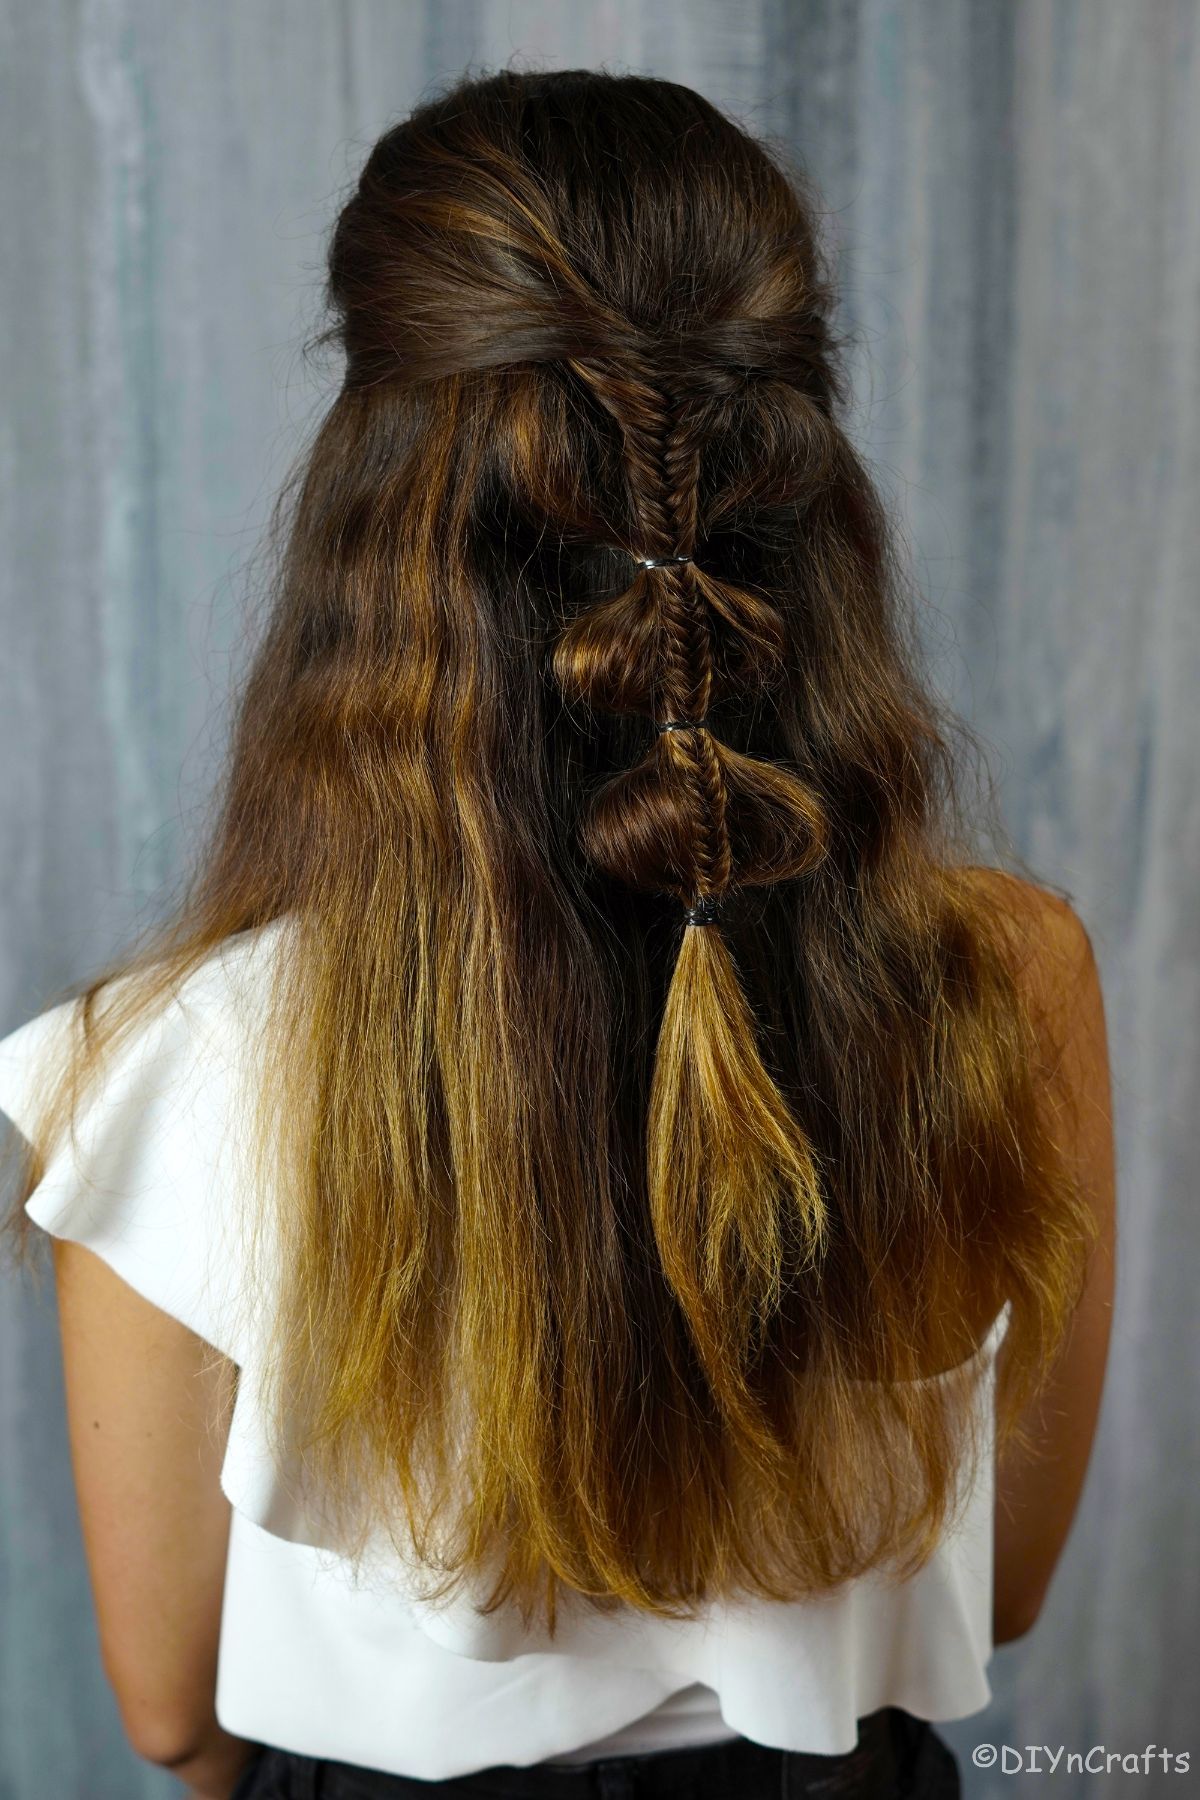
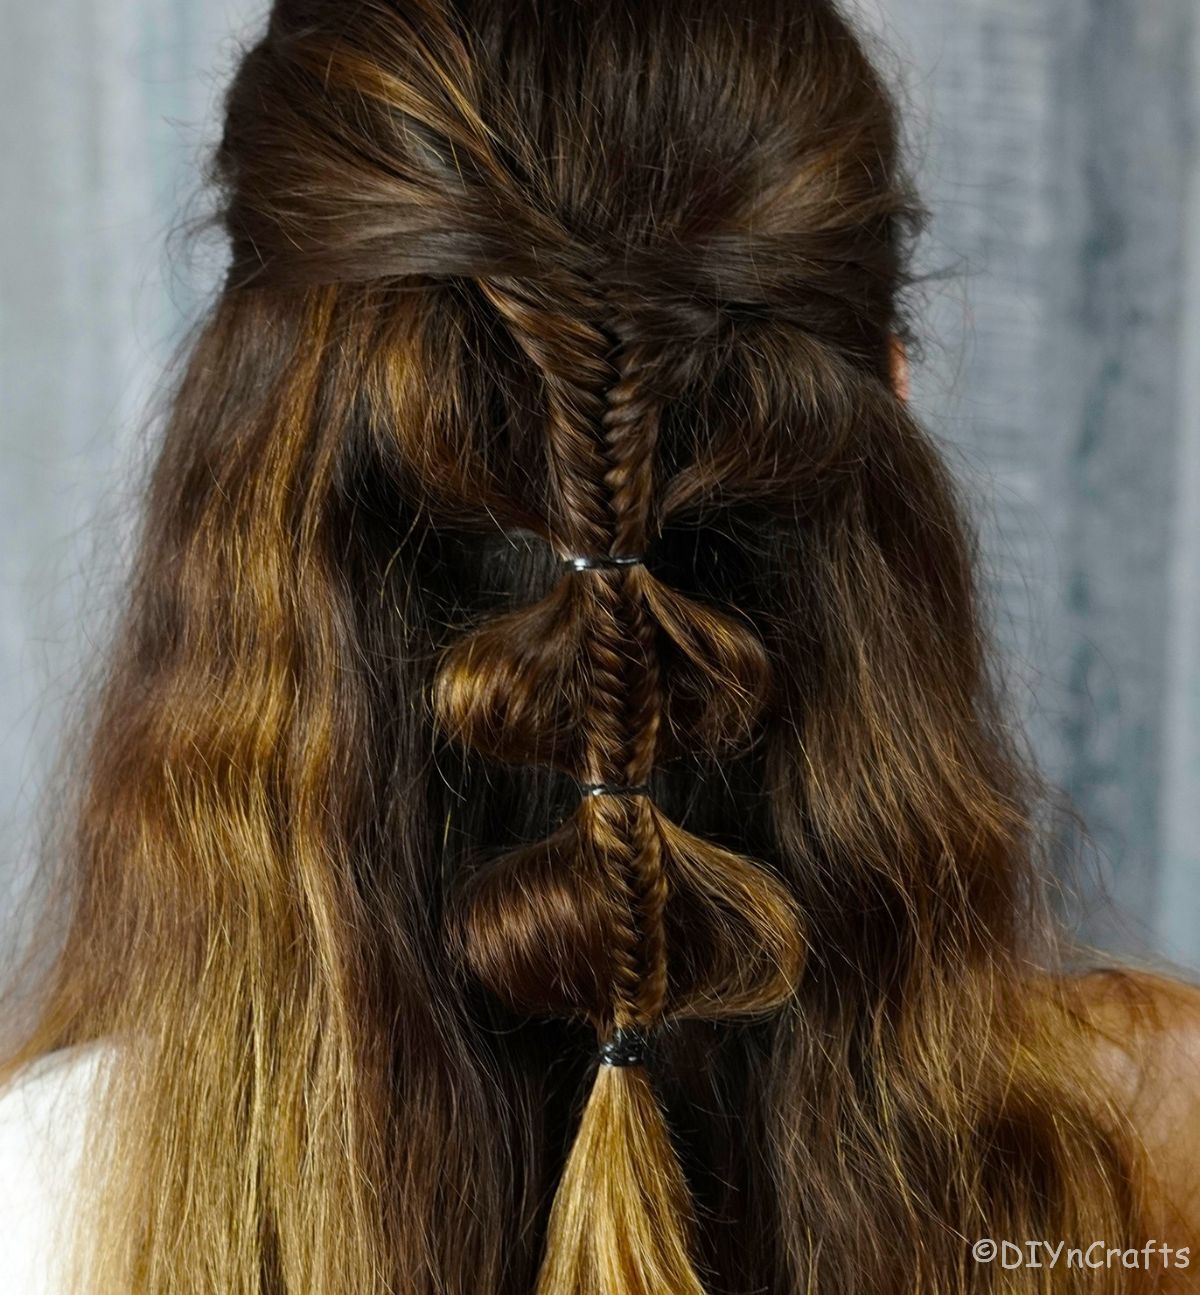
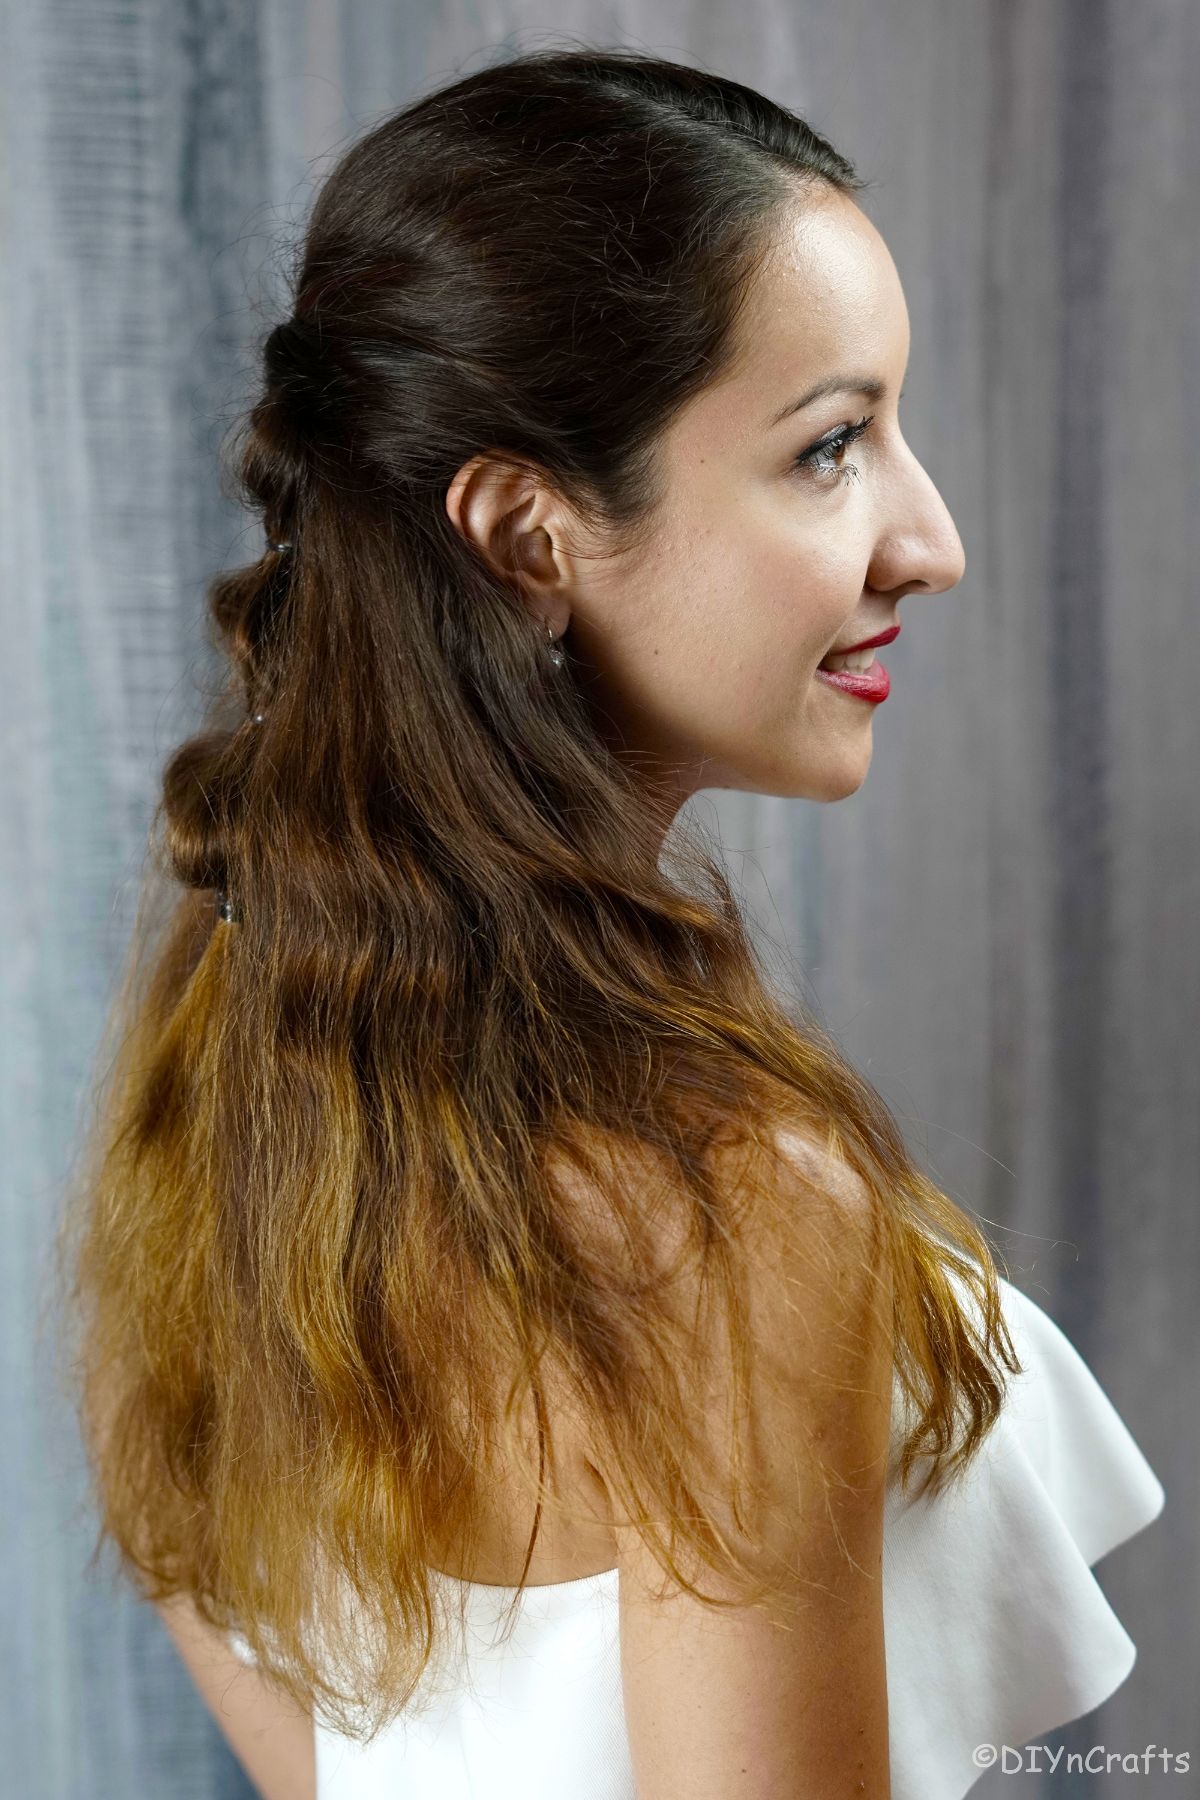
Looking for a fun new braid idea? This palm tree bubble braids idea is super cute. As a half-up hairstyle, it is ideal for those who don't want to go with a full head of braids but just want the accent look. A fishtail braid is at the center of the classic bubble braids style giving two of your favorite looks combined into one simple look.
Palm Tree Bubble Braids
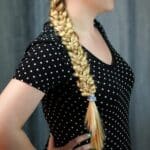
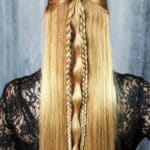
If you've ever done bubble braids, then you know they are super cute and easy. This version adds a twist that I am loving. A fishtail braid down the center of the bubble braids gives it a whole new look. I am not sure where the term "palm tree braid" came from for this, but it may also just be a braided bubble braid.
If you like this style of braids, you can check out the easy bubble braids tutorial too. It may be a better choice if you want to pull all of your hair up and away from your face.
What Do I Need To Create This Hairstyle?
I love simple styles that don't need a lot of fancy tools or accessories to create. In fact, this easy braid is one that really only needs hair ties and a comb or brush. It doesn't get any easier than that. This makes the braid a perfect choice for those times you are out and need to do something with your hair but only have the hair ties in your bag.
Tools I Use
While you don't need much for this look, I do have a few items I like to recommend. These come in handy for a lot of hairstyles, especially long hair. Check them out and add them to your hair care routine if they fit your needs.
- Wide-tooth comb
- Detangling brush
- Hair rubber bands
- Satin hair ribbon (optional)
- Topsy Tail braiding tool (optional)
Other Items I Love:
Palm Tree Braids Tutorial
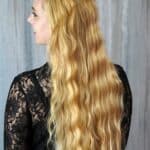
This hairstyle is great for both clean and "dirty" hair. Just make sure to start by combing out all tangles. While it works great with straight hair, as you can see wavy or curly hair can also work for this style. Just make sure to comb or straighten if you prefer the sleek look at the end.
Step 1
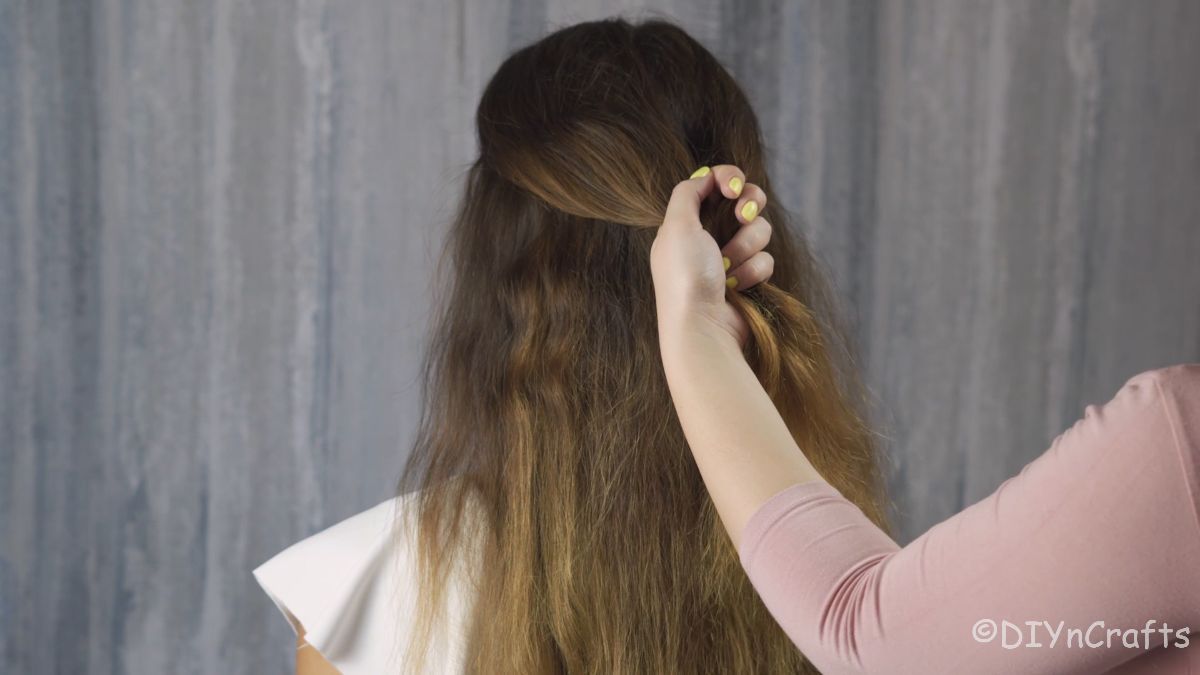
Pull a section back from each side of your head, leaving the hair on the top in place and down the back. This will be the start of your braiding. You won't tie them in place but just hold these two sections on the back for now.
Step 2
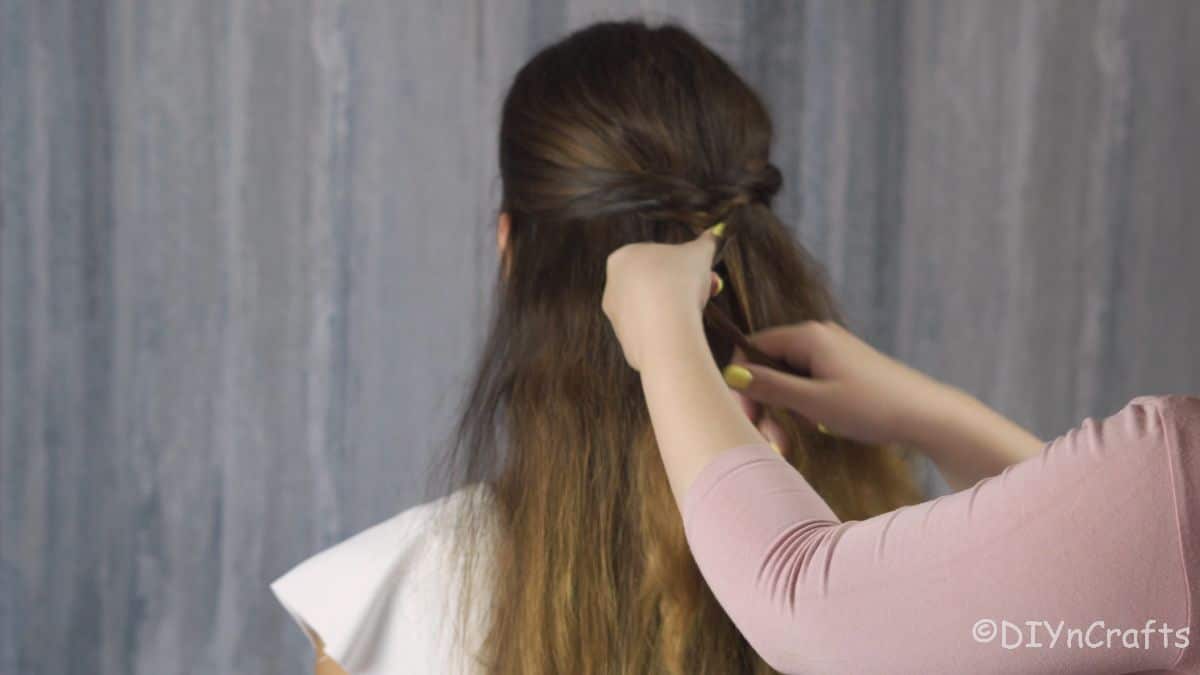
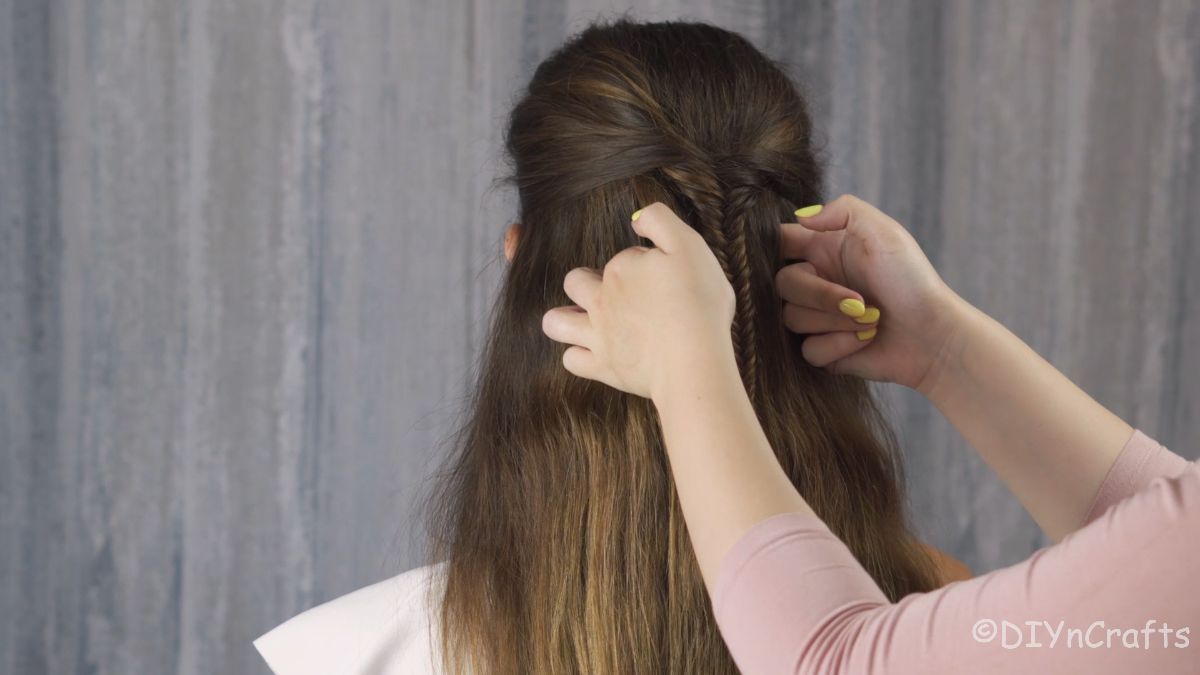
Now, bring back a smaller portion from each side, as if you are French braiding your hair.
Instead, create the fishtail braid by pulling the outside over the two sections and into the middle, then repeating this process as you move down a second time.
You will have pulled back the original two sections, then 2 additional rounds of 2 sections.
Step 3
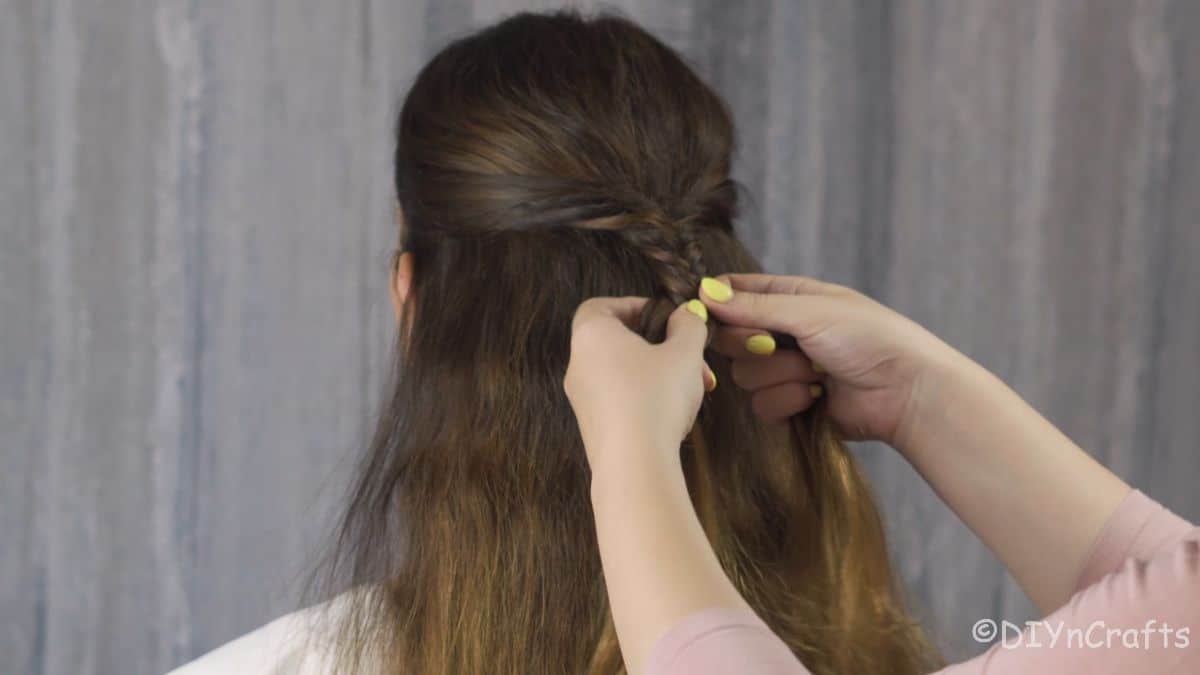
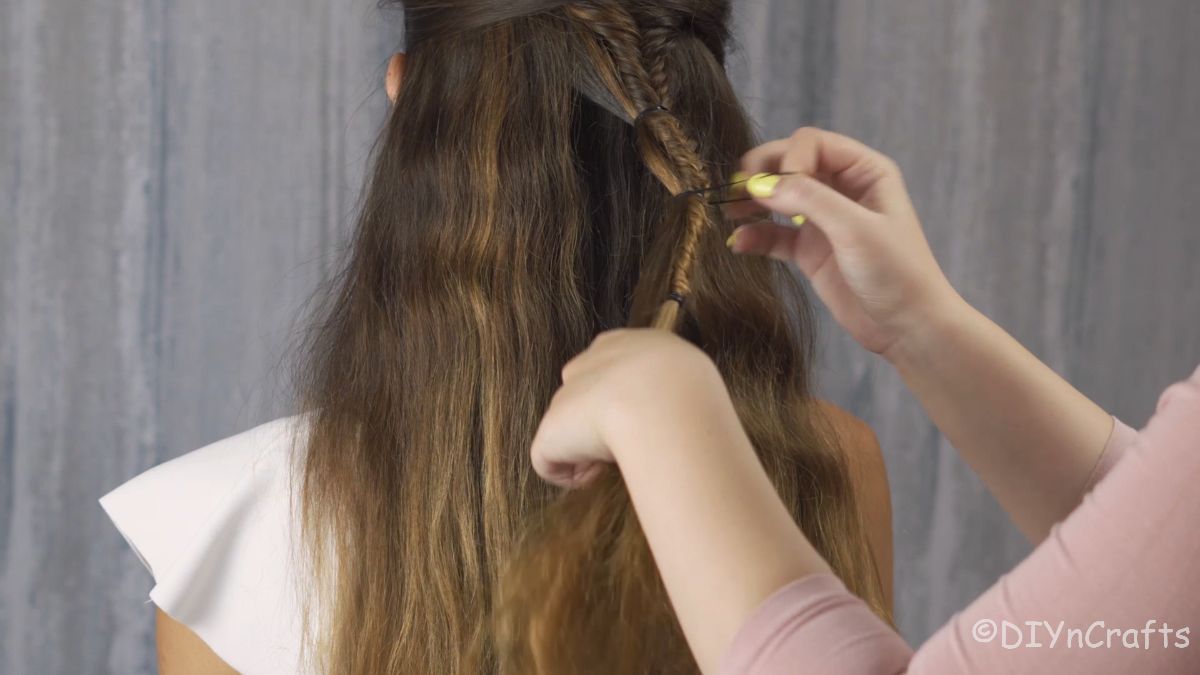
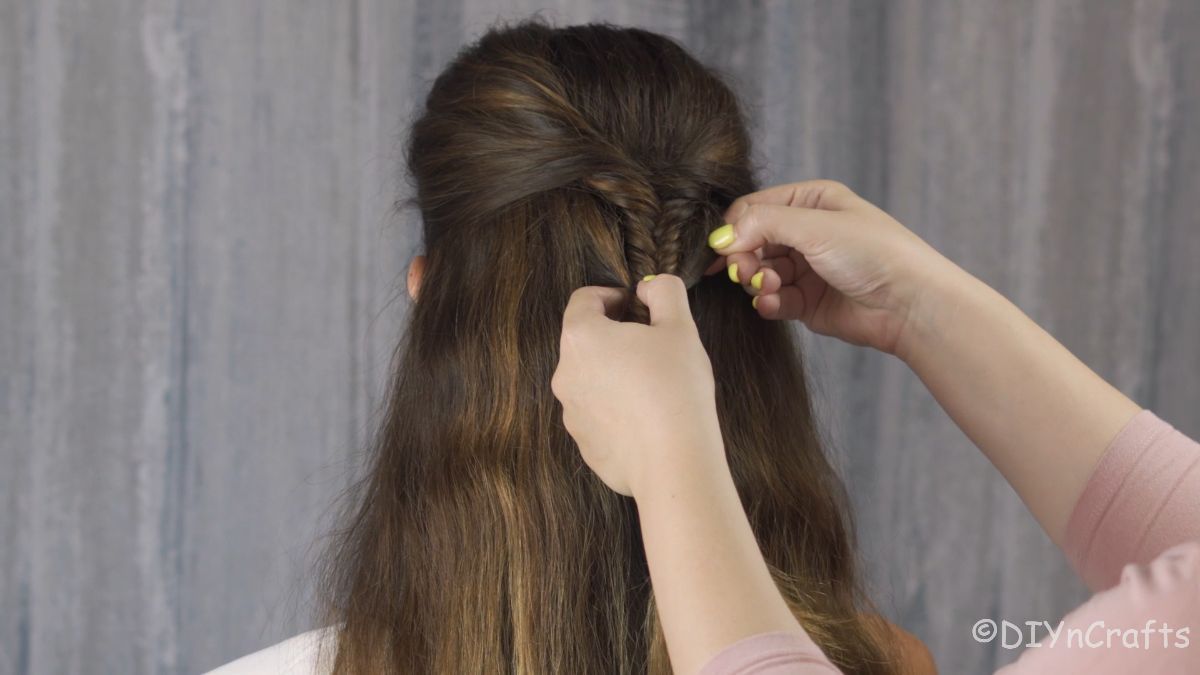
Now, using these pieces you pulled back, begin braiding down just those sections using the fishtail method.
This is where you pull a small section from the outside of the hair and pull over to the middle, repeat on the opposite side, then repeat again, pulling the section into the main portion every time.
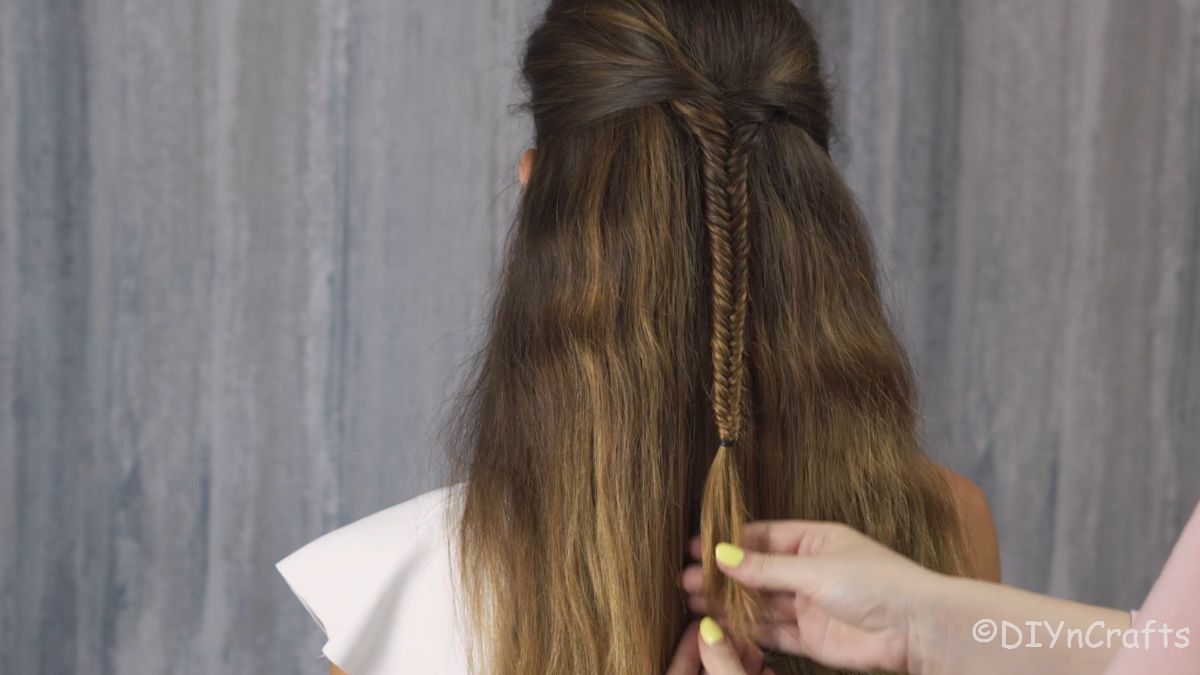
Continue this process until you are at the base of the strands of hair or until you are happy with the length of the braid.
Step 4
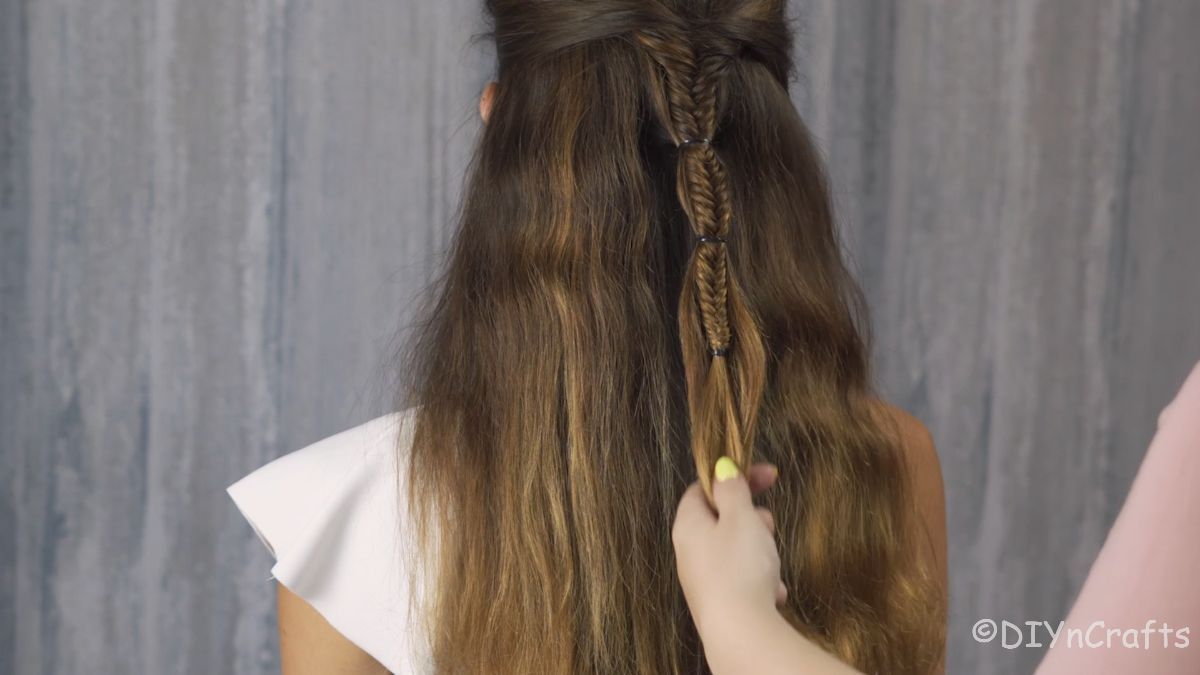
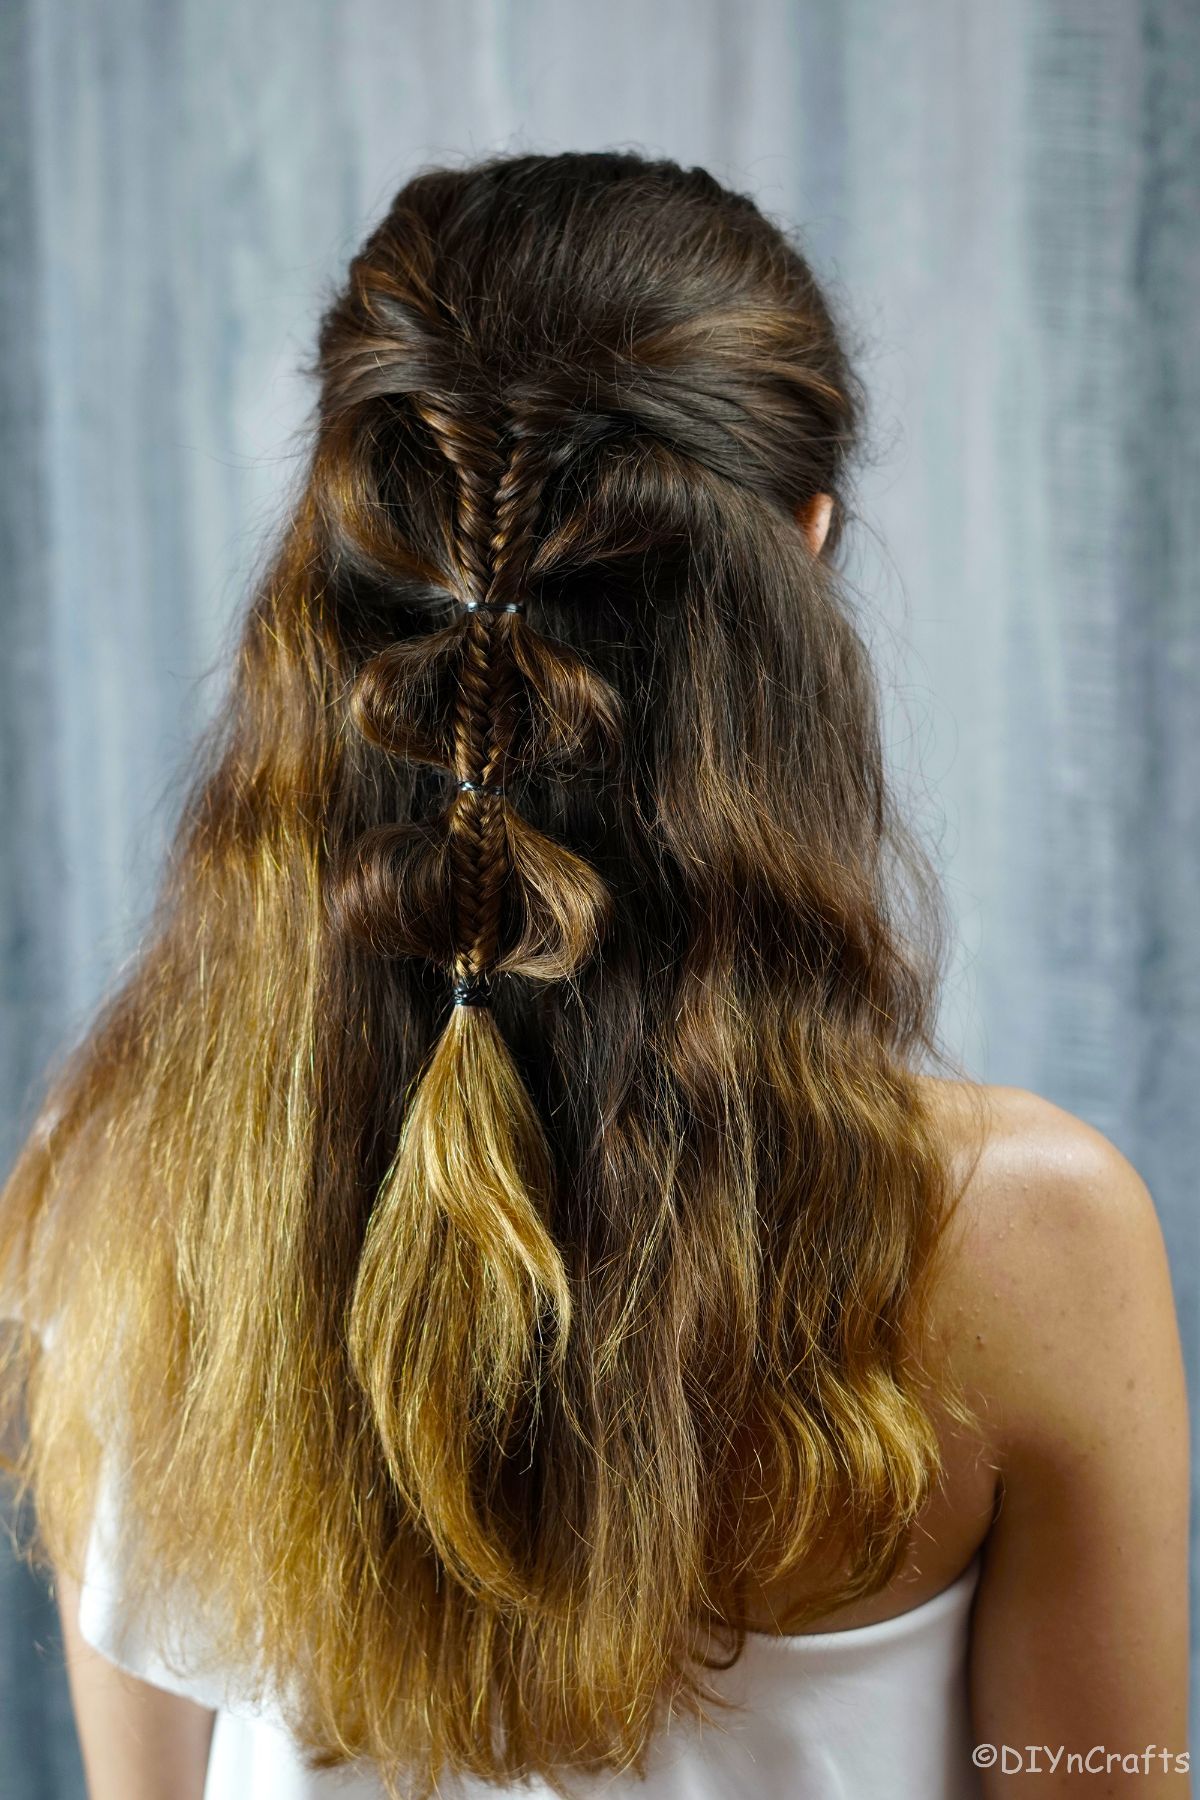
Now, you will create the bubble look with this by incorporating hair from the back of the head and beneath the braid. Start with a small section of hair on both sides of the braid and tie them into place about 2" from the top of the braid.
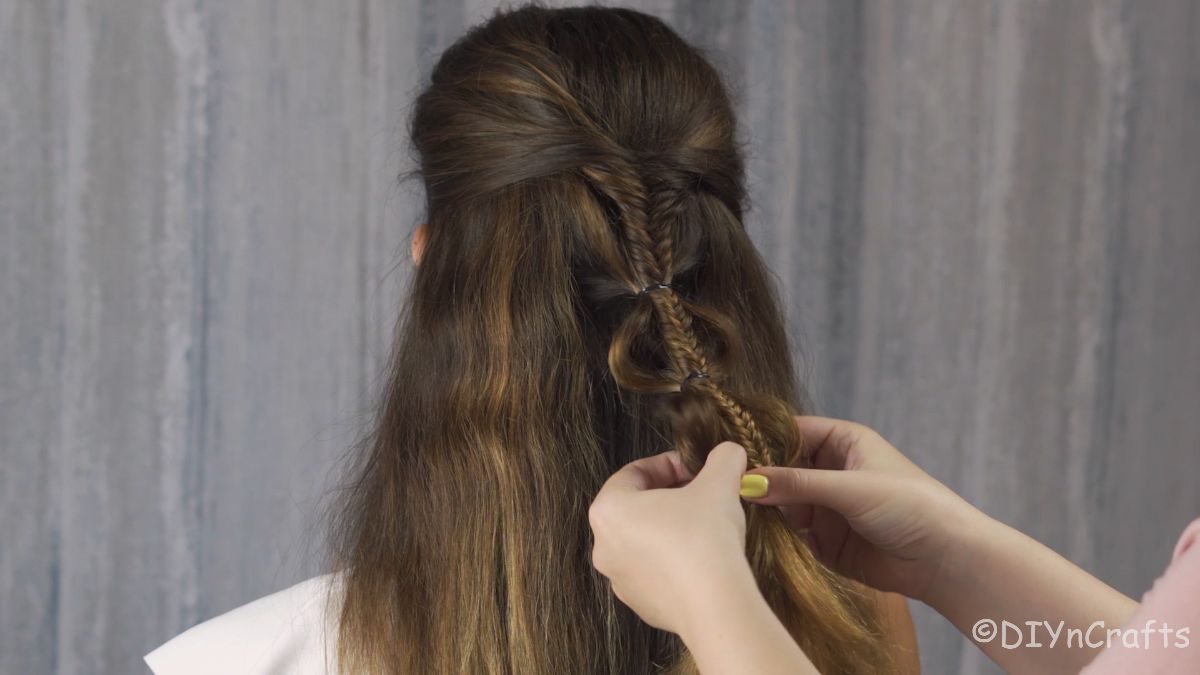
As you do this, bring in just a bit of hair, not everything underneath. You want a layer of hair under the braid to remain.
Repeat this until you are to the bottom of the braid you created. This model only needed 3 sections, but shorter or longer hair may vary in the number of bubbles created.
Step 5
Now, go back over the sections you added, and pull them out to fluff into the bubble look. You don't need much hair to create this look since it is on the sides and not a whole section together.
Repeat on both sides, and for each of the sections, you created with hair bands. Add bows or different colored ties if desired.
How Can I Accessorize This Unique Bubble Braid Style?
One of my favorite things about braiding my hair is that I can do so many different things to take a simple look and make it elegant. This braid is a bit different than some you have done in the past, and while it looks gorgeous all alone, you can easily add other things to the style to give it a bit of "pizazz". Below are some easy ideas.
- Weave a ribbon or beaded ribbon into the style as you braid the hair.
- Use a different colored hair tie between each "section" of the braid.
- Or, use a small bow in different colors over the ties on each section.
- Add a decorative bow, ribbon, or clip at the bottom of the braid.
- Use decorative combs on the top or sides of the hair and/or braid for accent.
- Weave miniature fake flowers or beaded bobby pins into the braids.
More Easy Braided Hairstyles
If you think braids are boring, think again! Nothing is more fun than creating a unique look with braids in your hair. Even the simple 3-strand braid can be updated to look amazing like this tutorial. If you need more hair inspiration, especially for long hair, check out these ideas too. Make sure you bookmark the ones you like, print out their tutorials, or pin them to your hairstyles board on Pinterest to use soon!
- Simple Braid with Ribbon Hairstyle
- Fishtail Ponytail Pigtails with Bow Accent
- Braided Crown Princess Hairstyle
- Braided Dual Top Knot Buns Half Up Hairstyle
- Easy Half Up Side Braids Hairstyle
Fancy Palm Tree Bubble Braids Half Up Hairstyle
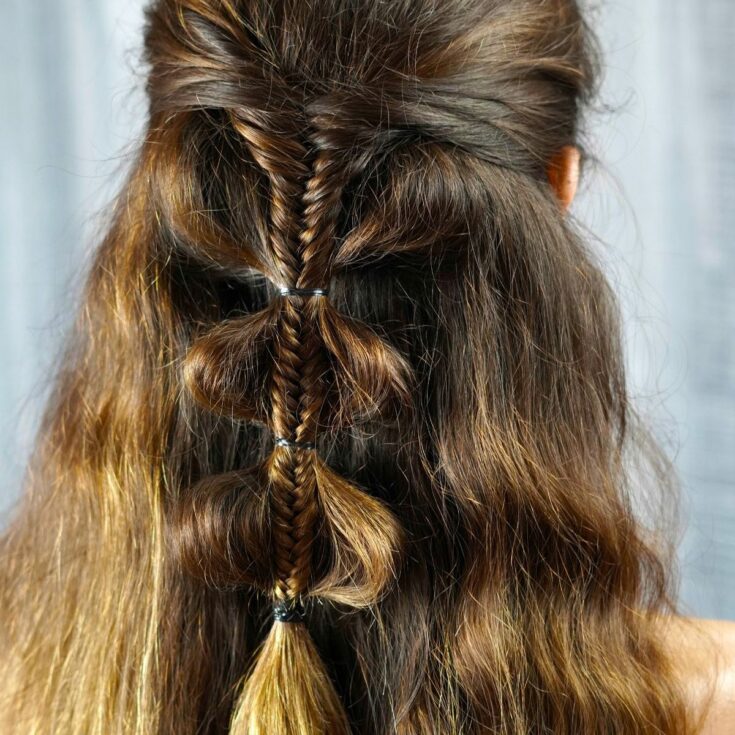
A fancy palm tree bubble braids half-up hairstyle is a fast and easy spin on classic braids. The fishtail and bubble combine for a lovely look!
Materials
Tools
Instructions
- Pull back a section of hair from both sides of your head, leaving the center down and just the front and side pieces coming back.
- Now, pull another section in from both sides, keeping these separate. Pull these over the original sections to the center, then combine them. This is the start of your fishtail braid. Add a second section to the first two and braid as shown.
- Continue the fishtail braid using just these sections of hair and not picking any up from below. Tie off the end when done.
- Now, pull a small piece of hair from under on both sides, and secure it to the main braid with a hair tie every 2" from the top of the braid down. Do not pull all of the hair from beneath, you only need a small bit as an accent.
- Once you have added the hair ties, you will then go back up and loosen the hair you just added so it bubbles out on each side.
Notes
Use different colored hair ties with each section for an added pop of color.
Recommended Products
As an Amazon Associate and member of other affiliate programs, I earn from qualifying purchases.
-
 Youxuan 1000-Pack Elastic Hair Ties Non-slip Rubber Hair Bands for Girls, Clear
 -
 The Honest Company Conditioning Hair Detangler | Leave-in Conditioner + Fortifying Spray | Tear-free, Cruelty-Free, Hypoallergenic | Sweet Orange Vanilla Everyday Gentle, 4 fl oz
 -
 Crave Naturals Glide Thru Detangling Brush for Adults & Kids Hair - Detangler Hairbrush for Natural, Curly, Straight, Wet or Dry Hair (TURQUOISE)
 -
 LilMents 12 Mixed Designs Satin Head Hair Handbag Handle Highlights Scarf Tie Lot (Solid Colors A)
 -
 8 Pcs Big Satin Hair Bows for Women Girls, 8 Inch Large Bow Hair Clip Barrette Hair Ribbon Bows French Style Hair Accessories
 -
 Multy-Colored Hair Ties for Thick Hair, 120 PCS Large Hair Elastics, No Damage Ponytail Holders for Women, Men and Girls



Leave a Reply