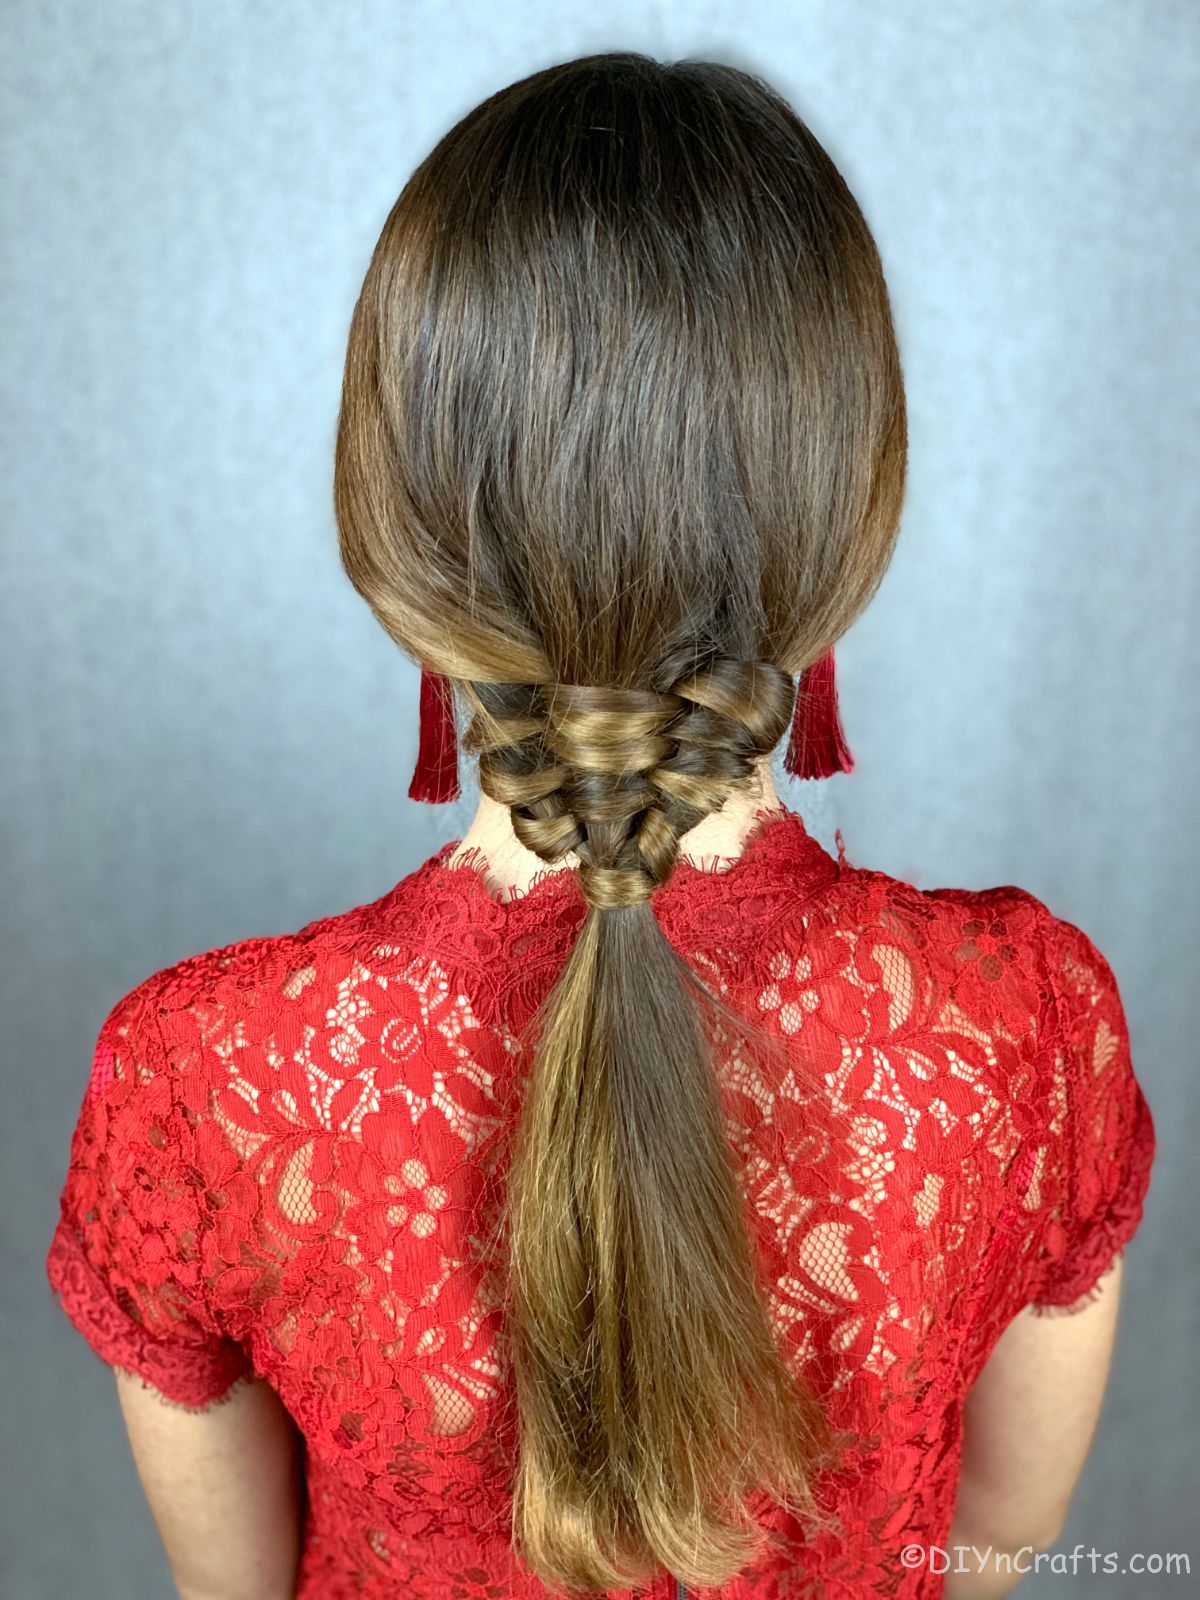
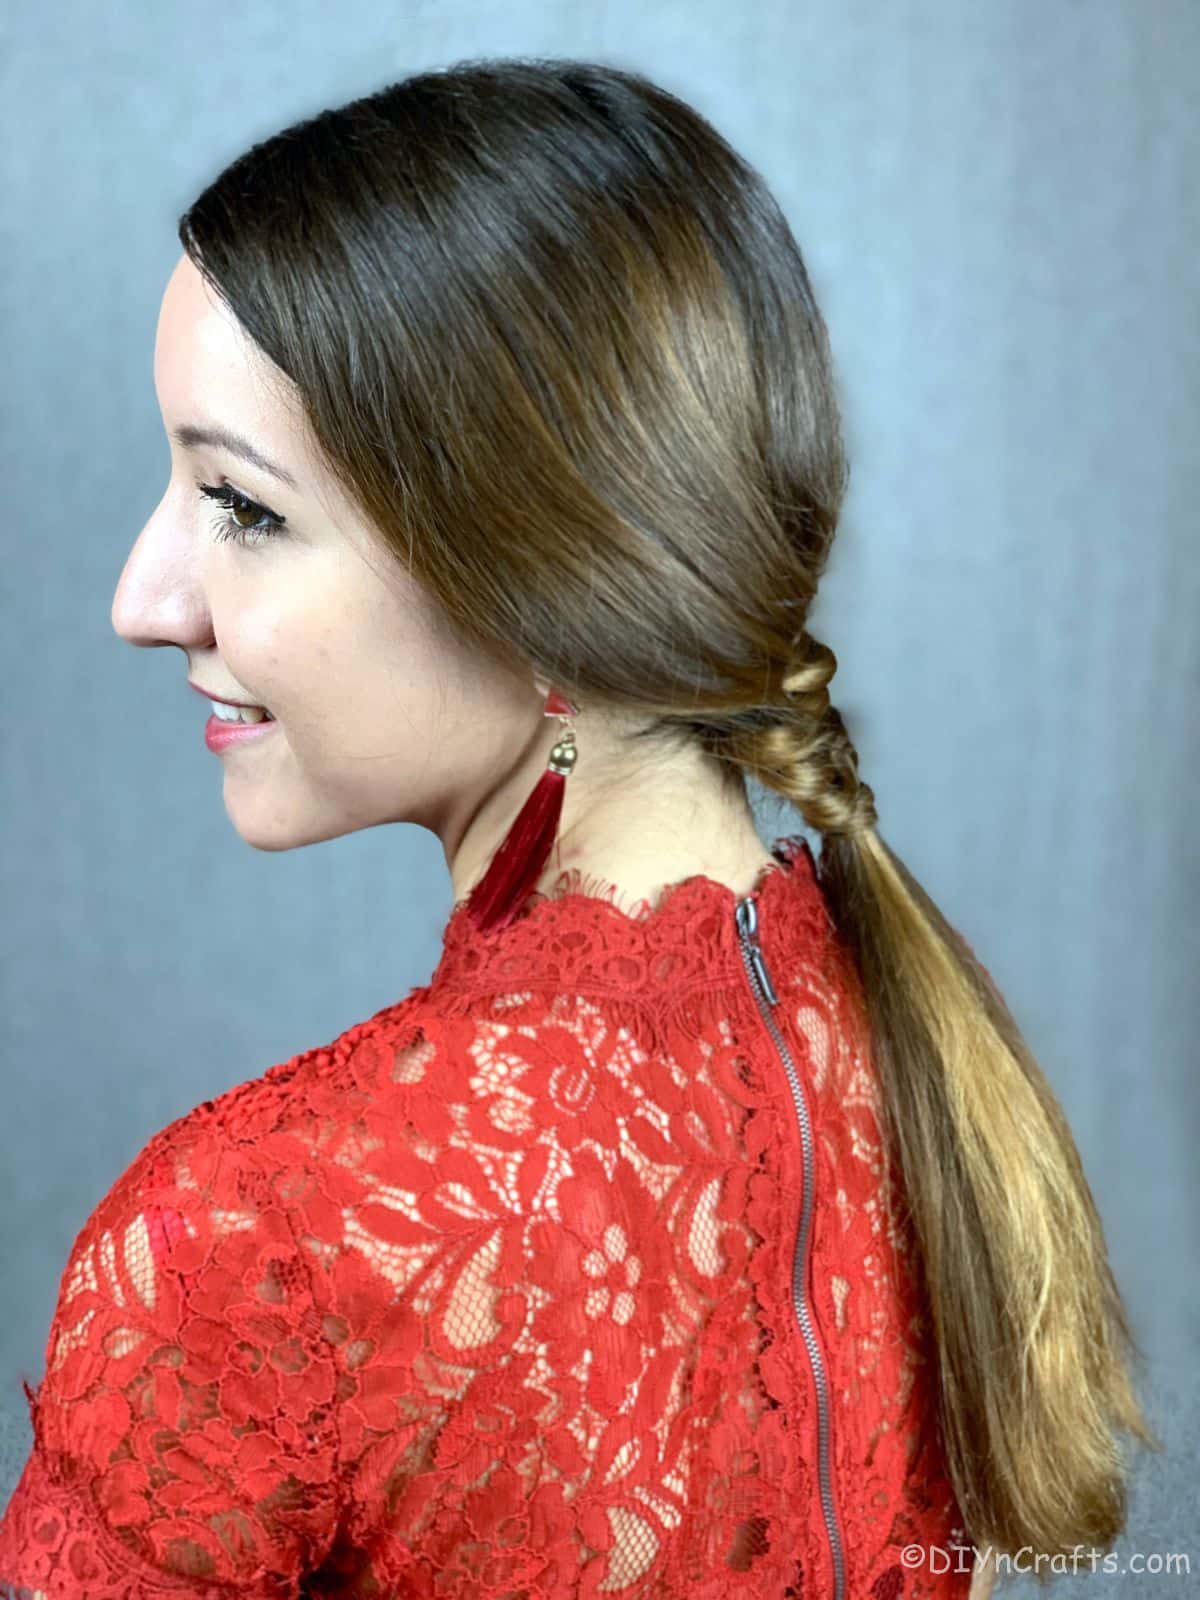
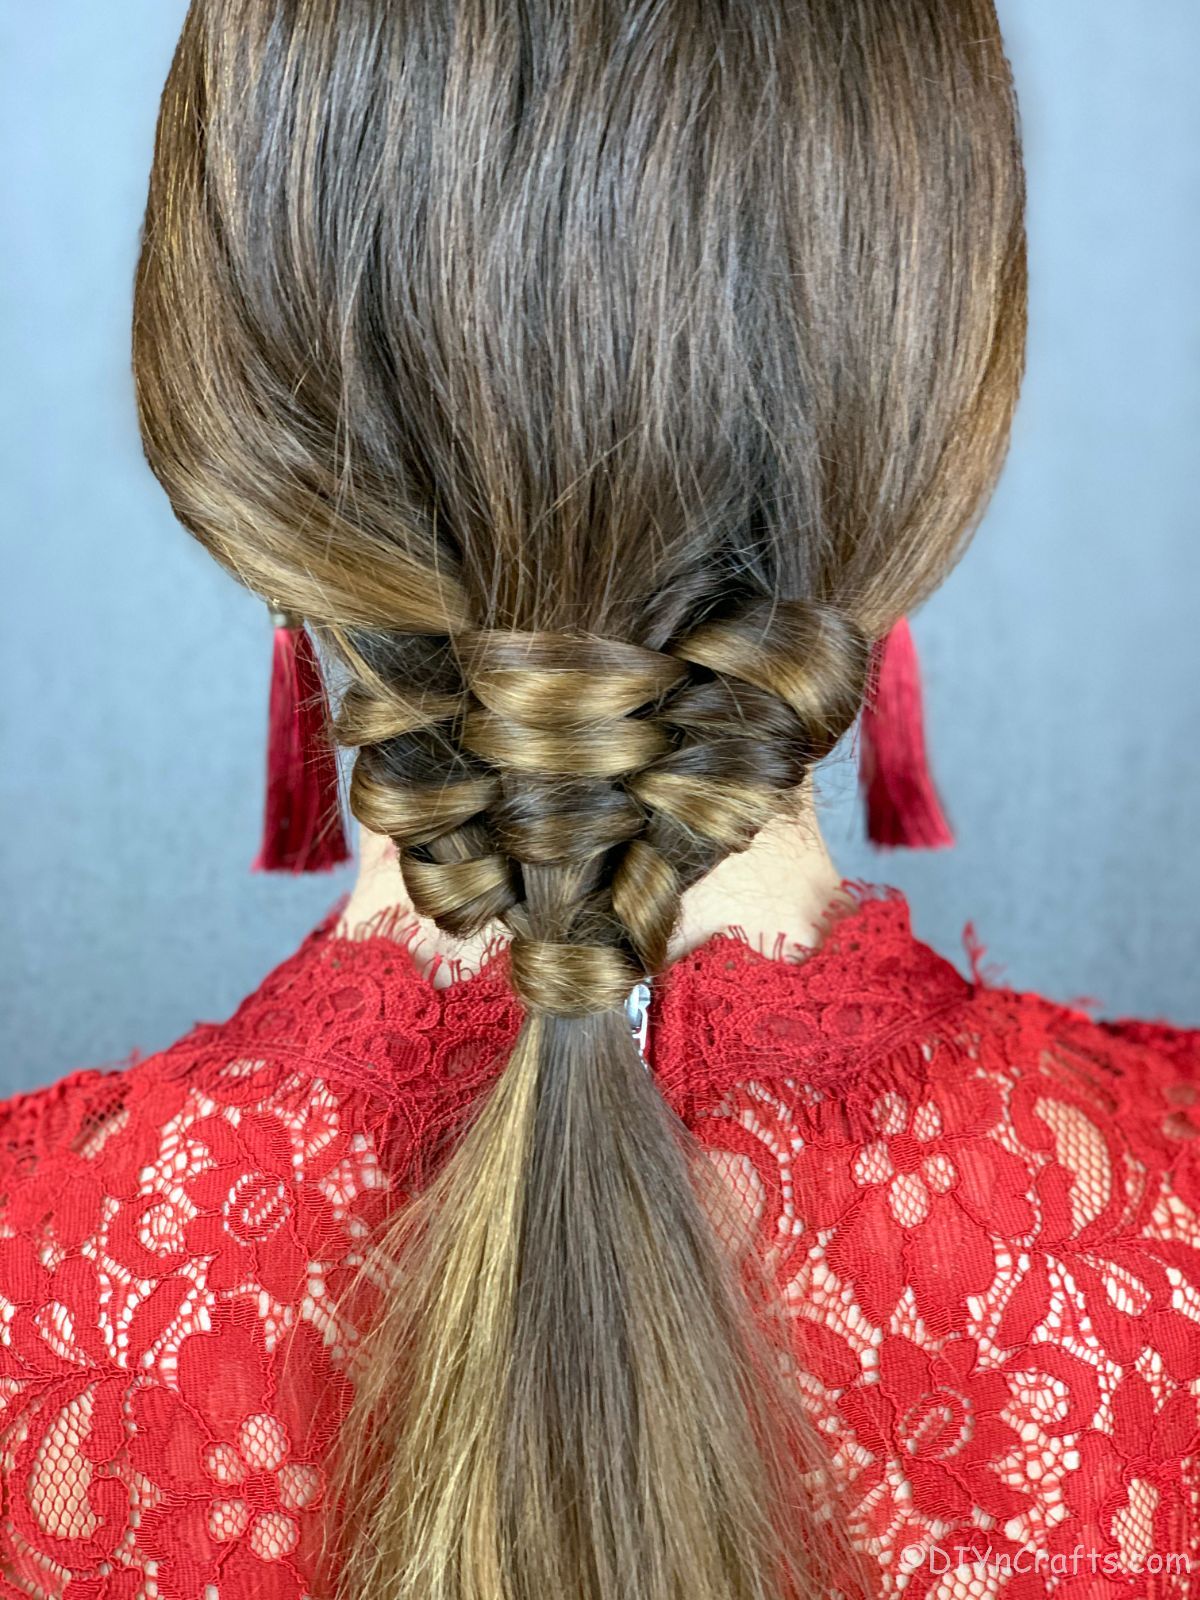
A low ponytail is a classic choice for busy days, but if you want something a little bit updated, then you will love this woven ponytail hairstyle. This works best on longer hair but can be created with medium-length hair if desired. An elevated braiding method that is easy for anyone to create turns a low ponytail into a true hairstyle that is ideal to wear every day but nice enough for an event or upscale need.
Woven Ponytail Hairstyle
If you are looking for something that will take your daily ponytail into a little nicer style, then this is a perfect solution. You don't need any special skills to be able to weave your hair into this look, and it's a great beginner style that looks fancy but doesn't take a lot of time.
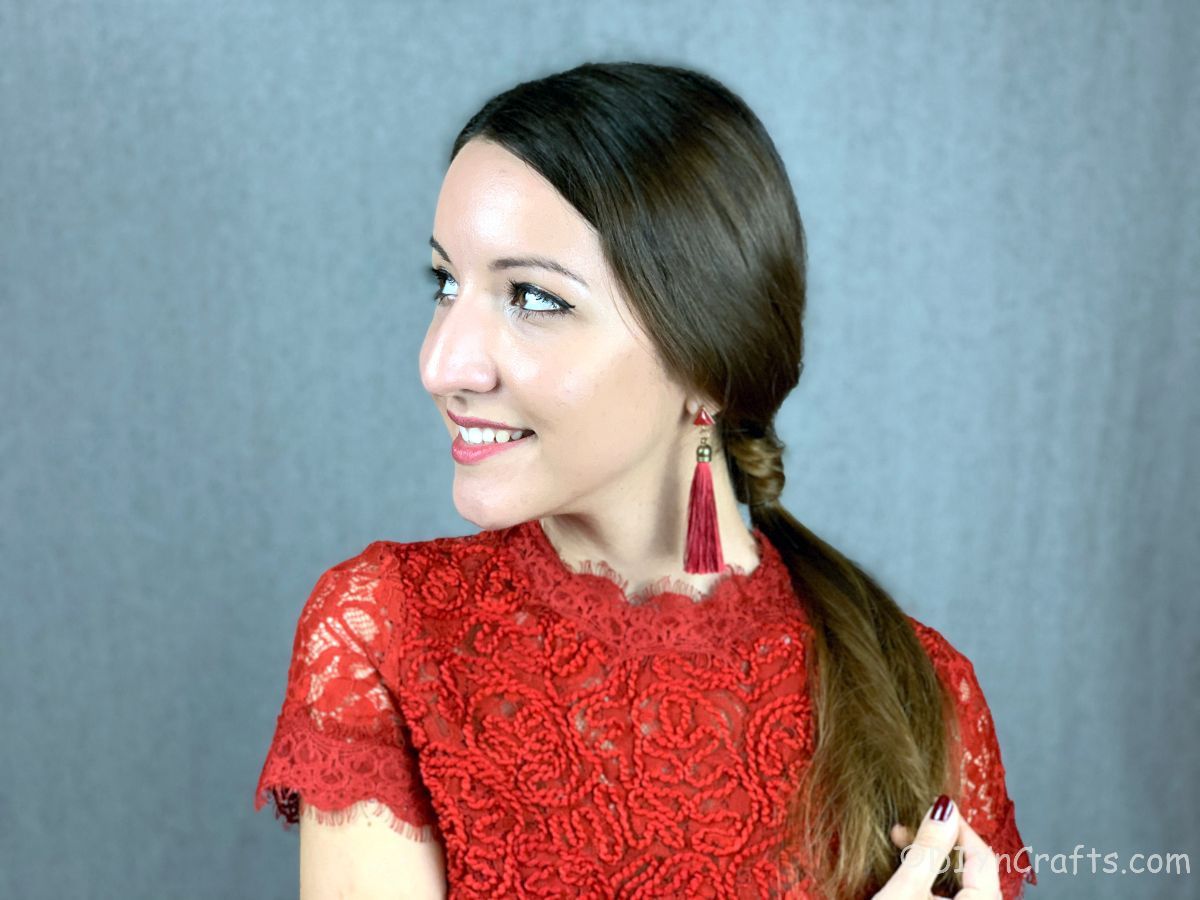
This can be worn every day to school as a casual look but looks great in a professional setting. It can be worn to the office, or to the cocktail party during the holidays. Nothing beats a pretty look like this that you can wear from day to evening so seamlessly.
If you like this easy style, make sure you check out our list of 5-minute hairstyles. So many great ideas on the list to add to your routine. They are ideal for giving you a unique look while not taking a lot of effort to accomplish.
What Do I Need to Create This Look?
For this look, you need a good comb and your favorite rubber band hair bands. I prefer using a small hairband so it is easy to hide and doesn't add unnecessary bulk. You can also add in a ribbon, a decorative comb, clip, or another item if you desire.
Of course, below are a few more items I keep on hand in my hair care kit that you may be interested in having added to your routine. These come in handy with basic styles and are ideal for braids and other styles like this one.
Tools I Use
- Wide-tooth comb
- Detangling brush
- Hair rubber bands
- Satin hair ribbon (optional)
- Topsy Tail braiding tool (optional)
Other Items I Love:
How to Create a Woven Ponytail
This hairstyle works great with freshly washed hair or unwashed hair. Before beginning, I recommend making sure you have no tangles and combing through your hair. If you tend to have a lot of flyaways or frizz, you may want to also go over your hair with a bit of mousse or argan oil to smooth them. Have the hair tie handy for when you are ready for it, and be prepared to manage multiple pieces of hair at one time as you braid and weave.
Step 1
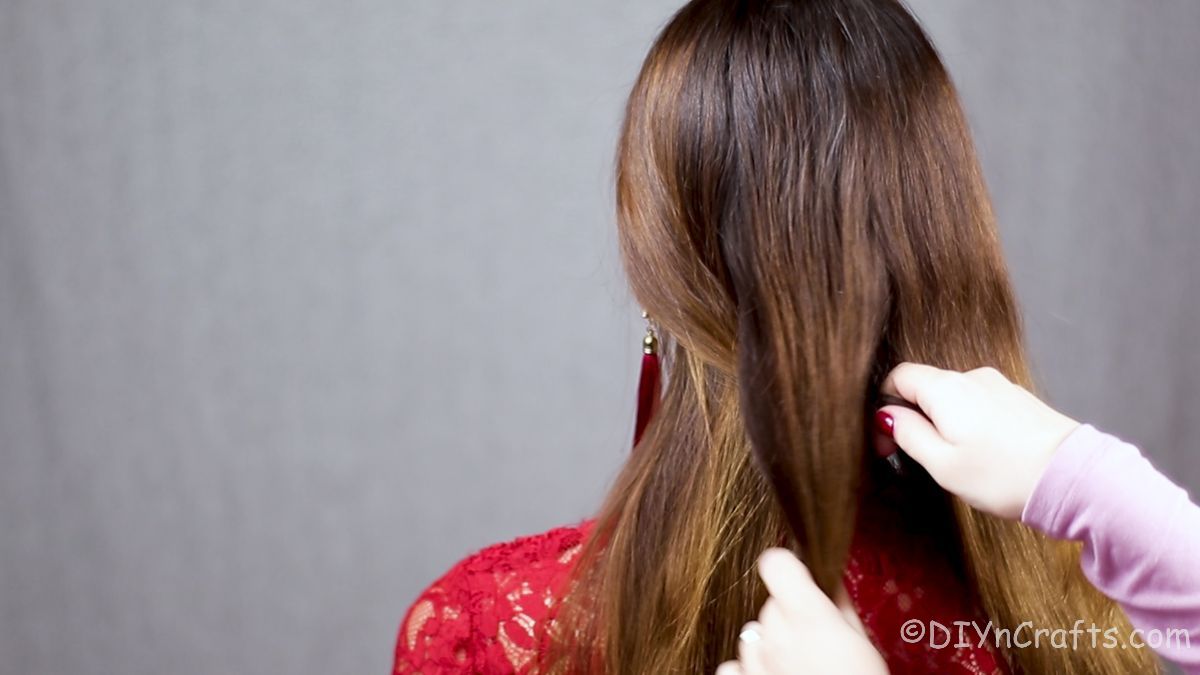
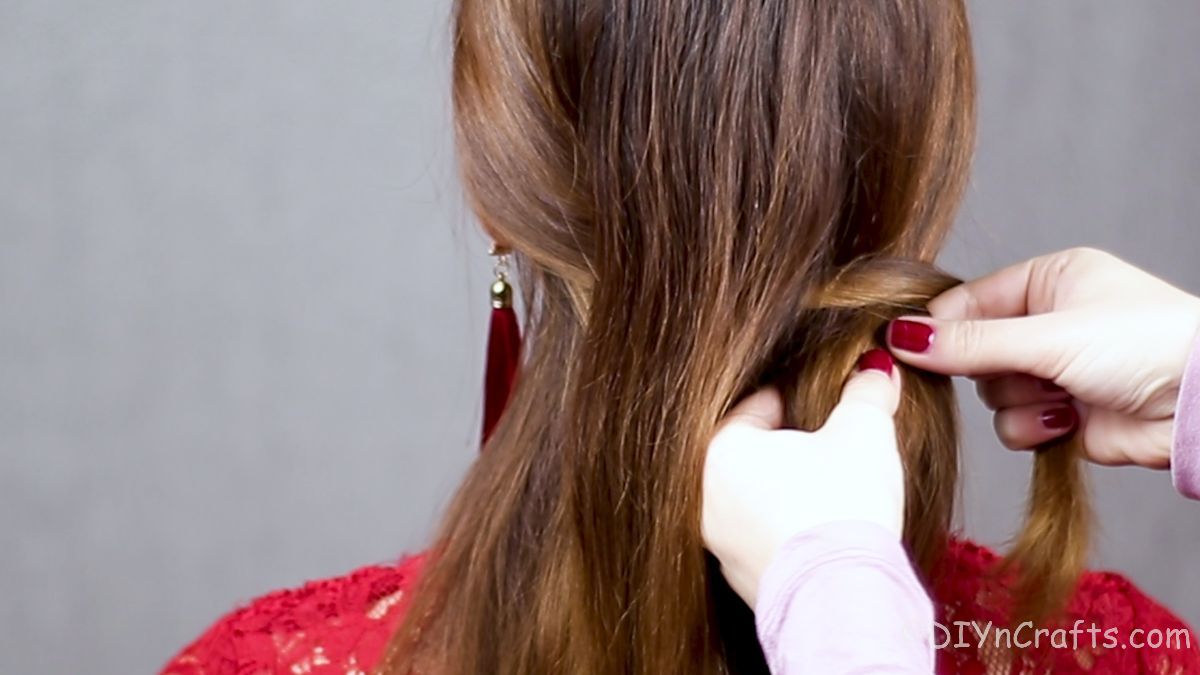
Start by sectioning the hair so that you have 5 sections of hair. One on each side, then the rest of the hair falling down your back will be in three sections.
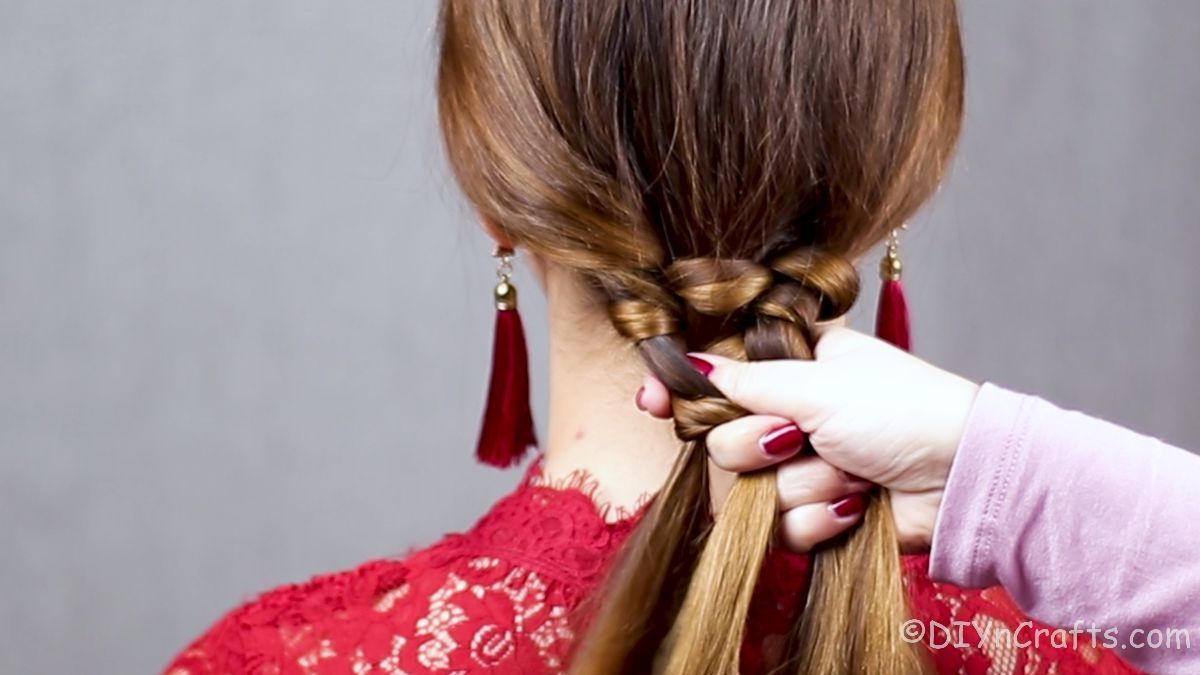
Now, pull the piece on the left from the front, and over the first section, under the second, then over the last section.
Step 2
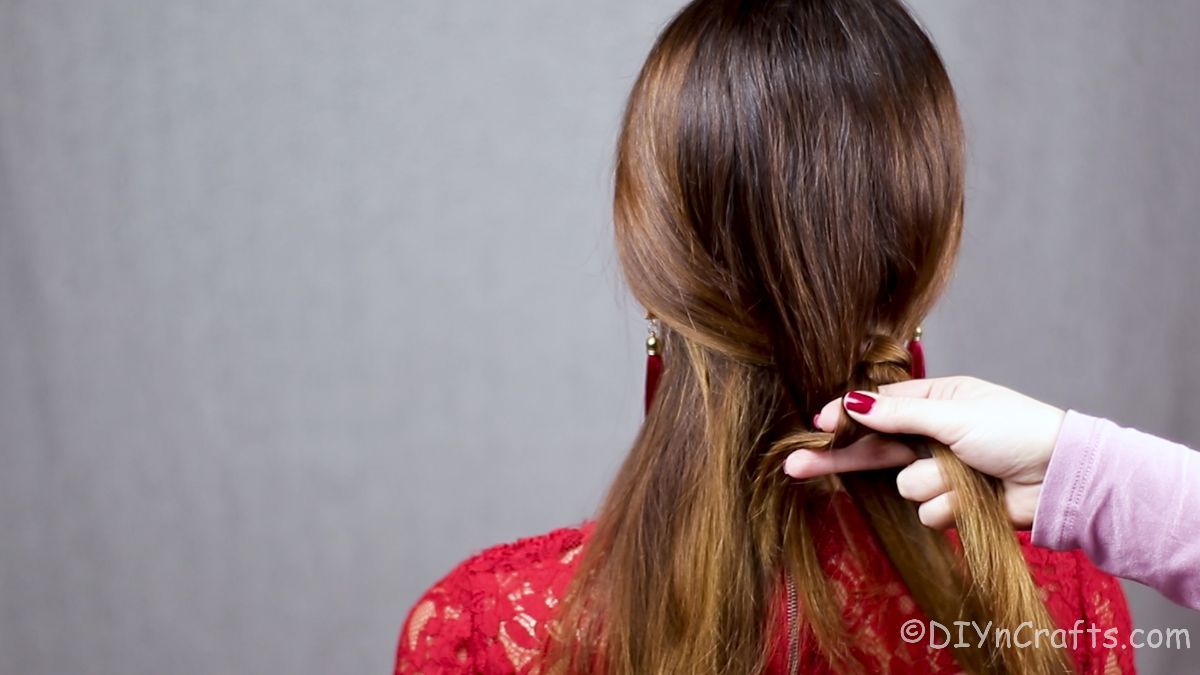
Now twist it over that last piece on the right, but divide that last piece and hold the one you just wove and the outer piece together.
Now, take the second piece on the right, and weave it back over and under the other pieces like you just did, but going in the opposite direction.
Step 3
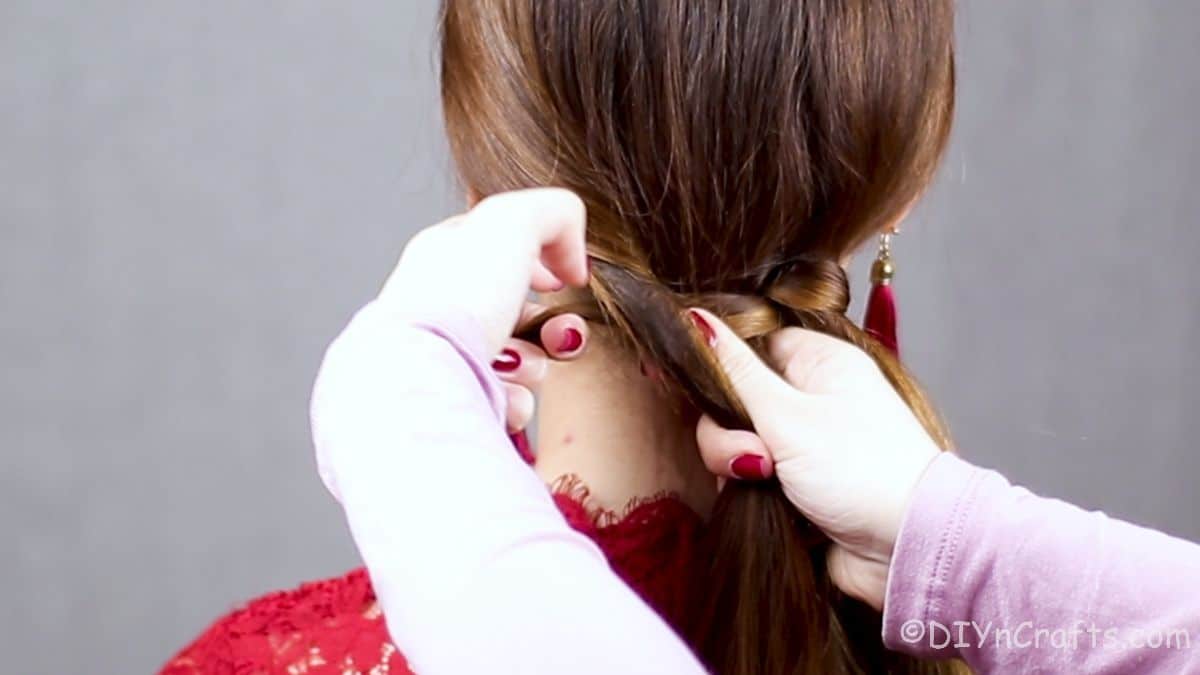
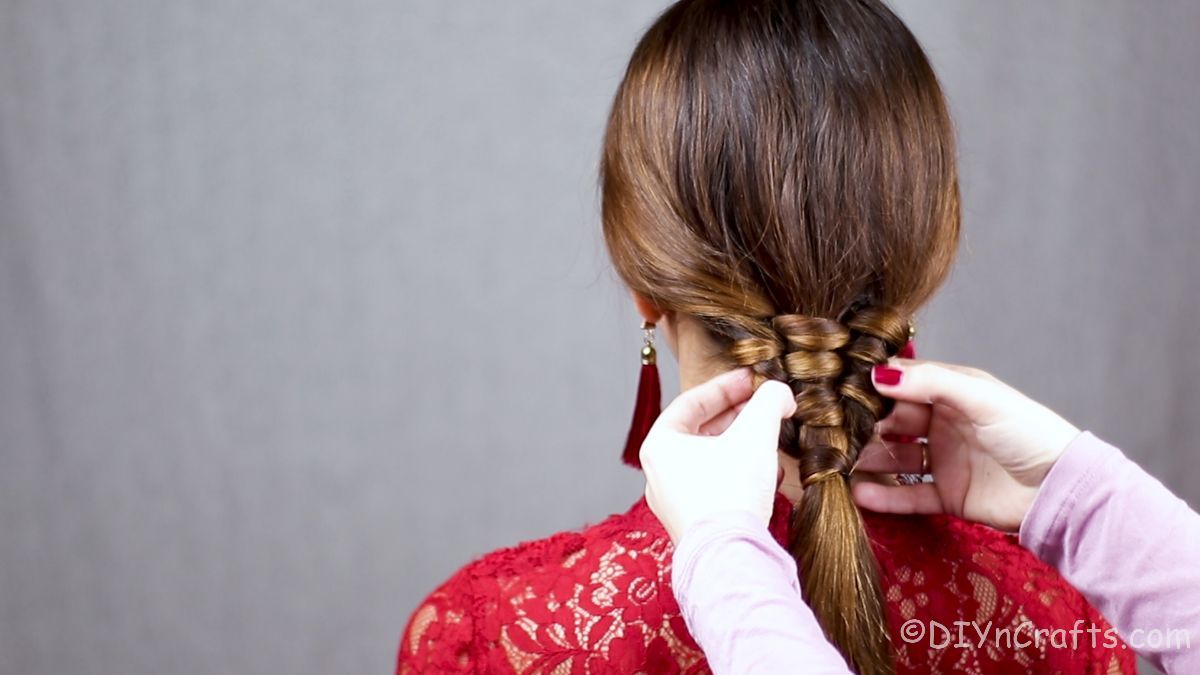
Continue this process, going over and under and back and forth 3 to 4 times, until the end pieces are almost gone and you are happy with the look.
You will be working with 4 to 5 pieces of hair at a time while weaving back and forth, over and under to create a basket weave look on your hair.
Step 4
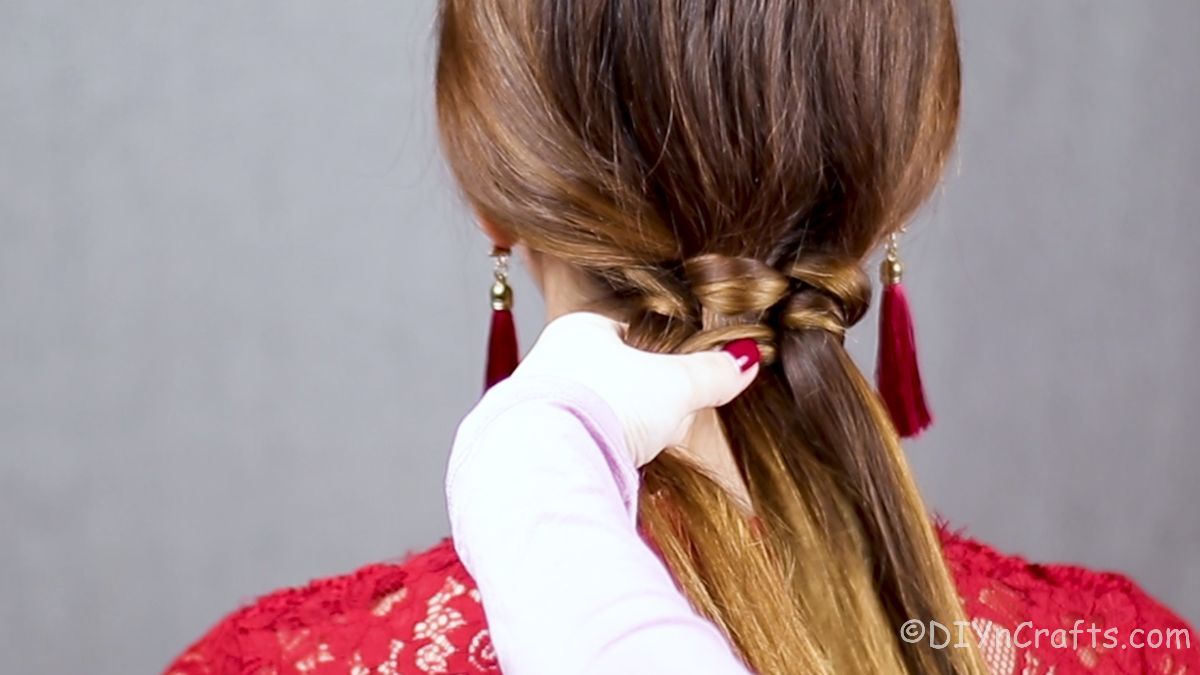
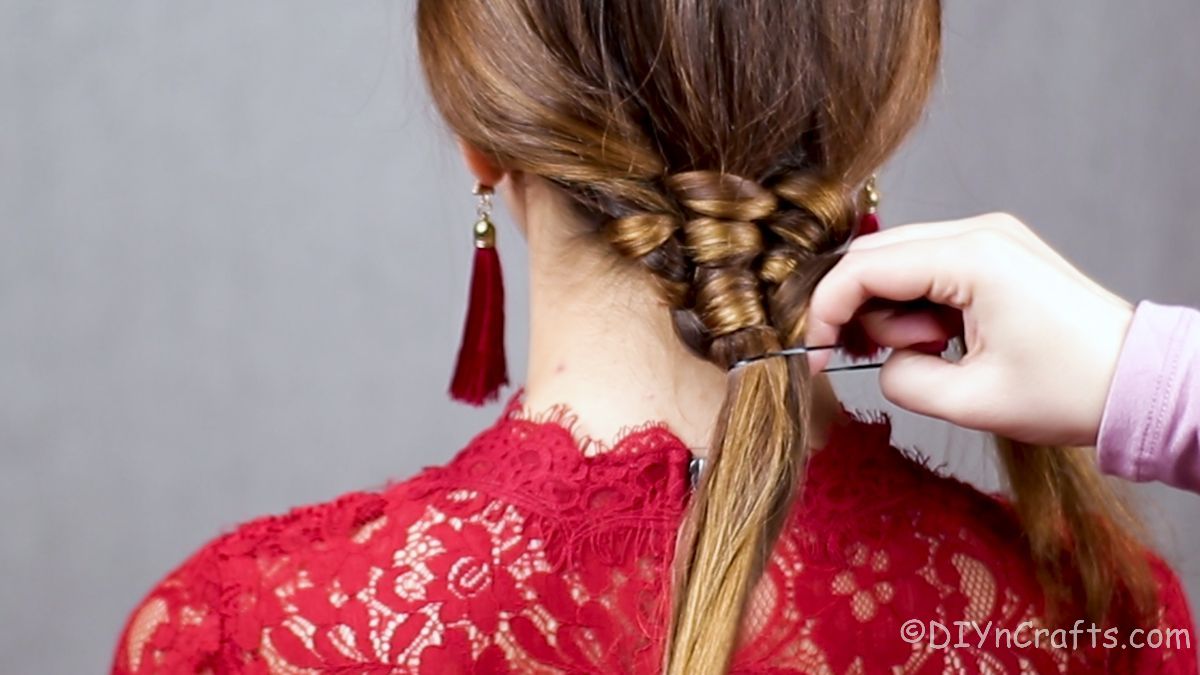
Now, gather all but one of the ends together, and tie them off with a rubber band, leaving the last piece of hair loose.
Once it has been tied into place, wrap that loose end of hair around the ponytail holder to cover it. If needed, a bobby pin can hold this into place, but it usually works well to tuck the end back into the rubber band on the back side.
Then tuck the loose end underneath and into the band to secure it into place.
What Can I Do to Make This Style Even More Unique?
This look is super easy and simple, but you may want to add a little something extra to the look to give it an update. It can be made casual or even a bit fancier with just a few additions. You'll be surprised at how easy it is to make one simple change and find that your hair looks completely different. These ideas can take this from an everyday look to an elegant style perfect for any event. Below are some ideas I think would work great with this low ponytail ideal for longer hair.
- Weave a strip of ribbon, lace, or beaded ribbon through the weaves on this ponytail for added sparkle or color.
- Place a decorative comb or barrette above the weave or at the base of the ponytail.
- Continue braiding the ponytail to the end.
- Braid then tuck the ends of the ponytail under the woven section to create a unique bun.
- Start the braid higher on the crown of the head and make a tight weave against the head for a different look. This is great when tucking the bottom under for an updo.
- Use gel or mousse to create a stark middle part before braiding for a different look that is sleek.
More Easy Long Hairstyle Tutorials
If you want more fun and easy ideas to update your hair, below are a few more favorites. Most of these are braided ideas that really use simple steps to create a look that is fast and easy but also beautiful. Simple and easy-to-follow tutorials are just what you need to make your hair look unique but still not take a ton of time out of your day. These styles are ideal for busy mornings! If you like any of these ideas, then make sure that you bookmark them or pin them to your hair care board on Pinterest so you can use them soon.
- Simple Braid with Ribbon Hairstyle
- Fishtail Ponytail Pigtails with Bow Accent
- Braided Crown Princess Hairstyle
- Braided Dual Top Knot Buns Half Up Hairstyle
- Easy Half Up Side Braids Hairstyle
Simple Woven Ponytail Hairstyle
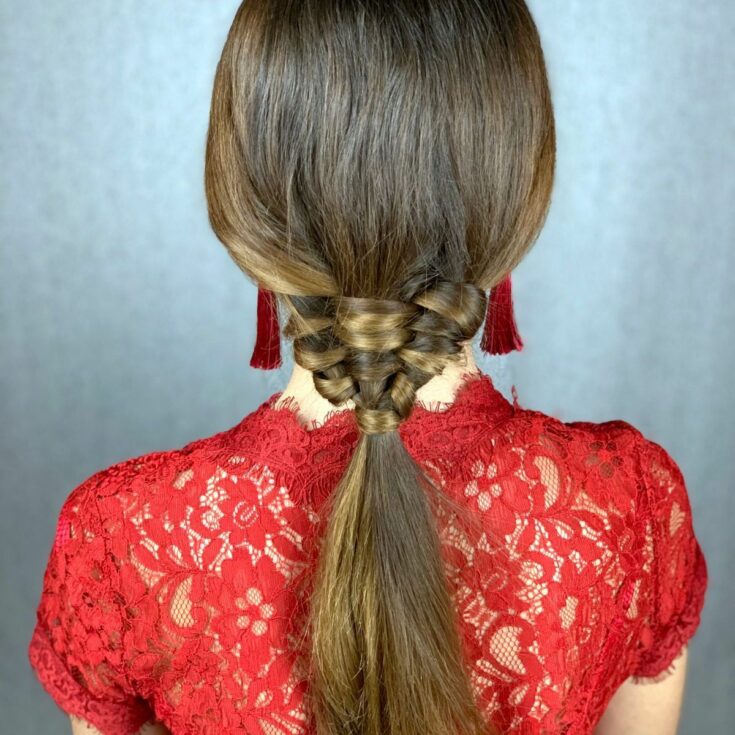
A lovely low ponytail is updated with a cute addition making this woven ponytail the ultimate easy long hairstyle for any season!
Materials
Tools
Instructions
- Start by sectioning the hair so that you have 5 sections of hair. One on each side, then the rest of the hair falling down your back will be in three sections.
- Next, pull the far left from the front and put it over the first section, under the second, and then over the last section of hair. It is a classic weaving technique.
- Once over the last piece, divide the last piece and hold the one you just wove and the outer piece togehter.
- Then, take the second piece and weave it over and under like you just did, except go in the opposite direction.
- Continue this process 4 to 5 times until you are happy with the look. Then, tie off with a band.
Notes
This is beautiful when a ribbon is used as part of the weaving process.
Recommended Products
As an Amazon Associate and member of other affiliate programs, I earn from qualifying purchases.
-
 OGX Refresh Revitalize Extra Strength Dry Shampoo, Argan Oil of Morocco, 5 Ounce
 -
 12pcs Topsy Tail Hair Tool, MORGLES Hair Braid Tools Hair Braid Tool Topsy Tail Maker,Hair Loop Styling Tool Topsy Twist Hair Tool Set, 6 Colors
 -
 Ribest ⅜ inch Solid Grosgrain Ribbon Set for Gift Wrapping and Bow Hair Accessories-60 Yards (2 Yards*30 Colors)
 -
 1000 Mini Rubber Bands Soft Elastic Bands for Kid Hair Braids Hair
 -
 Crave Naturals Glide Thru Detangling Brush for Adults & Kids Hair - Detangler Hairbrush for Natural, Curly, Straight, Wet or Dry Hair (TURQUOISE)
 -
 Onedor Handmade 100% Natural Green Sandalwood Hair Combs - Anti-Static Sandalwood Scent Natural Hair Detangler Wooden Comb (Wide Tooth)






Leave a Reply