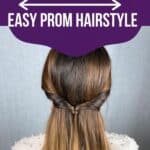
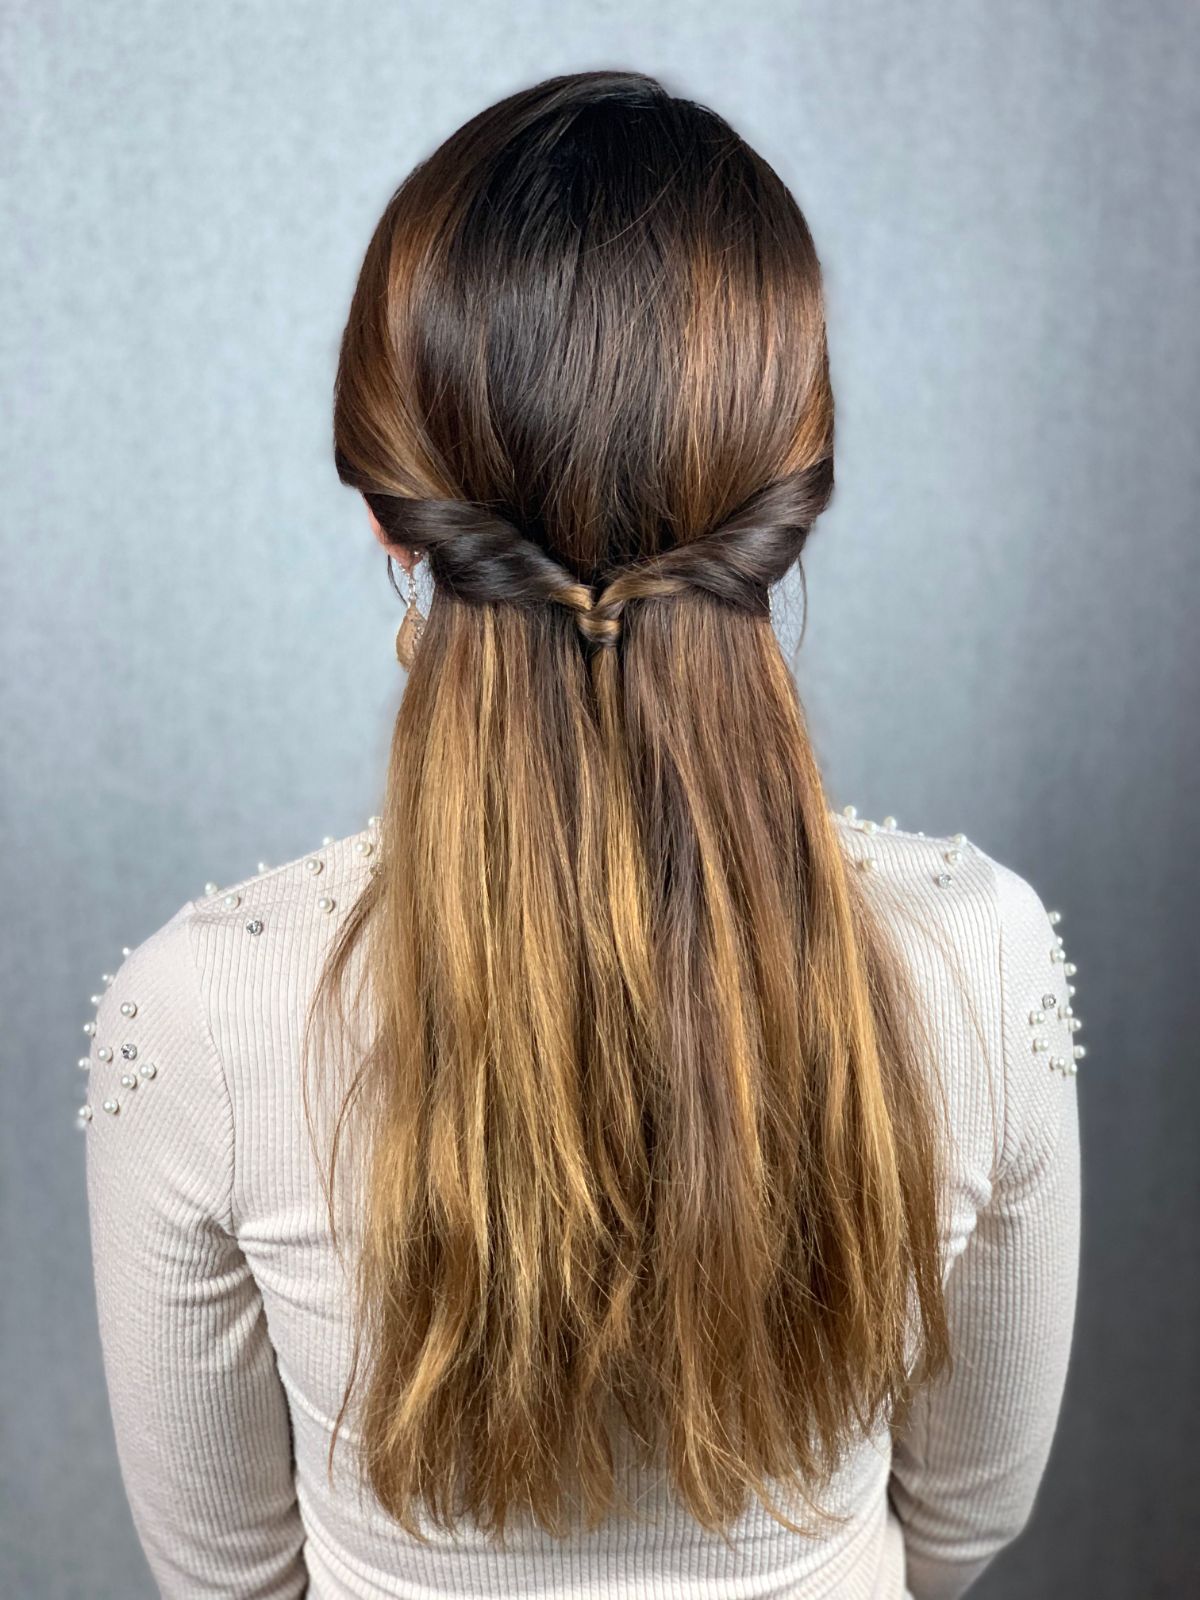
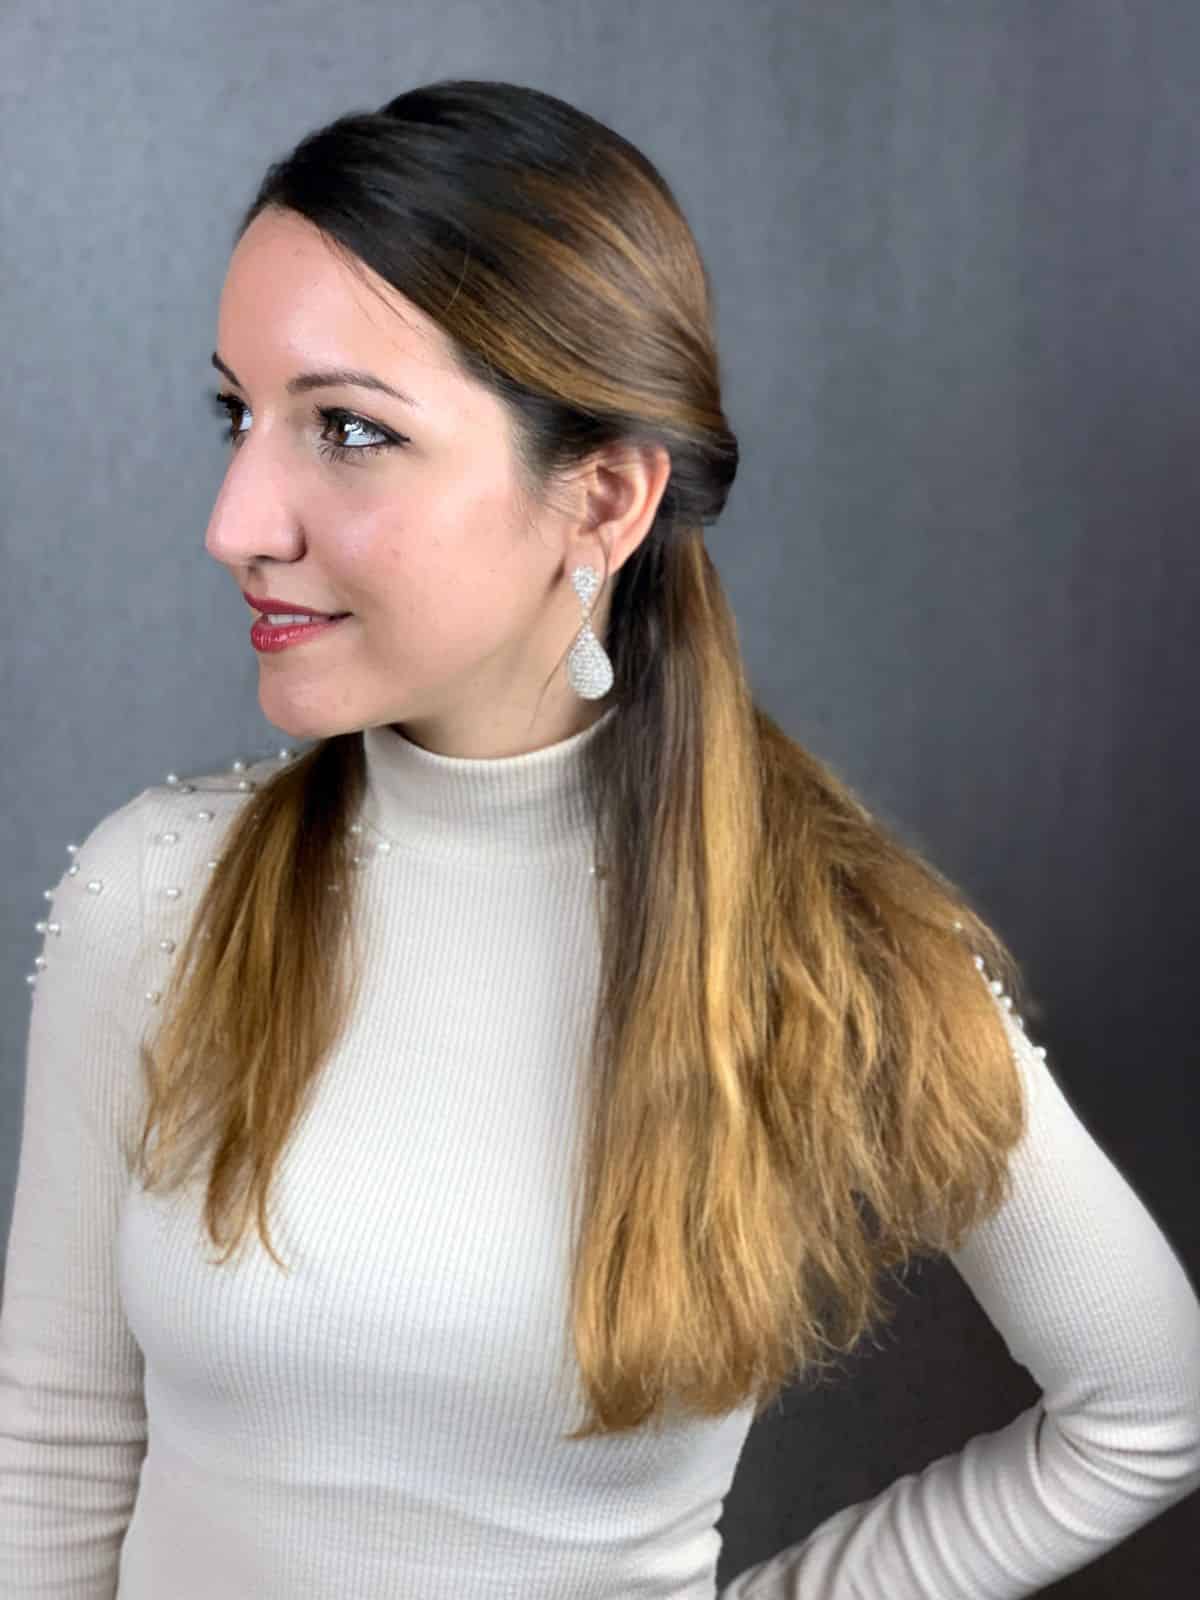
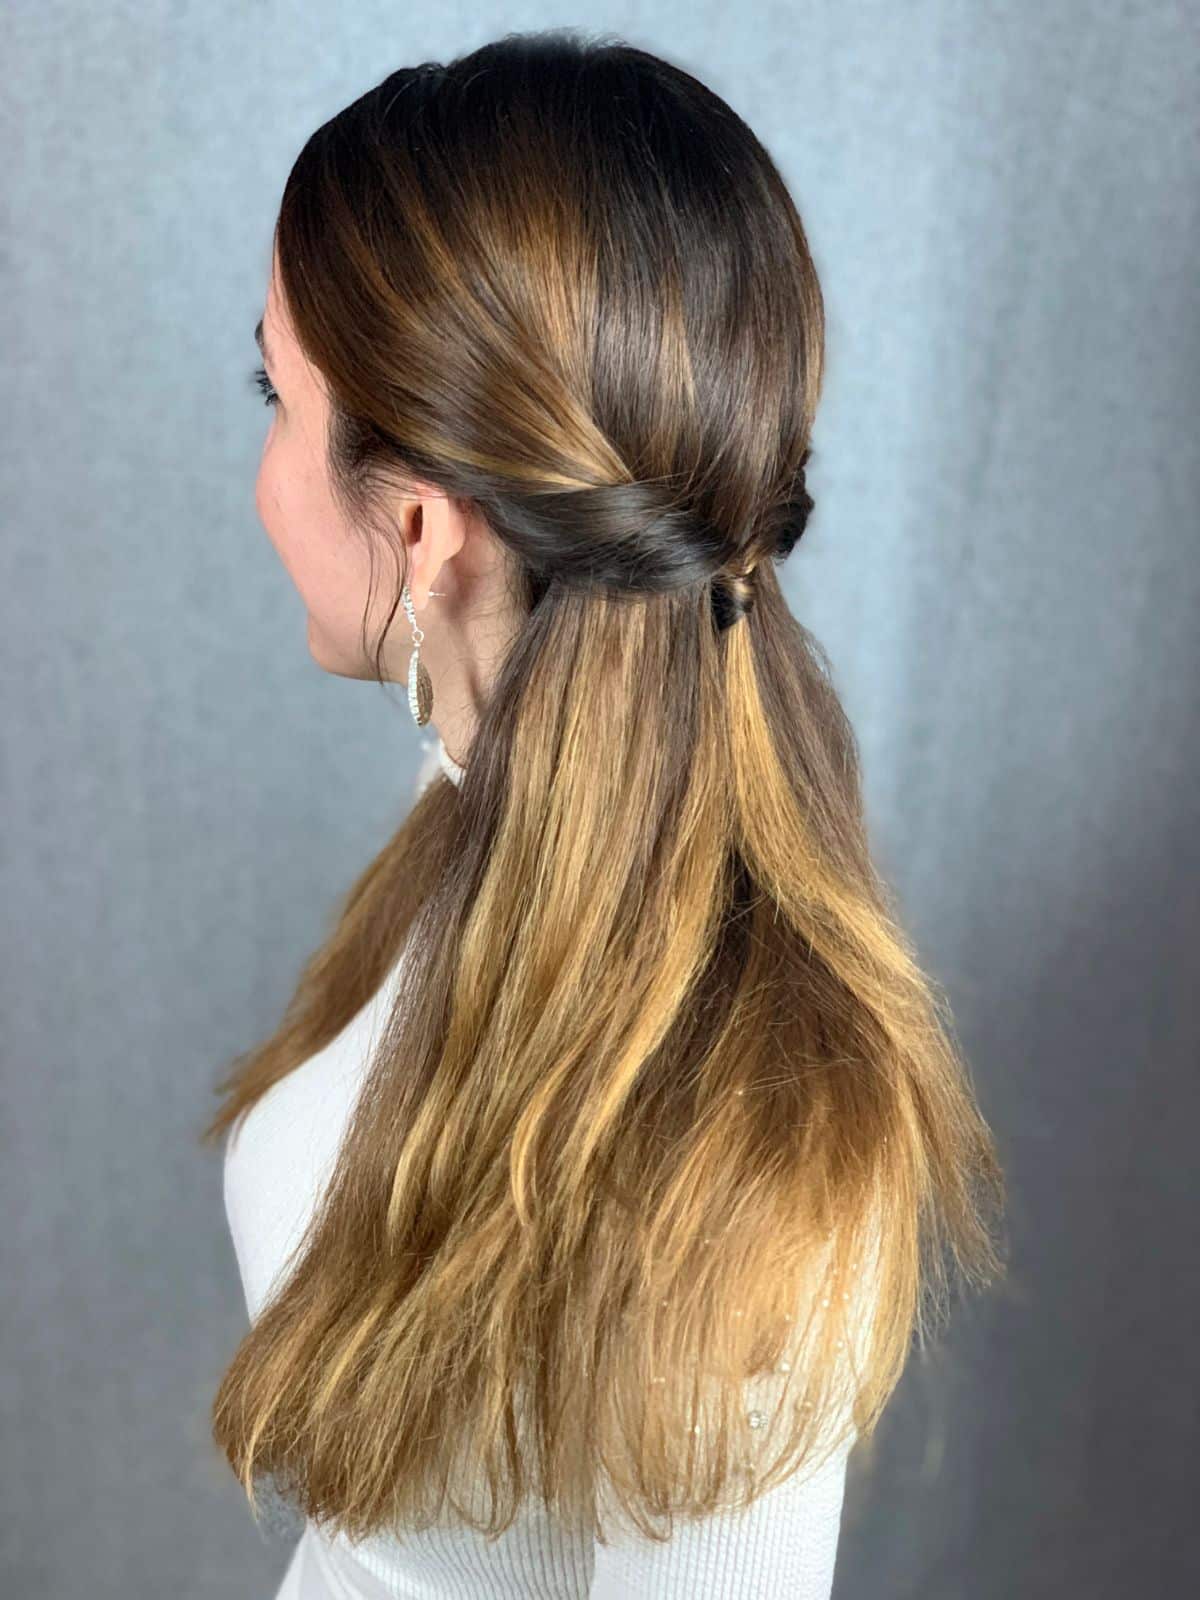
If you are looking for an easy hairstyle to keep your hair out of your face, or you want something simple but elegant for an event, then this is the one for you. A single twist half-up prom hairstyle is simple enough for anyone to create and still elegant enough for a prom, wedding, or event. It's sleek, clean, and professional for the workplace while still being cute on a teen for school.
Single Twist Half Up Hairstyle
With long hair, sometimes you want to have it out of your face but still down. One of the most common ways to do that is with a half-up hairstyle. Some come in the form of a ponytail or barrette holding your hair away, but I love this little twist. It's super easy to do, and all you really need is 5 minutes, a comb, and a hair tie.
If you want something a bit more upscale for an event, then you might like this elegant low braided bun or even this lovely messy bun hairstyle. Both are pretty, but still easy to create even on your own!
What Do I Need to Do This Hairstyle?
This style is super easy and really only requires you to have a comb and hair tie. I like to use the smaller hair rubber bands for this style since they are easy to match to your actual hair color, and are available in a lot of different colors. Plus, they are super inexpensive to grab 100+ at the drug store.
Below are some of the items I prefer to keep on hand for taking care of my long hair. While not all are used in this particular tutorial, I recommend checking them out and adding them to your hair care kit for future styles.
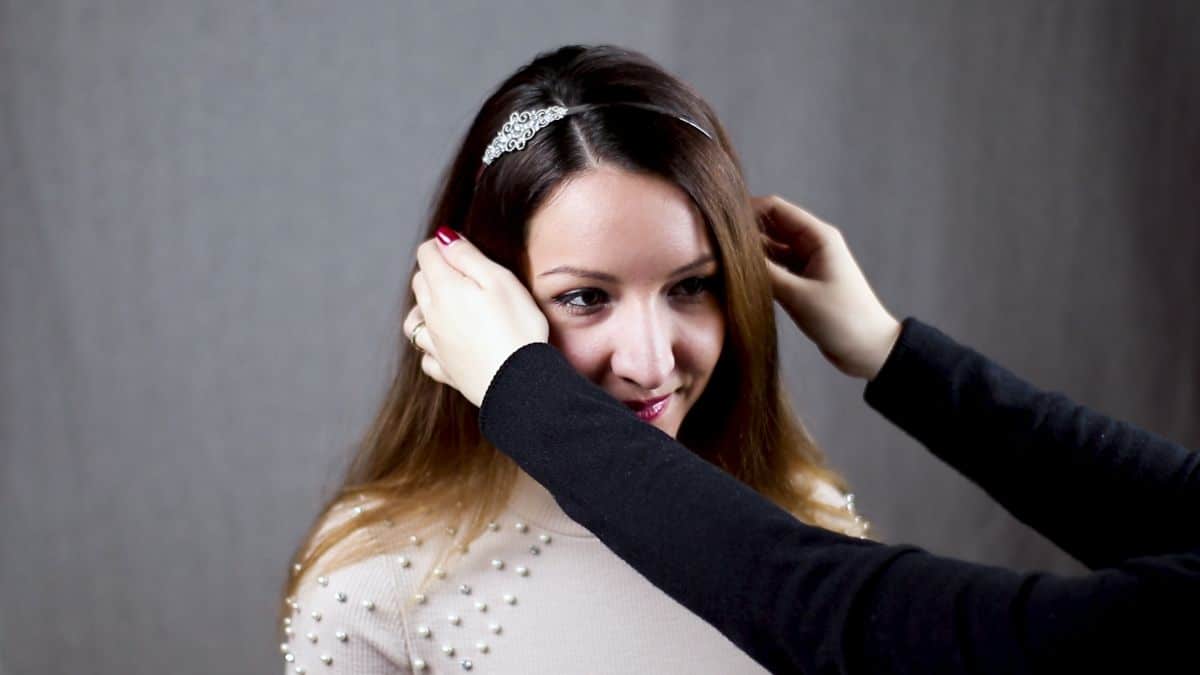
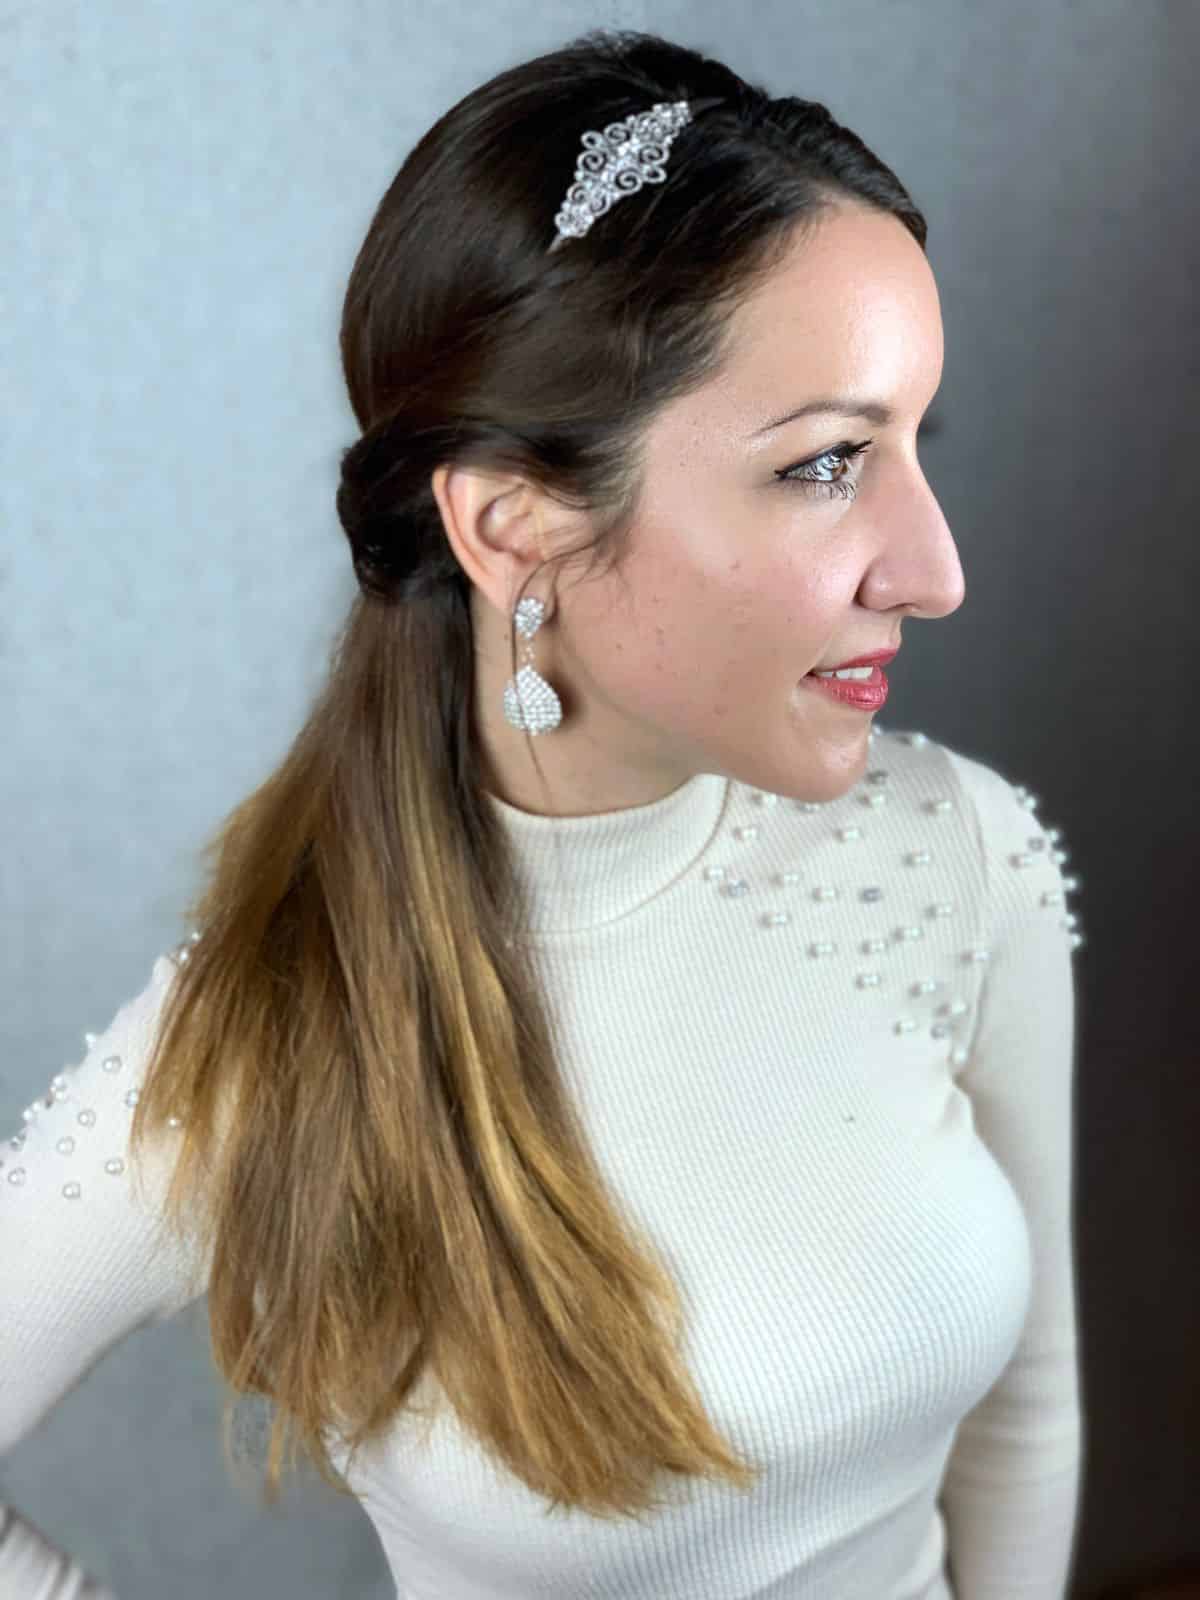
Another must for this is the headband. While you can do this style without it, that is a simple addition that makes it look more elegant. I like a simple beaded headband for this, but you could even use a tiara-style headband if you wanted.
Tools I Use
- Wide-tooth comb
- Detangling brush
- Hair rubber bands
- Satin hair ribbon (optional)
- Topsy Tail braiding tool (optional)
Other Items I Love:
How To Create The Half Up Prom Hairstyle
While this works great on freshly washed hair, it can also be a great way to style unwashed hair that is looking a bit dull. Use a bit of dry shampoo and fluff then comb through your hair before beginning. I make sure to get rid of any tangles before I begin working with my hairstyle, and if your hair is naturally curly or has some frizz, you may want to comb through a bit of mousse or argan oil to smooth the flyaways.
Step 1
Comb and part your hair on the side. Then, add a simple or decorative headband just behind the ears, but going over the top of your hair rather than sliding back. You will be pulling the hair back over the sides in a twist.
Step 2
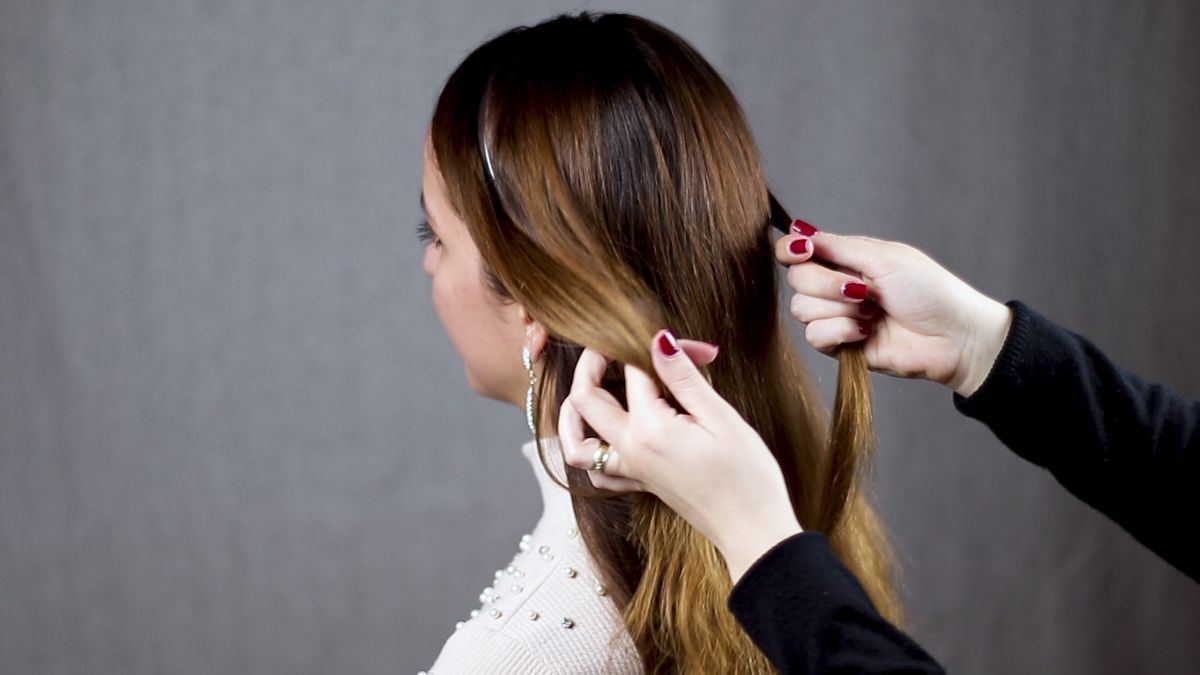
Now, on both sides, pull the layer of hair framing your face back and over the headband sides, but leave the top/crown of your hair in place.
Step 3
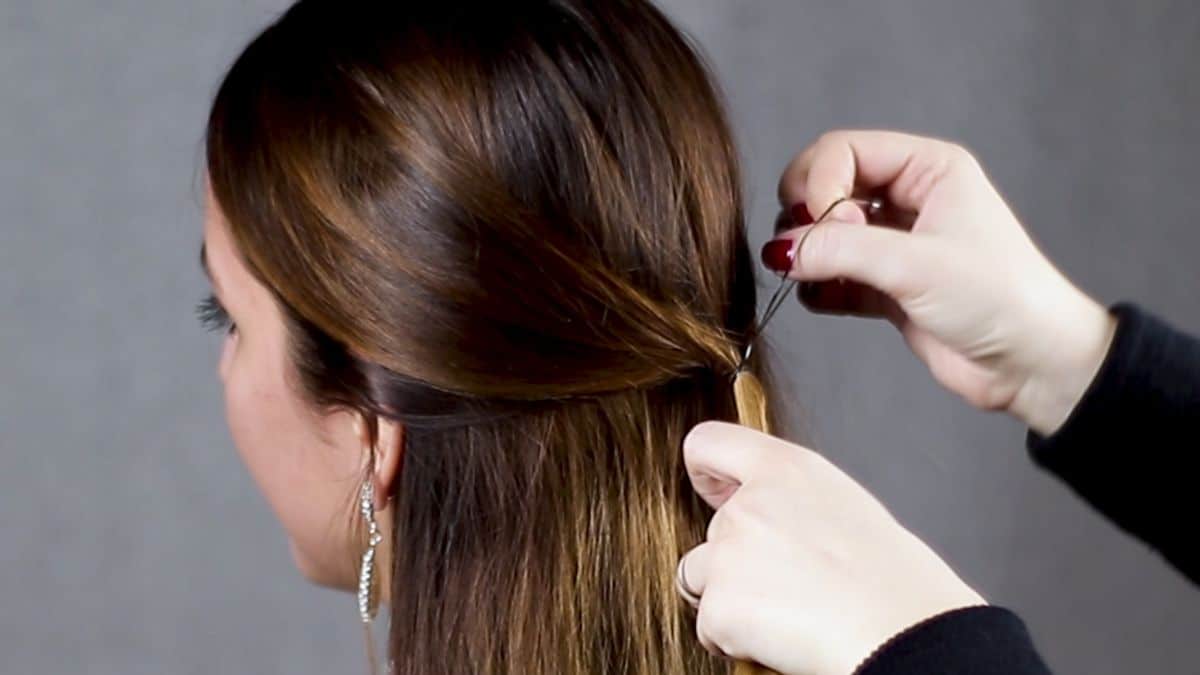
Bring the two pieces together and tie them with a small hair rubber band. Do not tie in the loose hair underneath, but just the two side pieces.
Step 4
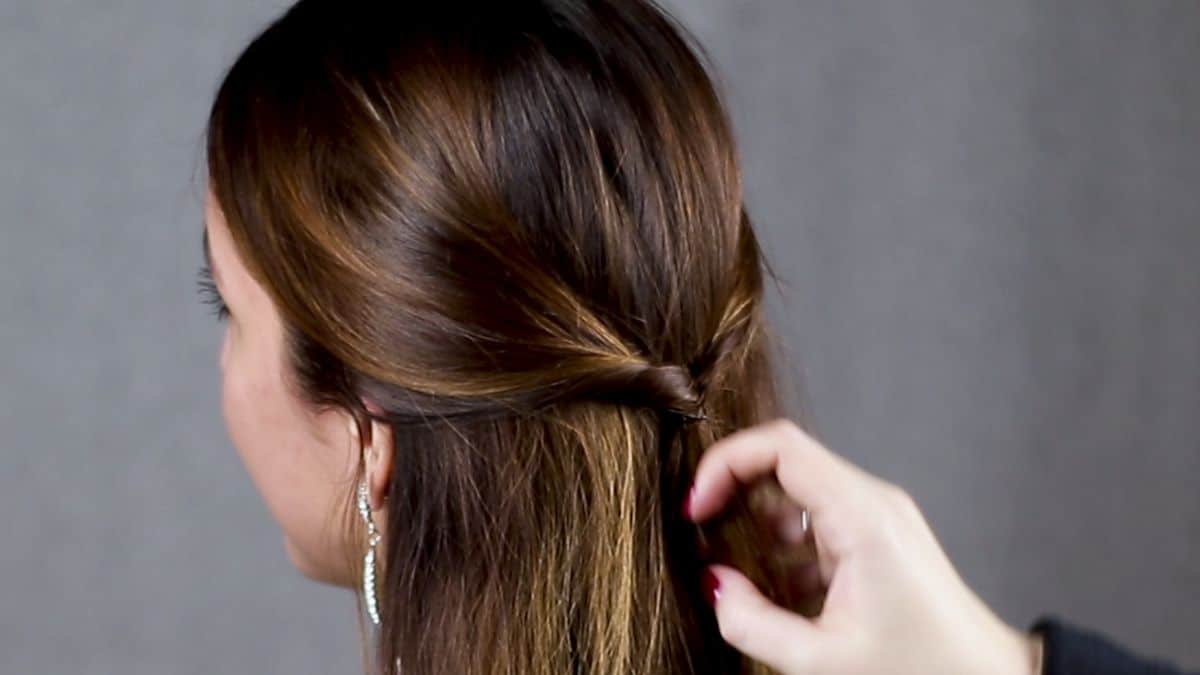
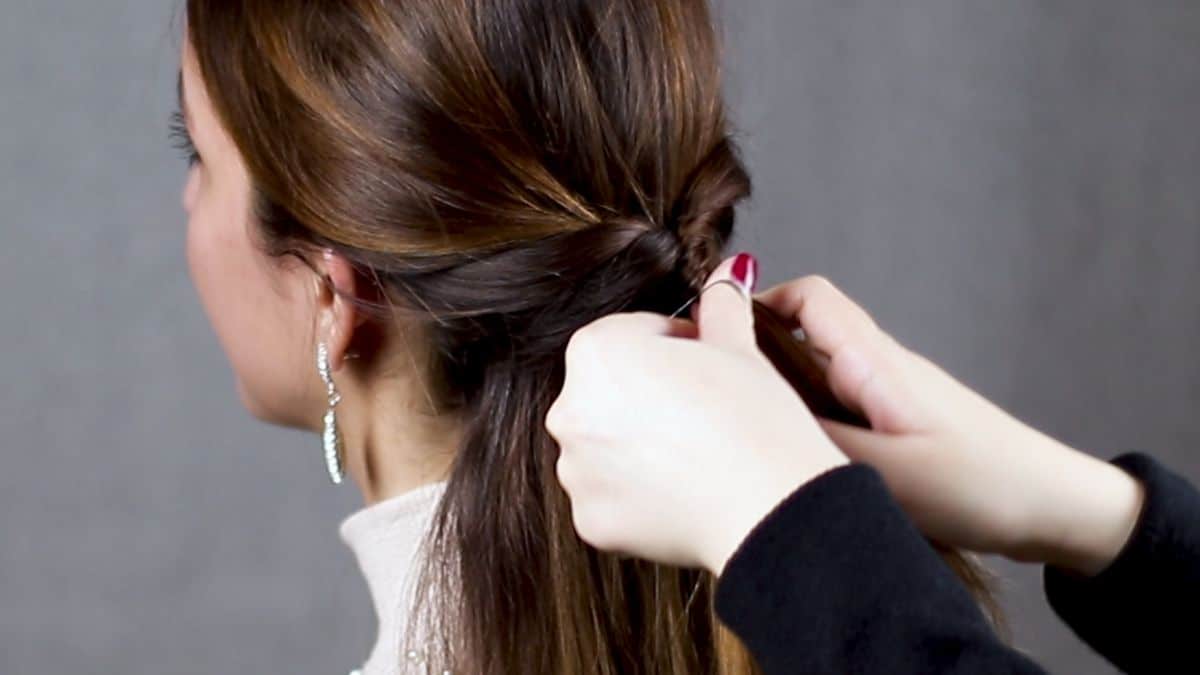
Now, you will flip the hair back toward the crown of your head and over itself to create the twist.
Step 5
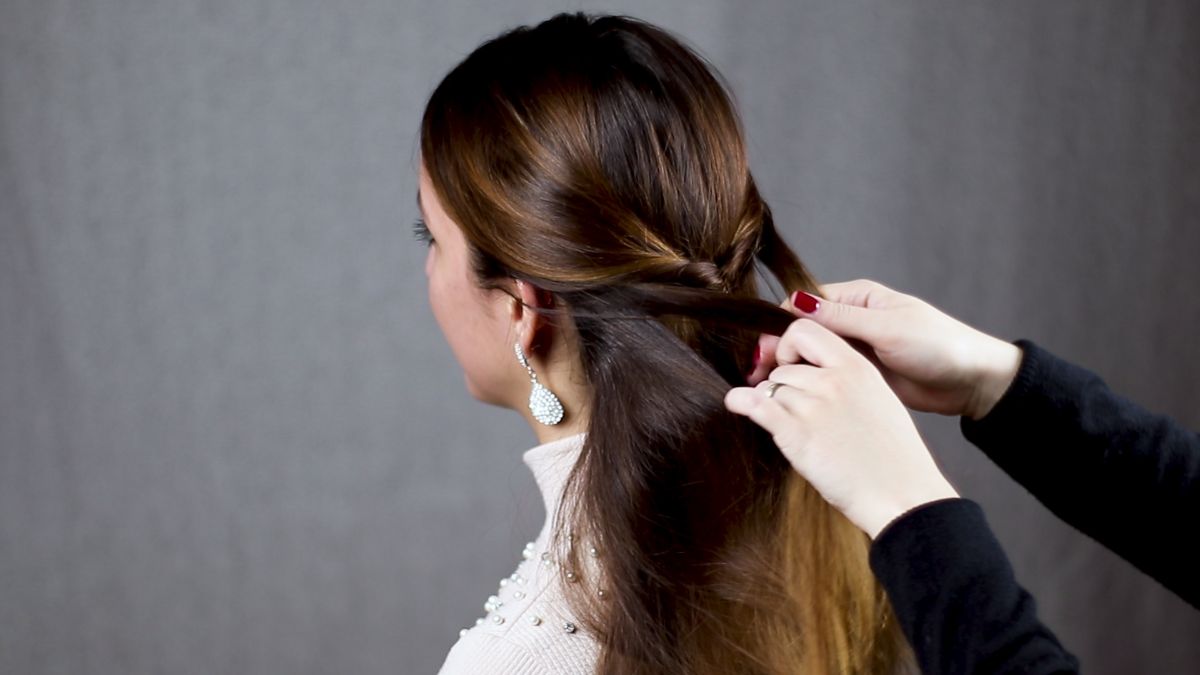
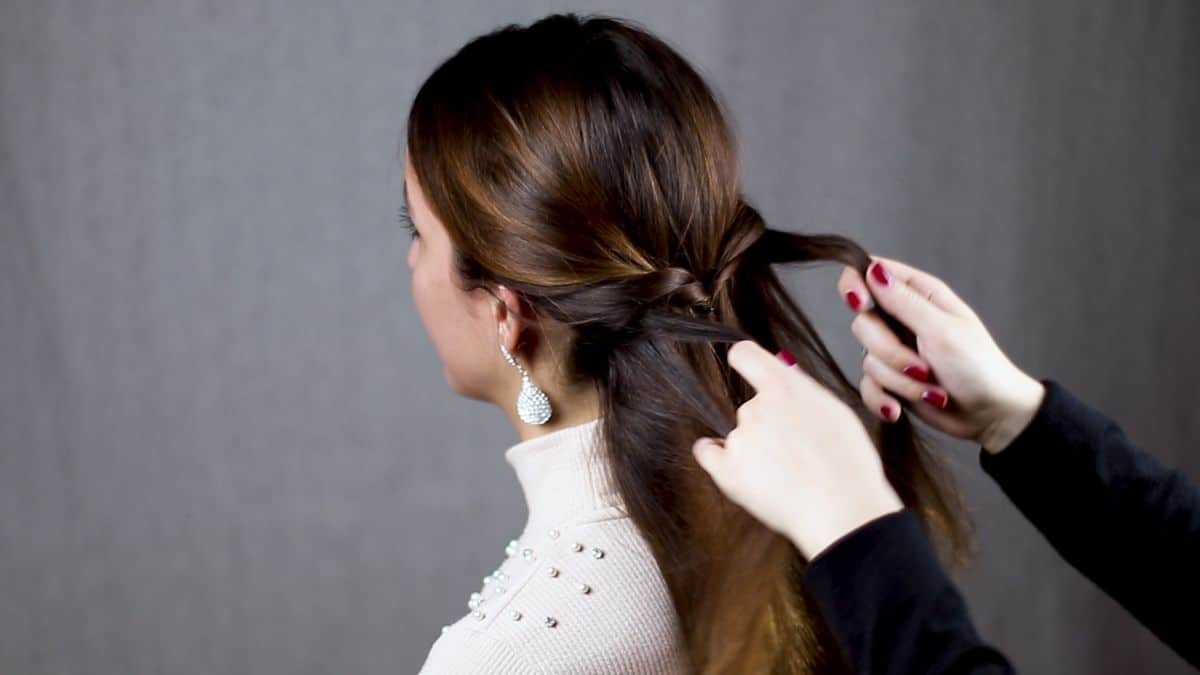
Next, pull another two pieces of hair from the front back.
Instead of tying them together, loop each side over the original pieces of hair to create a layered braid look.
Step 6
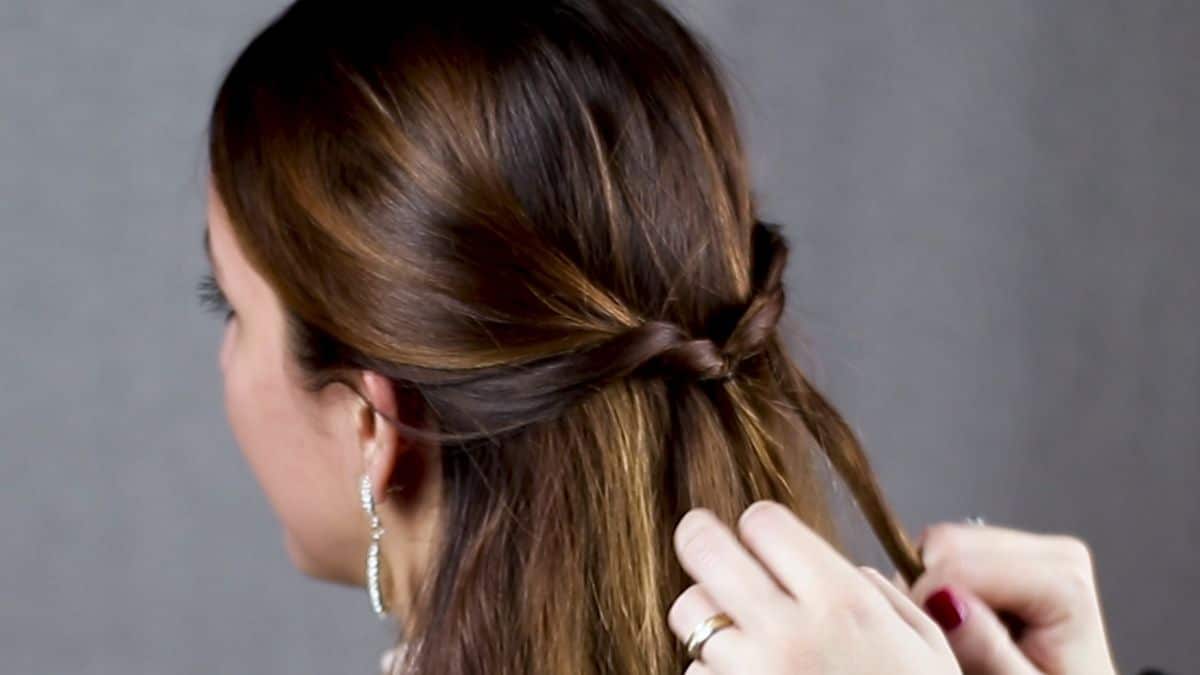
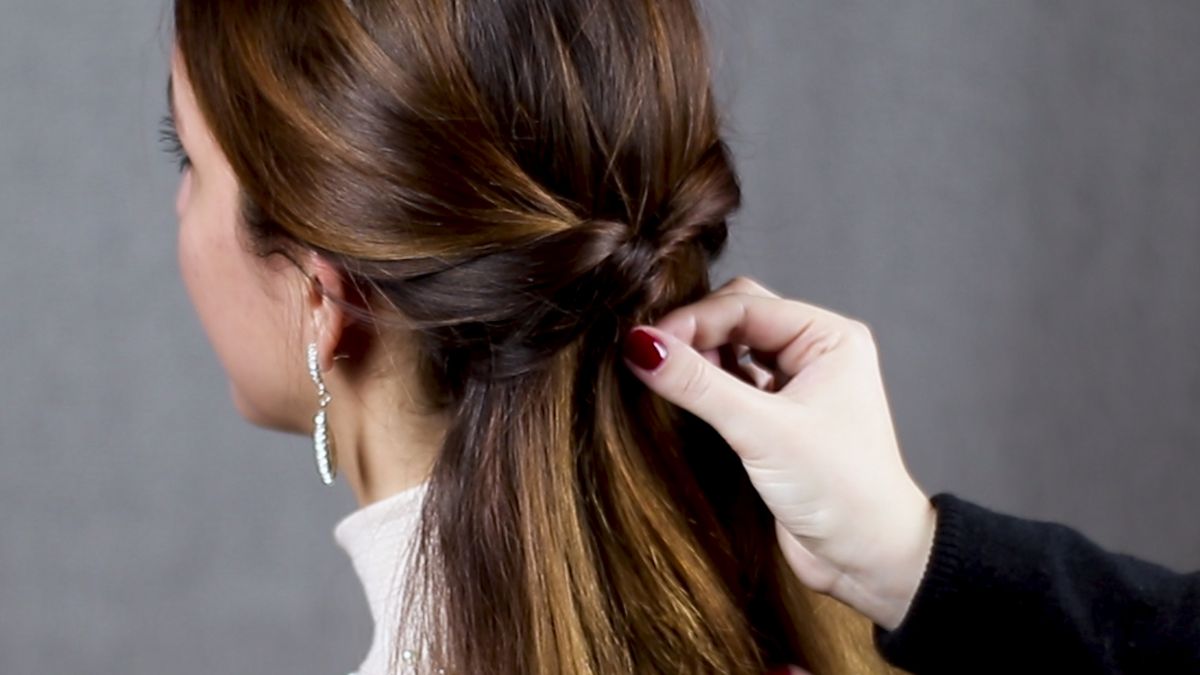
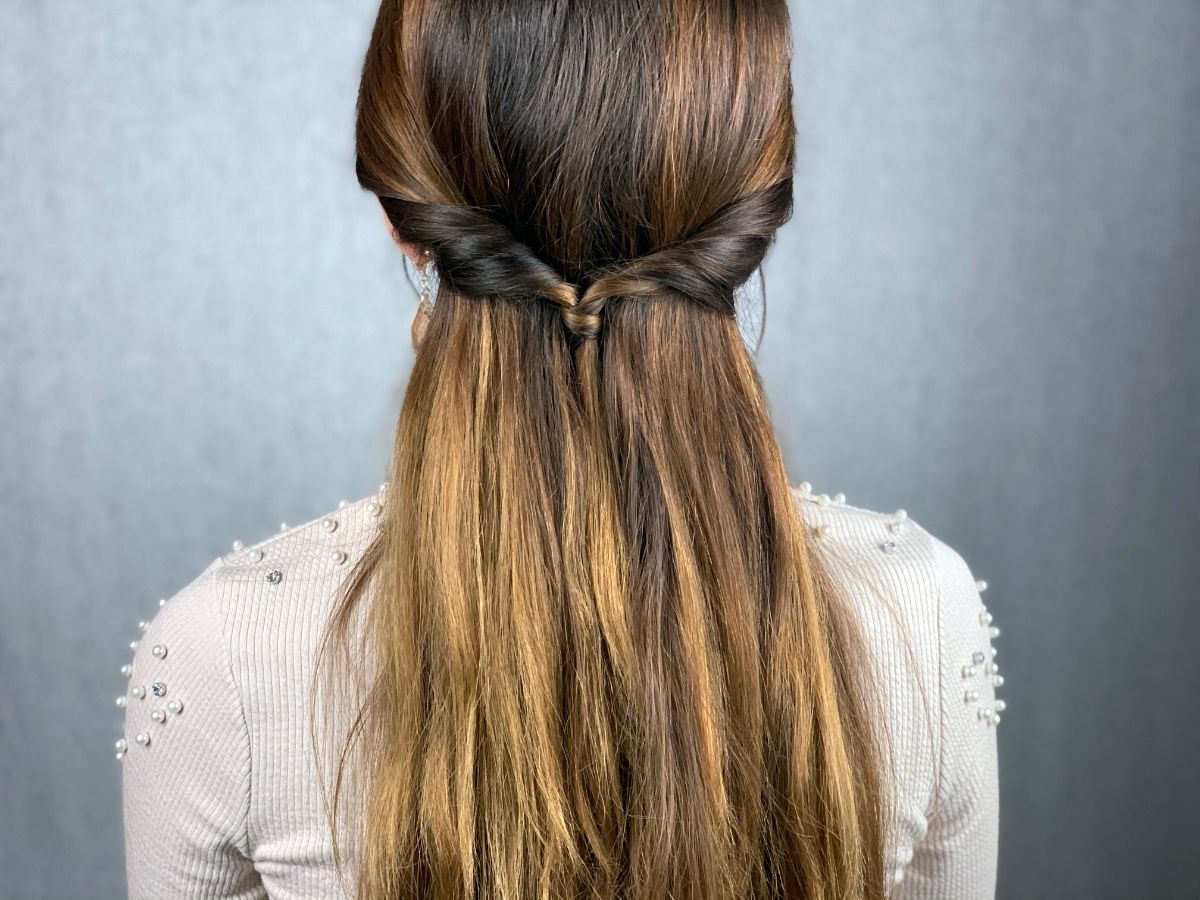
Repeat this process for 3 to 5 layers until you are happy with the look and the bulk of the hair on the sides is behind with just the back hanging down your neck and back.
Step 7
Take a small piece of hair from those you have looped into the twist, and then twist it around the area where your hair tie is. You want to create a cover for that hair tie.
Tie it into place with another rubber band hair tie, then gently pull the hair over the new hair tie to hide it from sight.
Step 8
If desired, you can now add another pin or barrette at the back of your hair, but the simple look works best with a beaded headband on the front. To finish the style, I recommend using a bit of hairspray to hold any small strands into place around the top and around the headband.
How Can I Make The Style More Elegant?
While I love the simplicity of this look with the simple beaded headband, you may want to make it look a bit more elegant if worn to a wedding or prom. In that case, a few things listed below can really add to the look of the twist while not adding much effort. The goal is to let your hair accentuate your natural beauty and not take away from it. So, when in doubt, skip extra things and wear the simple style.
- Weave beaded ribbon into the twists so there is sparkle going through each side and not just on the top of the headband.
- Skip the headband, and instead add a decorative comb or barrette just above or just below the twist on the backside of your hair.
- Curl the ends of your hair with a curling wand to give a bit of texture and volume on the base.
- Braid the end pieces you have twisted instead of having them hang loose down the back of your head.
- Continue the look by braiding the lower half of your hair into the twist bottom instead of leaving it hanging loose.
More Easy Hairstyles for Long Hair
If you want something else that is simple and easy to do with your hair, below are some of my favorite long hairstyles. These are simple, easy-to-follow tutorials that are best for longer hair but can work on medium-length hair as well. Make sure you bookmark these ideas or pin them to your hair boar on Pinterest, so they are handy to use soon!
- Simple Braid with Ribbon Hairstyle
- Fishtail Ponytail Pigtails with Bow Accent
- Braided Crown Princess Hairstyle
- Braided Dual Top Knot Buns Half Up Hairstyle
- Easy Half Up Side Braids Hairstyle
Single Twist Half Up Prom Hairstyle
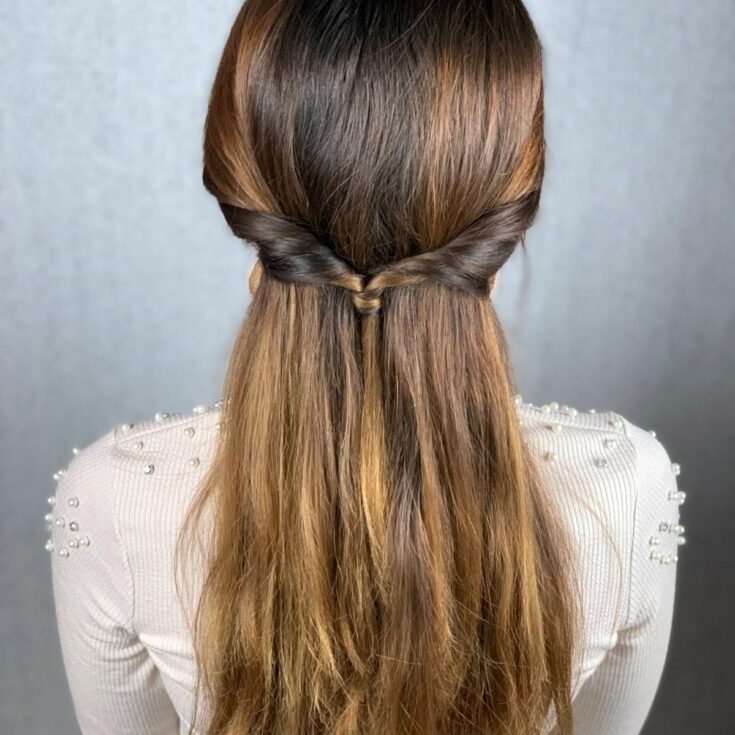
This easy half up style is a lovely choice for everyday wear but elegant enough to wear for a prom, a wedding, or any special event!
Materials
Tools
Instructions
- Comb and part your hair on one side. Then, add a decorative headband just behind the ears, but with hair in the front and in the back hanging down.
- Now, in front of both sides of the headband, pull the hair framing your face back and over the headband. Leave the top of your hair/part in place.
- Bring the two sides together in the center and tie in place with a small rubber band, making sure you only tie this hair and not what is underneath against the head.
- Then, pull this up and over itself so the hair goes over and under the tie and creates a twist on each side.
- Take a small section of this hair and wrap around the hair tie to cover it and secure that strand into place under the band at the back.
Notes
This does not have to include the headband if you prefer a little simpler look.
Recommended Products
As an Amazon Associate and member of other affiliate programs, I earn from qualifying purchases.
-
 OGX Refresh Revitalize Extra Strength Dry Shampoo, Argan Oil of Morocco, 5 Ounce
 -
 12pcs Topsy Tail Hair Tool, MORGLES Hair Braid Tools Hair Braid Tool Topsy Tail Maker,Hair Loop Styling Tool Topsy Twist Hair Tool Set, 6 Colors
 -
 Ribest ⅜ inch Solid Grosgrain Ribbon Set for Gift Wrapping and Bow Hair Accessories-60 Yards (2 Yards*30 Colors)
 -
 1000 Mini Rubber Bands Soft Elastic Bands for Kid Hair Braids Hair
 -
 Onedor Handmade 100% Natural Green Sandalwood Hair Combs - Anti-Static Sandalwood Scent Natural Hair Detangler Wooden Comb (Wide Tooth)
 -
 Teenitor Rhinestone Beaded Elastic Headband, Fashionable Handmade Crystal Beaded Elastic hairbands Lady Women Girls Hair Jewelry Accessories, 20-26.8", 5 Pieces



Leave a Reply