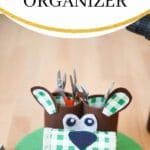
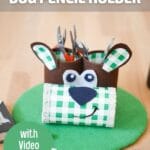
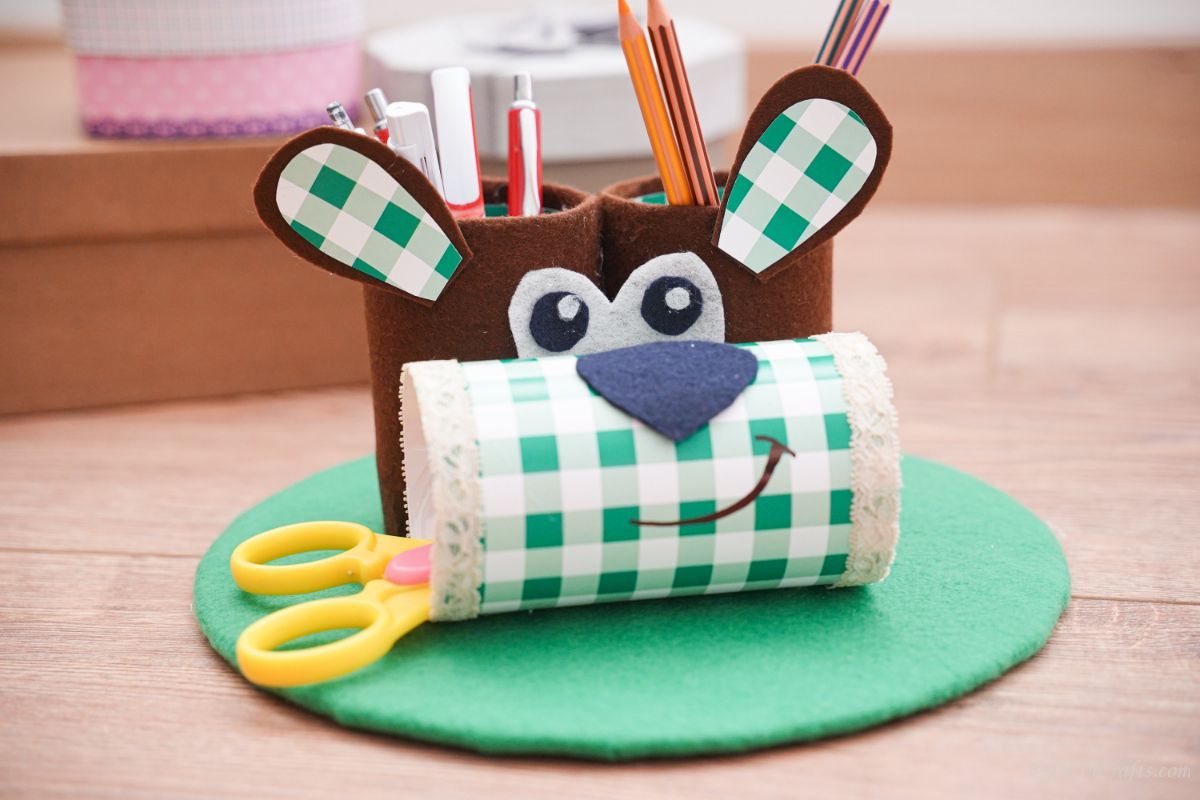
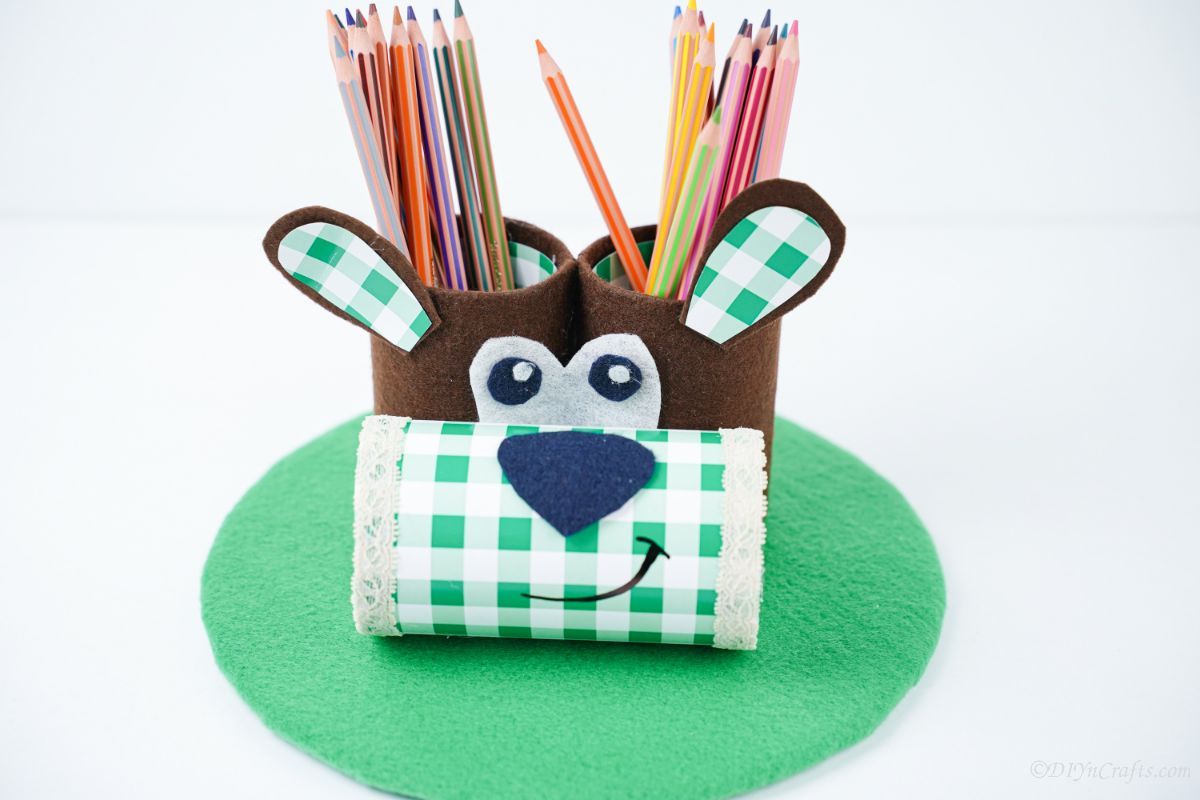
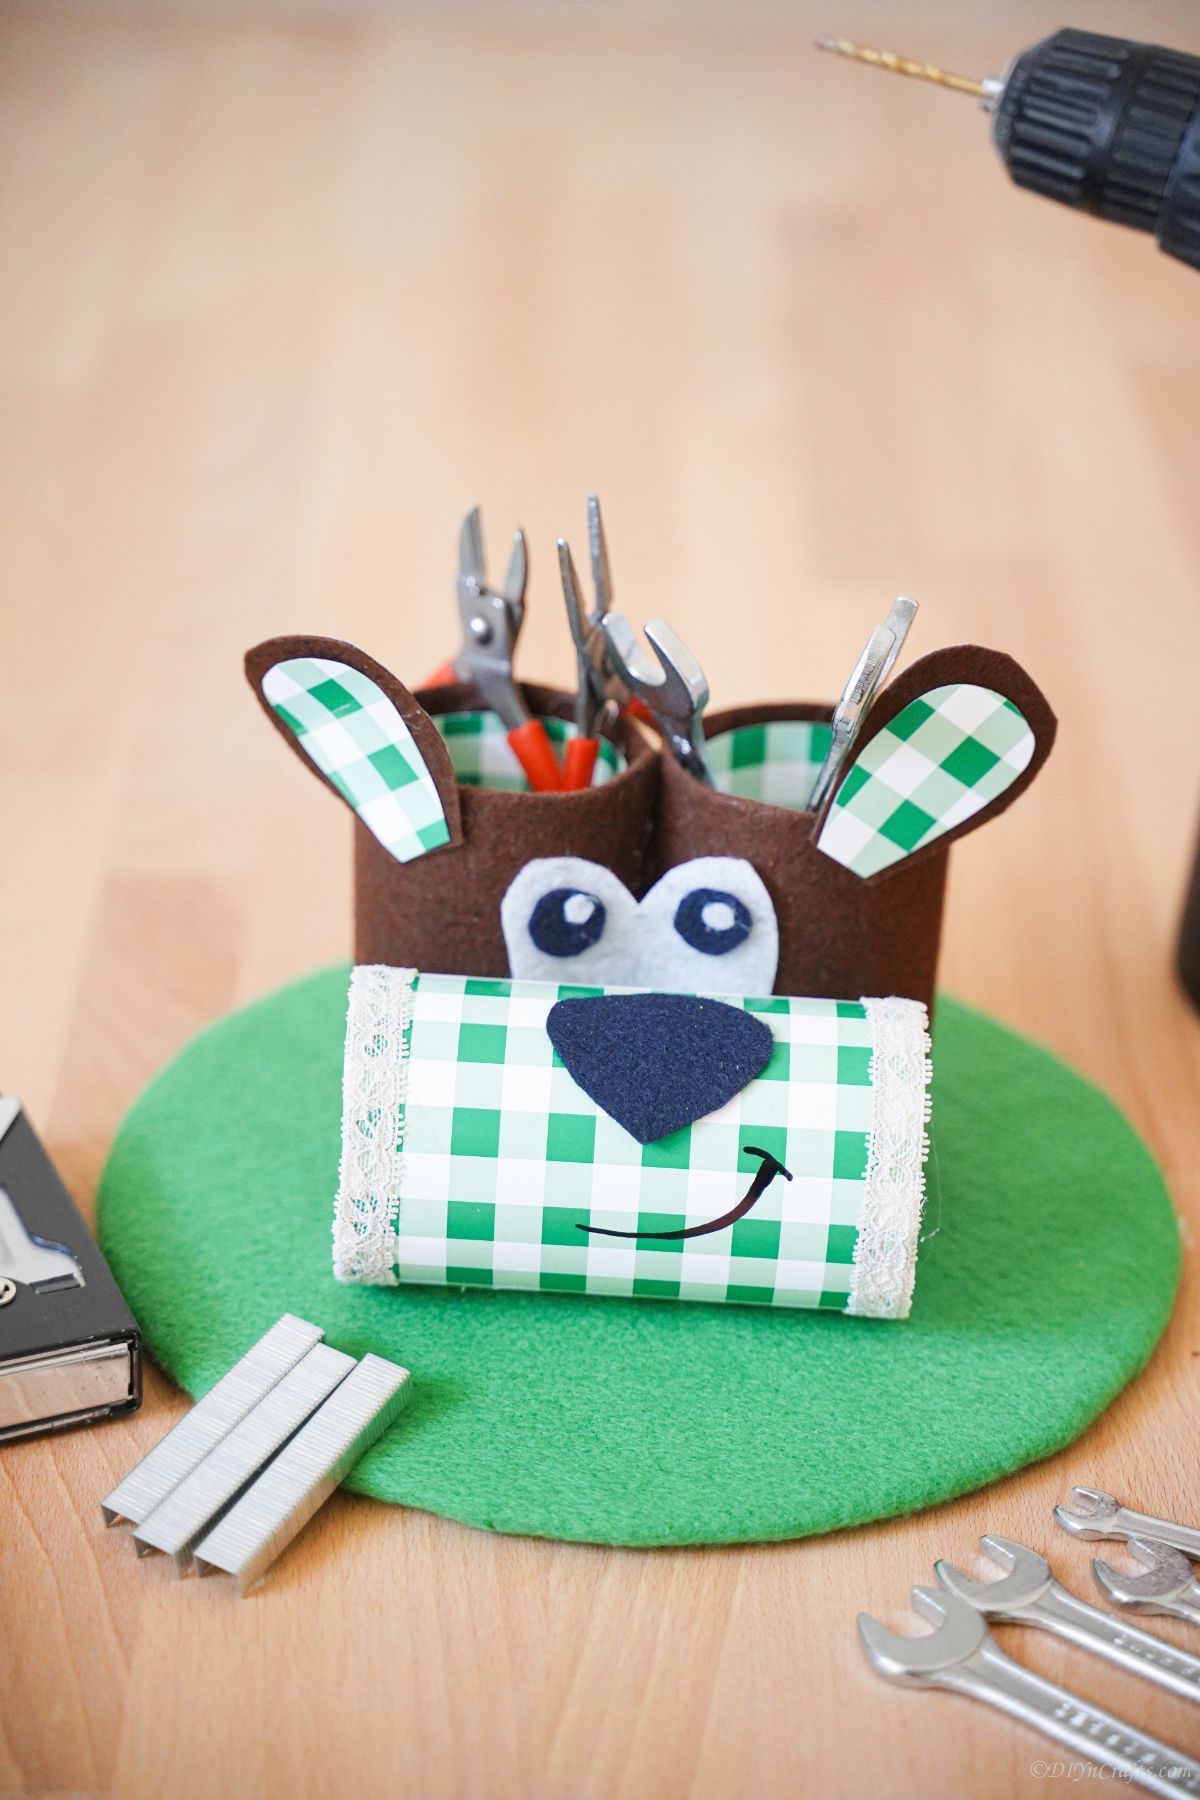
This super cute plastic bottle dog pencil holder is sure to be a hit with kids and adults alike! Made from recycled plastic bottles, this eco-friendly dog is perfect for holding pens, pencils, and other school supplies. He's also a great way to reduce waste and help the environment!
Plastic Bottle Dog Pencil Holder
This is a really fun and easy project that you can do with your kids! Turn recycled plastic bottles into adorable little dogs that will hold all of your pencils and pens. This is a great way to teach your children about recycling and upcycling, while also having a lot of fun.
These are so cute, you’re going to want to make one for everyone in your family. They would also make fun gifts for friends and loved ones. Of course, if you want something a bit different, you can make this tin can owl pencil holder for a bit easier option. Or, my own favorite paper straw rainbow organizer that is ideal for a kid's desk. And around Halloween, these shampoo bottle monster pencil holders are adorable!
What Should I Cover the Bottles With?
I recommend using a combination of things to cover the bottles. I like to use crafting foam, felt, and scrapbook paper. You can also add a bit of fabric. Using a variety of materials gives the bear some dimension and texture.
Remember what I make is just a guide. You can use paint on the bottles and just use the foam and paper for accents. Or, you can cover the entire thing in a favorite fabric or even fake leather. Just use your imagination and what you have on hand.
What All Can This Be Used For?
The sky's the limit when it comes to what you can use this for! Things like this are fun to make because they are so versatile. They don't have a specific use that you have to stick to every time. Below are some more ideas to consider.
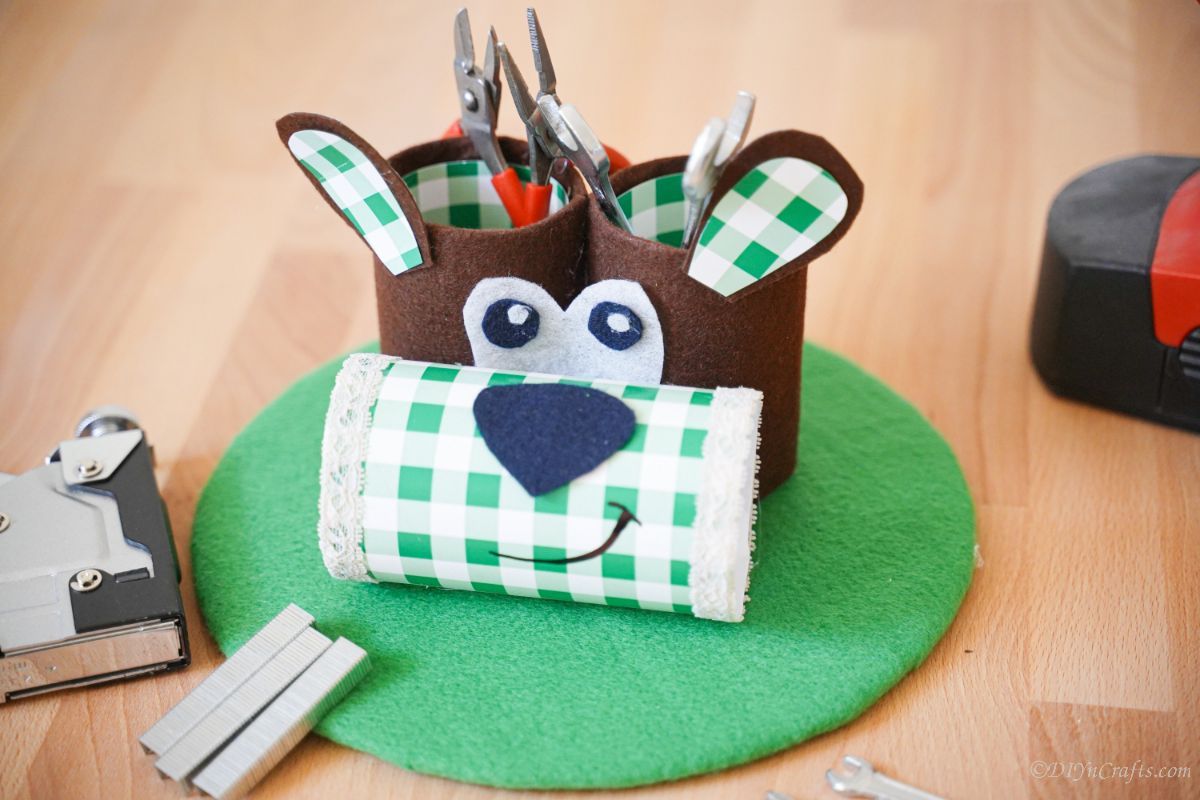
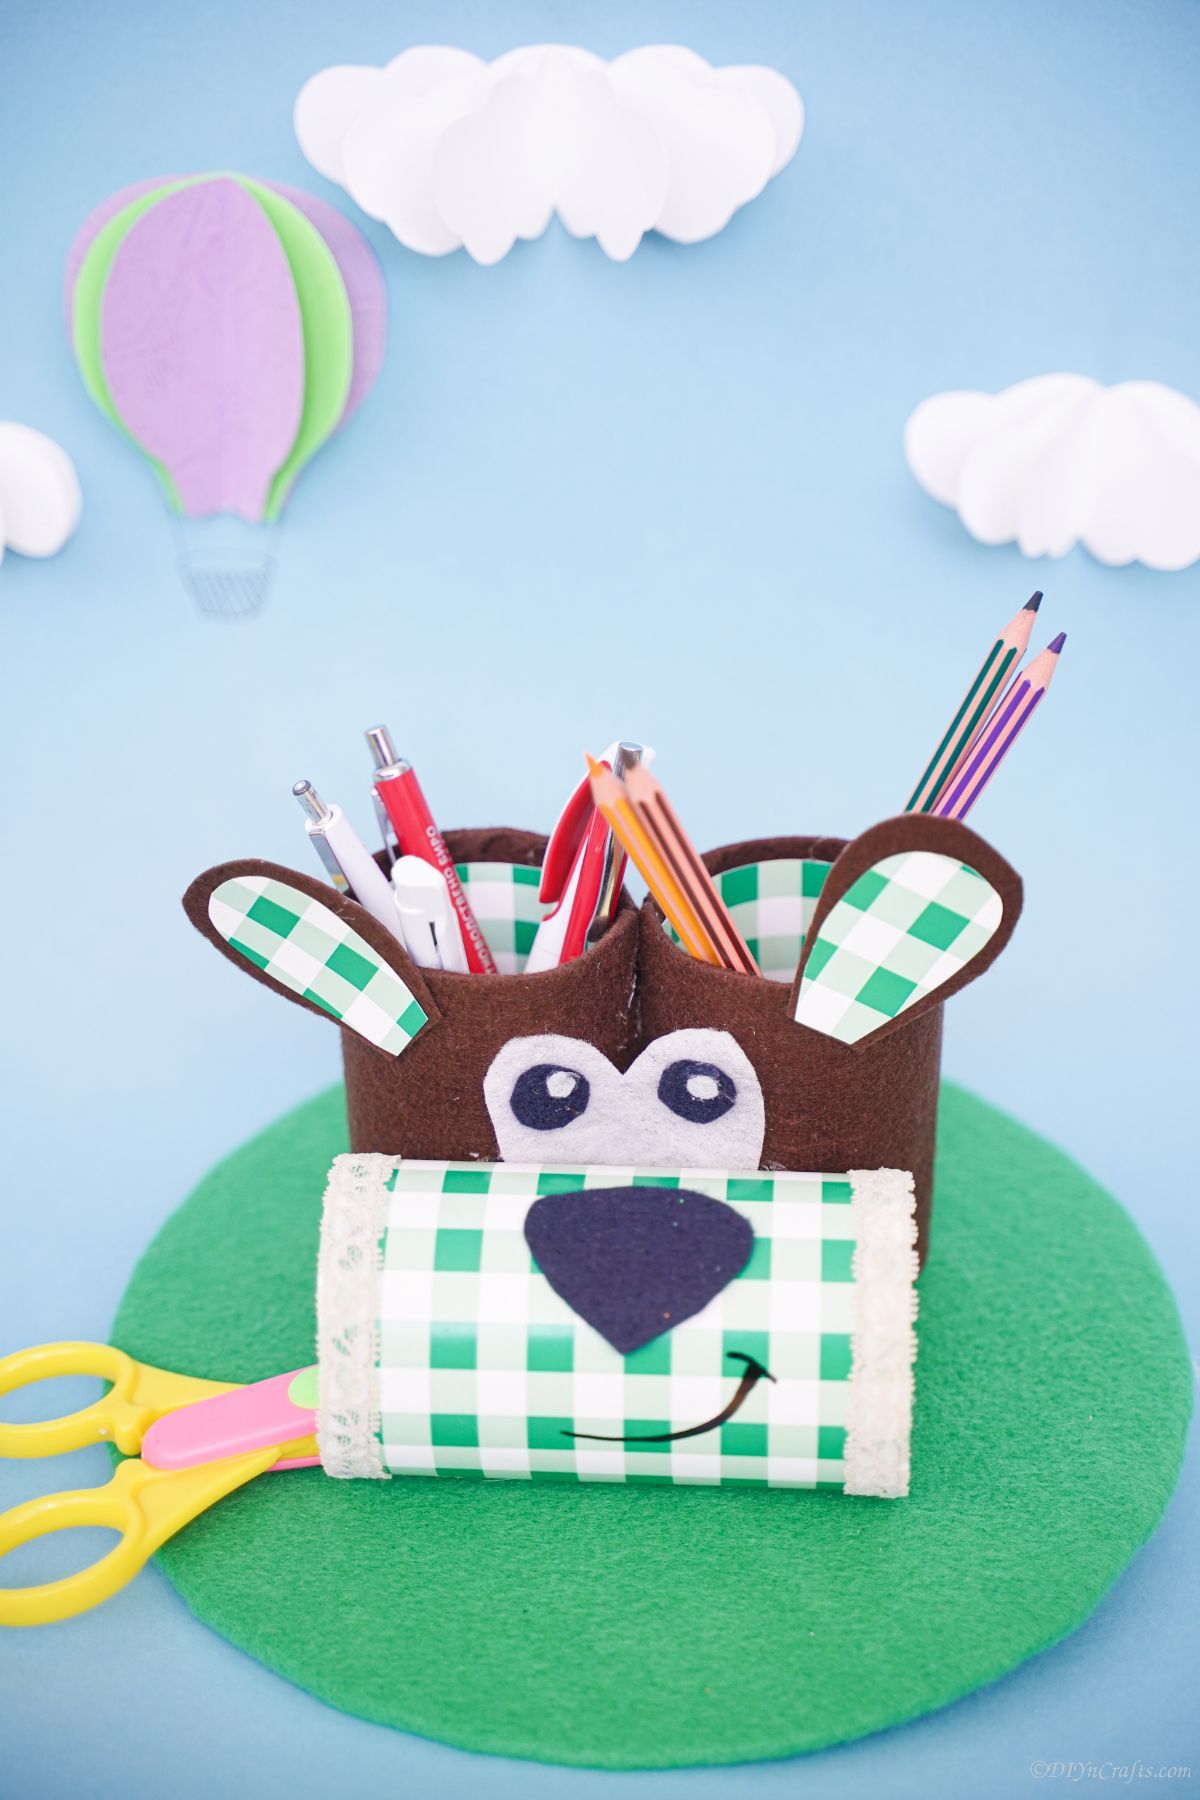
- It can be used to hold the pencils and pens on a desk or it can be used to hold scissors, rulers, or other things that always need a spot but never have one.
- You can make one for the bathroom and use it as a toothbrush holder or to hold combes and brushes or other hair accessories.
- Since the dog's head is made from plastic bottles you can even use it as a vase if you keep the bottoms in place.
- You could even put a string on them and hang them from the ceiling as eco-friendly decorations for a birthday party or kid's bedroom.
Can I Make This a Different Animal?
You can easily turn this into another animal. With a little creativity, you can make elephants, giraffes, and even bunnies. If you want to make something other than a dog, simply change the shape of the bottles and use different materials to cover them.
You can even customize it with some fake fur, feathers, or even hair made out of yarn. Use the bottles as a base, and add ears, nose, trunks, and eyes using different mediums such as cloth, felt, and paper until you are happy with your animal.
How Can I Make My Dog Unique?
One way to make your dog unique is to change the materials you use to cover the bottles. You can also add embellishments like buttons, sequins, or even googly eyes. If you want to get really creative, you can paint the bottles before you cover them.
Another way to make your dog unique is to change the shape of the bottles. You can use different sizes or even use different shaped bottles. This will give your pencil holder a whole new look.
You can also change the color of the bottles. If you want to make a pink dog, simply use pink on the bottles. Clear bottles could also be painted or wrapped in paper and sealed with Mod Podge. Change the position, add legs, or fur, and turn it into something totally new and unique.
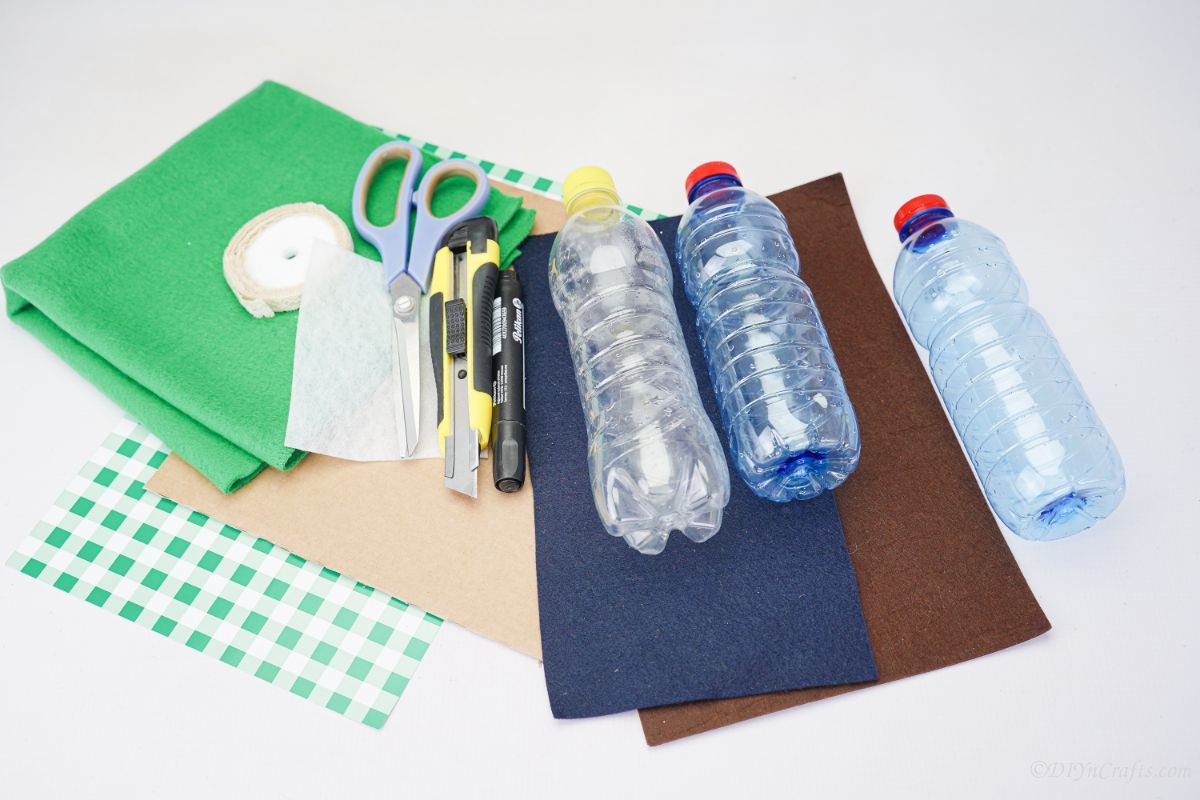
Supplies Needed
- 3 empty plastic bottles
- Black felt
- Brown foam paper
- Green felt
- White felt
- Green checked scrapbook paper
- ½" lace ribbon
- Cardboard
- Black marker
- Craft knife
- Scissors
- Hot glue gun
- Hot glue stick
How to Make a Dog Pencil Holder
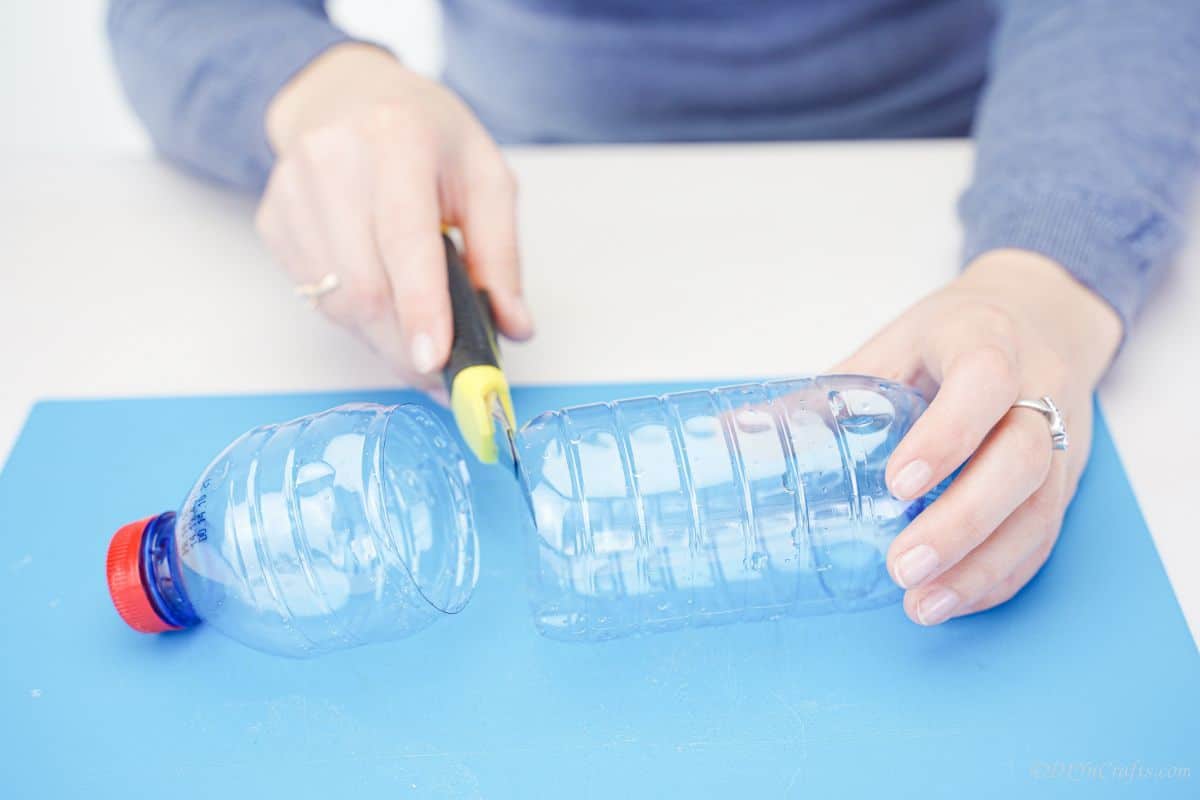
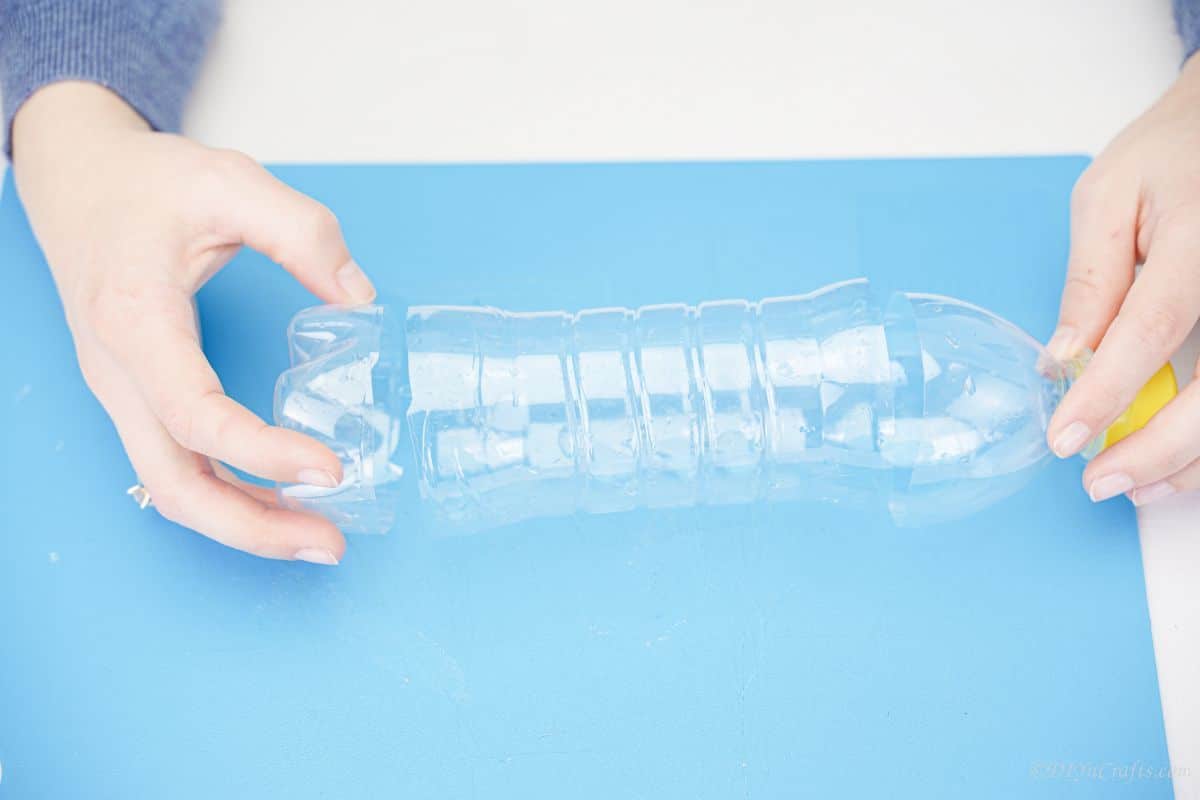
Start by removing the labels from the plastic bottles and cleaning them. Once dry, cut off the top ⅓ of three bottles, and then the bottom edge of each bottle. You want to have three bottles with flat ends on both sides.
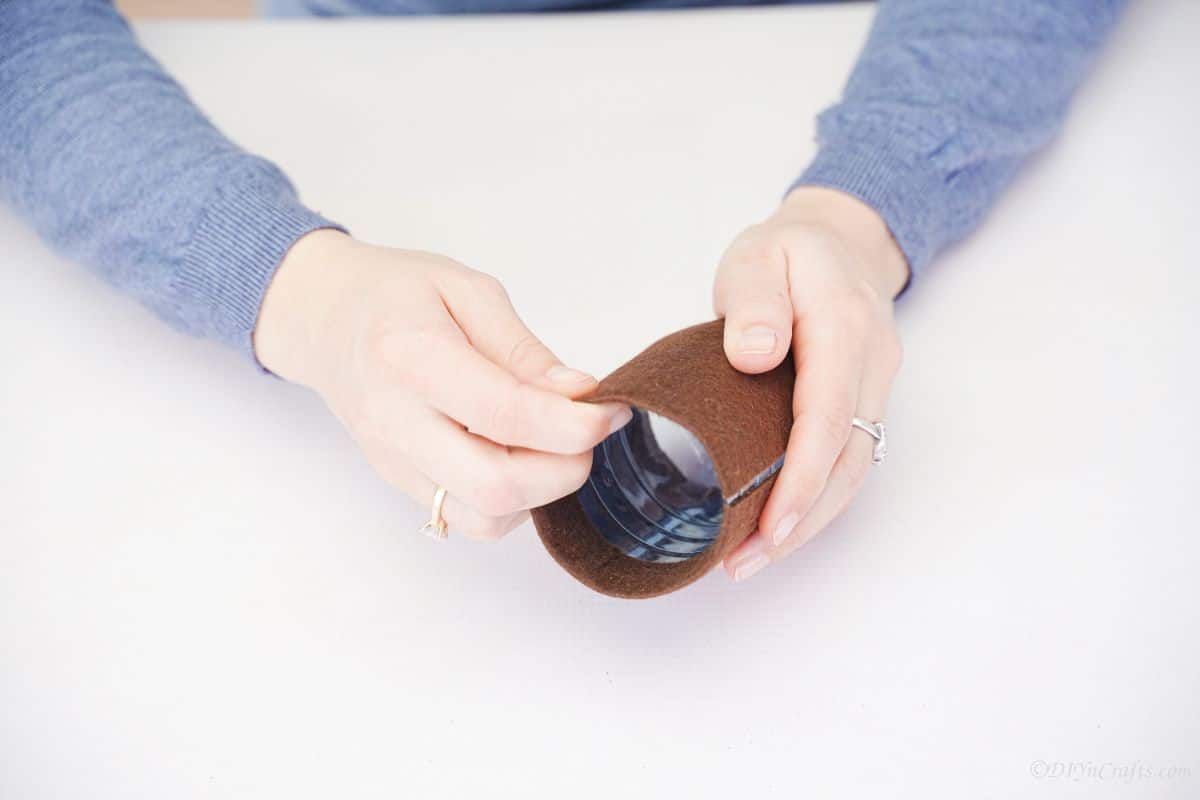
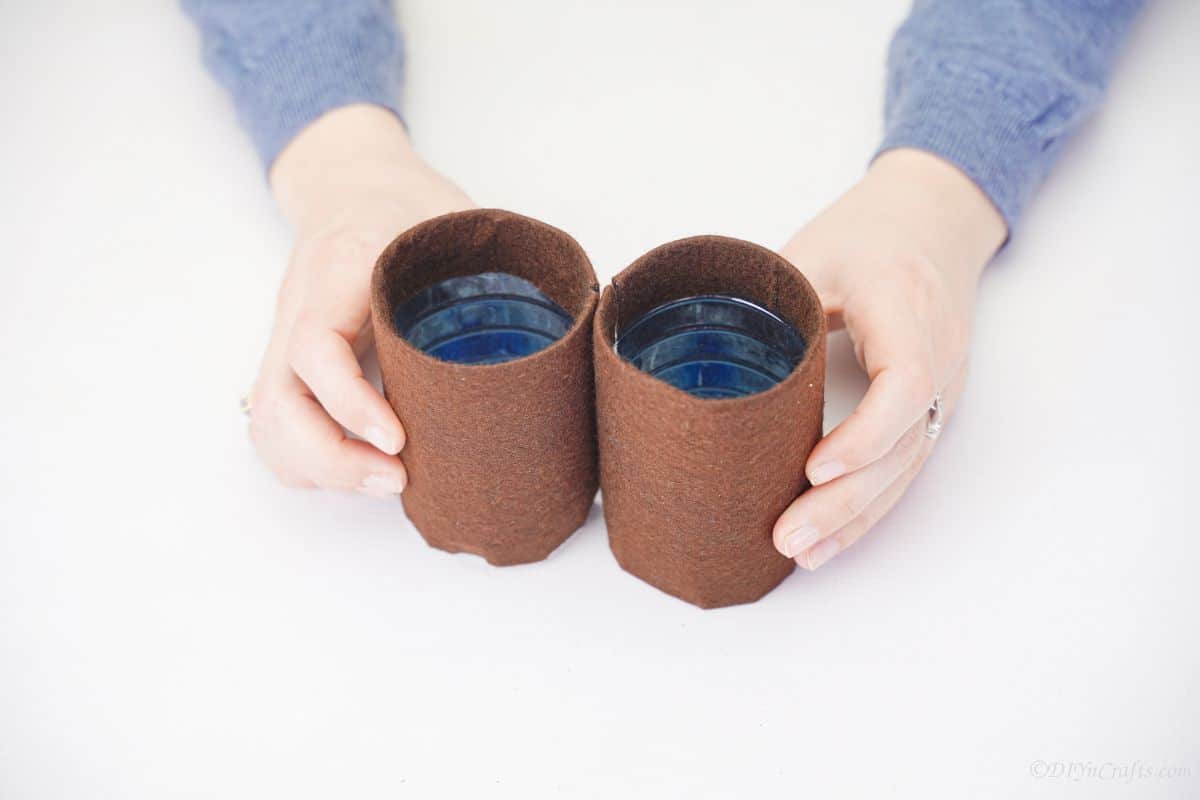
Now, place one of the bottles on a strip of brown foam paper and wrap it around. Trim the edges off, and fold any extra over the top and into the inside of the bottle. Repeat this on two of the bottles.
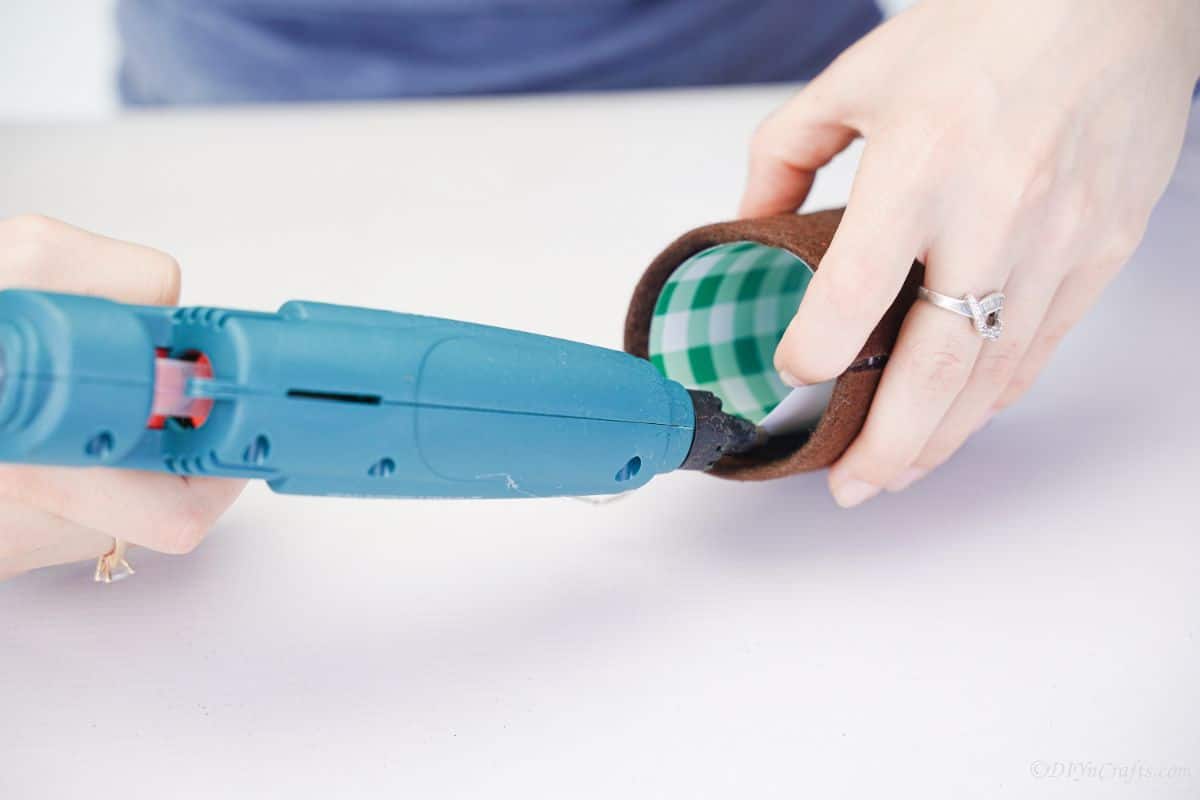
Inside both of these bottles, cut and glue a piece of the green and white checked scrapbook paper.
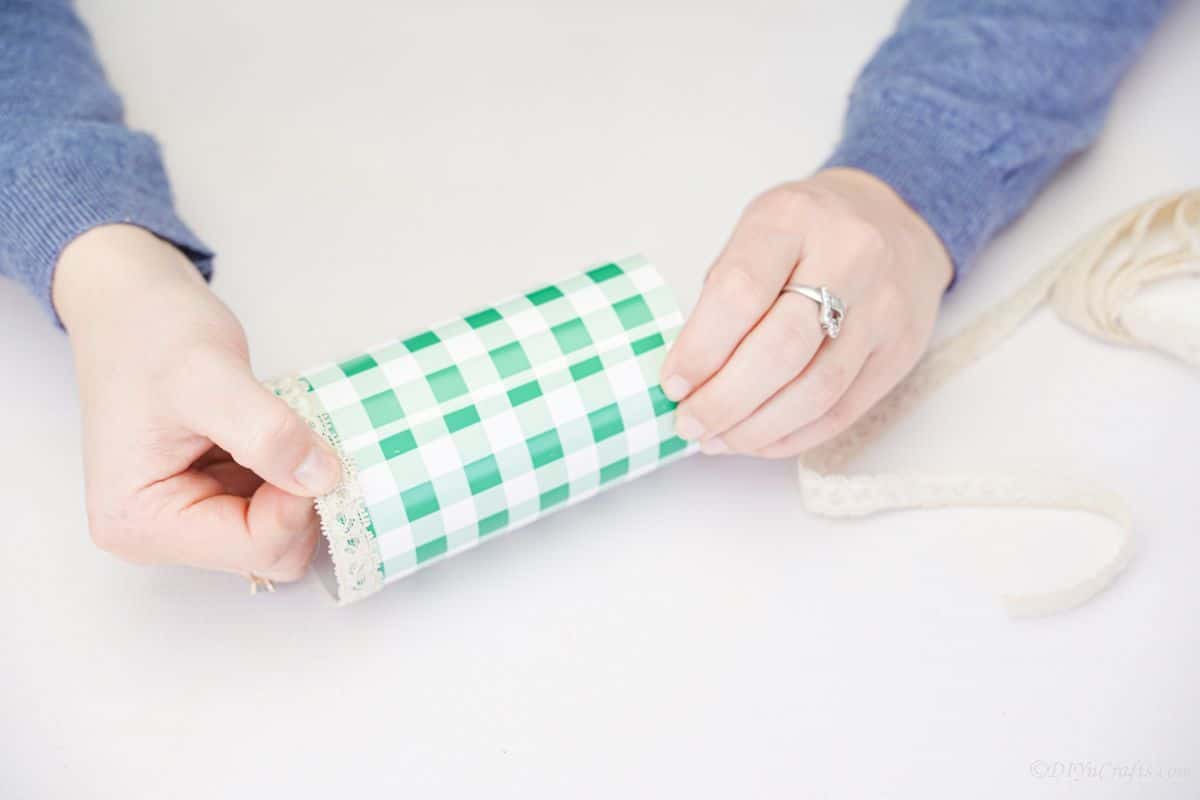
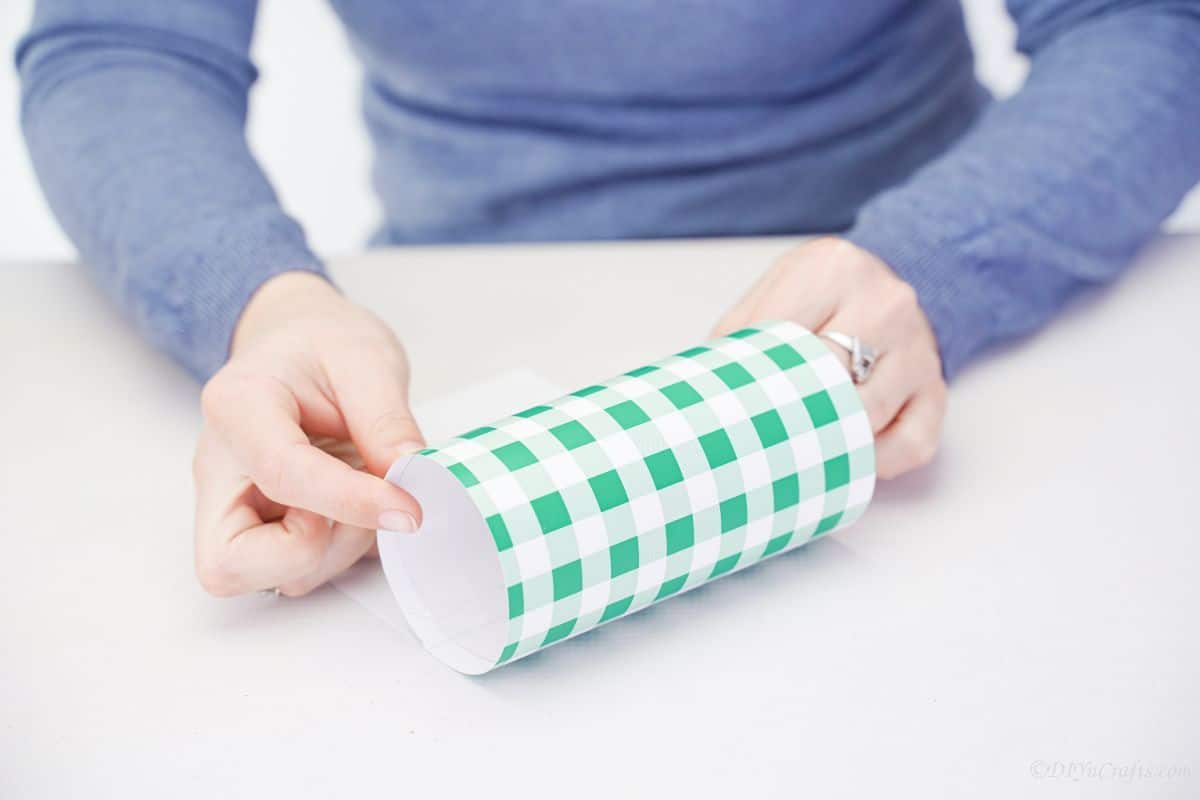
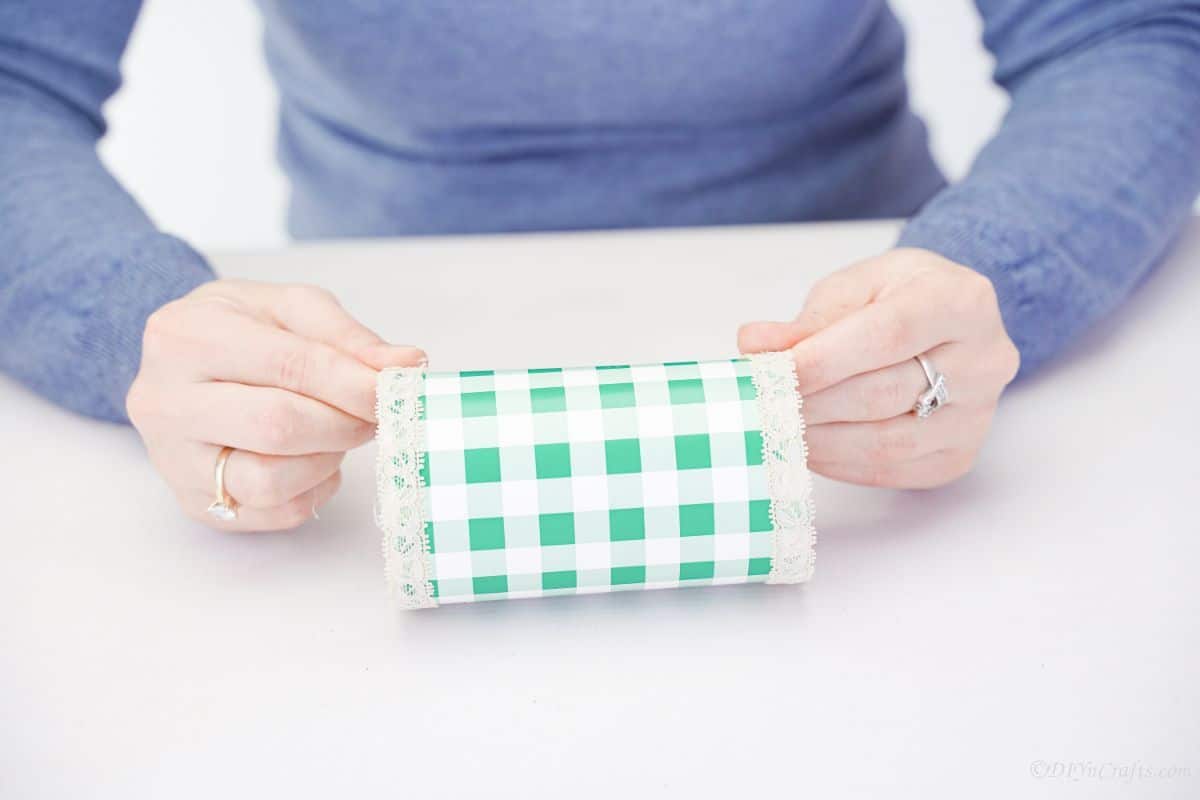
Next, cut and wrap the checked scrapbook paper around the third bottle cutting it to fit and gluing it into place. On the ends of this bottle, glue a piece of lace ribbon on the edges.
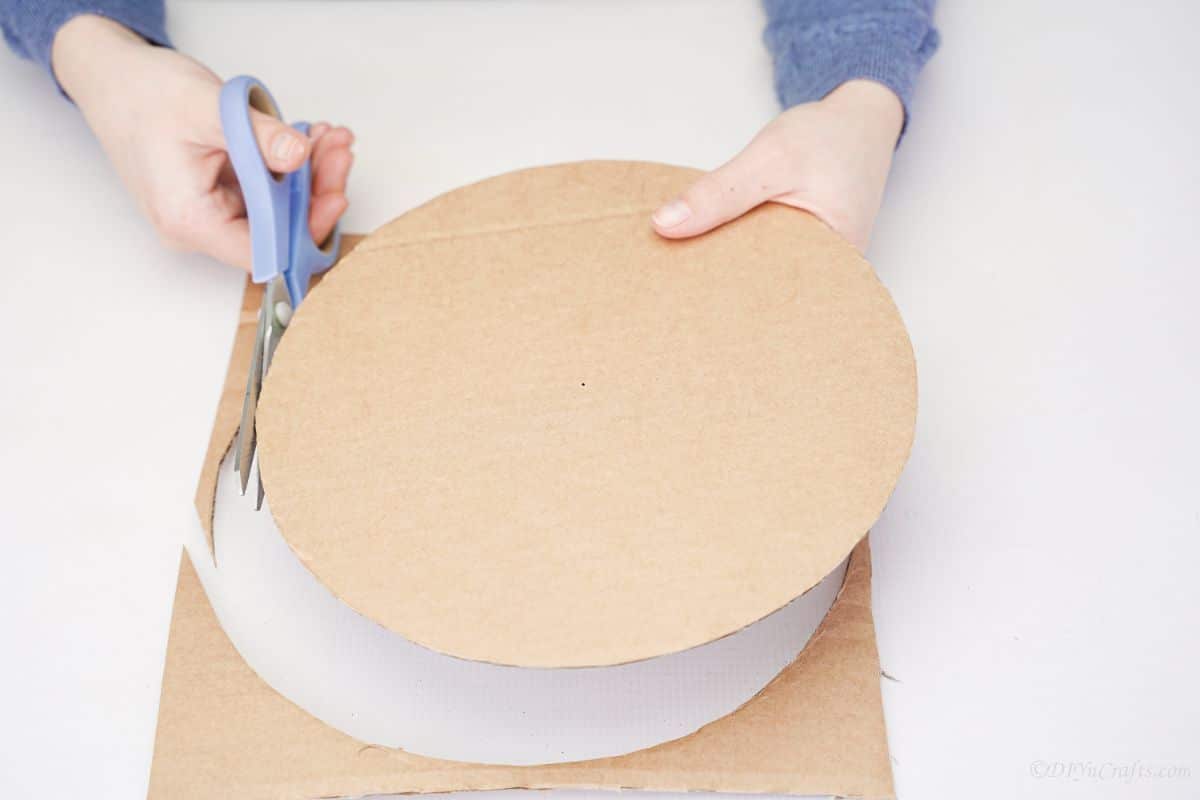
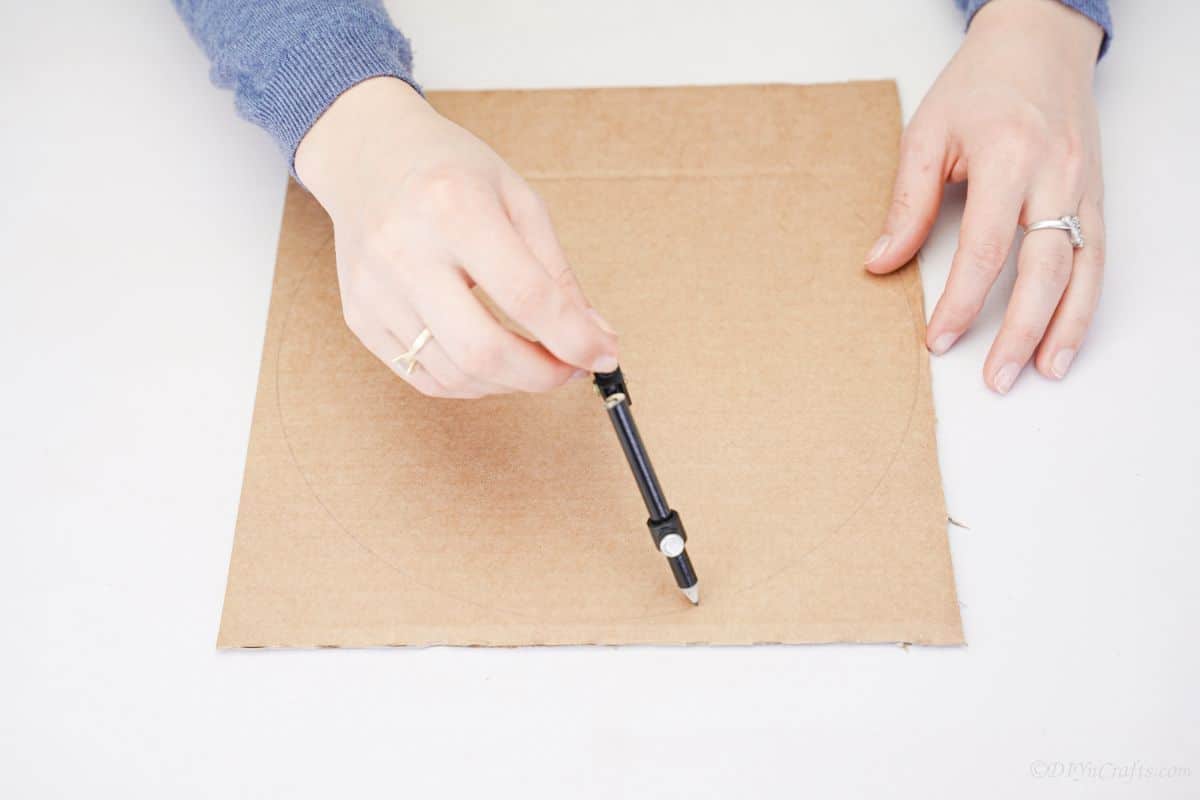
Measure and cut out a circle from cardboard that is around 10" wide.
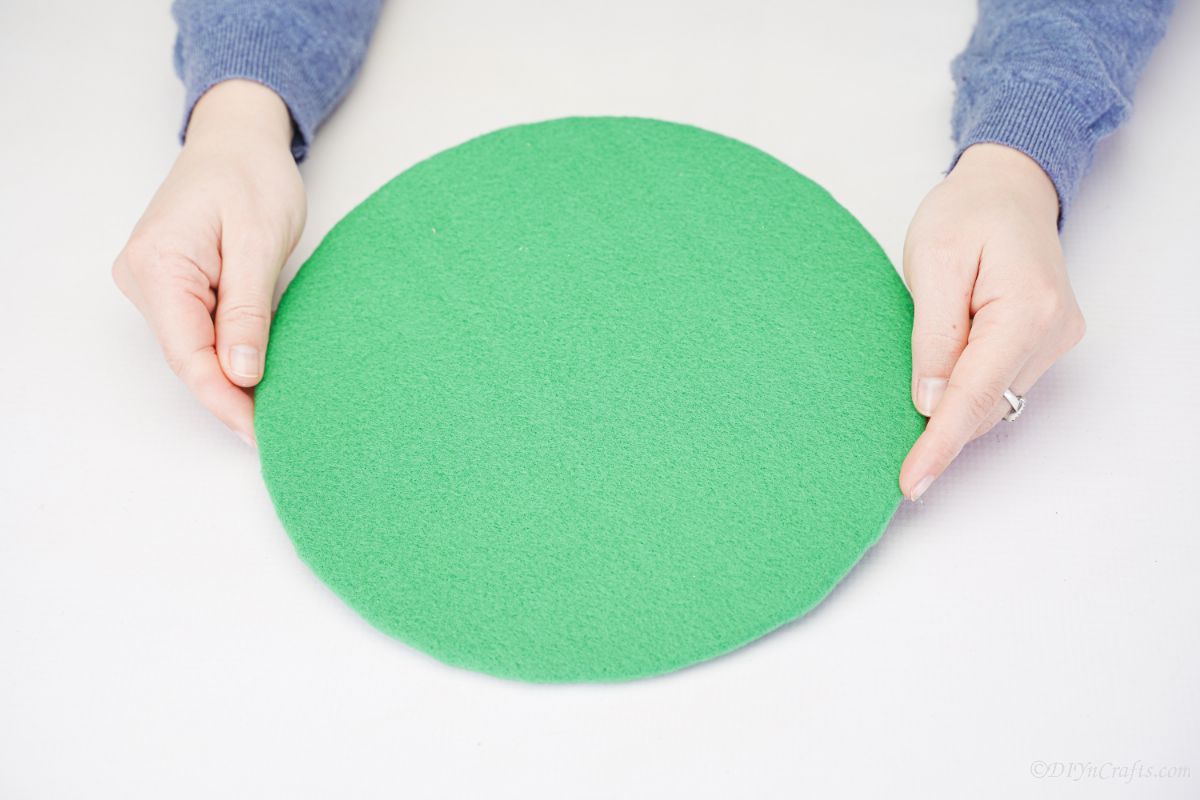
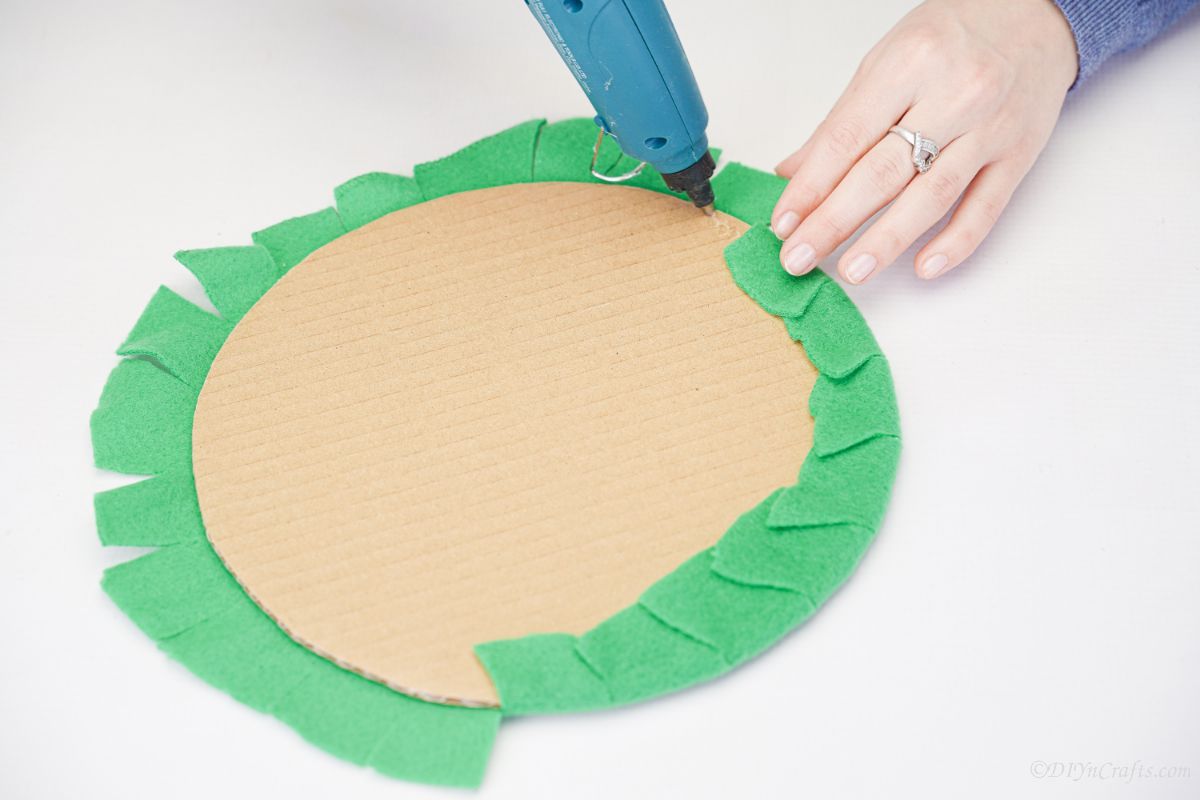
Now, place the circle onto the green felt or fabric, and cut around so the fabric is about 1.5" to 2" extra fabric around the sides.
Cut slits around the edges, then fold them over and glue them into place to cover the circle of cardboard.
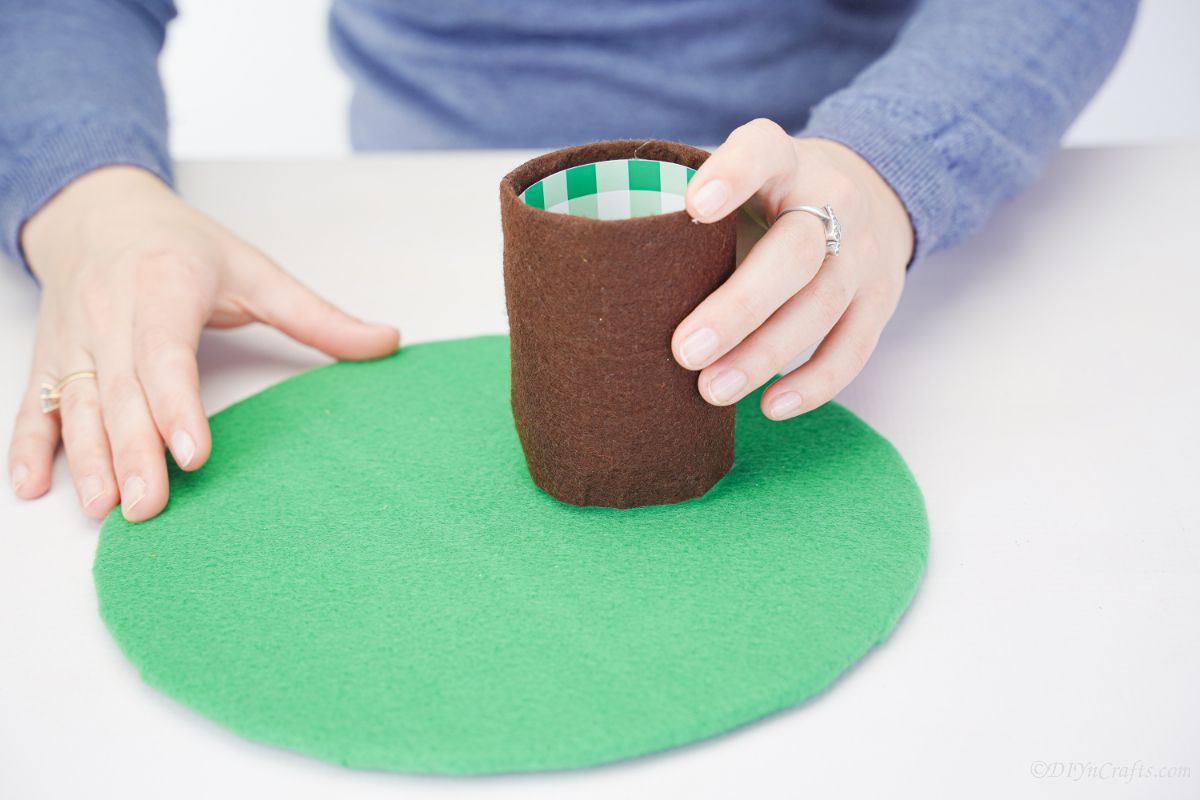
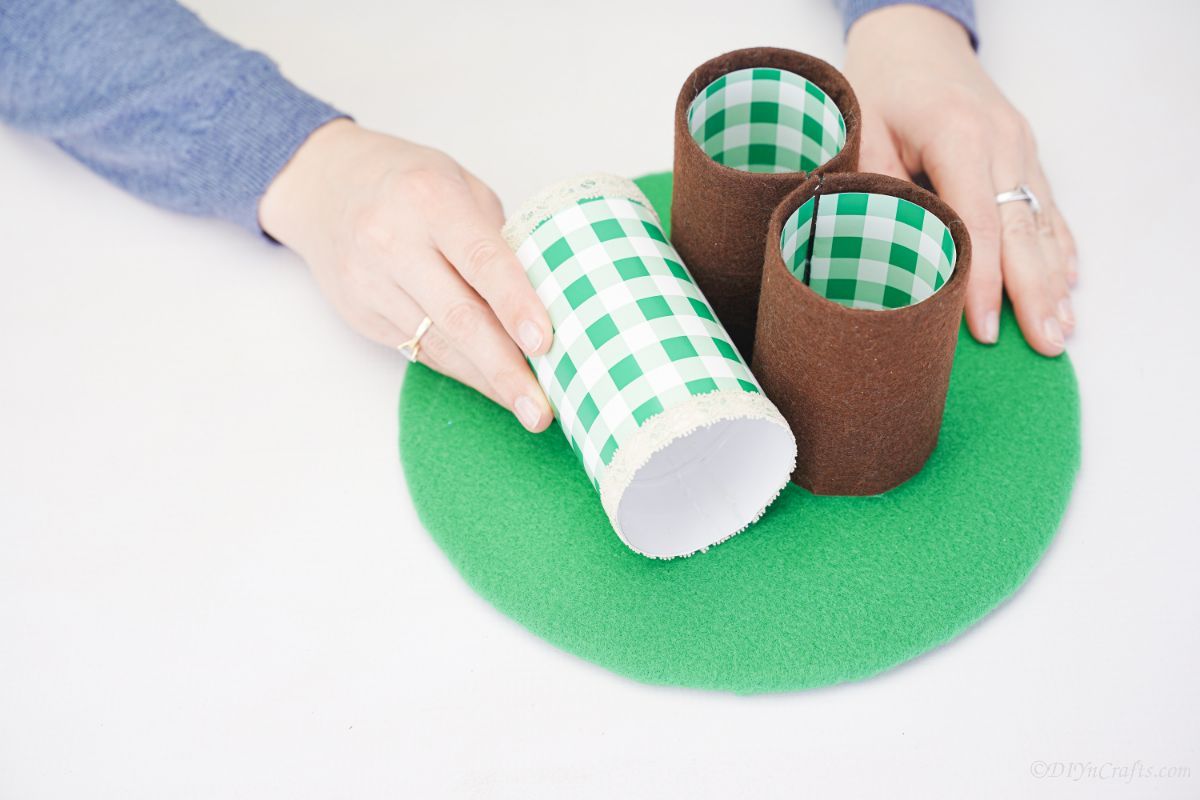
Now, glue the two brown-covered bottles side by side to the back center of the green side of that circle.
Next, glue the green and white paper-covered bottle in front of the two brown bottles, but this time glue it onto its side rather than standing upright.
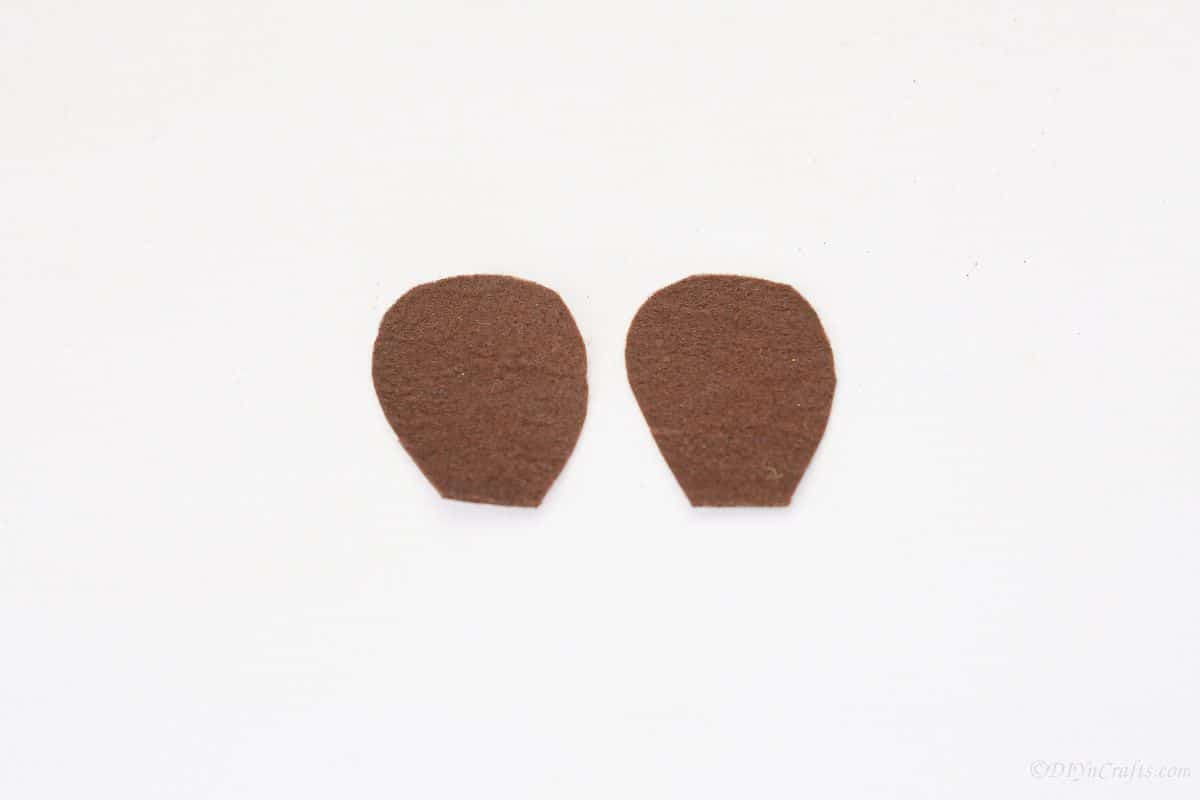
Now, begin making the puppy face. Cut out a heart shape from white felt and set it aside. Then, cut out two ear shapes, or large ovals, from brown foam paper.
Use the ear shapes to trace a smaller version of them onto the green and white checked paper and cut them out. Glue the green pieces to the center of the brown ears.
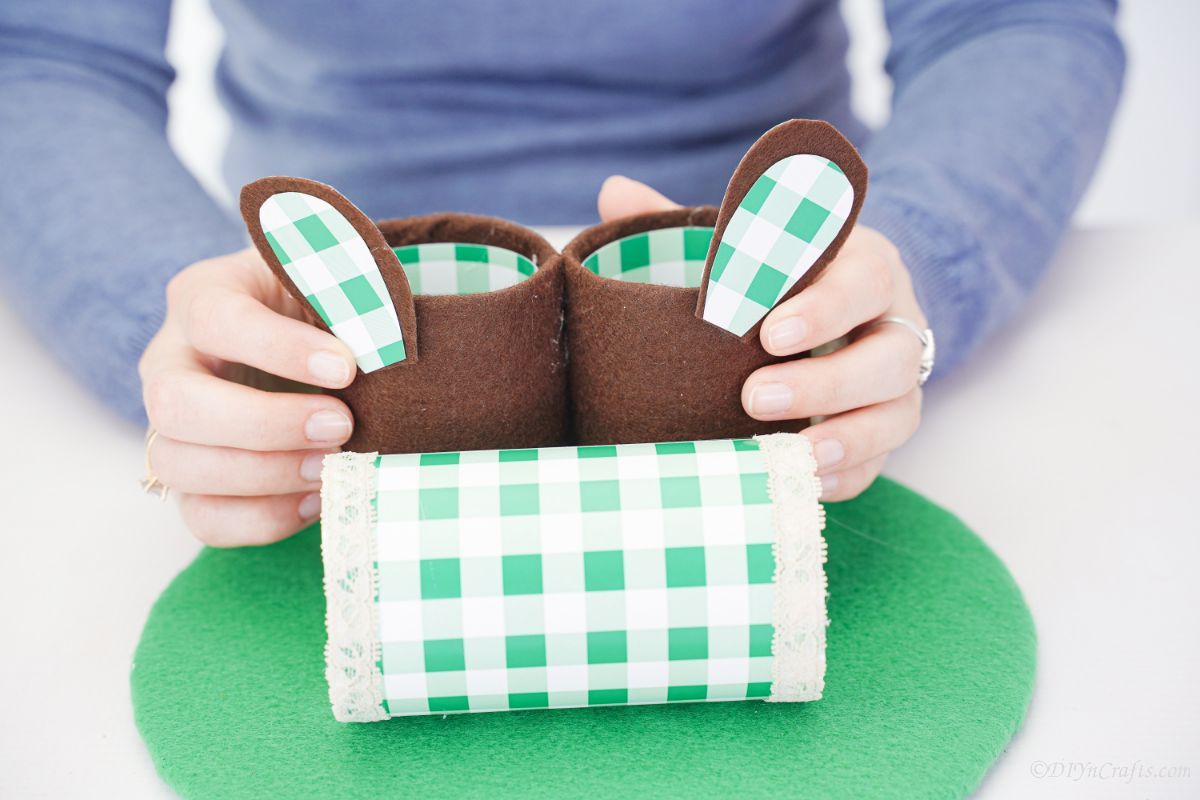
Glue one of the ears on each of the brown bottles, toward the outer edge.
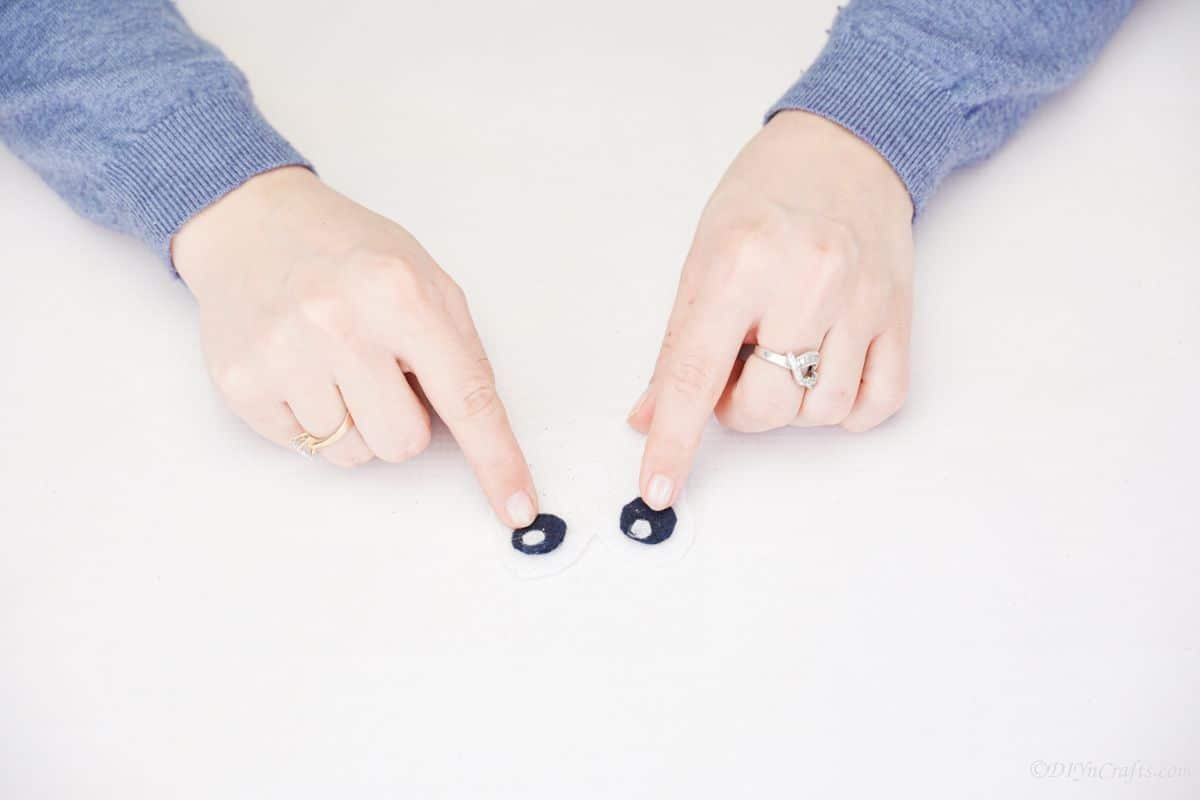
Then, cut out two small black felt circles and two tiny white felt circles. Glue these together with the white on the bottom corner to create an eye look.
Now, glue these onto the rounded edges of the heart-shaped white felt you cut earlier.
Next, glue this to the front of the brown bottles, with the pointed edge tucked behind the green and white checked bottle.
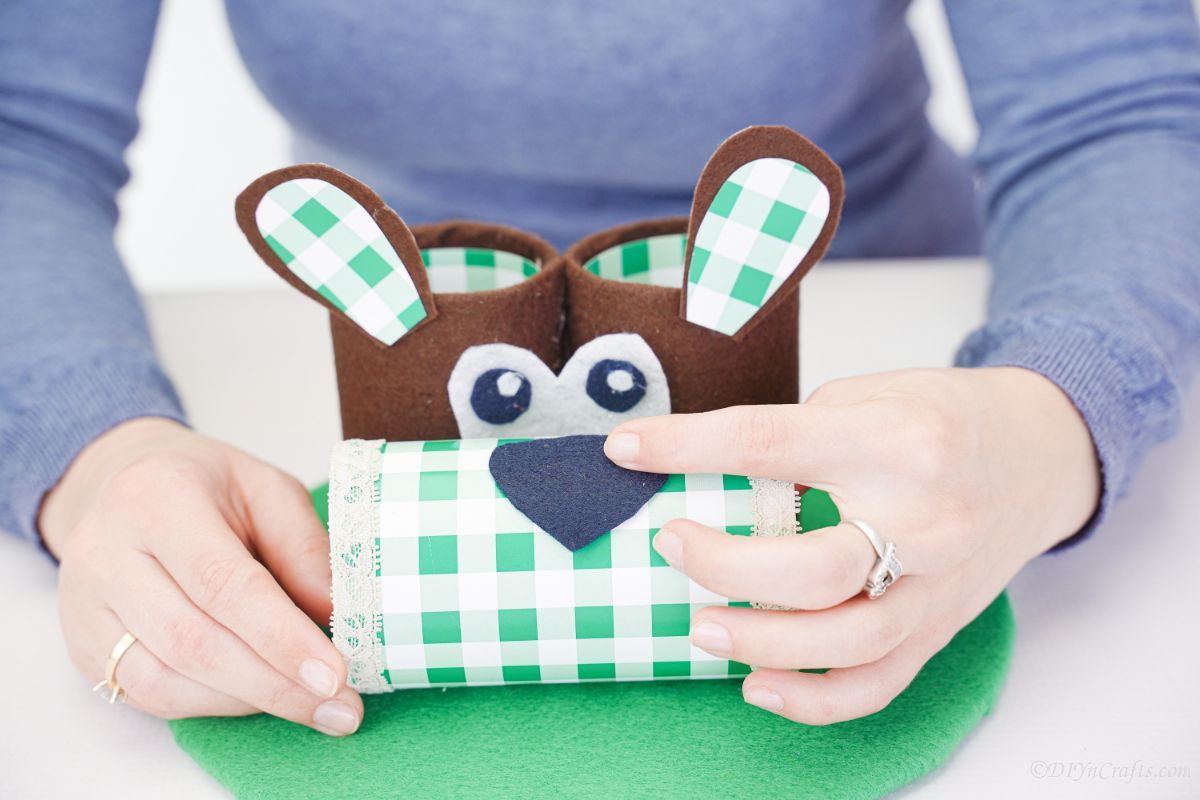
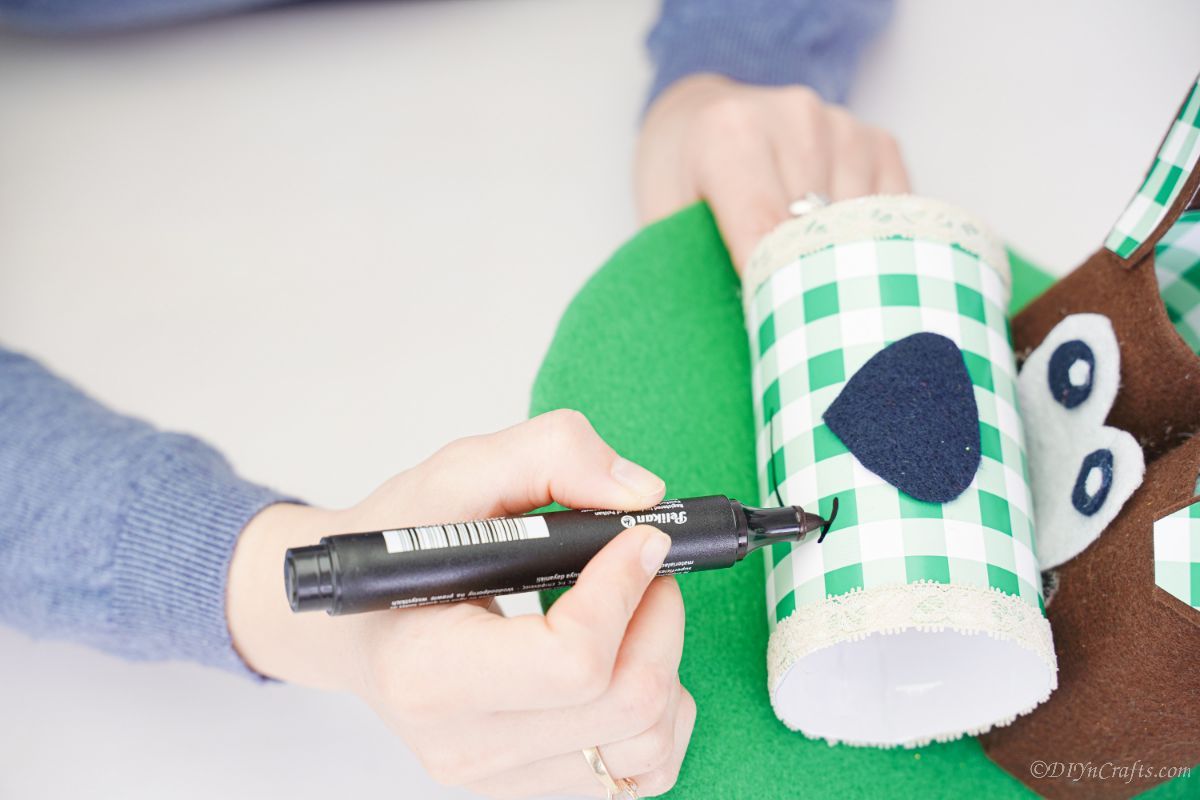
Next, cut out a large rounded triangle shape from black felt. Then glue it on top of the checked bottle on the front, just in front of the face piece.
Use a marker to draw a smile below the nose.
More Plastic Bottle Craft Ideas
Whether you want another desk organizer or you want to make something totally unique like a vase, the empty water bottles are a perfect medium. Below are some more ideas that turned out great and I am sure you will love them. Add these to your project list, bookmark the ideas, print out the tutorials, or pin them to Pinterest and make them soon!
- Repurposed Plastic Bottle Bird Nest
- Upcycled Plastic Bottle Pig Planter
- Sparkling Plastic Bottle Rhinestone Vase
- Cute Upcycled Plastic Bottle Doll Craft
- DIY Plastic Bottle Jet Pack Rocket
Cute Plastic Bottle Dog Pencil Holder
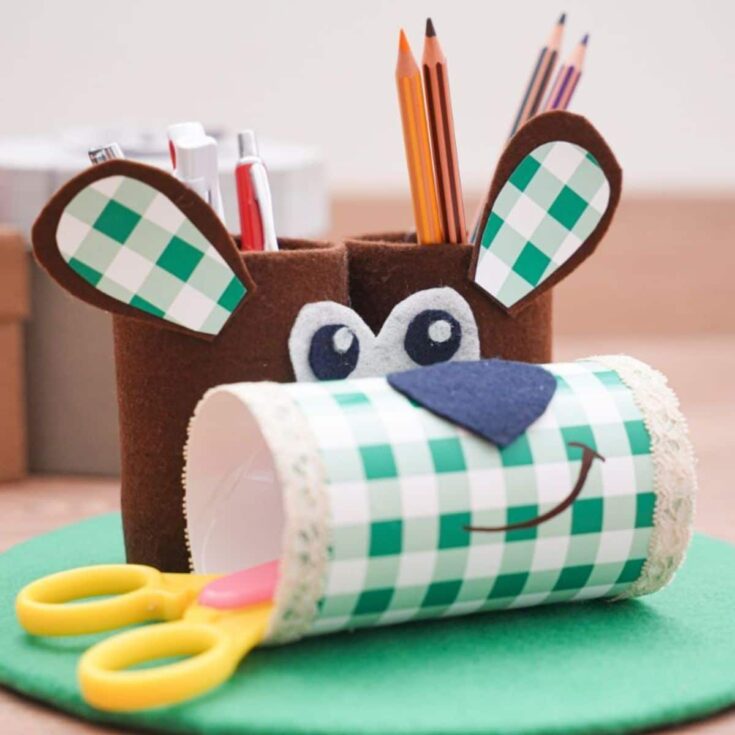
Make this adorable plastic bottle dog pencil holder with just a few supplies! A perfect addition to your kid's homework station!
Materials
- 3 empty plastic bottles
- Black felt
- Brown foam paper
- Green felt
- White felt
- Green checked scrapbook paper
- ½" lace ribbon
- Cardboard
- Black marker
Instructions
- Cut the top ⅓ of three bottles off and discard.
- Then, cut the bottom off of each of the bottles and discard.
- Now, cut and wrap or glue the brown foam paper onto two of the bottles folding the top over the cut edge and down into the bottle.
- Cut and wrap a piece of the checked scrapbook paper inside each of these bottles, and glue it into place.
- Now, on the third bottle, wrap the outside with that same checked scrapbook paper cutting to fit and glue in place.
- Then, on each end of this bottle, glue a strip of the lace ribbon just on the edge.
- Cut out a 10" wide circle of cardboard.
- Now, glue this onto a piece of green felt, and cut around the circle leaving a 1" border.
- Cut slits from the edge to the cardboard all around this felt border, then glue it in place over the back of the cardboard piece.
- Flip this felt side up, and glue the two brown-covered bottles to the center, side by side.
- Now, glue the checked paper-covered bottle, laying on its side, just in front of the two brown bottles.
- Cut a face shape, an upside-down heart, from the white foam paper and set it aside.
- Then cut out two oval shapes for ears from the brown foam paper.
- Use these ear shapes to trace onto the scrapbook paper, then cut slightly smaller ovals of paper.
- Glue the paper onto the top of the felt to make the inside of the dog ears.
- Now, glue one ear on the outer side of each of the brown bottles to look like ears poking out over the side.
- Cut out two small black felt circles, and two tiny white felt circles.
- Glue the small white dots onto the black circles, then glue these onto the top rounded edge of the face piece you cut out earlier.
- Glue this to the front of the brown bottles so it sits just above the green checked bottle on the front.
- Cut a rounded triangle of black felt for the nose and glue it onto the top of the checked bottle in front, just below the face.
- Then draw on a smile with a marker.
Notes
Make with any colors or themes to customize your puppy to your style.
Recommended Products
As an Amazon Associate and member of other affiliate programs, I earn from qualifying purchases.
Finished Project Gallery
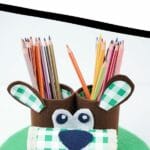
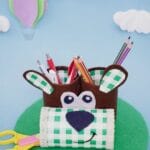
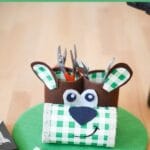
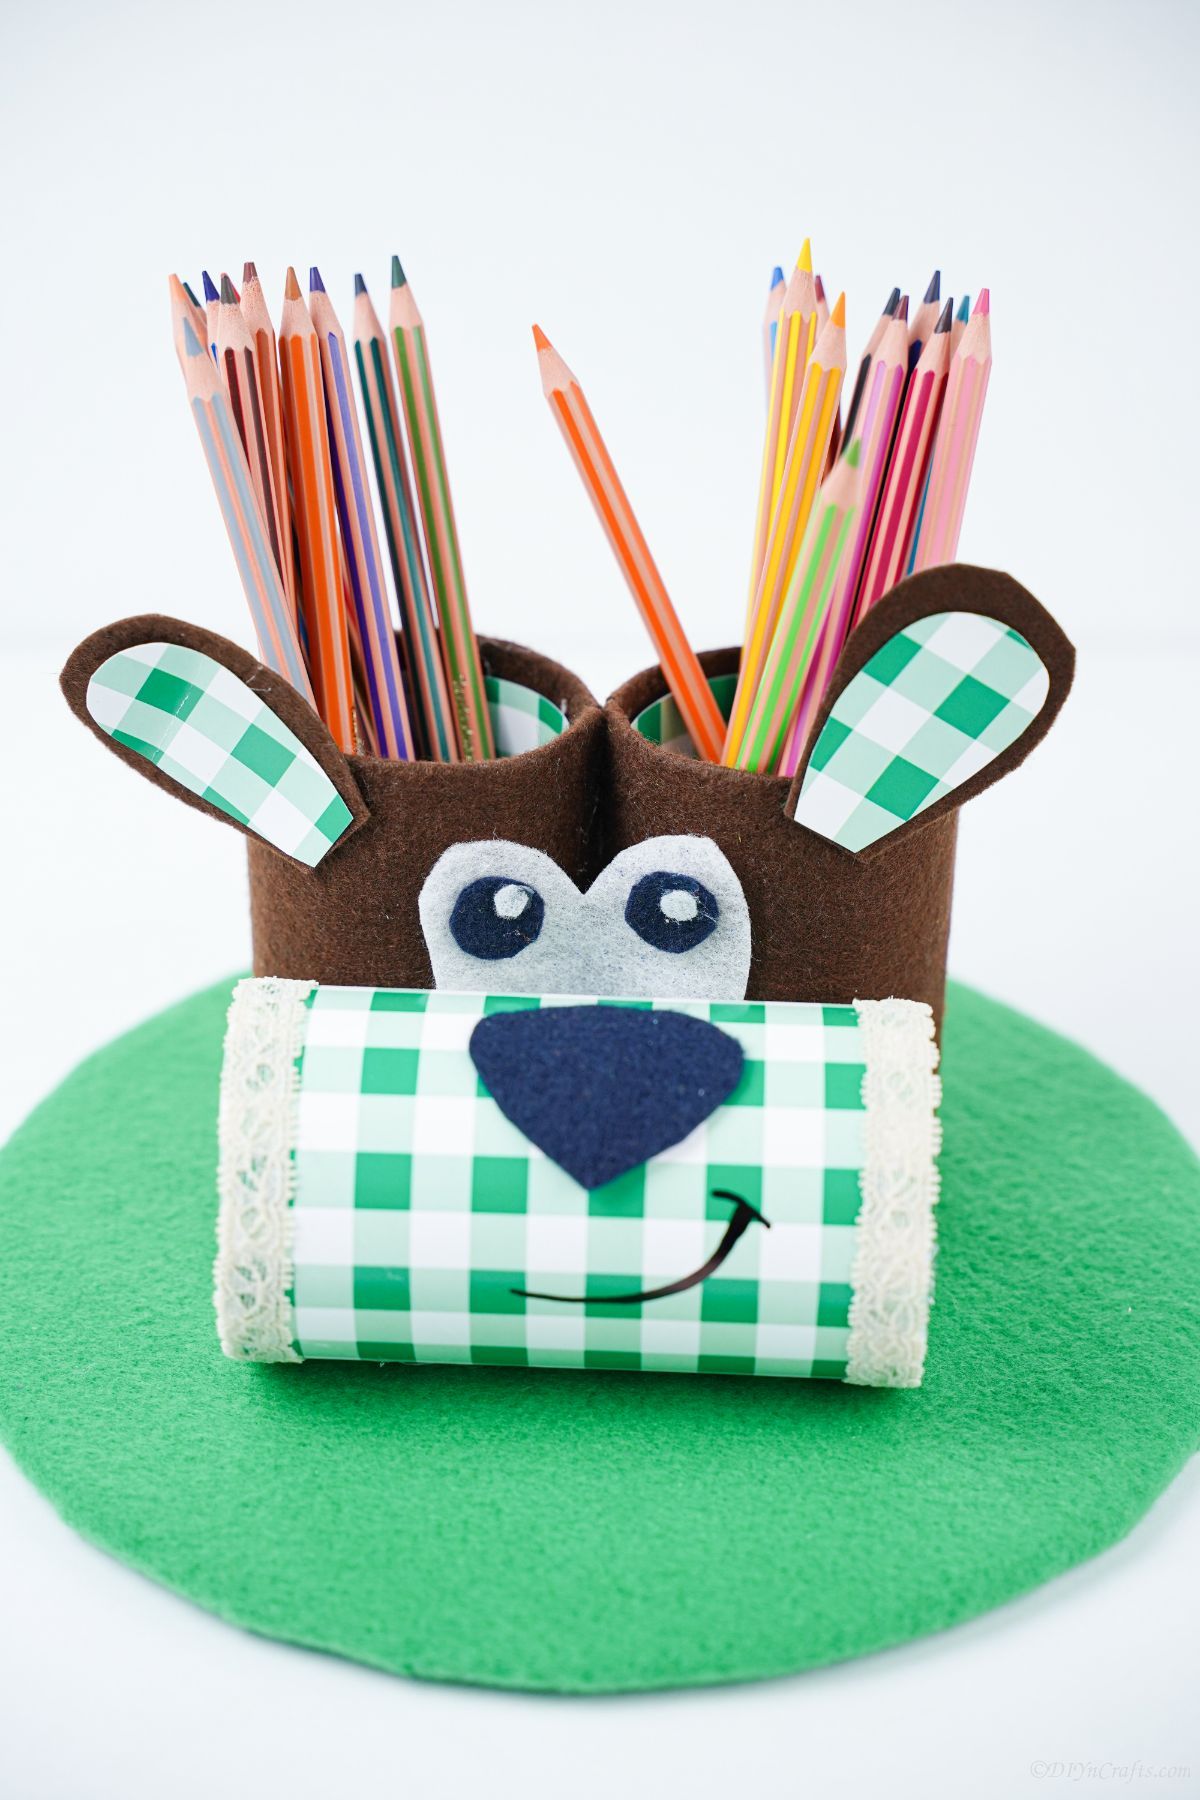
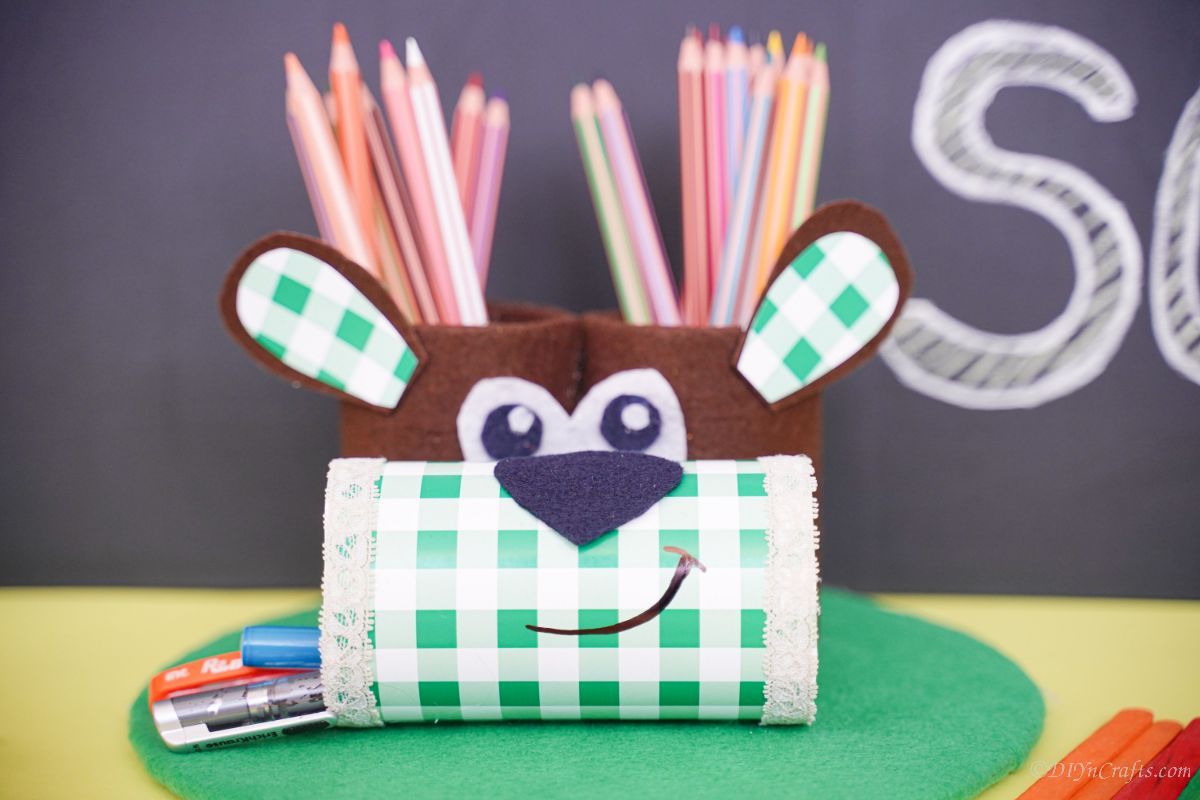
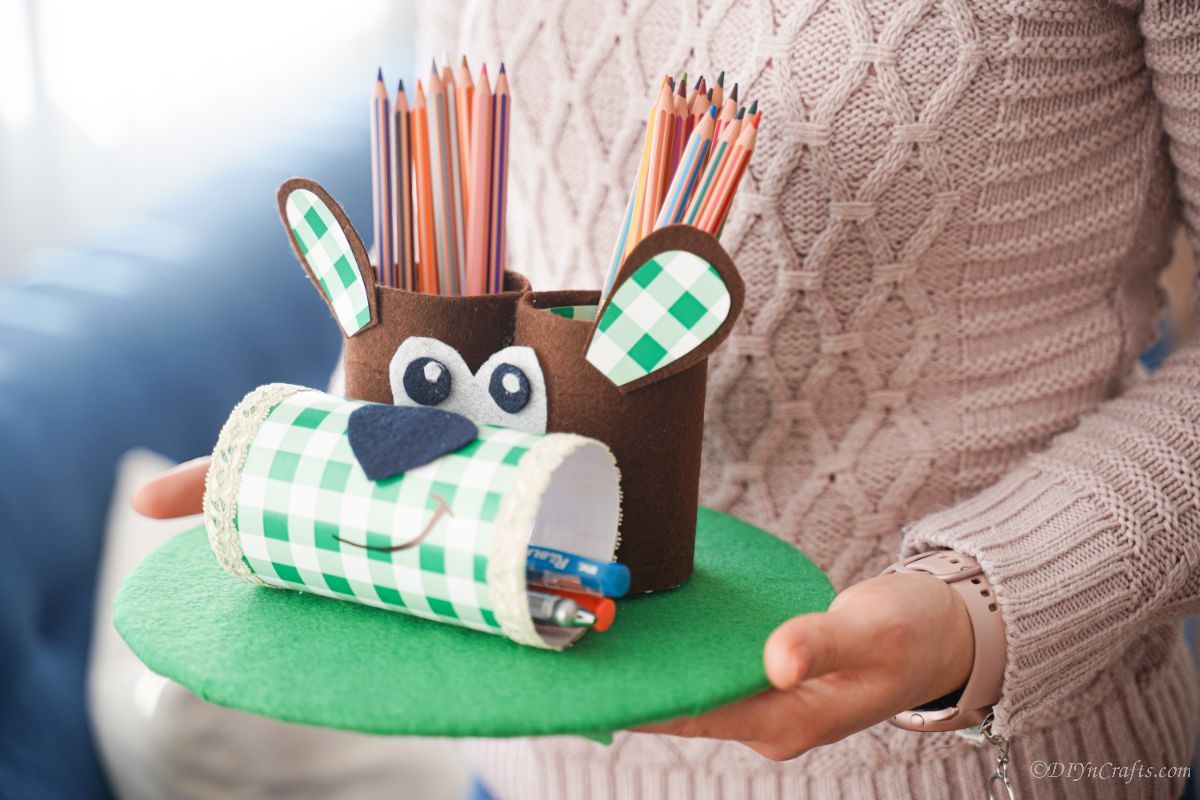
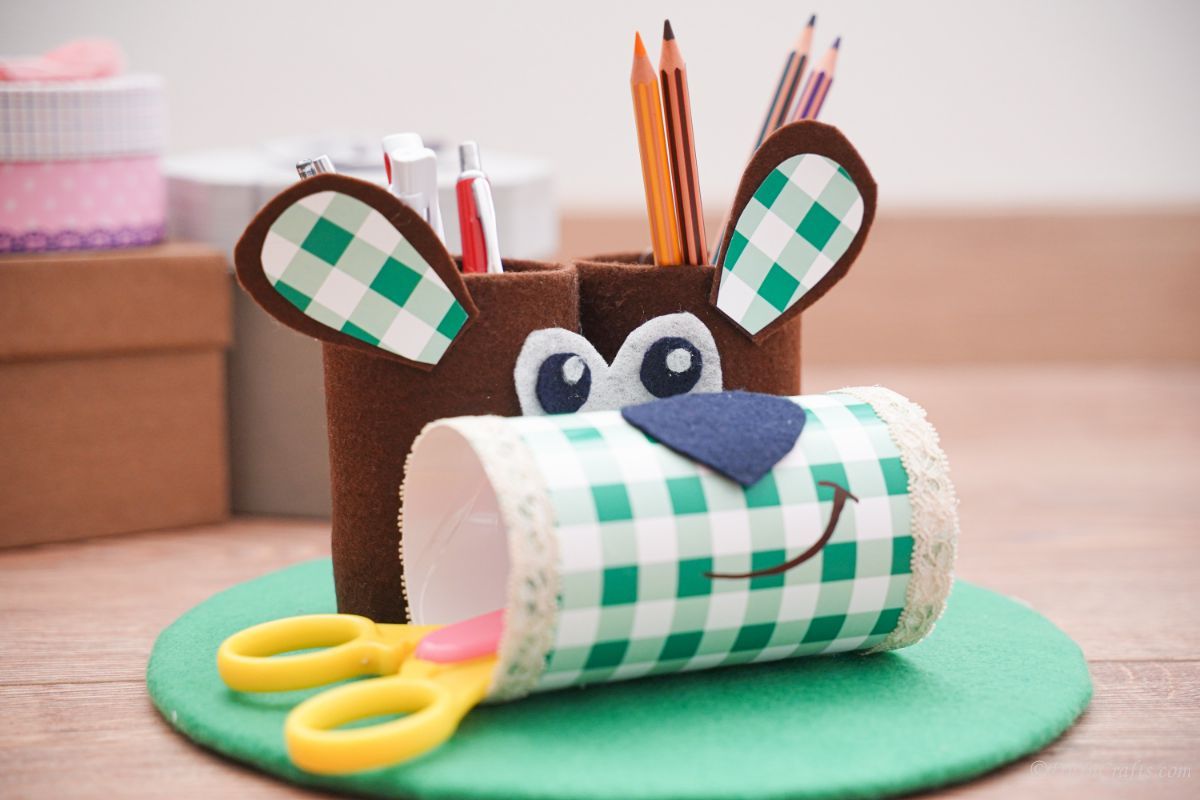
You can use any colors of felt, foam, or paper to make your puppy look unique.




Leave a Reply