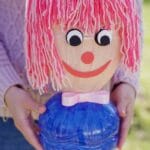
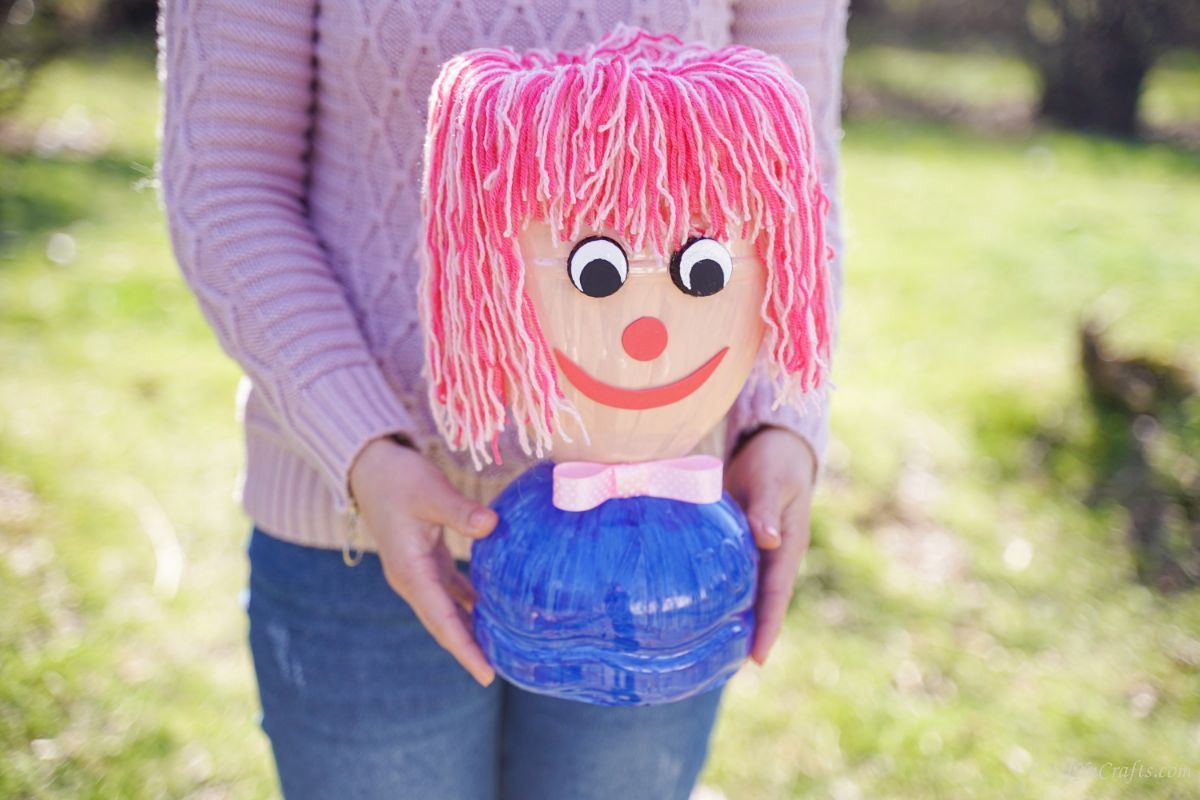
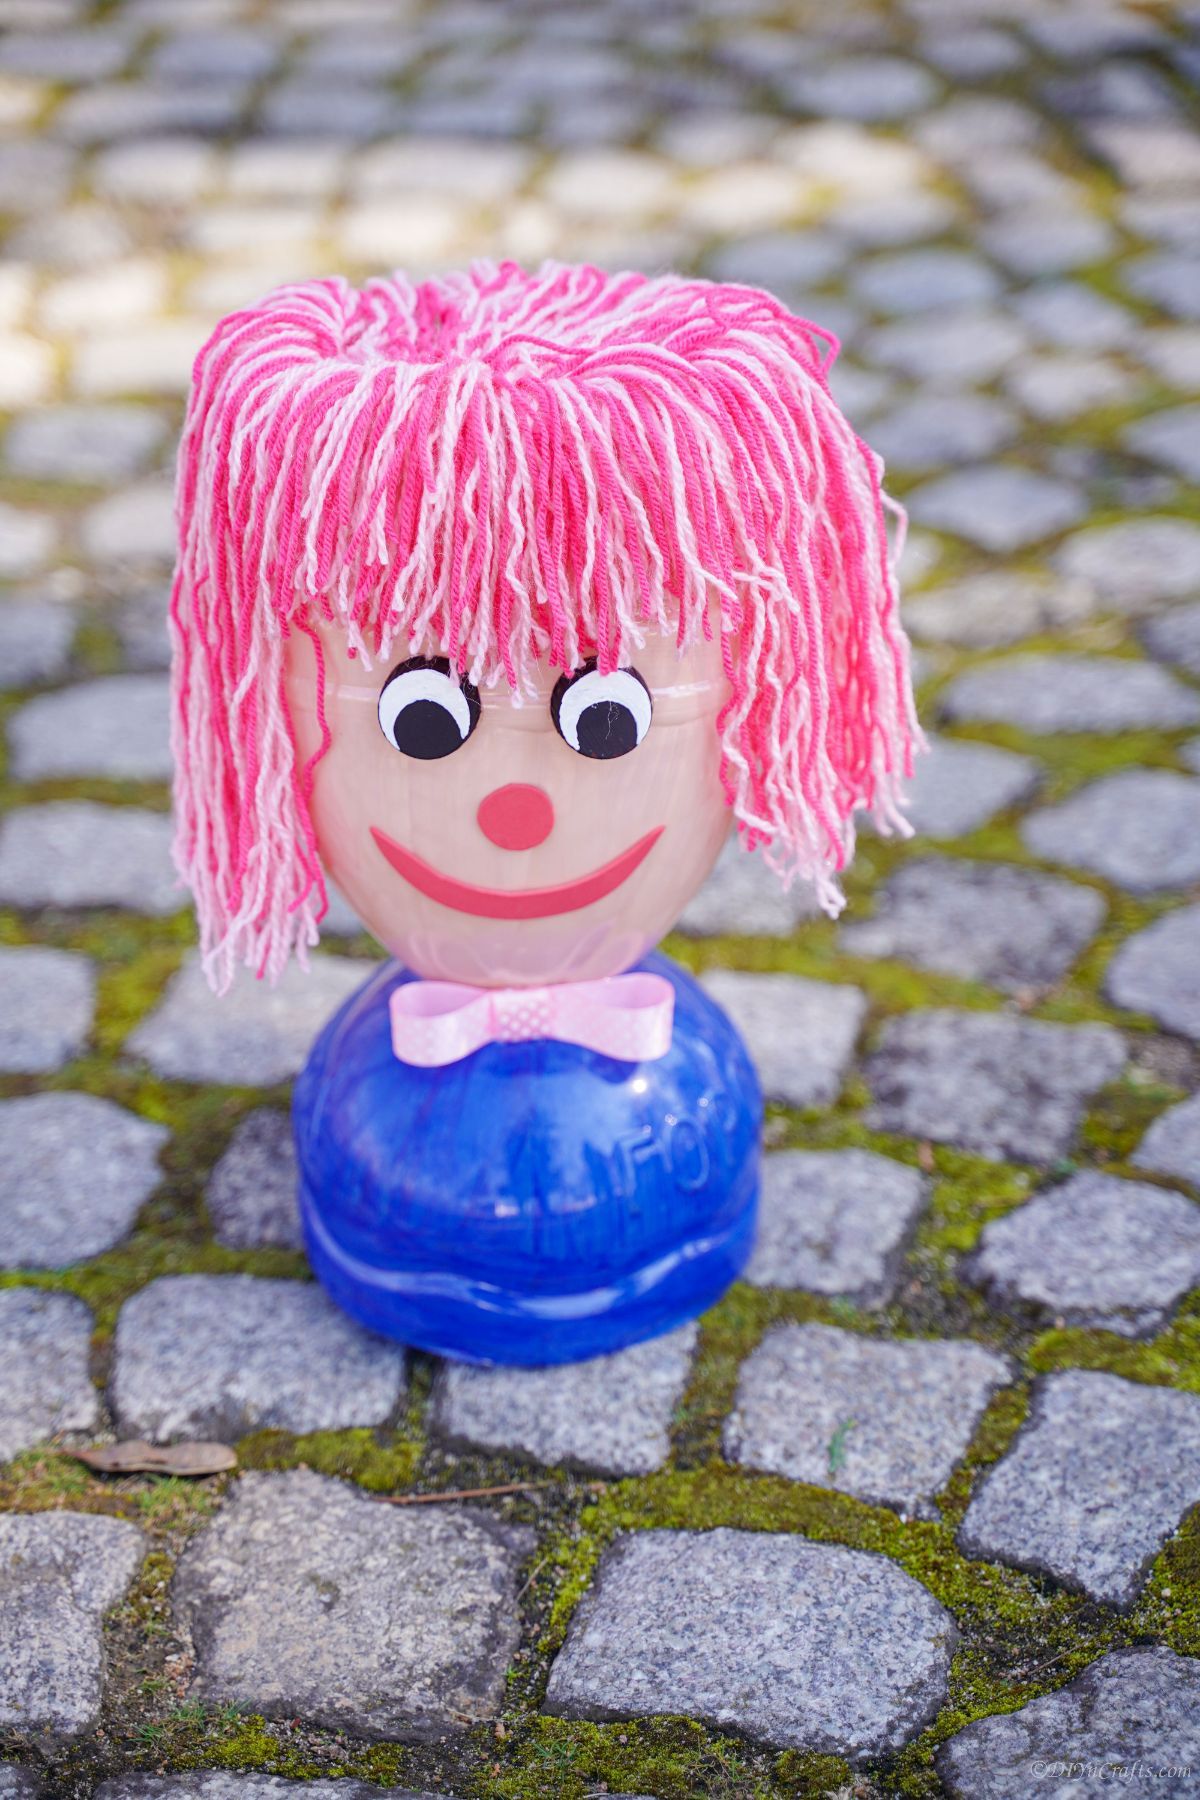
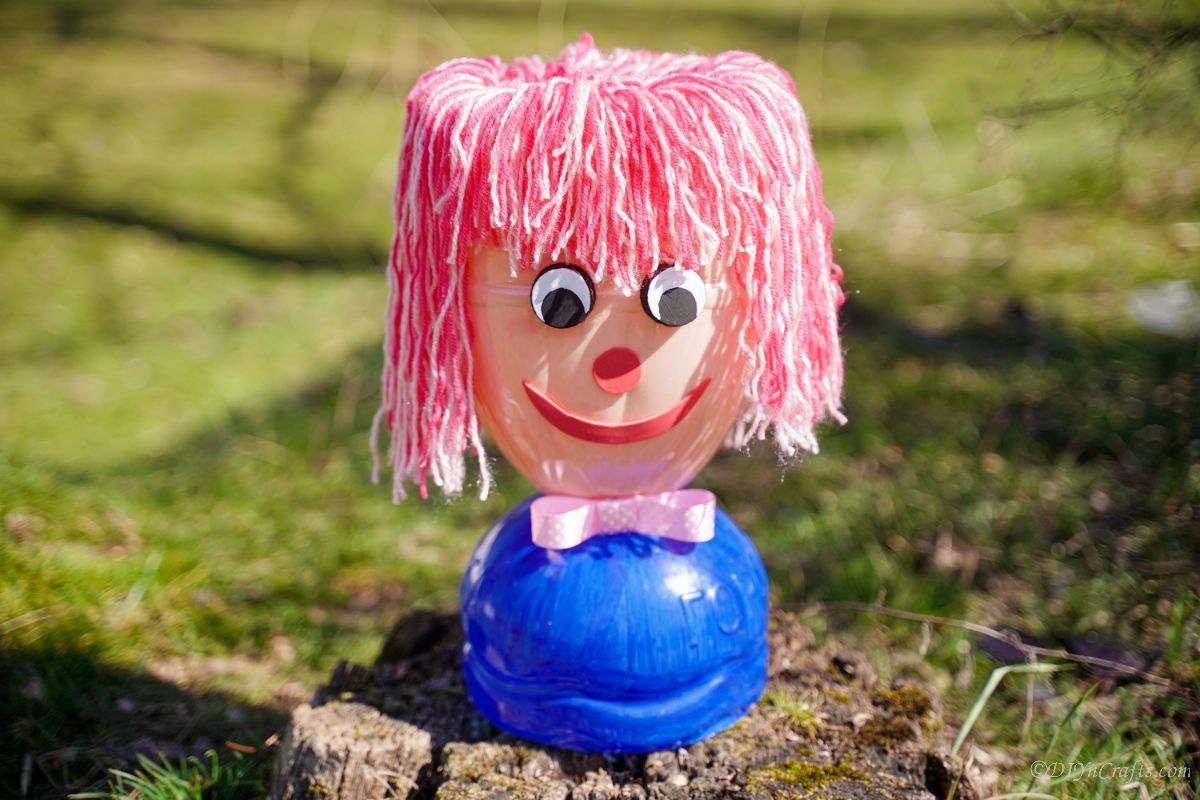
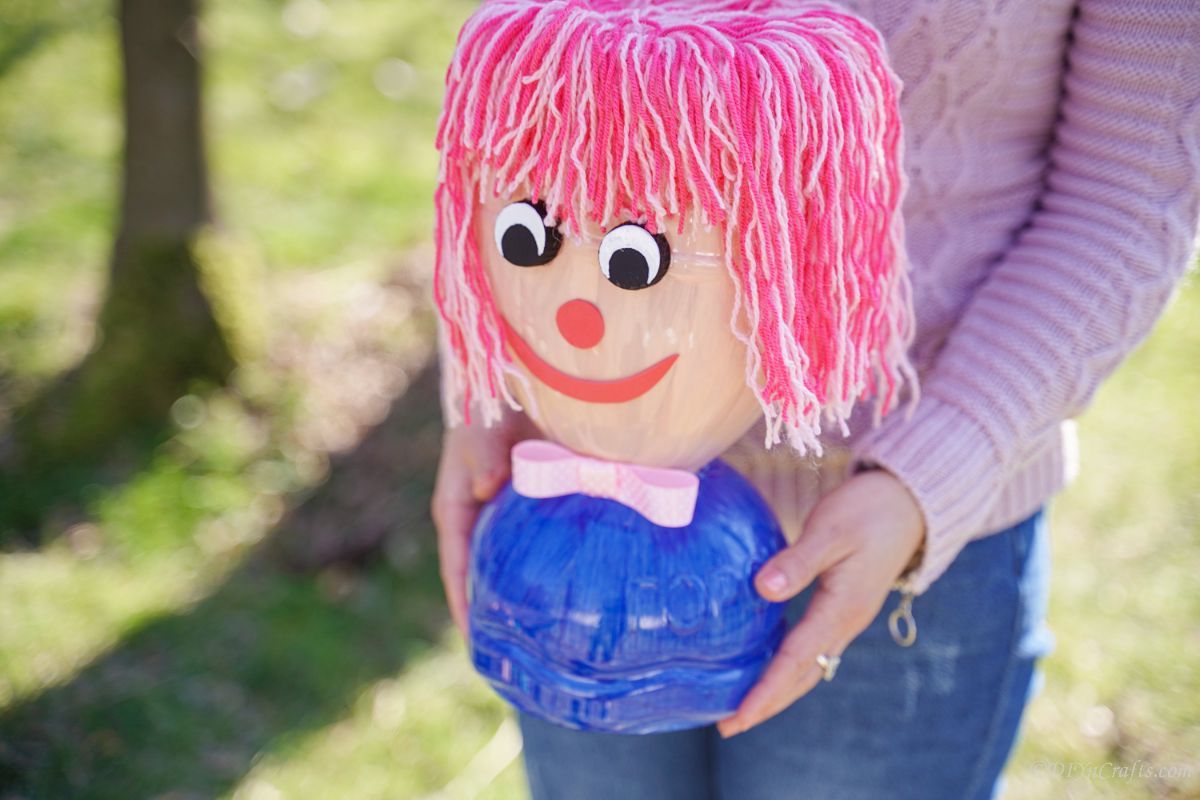
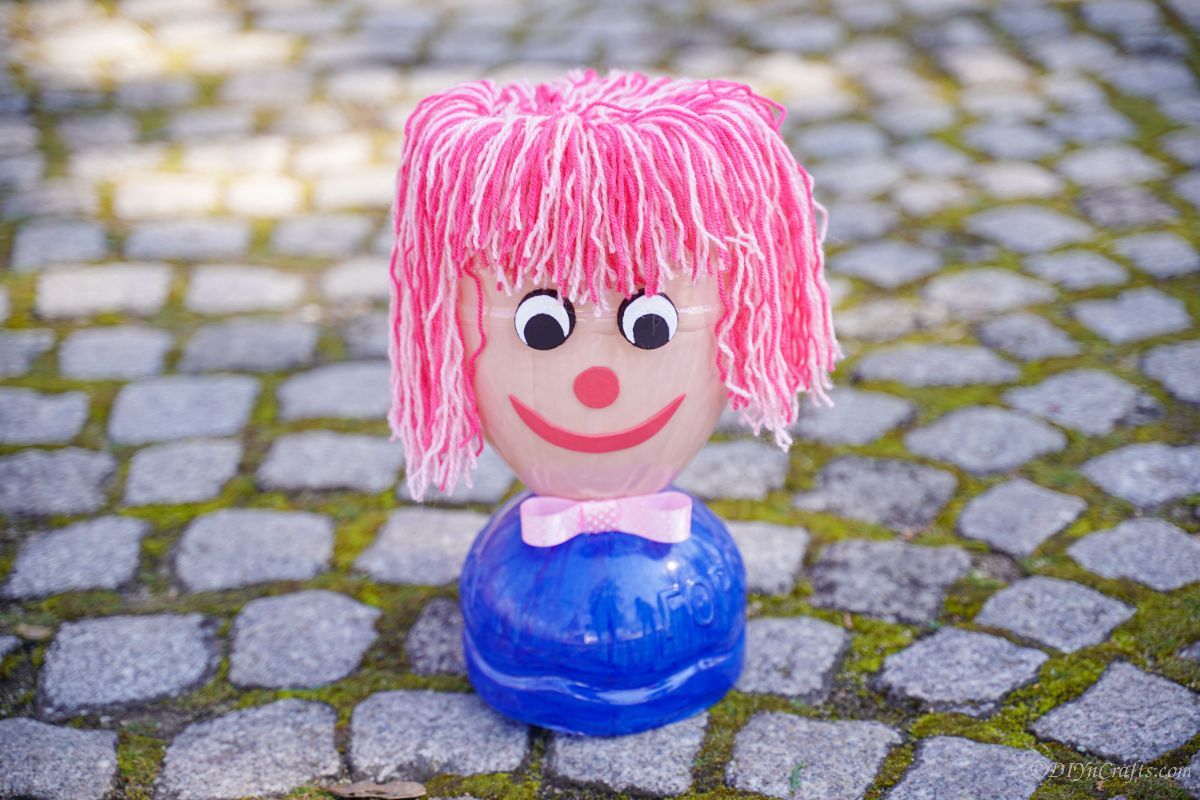
When I was a little girl, I always wanted a doll that was totally unique and my own. This cute little plastic bottle doll is the ideal kid's craft idea! Using empty soda bottles, paint, and yarn, you can create a cute little doll for playtime. Your kiddos will love giving their new friend a personality of all their own.
Plastic Bottle Doll
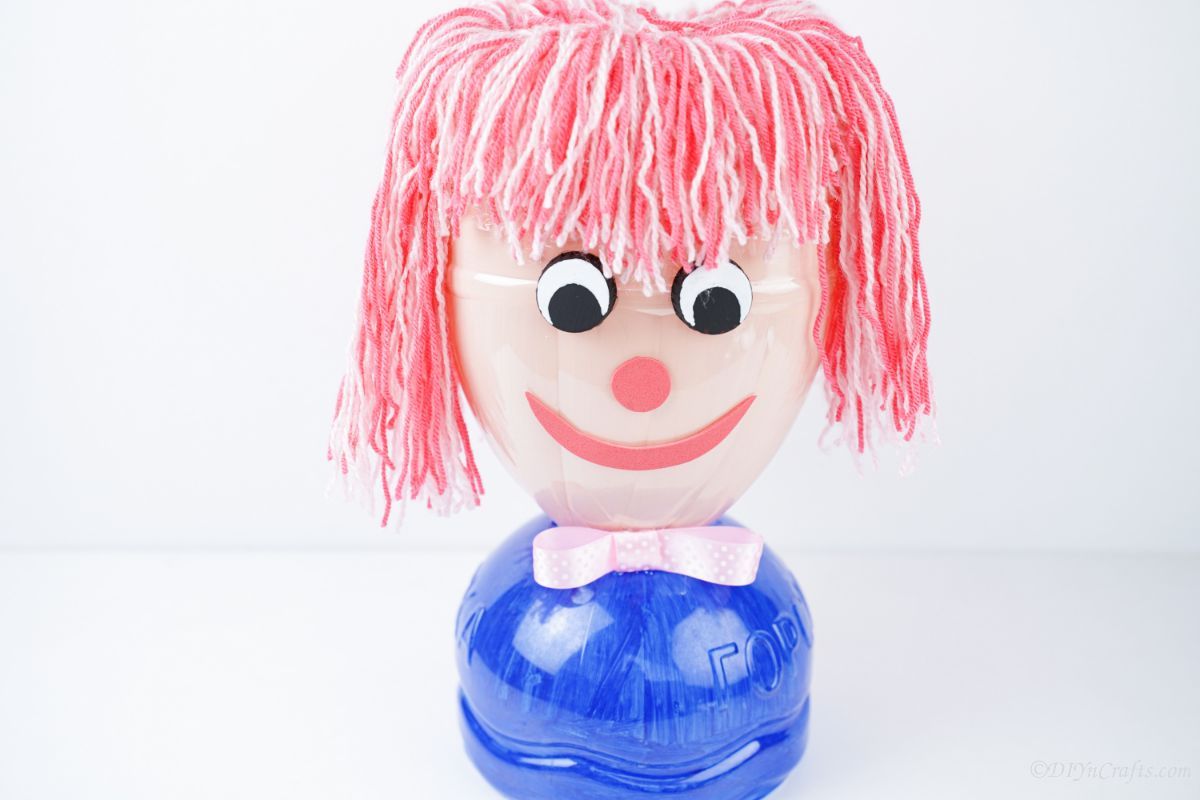
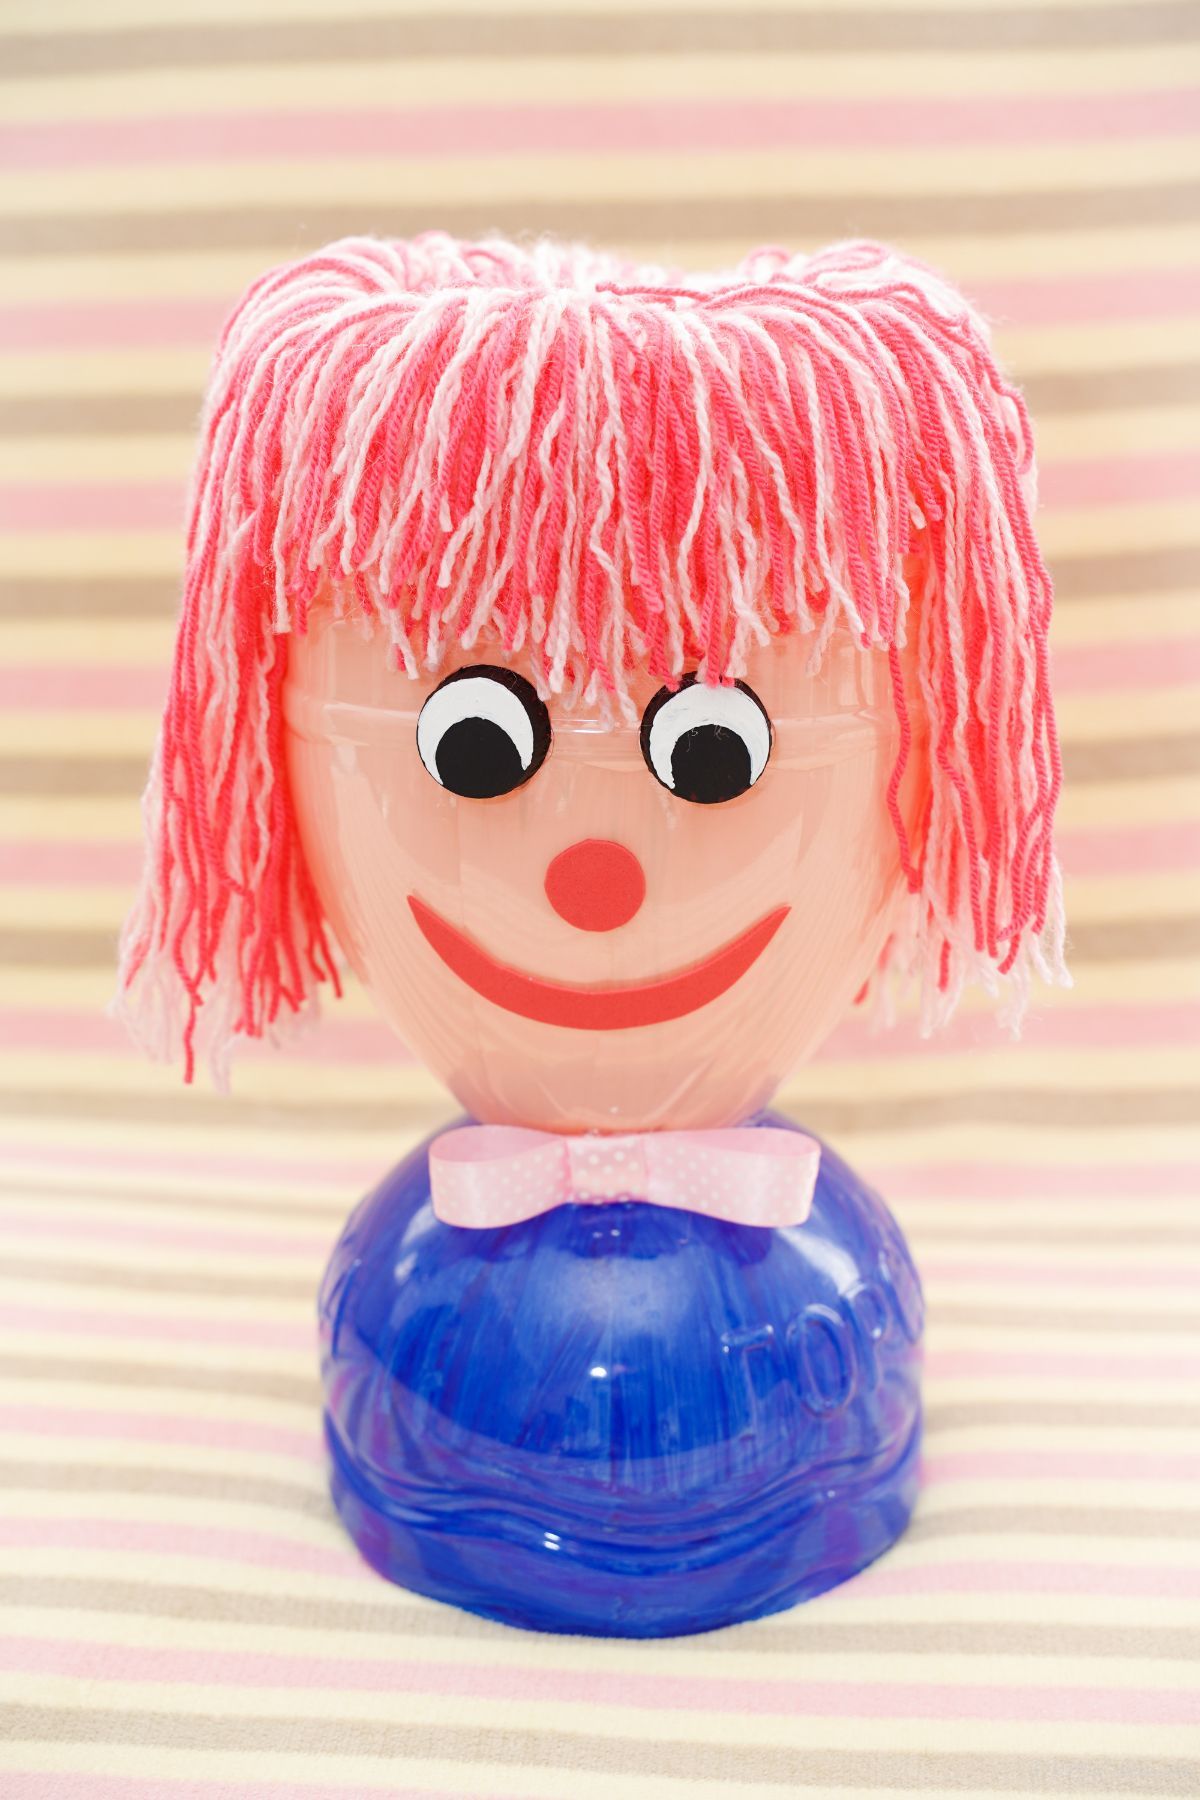
Turning trash into treasure is my number one hobby, and making a doll out of trash? That just sounds amazing. I turned a few old empty bottles, some paint, and a bit of yarn into a unique little doll idea that is perfect for pretend play. While this is just the head and upper body, it can be turned into a full doll with a bit of work.
This is a great rainy day activity or a fun weekend project for the kids. You likely already have everything needed on hand, and they will love getting a chance to customize their own little toy. If your kids like making their own toys, then they will love finding something new on this list of DIY stuffed animal ideas. Or, you can get them started on one of these sensory games for kids that can keep them busy and build skills at the same time!
What Can I Use To Make My Doll Face?
The best thing about this plastic bottle doll is that you can use whatever you have on hand for the face. I used the bottle lids off the soft drink bottles I used for the base as a start to my doll eyes. Just paint them a solid black, then add the white accents so they look more realistic.
You can, of course, use googly eyes for a fast and easy option if you have some on hand already. Other ideas include using foam paper, felt, or just craft paper. And if you are exceptionally good at painting or drawing, you can try your hand at freehand adding the eyes on with a marker or craft paint.
What Can I Use For Doll Hair?
I am using two shades of yarn that I have leftover from another project. You can use multiple shades of yarn to give the hair dimension or you can use one shade if that is all you have. If you do not have yarn on hand for making your plastic bottle doll, you can also use ribbon or other types of string, twine, or even raffia.
Ragdolls were a popular option in past centuries, and you can use a similar method to cut strips of old fabric into "strands" of hair to replace the yarn. Of course, if you are lucky enough to have some Halloween wigs or costumes on hand, you might stick with a simple glued-on wig instead! Just have fun and make the doll unique with the hairstyle you prefer.
What Kind of Paint Should I Use
I am using basic craft paint I already had on hand. You can also use spray paint if you want to cover the area faster. Spray paint is great when you are making a lot of these at the same time, or if you just want quick coverage and don't need fine details added.
Crafting paint is a bit thicker and will give better coverage when done by hand, but may be pricier depending upon the size of the bottle. If you are adding details, and need to be precise, I recommend using acrylic paint and a paintbrush.
TIP: If the paint isn't sticking to the bottle well, rub the plastic will sandpaper lightly. This will create texture on the bottles and that gives the paint something to stick to.
How Can I Customize My Plastic Bottle Doll?
When it comes to customizing this little doll, the sky's the limit. Have fun with it. Get creative with everything from the clothing to the eyes and hair. Below are some ideas to consider when crafting your own doll.
- Use different colors of yarn or other options to create texture or uniqueness on the hair.
- Add a bow or ribbon to the hair if desired.
- Paint on pink cheeks, red lips, or even a bit of colorful eyeshadow as makeup to make the face pop.
- Add earrings to the sides of the head and a necklace at the base as jewelry accessories.
- Paint stripes or polka dots onto the base piece for the shirt. You can even add a trim of ribbon or lace around the "neck".
- Use different colors for the eyes.
- Try different flesh tones to create a doll that matches your own skin tone. The light color isn't a must at all!
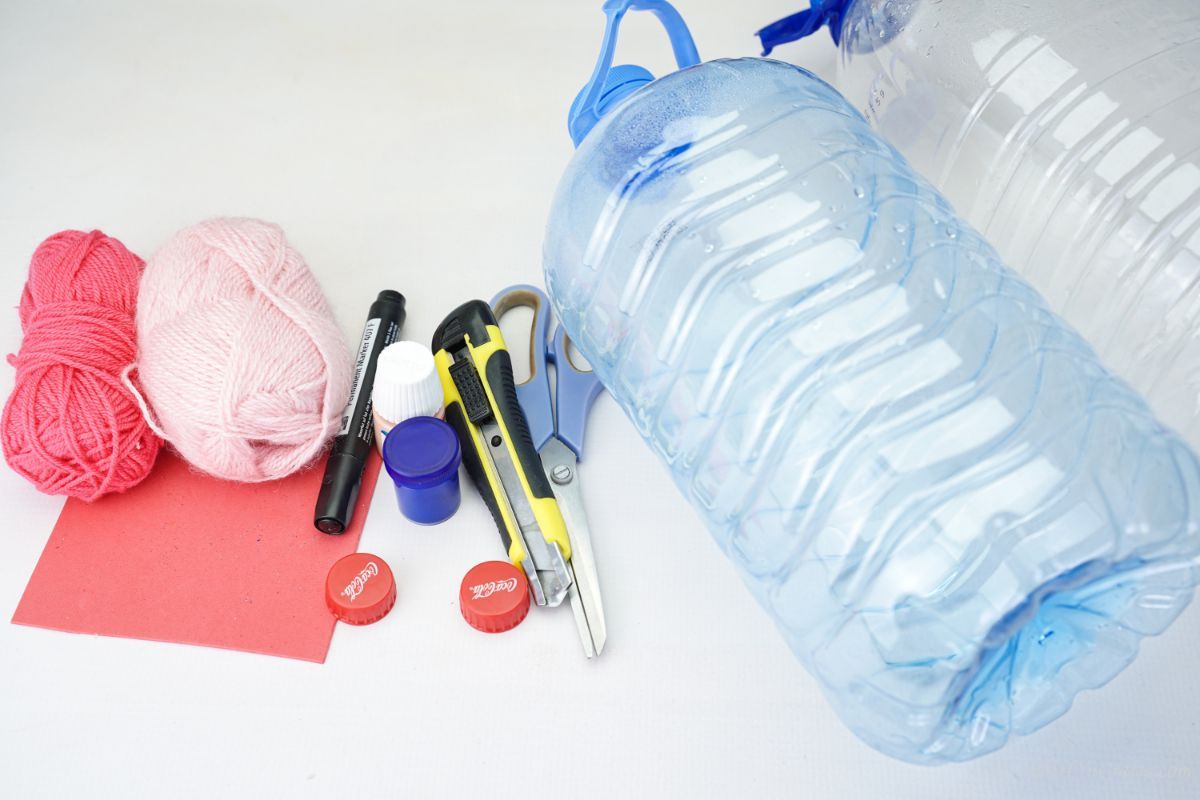
Supplies Needed
- Gallon size empty plastic bottle
- 2 lids from soft drink bottles
- Blue craft paint
- Cream craft paint
- Light pink yarn
- Dark pink yarn
- White paint pen
- ½" Pink and white polka dot ribbon
- Paintbrush
- Scissors
- Craft knife
- Hot glue gun
- Hot glue stick
- Soldering iron
How to Make a Plastic Bottle Doll
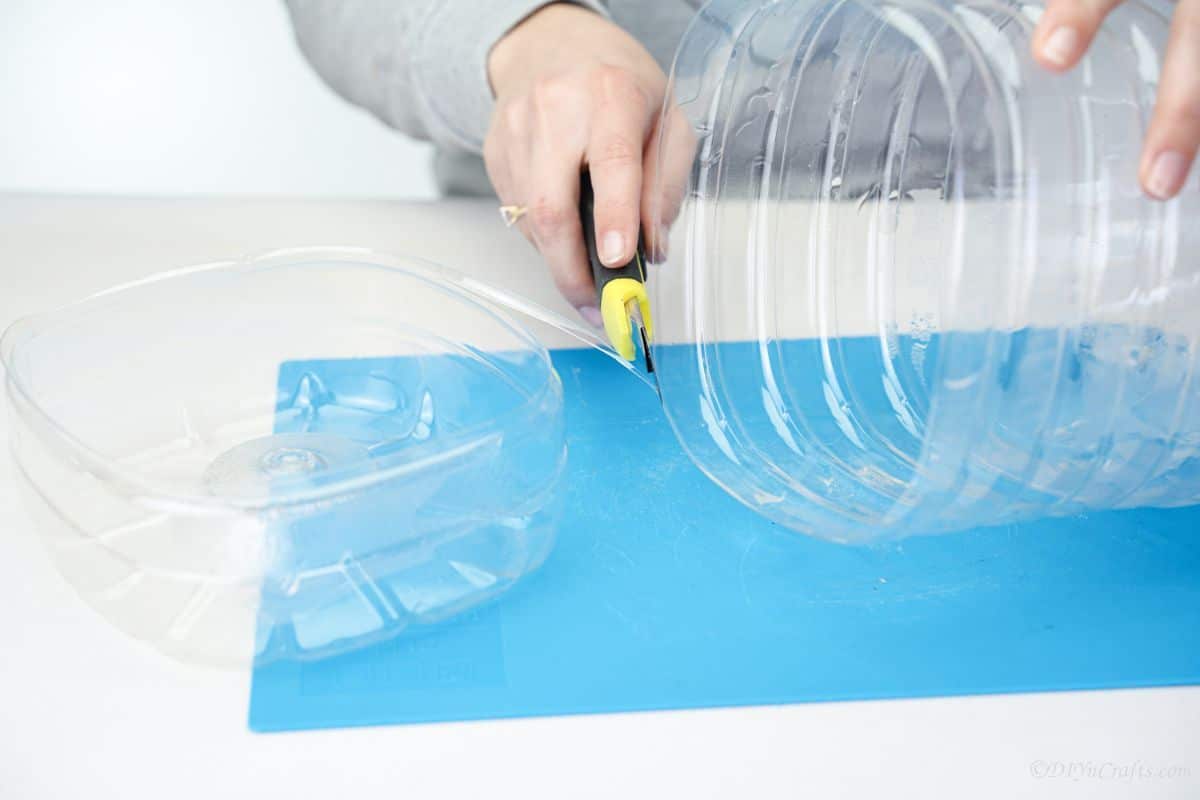
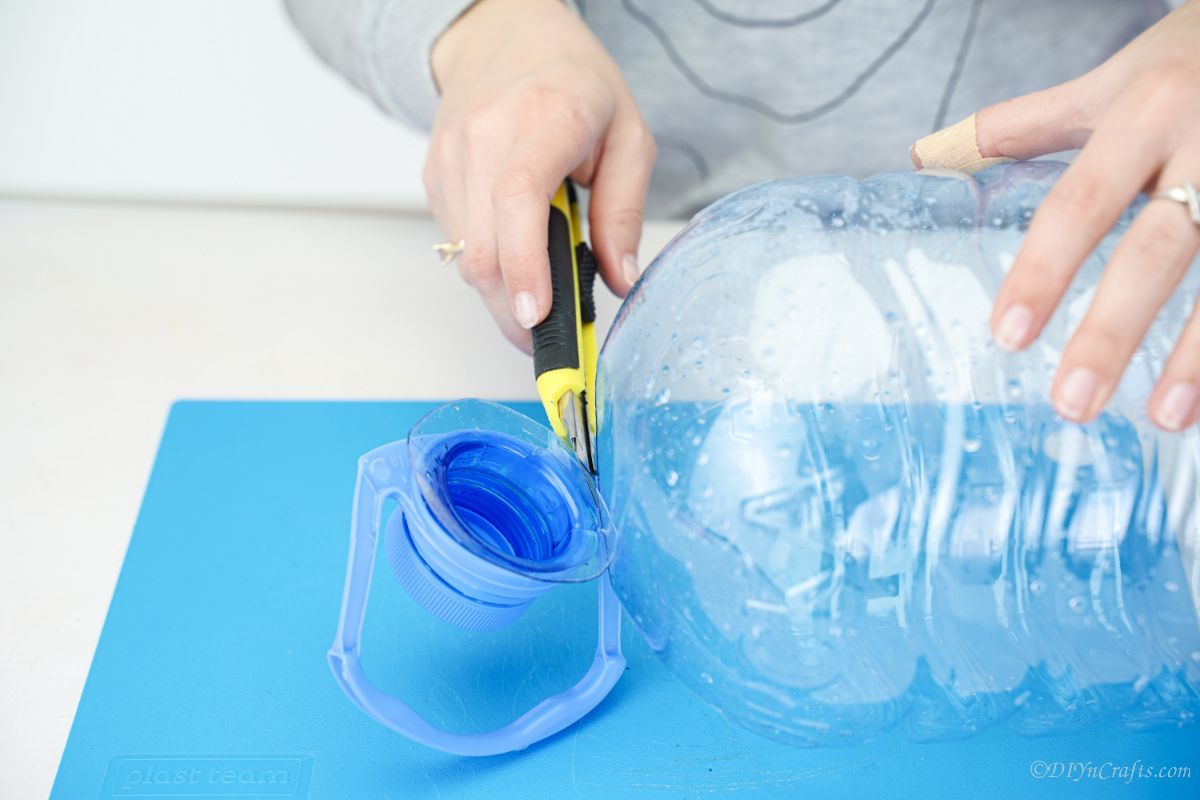
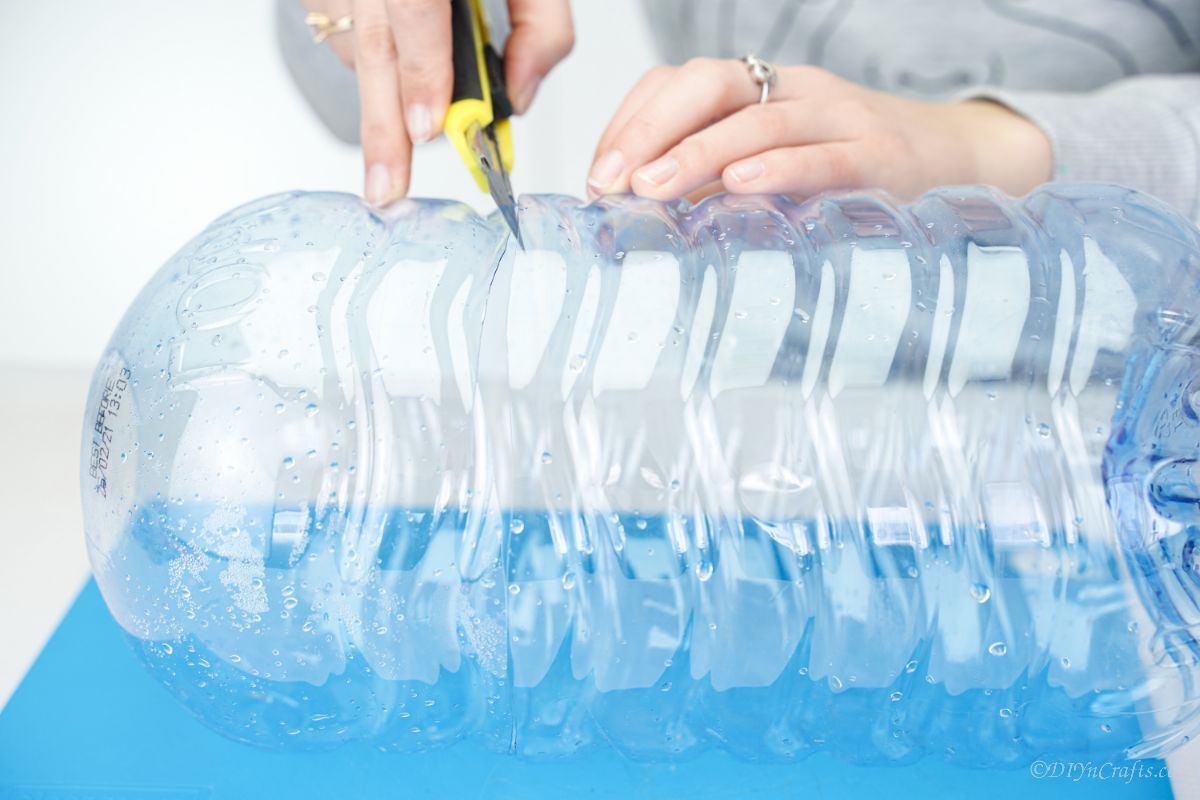
Clean out the plastic bottles, remove labels, and set them aside to dry. Once dry, start by cutting off the bottom ¼ of the gallon-sized bottle and setting it to the side.
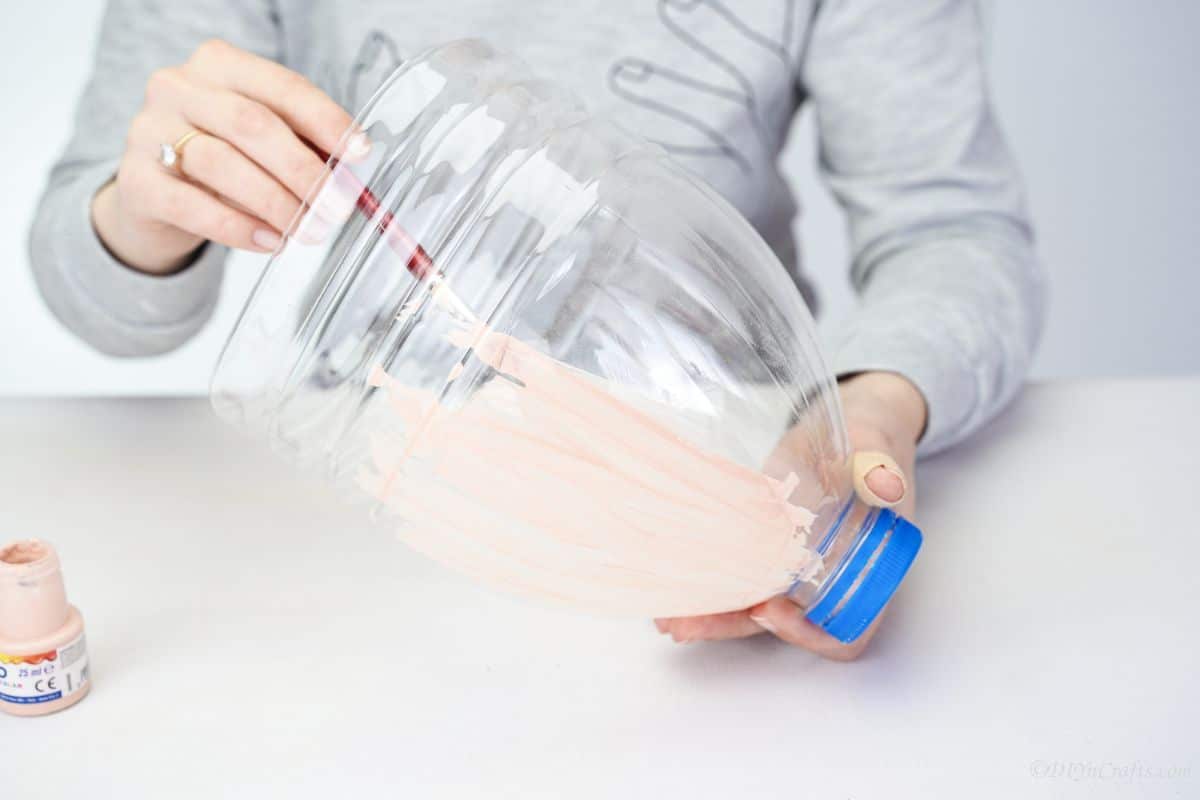
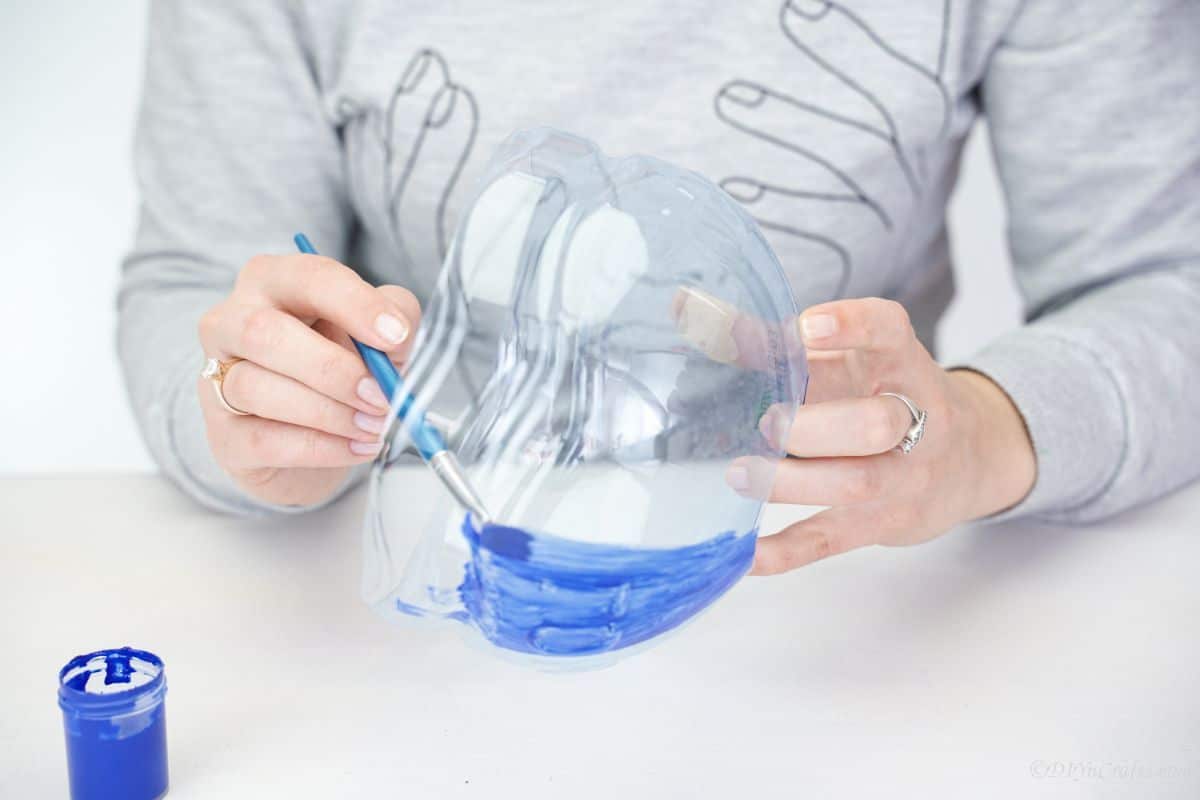
Now, begin painting the top half of the bottle that you kept, a flesh tone. I used a cream color, but you can choose what fits you best.
Set this aside to dry completely.
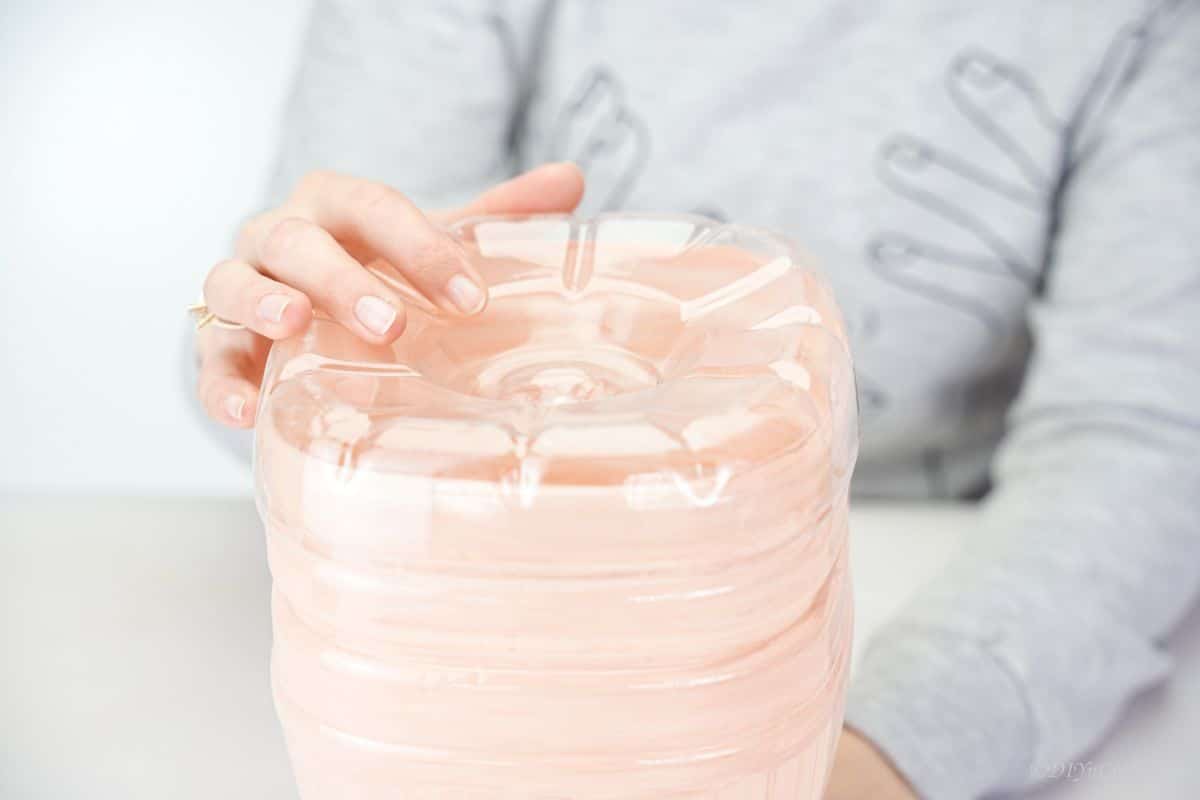
Once that is dry, place the bottom piece you cut off over the open edge of this piece and push down to seal the top. The lid will be facing downward.
Now, cut the lid and neck off of a second gallon-sized bottle. Discard the lid and neck.
Then, cut off the base of this bottle, so you have just the top ¼ of the bottle remaining with the open neck you cut.
Now, paint this piece blue, then set it aside to dry.
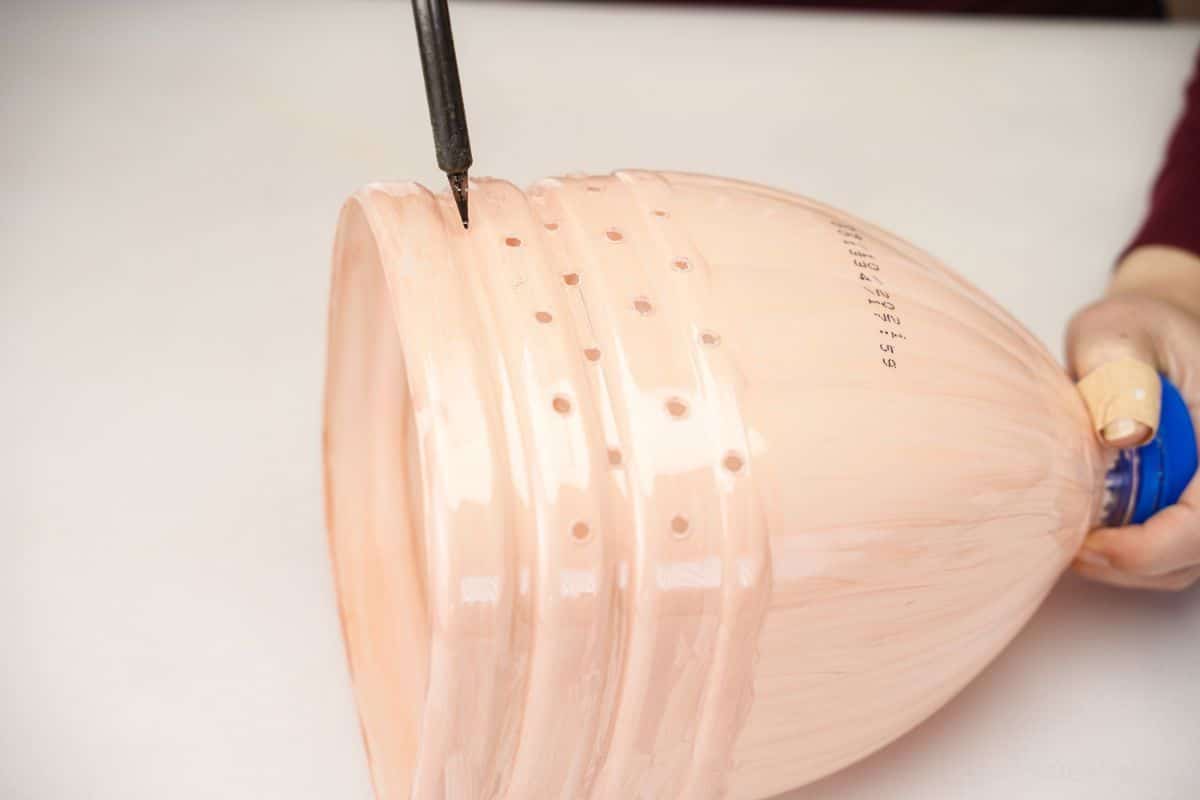
Once the light cream piece has dried, you will begin using the soldering iron to make rows of holes for pushing yarn through to create hair.
Add 20 to 25 holes on one side of this bottle, in rows.
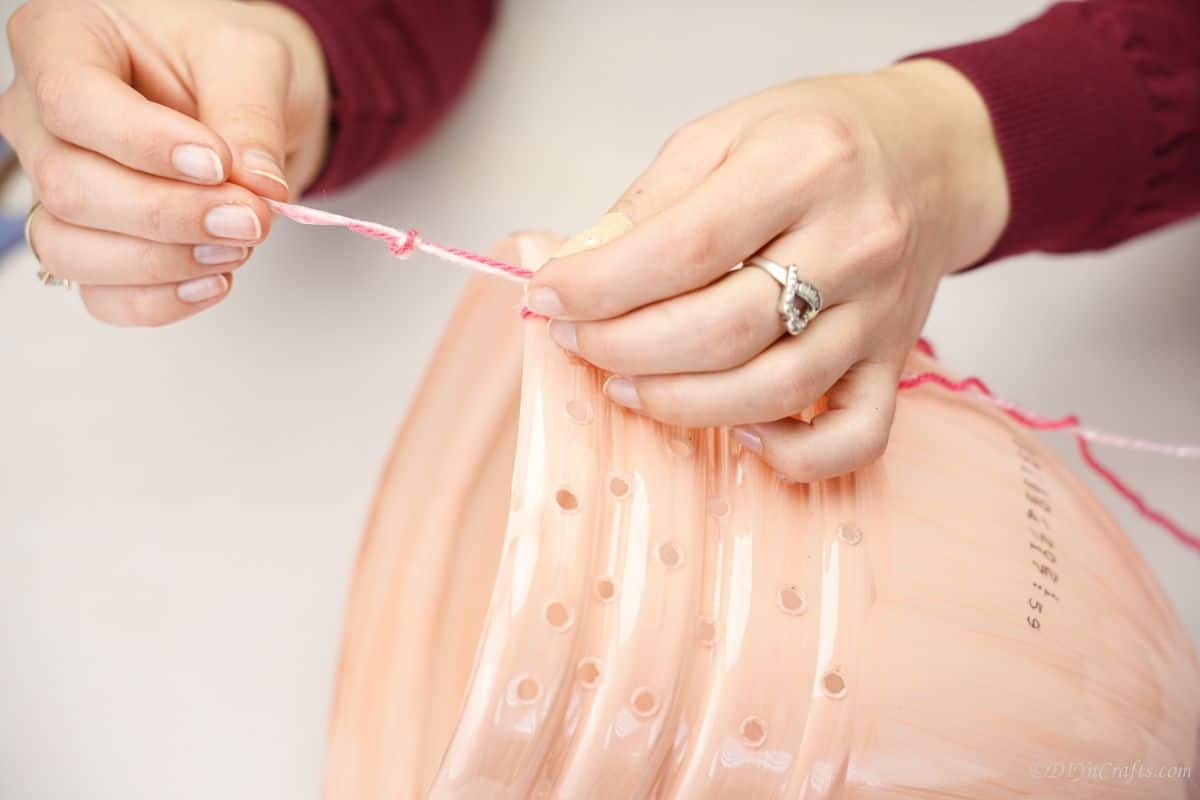
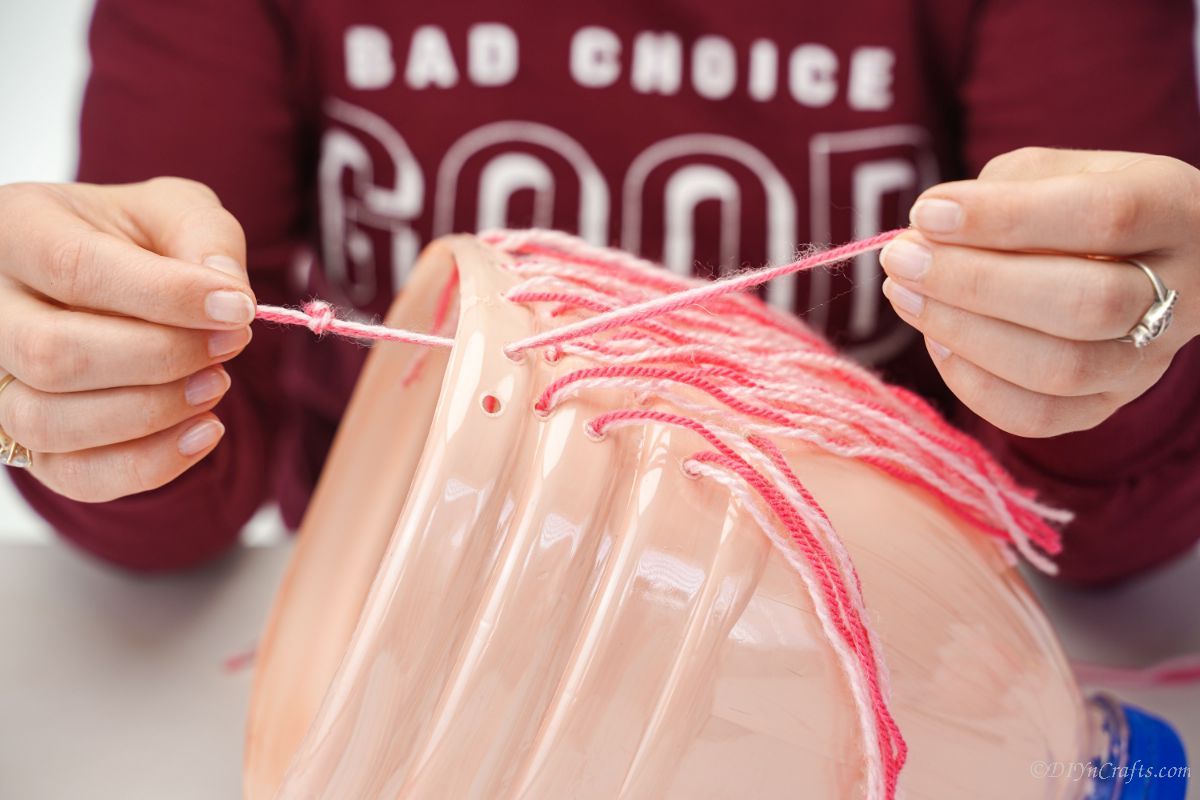
Then, start twisting together the two colors of yarn you chose, and push them through the holes.
Do this one hole at a time, pushing through, tying on the inside, then cutting at varying lengths to create "hair" that is around 6" long on the base. continue this until the holes all have yarn hair.
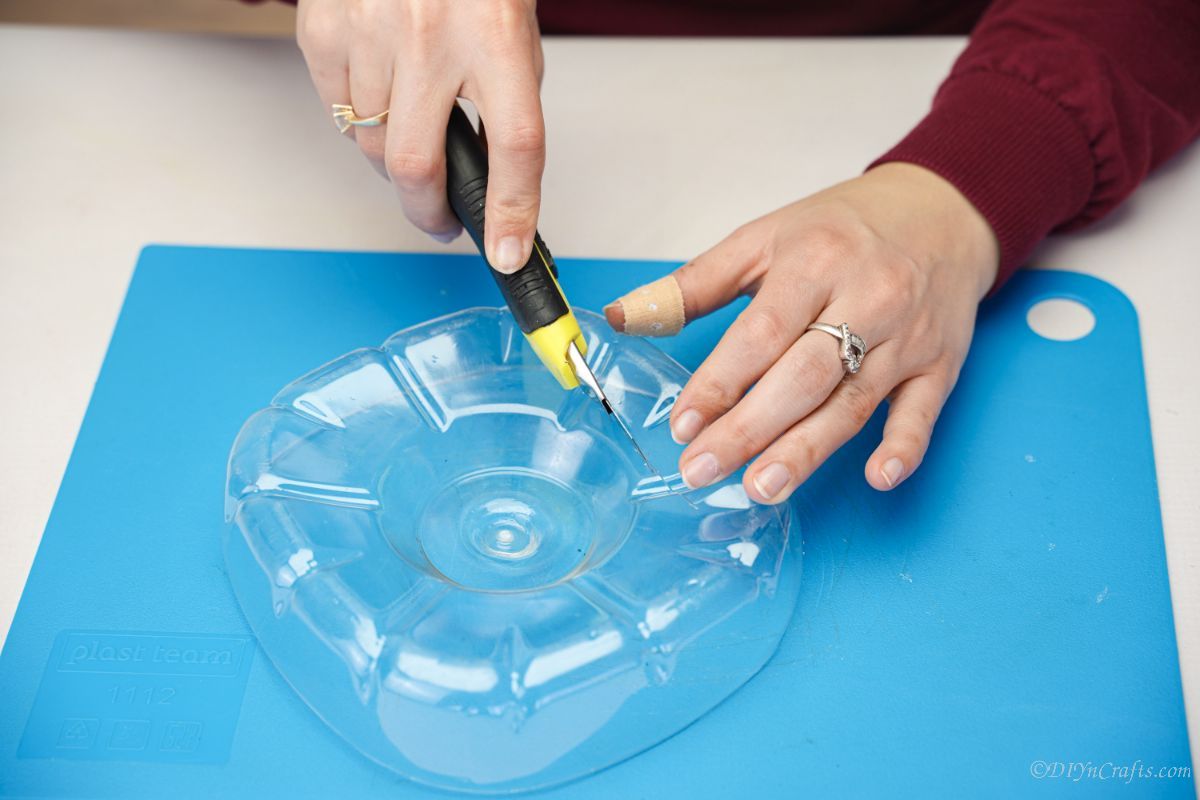
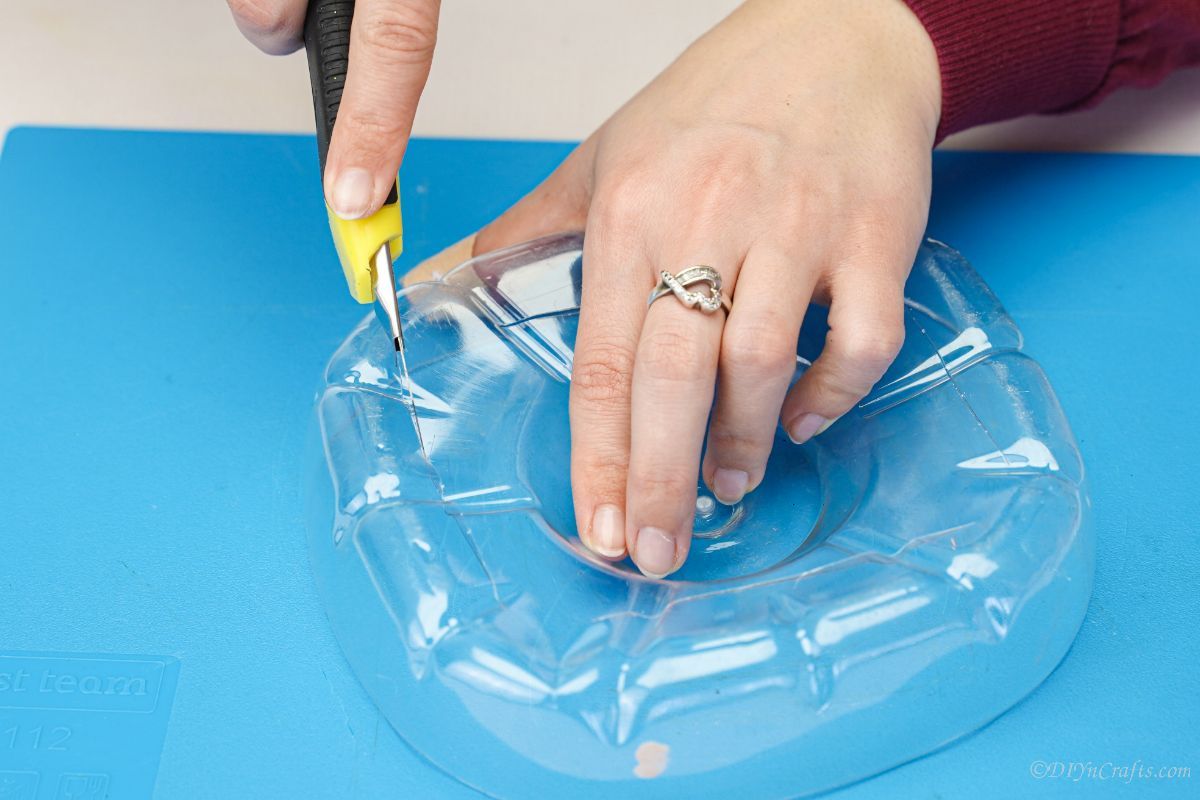
Using one of the bases of the bottles you didn't paint, you will create the top of the doll head. On three sides of the base, cut a slit that is 2" to 3" wide.
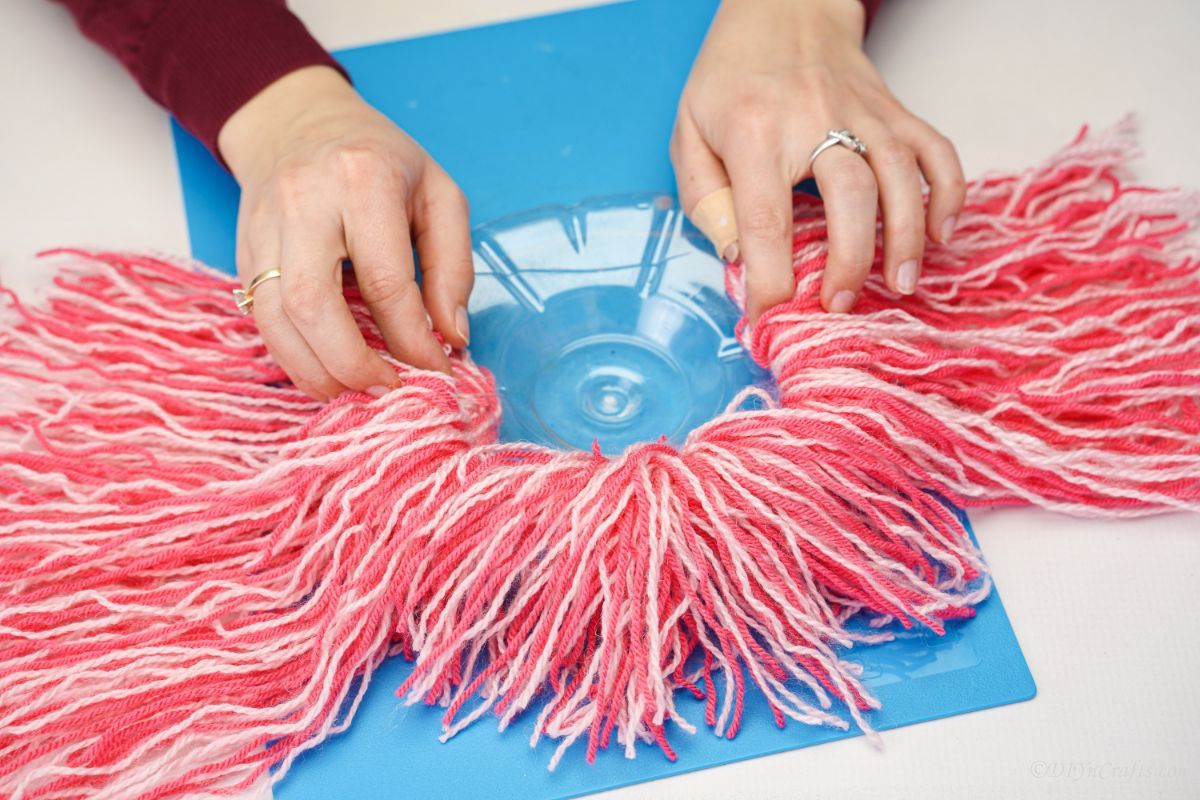
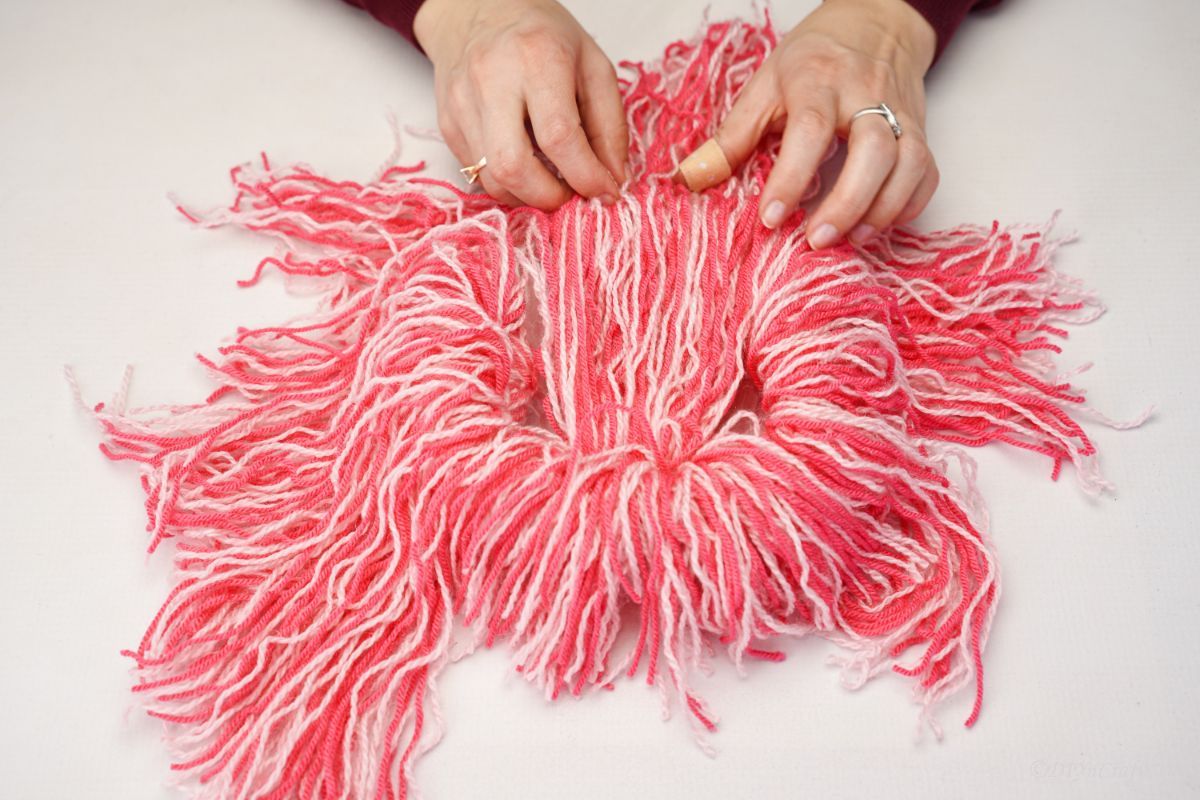
Now, bundle yarn together into two bundles 8" in length, one 12" in length, and one around 3" in length. each bundle will have around 50 pieces of yarn.
Tuck the two 8" bundles into the slides on the sides, one on each side.
Then, tuck the shortest bundle of hair into the remaining slit.
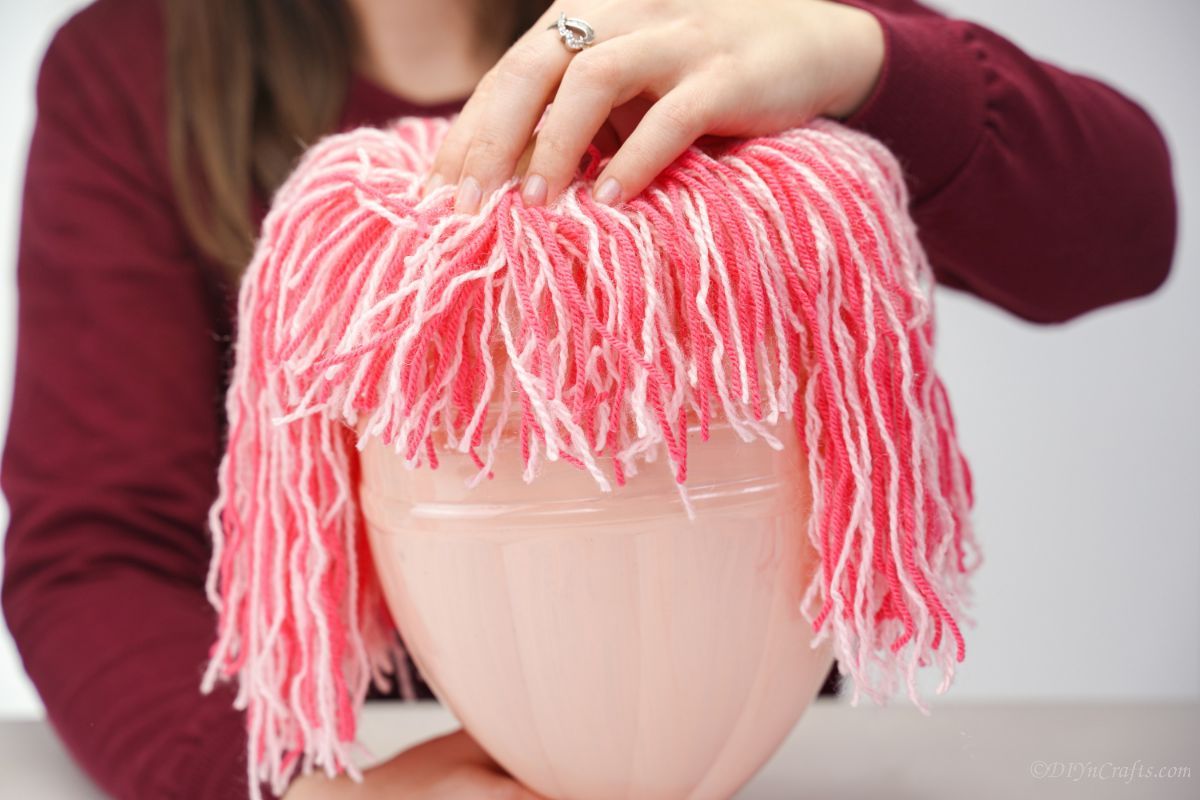
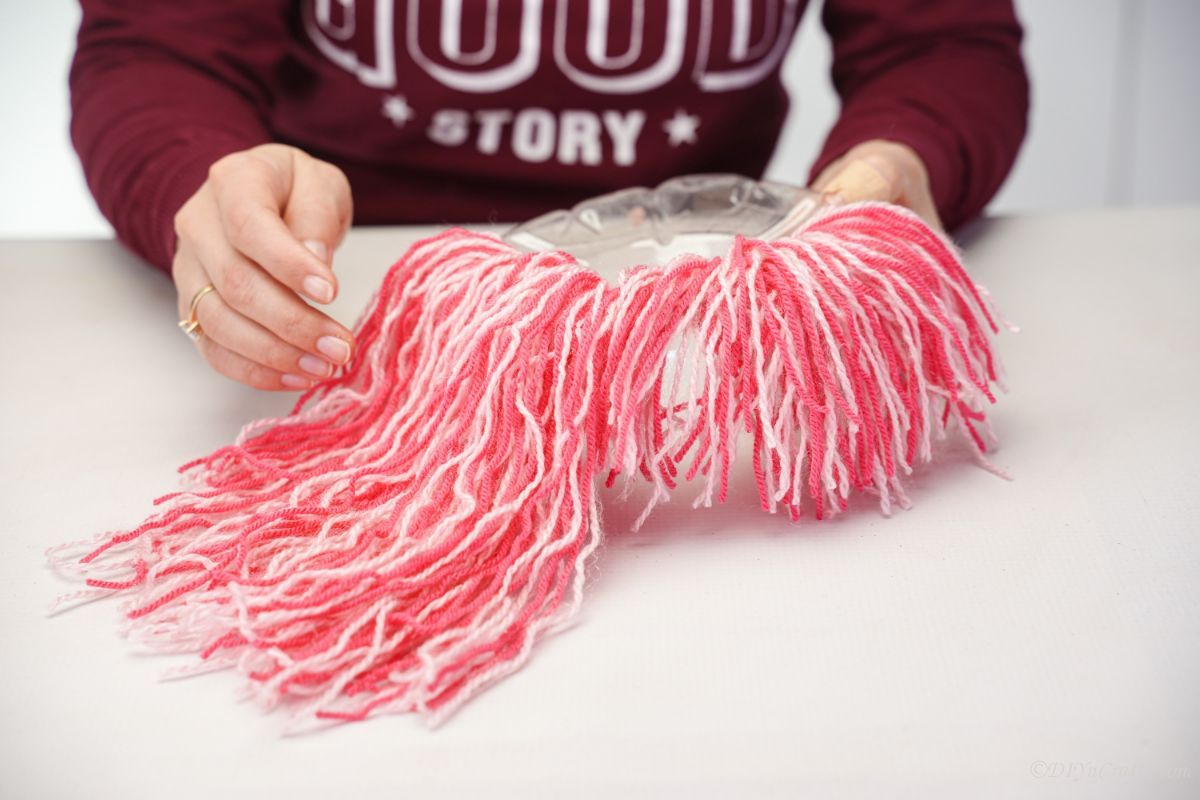
Lastly, tuck the longest bundle of yarn hair behind the smallest in that same slit, but pull it back over to cover the top and hang over the back of the head.
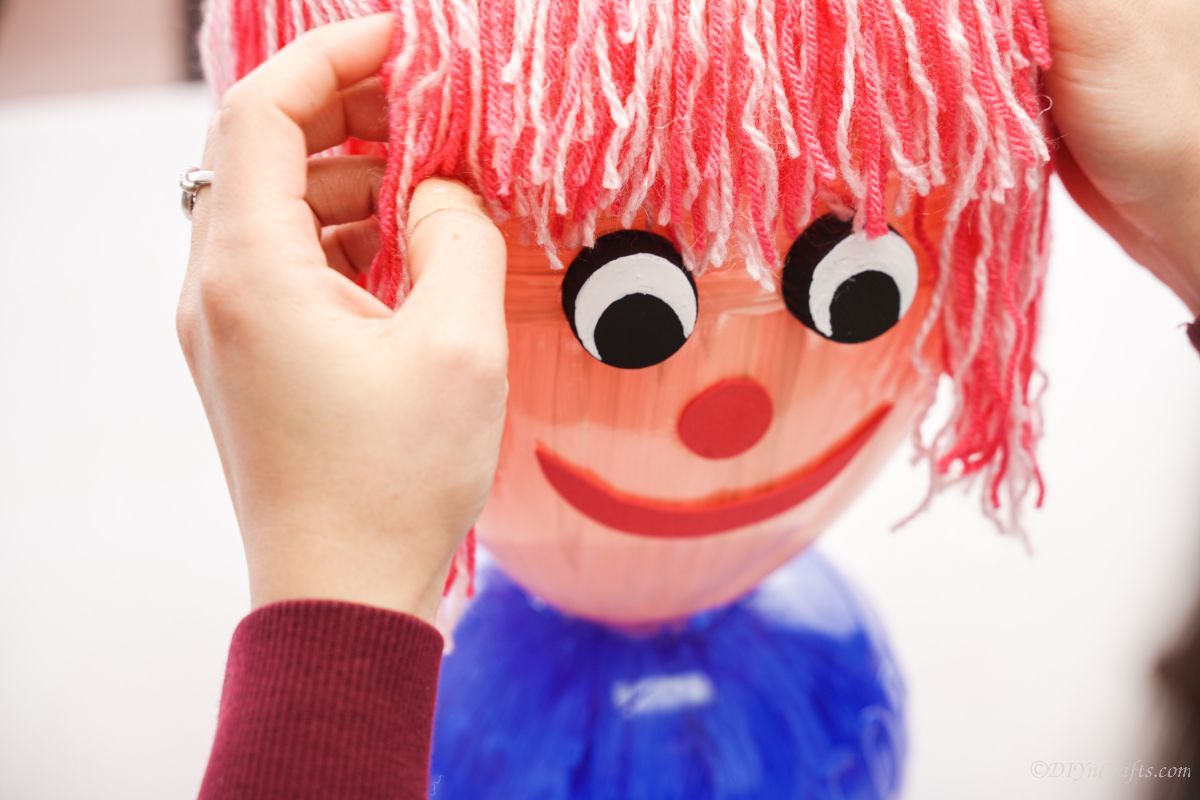
Arrange the yarn hair, then place it on top of the cream base with yarn on the back so the hair is on the sides and back, and the shorter bundle on the front resembles bangs.
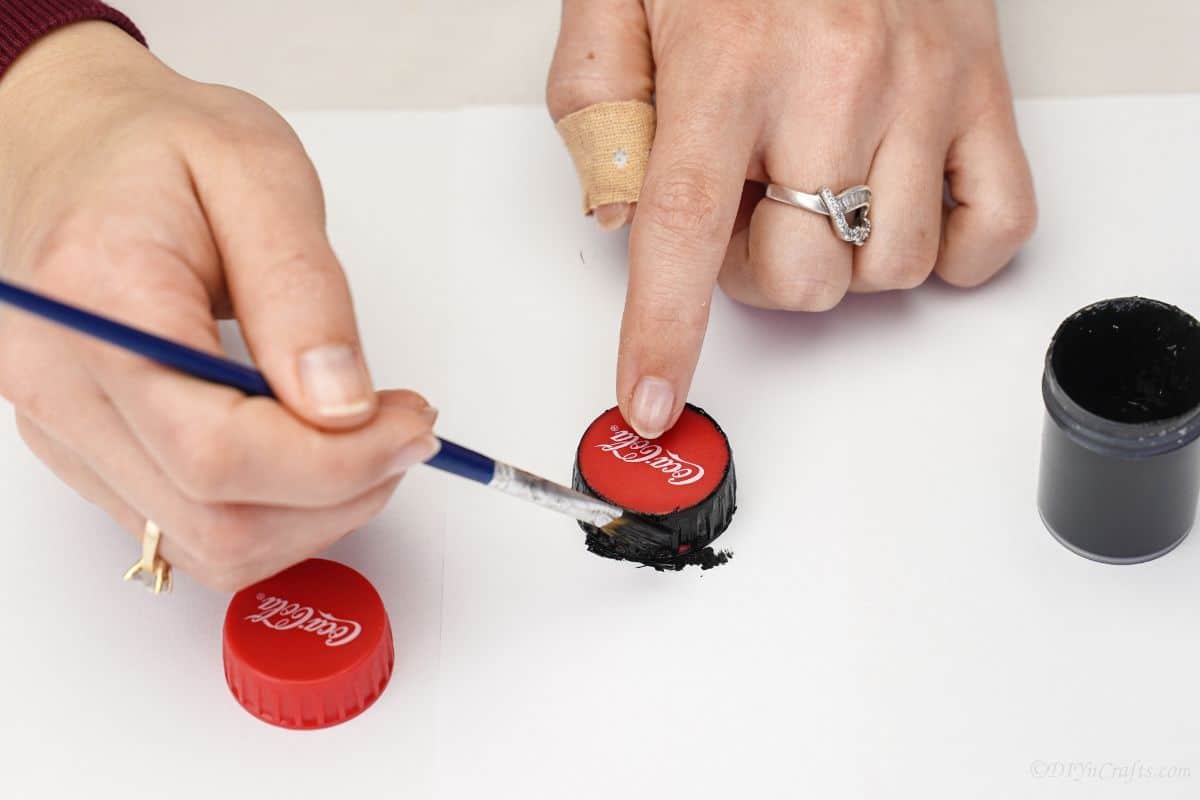
Once the hair is in place, set this aside and paint the bottle caps/lids black and let them dry.
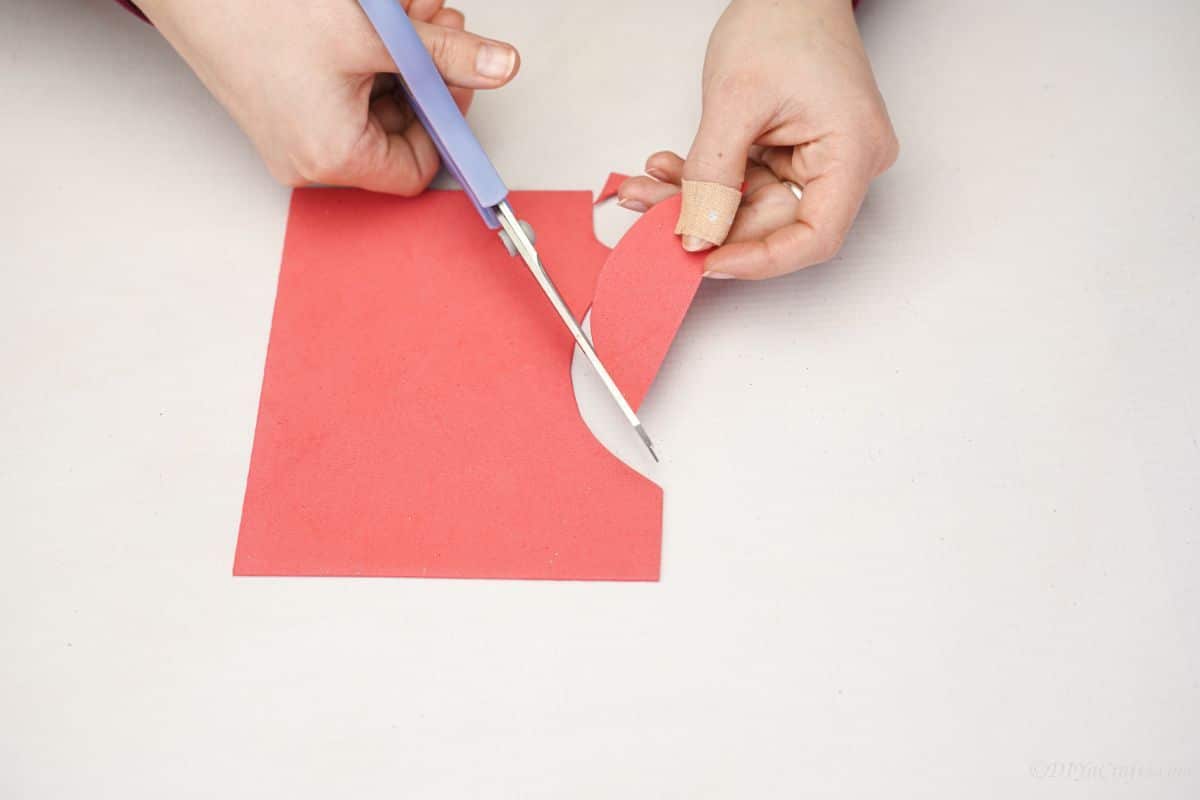
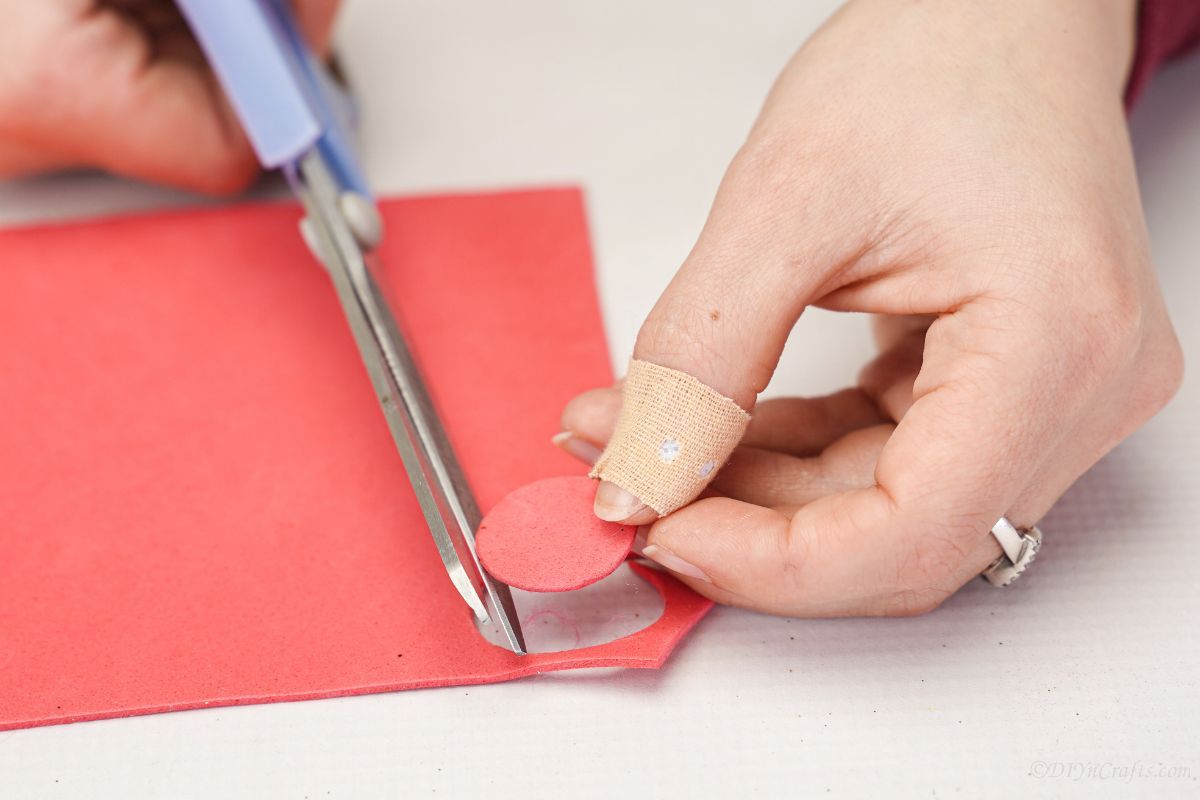
Trace and cut out a small circle nose, and a small smile/mouth shape on red paper.
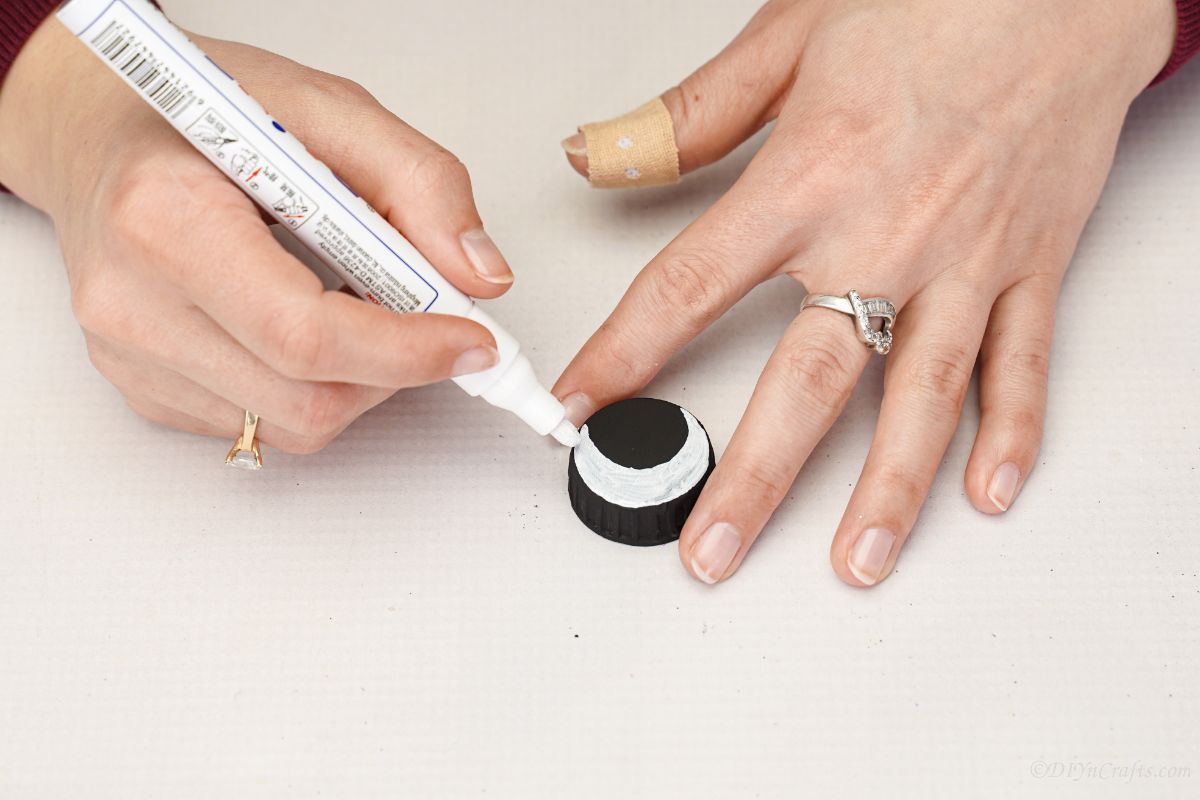
When the lids have dried, use a white paint pen to create a half-moon shape on on edge of both.
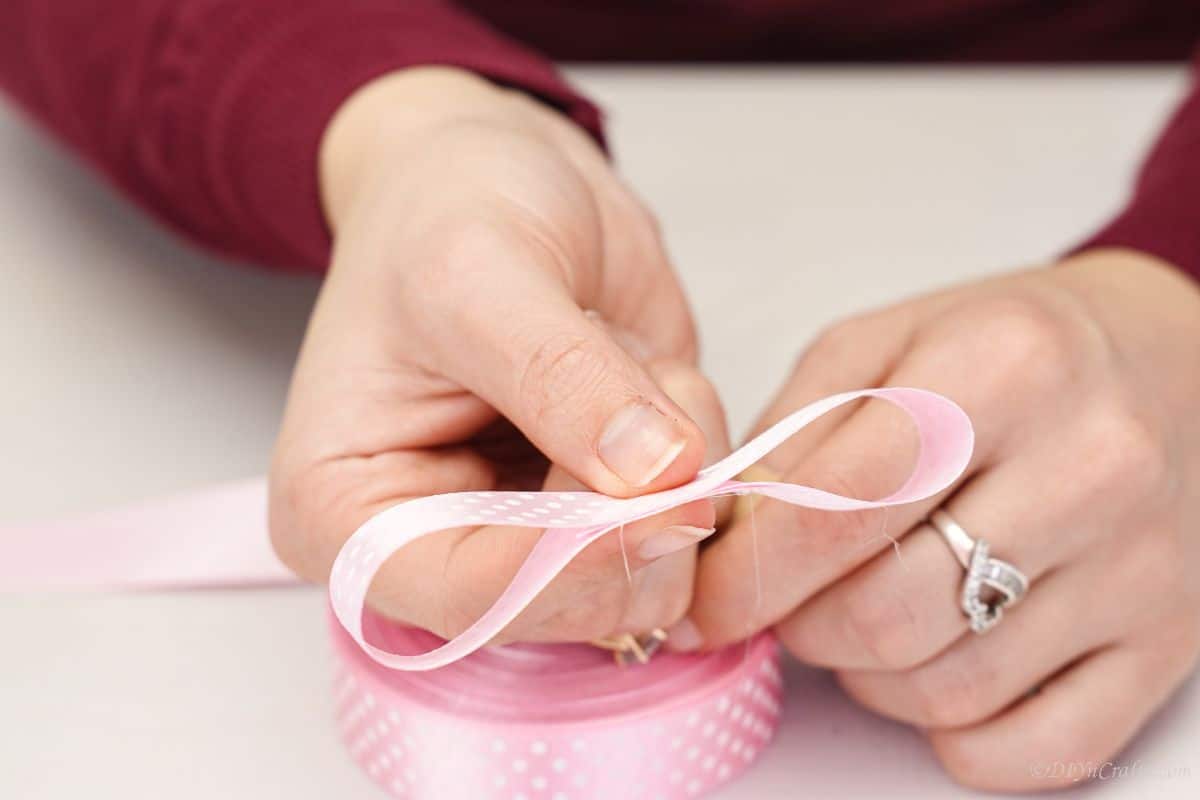
Then, make a little bow with ribbon and glue it together with ribbon around the center.
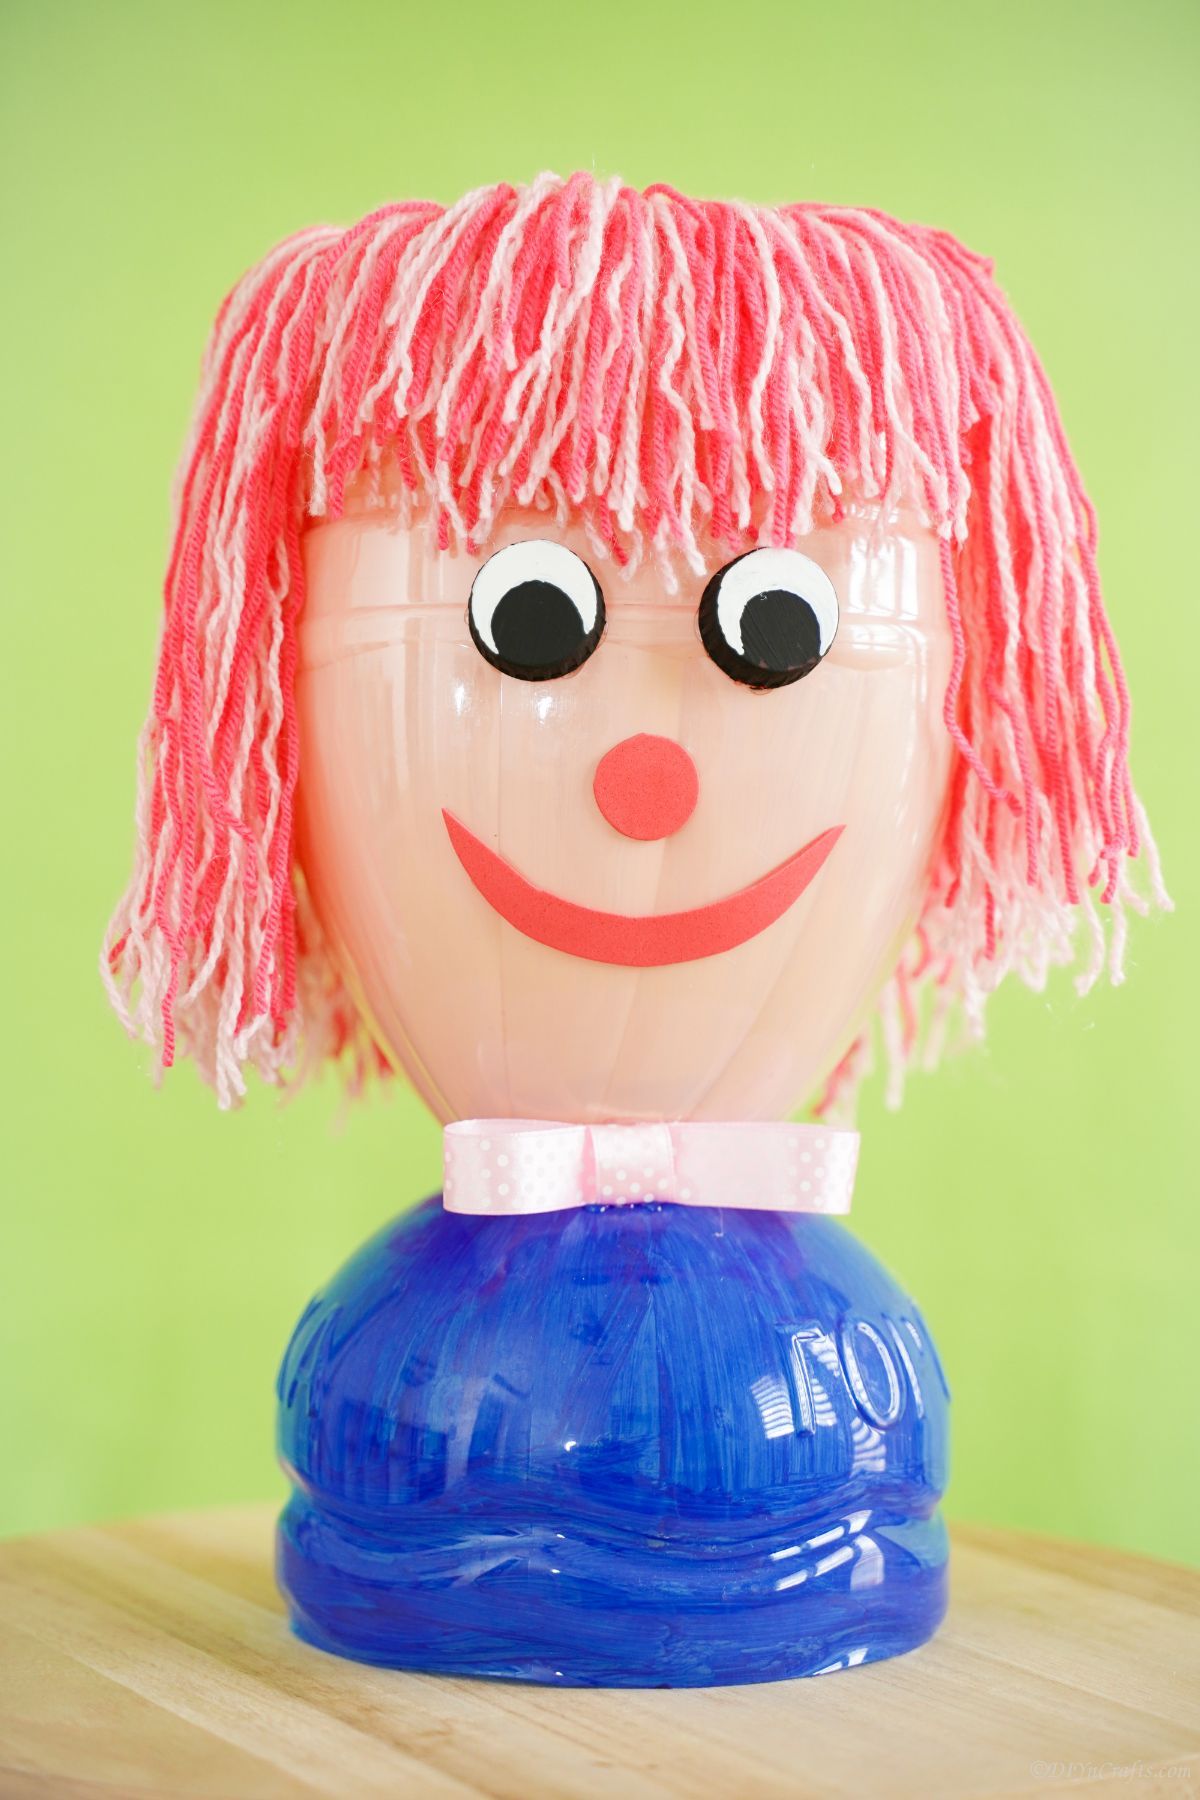
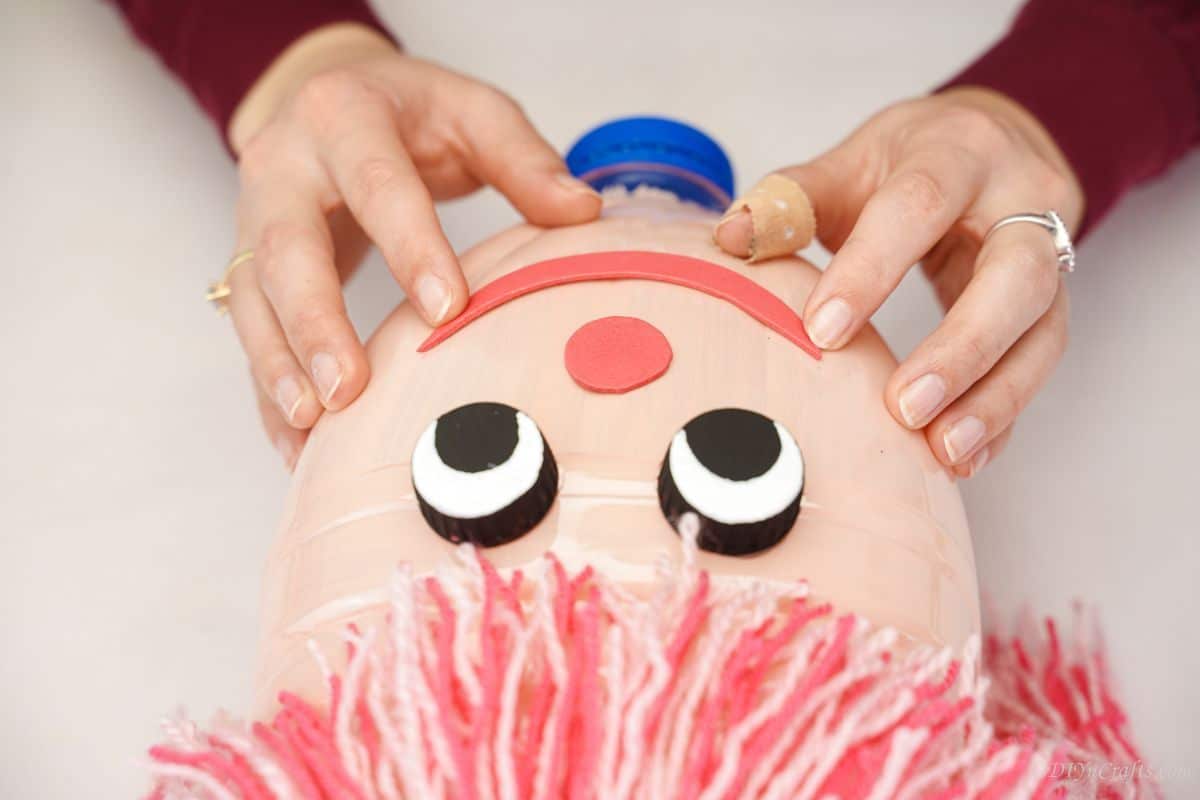
Now, it's time to assemble the face on your doll. Glue the lids as eyes, the red circle nose, and the red foam mouth to the front of the bottle head.
When this is all to your satisfaction, glue this on top of the blue-painted base so the lid end of the head slides down into that open neck of the blue base.
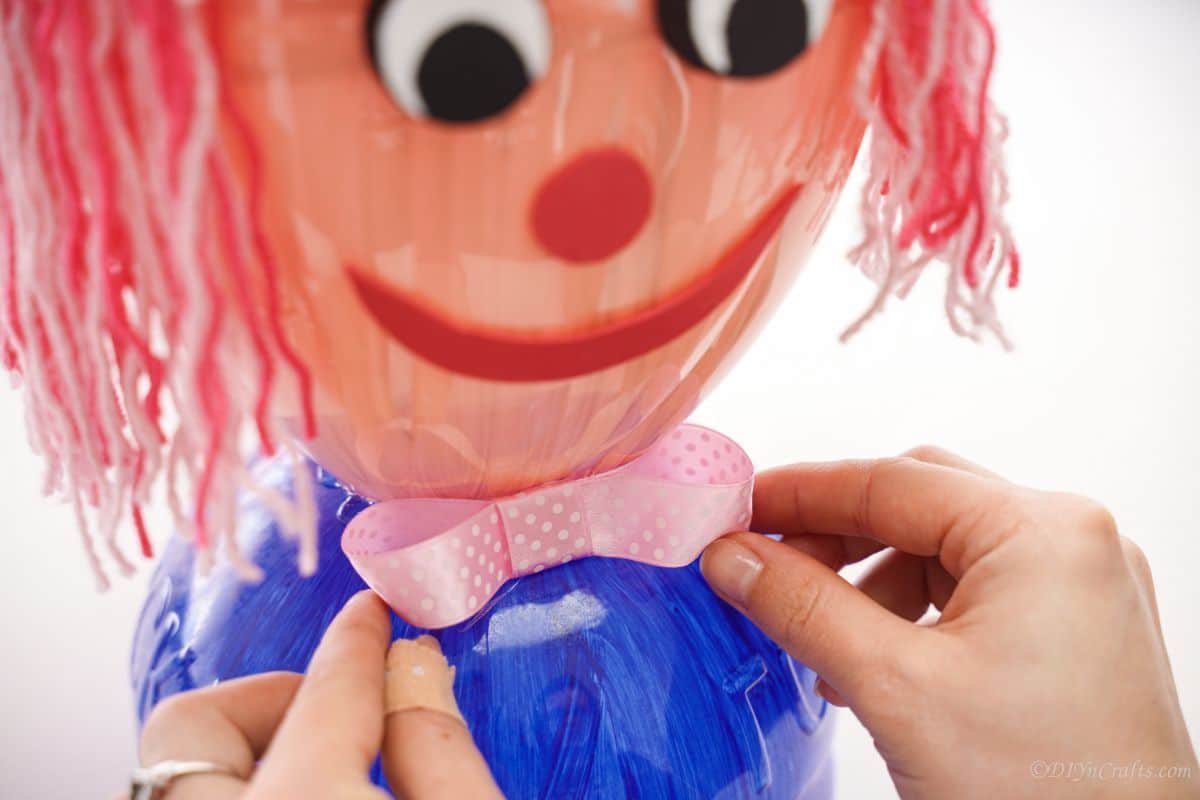
The last touch is to glue the bow on the neck of the base as a little addition to the "shirt" of the doll.
More Easy Craft Ideas
If you want to turn those empty bottles into something fun and new, don't look any further! We have tons of great ideas about using empty plastic bottles as a base. Turn trash into treasure and add one or all of these to your crafting list soon. Make sure that you bookmark these ideas, print out the tutorials, or pin them to a craft board on Pinterest to make soon.
- Repurposed Plastic Bottle Bird Nest
- No-Sew Upcycled Bottle Pencil Case
- DIY Plastic Bottle Jet Pack Rocket
- Upcycled Plastic Bottle Penguin Kids Craft

Cute Upcycled Plastic Bottle Doll
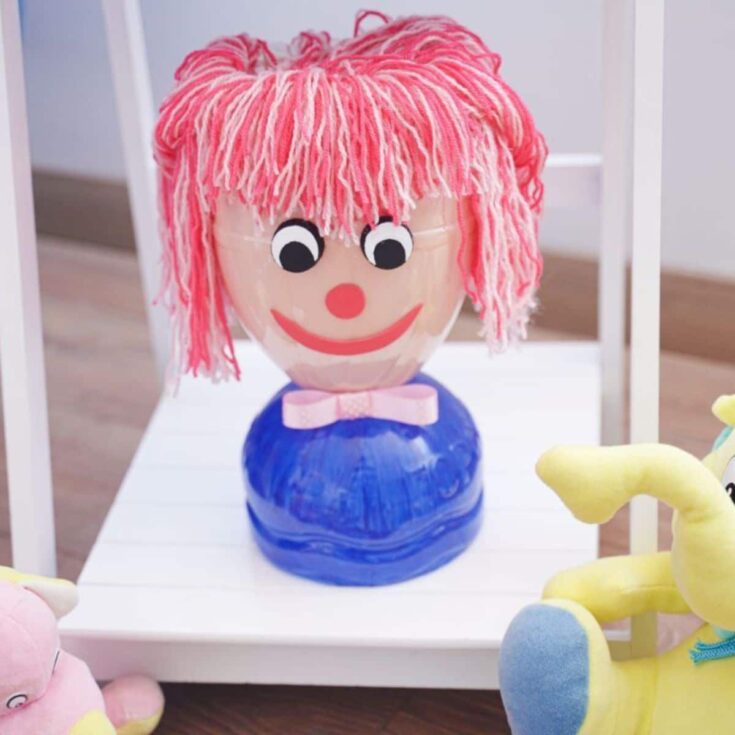
Make this fun plastic bottle doll with the kids for a unique new toy that everyone will love customizing with a fun personality!
Materials
- Gallon size empty plastic bottle
- 2 lids from soft drink bottles
- Blue craft paint
- Cream craft paint
- Light pink yarn
- Dark pink yarn
- White paint pen
- ½" Pink and white polka dot ribbon
Instructions
- Cut the bottom ¼ of a gallon-sized bottle off and set it aside.
- Now, paint the inside of the top half of this bottle with cream or skin-colored paint. Set this aside to dry.
- Once this dries, put the bottom piece you cut off, over the cut end of the painted bottle.
- Now, cut the lid off of a second gallon-sized water bottle. Discard the lid and the neck.
- Then, cut about ¼ down from the top of that same bottle. Set the bottom of this bottle aside.
- Paint this ¼ piece that is open on both ends, with blue paint on the inside then set it aside to dry.
- Use a soldering iron to make rows of holes on the upper cut end of the cream bottle. Add 20 to 25 holes on one side.
- Now, twist together the two colors of yarn, and push through the holes.
- Tie a knot on the inside and then cut the yarn that is now dangling on the outside of the bottle at 4"-6" in length.
- Repeat this process until the holes all have the yarn "hair".
- Using the base of one of the bottles that weren't painted. Cut this to just about 1 ½" to 2" up from the base.
- Now, use a craft knife to cut a 3" slice on all 3 sides on the center of this base.
- Cut and twist together additional yarn around 8" in length. You'll want 2 bundles of this length. Then an additional bundle around 8" in length. And the last bundle is only 2"-3" in length.
- Tuck the two 8" bundles into the two sides of the base you just made through those slits.
- Then, tuck the shortest bundle through the front of that base in the remaining slit.
- Finally, tuck the longest bundle into the same slit as the short bundle, and pull over to cover the back.
- Pull the yarn over the sides and arrange, and place this on top of the cream-colored bottle that has yarn hair on the backside.
- Spread the yarn out to create hair on 3 sides to create a head with hair.
- Now, paint two bottle caps/lids with black paint and set them aside to dry.
- Trace and cut out a small 1" circle from red foam paper.
- Then cut a half-moon shape for a mouth.
- Use a white paint pen to draw a half-moon shape on one edge of the two painted black lids.
- Make a small bow out of pink and white ribbon using the ribbon itself to wrap around the middle of the bow and glue it together.
- Now, add the black lid eyes, red circle nose, and red foam mouth to the front of the cream bottle head.
- Glue the head onto the blue-painted base, so the lid end of the head fits into the neck end that is open on the blue base.
- Lastly, glue the bow at the base of the head on the neck of the doll.
Notes
Use any color of paint for the skin tone, shirt, and even hair for your doll to make them unique.
Recommended Products
As an Amazon Associate and member of other affiliate programs, I earn from qualifying purchases.
-
 Choose TWO Babys First Doll Baby Doll Set Brown Skin Baby | Etsy
 -
 Personalized First Doll With Carry Cot Bottle and Blanket | Etsy
 -
 Hand-crochet Doll Made of Environment-friendly and Organic | Etsy
 -
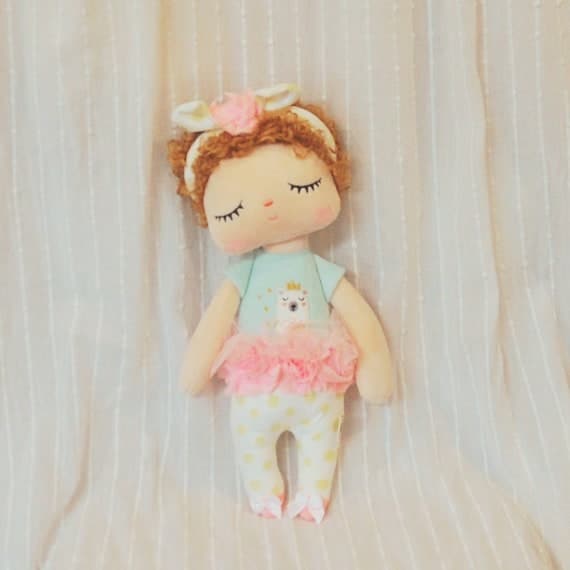 First Baby Doll Rag Doll Personalized Rag Doll Baby's | Etsy
 -
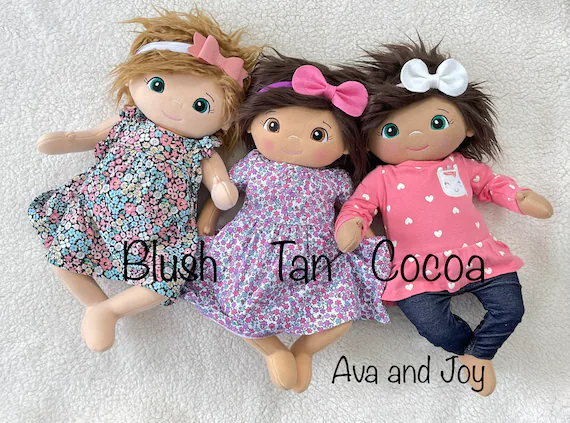 Custom Full Size Dolly Newborn and Preemie Size Options | Etsy
 -
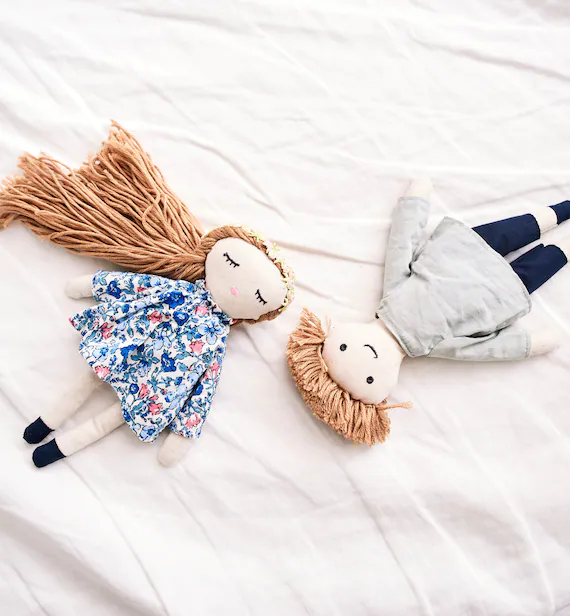 Children's Anxiety / Worry Rag Doll | Etsy
Finished Project Gallery
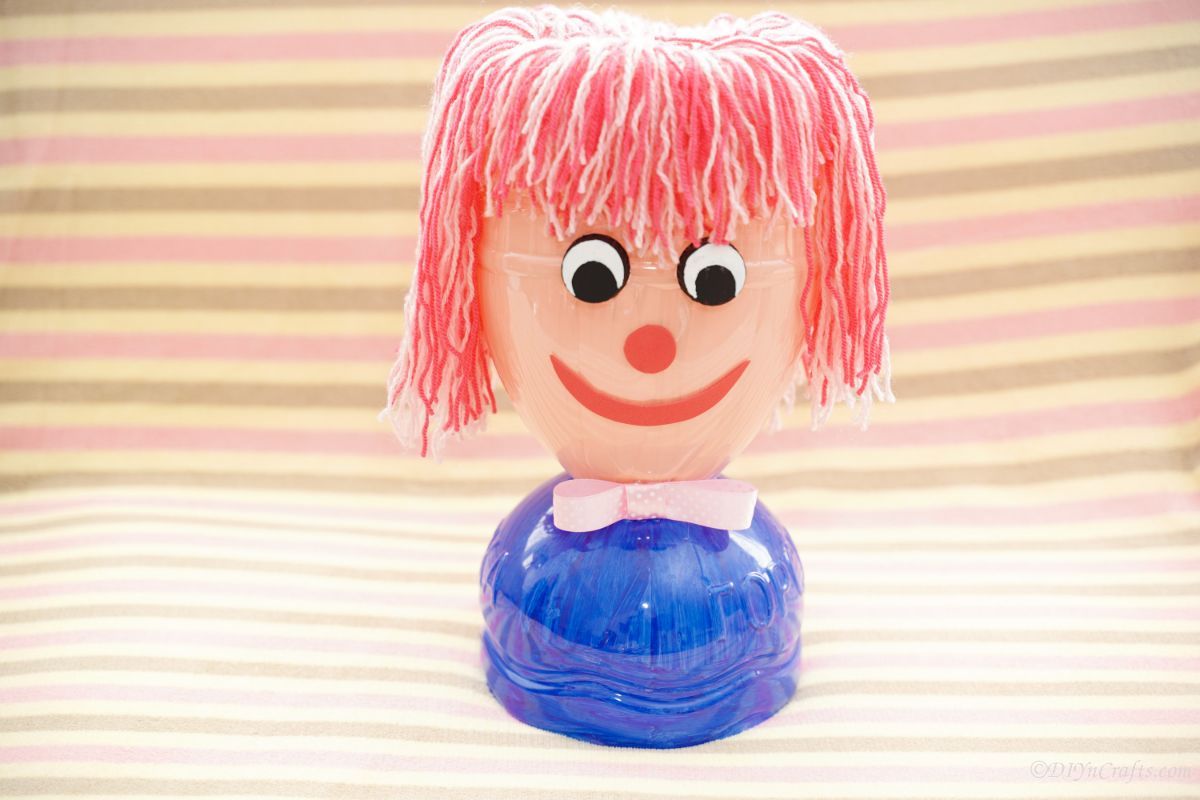
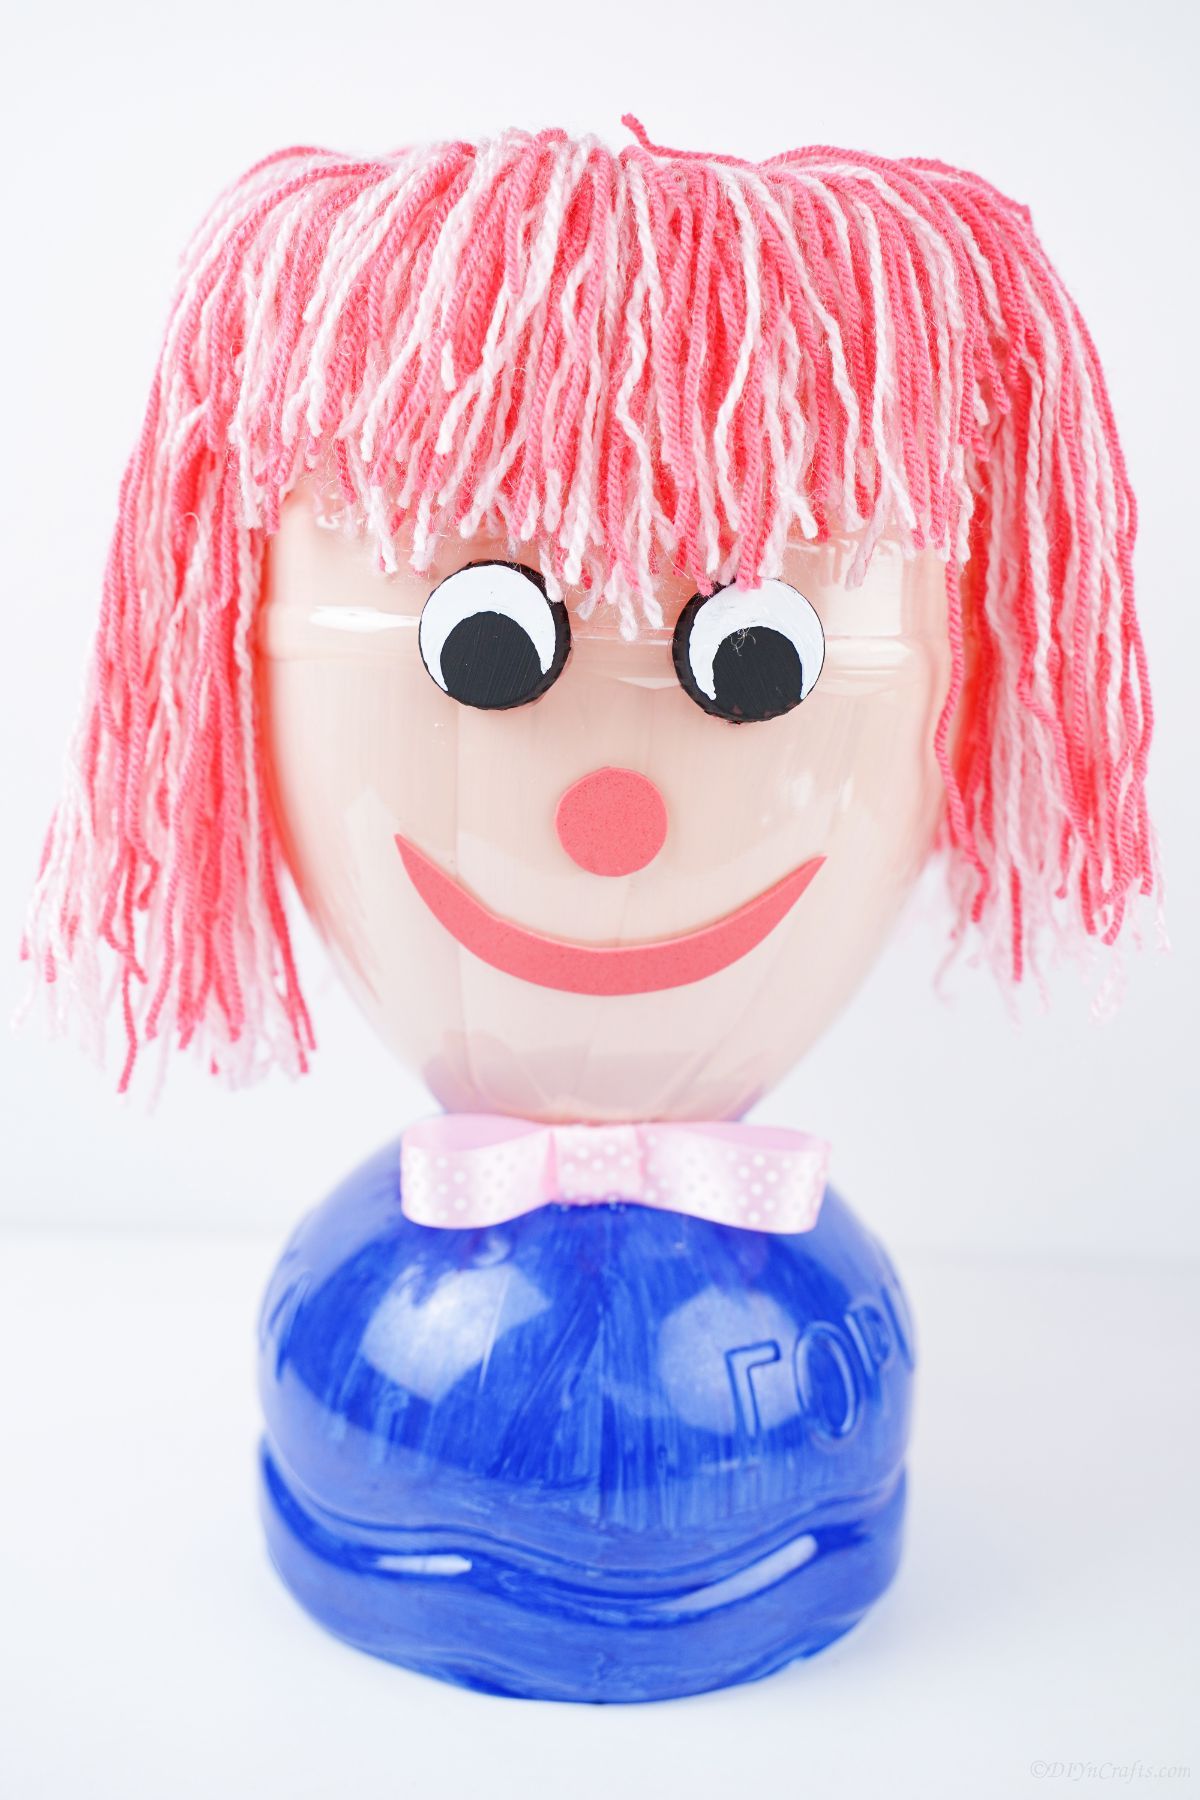
Use any color yarn to make the hair on your doll for it to look unique!




Leave a Reply