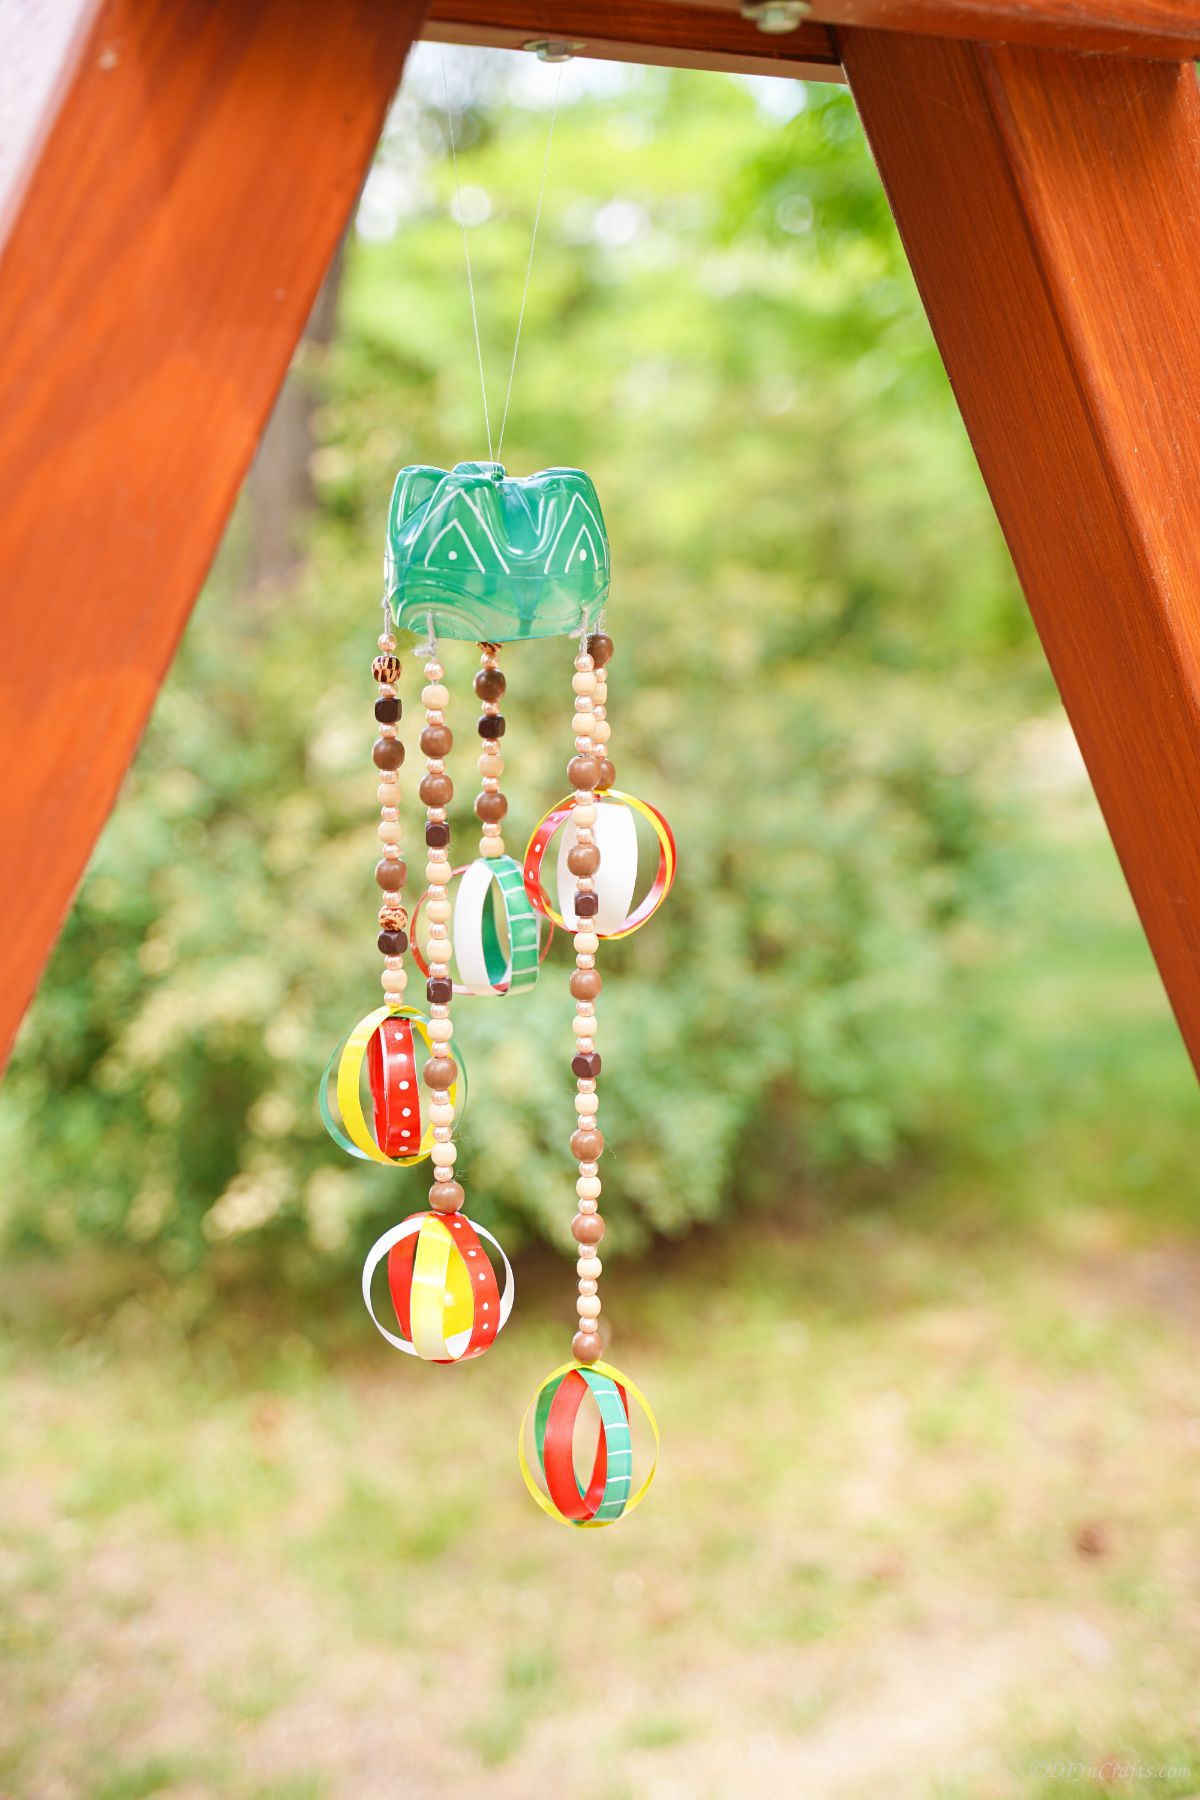
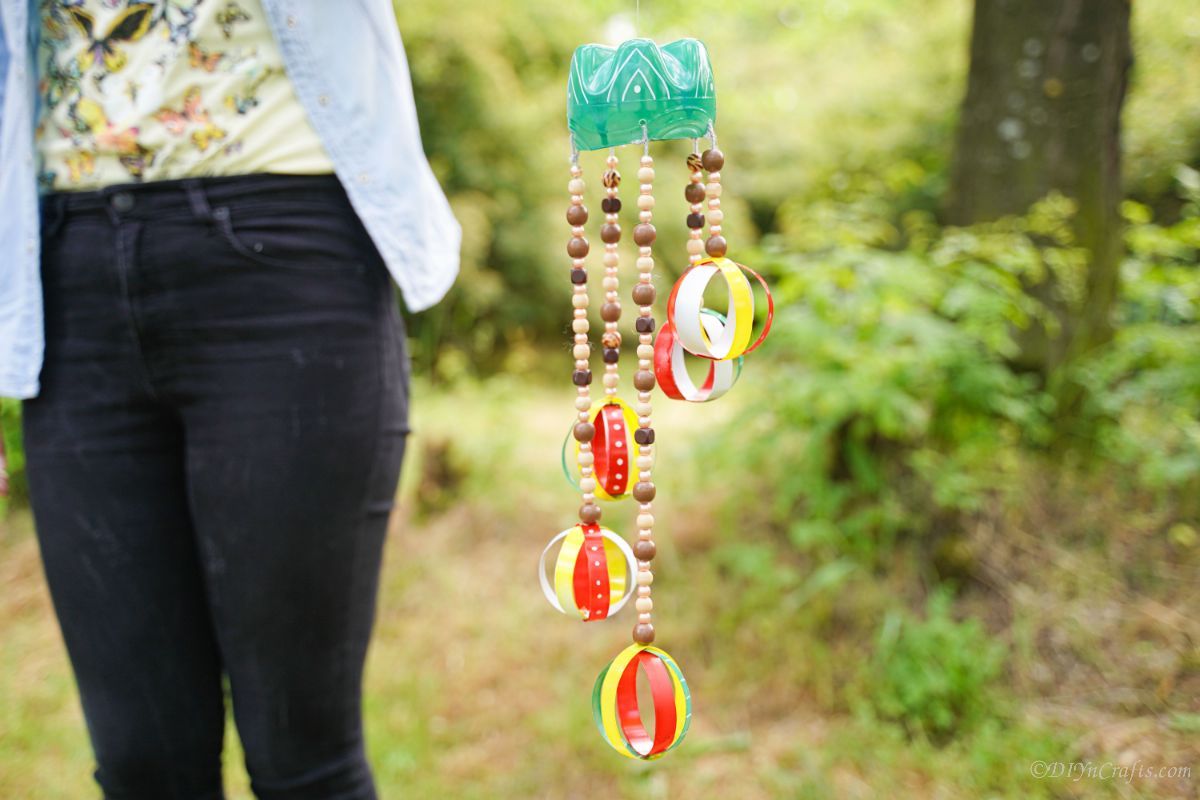
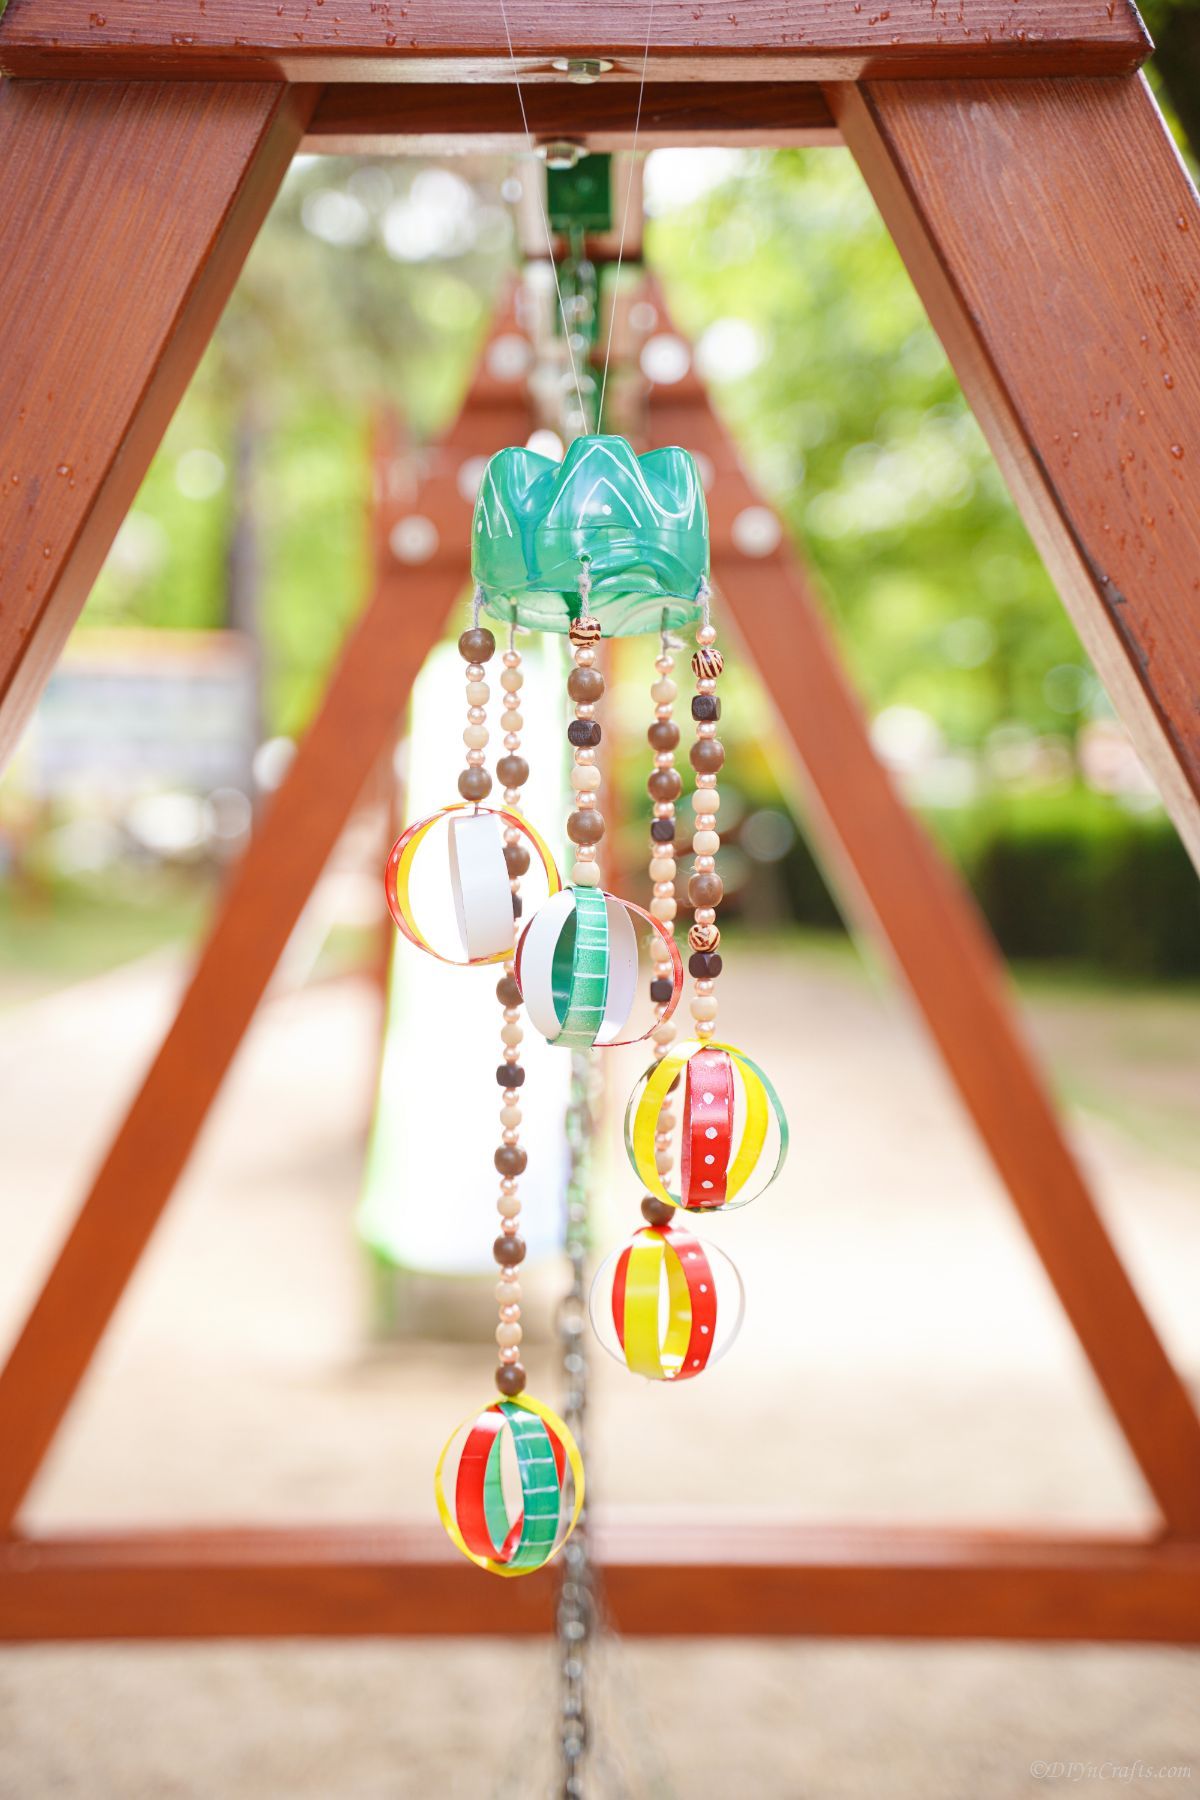
Have you ever wanted to make your own beautiful windchime? You can with this fantastic idea use a plastic bottle as the base of a beaded wind chime. Use things you already have on hand in your craft supplies or recycling bin and make a unique and custom windchime that nobody else can match! This is an easy, do-it-yourself craft idea. You get to create a stunning work of art that will add beauty and charm to any home or garden.
Plastic Bottle Beaded Windchime
I am all about recycling or repurposing items I have on hand to make something fresh and new. A few pieces of leftover crafting supplies, some paint, and empty bottles are all you need to make this come to life for your own garden or porch decor. It's so easy to make this and you can use any color or bead combinations you like to customize it for your yard.
The finished product is sure to brighten up your home or garden, and it makes an excellent gift for someone with a garden. Let the kids help you make this, or get them busy with something a little different like this upcycled tin can windchime, or even this upcycled CD wind chime idea. Both are so much fun!
What Size Bottle Should I Use?
You can use whatever size bottle you have. I used a larger soft drink bottle for the top base of the wind chime. Scrap plastic from it, or smaller bottles, can be used to make the balls at the bottom of each chime.
The size of the bottle will change the size of the beaded wind chime, which can make a lovely variation in sizes around the garden. It can also give you a little different sound as the beads on the chimes will be farther apart and make a little different sound when clicking against each other in the wind.
How Many Chimes Go on a Windchime?
How many chimes on the windchime depends on the size of the windchime. Typically there are 6 to 8 that will fit but if the windchime is smaller, like this beaded wind chime, you will fit 4 or 5 of them. You want to remember to space them apart at least 1" away from each other so they have space to move in the wind. Otherwise, add as many or as few as you want to your own project.
What Type Of Beads Should I Add?
You can use whatever type of beads you have. I love these wooden beads because they look great with the windchime but also because the wooden beads hold up well outside. You can use other styles of beads as well. I would avoid glass beads because they might break as they hit each other.
One of the perks of this type of craft is that you can use bits and pieces of leftovers from past projects. I like to dump beads into a tin when I only have a few left, and that would be a great place to start for making this truly unique.
How Else Can I Decorate My Windchime?
The first thing to do when decorating the windchime is to paint the top. You can paint it any way that you like. I like to do a base coat, using spray paint or acrylic paint. Then I can come in with a paintbrush, paint markers, or permanent marker to add decorations. If this is a project for kids, they will love adding stickers and other things like this to the windchime.
I recommend sealing the decorative parts of the windchimes. This will protect the paint and stickers on the bottle. It will keep it from getting wind, rain, and sun damage. That will extend the life of the windchime before you have to decorate it again.
Then you can add decorations with the beads. You can add different styles of beads or you can add different trinkets to the chimes.
Depending upon your style and the season, you can also add leaves, flowers, or fake flowers to yours for a different look. I like to keep it simple with just the beads but you can get as creative as you want.
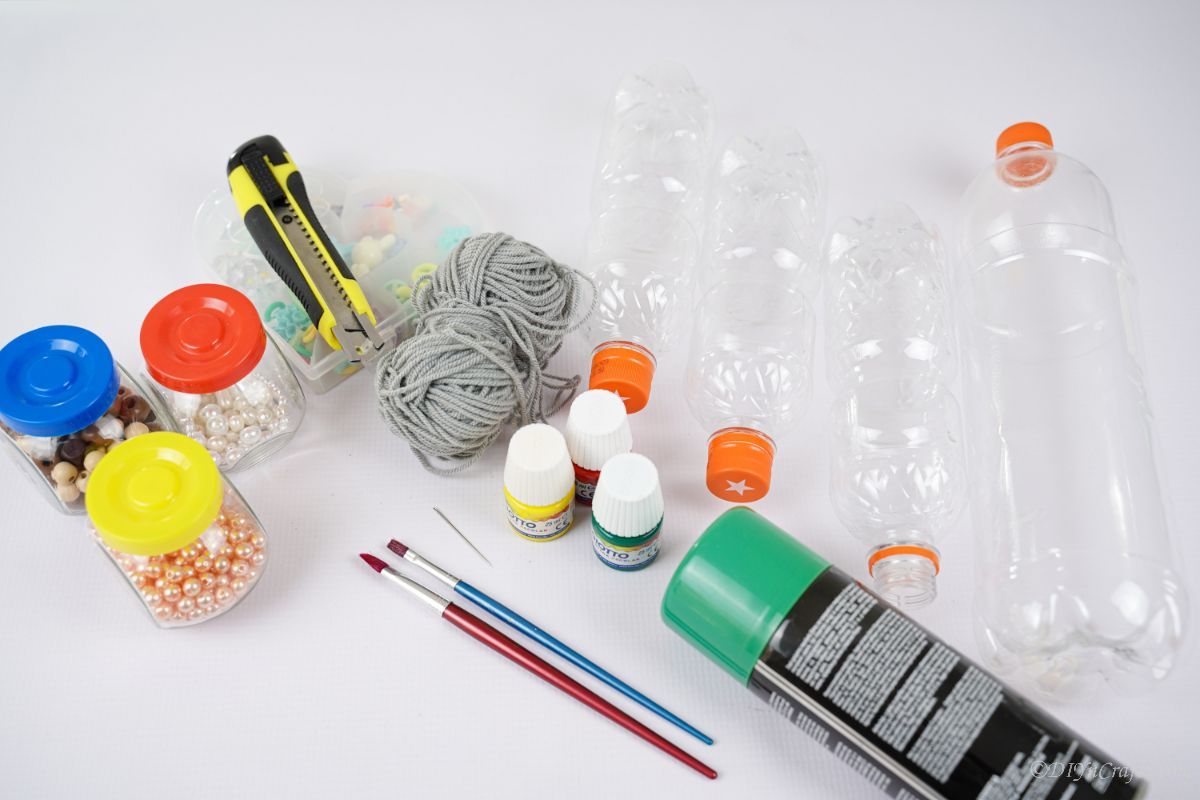
Supplies Needed
- Plastic bottle
- Green spray paint
- Red craft paint
- Green craft paint
- Yellow craft paint
- White craft paint
- Wooden beads in various sizes
- Gray yarn
- White paint pen
- Paintbrush
- Scissors
- Hot glue gun
- Hot glue stick
- Soldering iron
How to Make a Windchime
After you have cleaned and dried your plastic bottle, cut the lower ¼ of the bottle off.
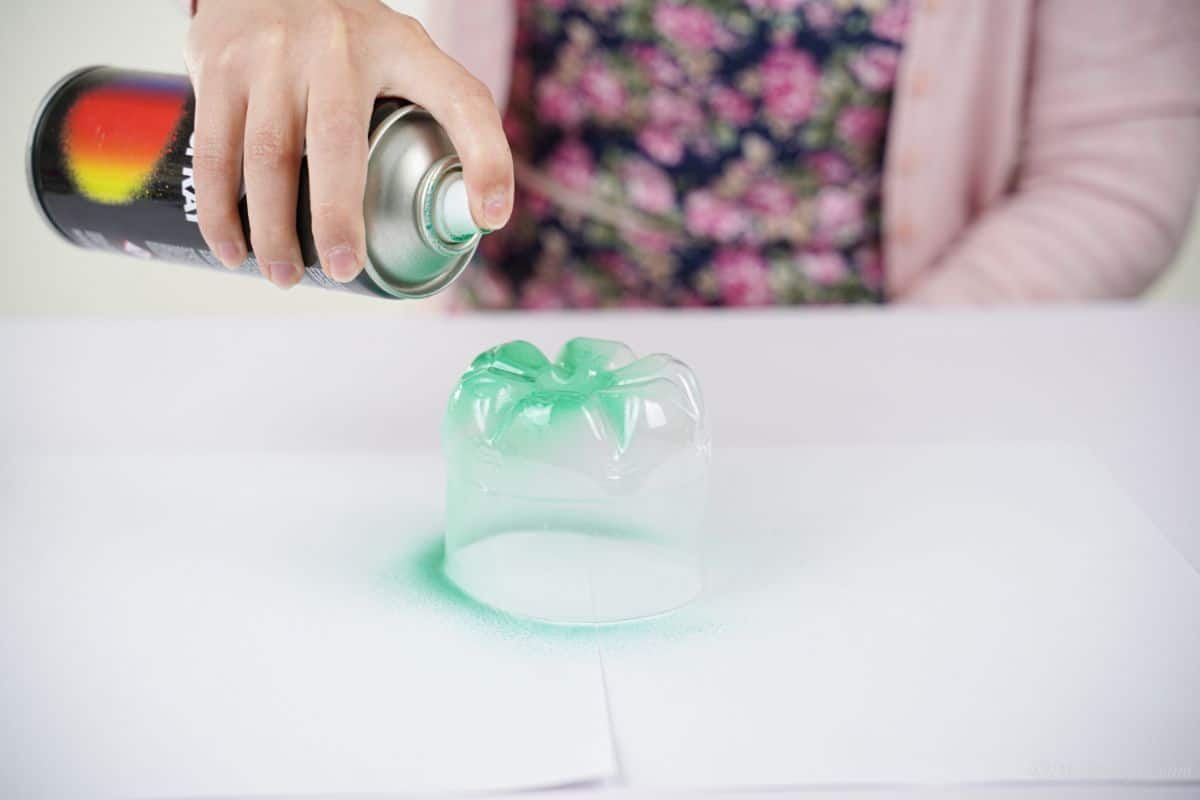
Spray paint this piece, then set it aside to dry. I sprayed mine green.
On the center of the bottle, where it is flat without ridges, cut ½" rings out. You will want to make 4 rings per chime you plan to add to this project. You may need more than one bottle for this.
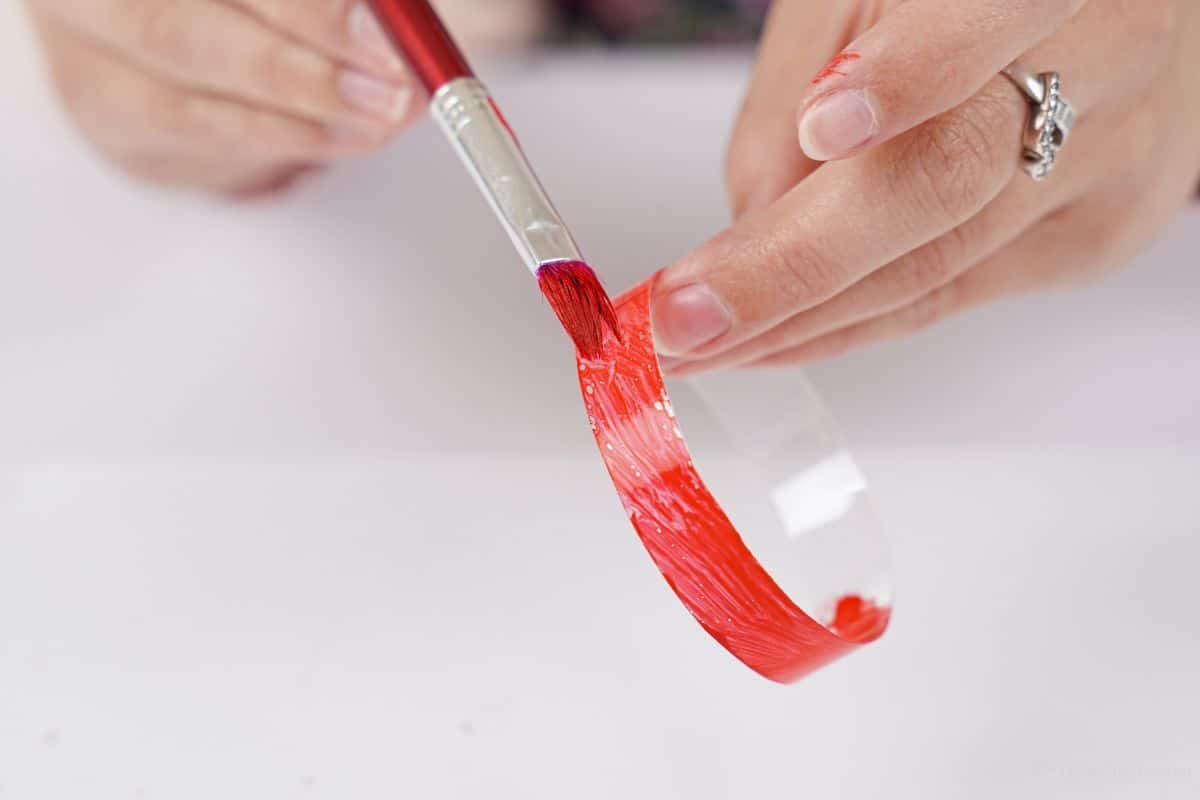
Divide up the rings so there are 4 for each chime, then paint each ring a different color.
I chose to add a white, green, red, and yellow ring to each of my chimes. Set these aside to dry.
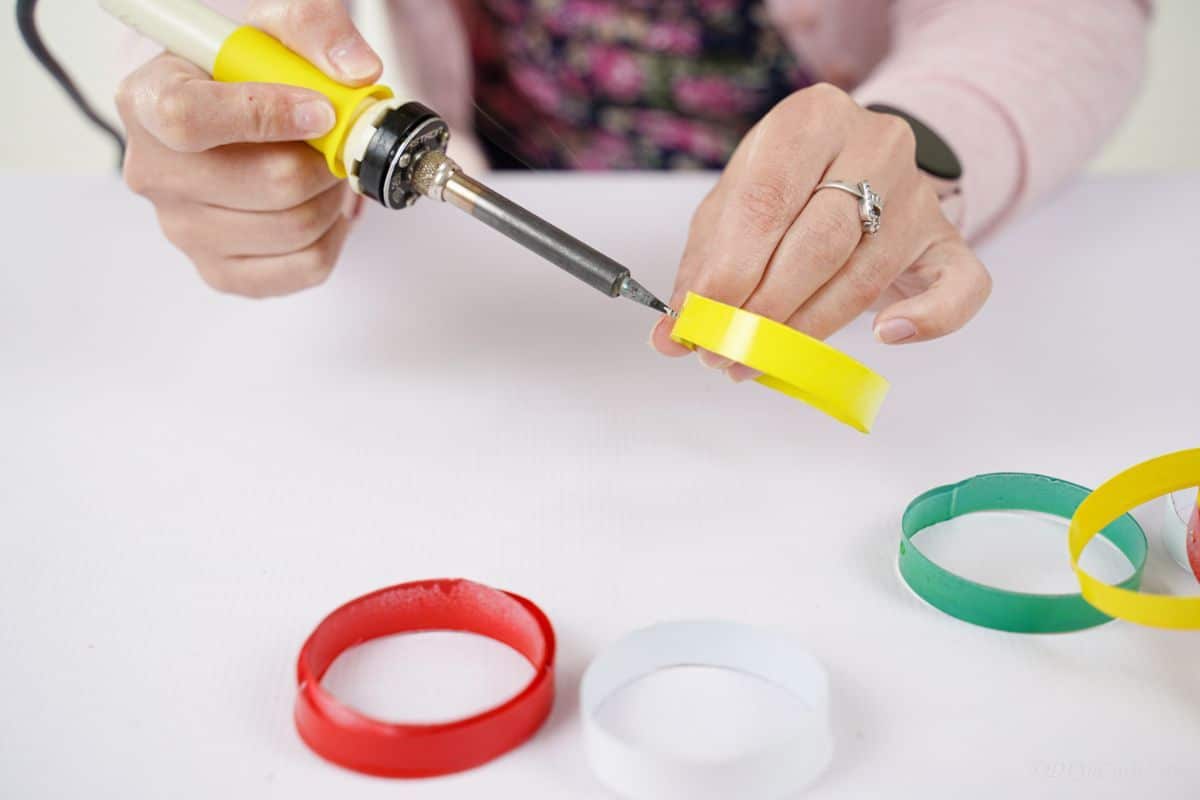
Once the rings are dry, make a single hole, using a soldering iron, on the side of each ring. This will be used to string them together.
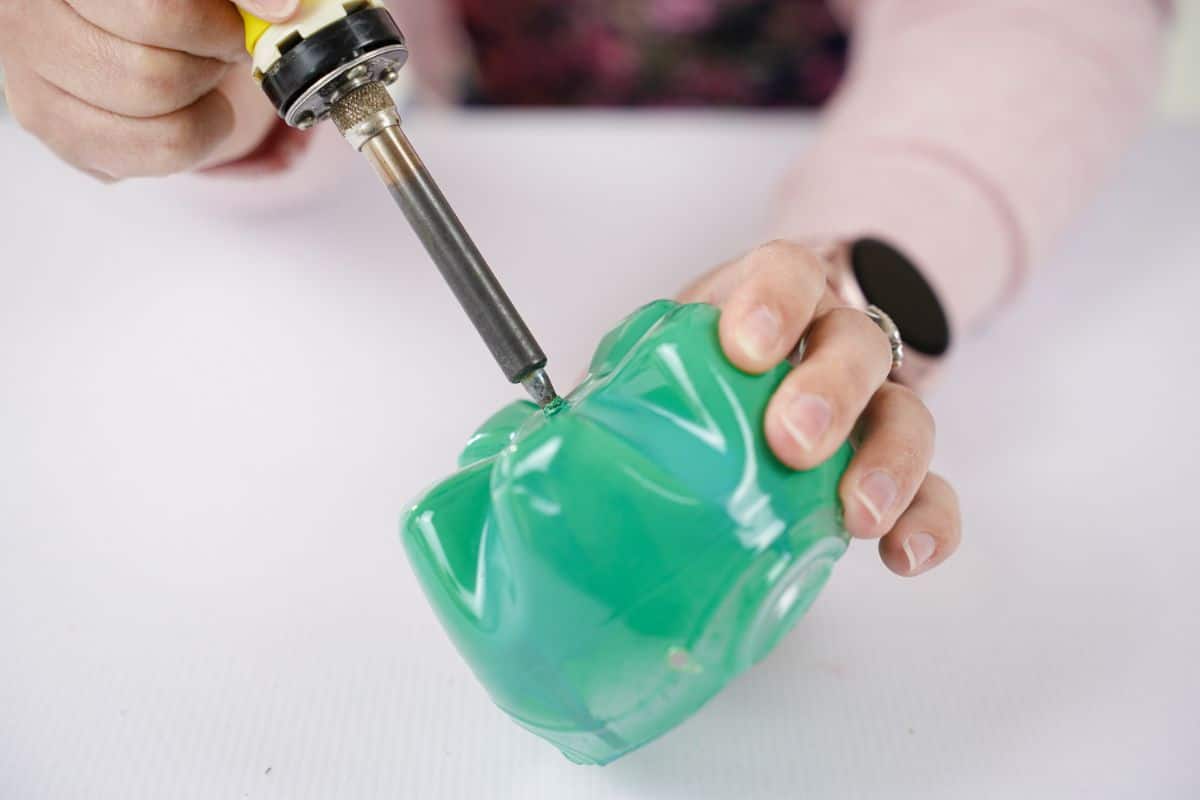
On the base, you painted first, and use the soldering iron to make a hole, on the open edge, for each chime you plan to add. For this, I added 5 holes, but you can add more or less.
You will also want to add a hole in the center bottom of this to string twine through for hanging it from a tree. I recommend making a loop of twine, pushing the looped end through the hole, then securing a knot on the inside. You can even add glue or tape over it on the inside to hold it in place.
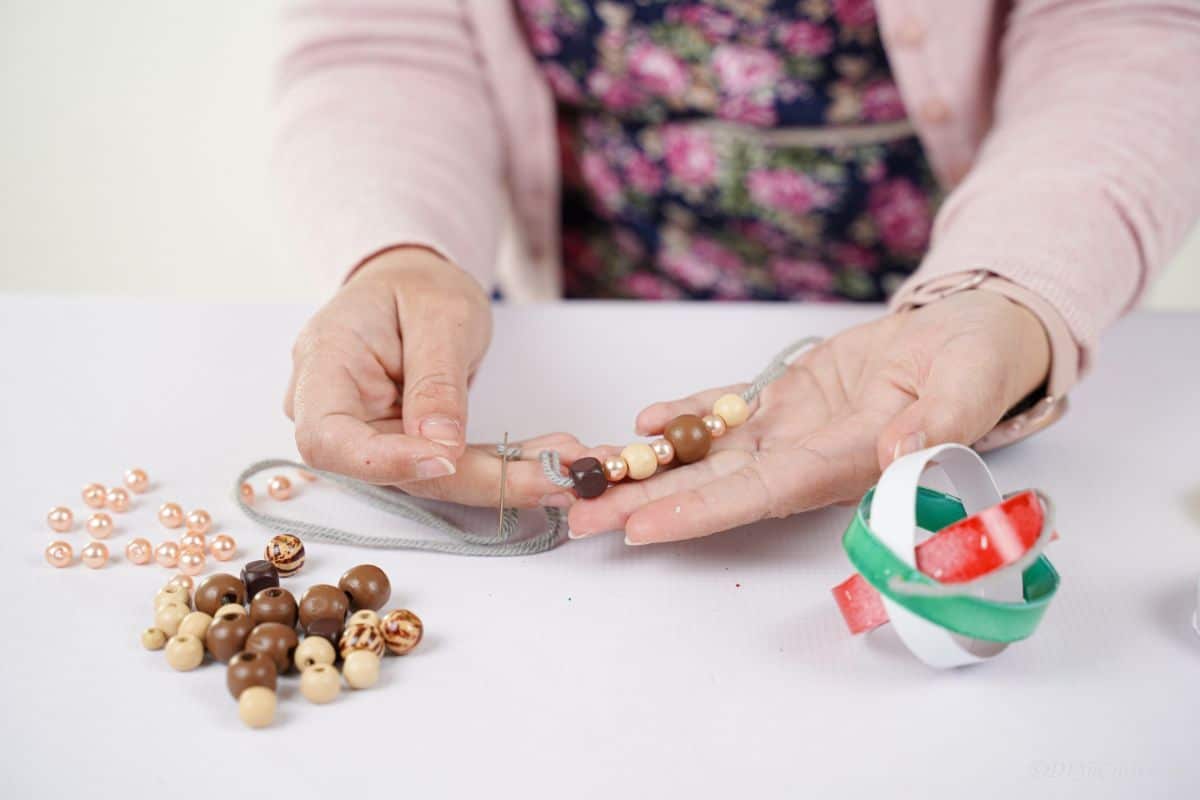
Now, you will thread a piece of twine through the rings, so they are stacked together. Tie a knot below them to hold them in place, then spread them out so they create an orb shape.
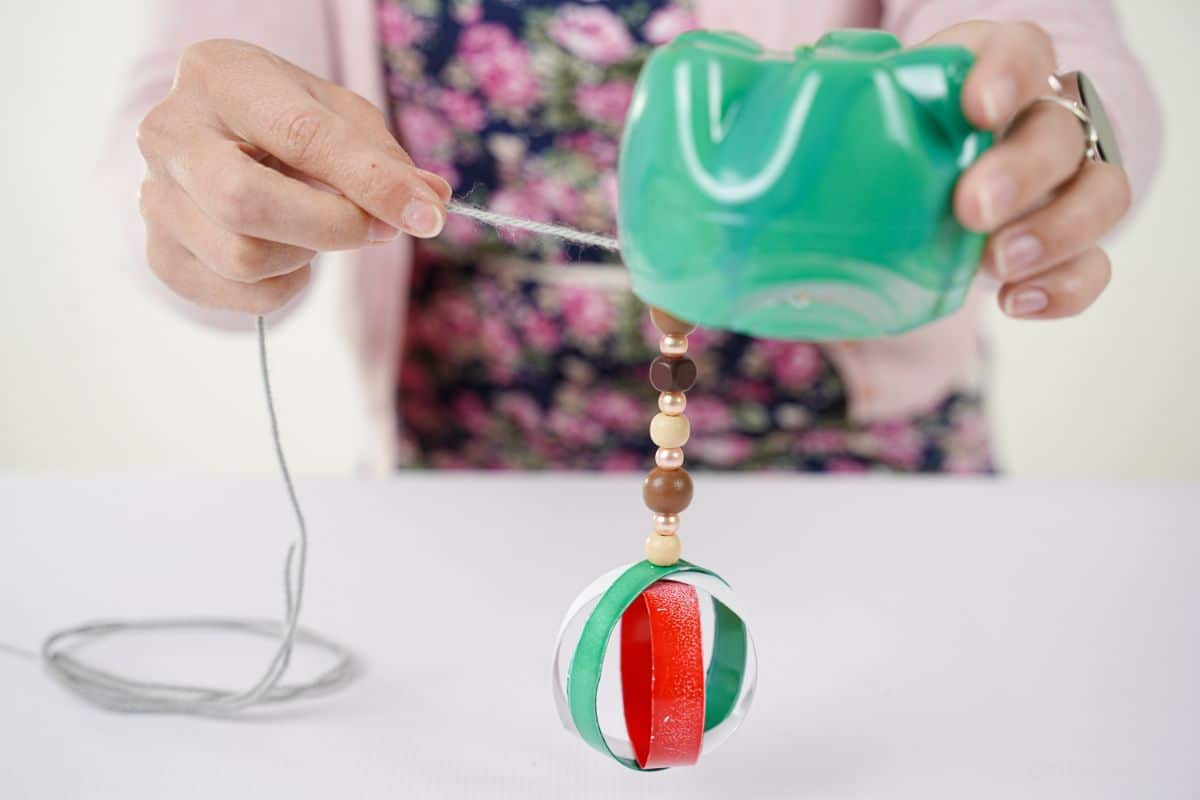
Next, begin adding beads and baubles to the twine. Continue adding them until you are happy with the length of the chime.
Now, thread the end of the twine opposite the ring orb into a hole you made on the base earlier and tie to secure.
Continue this process until you have a chime hanging from each hole on the edge of the painted bottle base.
Now you can use a paint pen to make dots on each of the plastic ring orbs, as well as around the base of the windchime bottle piece.
Decorate this until you are happy with the look, then hang outside!
More Easy Craft Ideas
I love upcycling anything I can to make something new. Below are some more fun upcycled decorations for your garden and home that are easy to make and ideal for decorating an outdoor space. Make sure that you bookmark these ideas, print out the tutorials, or pin them to a relevant Pinterest board to make soon!
- How to Make a Rustic Wind Chime
- 40 Relaxing Windchime Ideas to Fill Your Garden with Beautiful Sound
- 35+ Porch Wall Art Decorations That Add Style to Your Entryway
- 43 Vintage Porch Decor Ideas You Can Easily DIY
- Adorable Upcycled Tin Can Pig Garden Decor
- Tin Can Ladybug and Bee Garden Decorations

Upcycled Plastic Bottle Beaded Windchime
This adorable beaded windchime is made from a simple upcycled plastic bottle! A base of a painted bottle, some beads you already have on hand, and you have a beautiful garden decoration!
Materials
Instructions
- Cut the lower ¼ of a plastic bottle off.
- Spray paint this piece green and set it aside to dry.
- Now, on the flat part of the bottle (center), cut ½" rings. Make 3 to 4 rings for each chime you are hanging.
- Paint these plastic rings with craft paint, in different colors so each chime has one of each color, and then set them aside to dry.
- Once they are dry, make a single hole in the side of each ring with a soldering iron.
- Then, use the soldering iron to make a hole for each "chime" you are hanging around the cut edge of the base you painted green.
- Also, make a hole in the very center to run a piece of twine through for hanging.
- Now, thread the yarn through the rings, one of each color, and move them to form an orb that is open on the sides. Pull the yarn all the way through so this is at the base of the yarn and tied together.
- Then, string each of these lengths of yarn with beads, varying the sizes as you add them to the yarn until you are happy with the length.
- String a piece of yarn through each of the holes on the green base, then tie the chimes to secure them.
- Use a white paint pen to make dots on each of the plastic rings, as well as around the top of the windchime.
















Leave a Reply