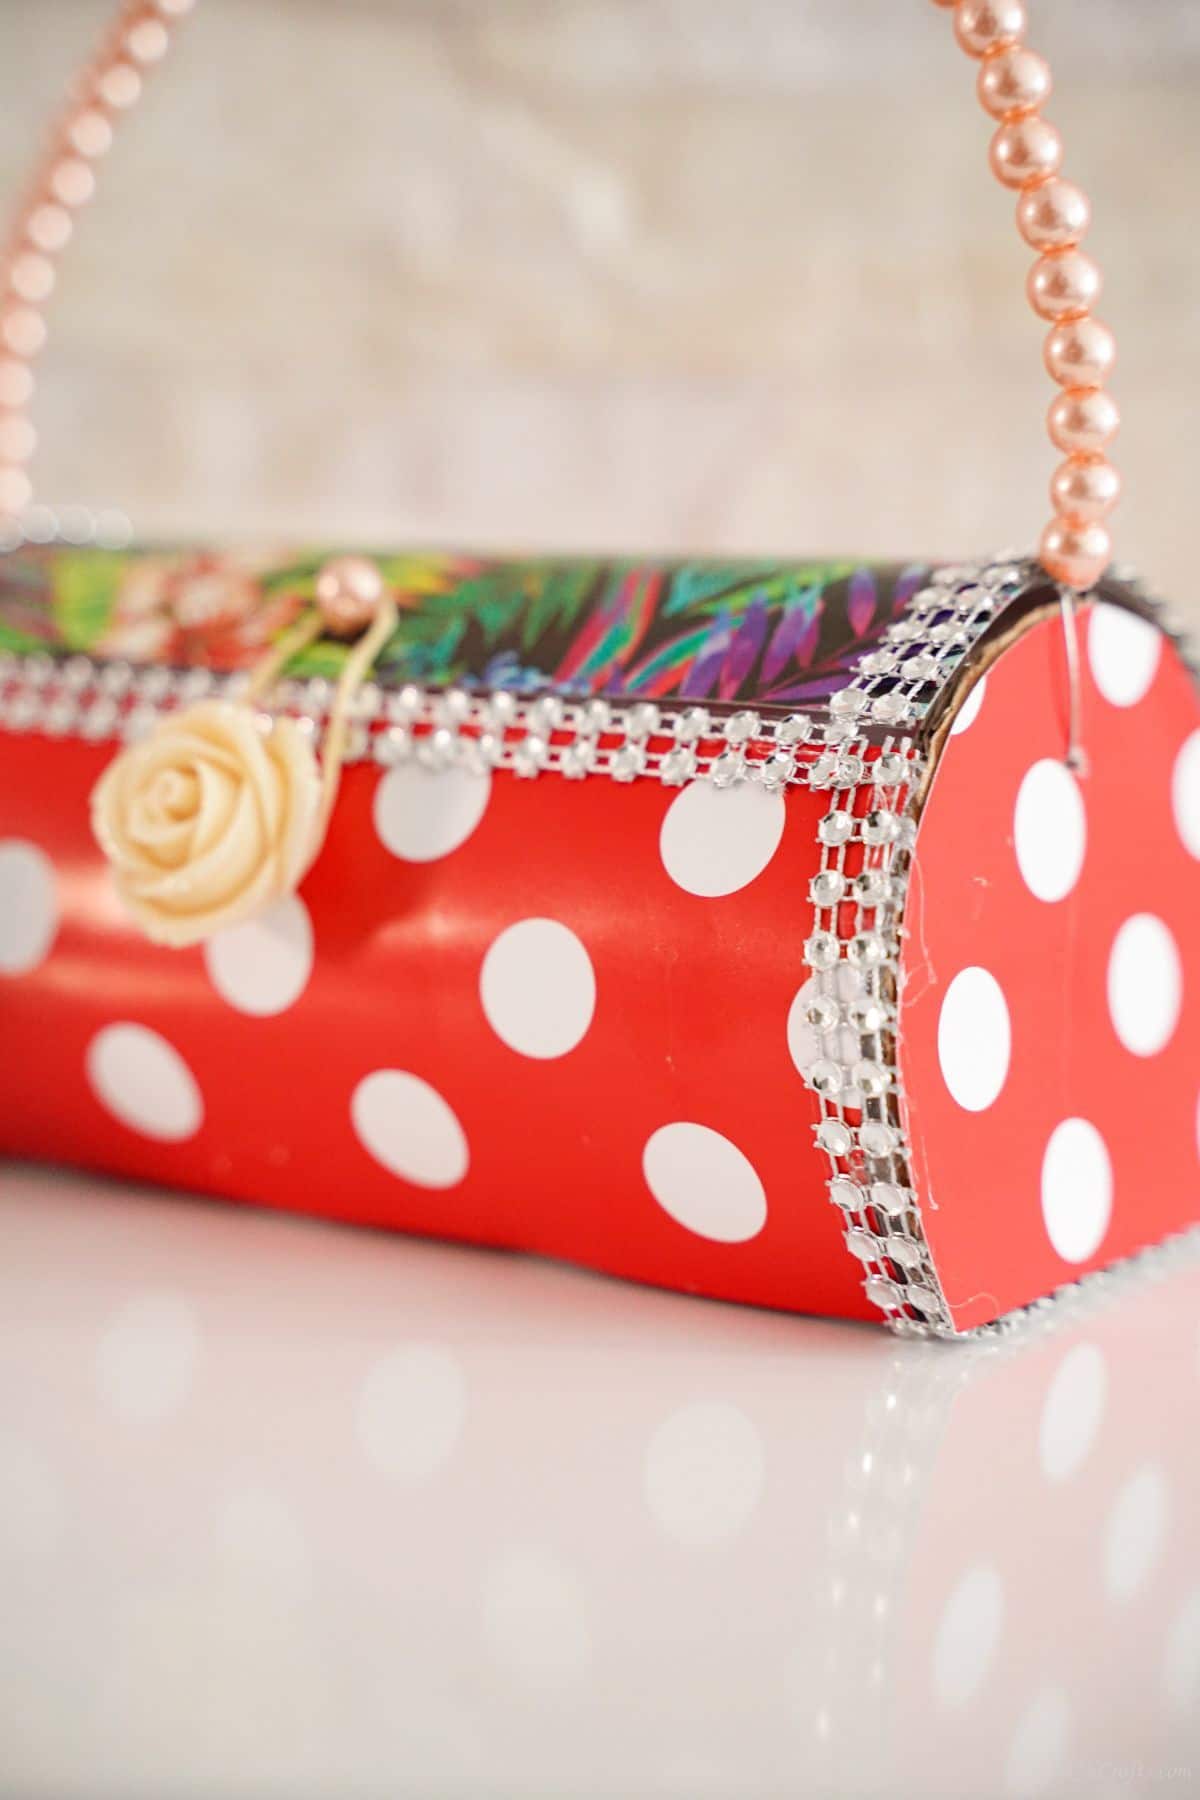
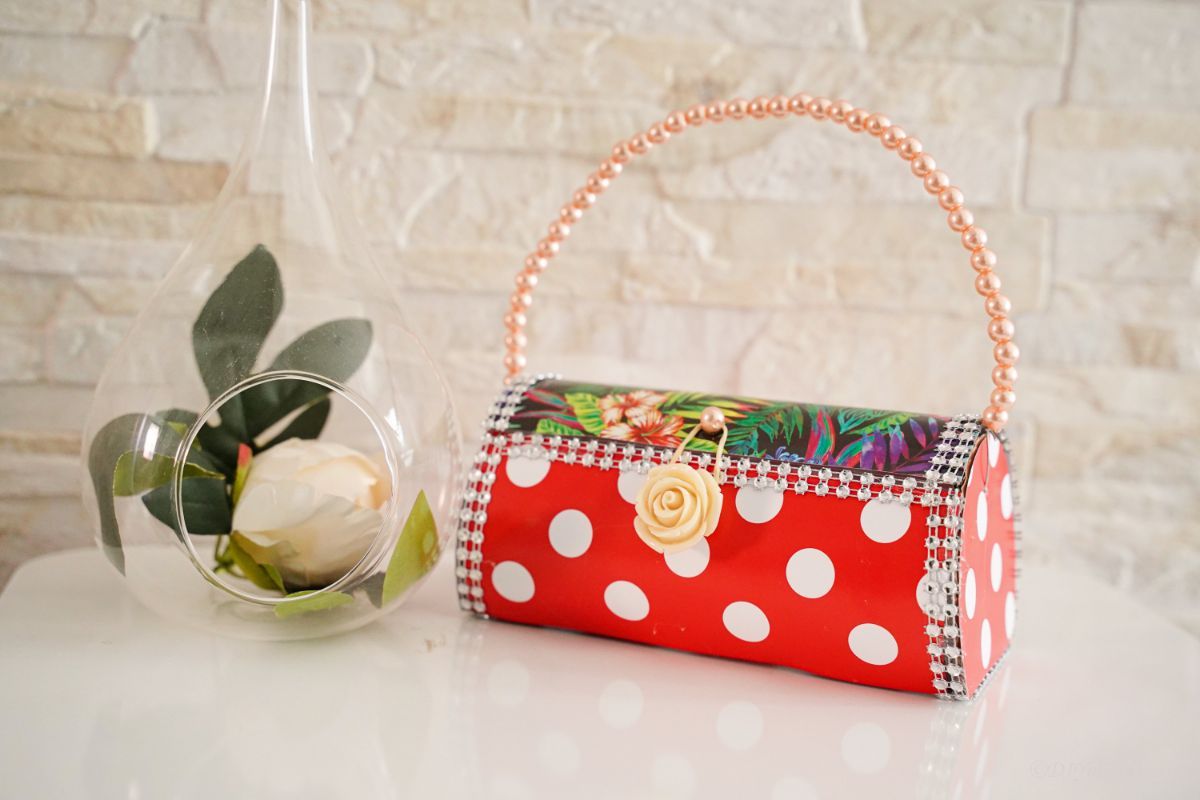
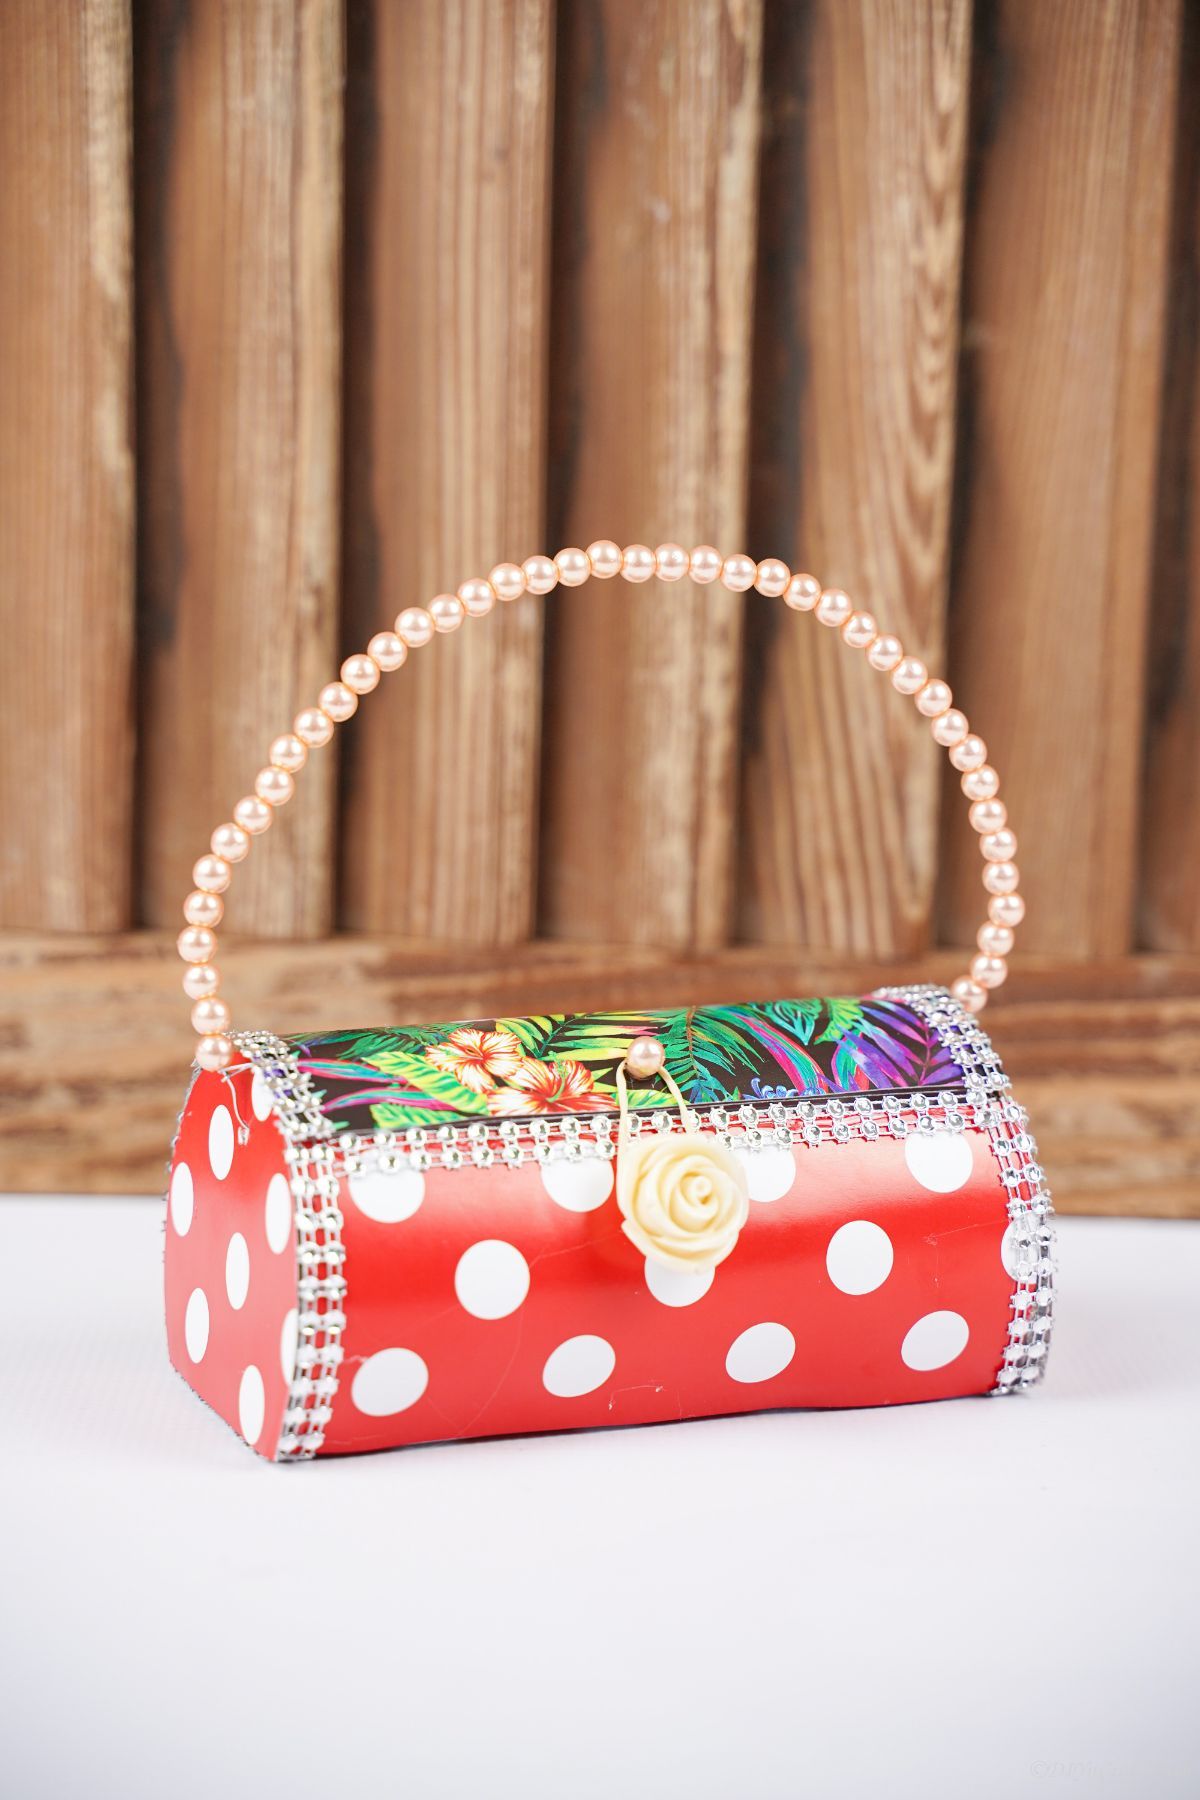
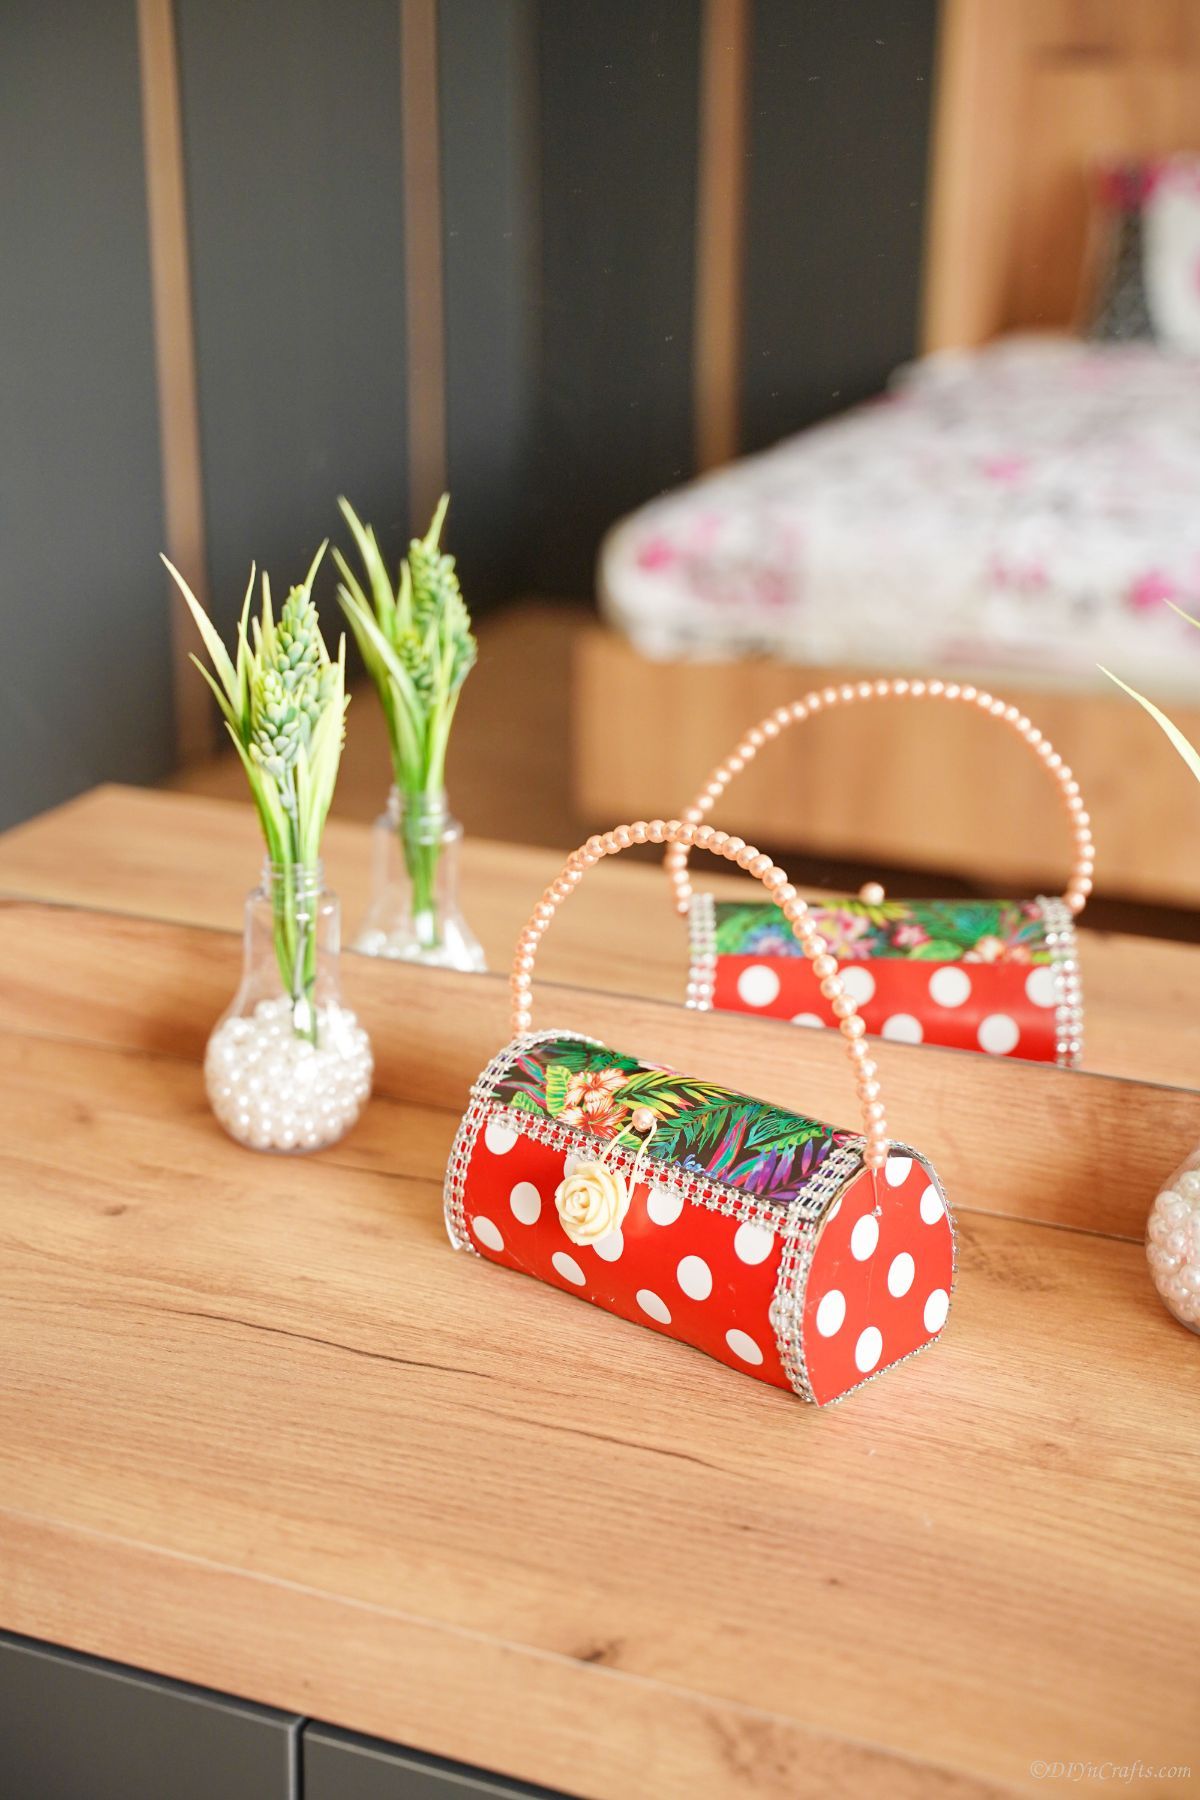
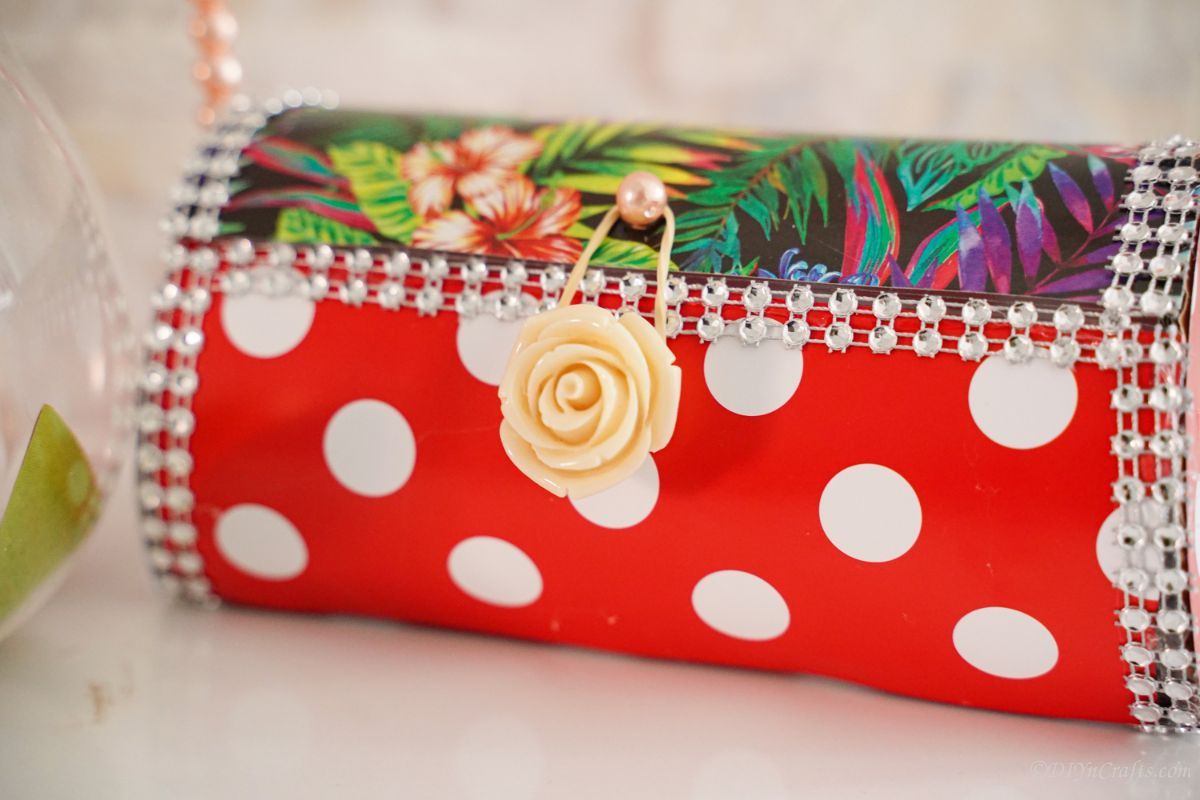
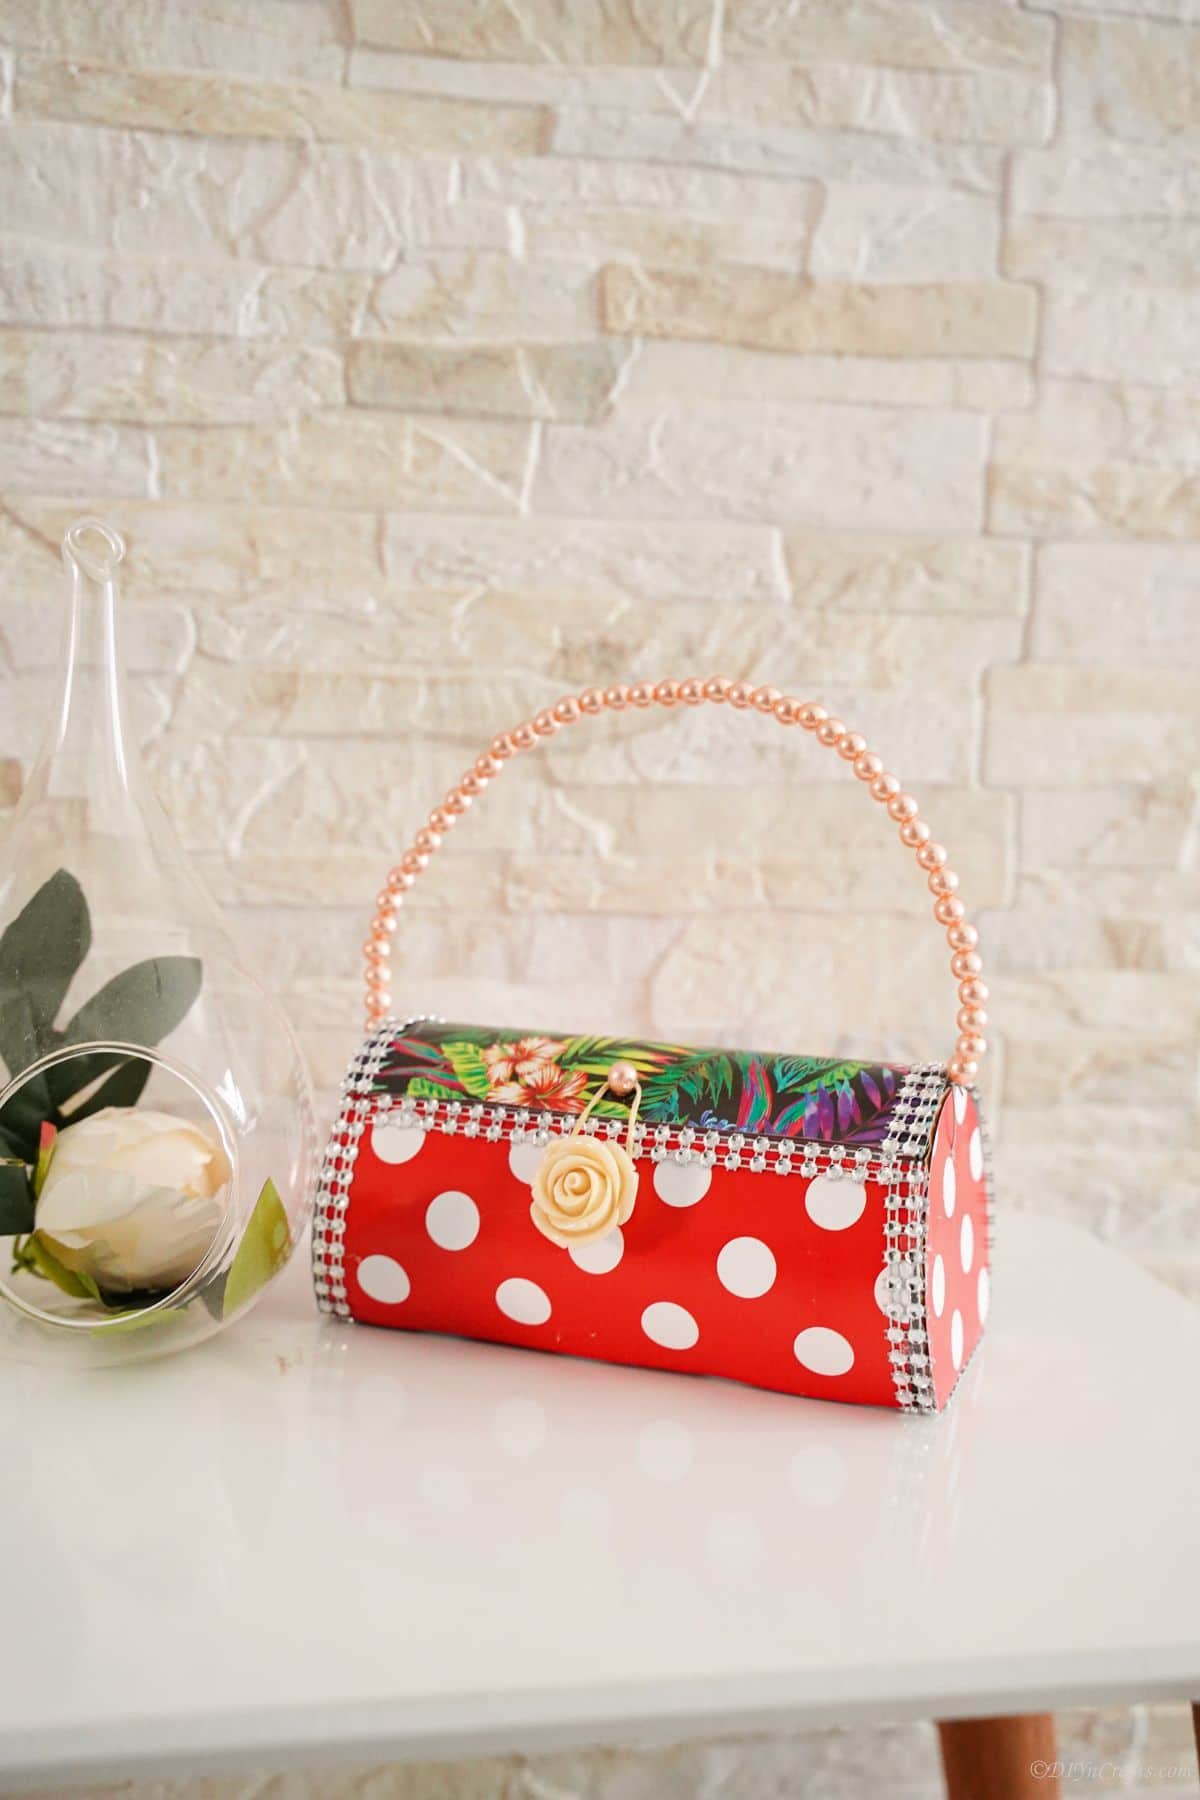
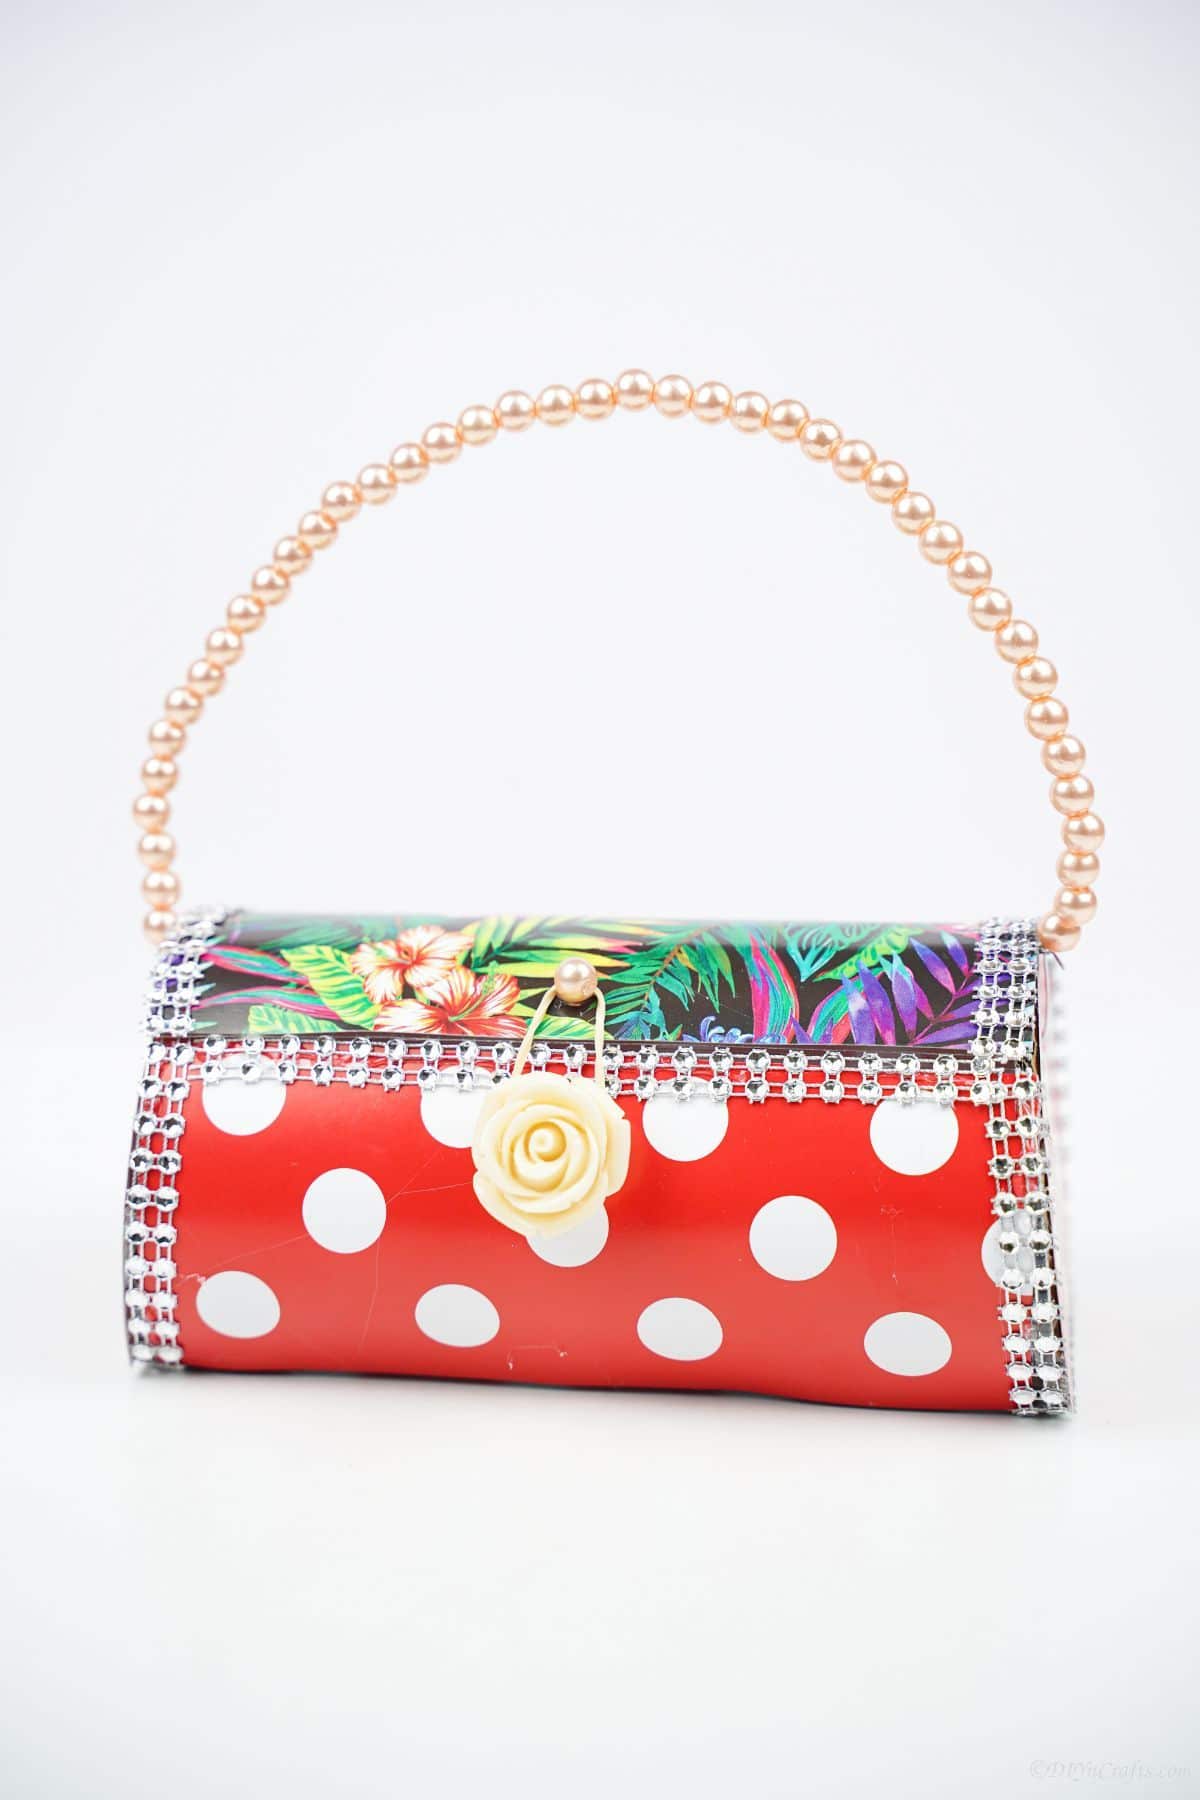
When it comes to upcycling, it doesn't get better than this. This one-of-a-kind plastic bottle purse is made from recycled plastic bottles, a bit of craft paper, some beads, and your imagination. The perfect accessory for any outfit, this purse will add a touch of fun and whimsy. Whether you're hitting the town or just running errands, this purse is sure to turn heads. So ditch the boring old handbags and make a statement with this DIY purse.
Plastic Bottle Purse
Did you ever imagine your empty water bottle could become a purse? No? Me either! But this is the perfect idea for anyone who wants to repurpose and recycle items but still makes a fashion statement. Whether you use this for your own daily purse, a special occasion, or just for kids' dress-up, it's sure to be fun to make.
I am sure you will love how this little bag turns out. If you like making your own clothing or accessories, you might also like this list of ideas for ways to upcycle t-shirts or this fun list of ways to upcycle old belts!
What Should I Use For a Handle?
When it comes to making the handle, this is the perfect time to think about recycling. Just make sure that whatever you use is strong enough to support the weight of the purse.
I reached for some jewelry wire I had on hand that would be stiff enough to hold shape, but could also be easy enough to form into a shape I wanted. Coating it with beads made sense for adding something pretty.
If you don't mind if the handle hangs down, you can use an old necklace, ribbons, twine, yarn, an old belt, or even a handle from another purse you have transferred to this one. Just get creative! A great idea is to use scrap fabric or even an old scarf!
What Is Best to Coat the Bottle With?
I chose to use some scrapbook paper I had bits of on hand. I am all about making sure that I recycle anything possible, so that was what I had on hand to use. That doesn't mean you have to use the same thing that I did.
You can do something as simple as paint for decorating the bottle. Another option is to line the purse with washi tape or your favorite fabric. You can even do a combination of them all. This is the best part because you can be creative. Make a dozen purses to match different outfits or moods. The sky's the limit when it comes to coating the bottle.
What Can I Use for a Clasp On the Purse?
When you are making the clasp for the purse, you can use a buttons or something similar. Then you would use an elastic to close the button. Another idea is to use tied ribbons. You can even add a zipper. If you find a snap machine, you can add a snap to the plastic bottle purse and then close it that way.
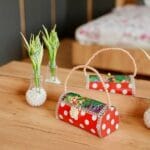
I glued on a button and bead then used a simple elastic band over both to hold it closed. As you can see, it doesn't have to be fancy or special, just functional.
How Else Can I Use This if Not As a Purse?
This plastic bottle purse can be used for almost anything. I love the versatility of this. Much like most of my upcycled projects, this is one that is super easy to turn into something different if you desire. Below are a few ideas that come to mind.
- Use the container as a makeup bag. It can hold the brushes and your favorite makeup.
- You can also use it to hold school supplies. Pens, pencils, and markers will fit perfectly.
- You can also use it as a small art supply holder. Glue, glitter and googly eyes can all fit inside.
- Add to your desk paper clips, push pins, rubber bands, or binder clips as a cute organizer.
- Give this as a gift filled with candy or snacks for a child.
- Get creative and make it a holder for your animal supplies. If using a larger bottle, you could add a bottle of water, a small bowl, and treats for the dog or cat. This smaller option is ideal for you to use for those little bags to clean up after your dog on long walks.
You'll find that this is a super fun little project with multiple options for making it work in your daily life or just be a fun little accessory.
Supplies Needed
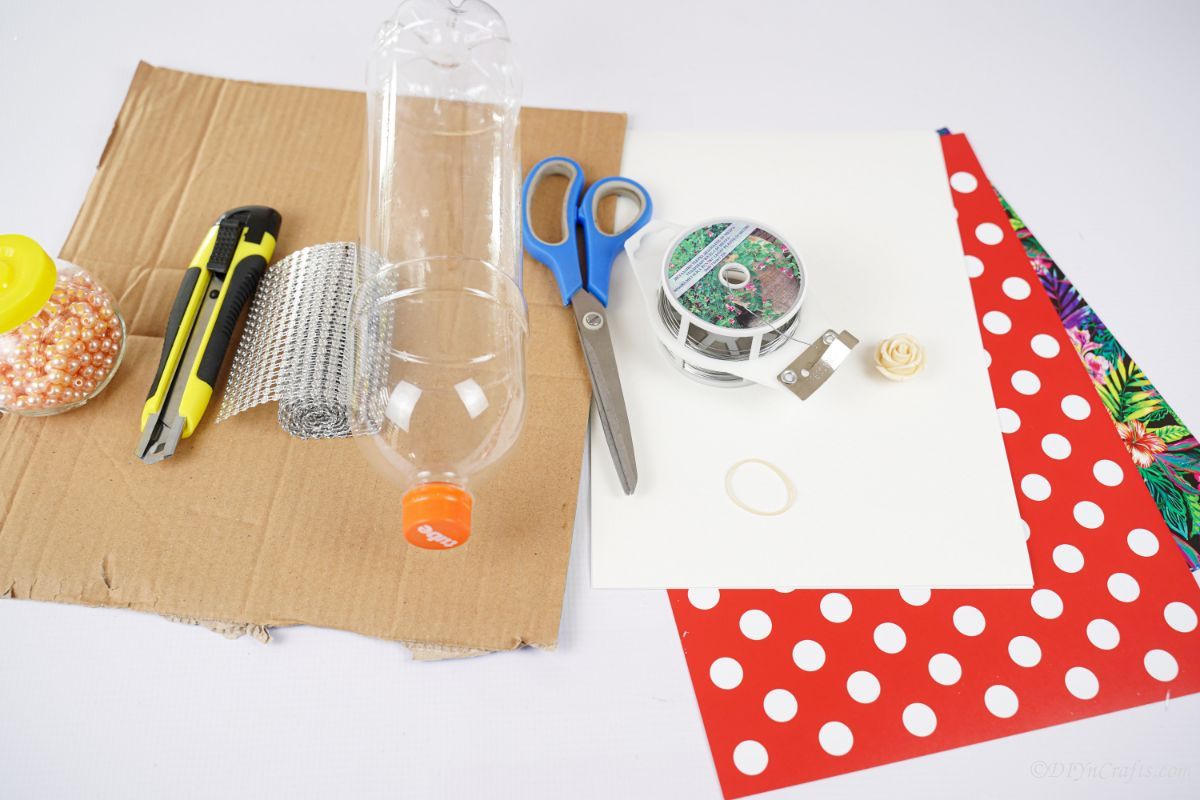
- Empty plastic bottle
- Cardboard
- Red and white polka dot scrapbook paper
- Floral scrapbook paper
- Beaded ribbon
- Fake pearls
- Jewelry wire
- Fake plastic rose button
- Twine
- Craft knife
- Hot glue gun
- Hot glue sticks
How to Make a Purse From a Plastic Bottle
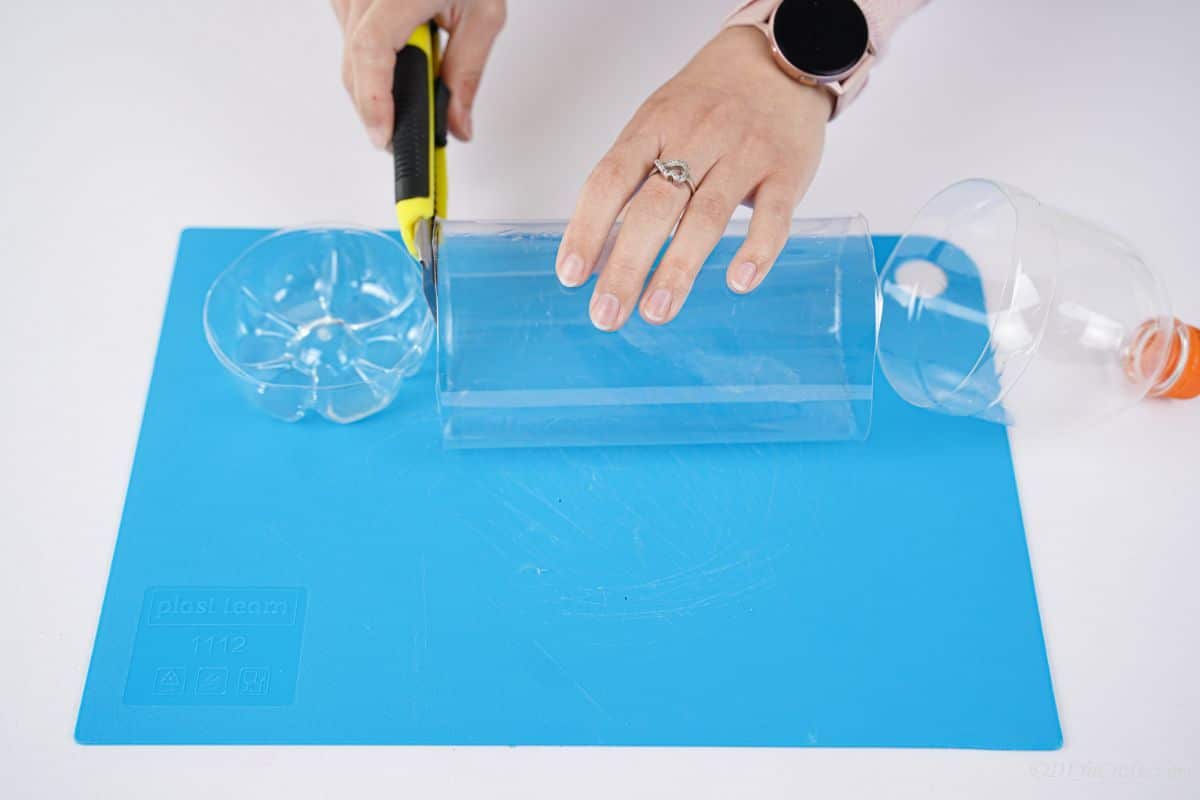
Clean the plastic bottles well and remove any labels then let them dry completely. Once dry, cut the top ¼ of the bottle off, with the lid, and discard it.
Now, cut off the bottom/base of the bottle so you just have that middle cylinder of the bottle. This is what you are going to use for the base of your purse.
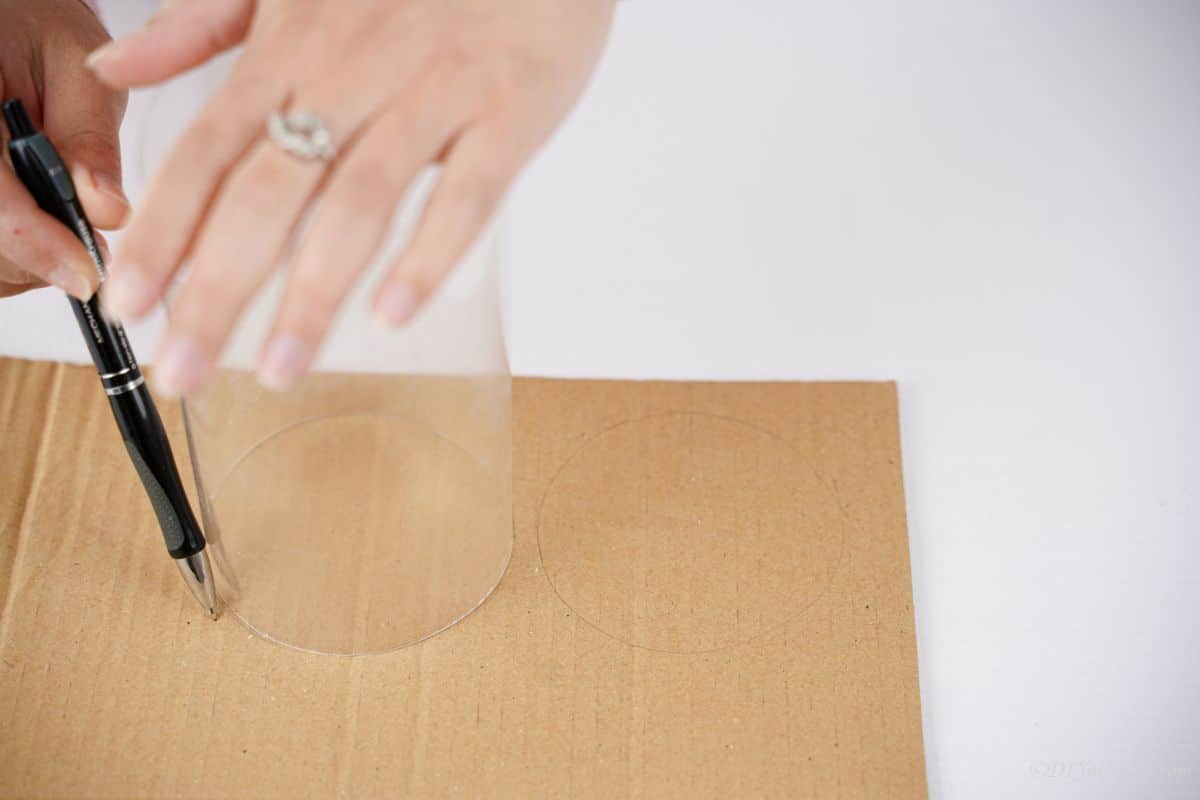
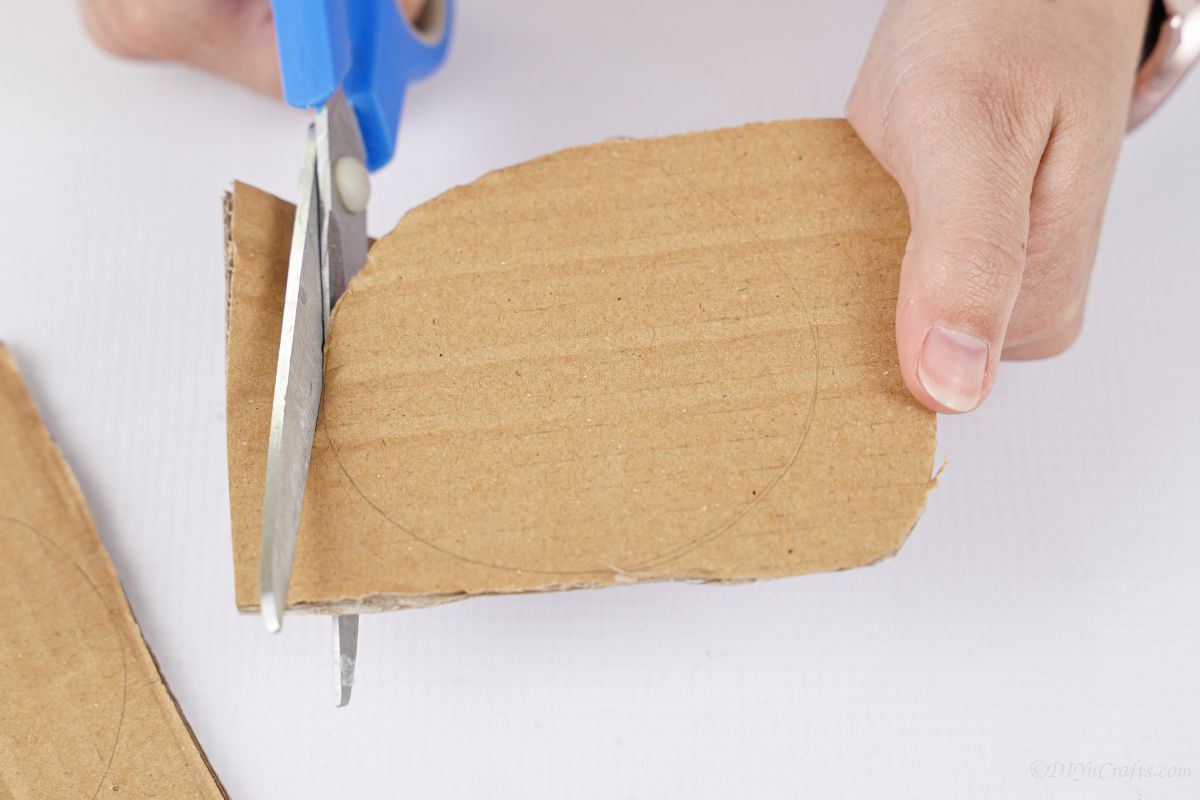
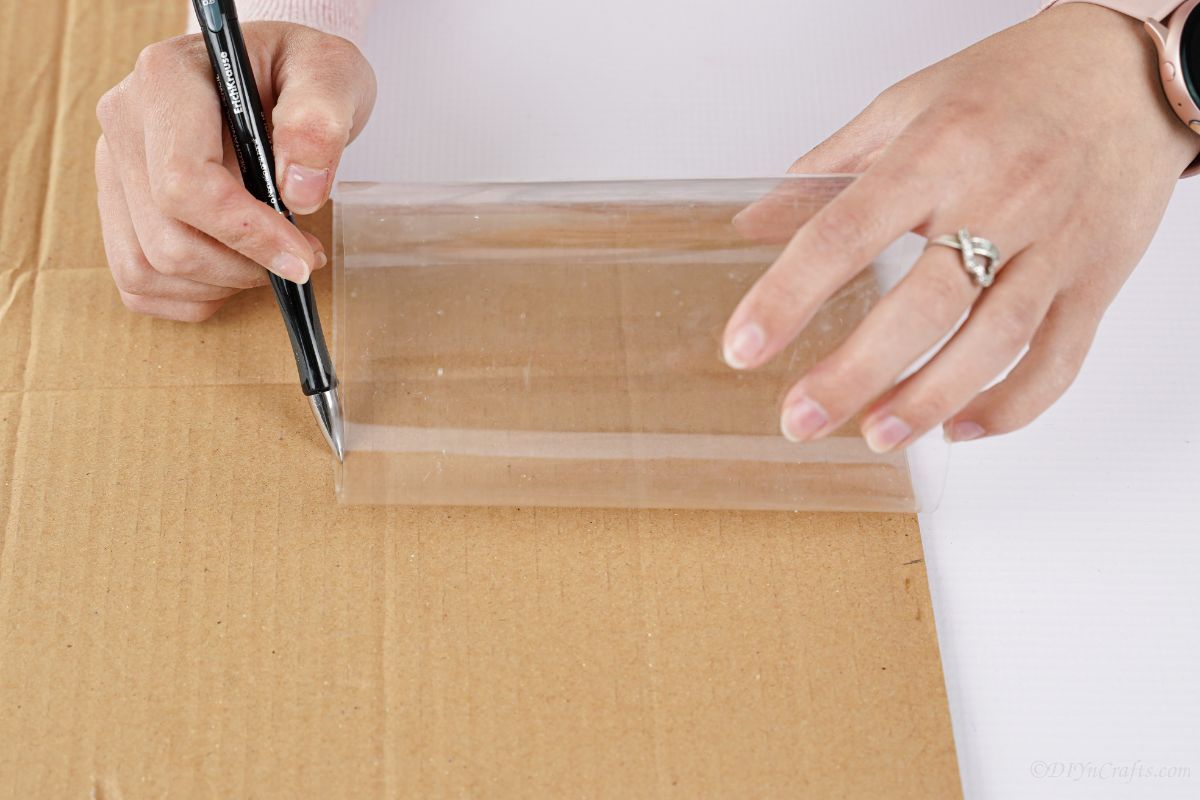
Then, use the bottle to trace two circles onto a piece of cardboard. Set aside the bottle and cut out the two circles.
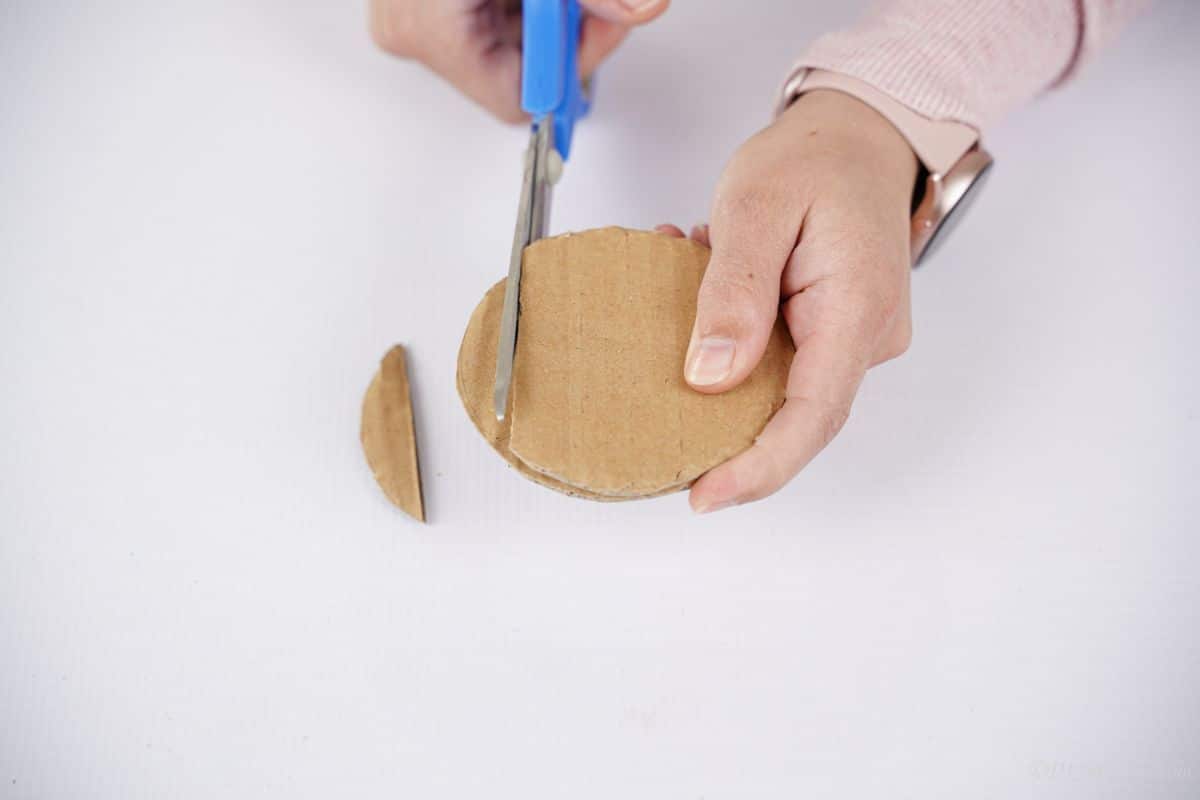
Then, cut about ½" of the cardboard off one side to give it a flat edge. Repeat this for the second piece, so they are matching.
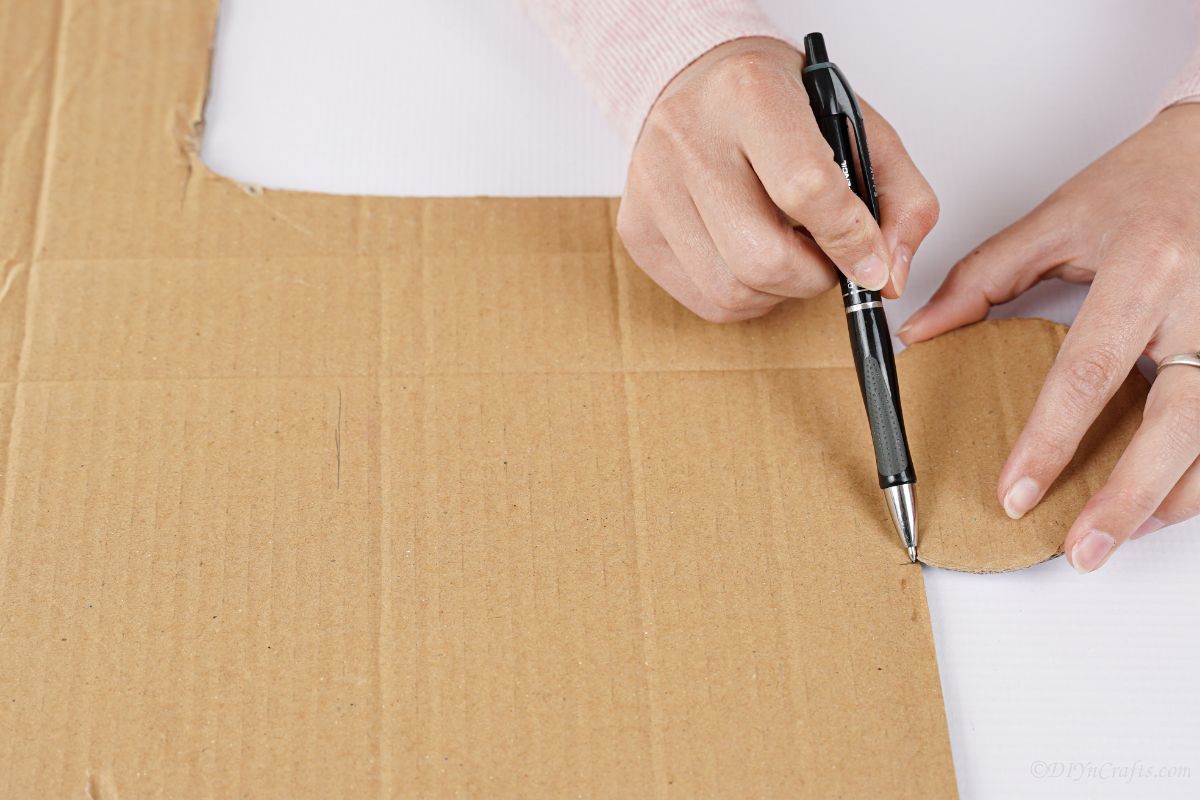
Place the flat edge of the cardboard onto another piece of cardboard. Make a mark to show the width of the ends onto the cardboard piece.
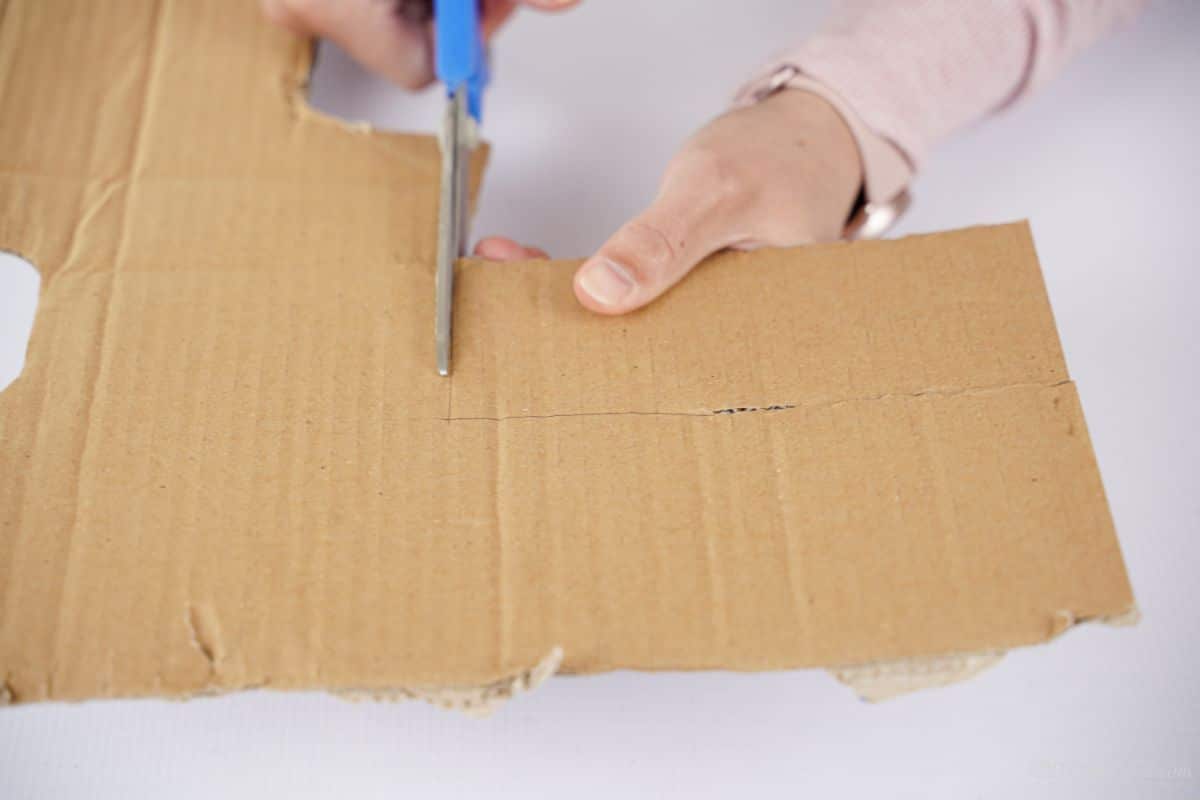
Use a ruler for straight lines, measure the length of the middle of your bottle purse portion, and then cut the cardboard out to be a base for your purse.
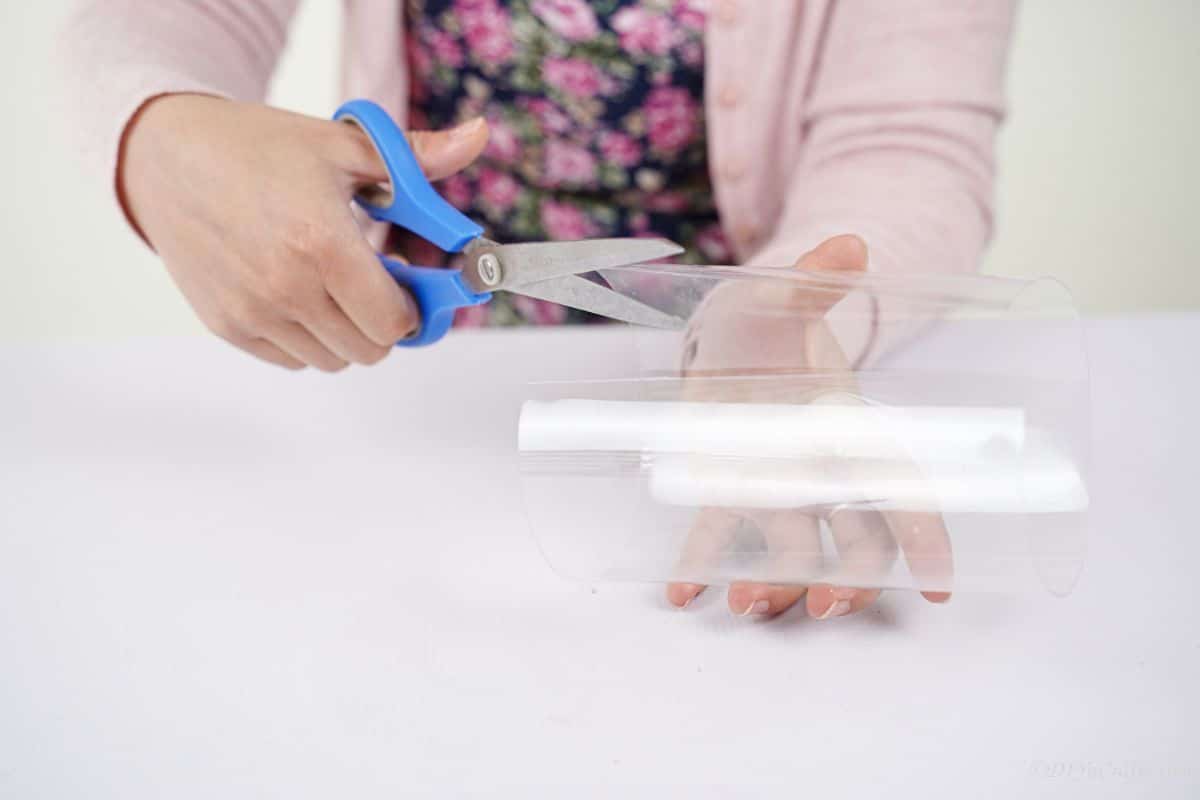
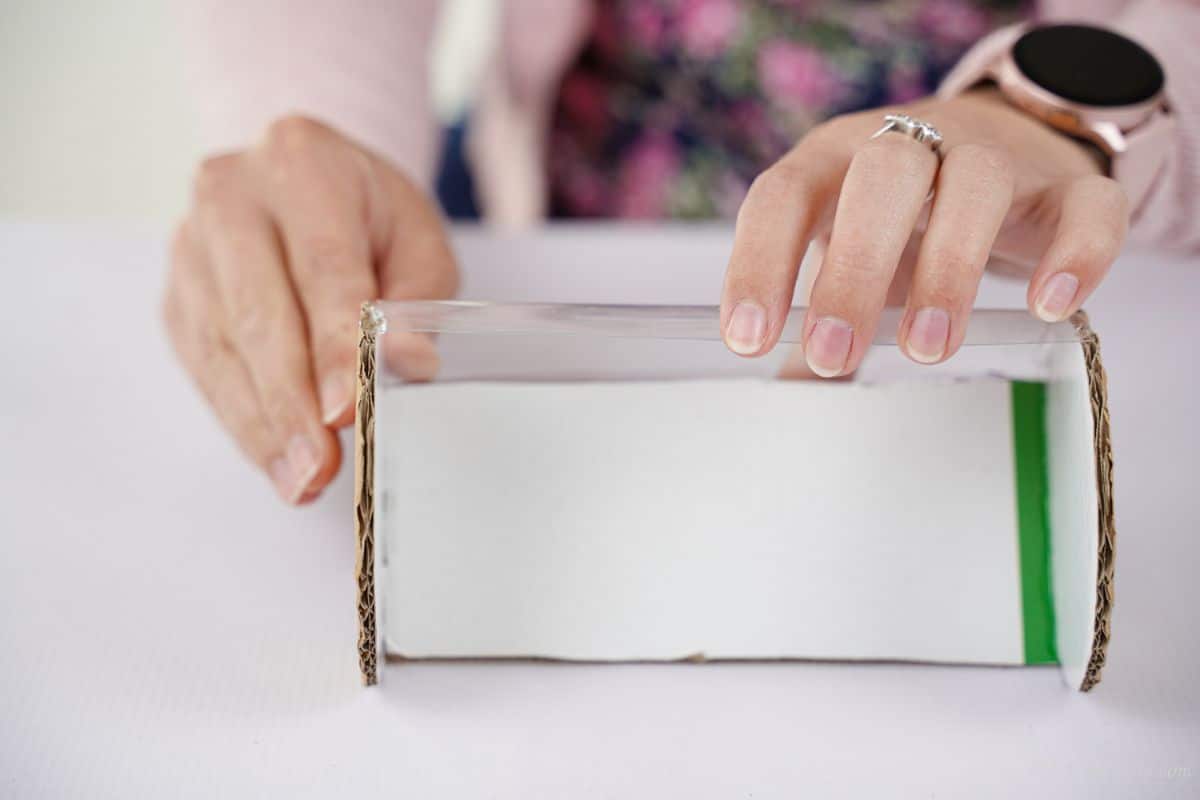
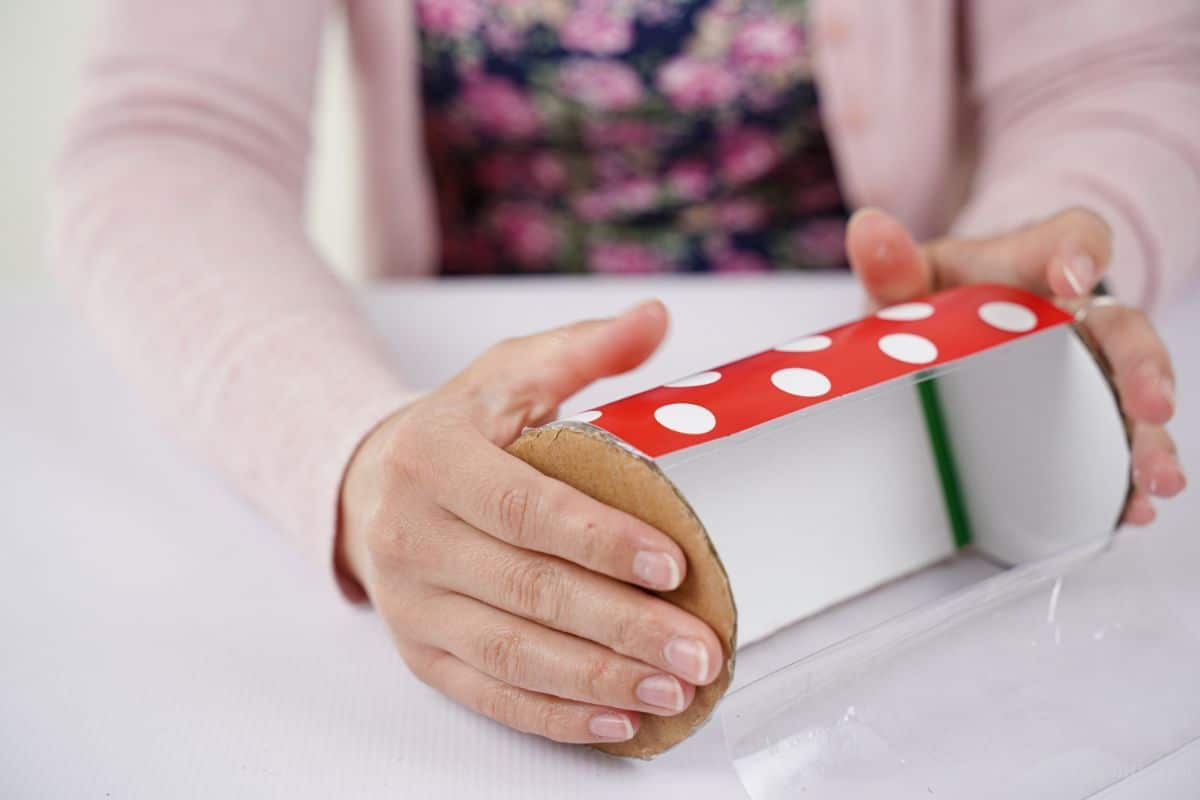
Glue the two round pieces with flat edges onto the end of this strip of cardboard. Now, use scissors to cut down the side of the cylinder of plastic from the bottle.
Flatten this out, and use the cardboard piece to measure out three pieces of the same width and length.
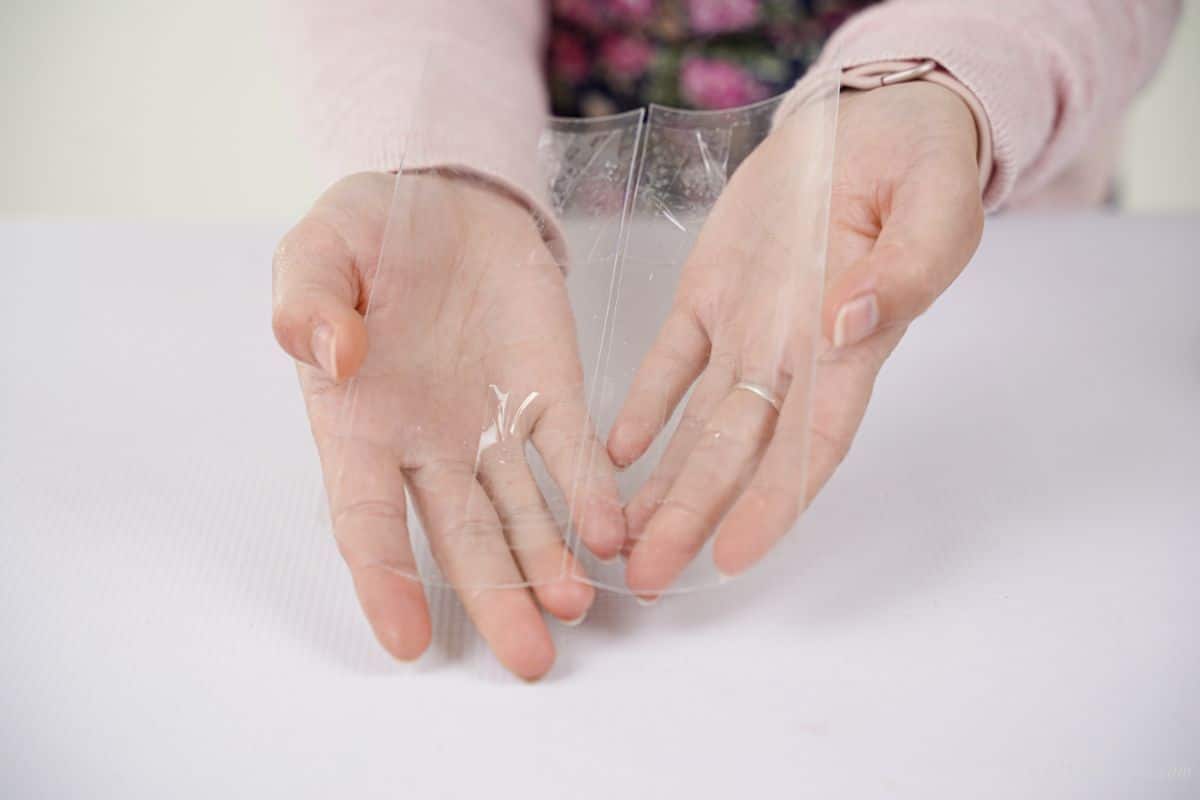
Cut these apart. Then, put two of the pieces, curved side up, side by side, and tape them together. You want them to move independently but be connected at the seam.
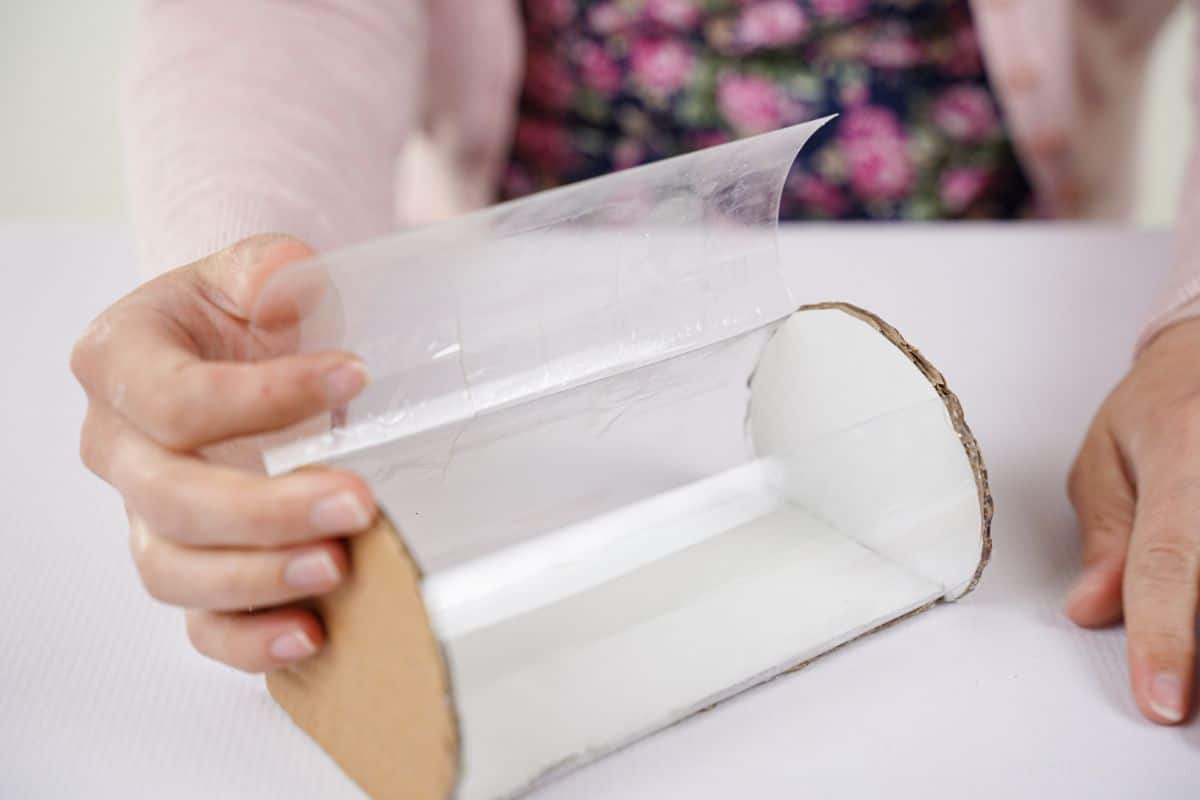
Now, tape the single piece on one side of the cardboard.
And the two pieces on the other side so that you have one that can open at the seam as a sort of hinge on the purse.
Secure this into the purse shape with additional tape or hot glue as needed, then begin covering in the paper.
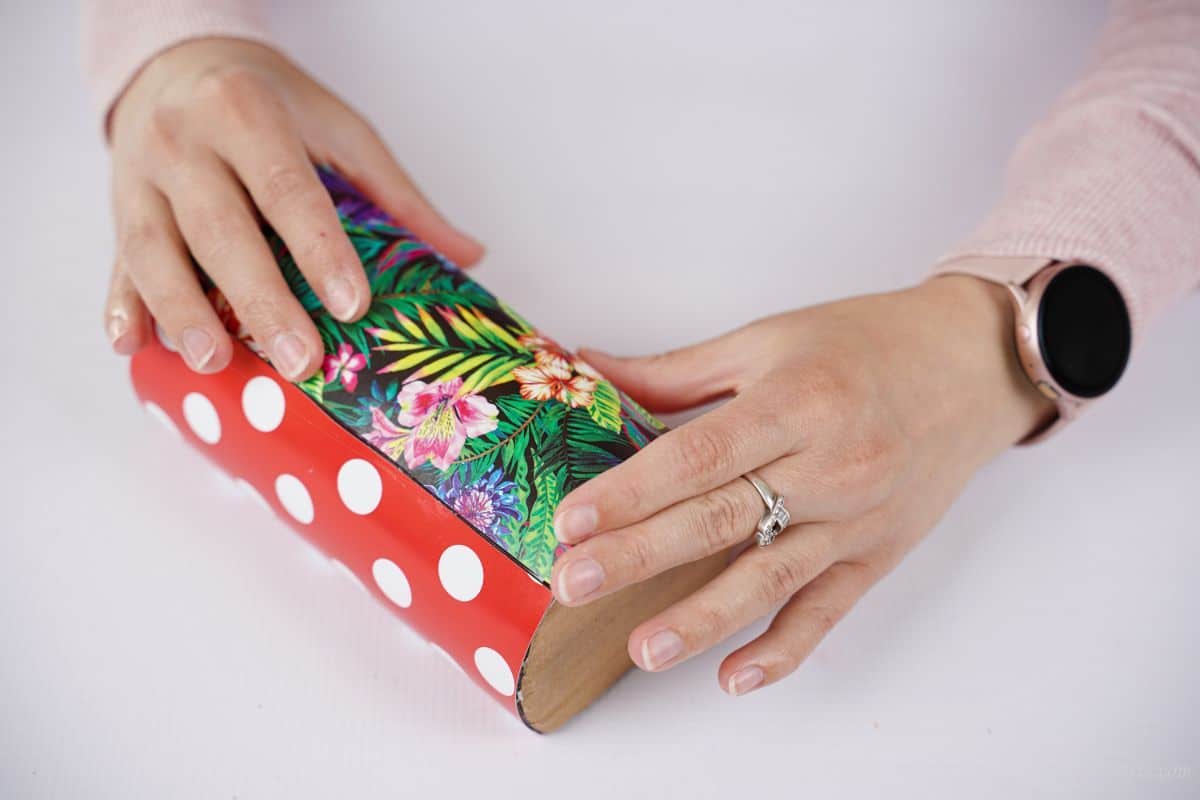
Cut and glue scrapbook paper around the plastic parts first. Then, cut and glue a piece on either end of the purse. Use all the same color/pattern, or mix it up as I did.
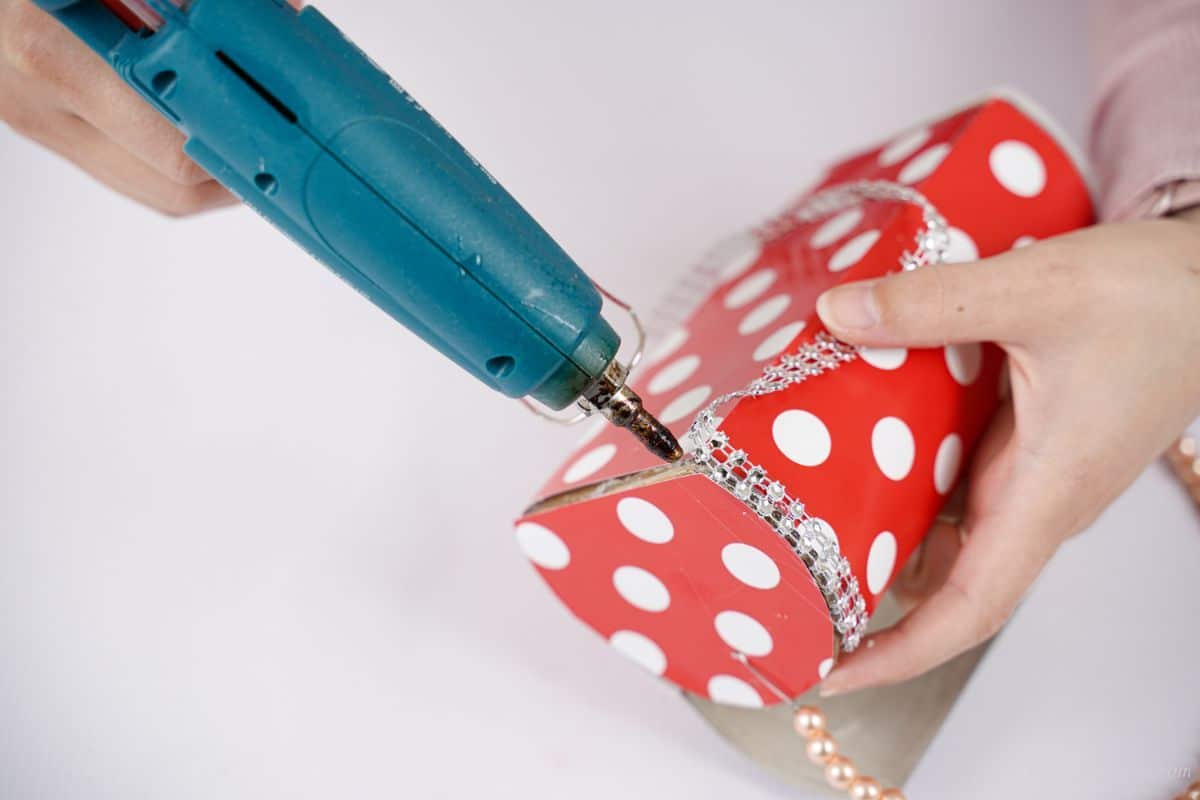
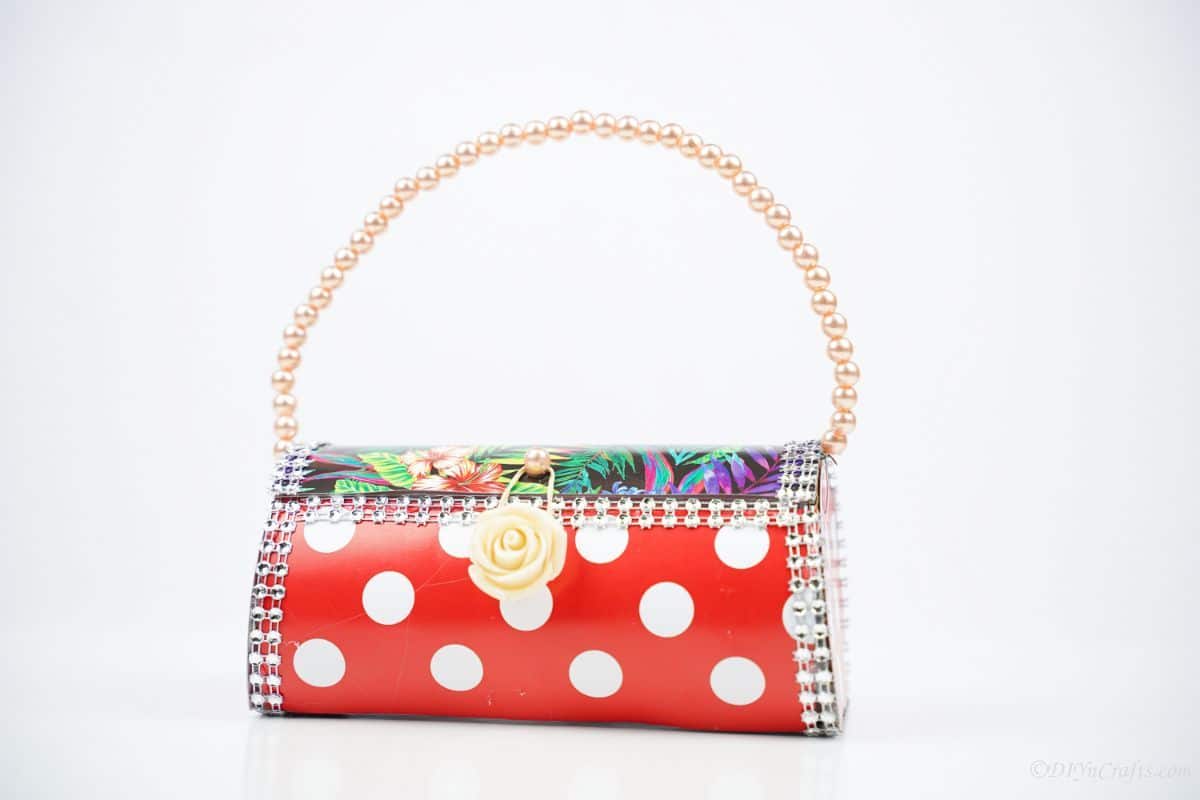
Then, add a beaded ribbon trim along all of the seams of the purse.
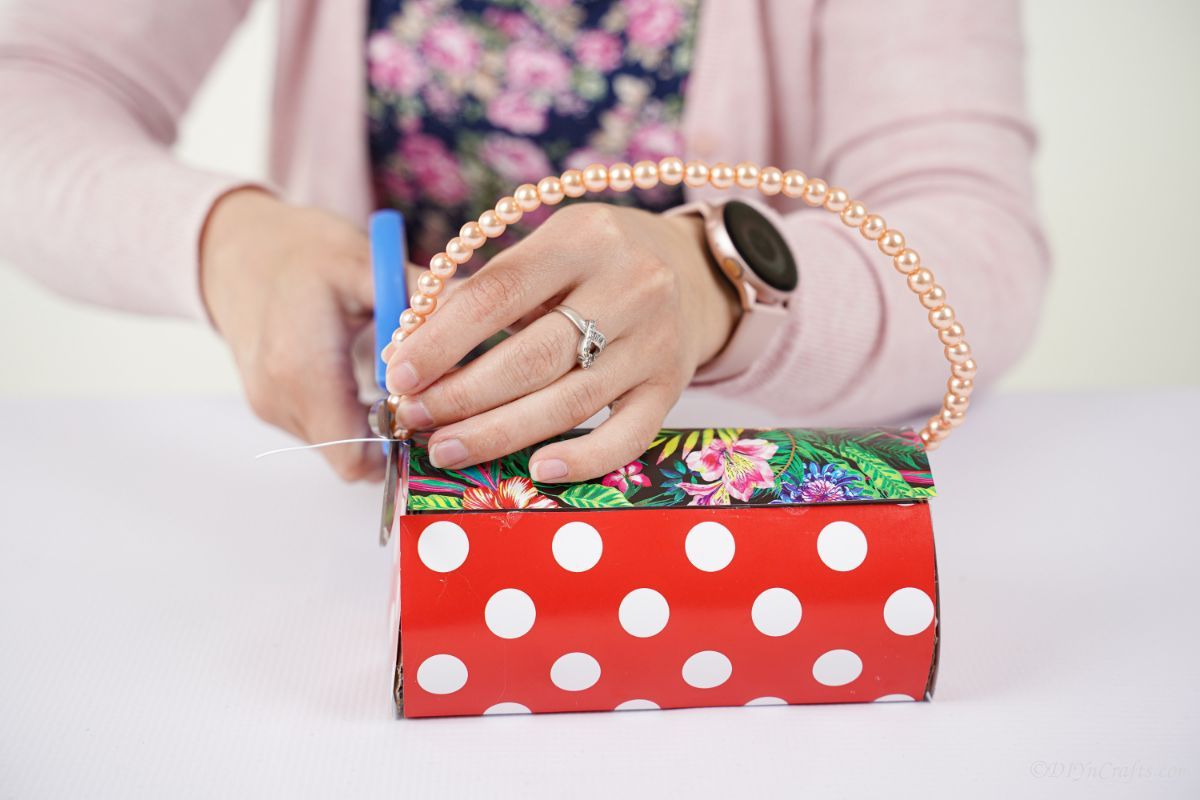
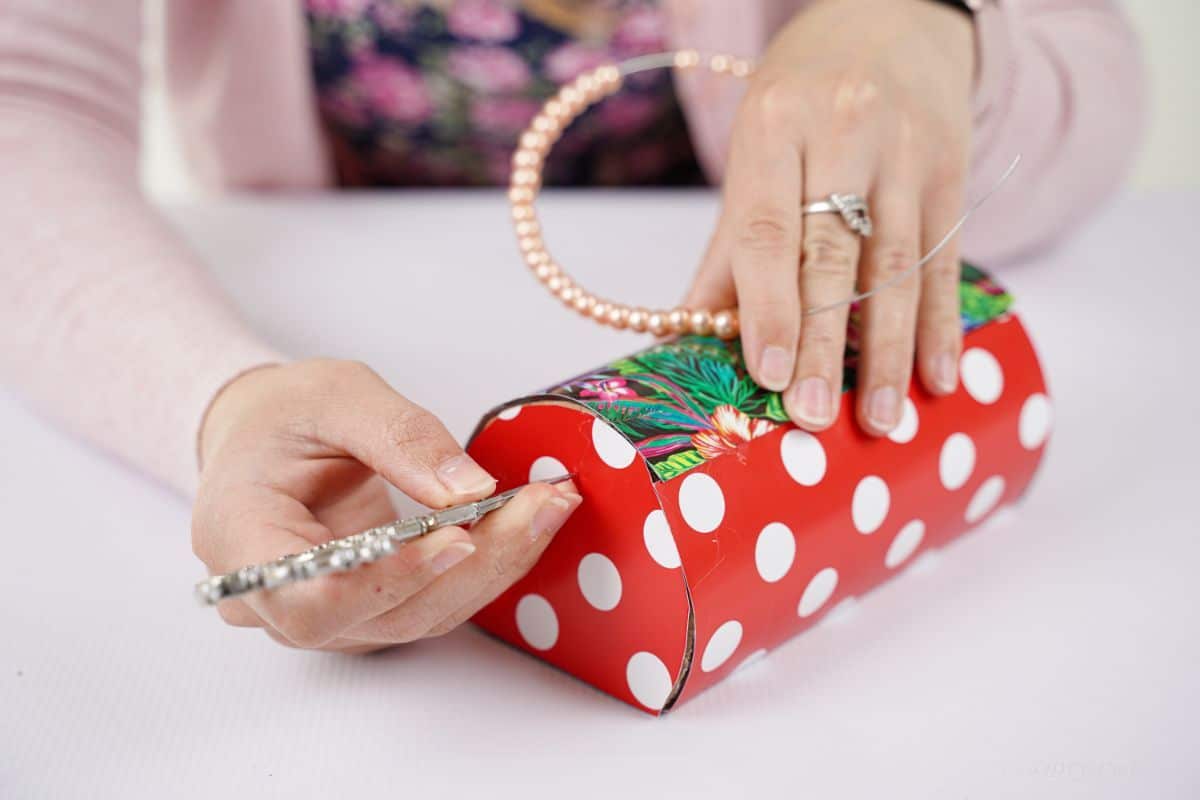
Use a hole punch or soldering iron to make a hole on both ends of the purse, string the jewelry wire through one of the ends and secure on the inside.
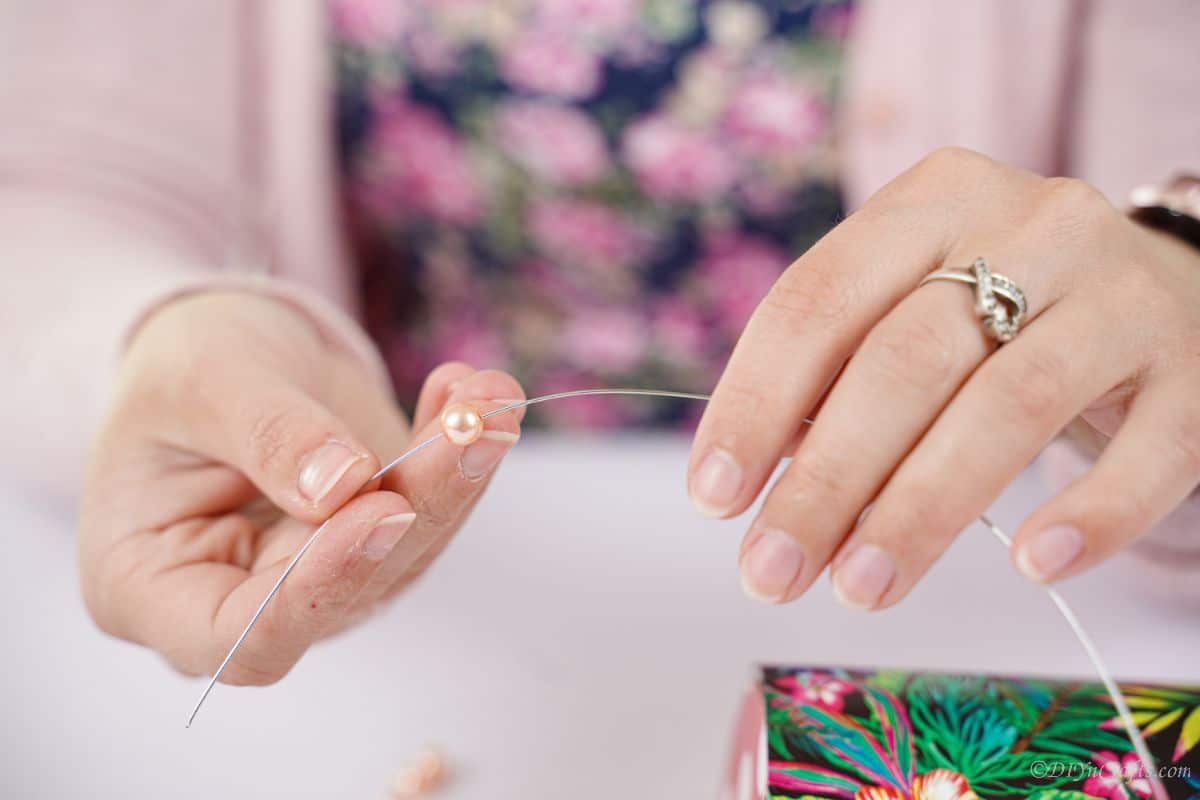
Now, string that piece of wire with beads or pearls until you have a nice handle length.
On the other end, put the wire through the hole and secure it on the inside of the purse.
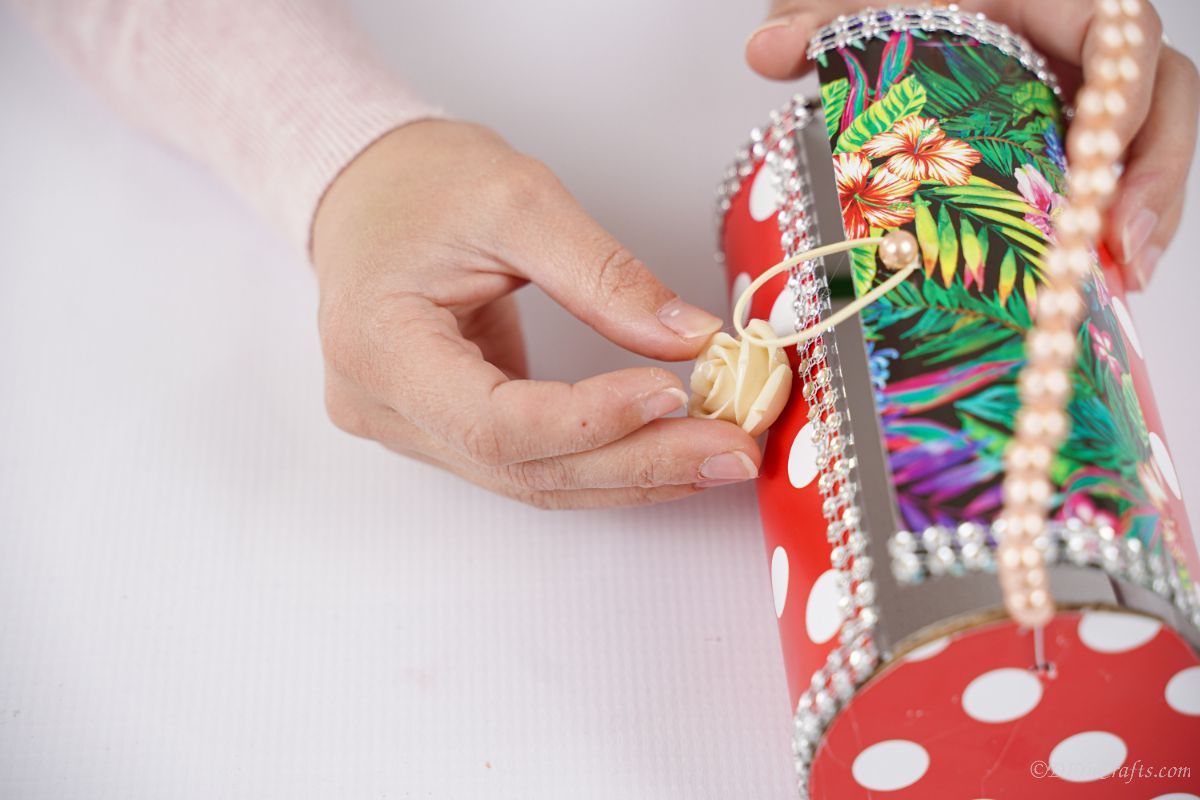
Glue a small bead or button to the bottom edge of the flap.
Then glue a second button, or rose as I did, just below that on the bottom side of the purse.
Use an elastic band to stretch between them and hold the purse closed securely.
Now you can use it as a purse or gift!
More Easy DIY Purses and Bags
If you want more fun bag or purse ideas, don't look any further! I have some great ideas below that are perfect for you to make and use in your daily life or gift to a little girl for dress-up playtime!
- Gorgeous Handmade No-Sew Rope Purse
- Upcycled Old Book Purse
- How to Make a Fashionable Denim Bag
- Adorable DIY No Sew Handbag
- How to Make a Bag From A T-Shirt

Colorful DIY Plastic Bottle Purse
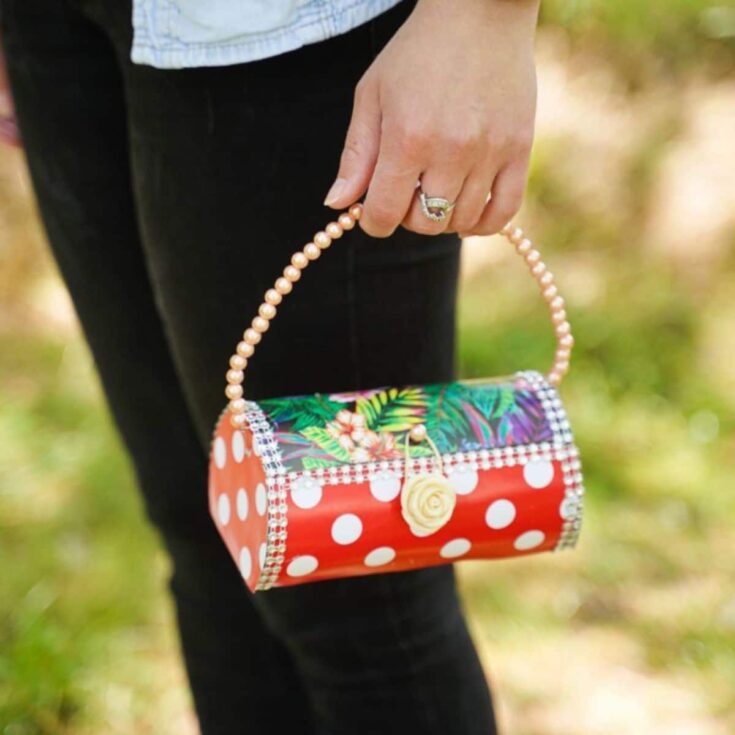
Make an adorable plastic bottle purse using all recycled materials you already have on hand! A cute statement accessory!
Materials
Instructions
- Cut the top ¼ of a plastic bottle off and discard.
- Then, cut the bottom of the bottle off, and discard that leaving just the center of the bottle for your purse.
- Use the end of the bottle to trace two circles onto a piece of cardboard.
- Cut out the cardboard circles.
- Now, cut ½" off the top of the two circles.
- Then place the flat edge onto a piece of cardboard and trace the width of the flat edge of the circle onto the cardboard piece.
- Next, use a ruler to create straight lines on either side that are the length of the plastic bottle middle. This will be the flap for your purse.
- Cut through the center of the middle of the plastic bottle lengthwise.
- Now, glue the two round pieces of cardboard onto the flat piece you cut out, with the flat end of the cardboard rounds on each end of the cardboard strip.
- Measure the width of the cardboard piece onto the plastic bottle you cut in half earlier.
- Cut out three equal strips from the plastic sheet.
- Lay them down curved side up, and use a strip of tape to connect two of them together.
- Then, tape this to one side of the cardboard base, and the single piece to the other side, creating a whole purse with the top open as a flap.
- Now, glue the scrapbook paper around the plastic piece to create the outside of the purse.
- Glue the same paper over the bottom and sides of the purse.
- Add beaded ribbon trim around the seams of the purse.
- Then, punch a hole on either end of the purse, and string jewelry wire through one end.
- Next, put the pearl beads through the wire to create a handle and then tie or twist the wire through the end of the other side.
- Glue a bead on the top of the flap on top.
- Add a rubber band around the bead, then glue the rose button on the bottom half of the purse, just where the rubber band will stretch over it easily.
- Add additional beads or ribbon as desired.
Notes
Make this same style of purse using any size water bottle or soft drink bottle.
Recommended Products
As an Amazon Associate and member of other affiliate programs, I earn from qualifying purchases.
-
 Red and White Clutch Polkadot Cotton Clutch Retro Purse | Etsy
 -
 Tote Bag Large Purse Red Polka Dots for 18 American | Etsy
 -
 Shopper Tote Bag Boho Bag Lunares Red From Waterproof | Etsy
 -
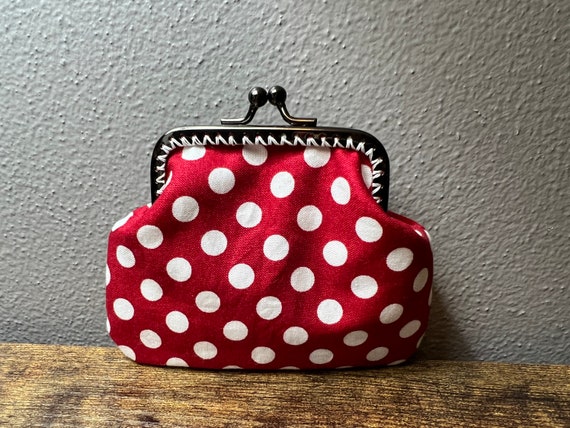 Red and Ivory Polka Dot Coin Purse | Etsy
 -
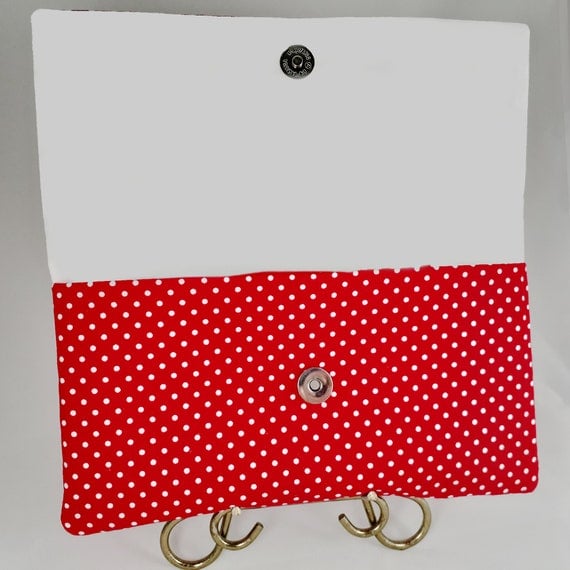 Red Polka Dot Clutch Bag Red N' White Polka Dot Clutch | Etsy
 -
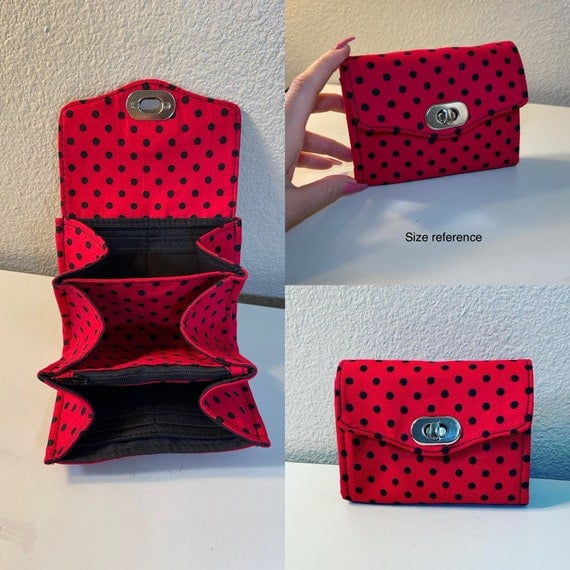 Red Polka Dot Mini Wallet | Etsy
Finished Project Gallery
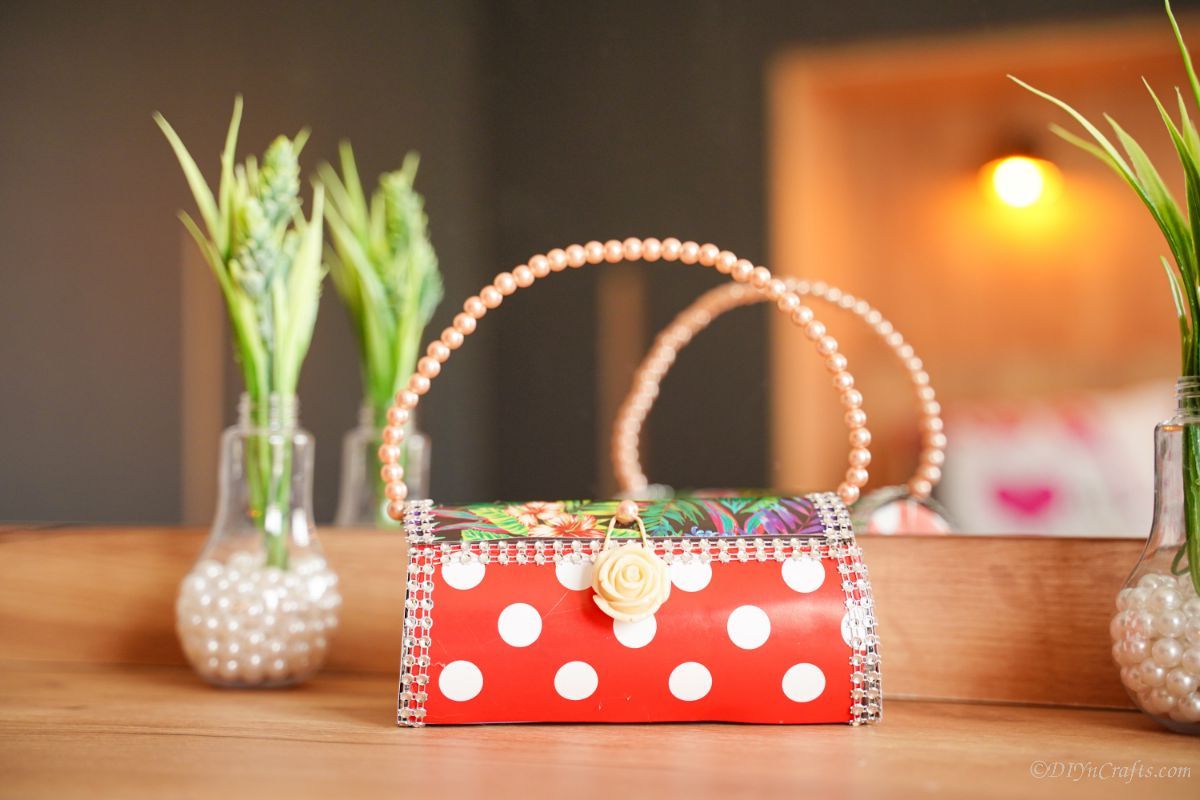
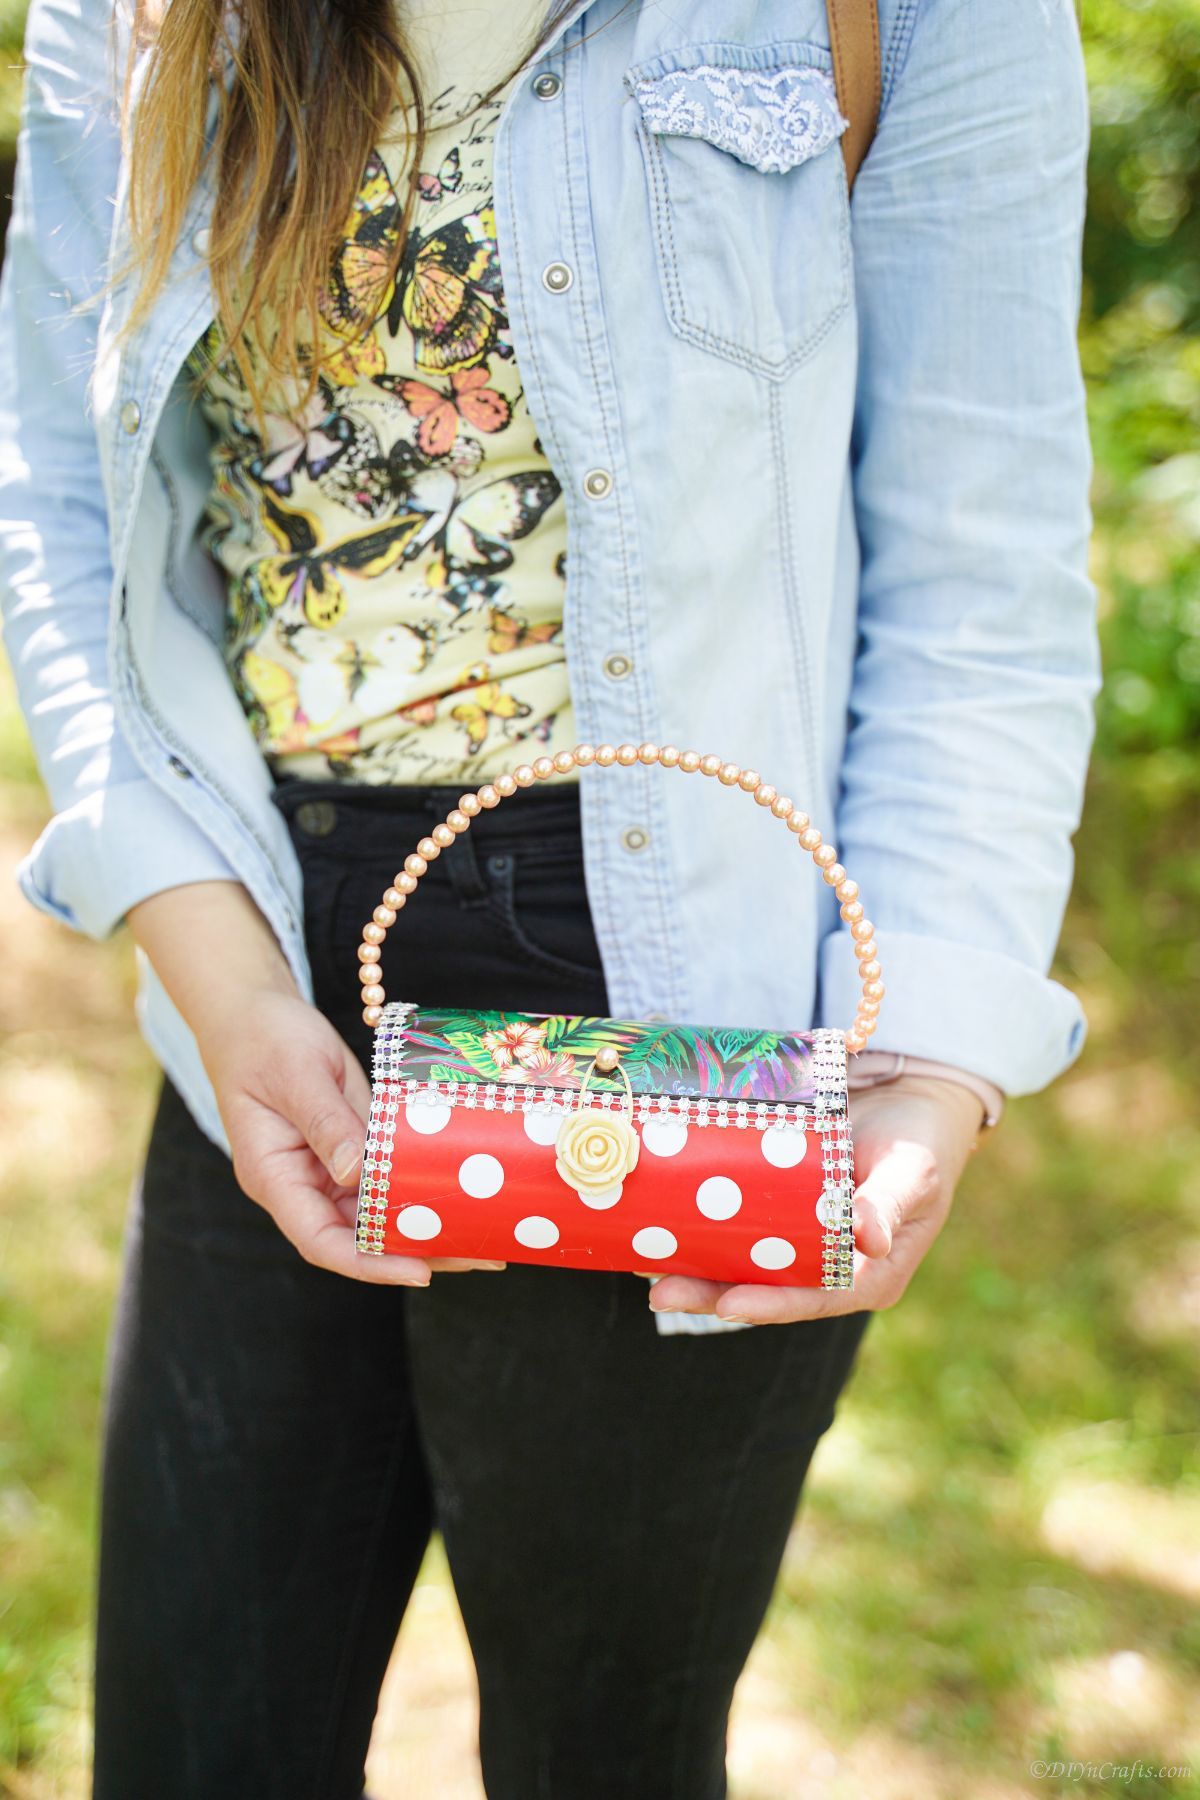
This is the perfect size to hold just a few pens or pencils.
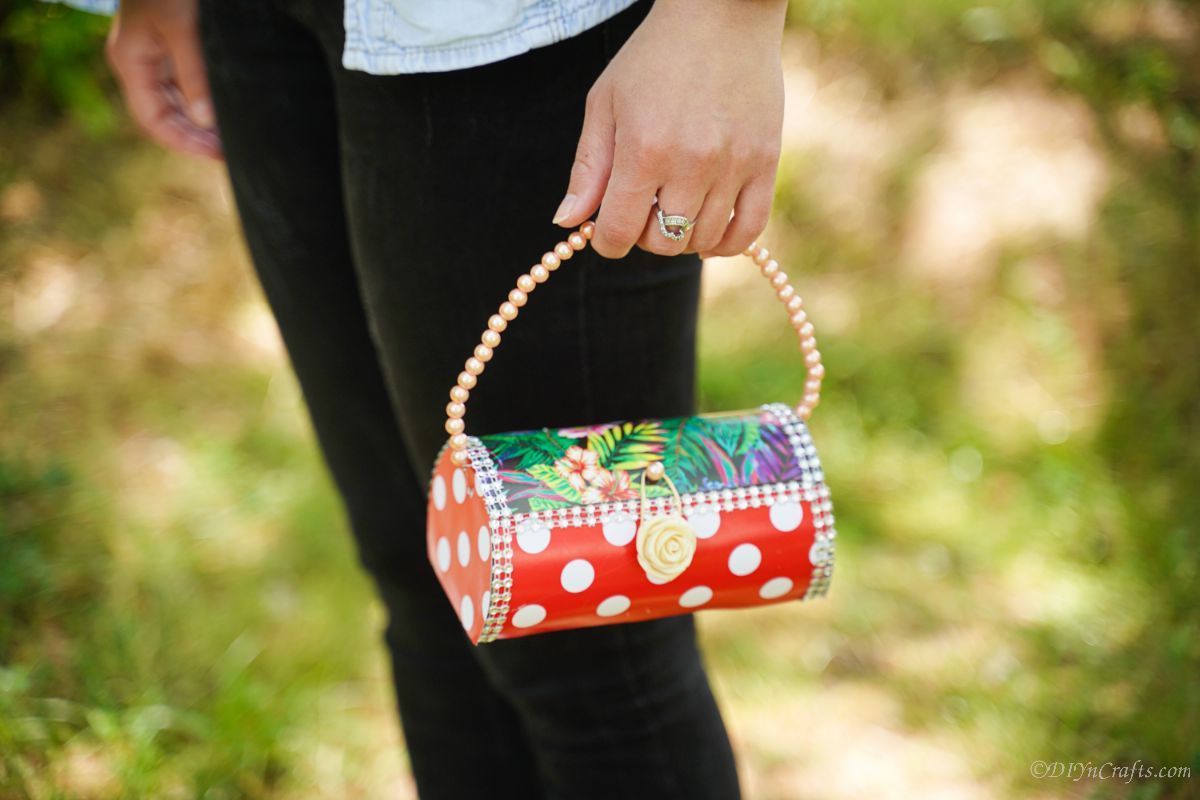
Or tuck your money, lipstick, and keys inside!







Leave a Reply