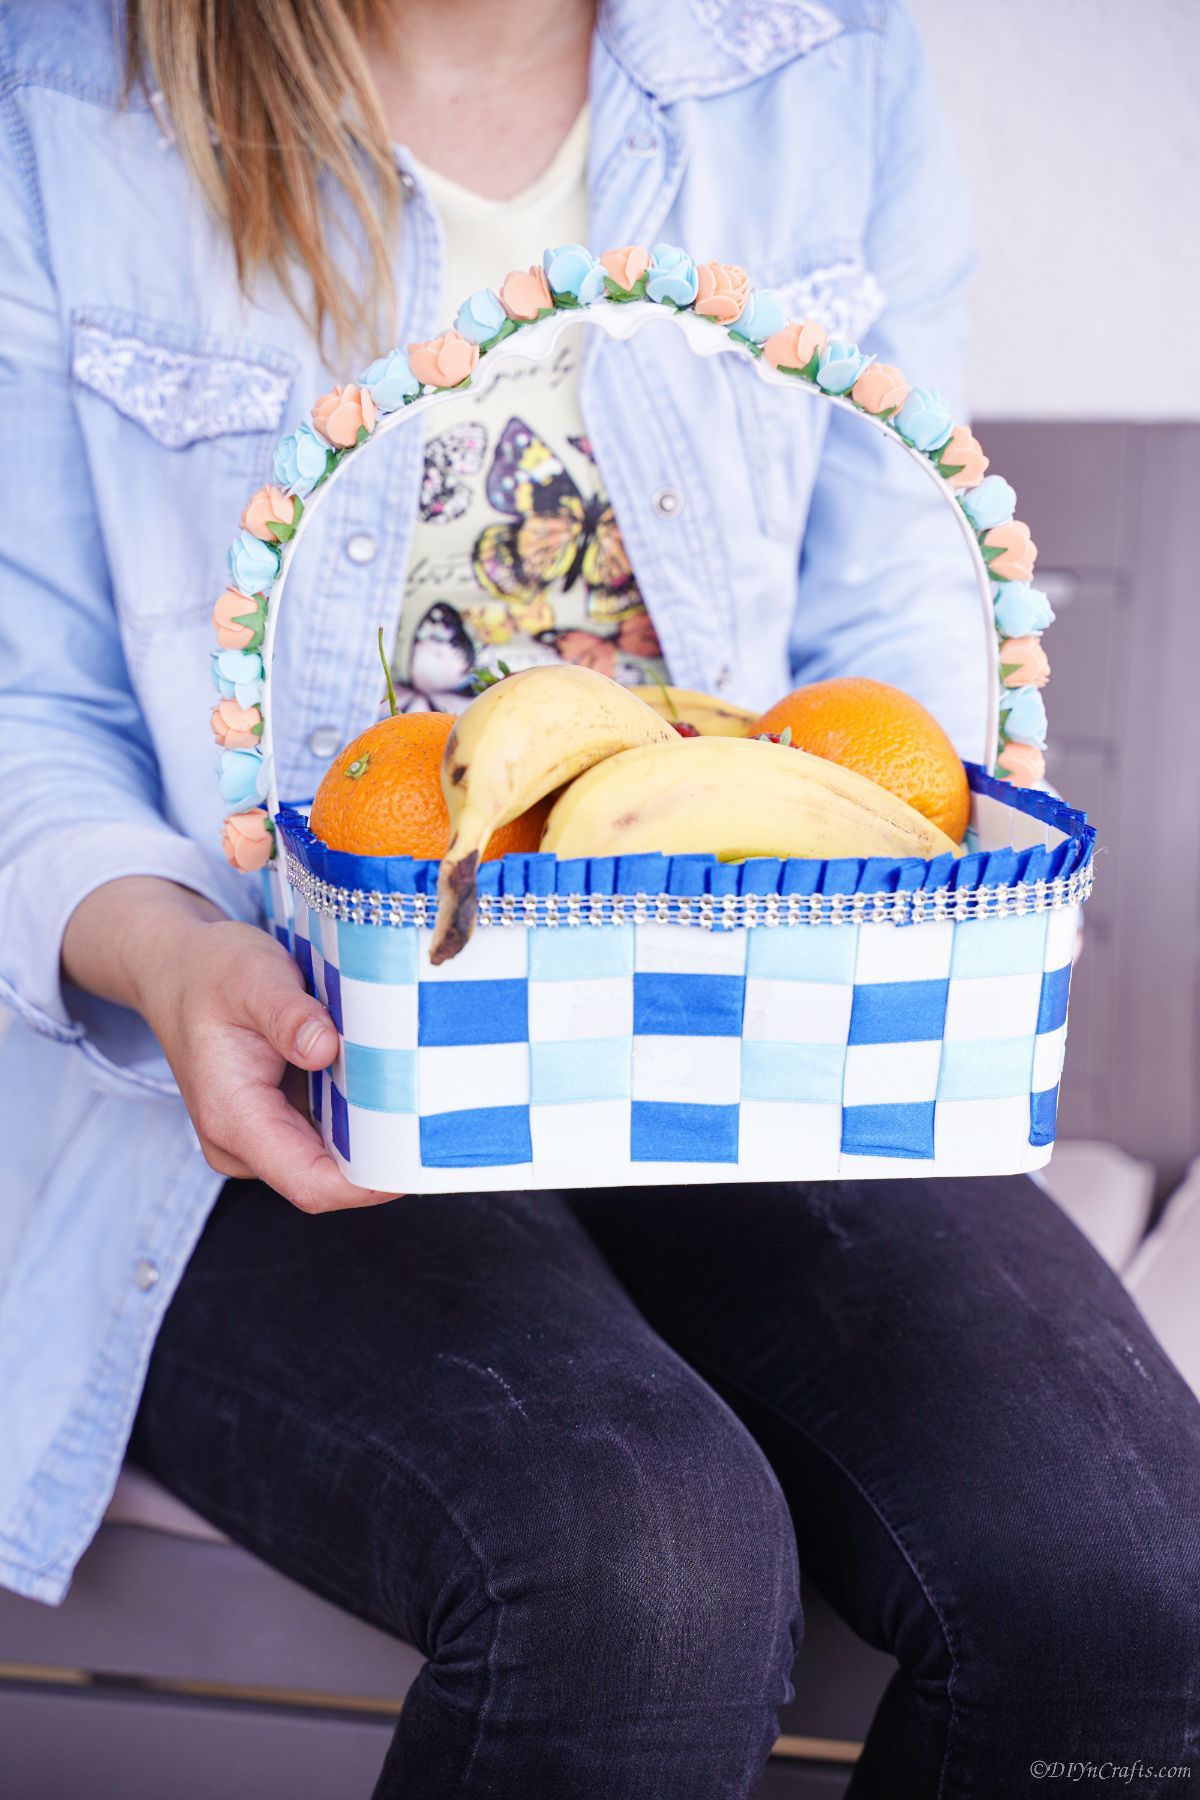
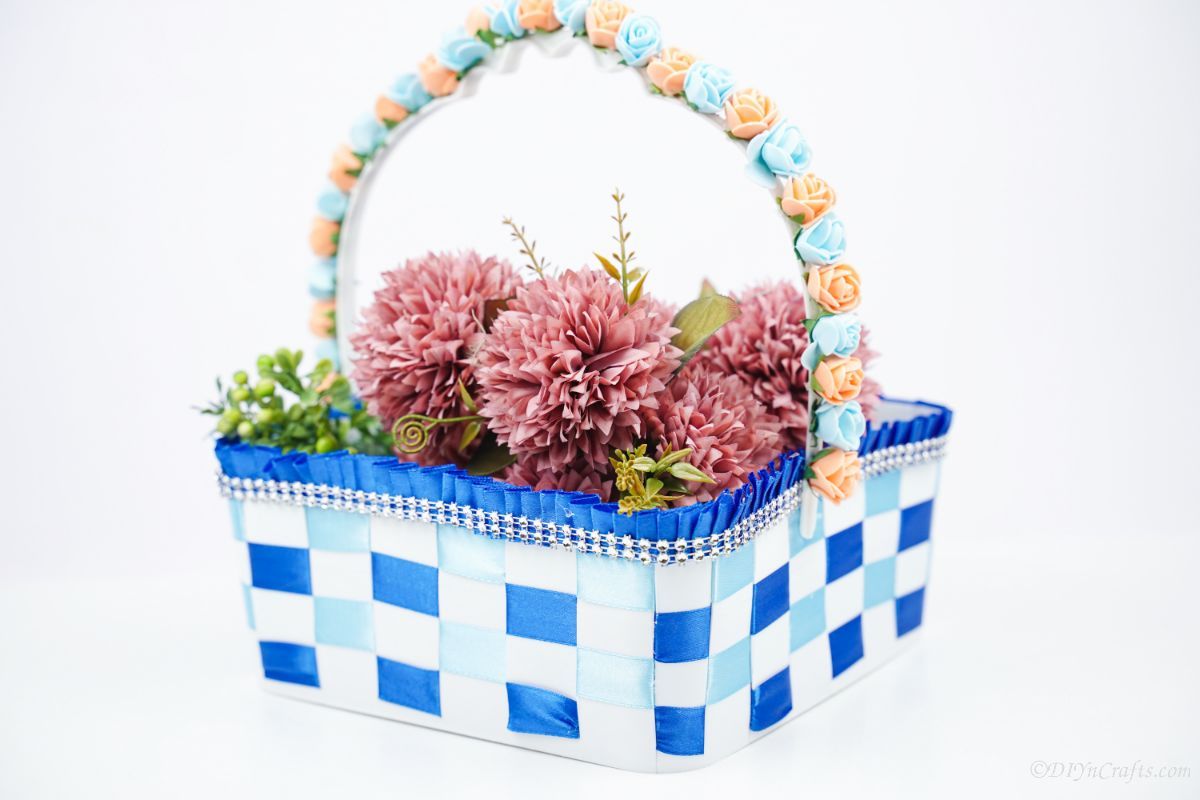
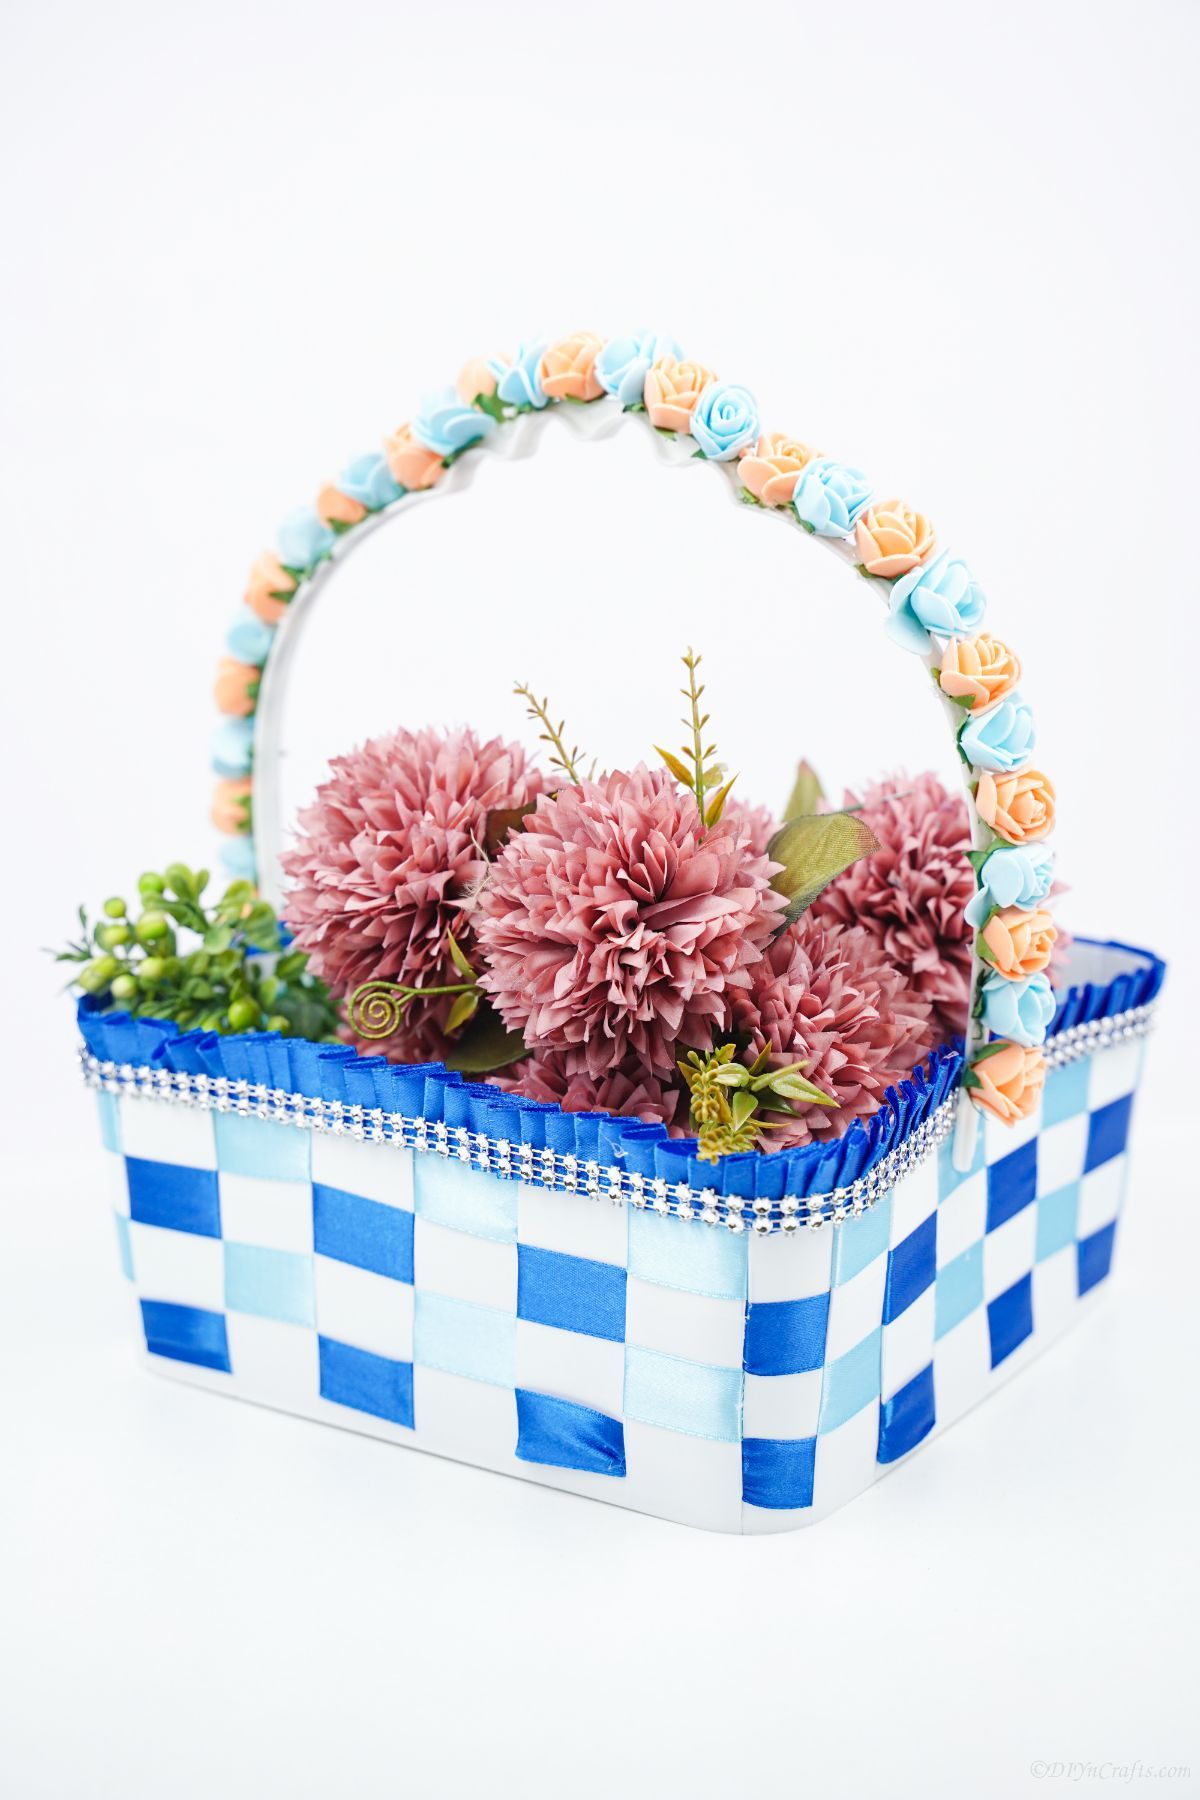
Finished your ice cream but don't want to throw the container in the trash? Turn that old ice cream container into a beautiful decorative basket! It’s easy and only takes a few minutes. This is the perfect project for anyone who loves to decorate their home with unique pieces. The finished product is so cute for setting up around the house.
Ice Cream Pail Decorative Basket
I promise, there is a way to turn almost any trash into treasure and this is a prime example. An ice cream pail can easily be turned into a beautiful basket that is ideal for decorating your home. They are great for holding anything from a few pieces of scrap fabric to fresh fruit for snacking.
Make each basket truly unique by using different colors or patterns of ribbon. Match to your home or make totally unique for use all around the home. They are even excellent for gifting or using as a base for a gift basket!
And if you like upcycled home decor ideas, then you are going to love this list of ways to repurpose pots and pans, or even this list of ways to upcycle cardboard boxes. They both have tons of ideas to use for making fresh home decor!
What Should I Use to Make Handles?
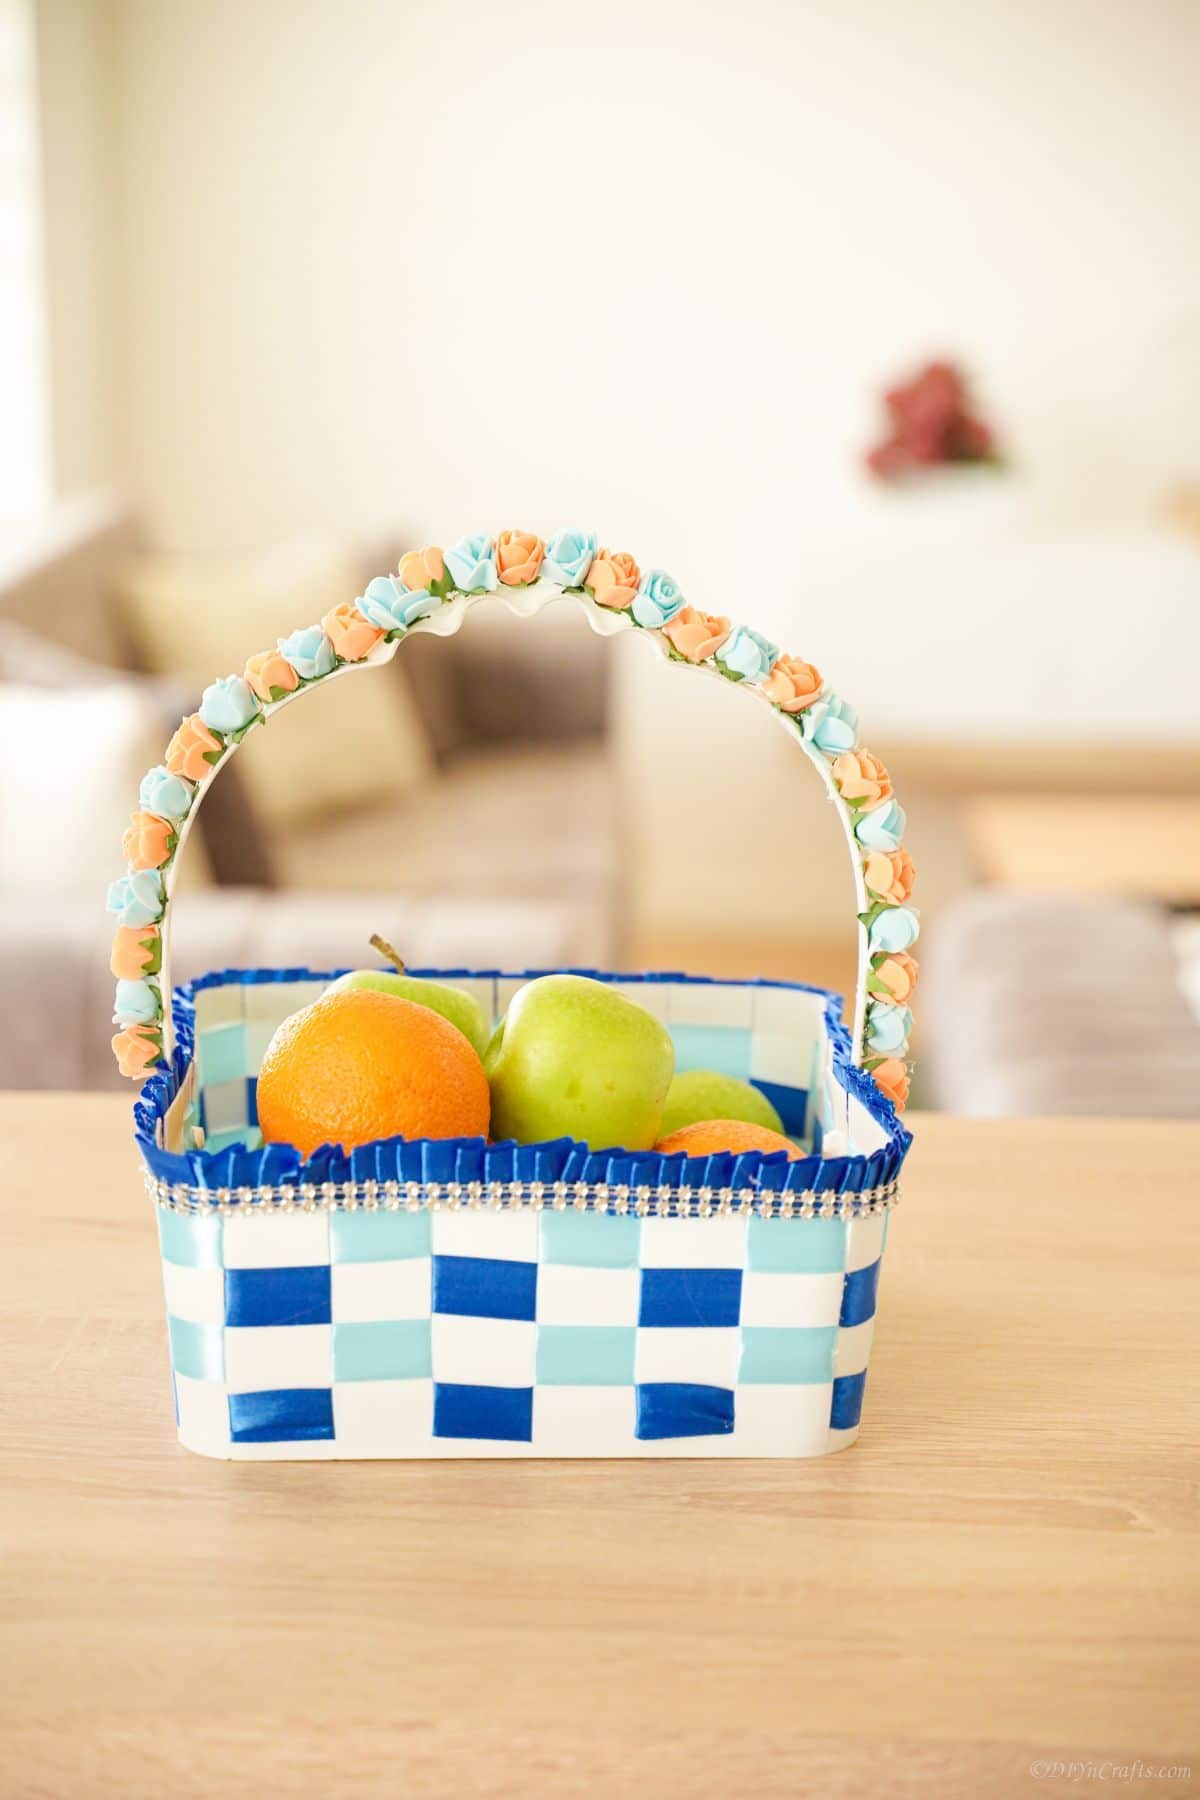
A lot of ice cream containers have handles on the plastic. If the pail you are using does have handles, you can decorate it with ribbon, yarn, or fabric. You can even add flowers to it like I did, or paint it with a matching shade as the ribbon used on the sides of the basket.
If it does not have a handle built on the plastic container, you can make one. You need something that is moldable and will keep its shape. Try repurposing other plastic, or something like a wire hanger that you can coat with ribbon. Of course, you can cut a foam wreath form in half and use it, or really any round item that can be cut easily and turned into a handle shape.
Whatever you choose, it should be curved and hold its shape, or be easy to drop down the side of the basket and out of the way. Of course, if you prefer, you can leave it without a handle and just carry the basket from the bottom.
What’s the Best Ribbon For Weaving This Basket?
When you are making the weaving on this decorative basket, you can use just about any style of ribbon, but basic satin is the easiest. I prefer using something that is flat and won't fray or have pieces sticking out.
Other options include strips of cotton, old scarves, felt pieces, or even twine that has been braided. Get creative when covering the basket and make it fit your own personality and theme. You can always use a patterned ribbon for holidays or to match a simple theme in your home.
What All Can I Use This Basket For?
The great thing about this basket is that it can be used for anything. Get creative and use it to store whatever you want. Below are some ideas that can work great around the house.
- Store yarn, crochet hooks, patterns, or knitting needles for your latest projects.
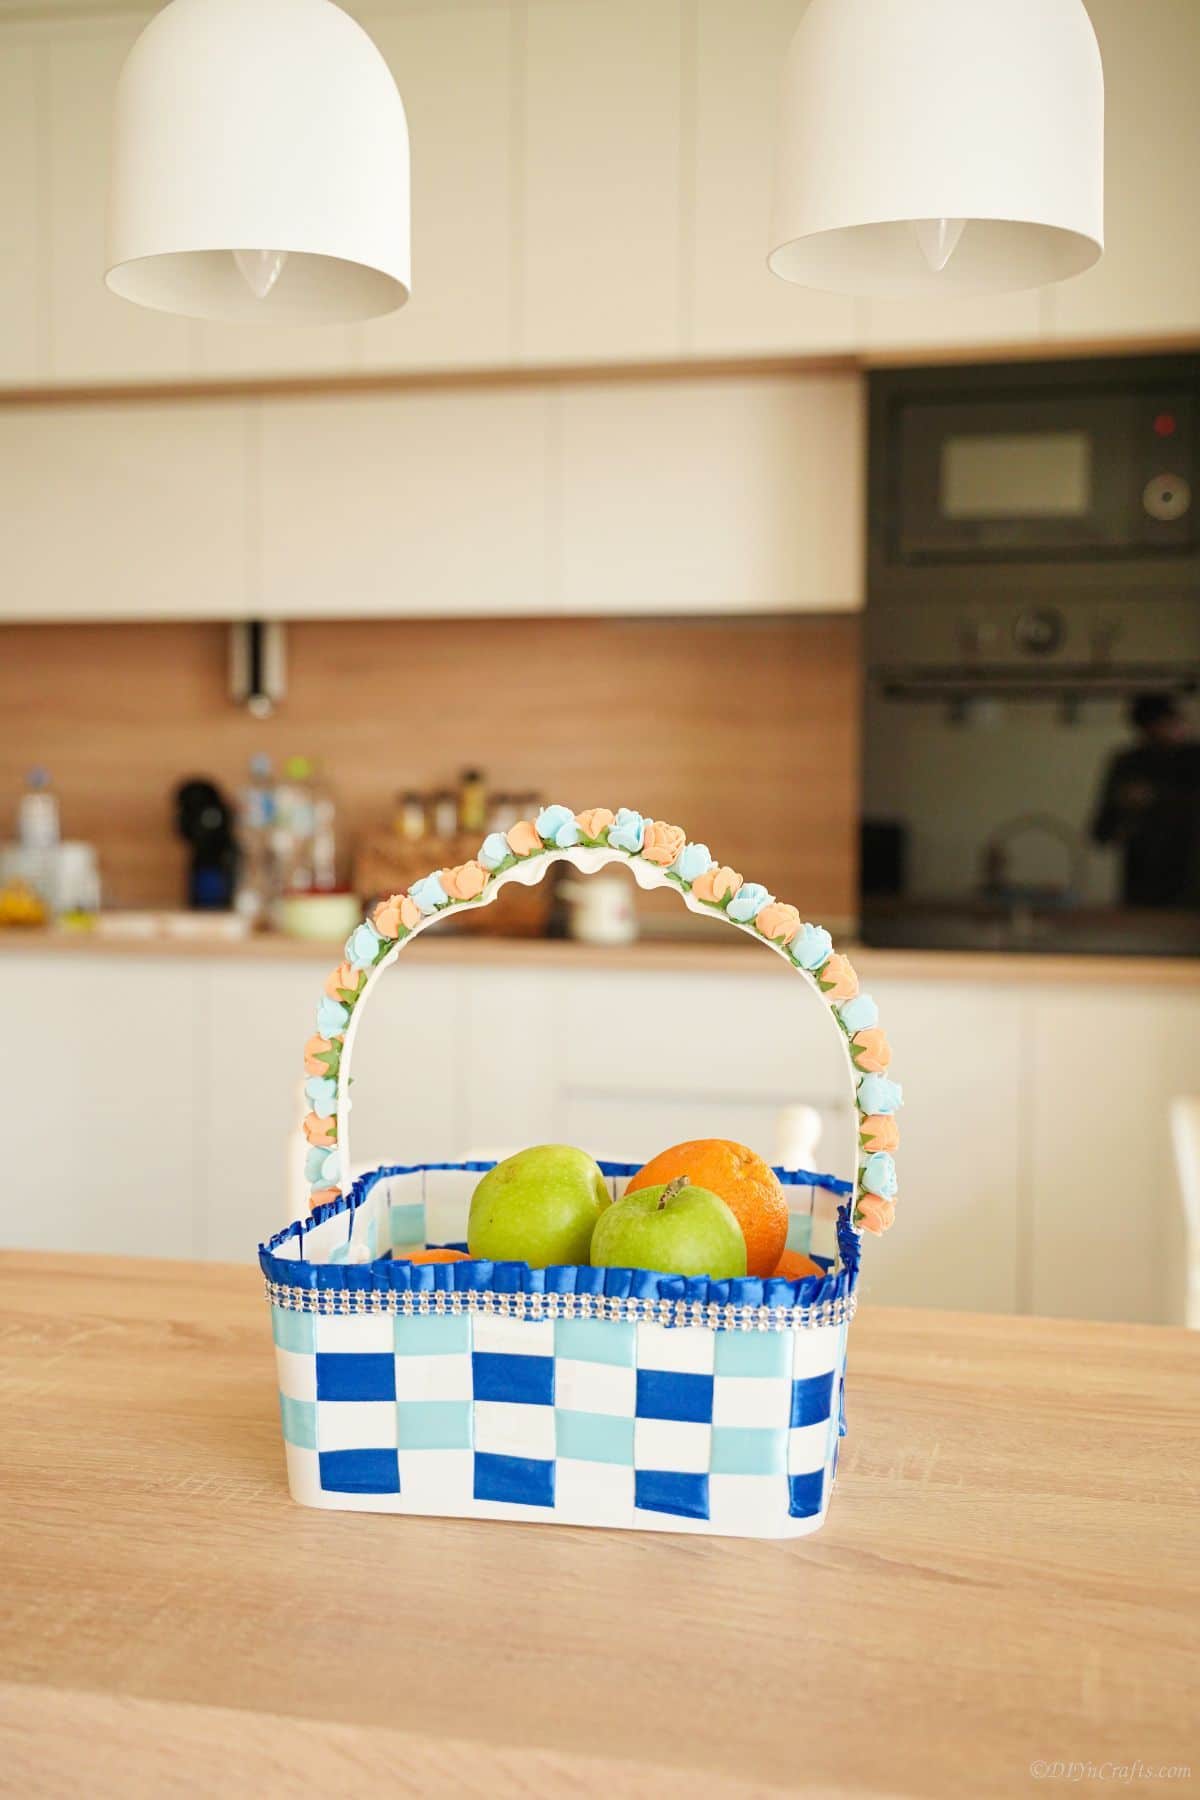
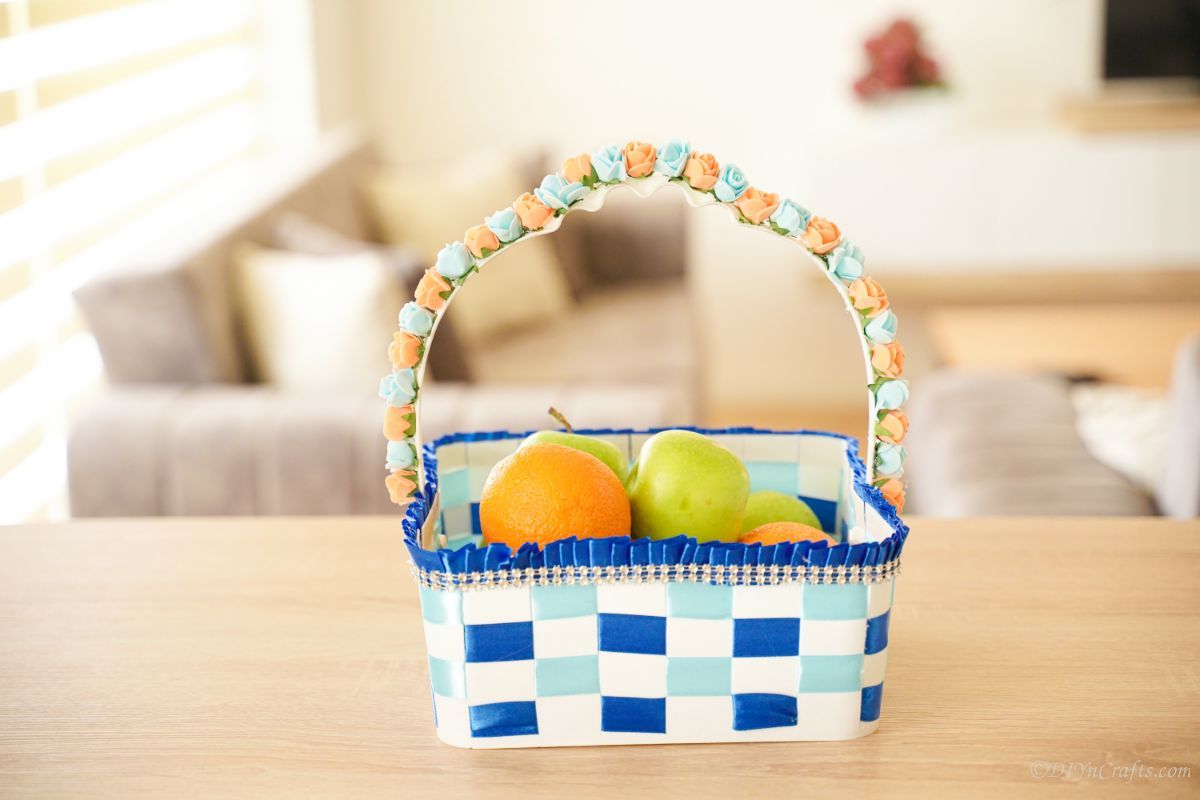
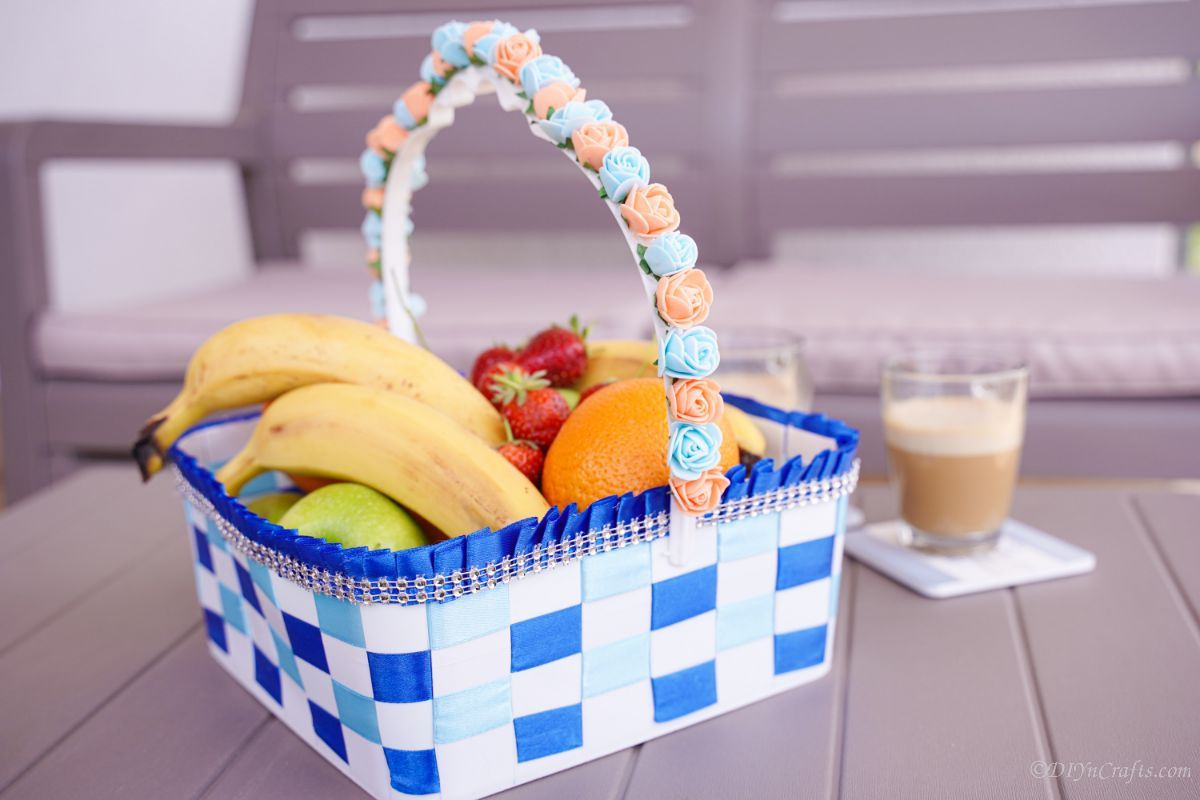
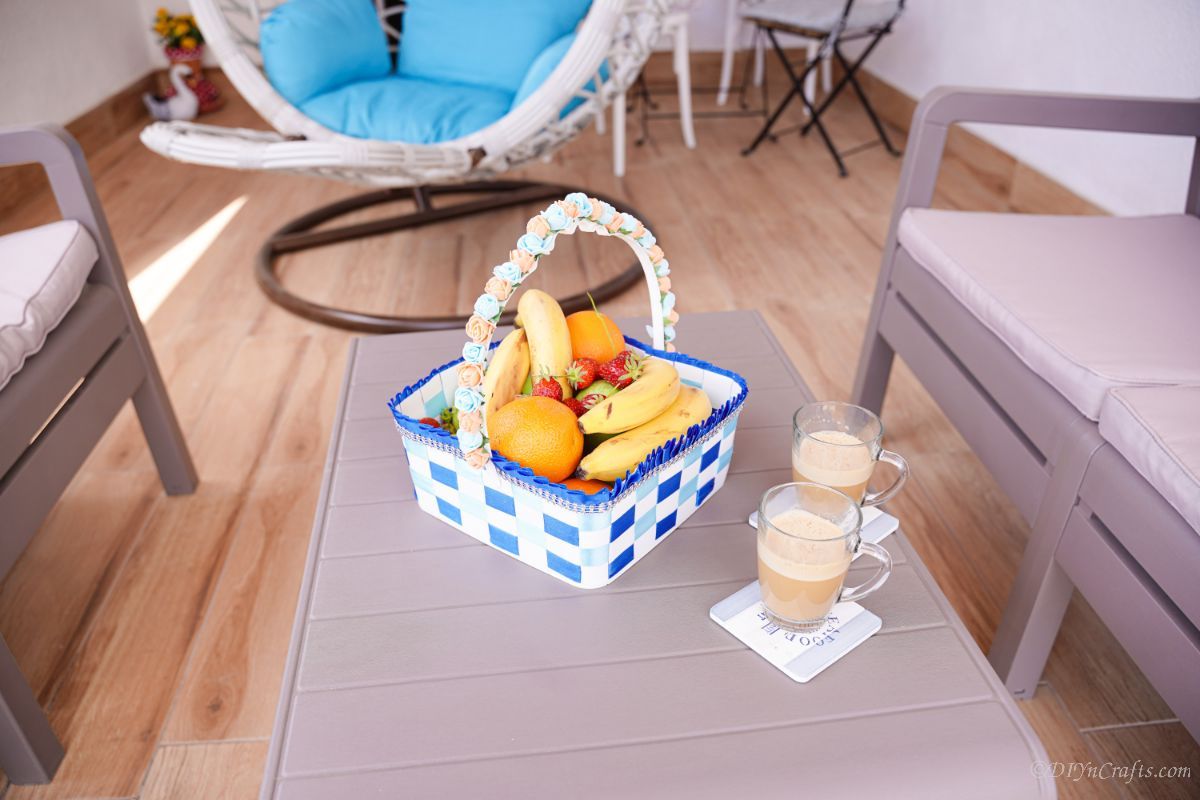
- Sit on a counter to hold fresh fruit.
- Use the basket to hold candy or mints on a sie table.
- Place on the bathroom counter to hold rolled wash clothes or hand towels.
- Use for storing fabric scraps between sewing projects.
- Stack books or magazines in the basket and place them on a side table or beside your bed.
This is a project that anyone can do, and the results are beautiful and unique decorative baskets. These baskets are perfect for storing just about anything. Other things that you can place in the ice cream pail decorative basket are little knick-knacks and whats-its that you need to keep around but don't know where to keep them. At least the basket can hide the clutter and make it look pretty.
How Can I Customize My Ice Cream Pail Basket?
There are tons of ways to customize your basket! Get creative and add your own personal touch to make your basket stand out and truly match your personal style and tastes. Below are some ideas I think would work for this project.
- Paint the plastic container before you weave the ribbon around it.
- Wrap the handles in yarn or ribbon.
- Add flowers or other embellishments along the sides or edges.
- Personalize it with decorative details that bring in your own style. Things like an animal theme, color theme, or even adding small figurines can make it unique.
- Love glitter? Glitter up the ribbon.
- Are you a beach bum at heart? Add seashells to the basket.
No matter what you add to the basket, the basic style is perfect for using every day around your home. Make them in various sizes for each room!
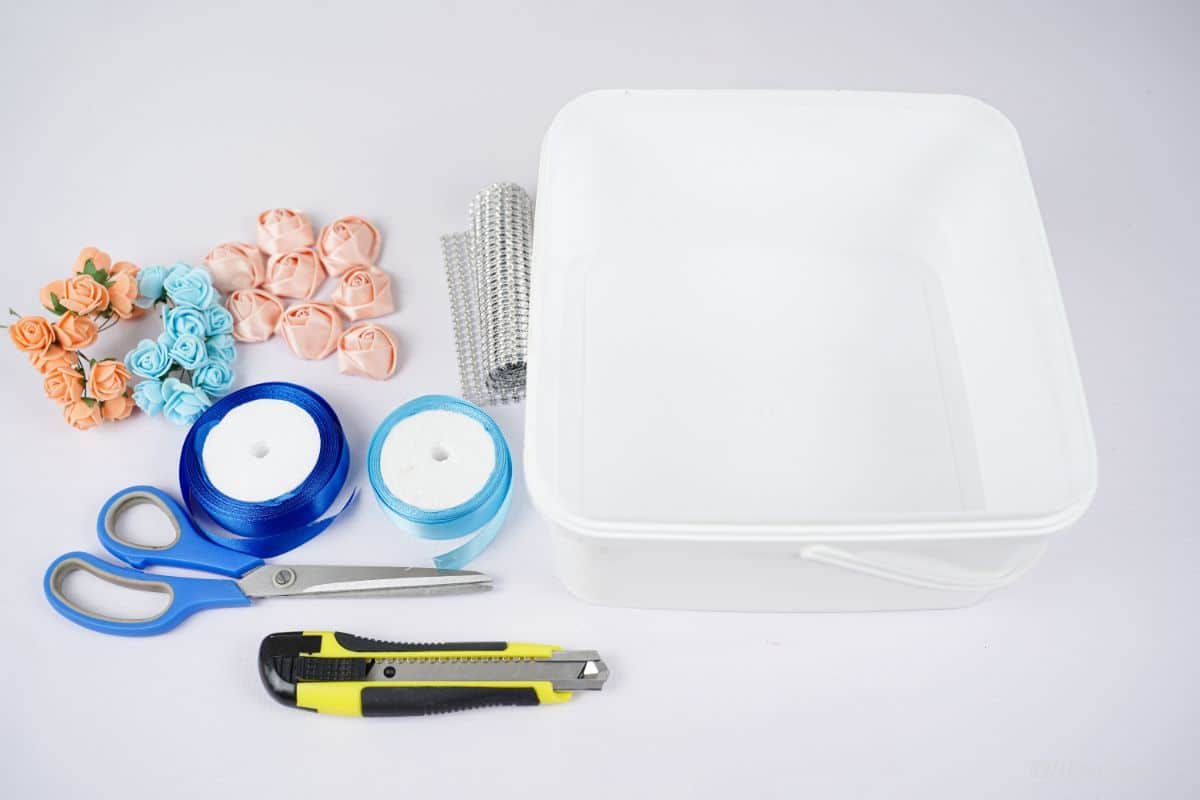
Supplies Needed
- Square plastic ice cream pail (or similar bucket)
- 1" royal blue satin ribbon
- 1" light blue satin ribbon
- Miniature pink silk roses
- Light blue mini fake flowers
- Light peach mini fake flowers
- Beaded ribbon
- Scissors
- Craft knife
- Hot glue gun
- Hot glue sticks
- Soldering iron
How to Make an Ice Cream Pail Basket
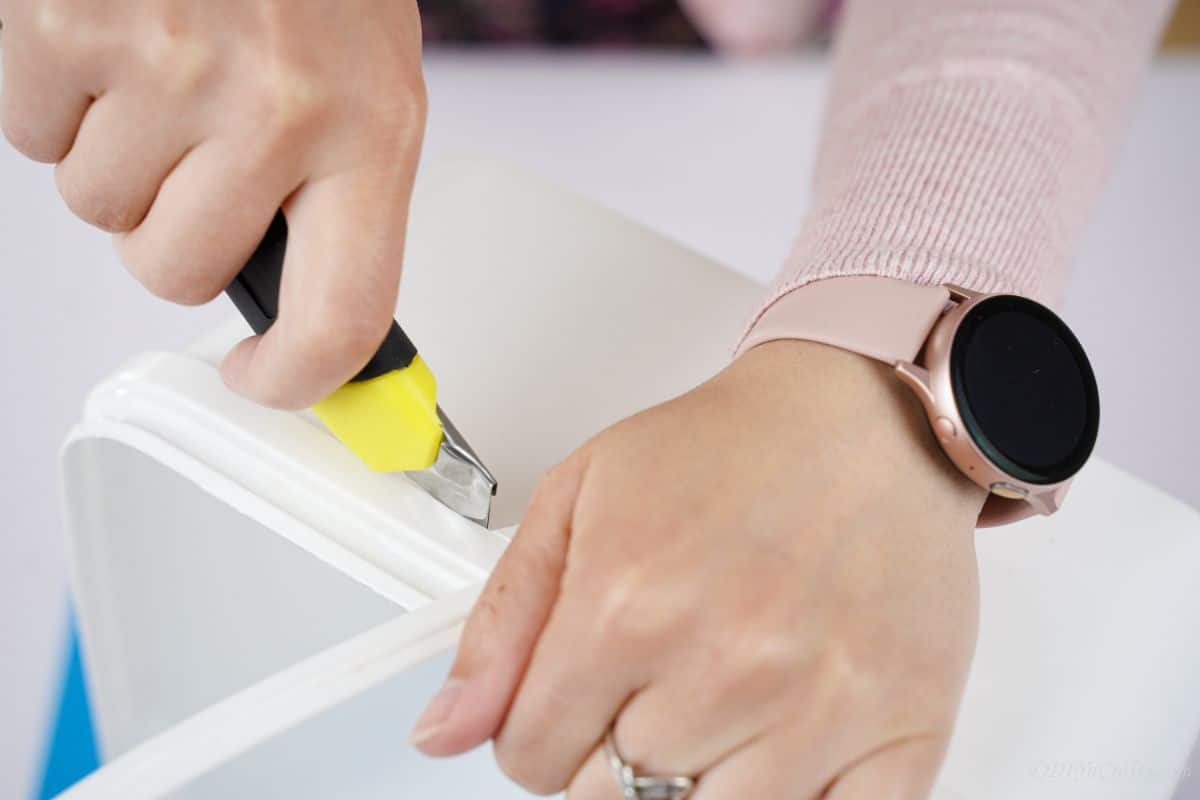
Start by removing any labels from the bucket or use nail polish remover to remove any printed logos. Then, cut the top edge and handle off of the ice cream pail and set them aside. You may reuse that handle later.
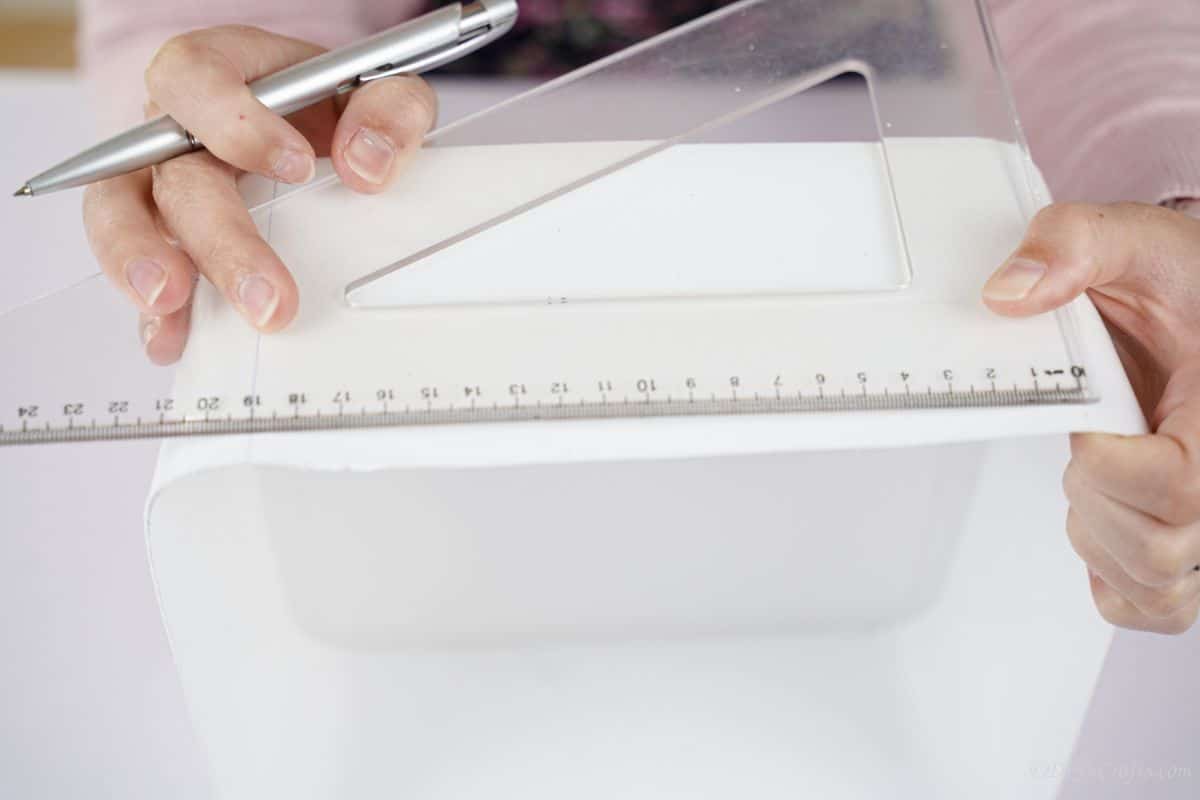
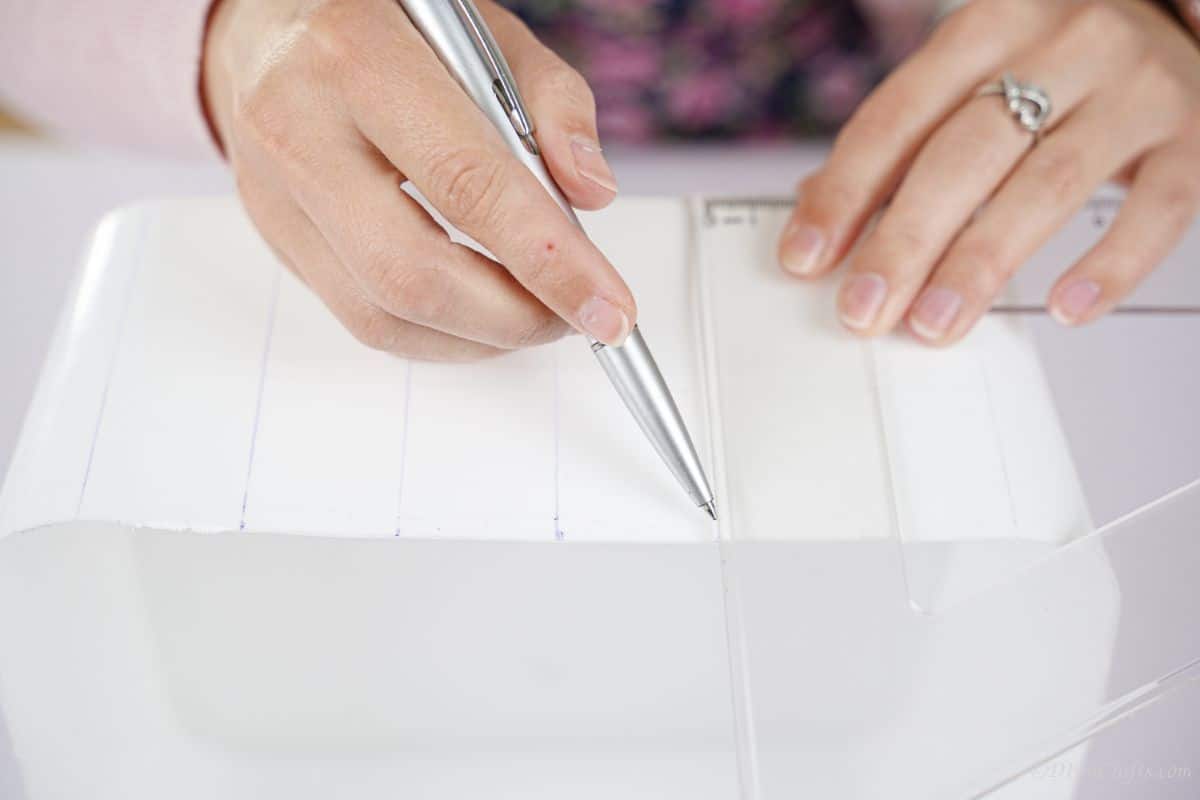
Starting on one corner, use a ruler to measure and make a mark every 1" around the top of the pail.
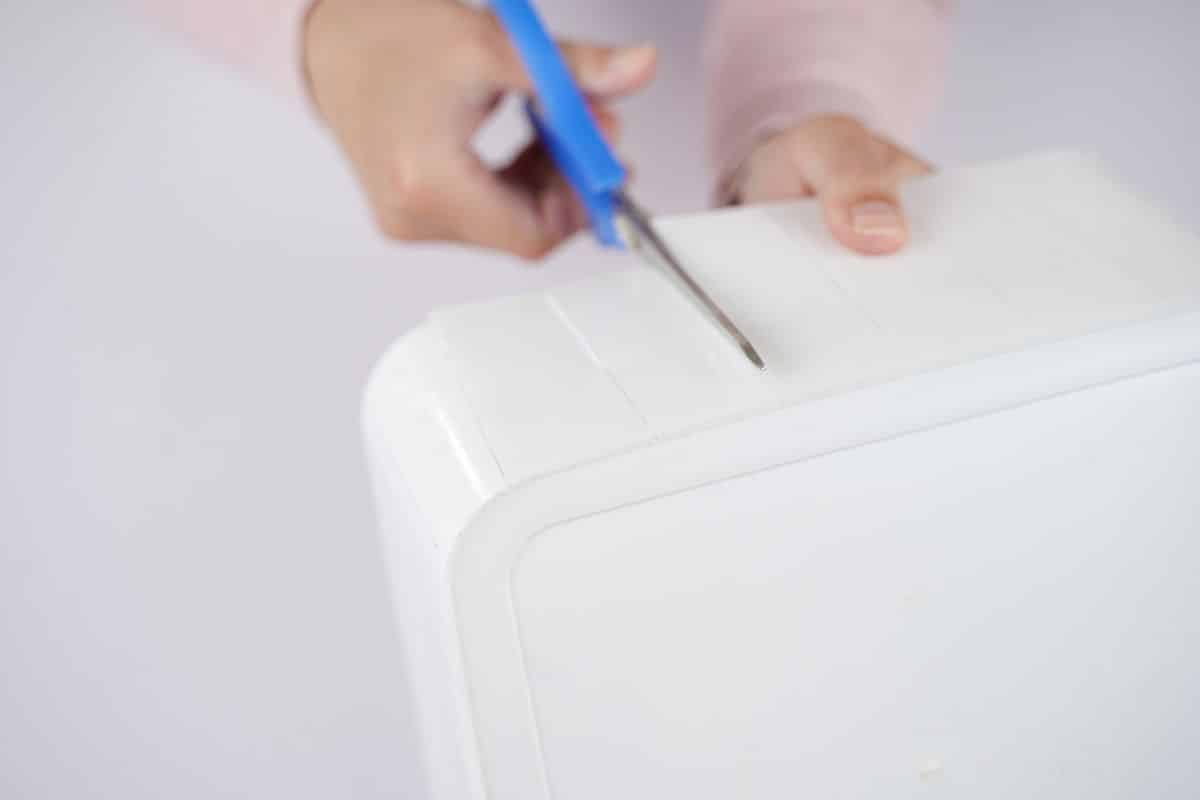
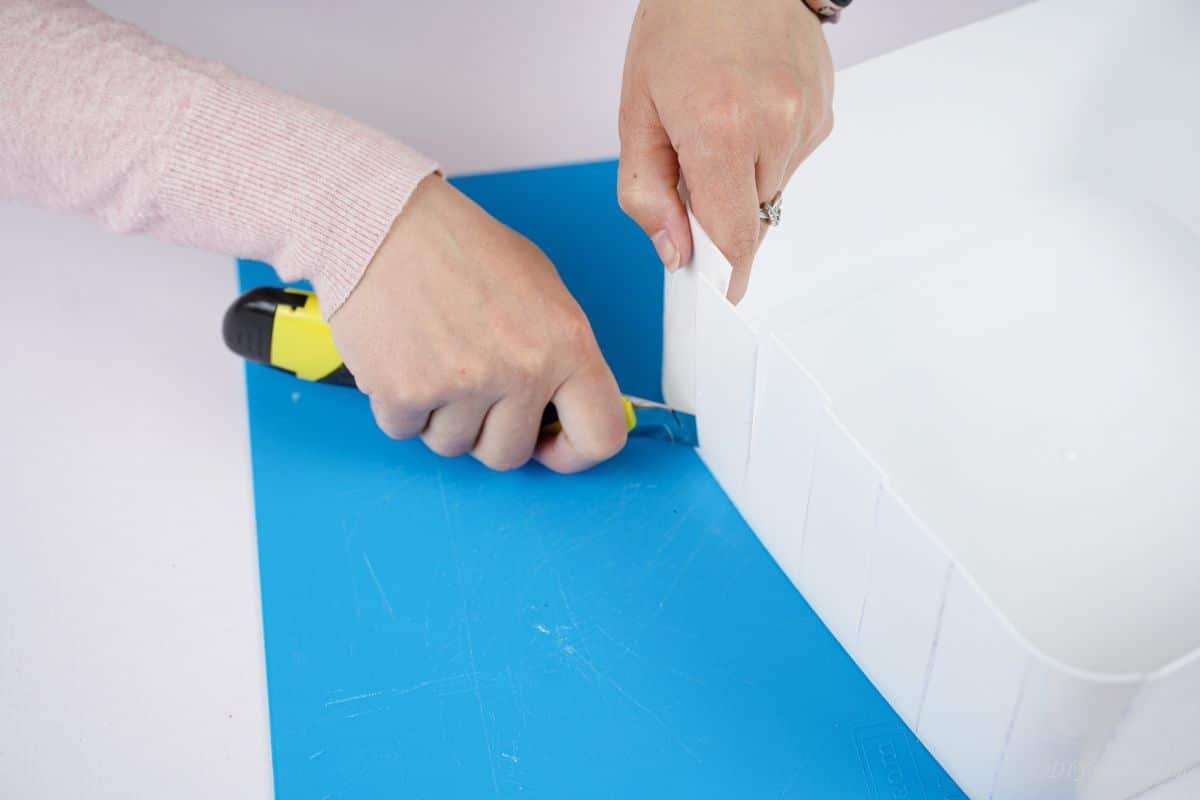
Now, use scissors or a craft knife to cut from the top edge down to just below the base, at each of these marks. This creates loose sides all around the bucket.
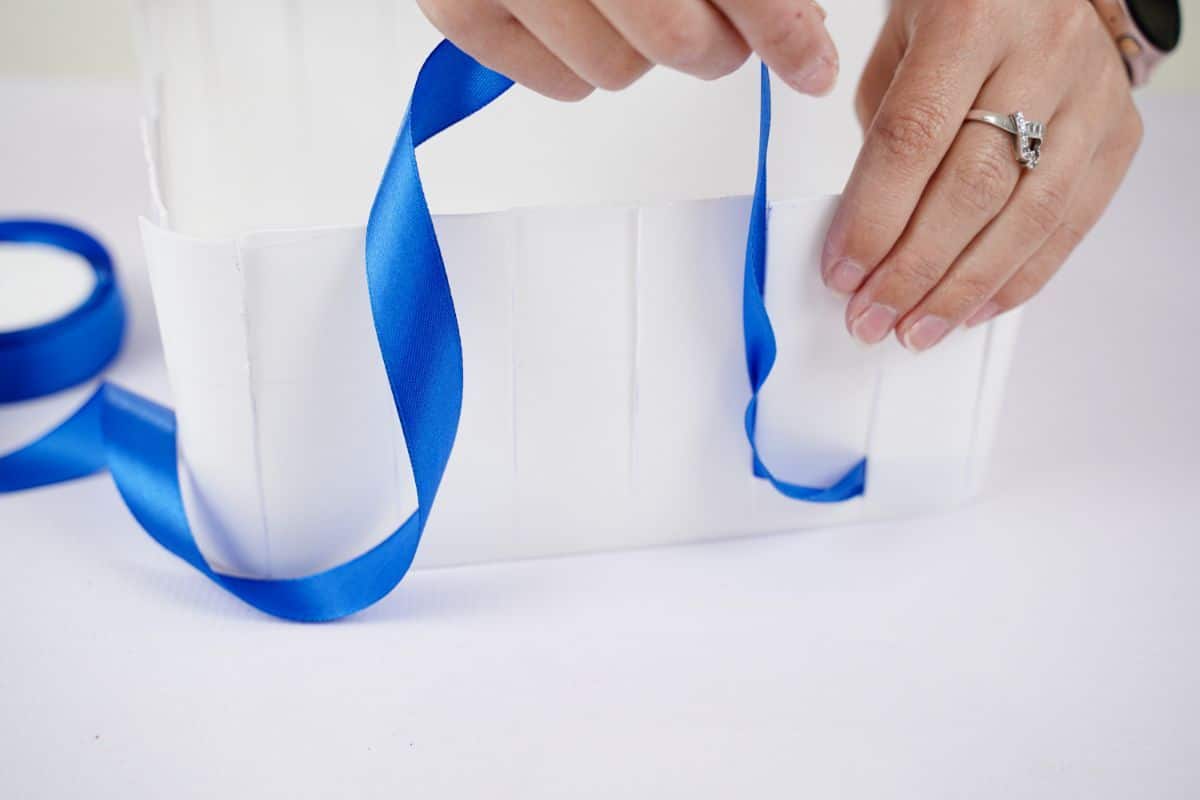
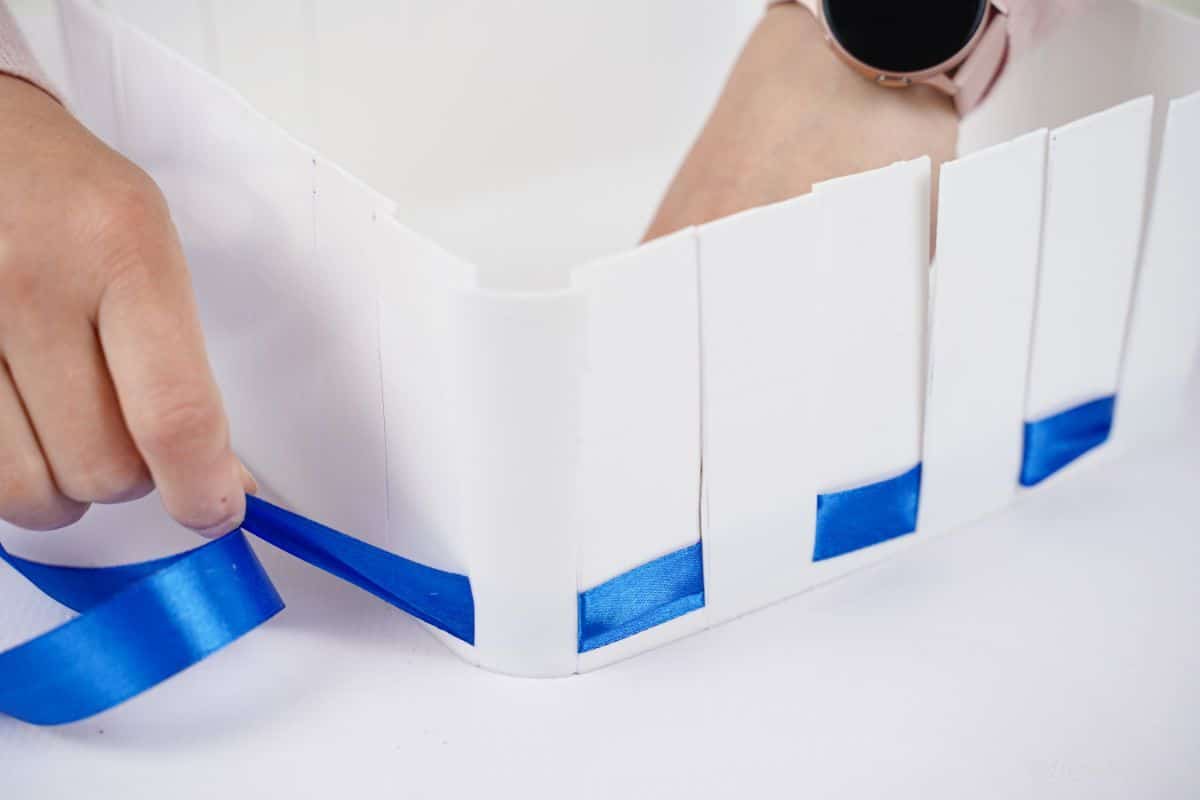
Next, it is time to start weaving the ribbon for your basket. Starting in the bottom corner of the inside of the bucket, glue the blue ribbon.
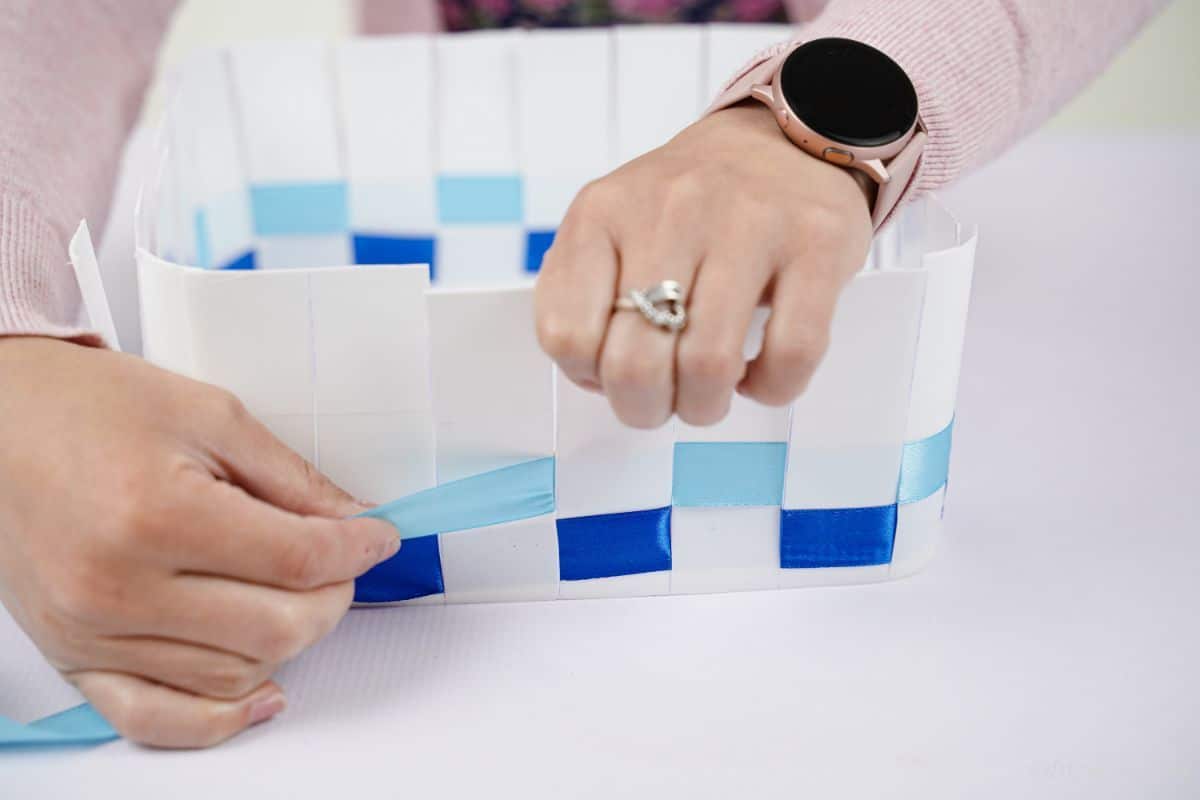
Begin weaving it in and out of the plastic strips you just cut, so that it overlaps every other one. Continue this until you have wrapped the ribbon around the entire pail. Then cut the end and secure it with glue.
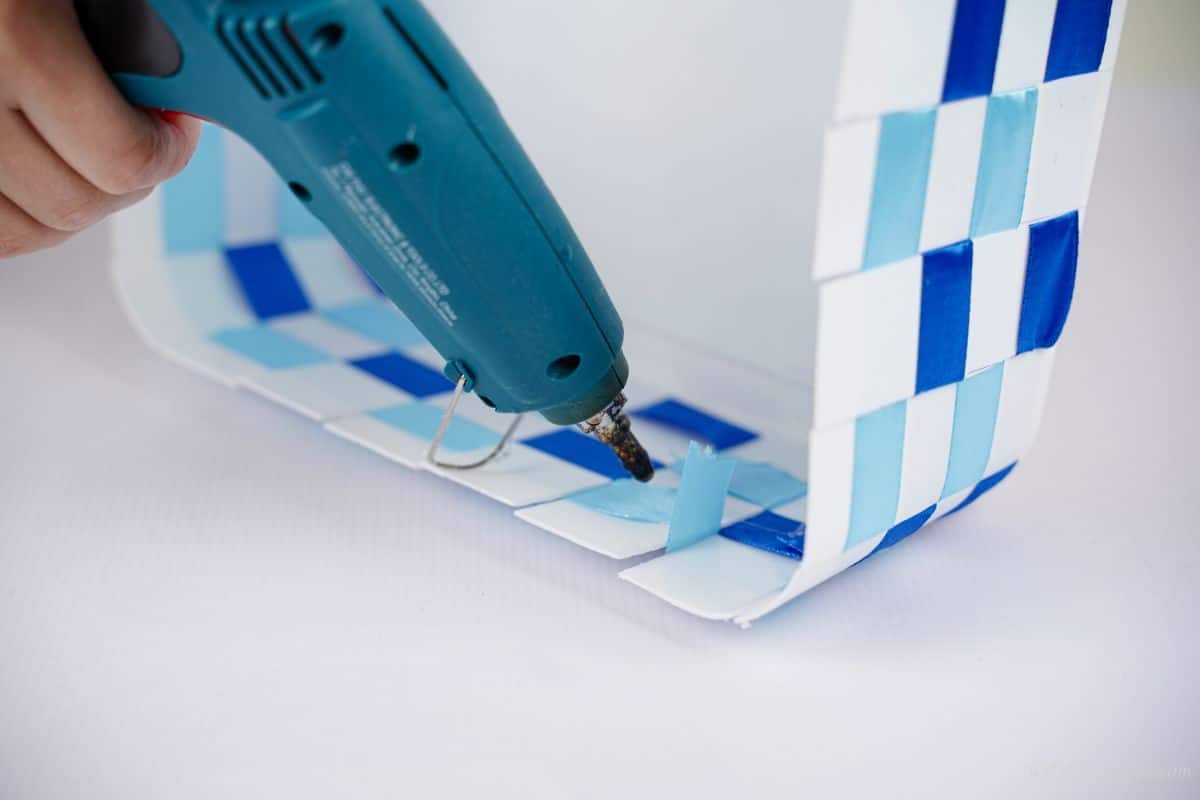
Next, add a different colored ribbon above this and repeat this process weaving in and out until it is wrapped all around the ice cream pail.
Continue this process until the entire bucket has been covered in ribbon stripes.
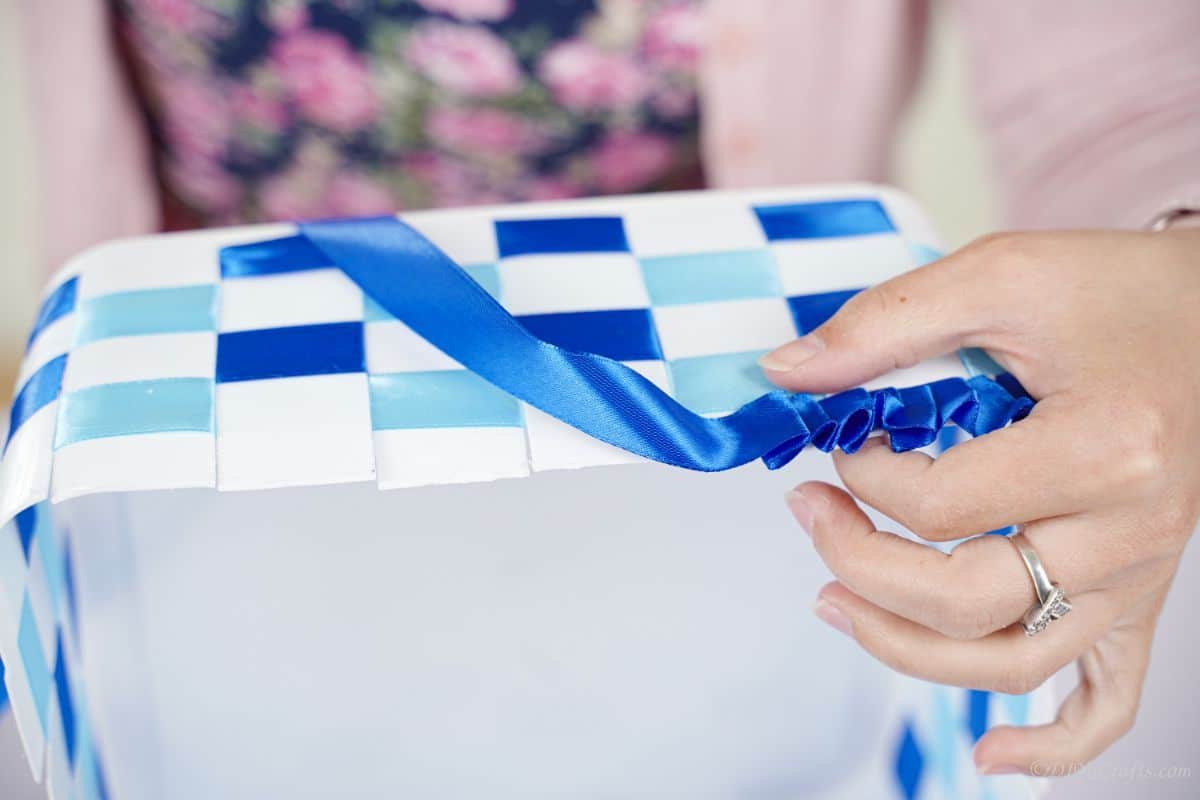
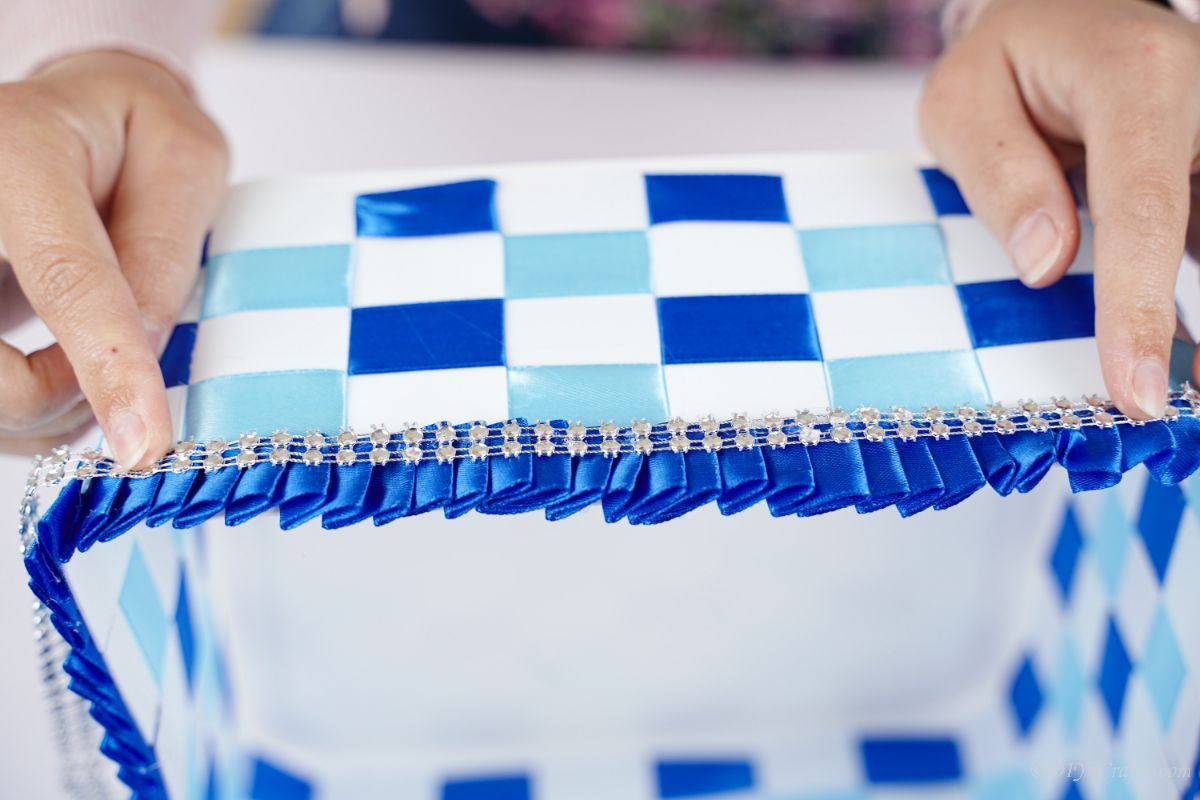
Once covered, create a ruffle of the darker shade of ribbon around the top edge of the pail.
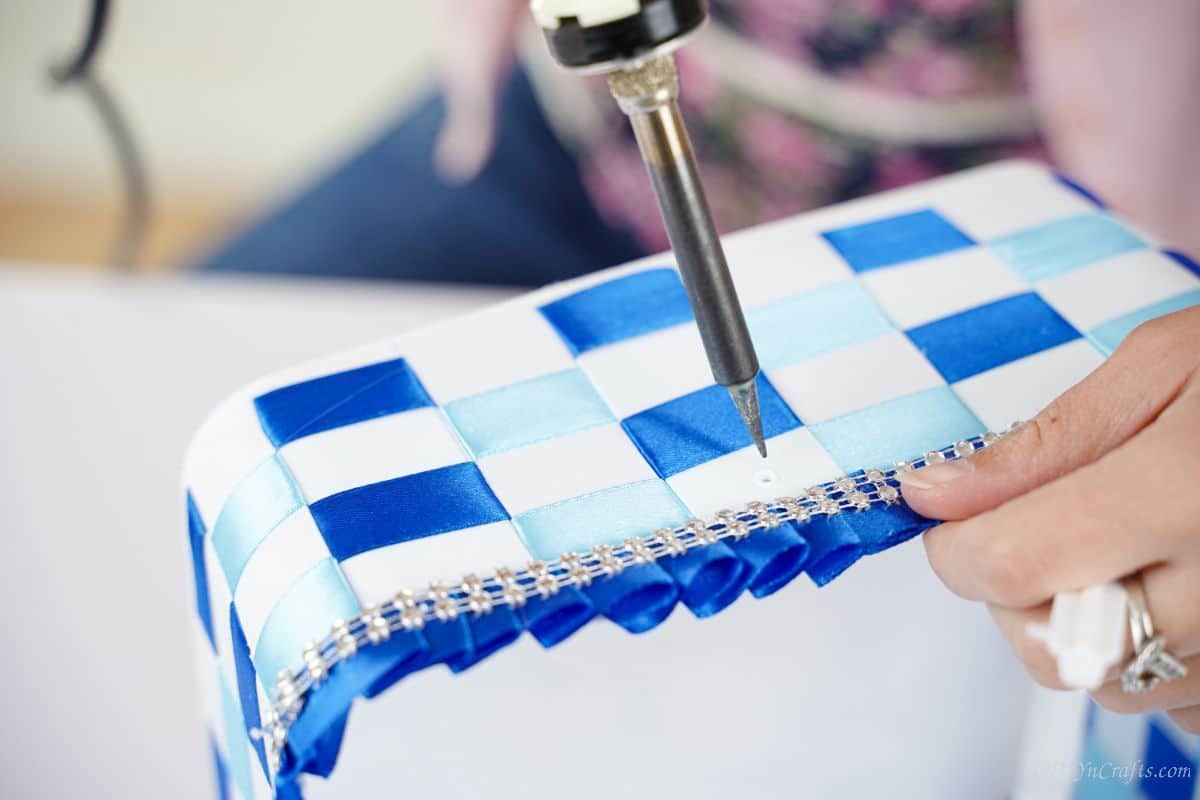
Then, attach a beaded ribbon all along the top of this on the edge of the pail.
When time to create the handle, use a soldering iron to make a hole on each side of the basket.
If using the original handle, push the sides through the holes you just made to secure them. You can also glue or tape it into place, but the tape will need to be backed up with additional glue to secure it for carrying anything.
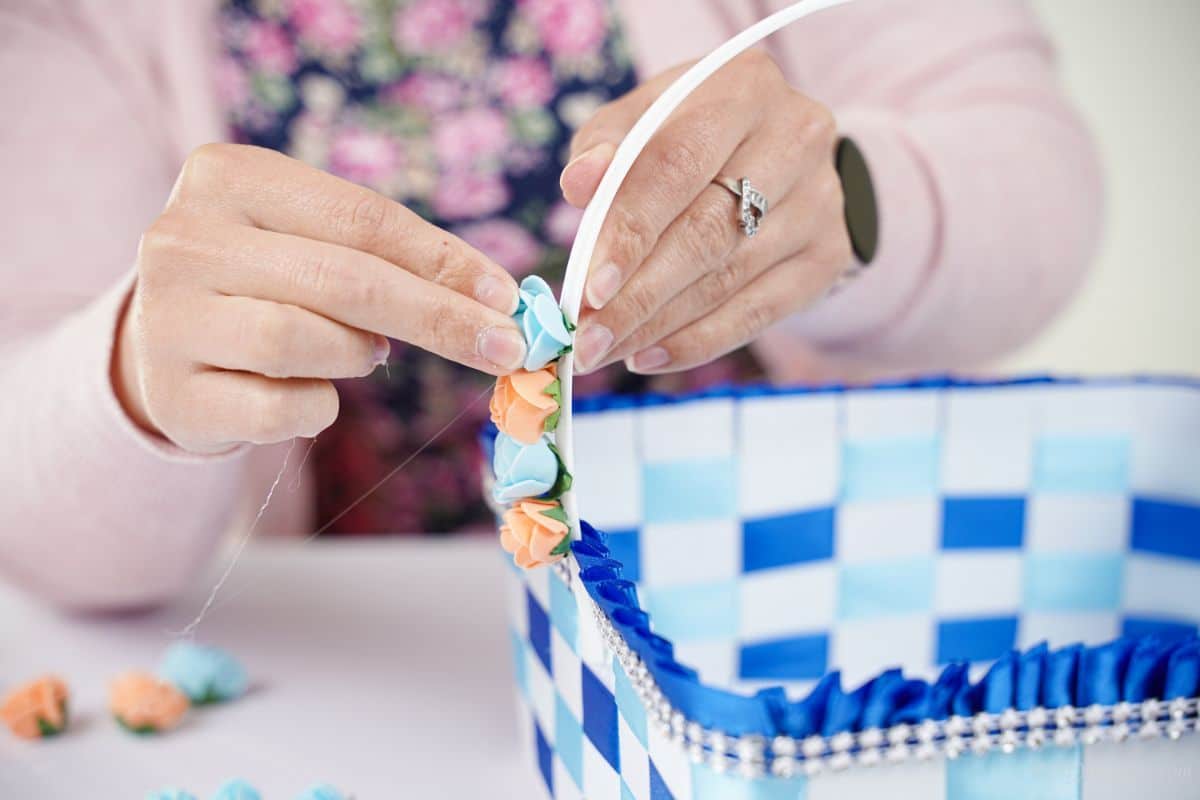
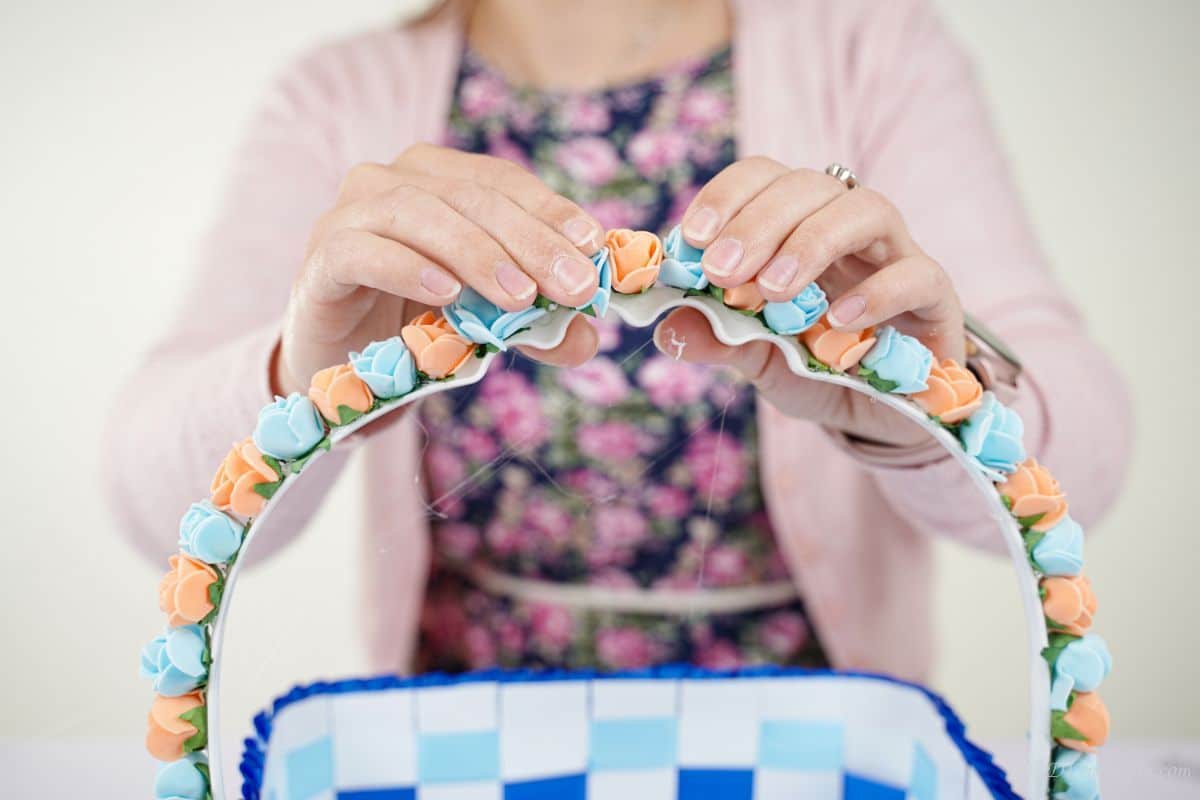
When done use flowers or ribbon and wrap the handle going back and forth alternating the colors until it is covered.
While it is a basket, it most likely is best to use this just to sit on a table and not carry items around as the handle will not always be able to hold up extra weight.
More Fun DIY Baskets
This isn't the first basket I have made! I love getting creative and turning scrap items into baskets to store any number of things around the house. Below are a few more ideas for turning items you already have on hand into storage baskets. Make sure that you bookmark the ideas, print out the tutorials, or pin them to Pinterest to make soon.
- Stunning Rustic Rope Basket Tutorial
- How to Make a Rope Basket Decoration
- Decorative Rustic Woven Basket Tutorial
- How to Upcycle Cardboard Box Into a Decorative Basket

Upcycled Ice Cream Pail Decorative Basket
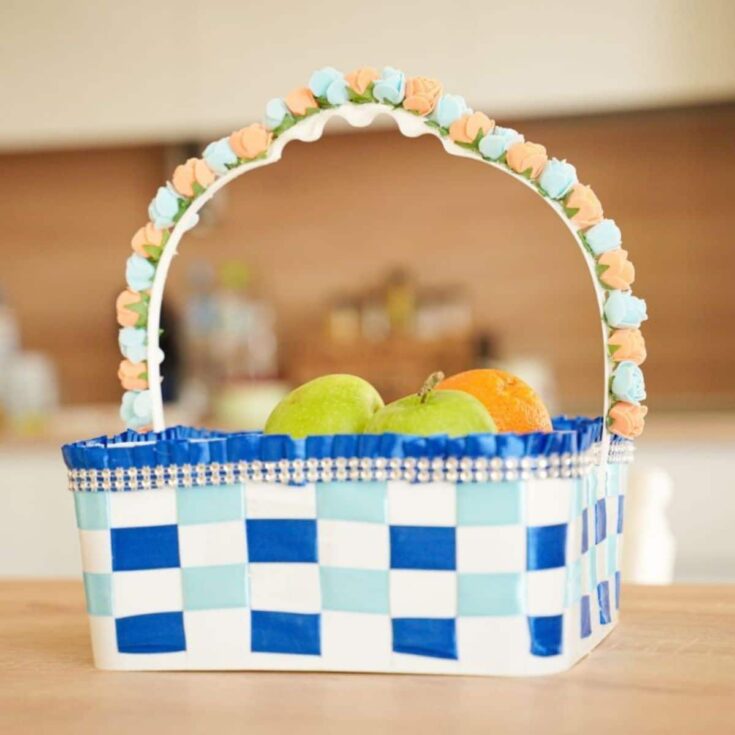
Turn an empty ice cream pail into a gorgeous upcycled decorative basket! A few minutes of your time, ribbon, and some glue and you have a gorgeous decoration!
Materials
- Square plastic ice cream pail (or similar bucket)
- 1" royal blue satin ribbon
- 1" light blue satin ribbon
- Miniature pink silk roses
- Light blue mini fake flowers
- Light peach mini fake flowers
- Beaded ribbon
Instructions
- Cut the top edge and handle off of the ice cream pail.
- Then, measure and mark every 1" around the top of the rim of the pail.
- Use a craft knife or scissors to cut down to the base from the top, leaving the separated slits of plastic attached at the bottom but loose around the sides.
- On the inside of the pail, on the bottom corner, glue the blue ribbon.
- Then, begin weaving the royal blue ribbon in and out so it overlaps the plastic strips until you come all the way around the pail.
- Next, do the same with the lighter blue ribbon.
- Repeat this process by alternating the colors of ribbon until the entire pail is covered.
- On the top edge, glue the darker ribbon, folding it into a ruffle, all along the pail.
- Then, add the beaded ribbon all around the top over the ruffle.
- Use a soldering iron to make a hole on each side of the basket for the handle to go through.
- Use the original handle, and push or glue it through/to the sides of the basket.
- Then, glue the fake flowers, alternating colors, along the top of the handle from one side to the other until it is covered.
Notes
This can be made with any plastic pail or bucket.
Recommended Products
As an Amazon Associate and member of other affiliate programs, I earn from qualifying purchases.
-
 Mini Basket Small Moroccan Basket Mini Beach Basket Mini | Etsy
 -
 Handbaghand Woven Bagcolor Mini Bagput Away the Small | Etsy
 -
 KIT Low Handle Market Basket | Etsy
 -
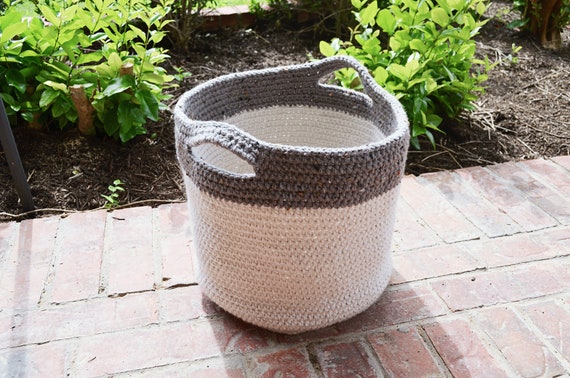 Crochet Basket Pattern Large Crochet Basket Woven Basket | Etsy
 -
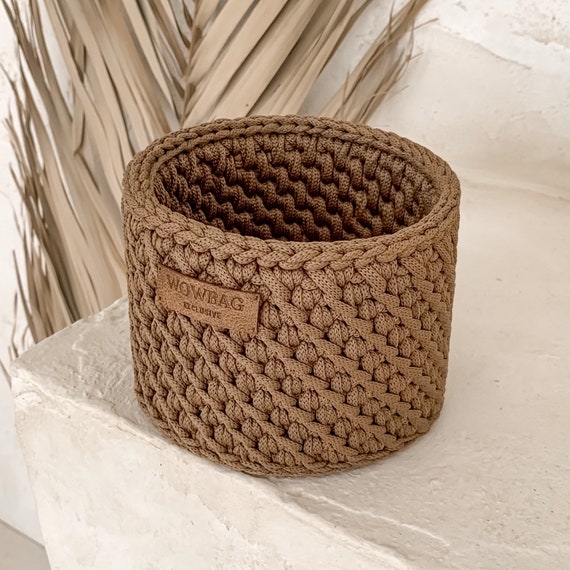 Crochet Basket Pattern-pdf Pattern-round Basket | Etsy
 -
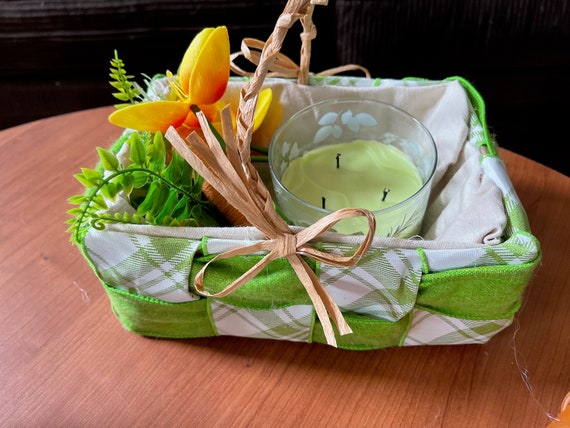 DIY Kit Woven Ribbon Basket | Etsy
Finished Project Gallery
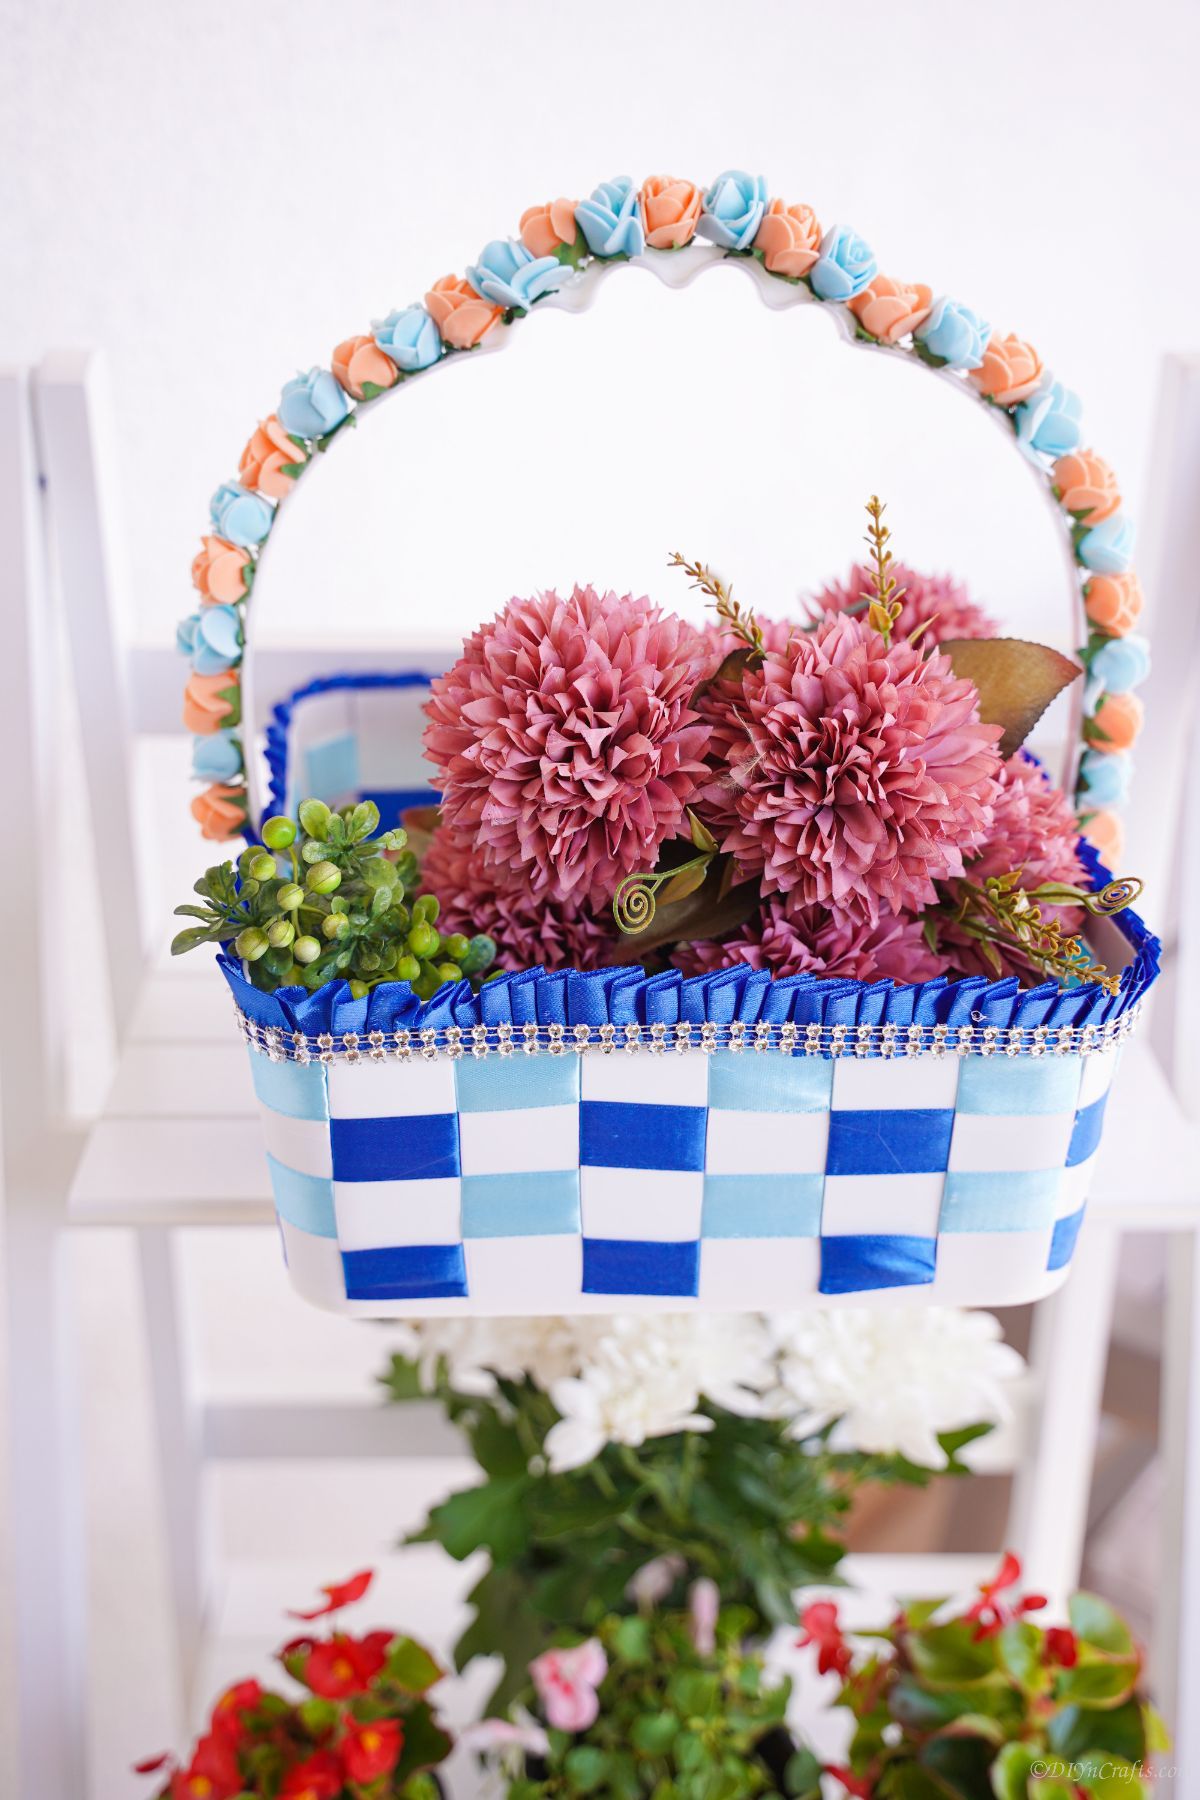
You can use any color of ribbon, just stick with a flat ribbon for best results.
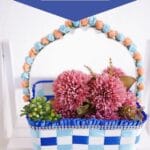
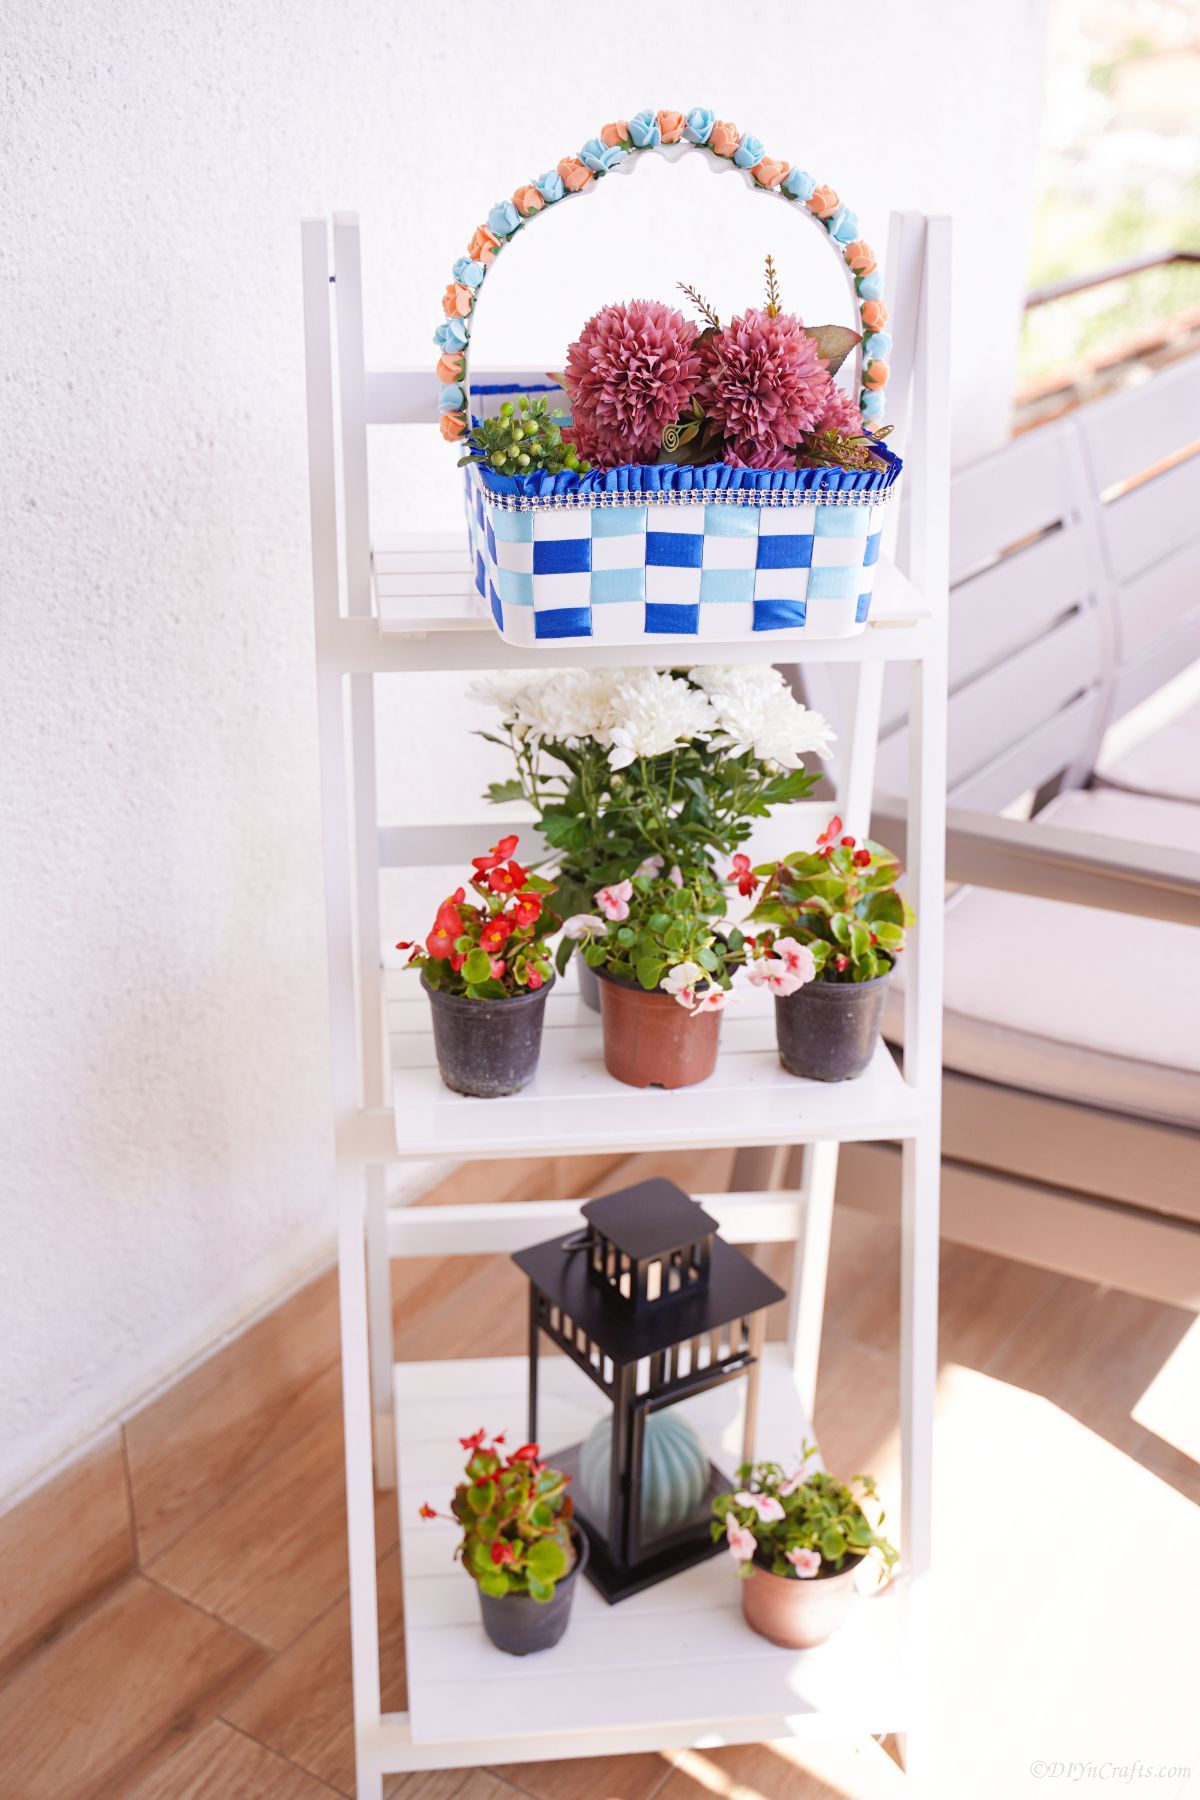
Use this basket to hold books, remotes on a side table, or fruit on the dining table.





Leave a Reply