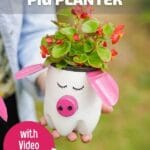
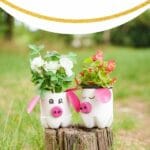
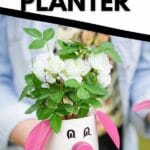
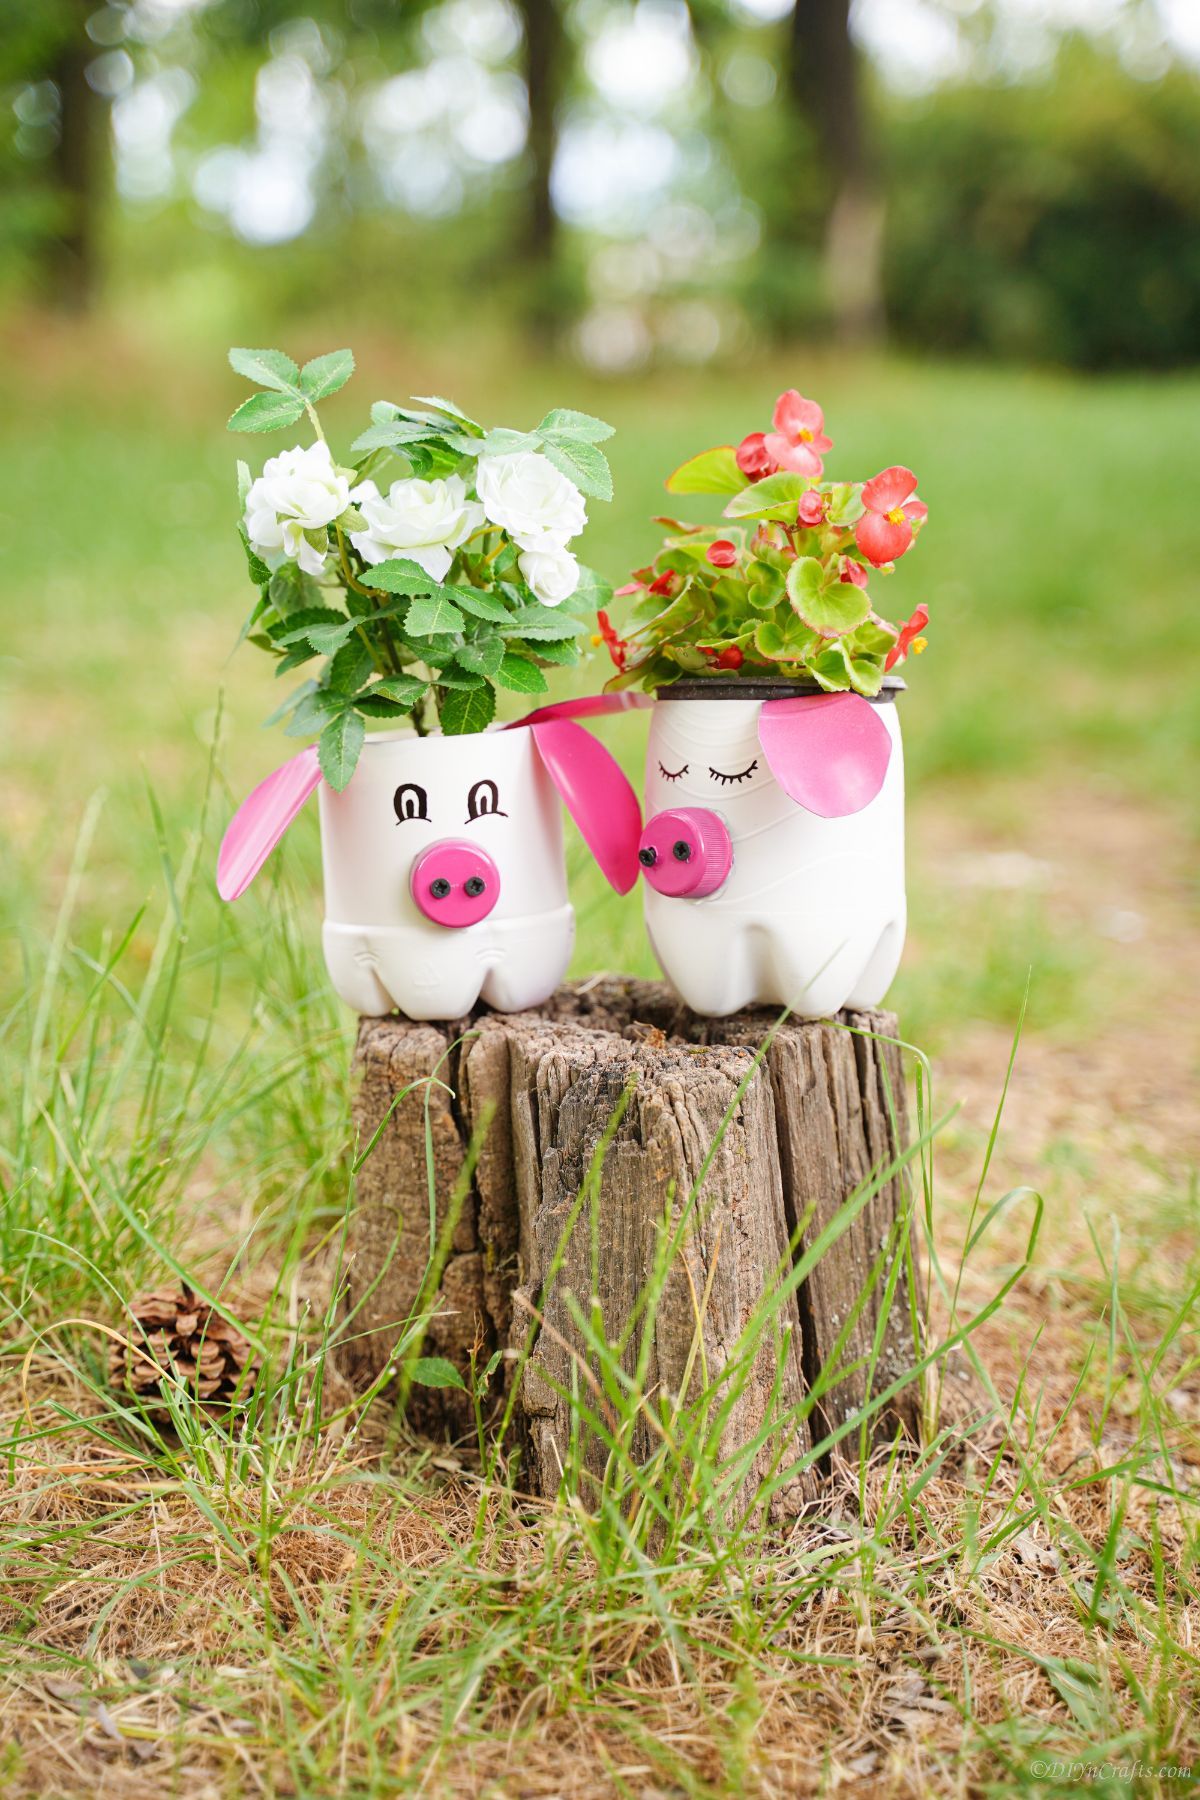
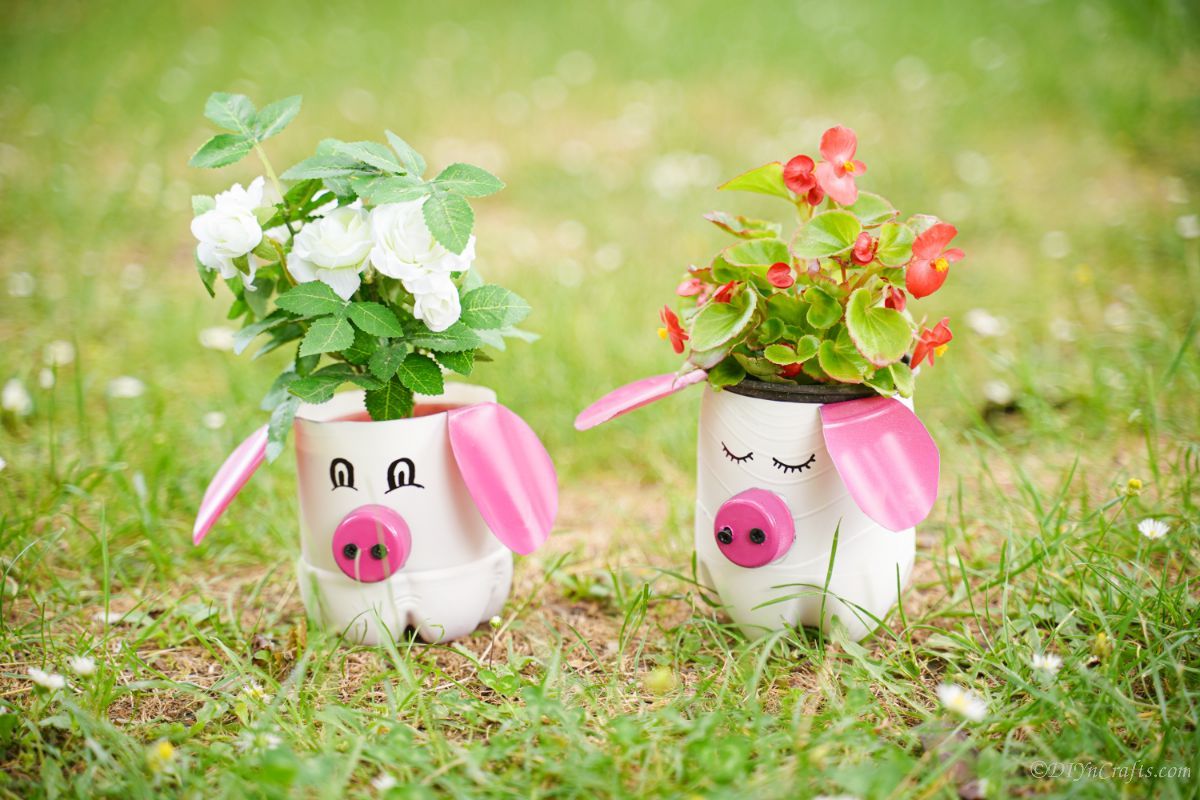
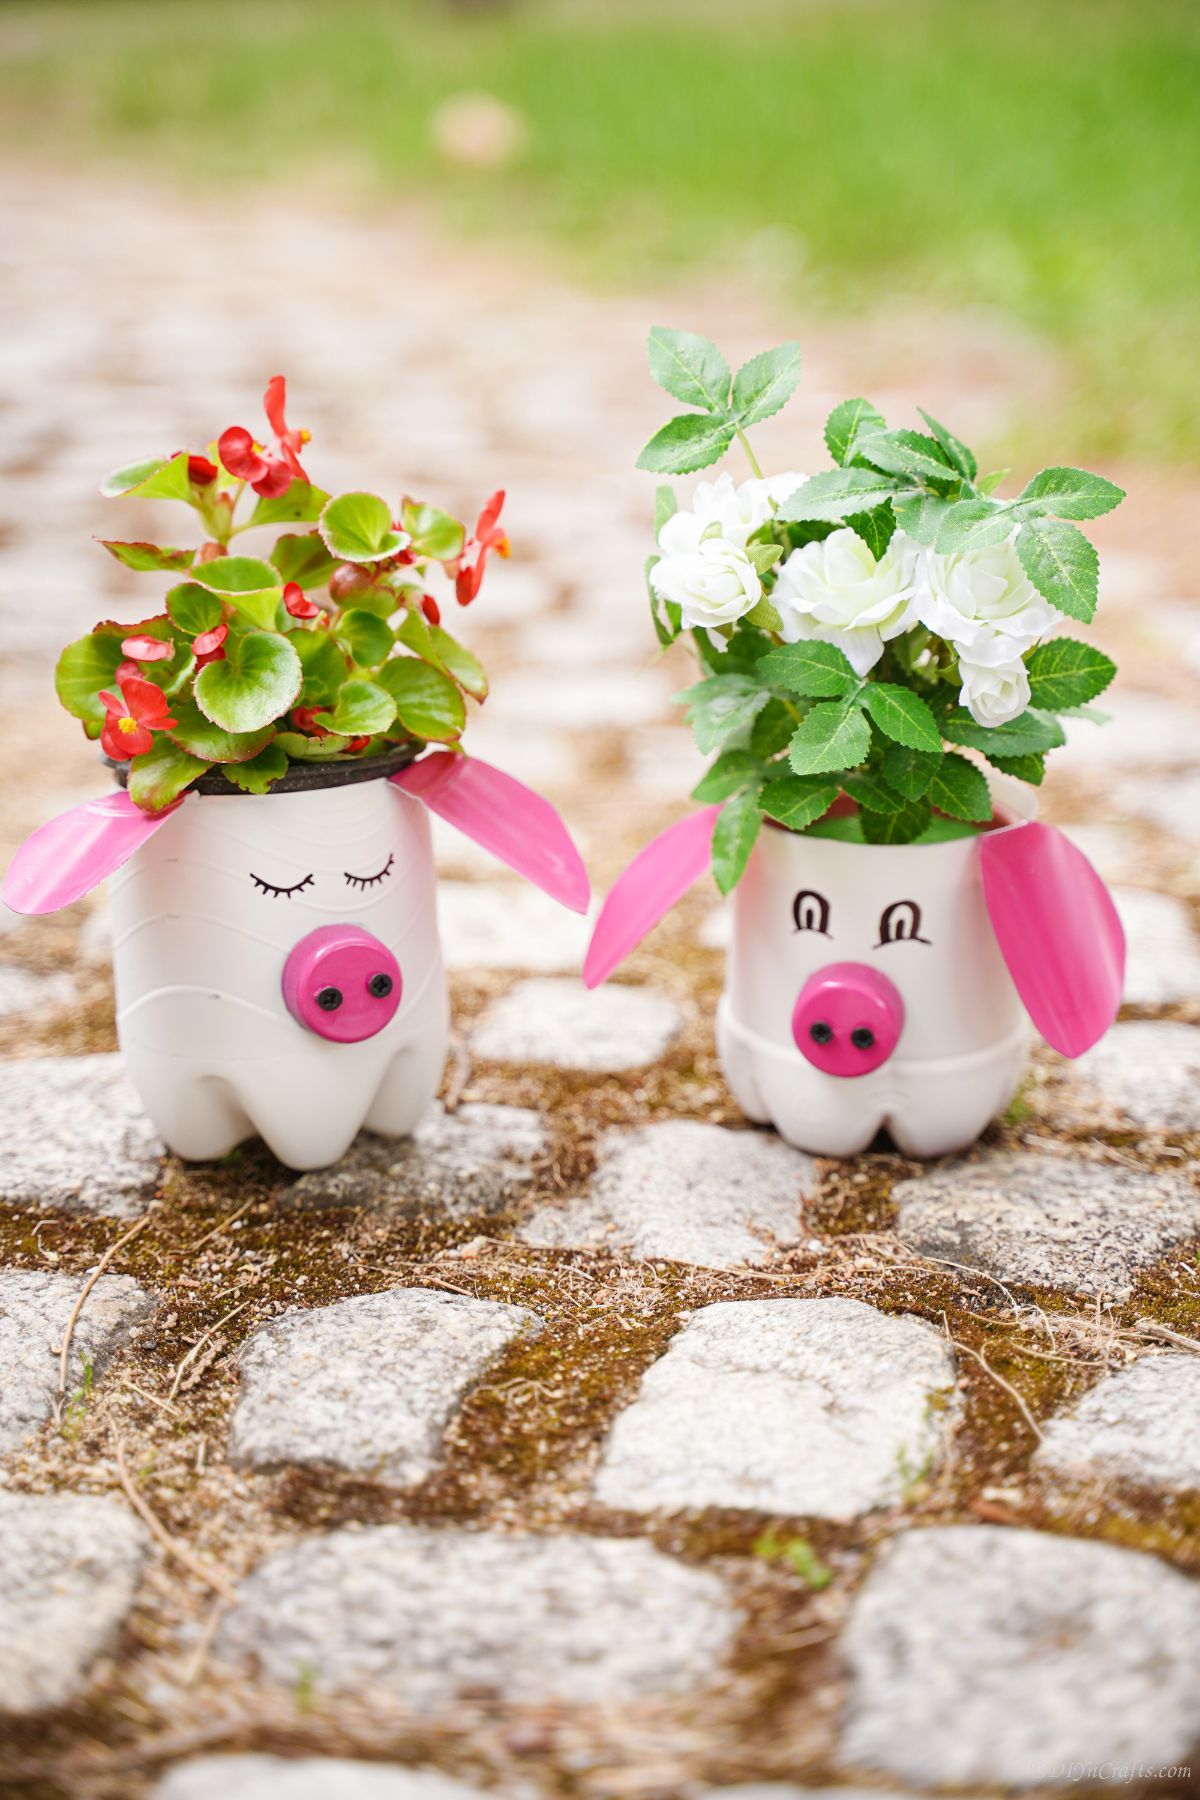
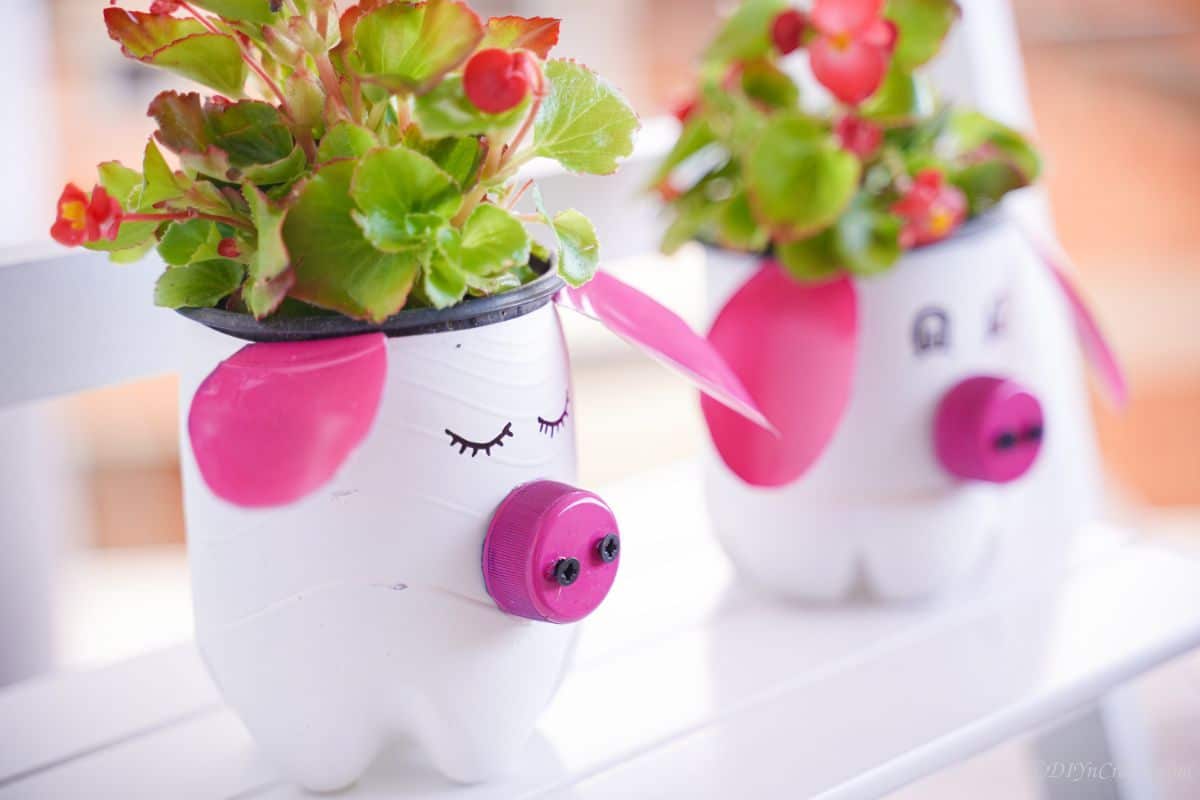
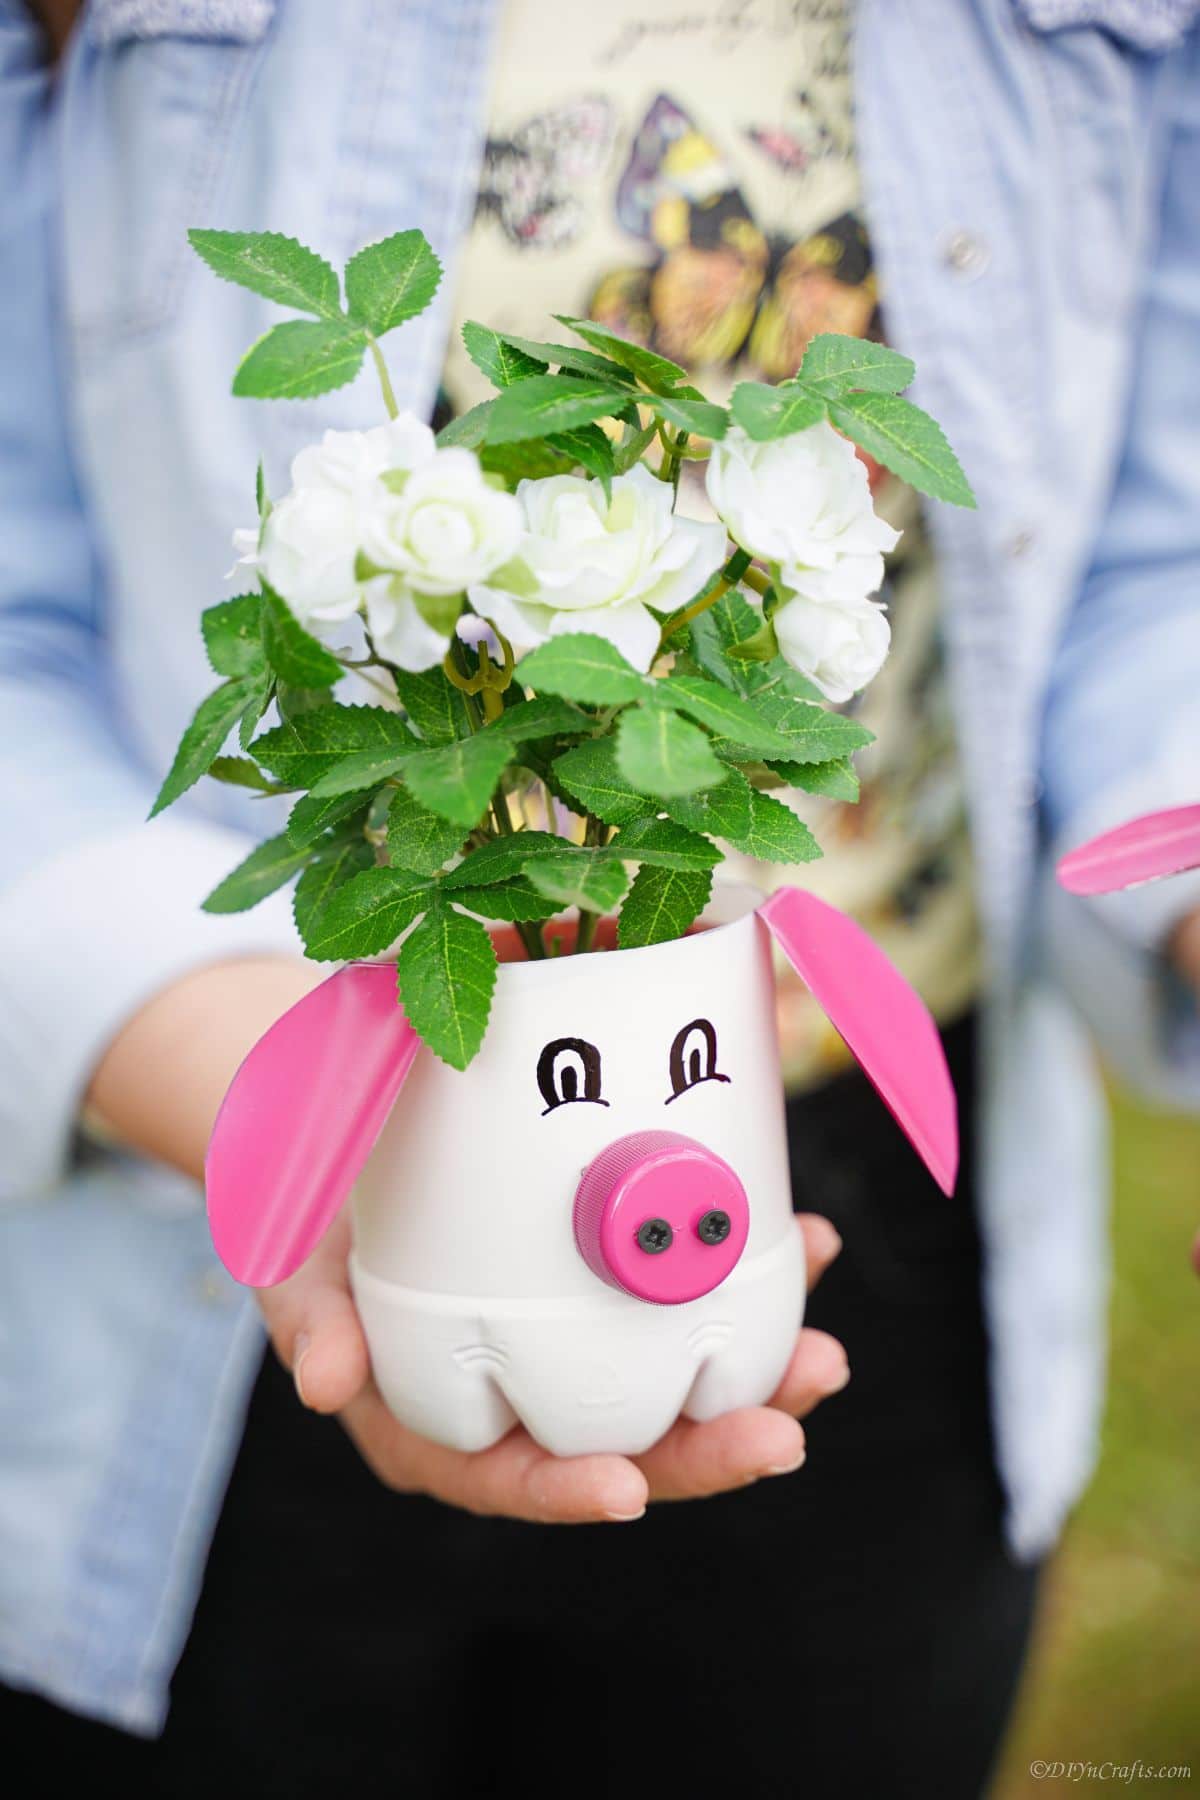
Looking for a fun and easy DIY project that will add some personality to your garden or patio? Look no further than this upcycled plastic bottle pig planter! This cute and quirky planter is made from an upcycled plastic water bottle, making it an eco-friendly choice for your home. Plus, it's super easy to make - all you need is a plastic water bottle, some scissors, and some paint. Simply cut the bottle in half, paint it to look like a pig, and fill it with your favorite plants or flowers. It's the perfect way to add some fun and personality to your outdoor space!
Plastic Bottle Pig Planter
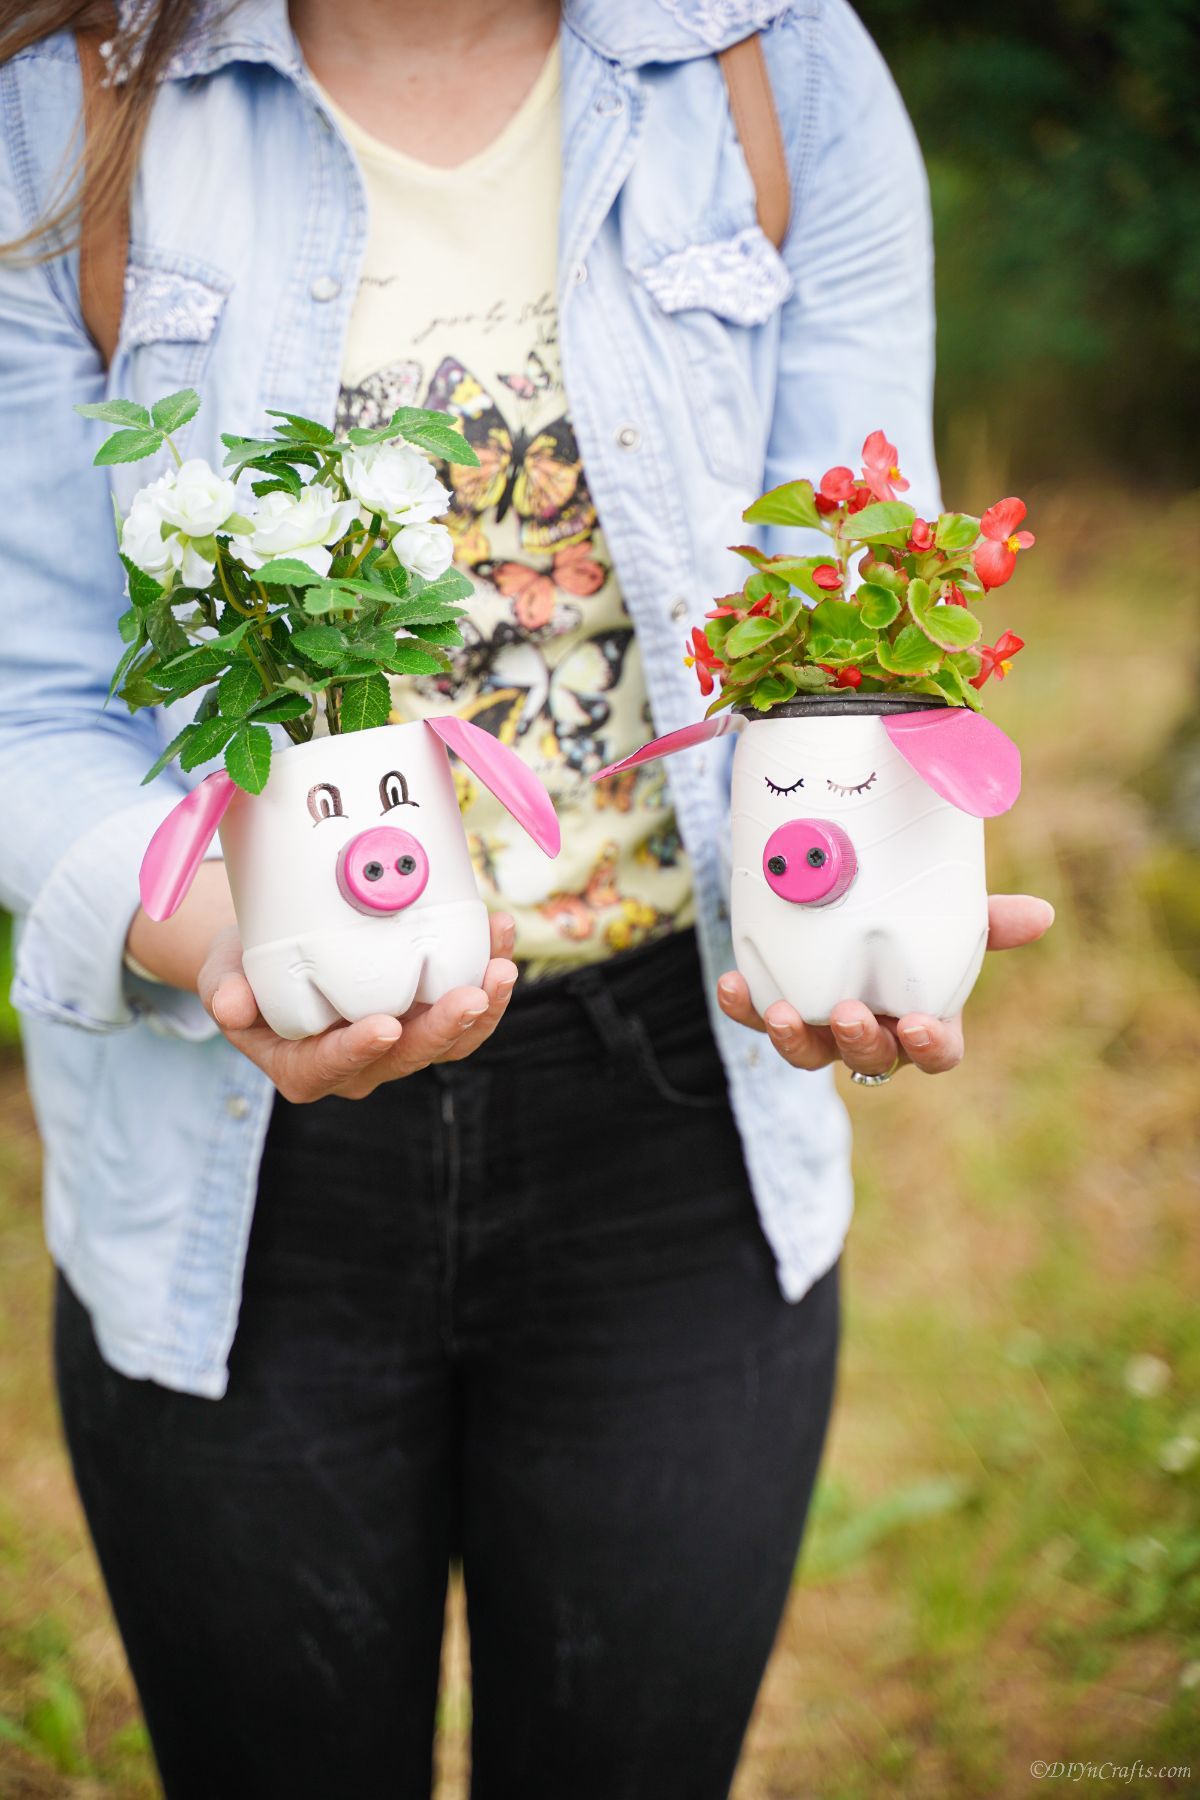
This is a really fun, easy, and creative way to recycle old plastic bottles! Turn your old plastic bottles into adorable pig planters! They make great decorations for your home or garden, and you can even use them to grow plants. I love how adorable these turn out and just how easy it is to use them as part of your home decor as well as in the garden.
These little pigs are so cute, you’ll want to make them in different colors to add more style to the garden or home. They would also make perfect gifts for friends and family. If you want more pig decor in your garden, then check out this adorable little upcycled tin can pig garden decoration. It's so cute and super easy to make!
What Paint Works Best on Plastic Bottles?
Whenever I am painting plastic bottles I like to use spray paint. It is the easiest and fastest way to paint the plastic. The only problem with using spray paint is that it is hard to make details. If you are painting the pigs a solid color, that isn't really a problem. If you are painting the pig planter with details, you will want to use acrylic paints and a paintbrush.
Both paints are found at both big box stores and craft stores. You can also get them online. Always remember though, if working with spray paint, you should do so in a well-ventilated space because of the fumes from the spray paint.
Can I Plant Real Plants In These?
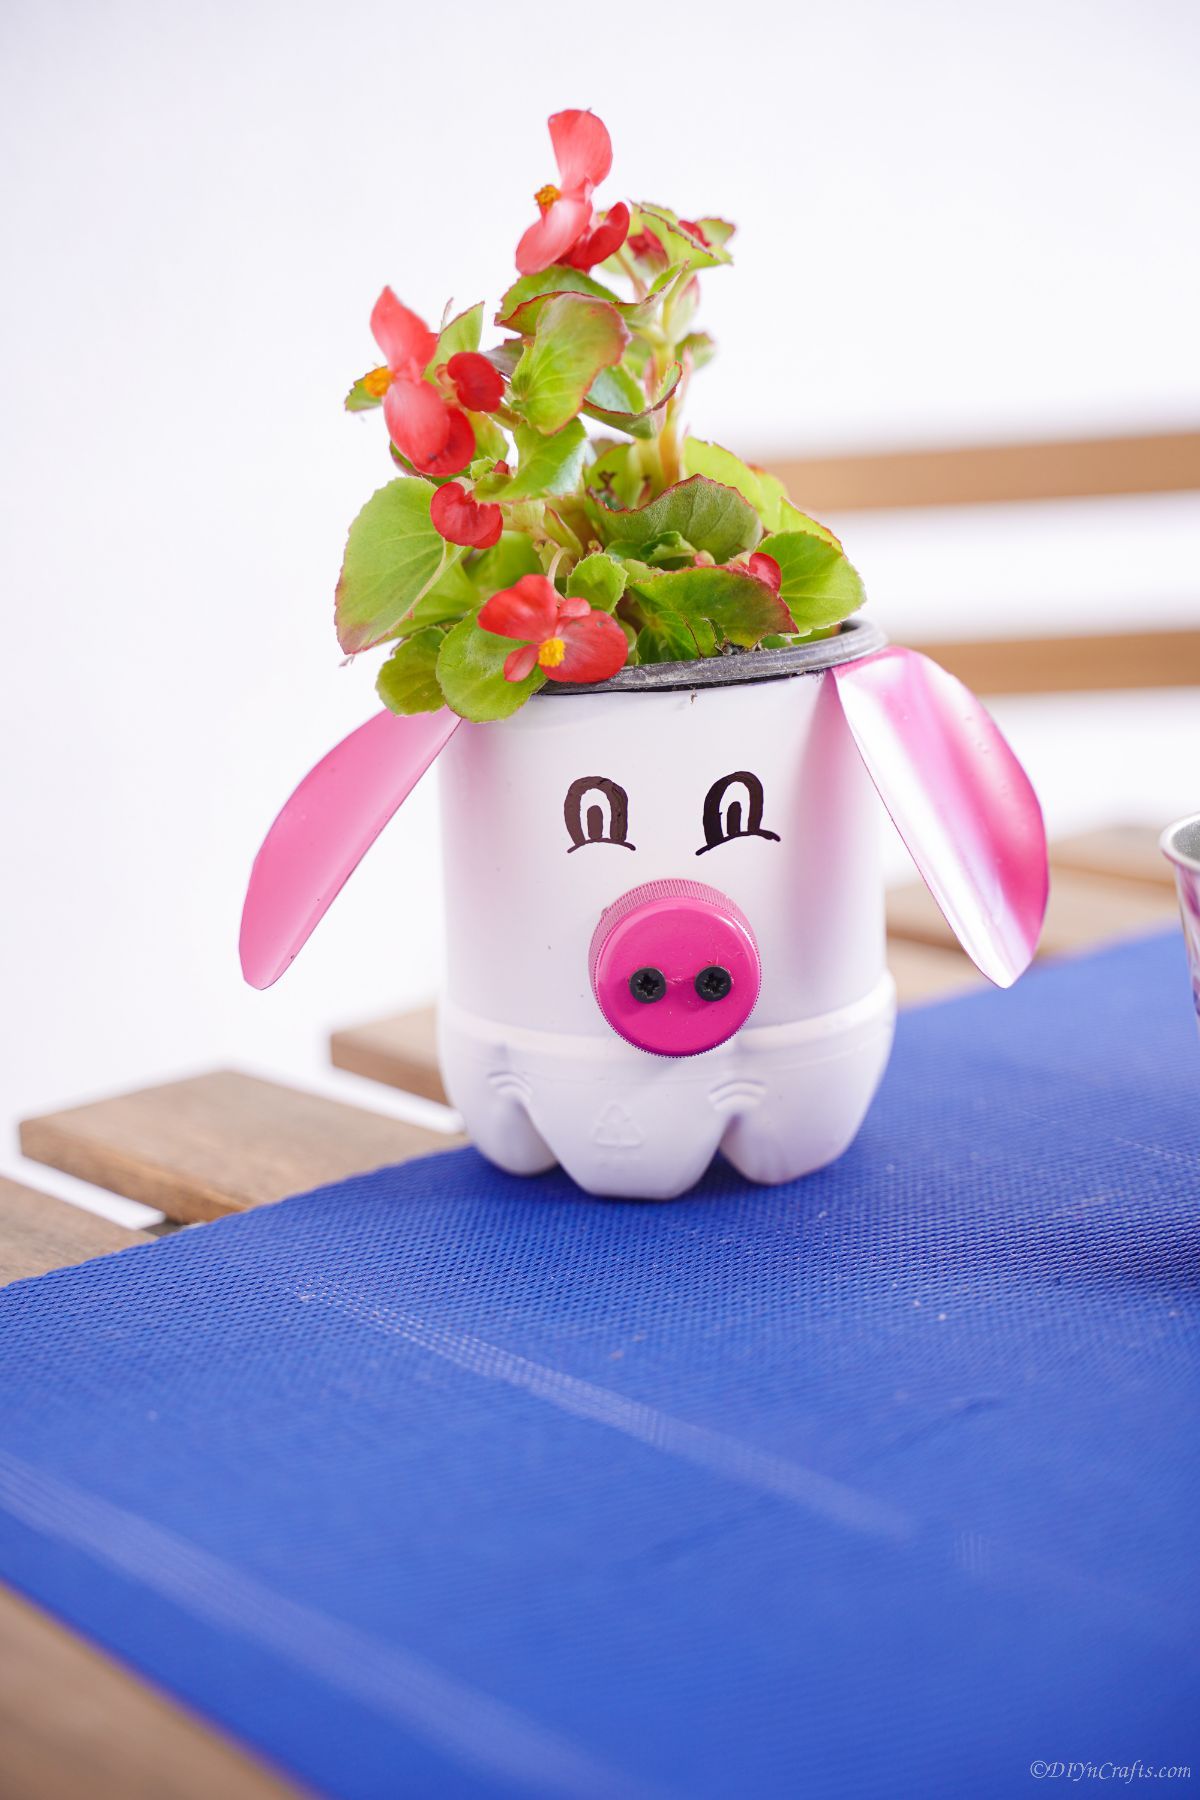
What is great about this pig planter is that it can be used with real plants. I love planters that I can use that are cute but sometimes, they don't work for real plants. This one is perfect. Place the soil inside the body of the pig and plant your flowers.
If removing the living plant later is a concern, you can also keep the plant in the nursery pot and nestle it inside. Then once the plant starts to get root bound, remove the pot and use the pig planter with another small plant.
You can also use this pig planter as a vase. The bottle will hold water and the pig can be displayed on the mantle or the counter. Just remember if you plan to use it as a vase, that you won't want to add the drainage holes in the bottom.
What Ways Can I Decorate My Pig?
Pig planters are so much fun to decorate and personalize. There are tons of great ideas below that can add to the style of your own planters. Get creative and make them unique to fit in your home or garden.
- Use markers, paint pens, or craft paint to add details to the pig-like face, on its ears, or even add spots to the pig.
- For a unique look that is not traditional, use puff paint or even glitter to make the pig features stand out more.
- Add accessories to the face like glasses, sunglasses, a bow above the ear, a bow tie at the base, or even a scarf.
- Instead of drawing on the eyes, use googly eyes.
- Use small bottles or pieces of wood to add "legs" to the planter and draw or paint on boots or fancy shoes.
- Add jewelry like earrings on the floppy ears or a necklace painted around the base "neck".
Get creative and have fun with this project! There is no right or wrong way to do it. Just have fun and enjoy your upcycled pig planter! The possibilities are endless!
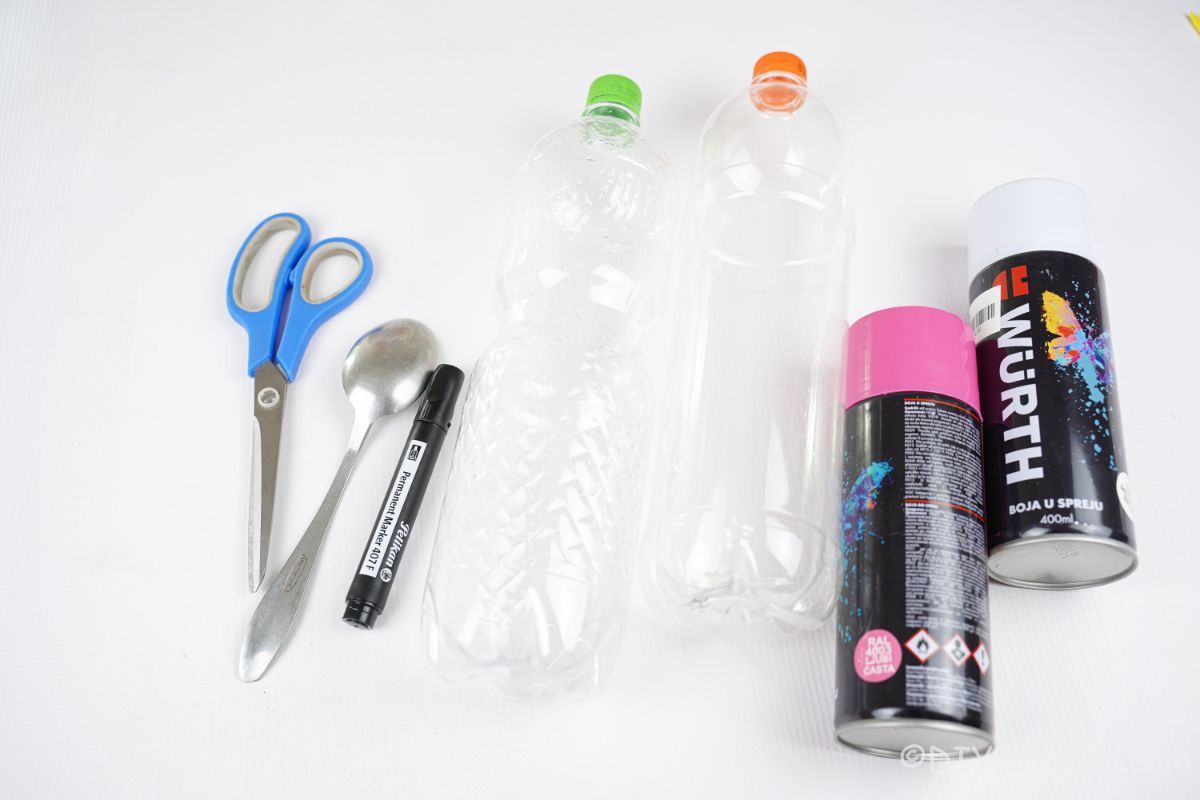
Supplies Needed
- Empty plastic bottles
- Pink spray paint
- White spray paint
- Black marker or paint pen
- 2 (1") black screws
- Spoon
- Scissors
- Soldering iron
- Electric drill
How to Make a Pig Planter
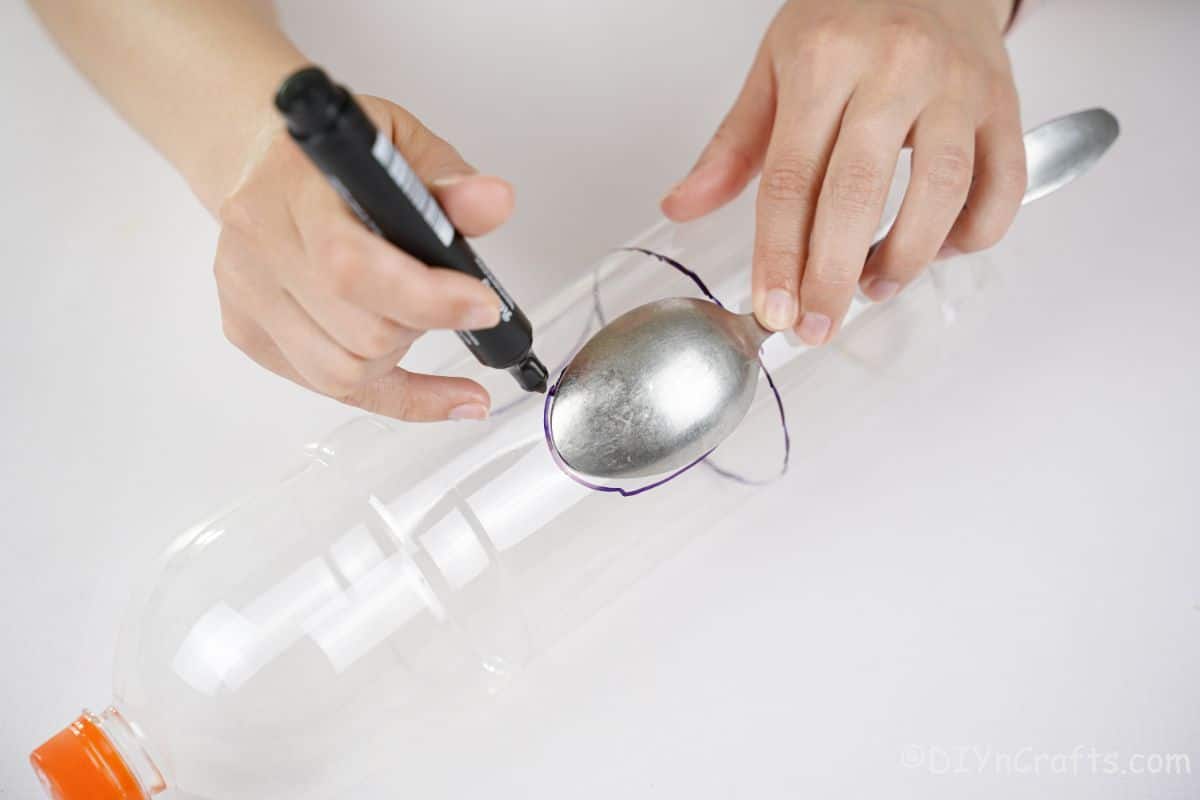
Begin by removing any labels or glue from the empty bottle. Rinse it out, clean it well, then allow it to dry completely. Now, about ¼ of the way up from the bottom of the bottle, draw a line around the bottle where you plan to cut it. Then, use a spoon to trace two ear shapes on either side of the bottle.
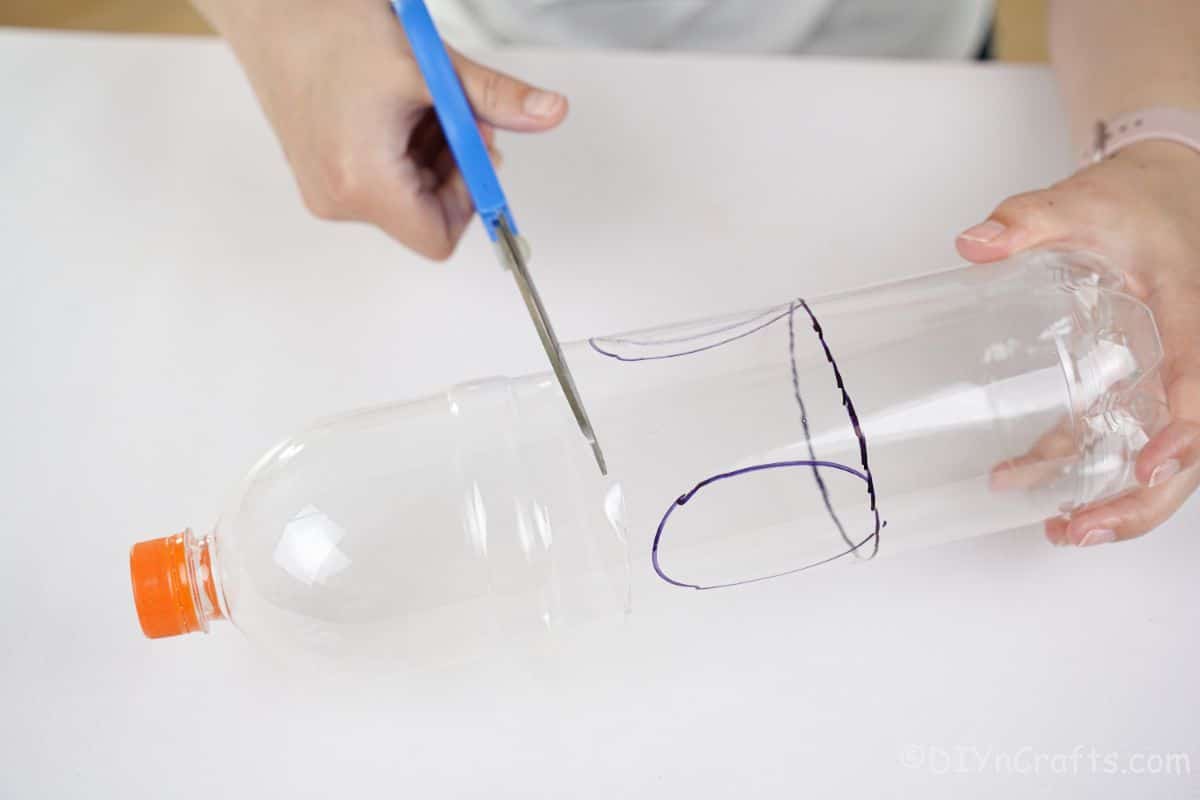
Now, cut off the rest of the bottle, leaving the base and pig's ear shapes.
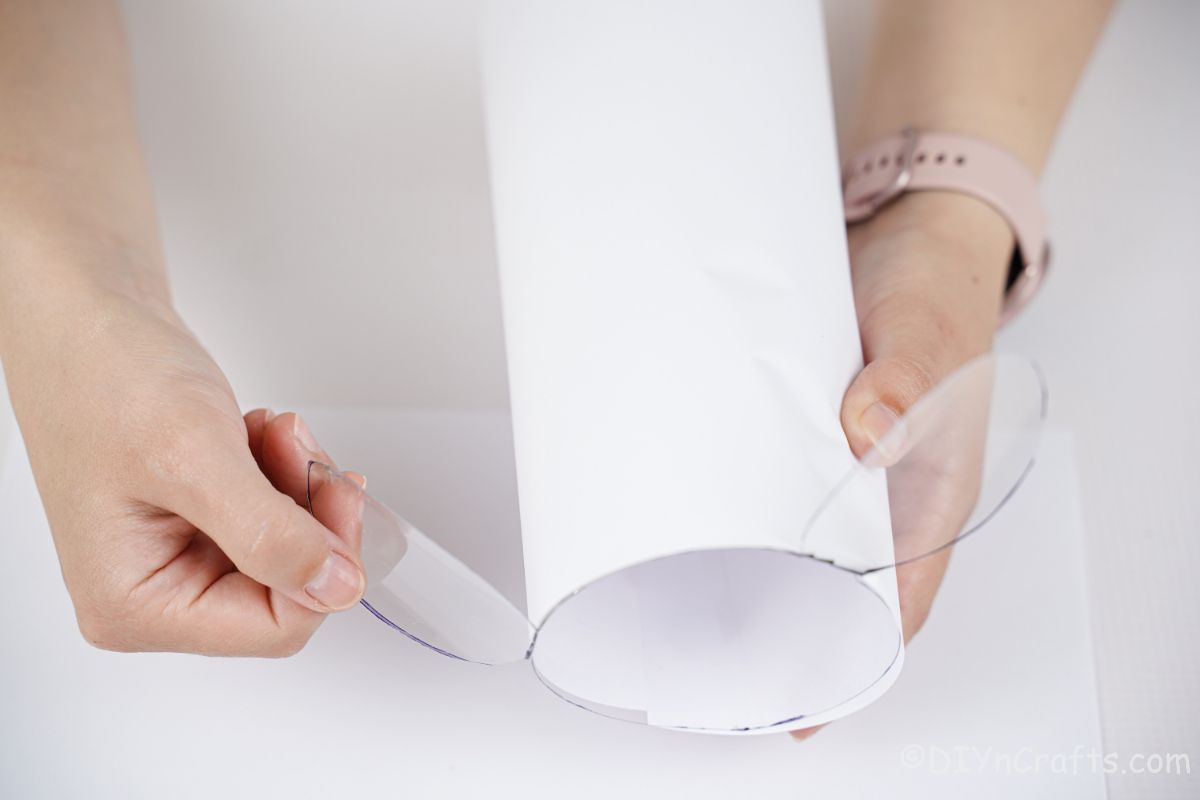
Fold the ears down to create a floppy look.
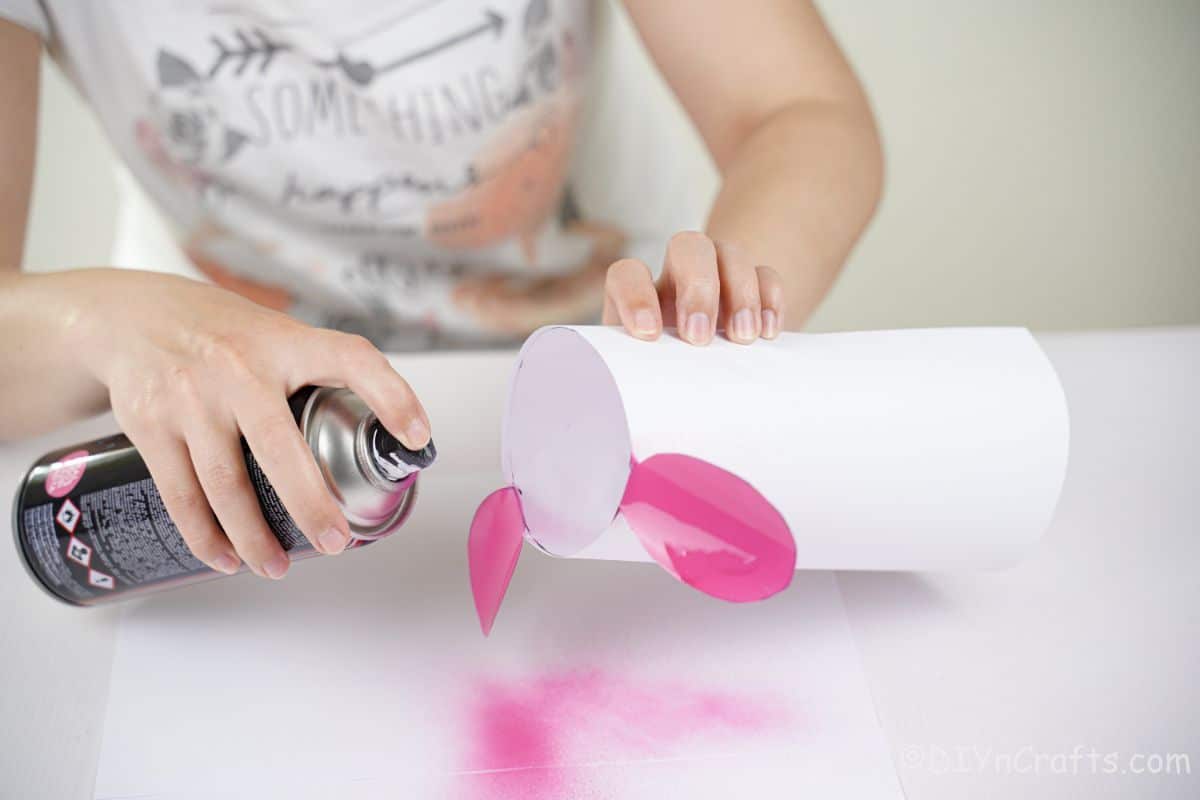
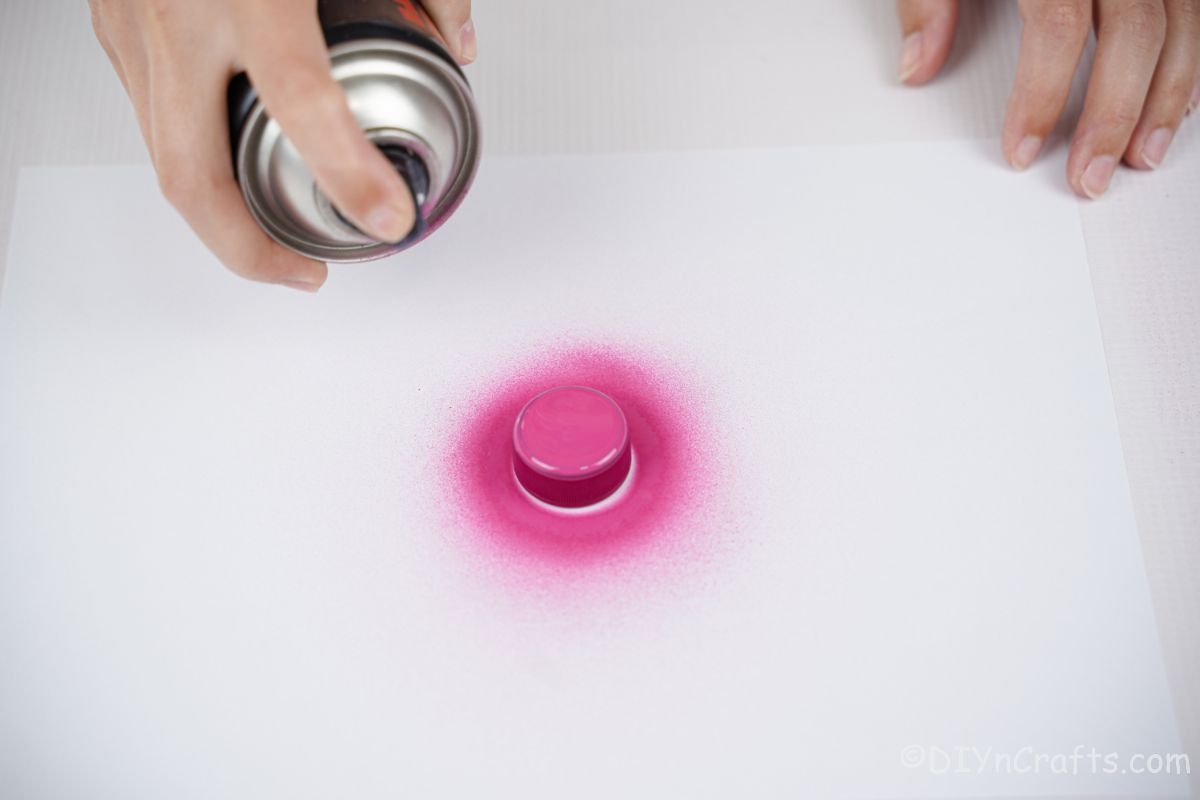
Now, use paper to cover the base of the bottle, and spray the ears pink on both sides. Then spray paint the bottle lid pink. Set these aside to dry.
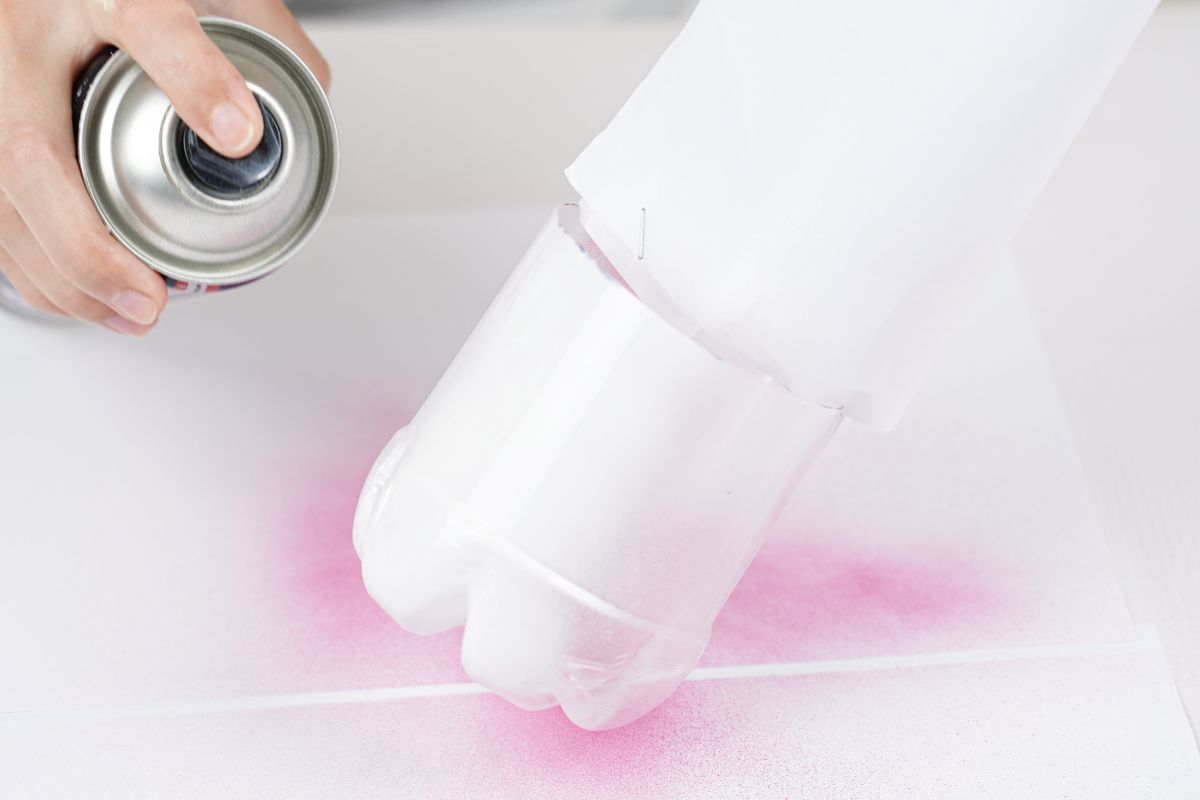
Once the earpieces have dried, cover them with paper, and then spray the base of the bottle solid white and set it aside to dry it.
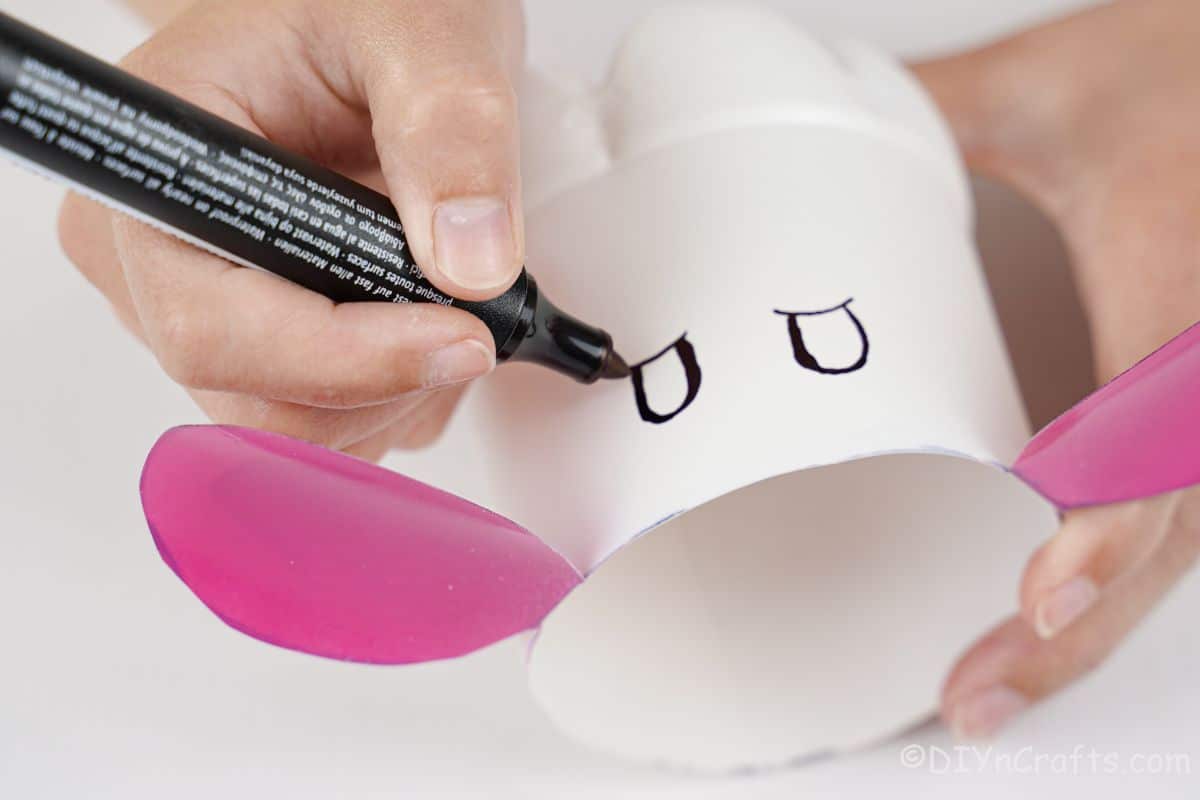
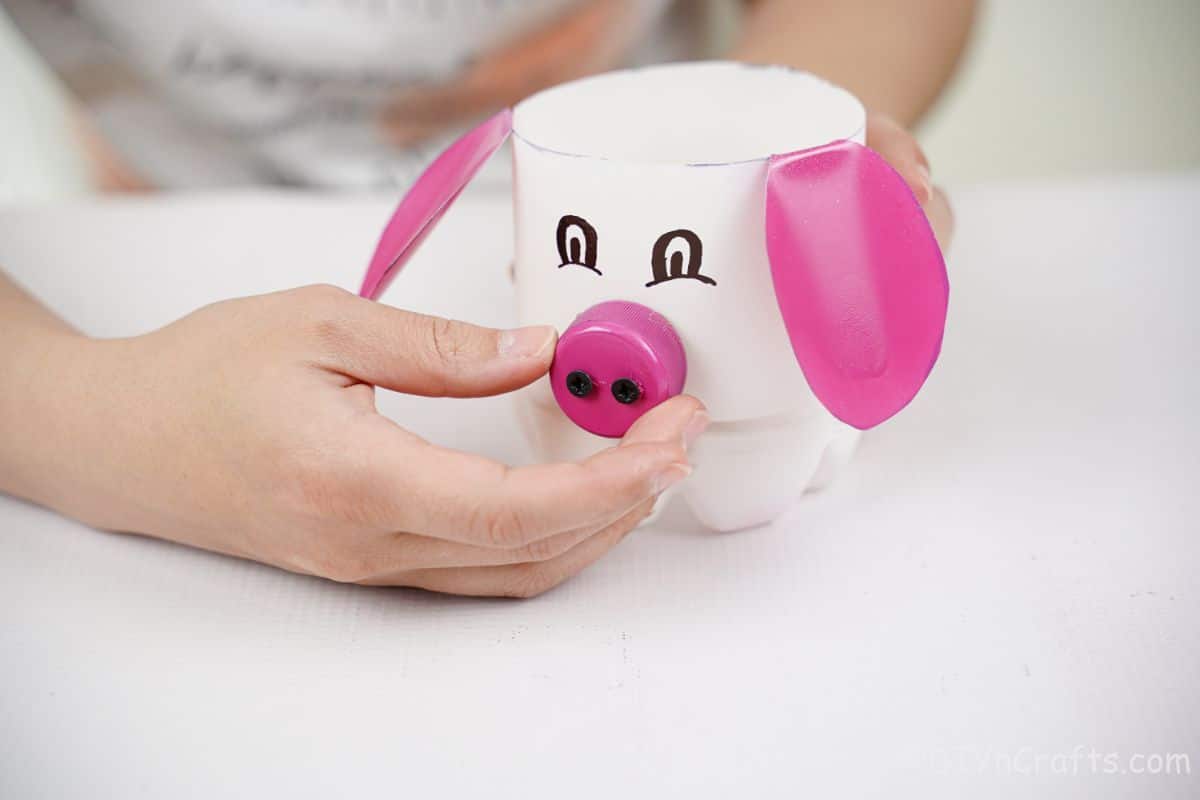
When everything has dried completely, use a marker or paint pen to draw on the eyes of the pig just below the top edge of the planter.
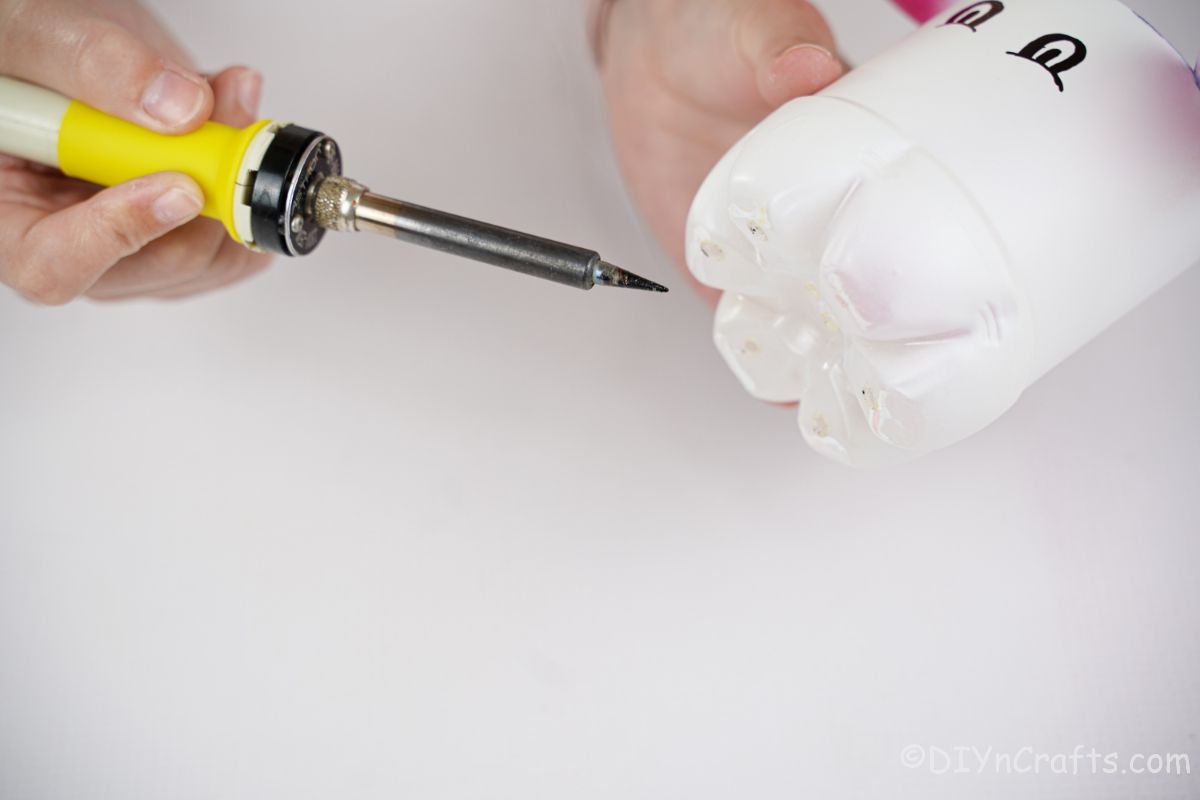
If the planter will be used with live plants, use a drill or a soldering iron on the bottom to create a few drainage holes. This can also be done with a nail and hammer.
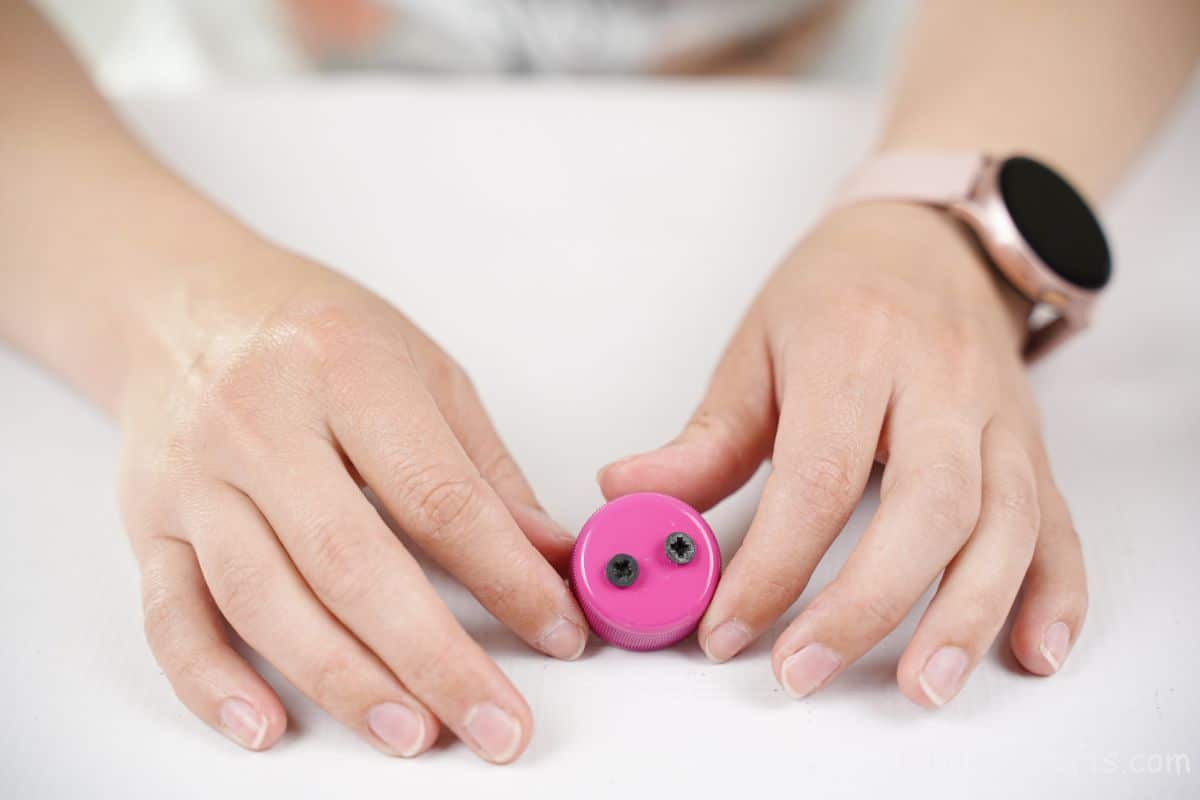
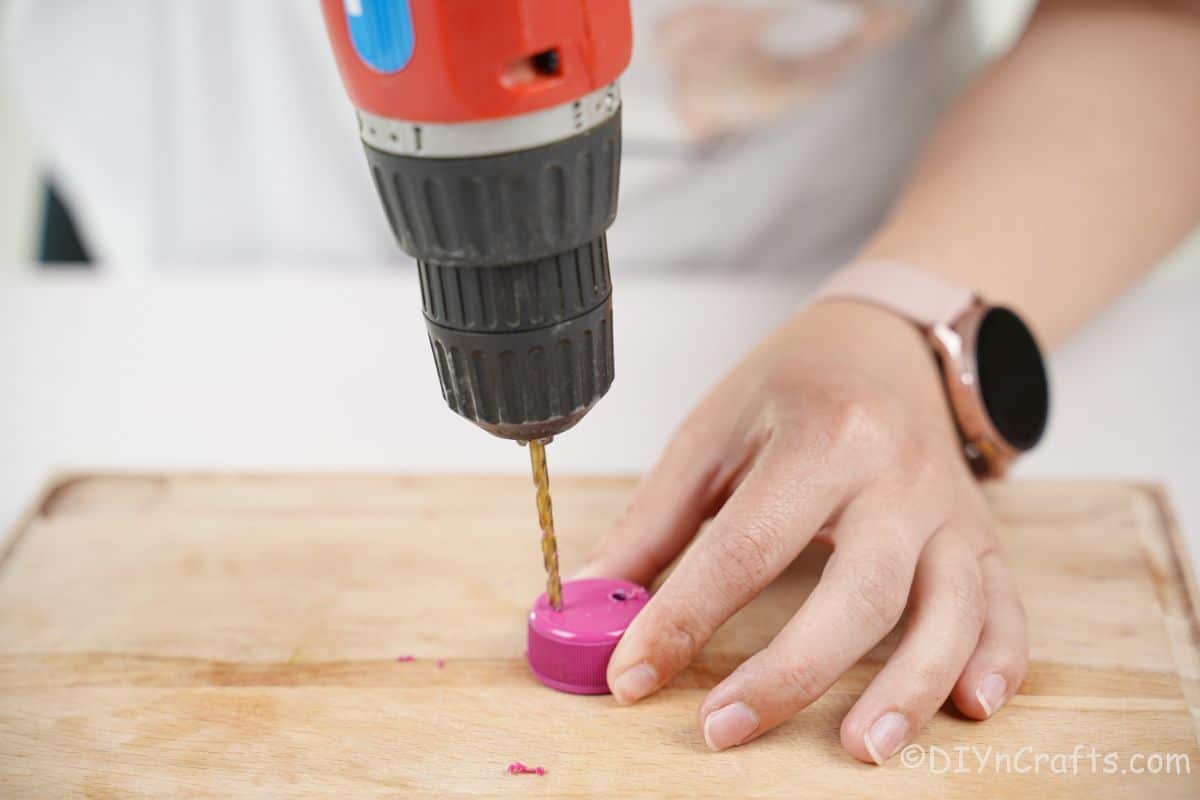
Then, use a drill to make two holes in the top of the bottle cap. Screw two short screws through these holes to create black nostrils on the nose.
Now, glue the nose below the eyes on the middle of the planter.
Fill the planter with soil and a plant or a smaller potted plant before displaying!
More Easy Garden Decorations
If you want to add more beauty to your garden this year, or to just add more fun planters around the house, look no further. Below are some of my favorite projects that add a cute look to the front yard, porch, table centerpiece, or garden. Make sure that you bookmark these ideas to use later, print out the tutorials, or pin them to a crafting board on Pinterest.
- Adorable Painted Mushroom Planter Garden Decoration
- Flower Planter Bee House Garden Decoration
- How to Make a Decorative Lightbulb Planter
- 17 Gorgeously Rustic Log Planters
- Tin Can Ladybug and Bee Garden Decorations

Upcycled Plastic Bottle Pig Planter
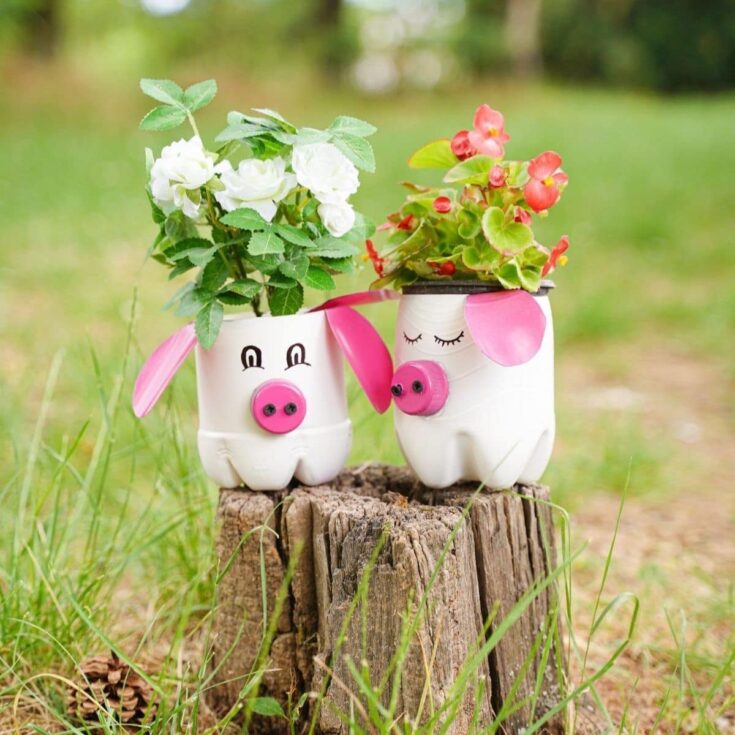
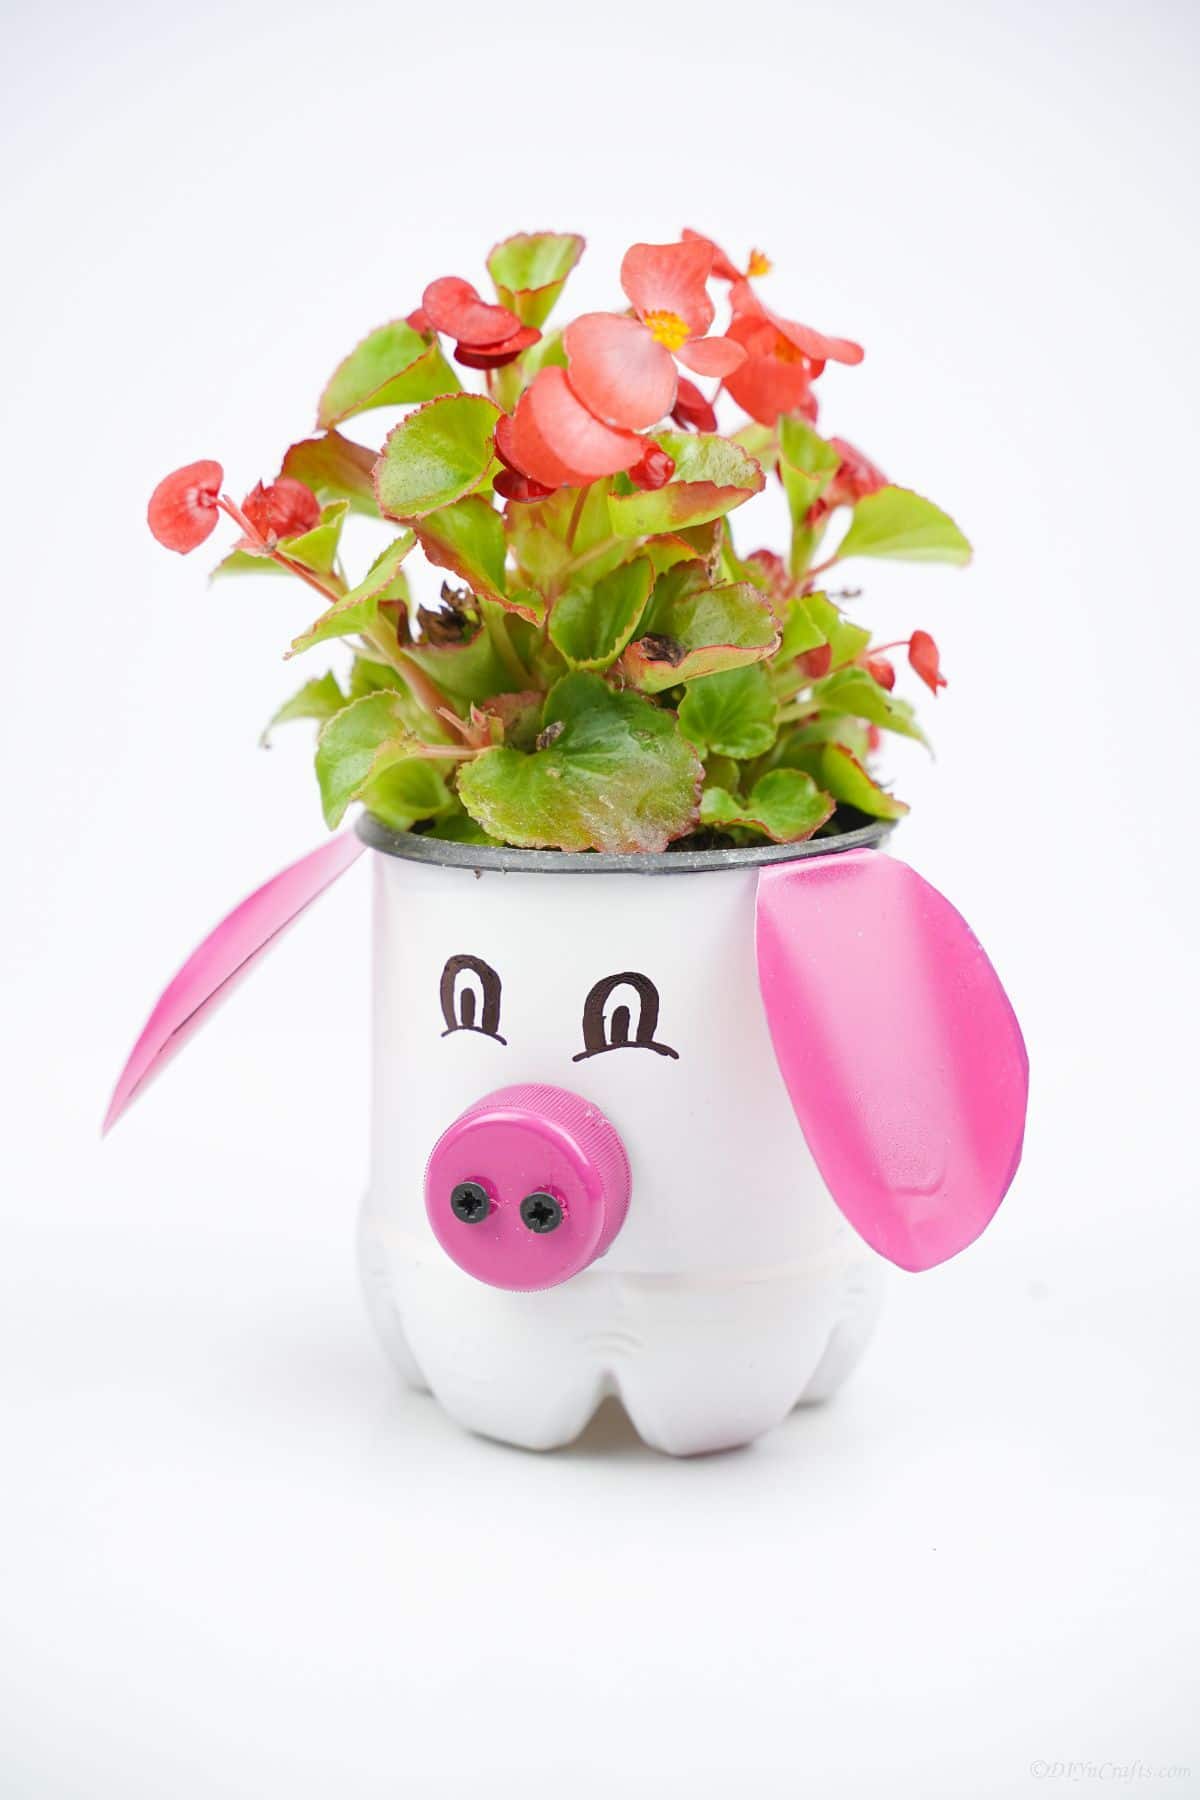
This adorable plastic bottle pig planter is a great addition to your garden, porch, or as a table centerpiece!
Materials
- Empty plastic bottles
- Pink spray paint
- White spray paint
- Black marker or paint pen
- 2 small black screws
Instructions
- Starting ¼ of the way up from the base of the bottle, draw a line around where you will cut. On the side of that bottle, just above the line, use a spoon and trace around it to add an oval shape to the bottle.
- Repeat this on the opposite side. These are the pig's ear shapes.
- Now, cut the bottle off leaving the base and those two ear flaps.
- Fold the flaps down over the base of the bottle.
- Now, cover the base of the bottle with paper, and spray the ear flaps pink on both sides.
- Once the pig ears have dried, cover them with paper, and spray the rest of the bottle white.
- Paint the bottle cap/lid pink and set it aside to dry.
- Once all of the pieces are dry, use a black marker or paint pen to draw pig eyes, just below the edge of the bottle and between the ears.
- Now, use a drill or soldering iron to create a hole 5 to 6 holes on the bottom of the planter for drainage.
- Next, use a drill to put two holes into the top of the painted bottle cap, on each side, for nostrils.
- Now, screw the screws through the holes on the front of the bottle cap.
- And finally, glue the bottle cap onto the front of the pig planter, just below the eyes.
Notes
Paint your pig any colors you prefer from pink and gray to red or brown.
Recommended Products
As an Amazon Associate and member of other affiliate programs, I earn from qualifying purchases.
-
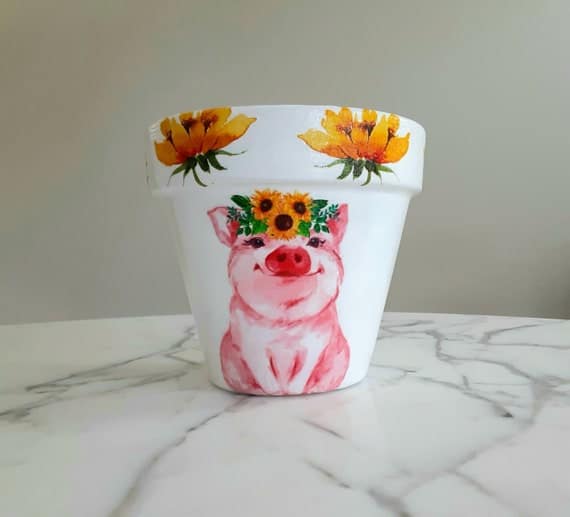 Pig Planter-6 Inch Pig Gifts Pig Flowerpot Sunflowers | Etsy
 -
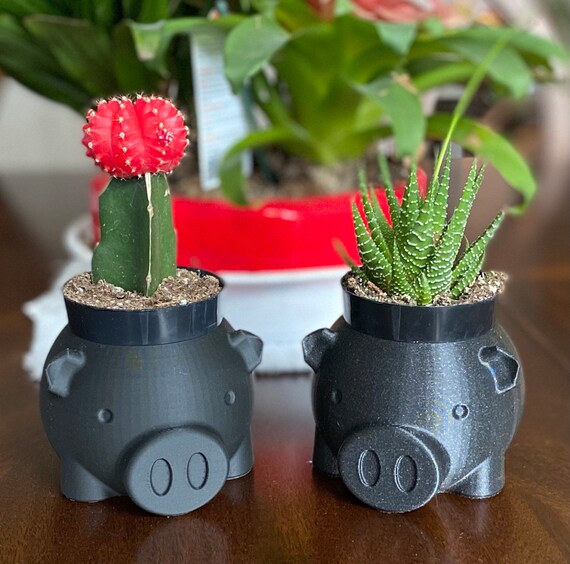 Pig Planter Animal Planter Piggy Mothers Day Gift | Etsy
 -
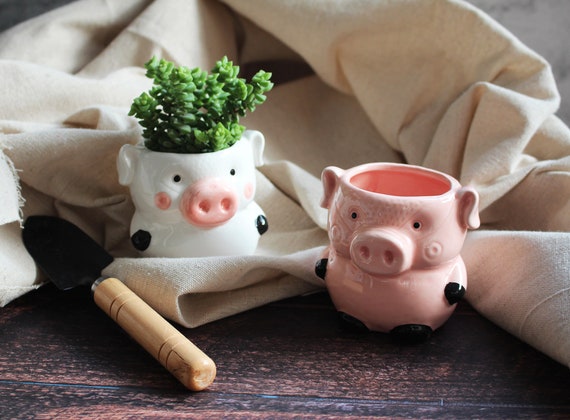 Pig Planters Kitchen Pig Decor 2 Pack Ceramic Succulent Flower | Etsy
 -
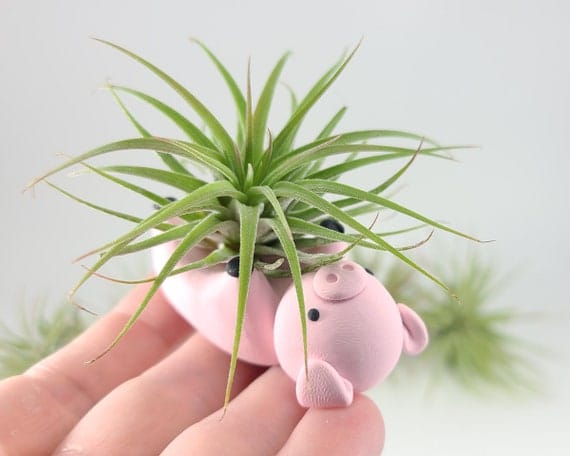 Pig Air Plant Holder Gifts for Her Pig Planter Small Pig | Etsy
 -
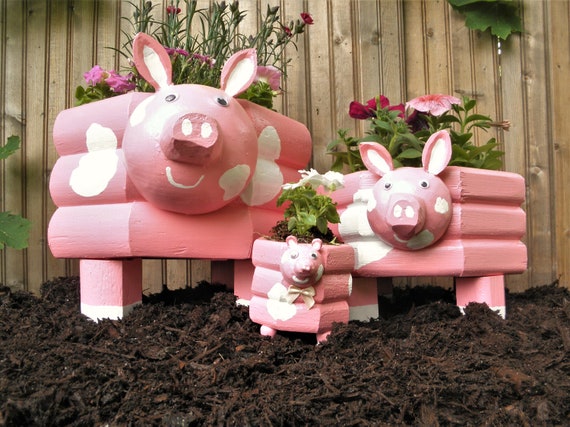 Custom Pink Pig Planters Handmade Made in Maine. for Your | Etsy
 -
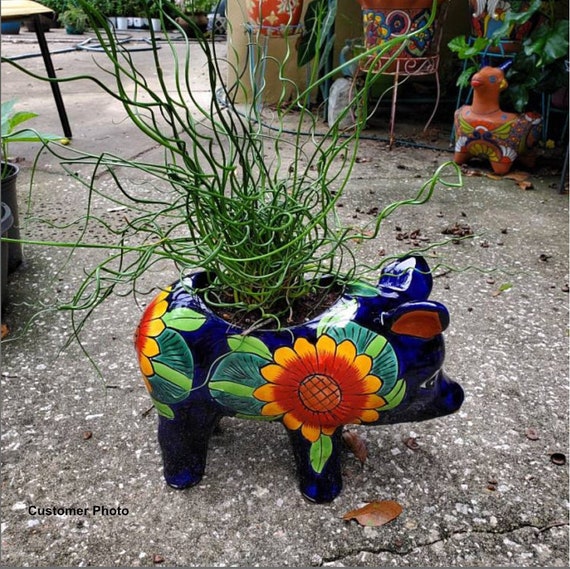 Ceramic Planter Cute Pig Flower Pot Pig Decor Flower Pots | Etsy
Finished Project Gallery
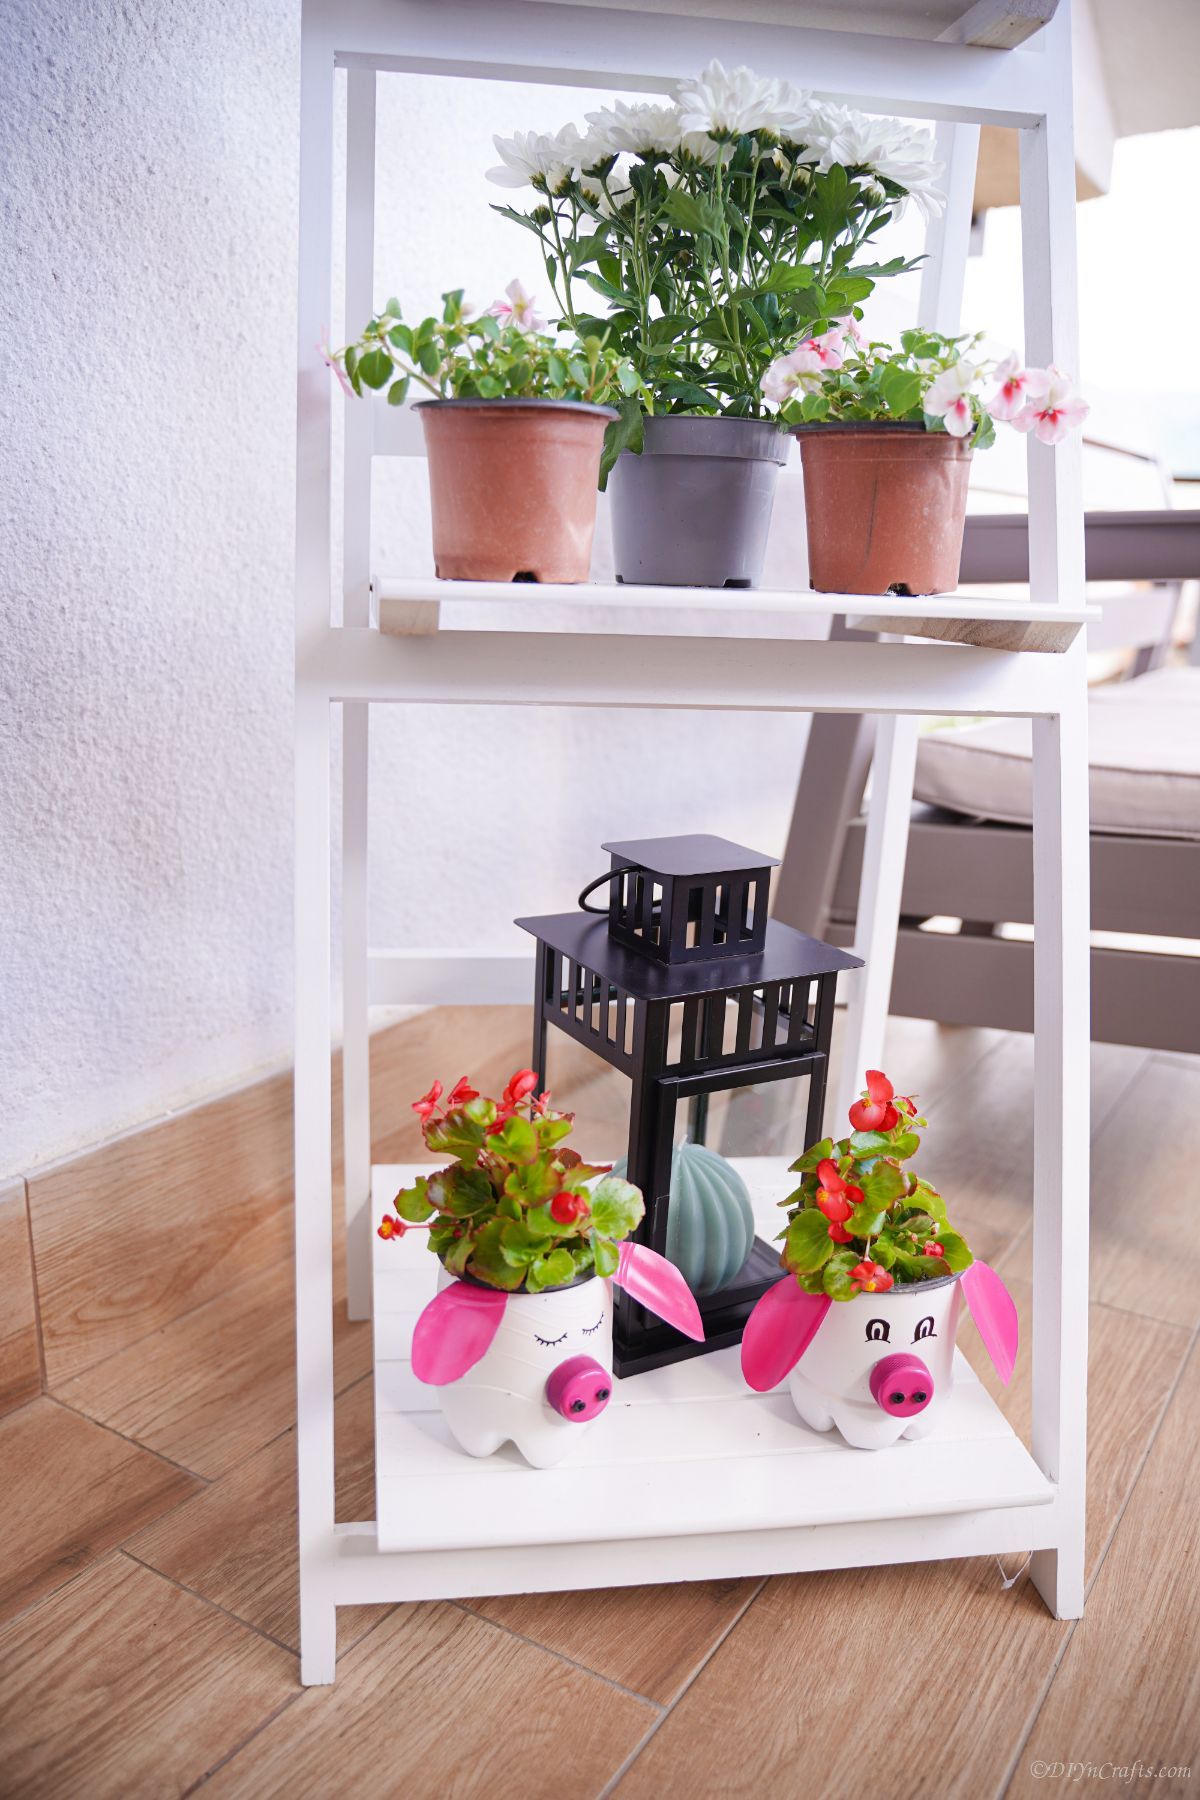
Use these any time of year for a fun new way to display your garden plants.
You can also paint the planters other colors such as brown, black, tan, orange, or whatever color you have handy!






Anna Nelson
These are adorable!!!
Daphne
Such a cute planter!