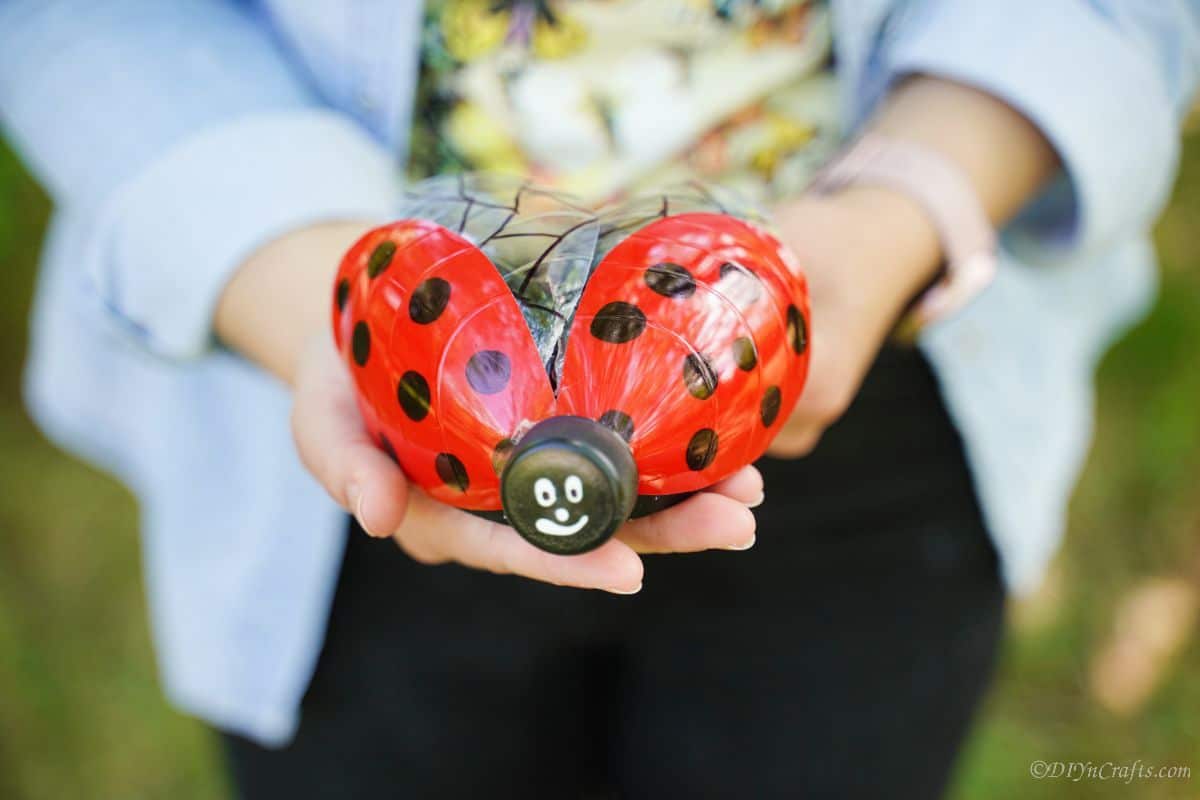
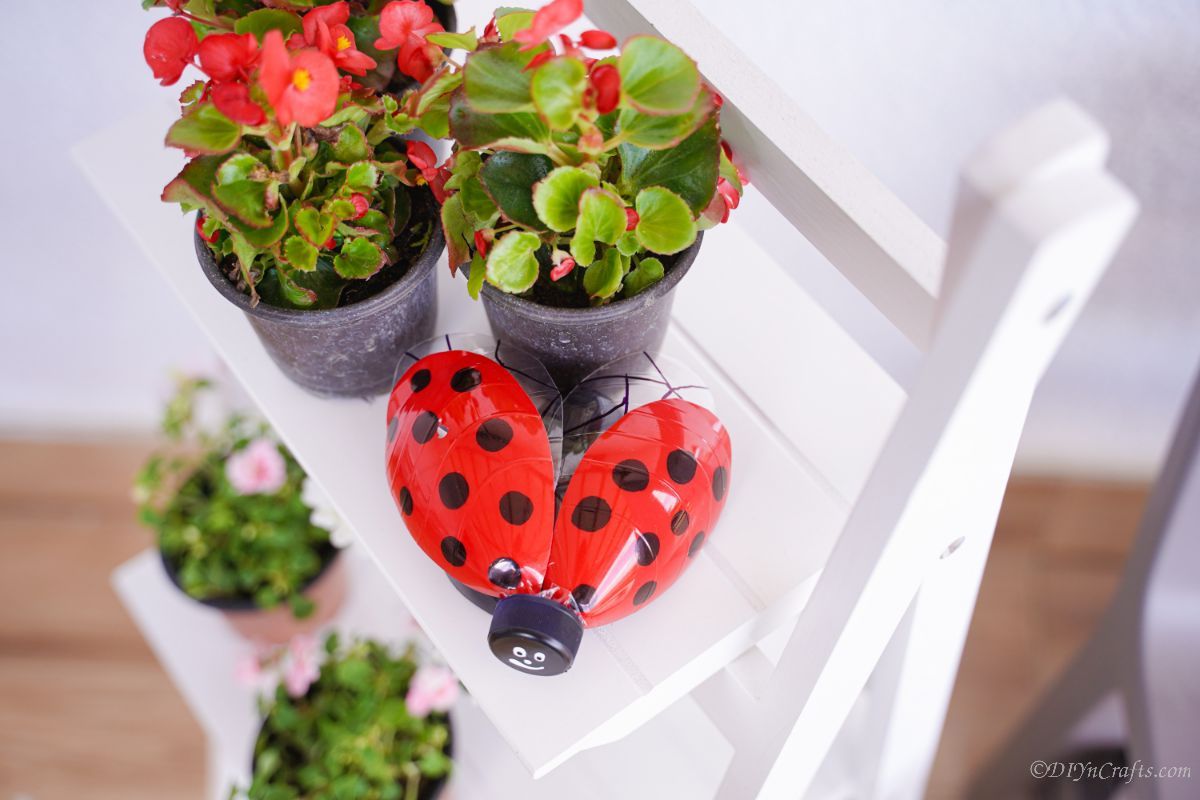
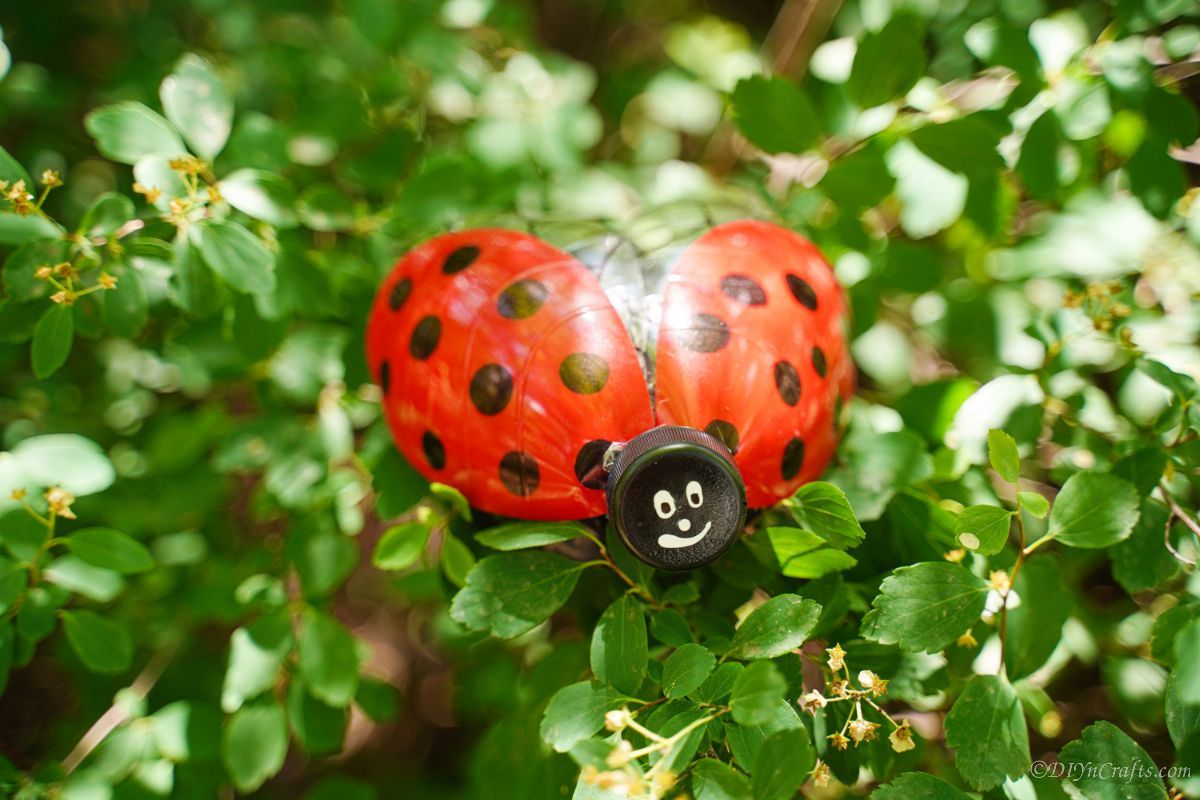
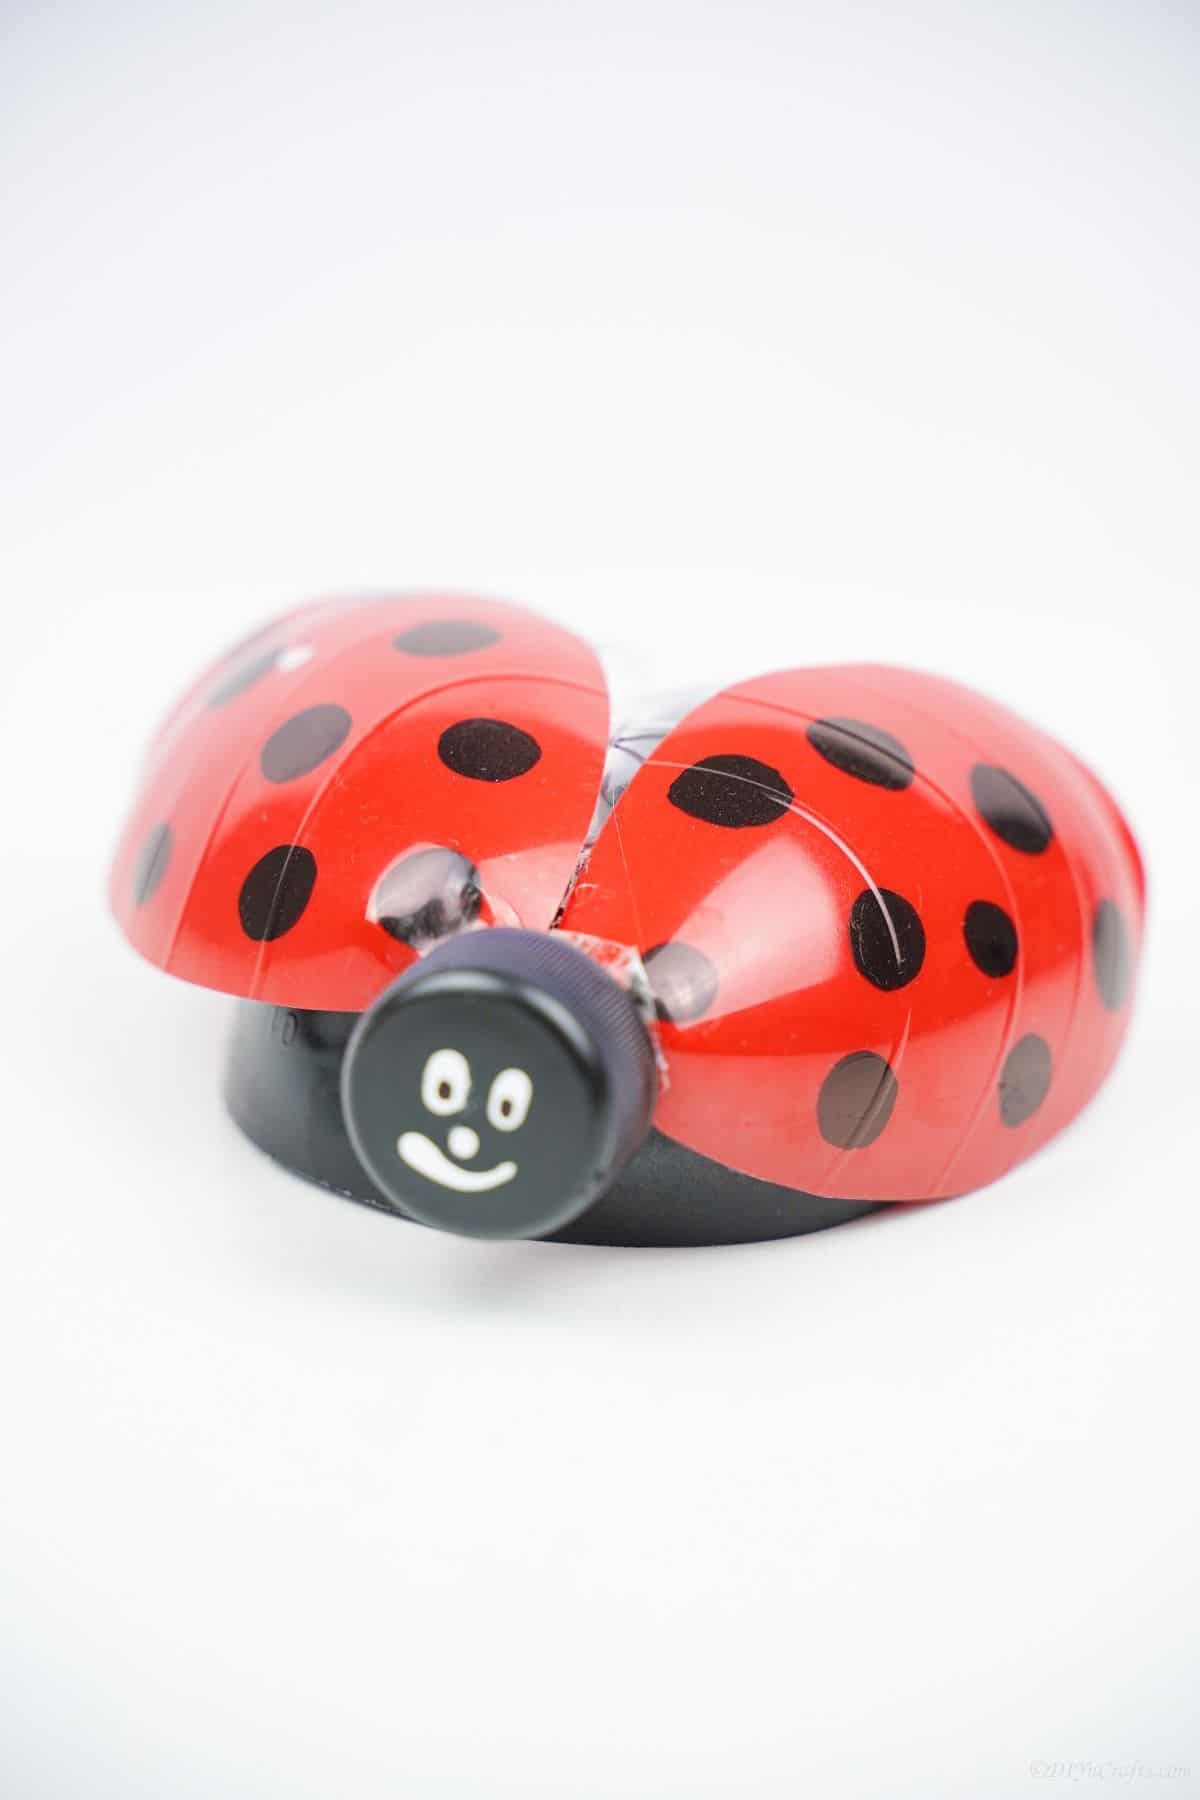
If you're looking for a way to add some personality to your garden, you might want to consider adding this adorable ladybug garden decor. These little insects can add a lot of charm to any outdoor space, and it is made completely from recycled materials. You can find all sorts of ladybug-themed accessories online and in stores but they can get extremely expensive, so it's easy to make this free craft. Add a touch of whimsy to your backyard that is sure to brighten up your day!
Ladybug Garden Decor
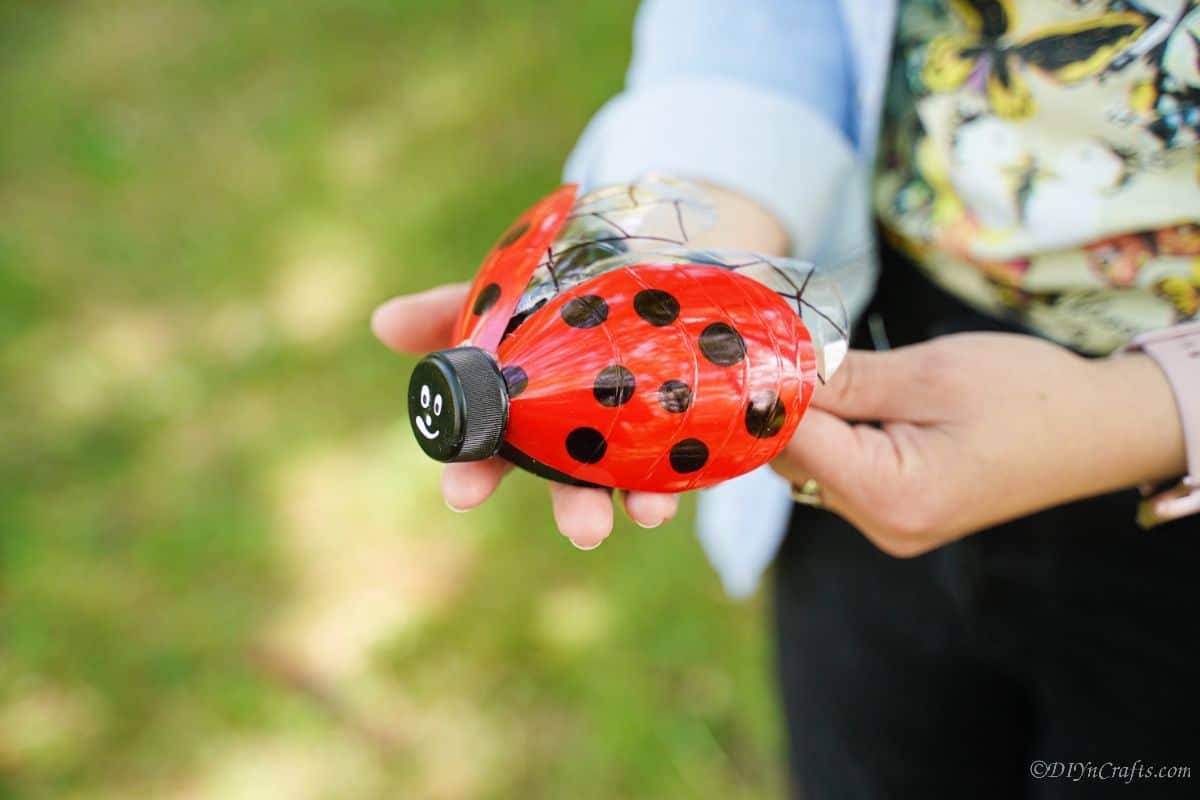
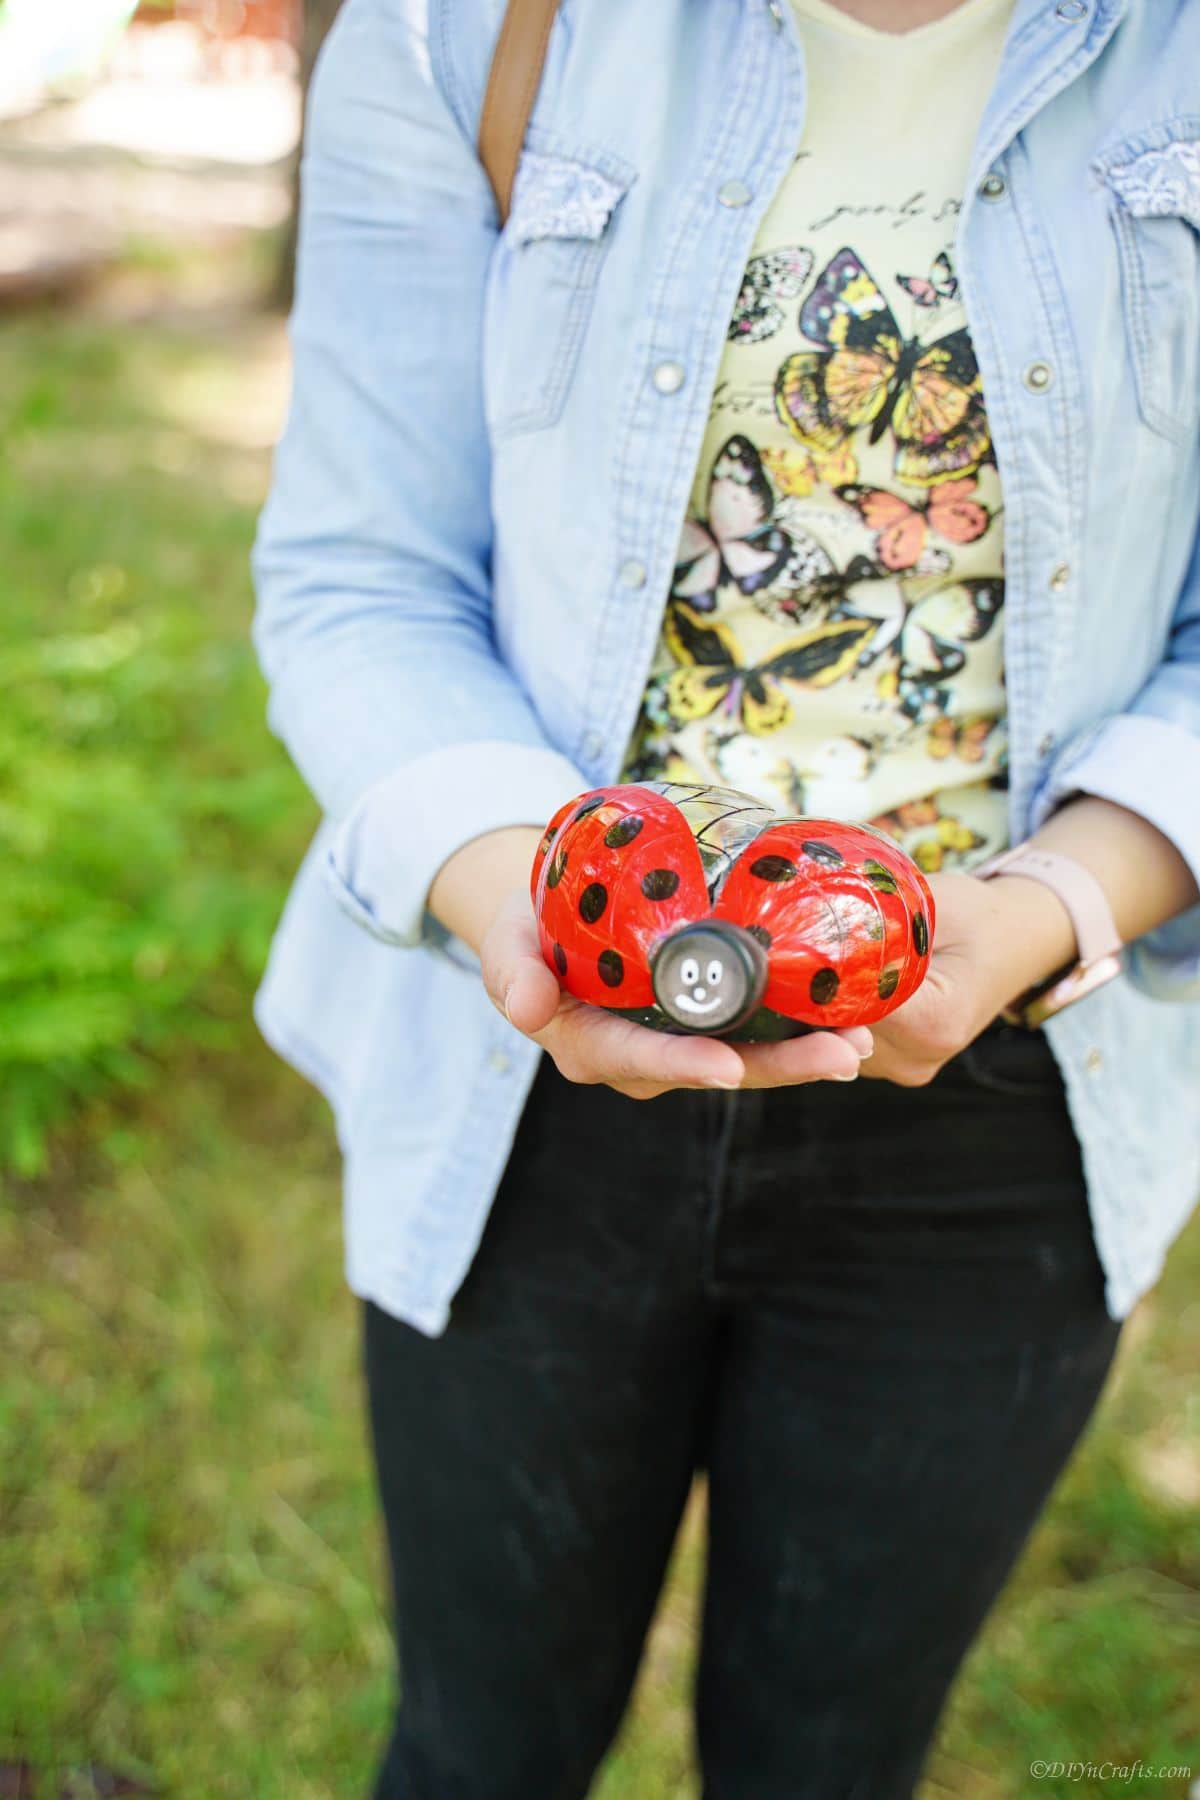
Love ladybugs? These little garden decor pieces are perfect for you! They're made from recycled plastic bottles, so not only will you be making a cute ladybug decoration for your garden, but you'll also be helping the environment. Win-win!
This is one of those super simple projects that take about an hour to make on a lazy weekend. Make one or dozens of them and tuck them around your garden or even as decor on shelves inside your home. Of course, if you like garden decor, you might like our recent tin can ladybug and bee garden decorations. They are so cute and super easy to make!
What is the Safest Way to Cut Plastic Bottles?
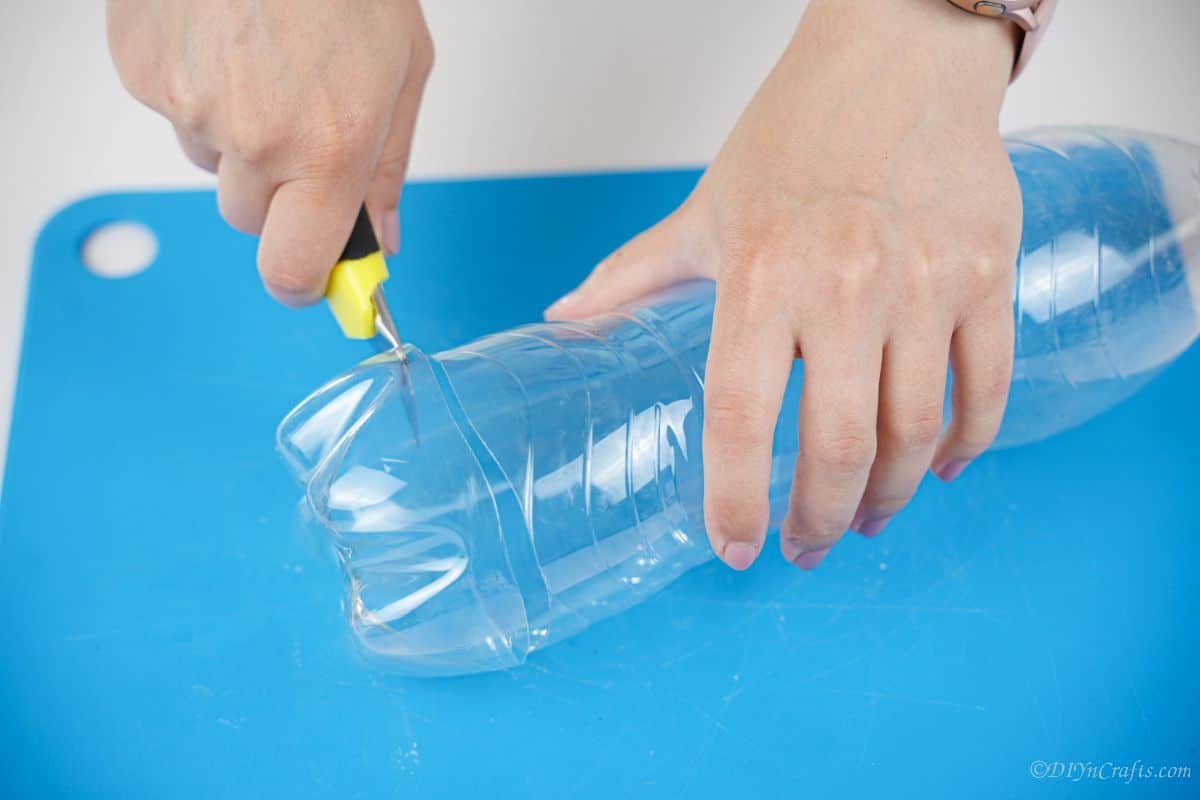
When cutting plastic bottles, it is important to use something sharp. A good pair of scissors or a craft knife is my go-to choice. That said, whatever you choose to cut with, be very careful to not slip and cut yourself.
If possible, wear gloves for protection. Of course, if using a knife, make sure it is sharp. A dull knife can be dangerous when cutting anything, but especially something slippery like this bottle. It may be best to set it up on end so it is sturdy while you cut it from the side rather than from the top.
What Paint Should I Use on Plastic Bottles?
My go-to paint when it comes to painting plastic bottles is spray paint. It is fast and economical. However, whenever I need to paint something that needs to be painted with details, I use acrylics. You can find acrylics in the craft department of most big box stores and at your local craft stores. You can also buy them online.
For this project, I used a combination of red and black spray paint alongside black and white paint pens to add those fine details on the face and wings.
Where Should I Display My Ladybug?
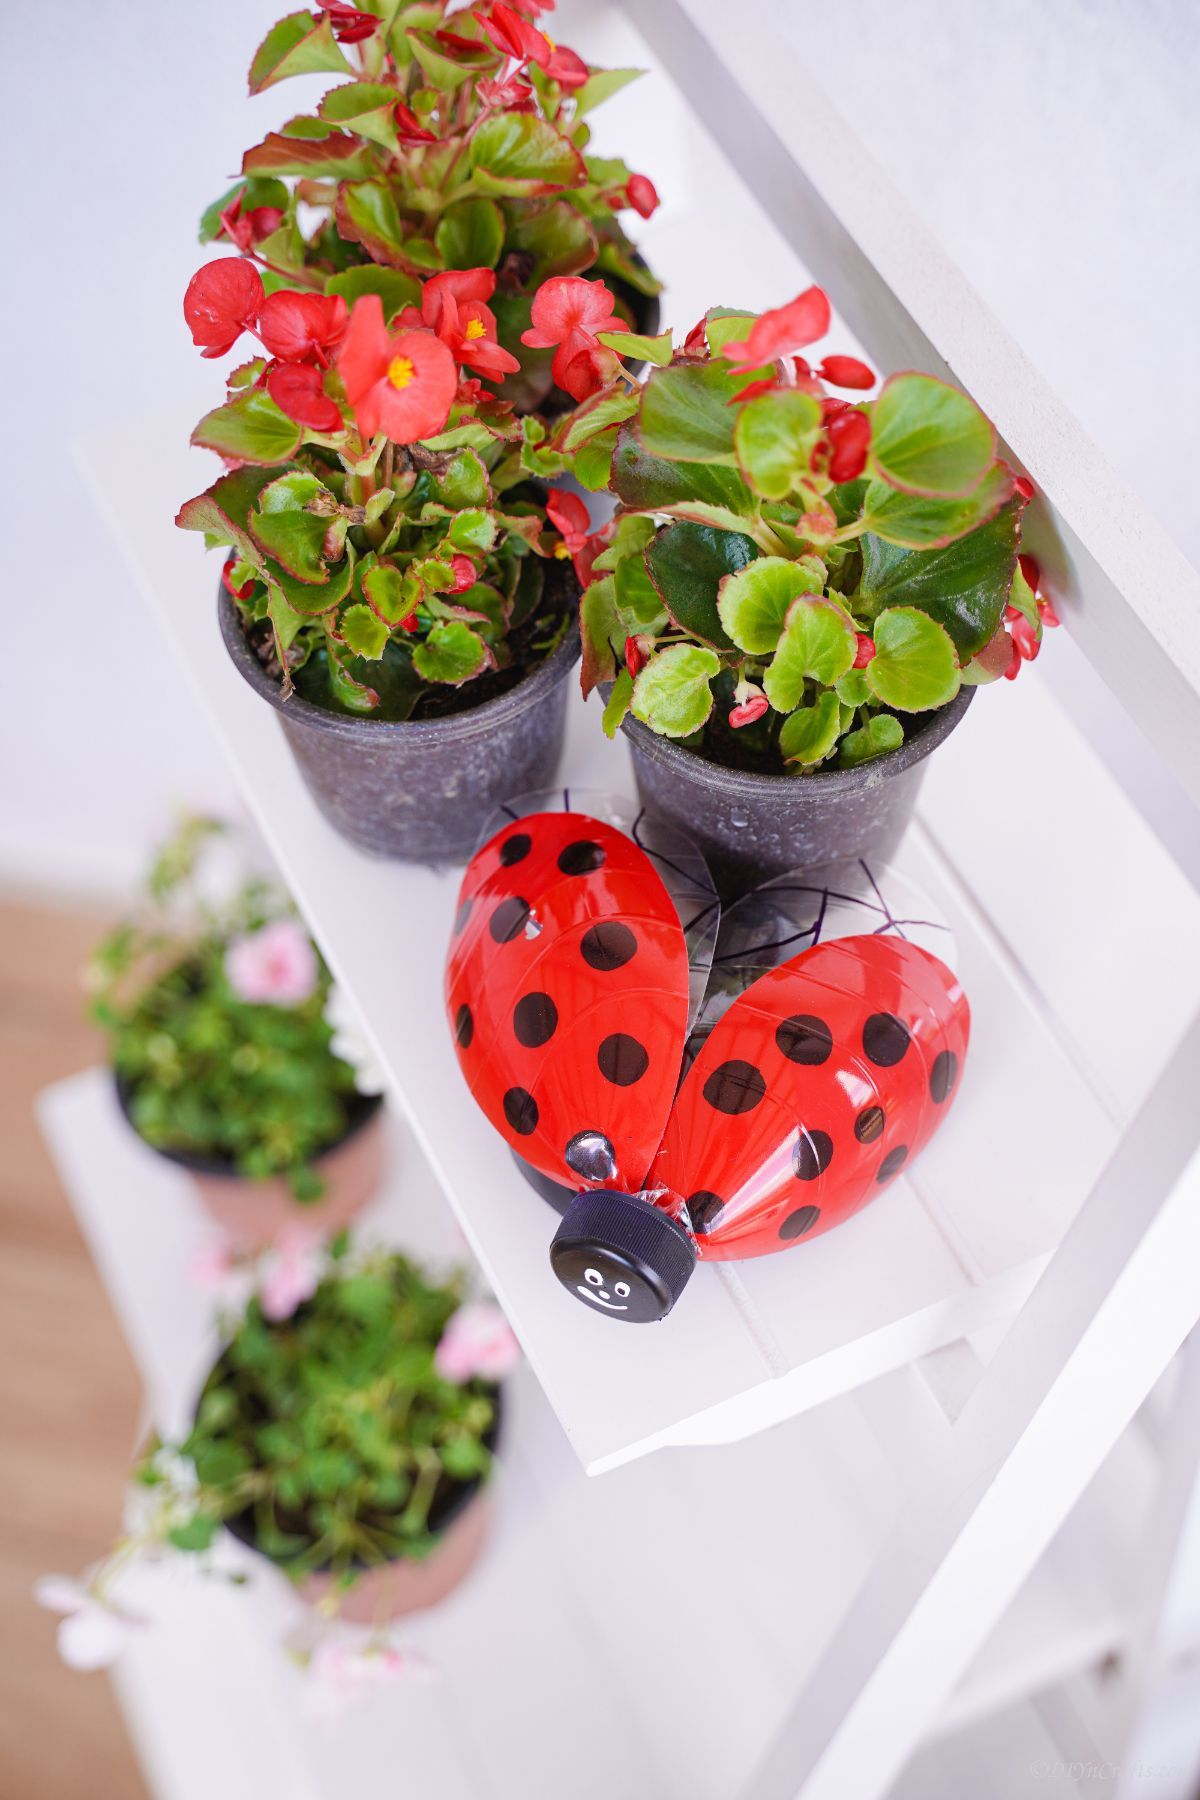
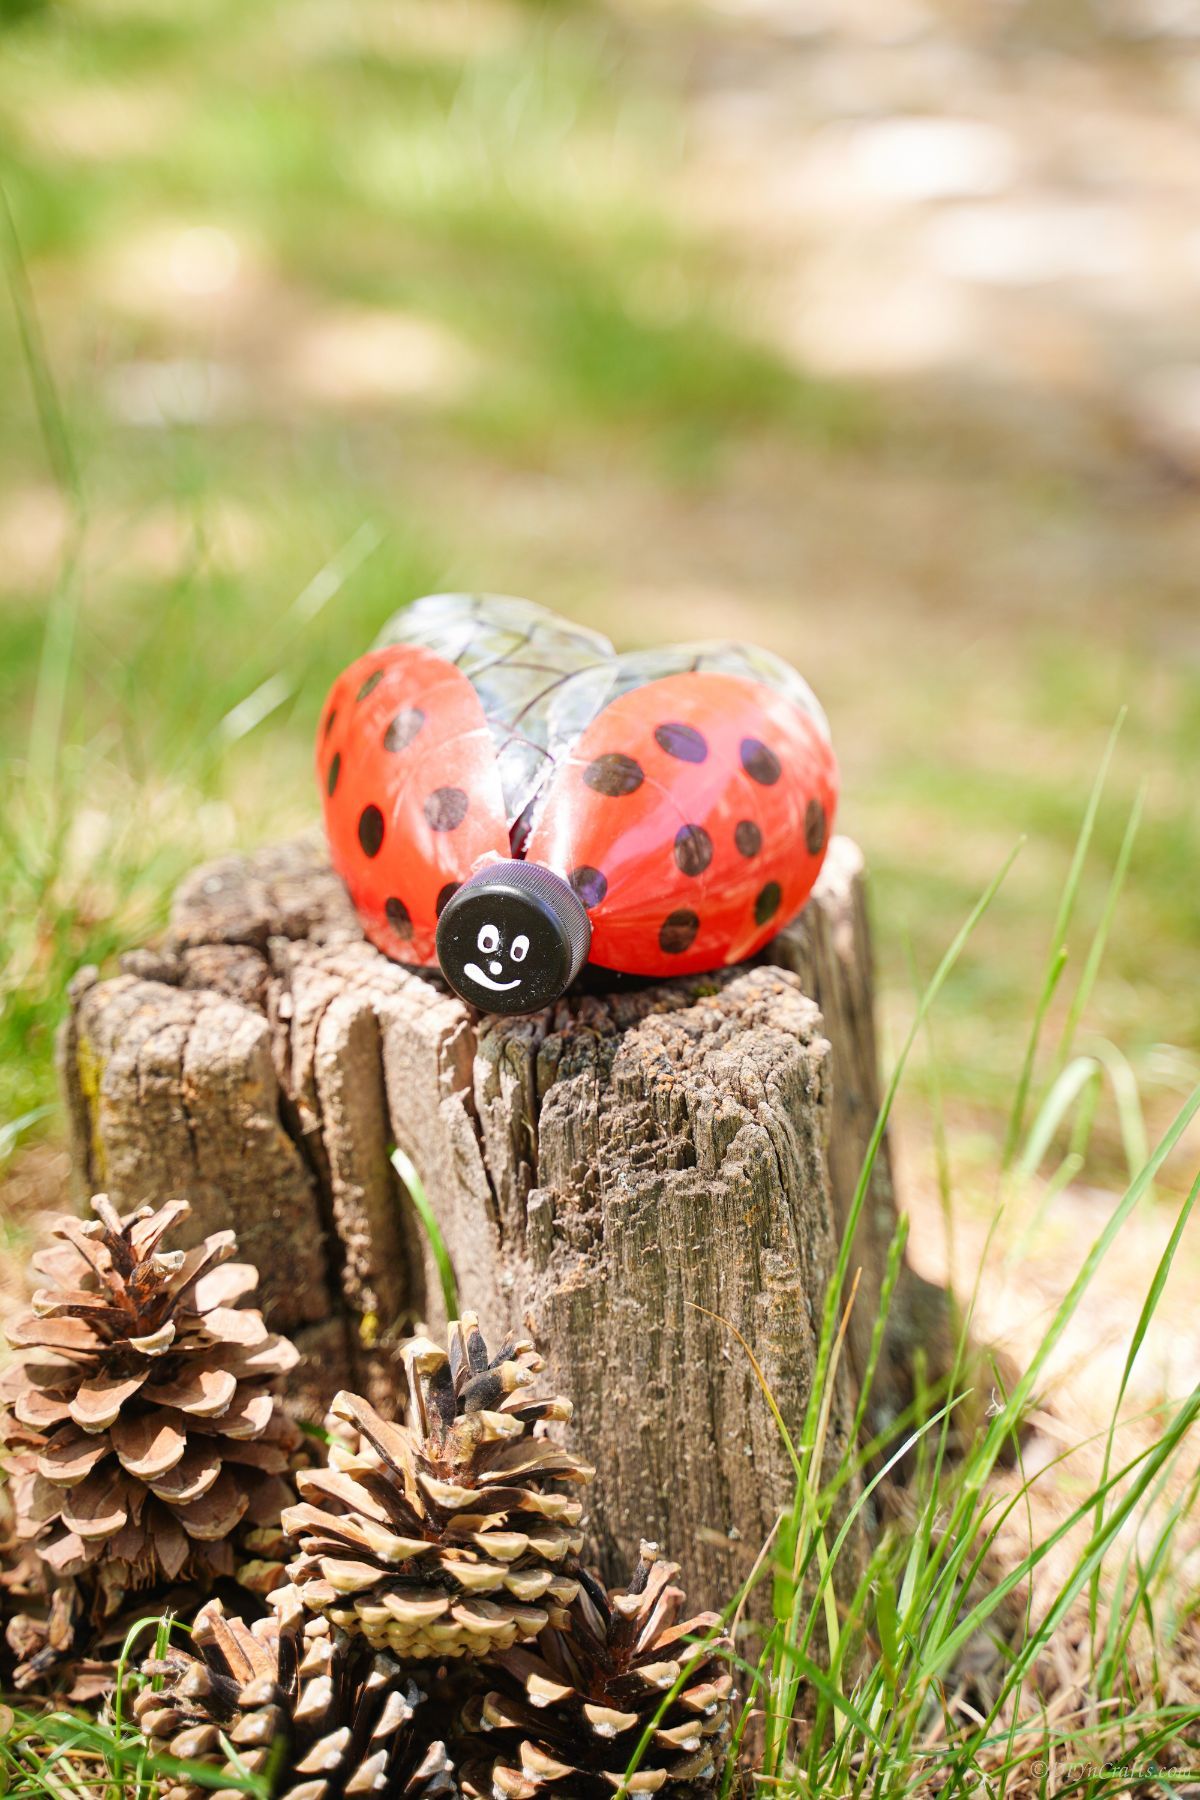
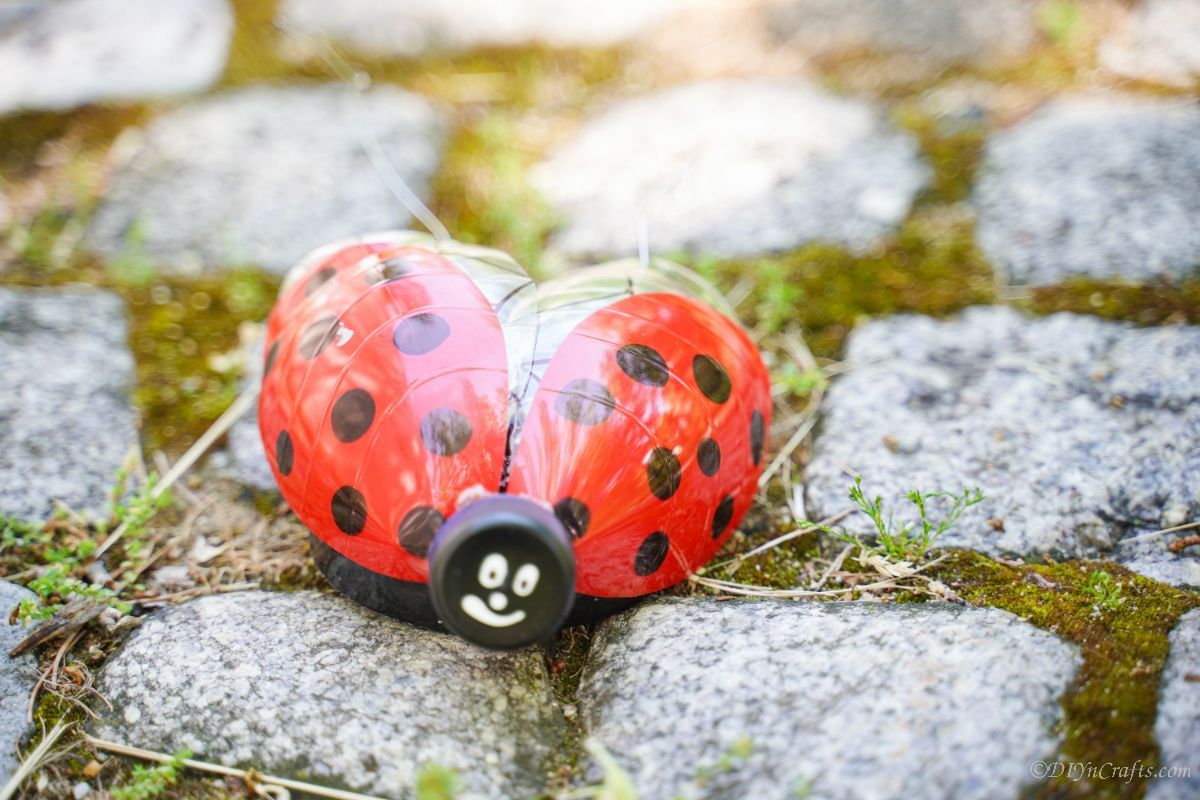
These little garden decorations can be placed anywhere in your yard! If you have a flower bed, line the edge with them. Or, place them around a tree or shrub. You could even put them in planters on your deck or patio.
The ladybug decor can also be displayed around the house. Add it to window sills and countertops. Place it on shelves with picture frames. Make them in different colors and place them on the mantle.
Get creative and have fun! These aren't just for one place, but a decoration that can be placed anywhere you prefer. You can even add a stick or garden stake to the bottom and slide them down into the ground in your garden to "hover" over plants.
How Can I Make the Ladybug Face?
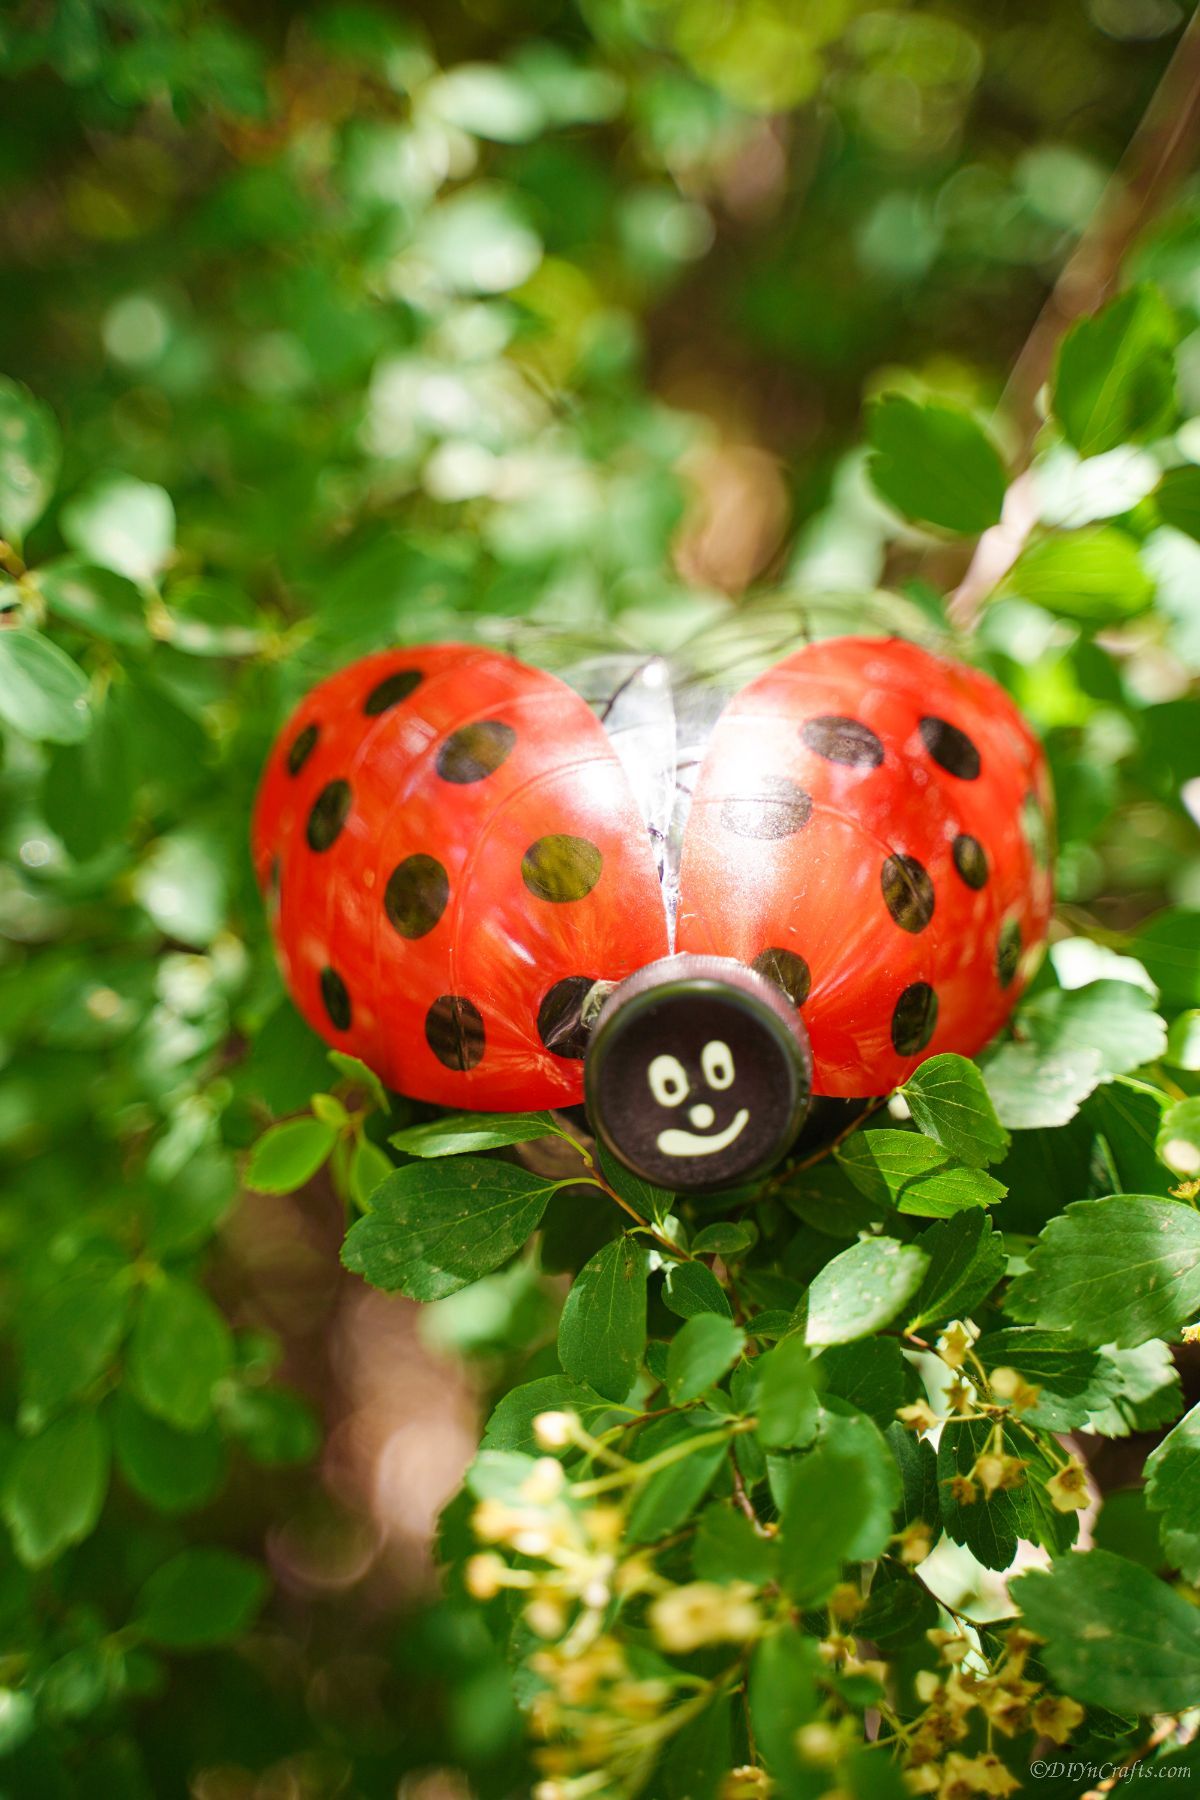
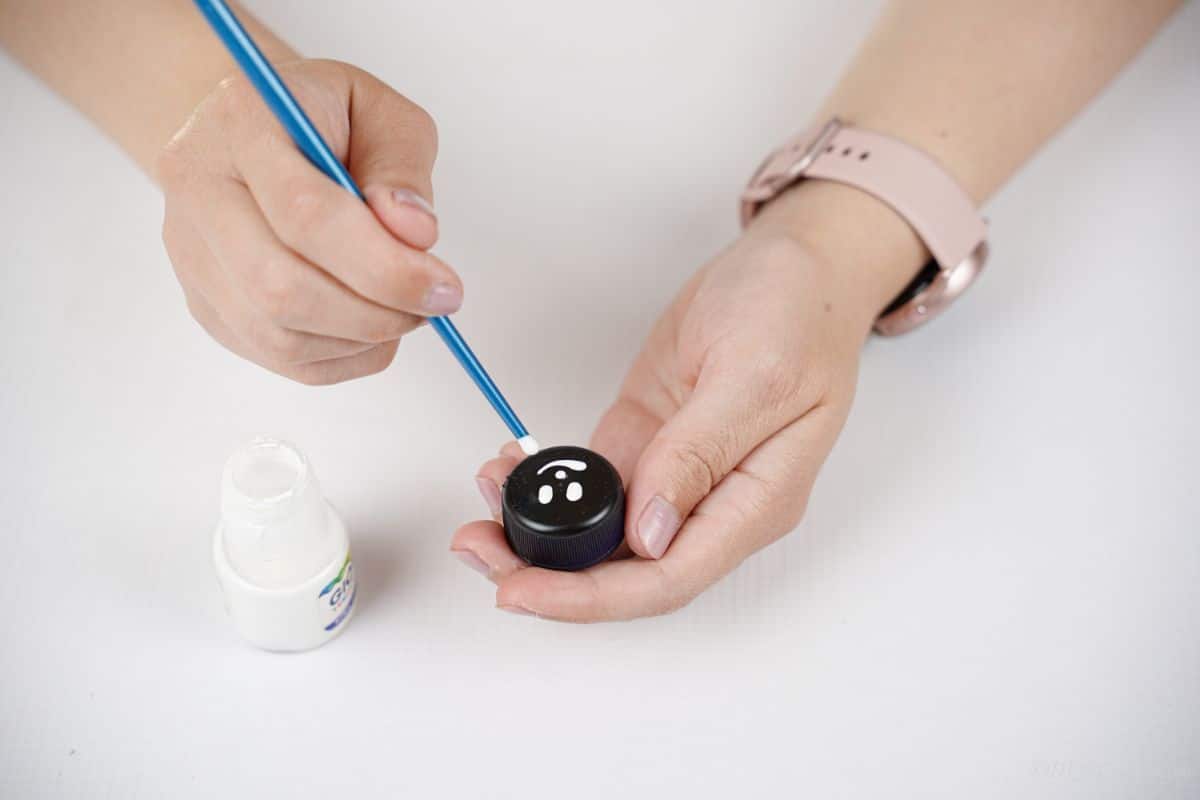
After painting the cap of the water bottle black, I like to come back in with a white paint pen or a marker to create the face. Paint two larger white circles, a smaller white circle, and a line for the mouth.
Other ideas to make the face include using the classic googly eyes, yarn, paper, felt, or foam paper. Since this is ideal for displaying outside in the garden, you will also want to consider something that is waterproof. The paint pen or marker works best for that. Should you decide to put this indoors instead, the face can be made with those items that might not work so well in inclement weather.
How Long Will My Ladybug Last?
How long this ladybug will last depends on how you display it. When it is displayed in the house, this is something that can last forever. If you are placing it in your garden, as long as you used paint that is not water washable, it should last at least a year or two. Once the paint starts to fade, you can take it off using paint remover and paint it again. You can also just paint over the old paint if you are using the same colors.
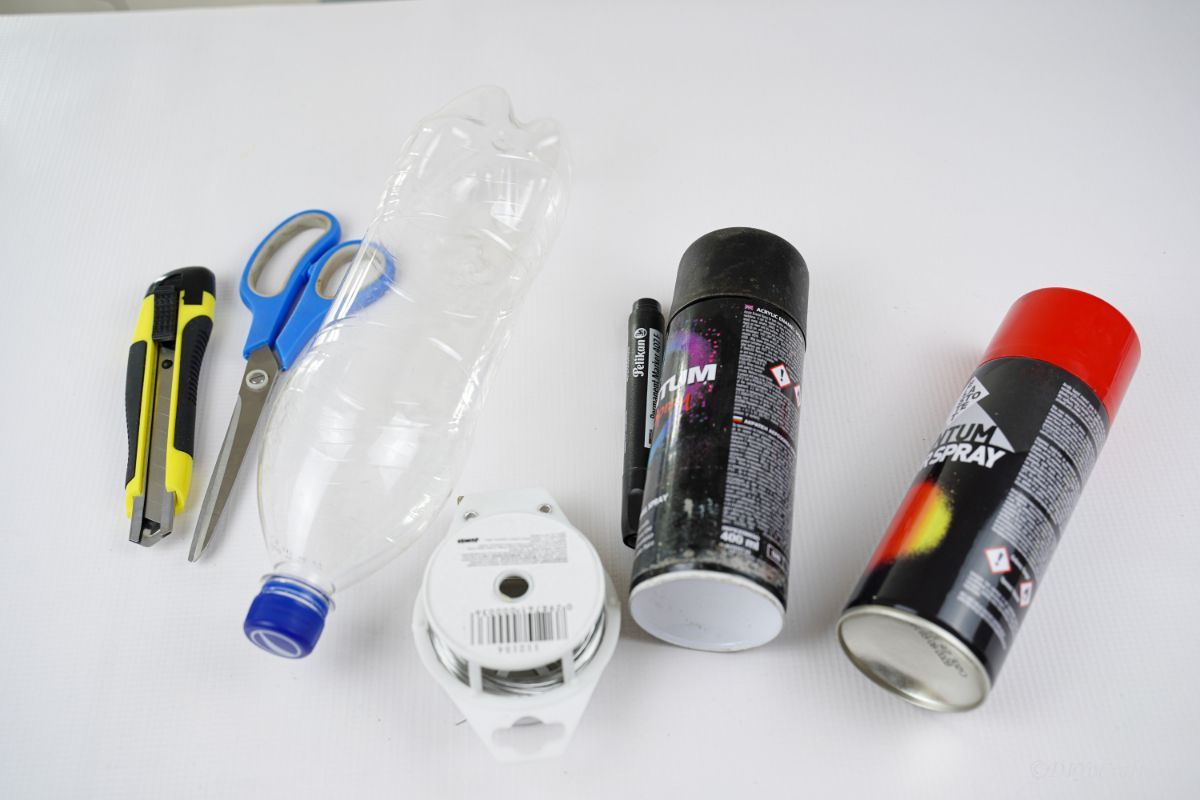
Supplies Needed
- Empty plastic bottle
- Red spray paint
- Black spray paint
- Black marker
- White craft paint
- Jewelry wire
- Paintbrush
- Scissors
- Hot glue gun
- Hot glue sticks
- Soldering iron
How to Make Ladybug Garden Decor
Clean the bottle well and remove all labels and glue. Set it aside and let it dry completely before you cut the bottom ¼ of the water bottle off and set it aside.
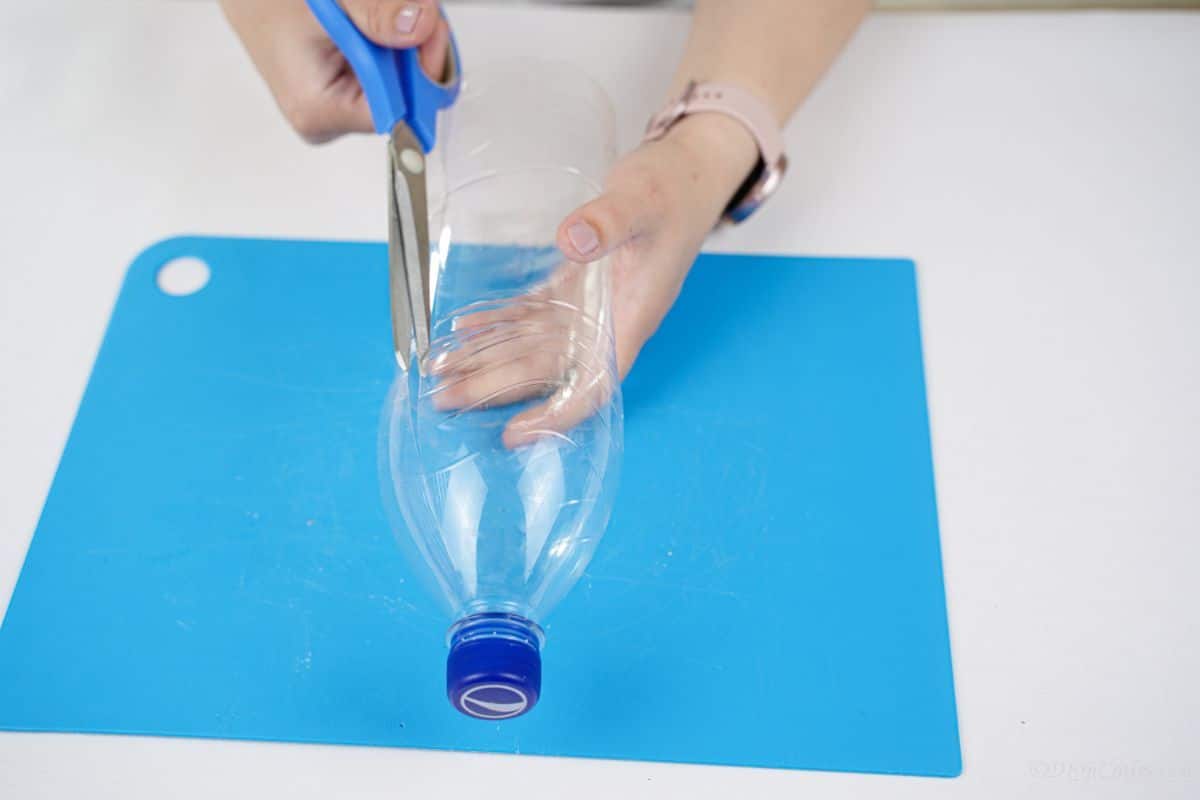
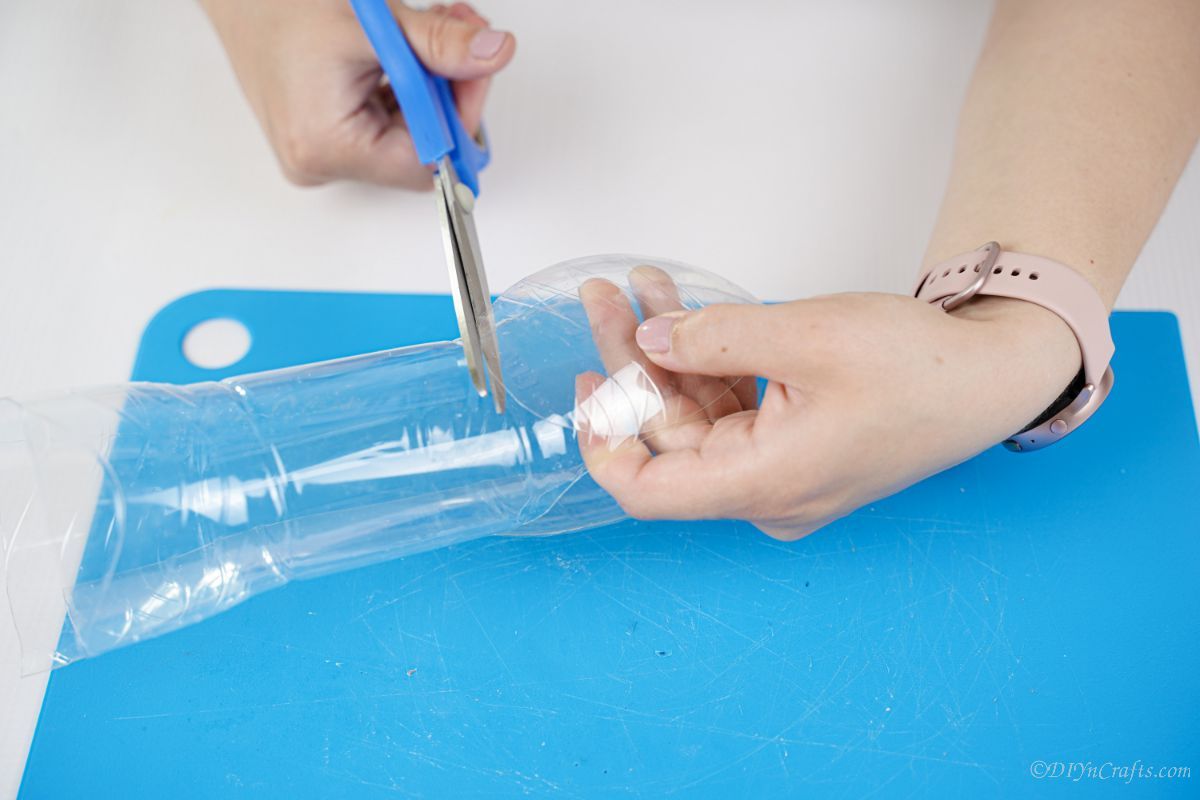
On the top ¾ of the bottle, cut up the side from the bottom to the neck of the bottle.
Then, cut around the base of the neck and set aside the neck and lid. This will be a bottle "sleeve" of sorts which you will then cut.
Using this whole piece of plastic, draw and cut out 4 equal shapes that are oval and around 3" long, and 2.5" wide. These should all be fairly equal in size.
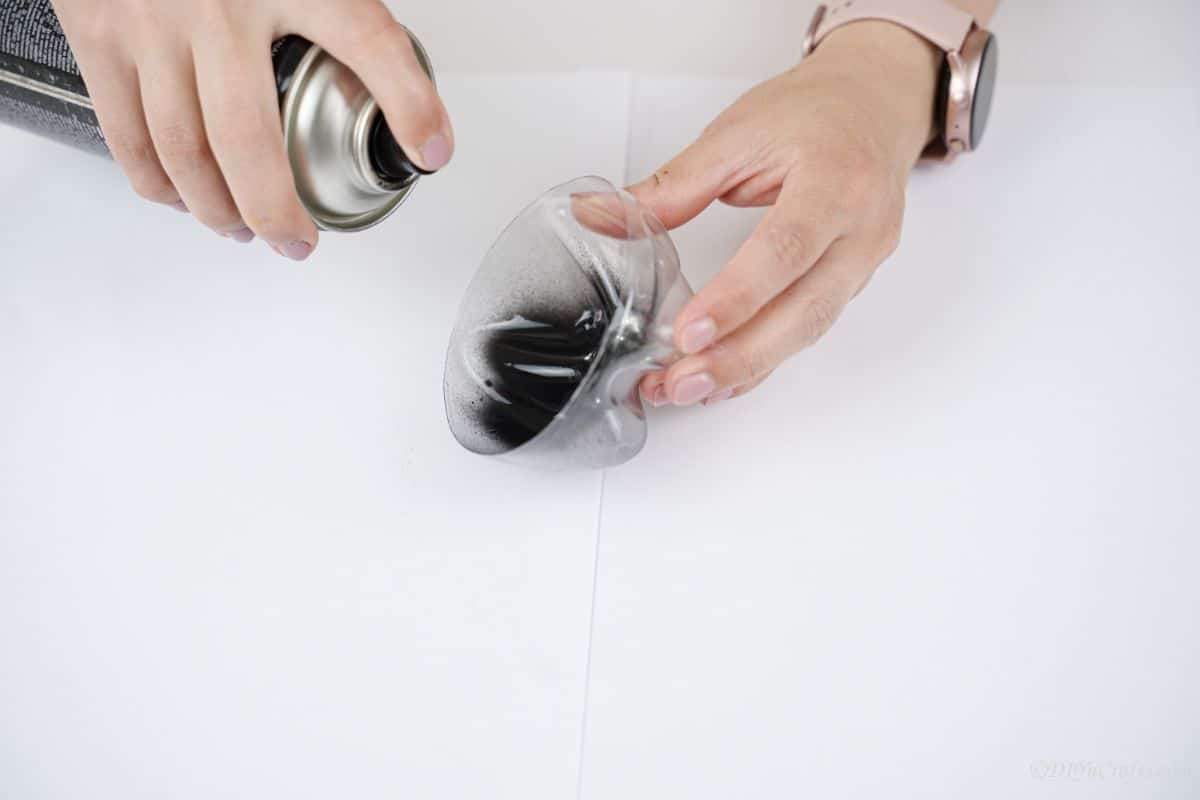
Now, spray paint the base you cut off first, along with the bottle cap, black, and set them aside to dry.
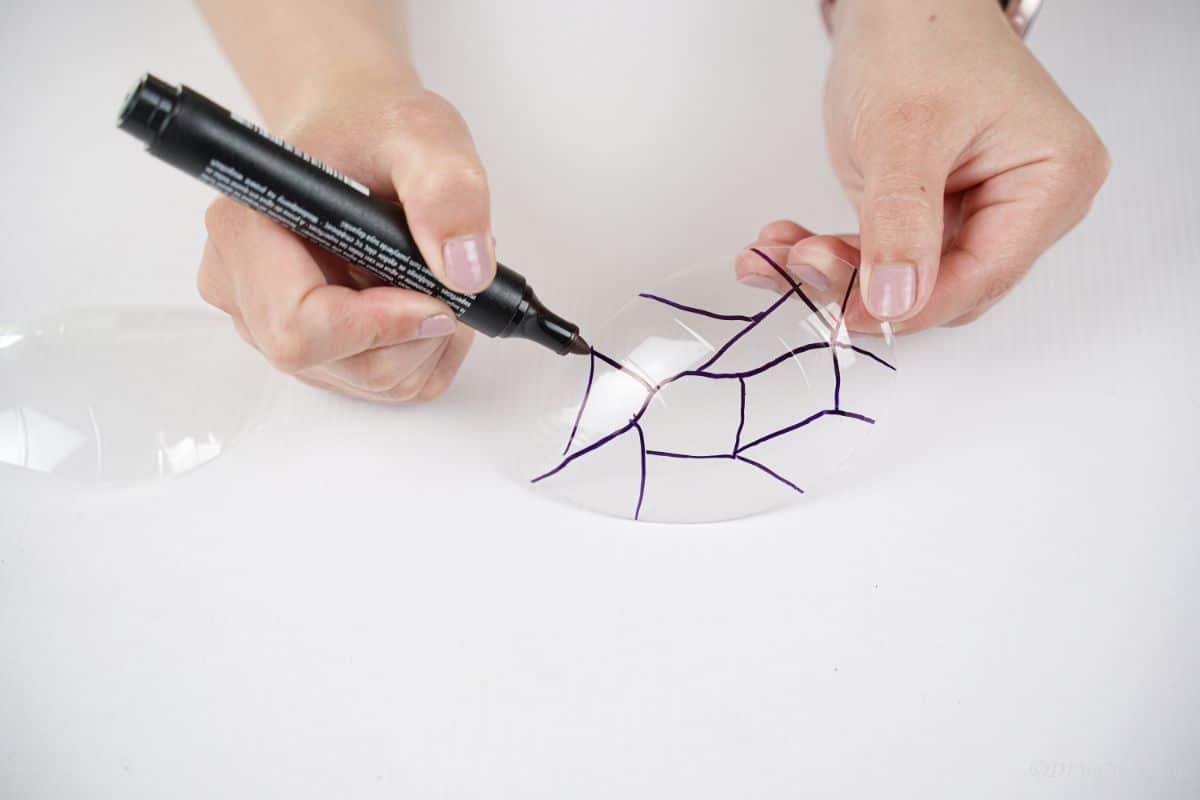
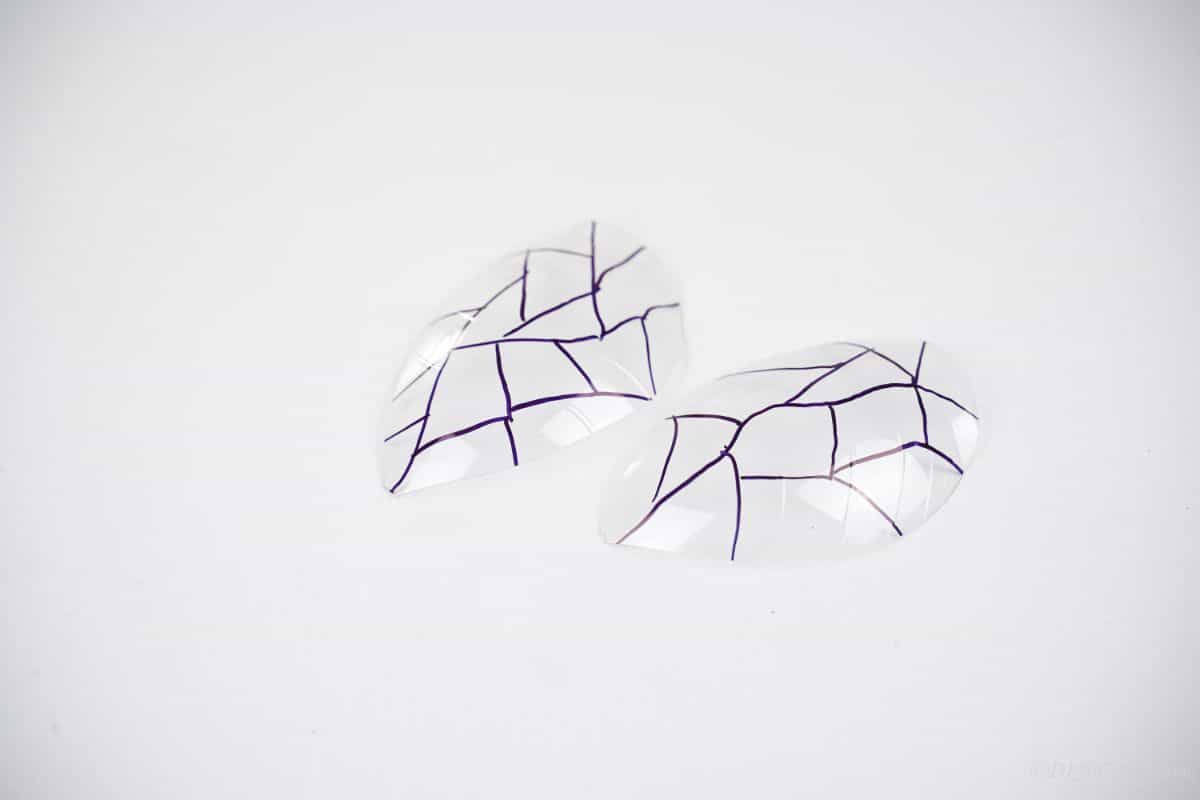
On two of the plastic ovals, you will add lines for the wings. These are just a few squiggly lines on each that look like a wing on the insect.
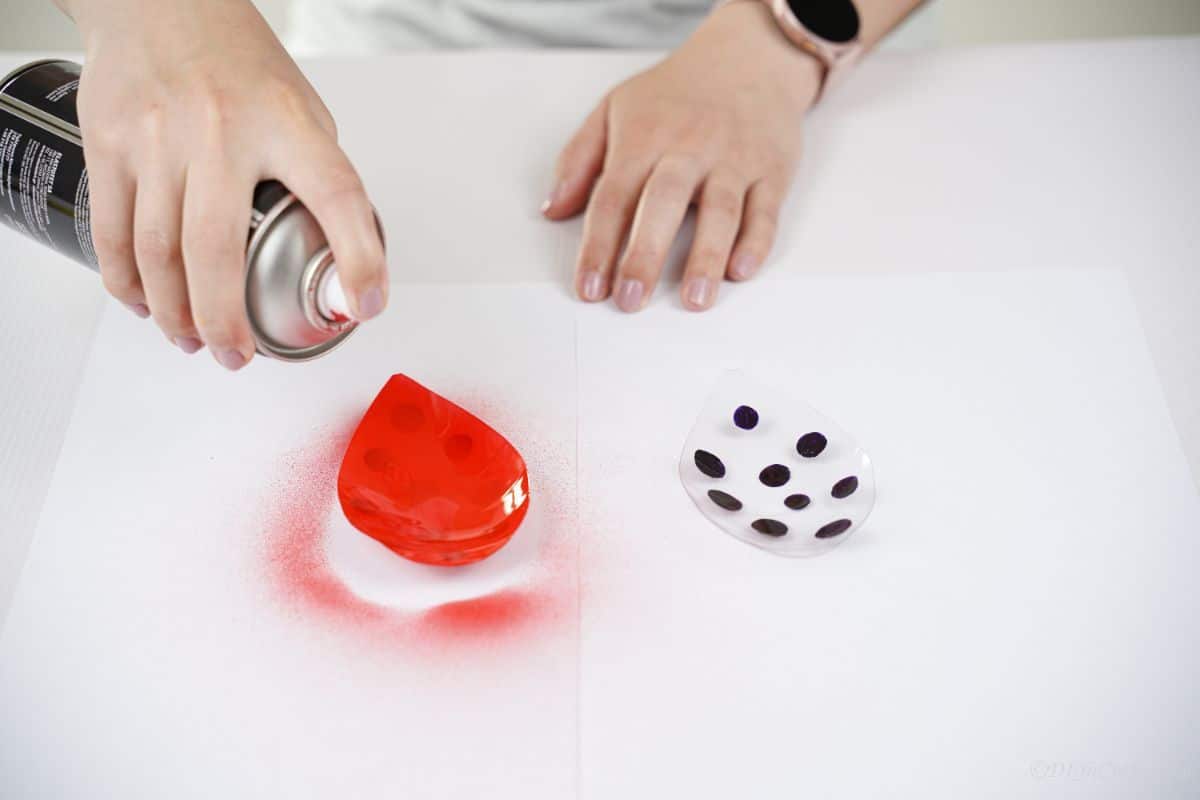
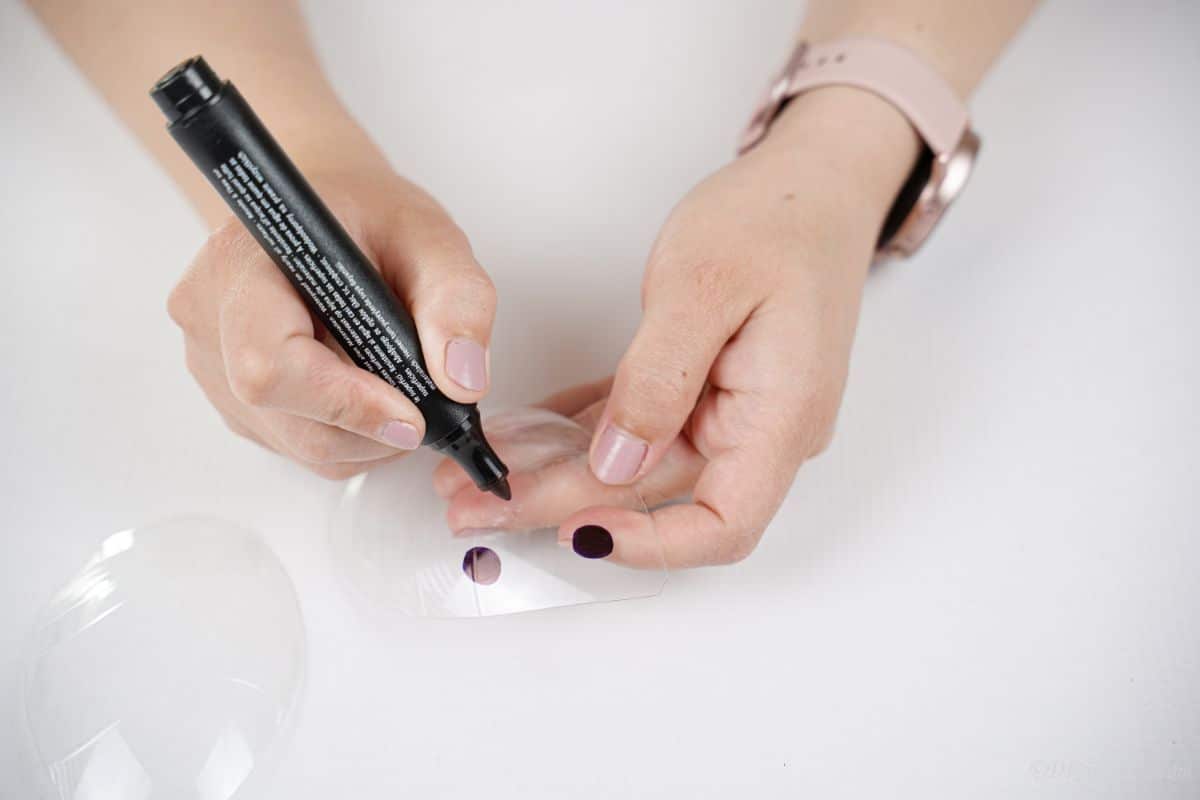
Then, draw black circles on the top side of the remaining two oval shapes to resemble the ladybug spots.
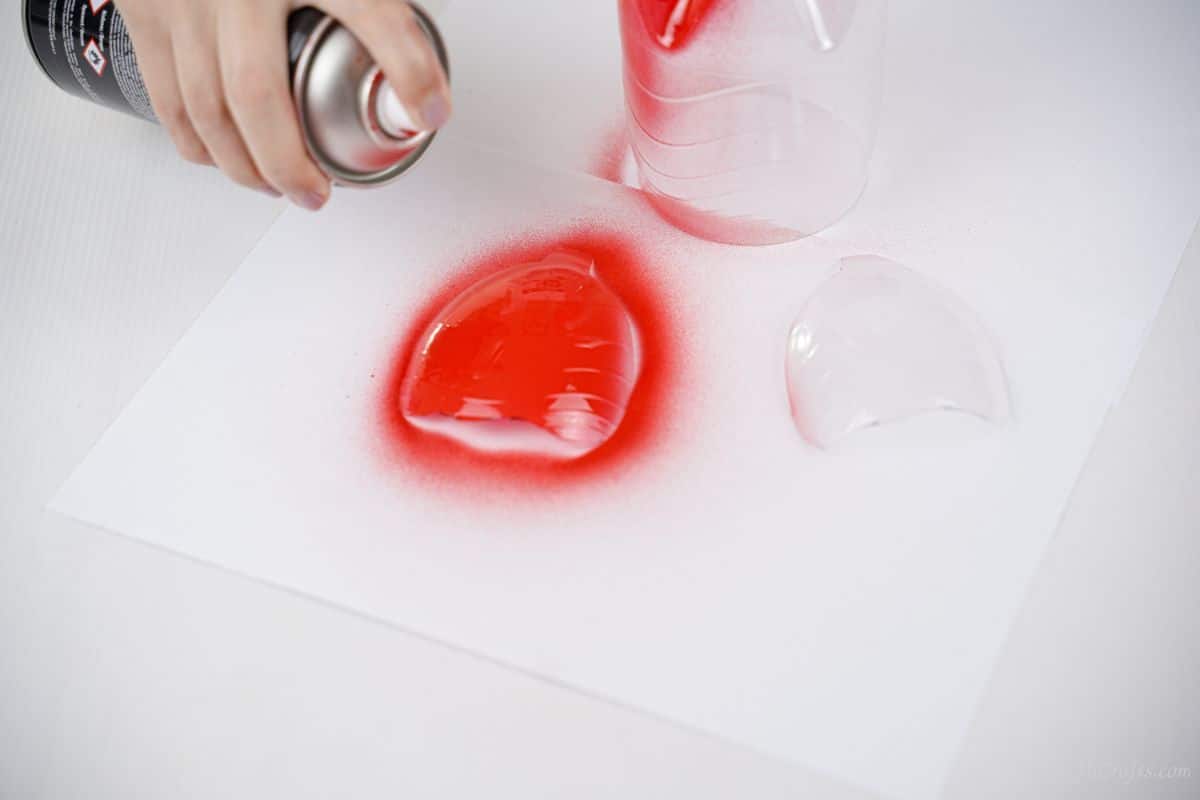
Once the dots are in place, spray paint the bottom side of the oval pieces red and set them aside to dry.
After the bottle lid/cap is dry, use a white paint pen to draw on the face with the eyes, nose, and mouth.
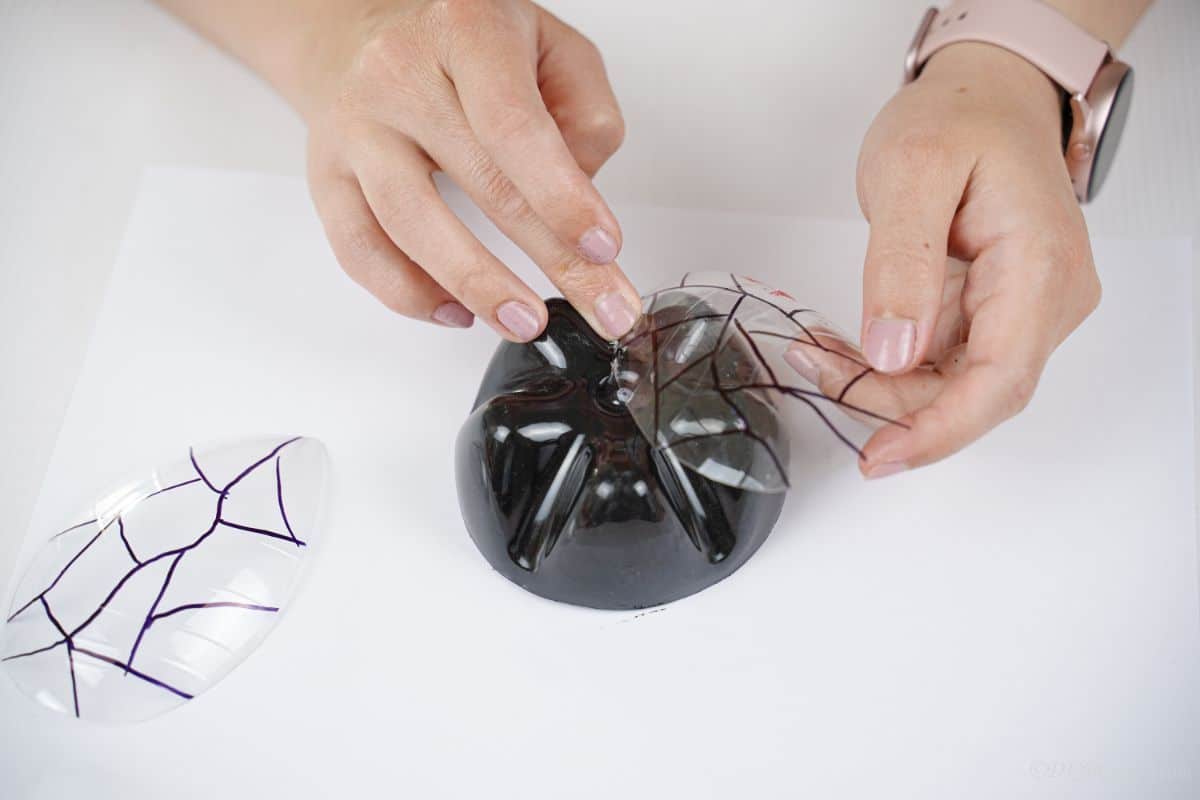
Now, begin assembling your ladybug by flipping the base of the bottle upside down so the bottom is facing upwards.
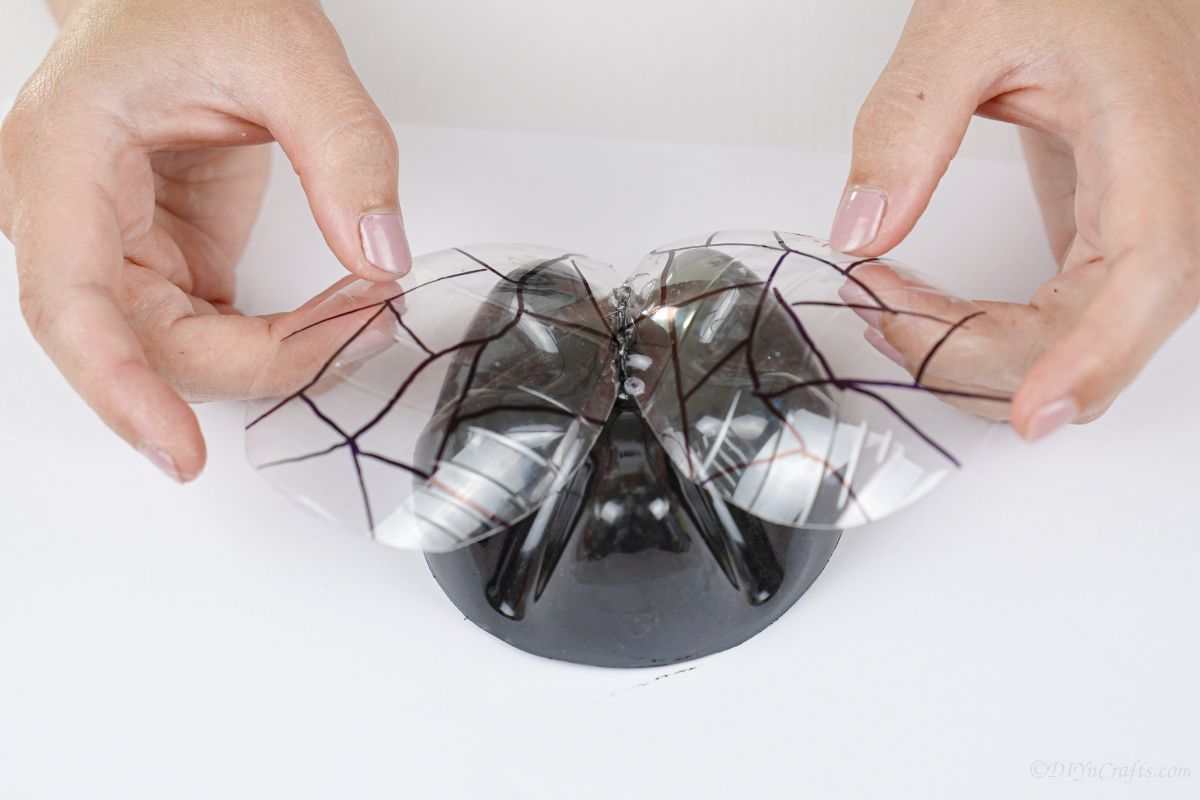
Then, glue the two clear pieces with just squiggly lines onto the top of this piece, with the ends glued to the front but the back edges lose.
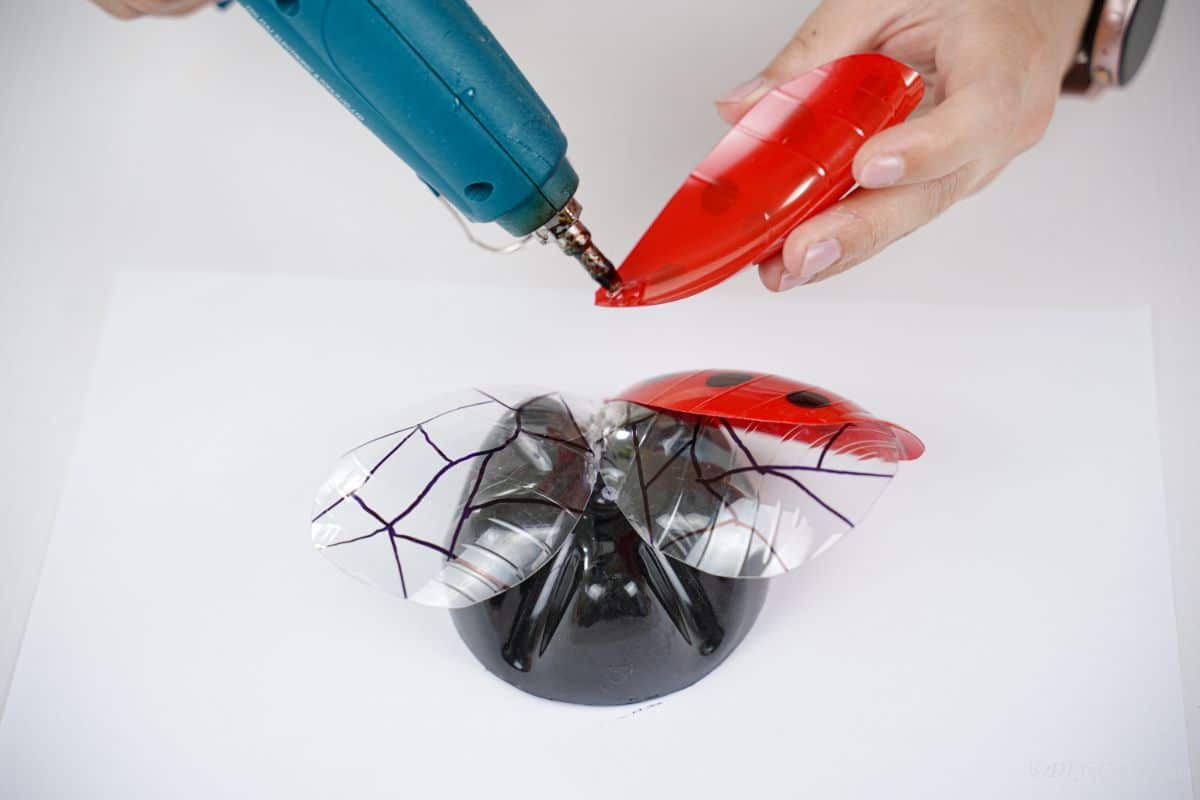
Next, glue the two red and black wings over the top of these, but at an angle, so all 4 wings are visible.
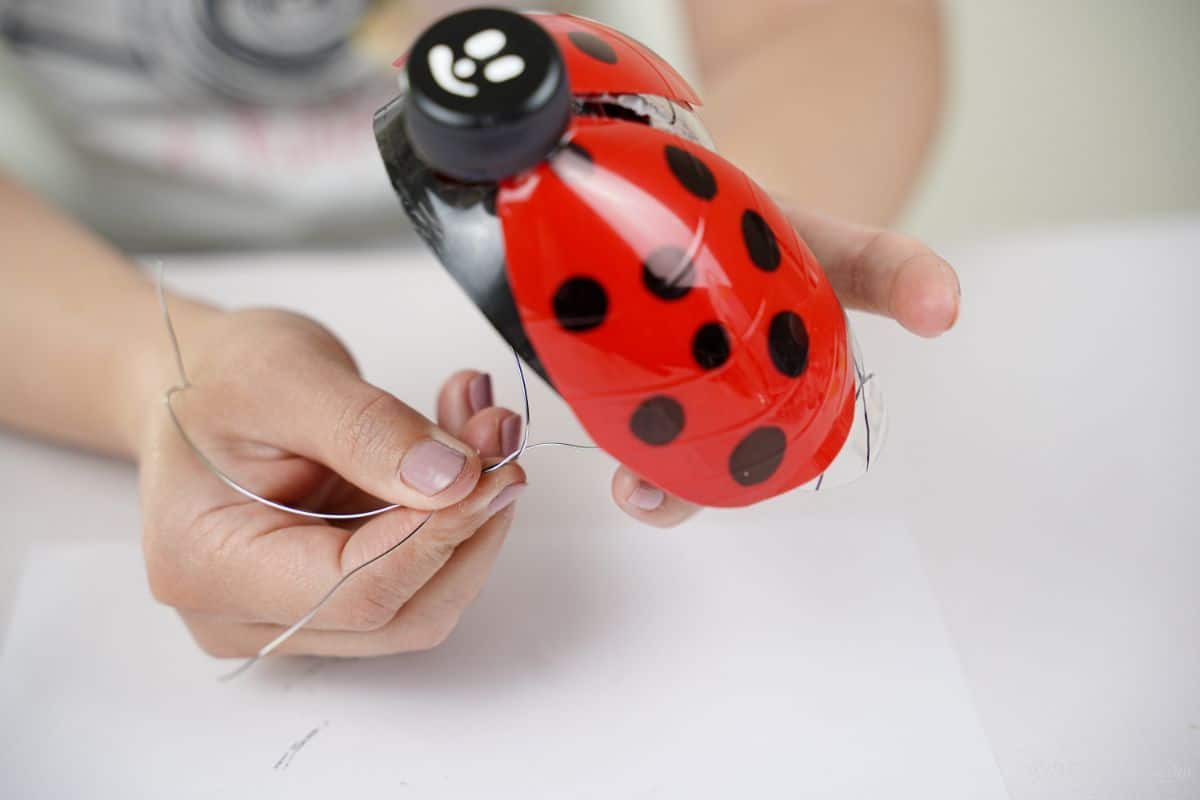
Glue the bottle cap face on the end of the bottle just below where the wings are, or over where they have been glued in place, depending upon your preferences.
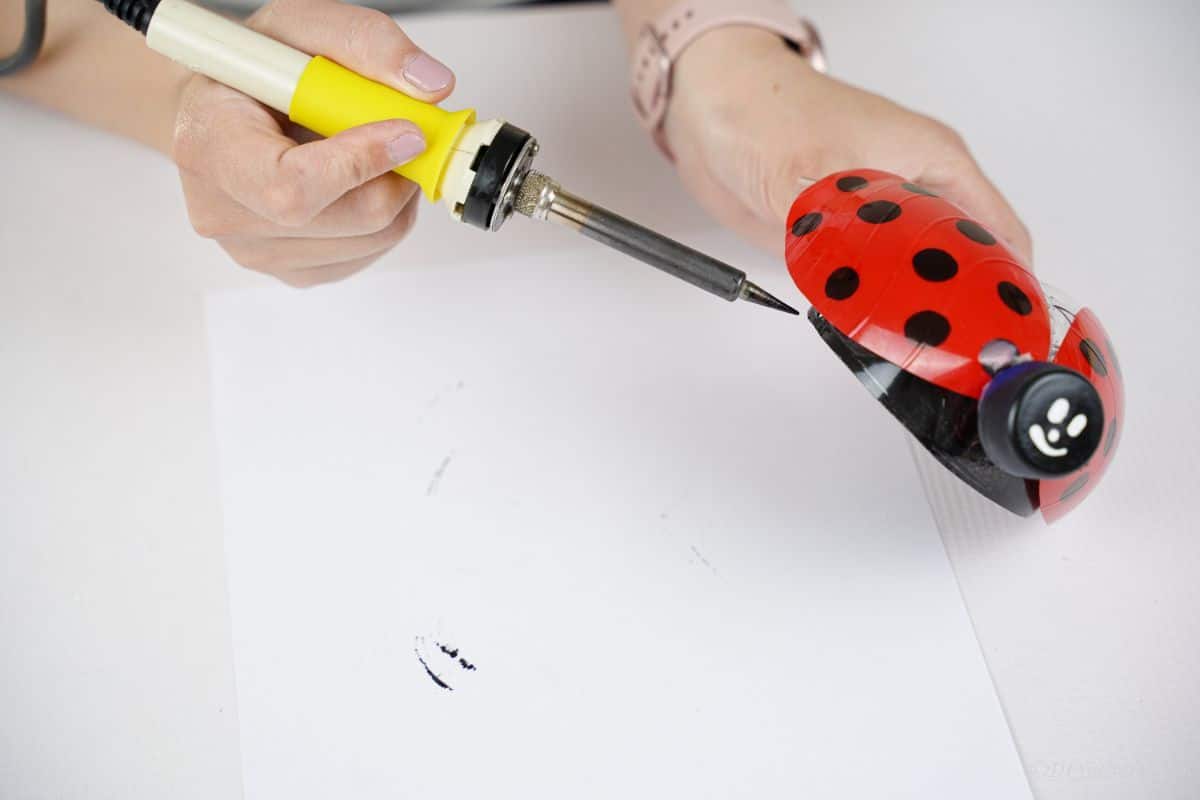
Lastly, use a soldering iron or a nail and a hammer to make a hole on each side of the black base.
Thread the wire through those and twist it together in the middle. This is used to attach the ladybug to a tree, shrub, or branch.
You can make these in various sizes and decorate all over your shrubs, next to your potted plants, or even use as part of a holiday centerpiece.
More Easy Ladybug Crafts
If you happen to be like me and absolutely love these adorable little black and red critters, then you'll love the ideas below. There are tons of great ideas here to use both inside your home and outside in your garden. Make sure that you bookmark these ideas, print out the tutorials, or even pin them to Pinterest.
- Adorable Upcycled CD Ladybug Kids Craft Idea
- DIY Hand Painted Ladybug Stones for the Garden
- Cute Upcycled Bowl Ladybug Decoration
- Creative Repurposed Tin Can Ladybug Desk Organizer
- Cute DIY Upcycled Flower Pot Ladybug
Upcycled Plastic Bottle Ladybug Garden Decor
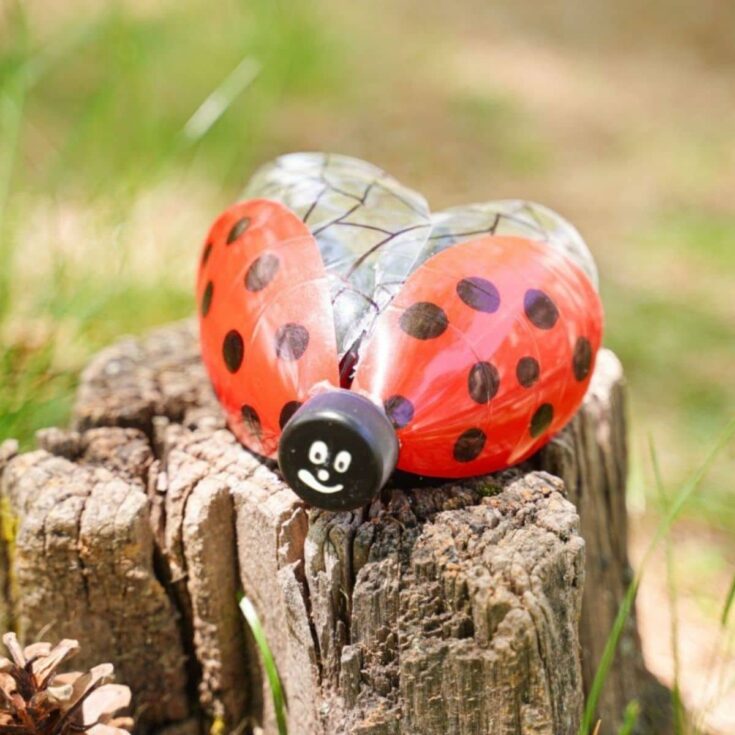
Turn old empty bottles into adorable ladybug garden decor that is simple, beautiful, and ideal for showing off inside and outside your home!
Materials
- Empty plastic bottle
- Red spray paint
- Black spray paint
- Black marker
- White craft paint
- Jewelry wire
Instructions
- Cut the base/bottom ¼ of the water bottle off and set it aside.
- Now, use scissors to cut up from the bottom, all the way to the neck of the bottle.
- Then cut around the neck of the bottle, putting the lid aside.
- Out of the bottle, cut out 4 oval shapes around 3" long and 2.5" wide.
- Spray paint the base of the bottle you set aside earlier, and the bottle cap, in black paint. Set it aside to dry.
- Now, use the black marker to draw wiggling lines over two of the wing ovals you cut out.
- On the other two ovals, draw black circles and fill them in to create the ladybug spots.
- Then, spray the back side of the two ovals with dots, with red paint and set them aside to dry.
- While this dries, use a white paint or paint pen to create a face on the bottle cap.
- Flip the bottle base over so the bottom is facing upward.
- Glue the two clear pieces with lines at angles on the top of this.
- Then glue the two red and black wings at angels on top of these, on the front of the ladybug base.
- Then glue the bottle cap face to the end to cover where the wings are connected.
- Now, use a soldering iron to create a hole on the black base on both sides.
- Thread the jewelry wire through these and twist in the middle. Use this to attach the ladybug to a branch or shrub outside.
Notes
You can make these with red and black, yellow and black, pink and black, or any other color combination you prefer.
Recommended Products
As an Amazon Associate and member of other affiliate programs, I earn from qualifying purchases.
-
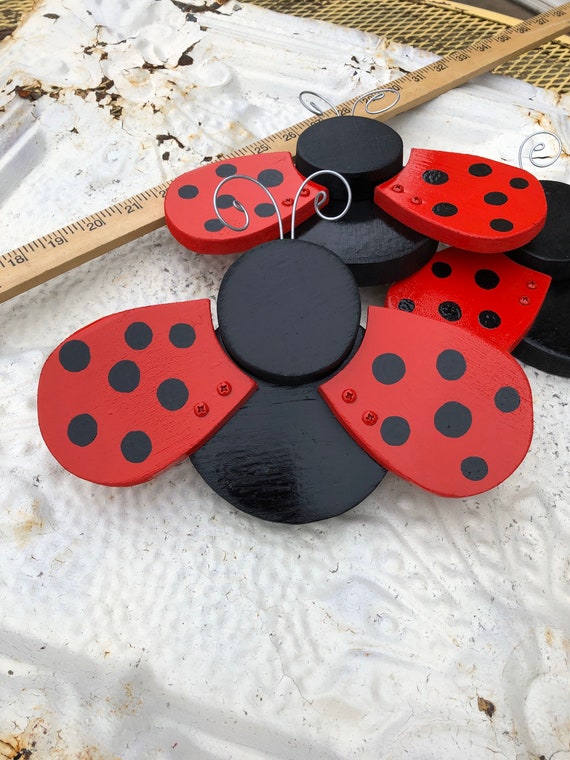 Whimsical Wood Ladybug Art Folk Art Ladybug Yard Art Garden | Etsy
 -
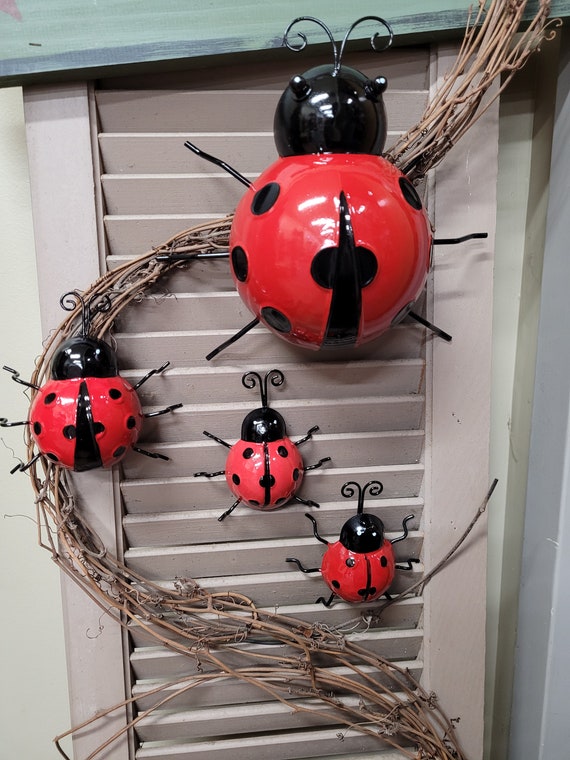 Metal Ladybug Garden Decor/set of 4 | Etsy
 -
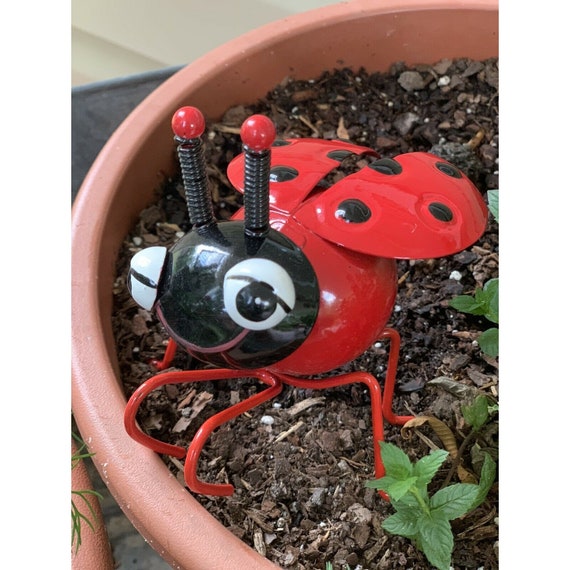 Yard Metal Sculpture Small Red Ladybug WHIMSICAL Garden Statue | Etsy
 -
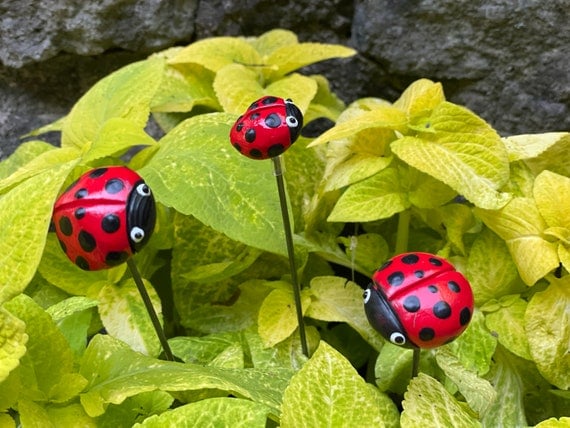 3 Ceramic Ladybug Garden Stakes Garden Stakespotted Plants | Etsy
 -
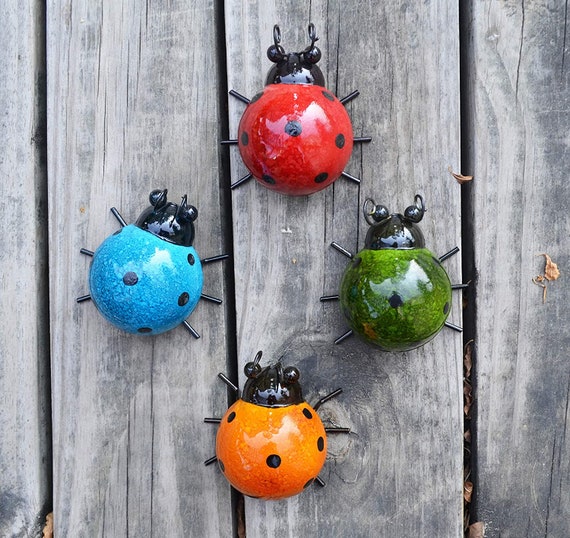 Colorful Ladybug Garden Decor Fence Hanging Decoration | Etsy
 -
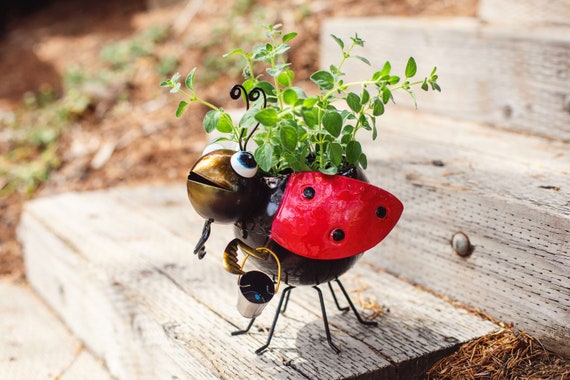 Unique Planter Whimsical Metal Ladybug Succulent Pot for | Etsy
Finished Project Gallery
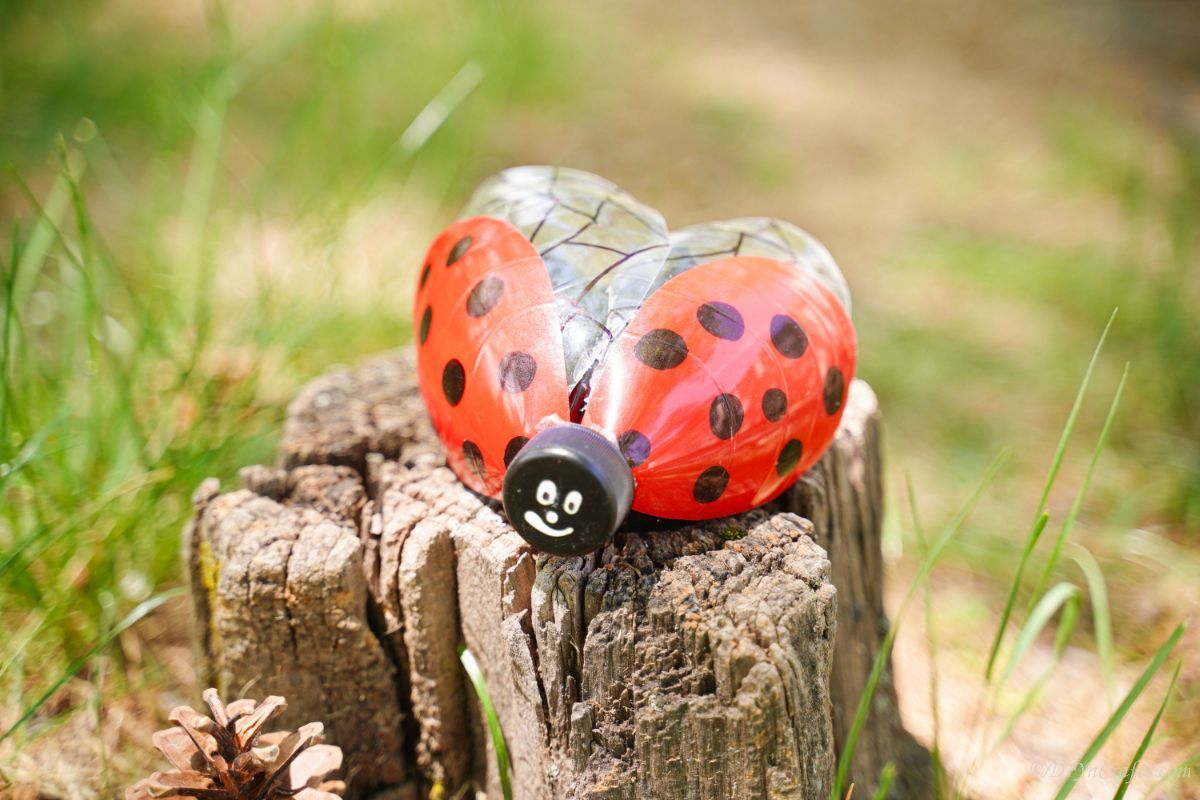
This is a great addition to any garden or even inside on a shelf with potted plants.











Mariëtte
Don't know what I can do with plain colour fabric that needs overlocking as it it raffles