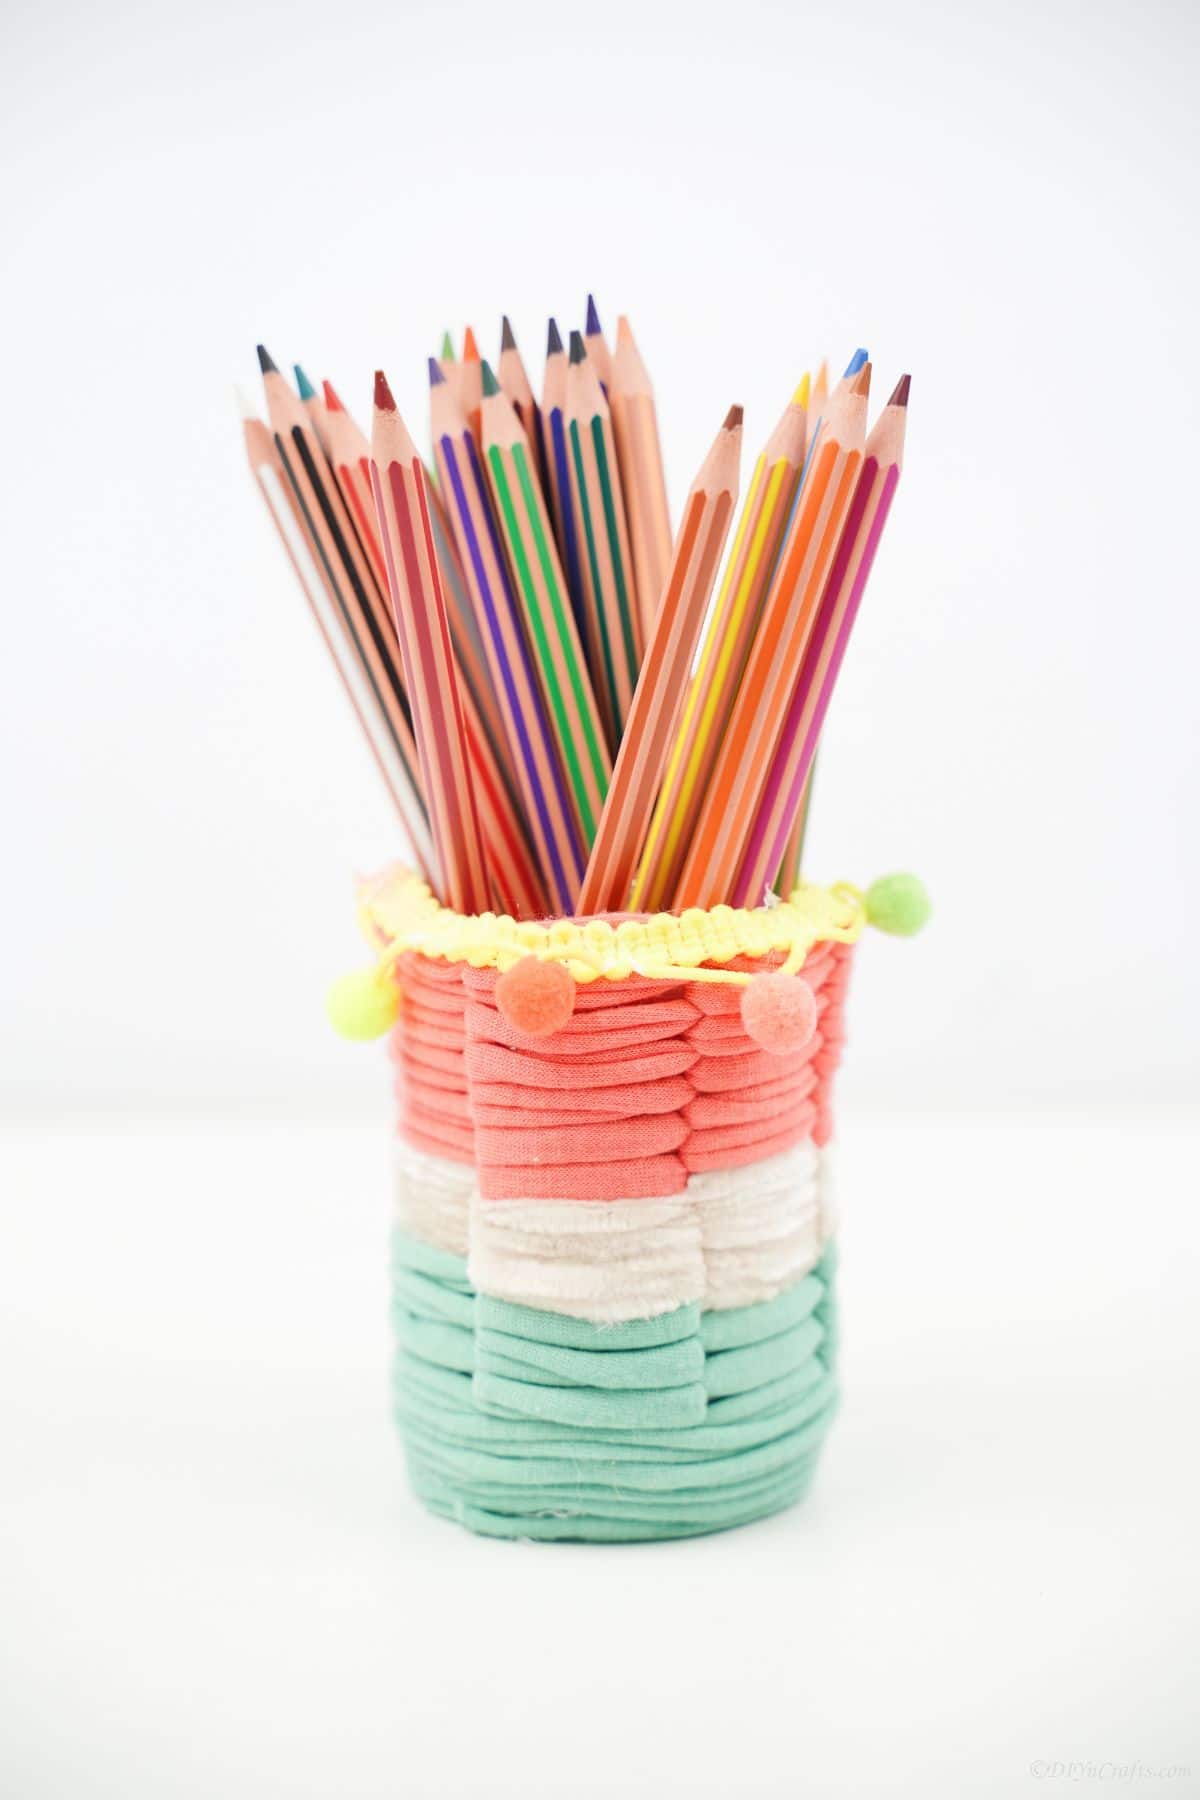
Looking for a fun and easy way to organize your desk? Check out this great DIY project – a pencil holder made from a plastic bottle! This holder is super easy to make, and it’s a great way to recycle those plastic bottles that would otherwise end up in the landfill. Plus, it’s a great way to add some personality to your desk. Get creative and use your own preferred colors to make it unique for your workspace.
Pencil Holder from Plastic Bottle
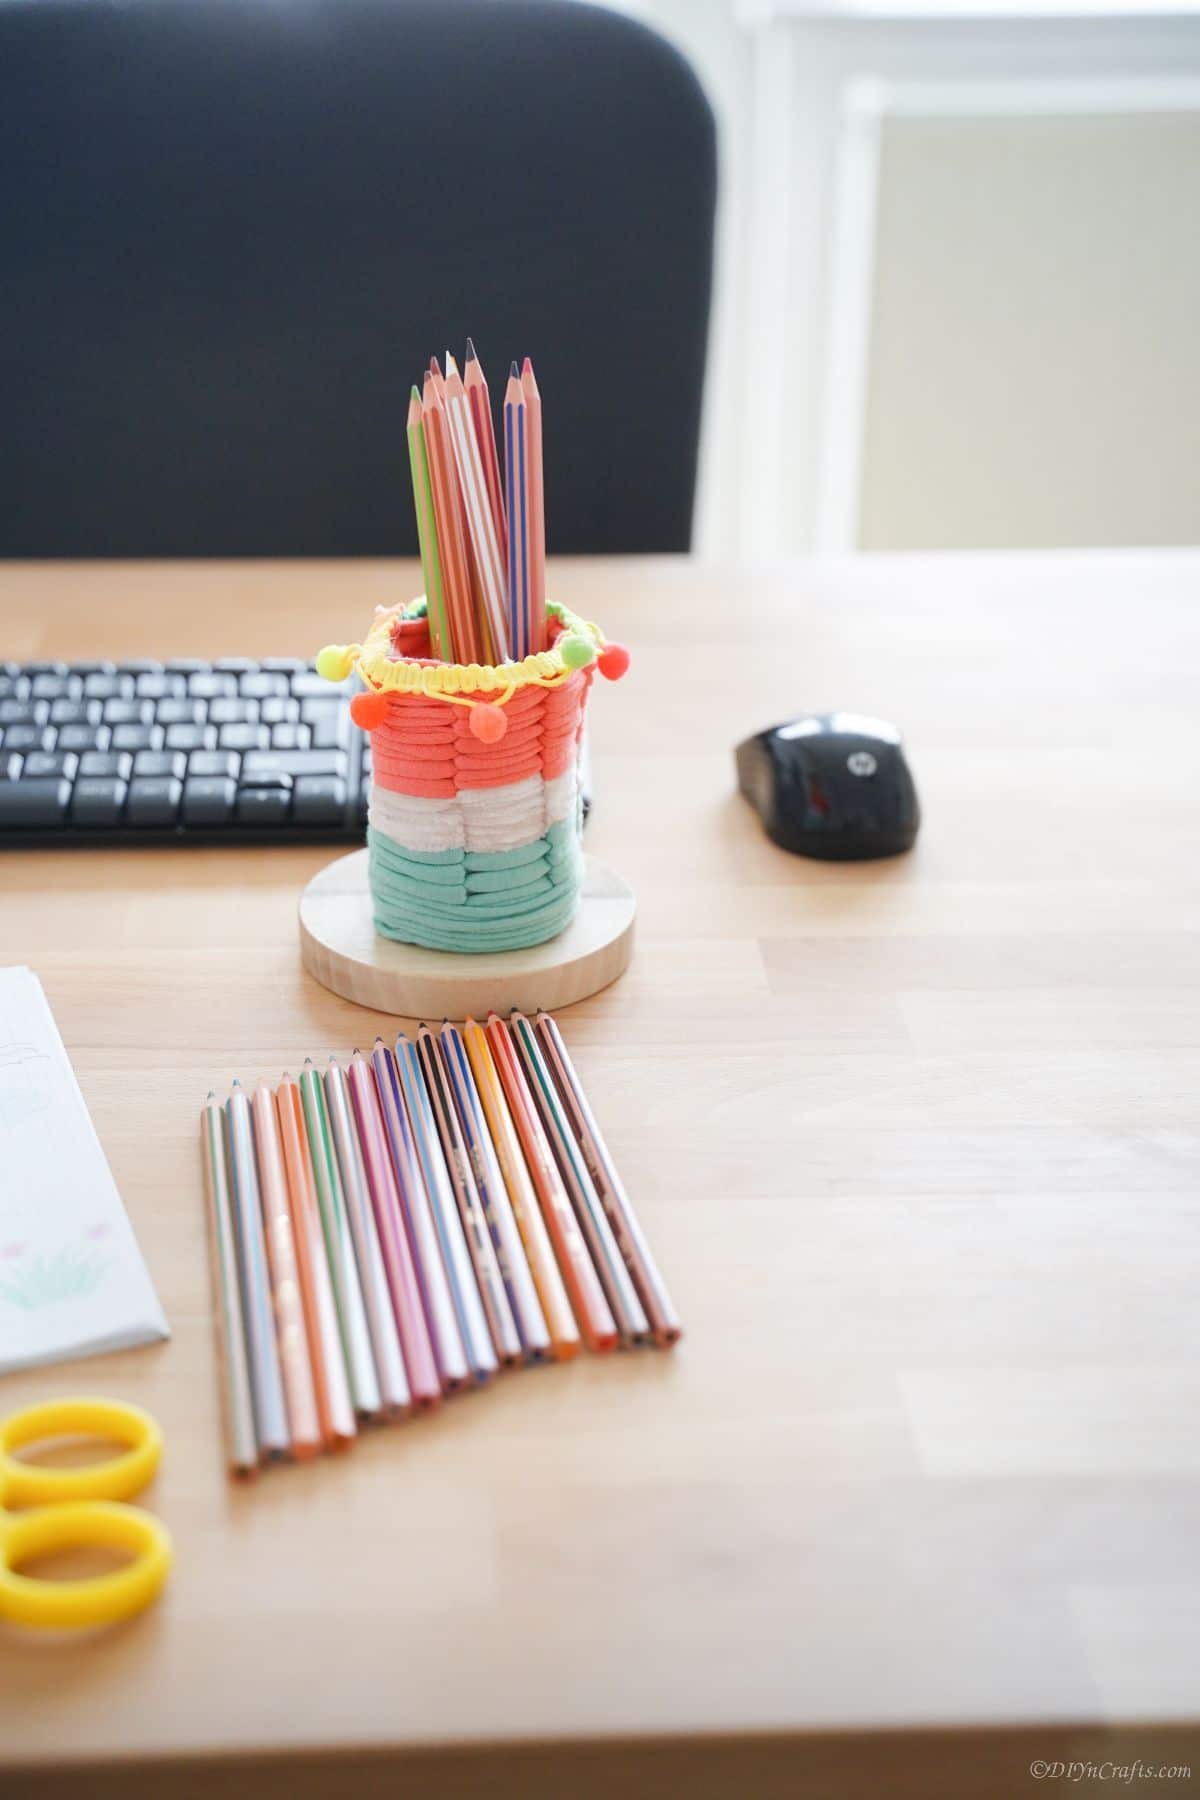
This plastic bottle pencil holder is a perfect solution when you have a desk that feels cluttered with pens and pencils lying around. Since it is made out of recycled materials and scrap crafting supplies, you can feel good about using this instead of buying fancy desk organizers.
This simple project is also a great idea for kids to help you make. It can teach them about weaving and is excellent for that hand/eye coordination we always want to make sure is strong. If you want something a bit easier to make, you could also get little ones to craft alongside you and make something like this fairy garden house from a plastic bottle instead. Still crafting and upcycling, but a bit easier for them to manage.
What can I Cover the Bottle With?
When you are covering the bottle, you can use almost anything you have. I am using a thick cloth yarn that is super soft. You can use traditional yarn, rope, twine, ribbon, or even just cut strips of fabric. I've seen rolled newsprint and rolled magazine pages used for something like this as well.
You can always go back to things from childhood and use old sheets, t-shirts, or dish towels that are torn or stained and cut them into strips to tie together and use to weave around this pencil holder. Just have fun and make it unique to your personality.
What can I Use This For?
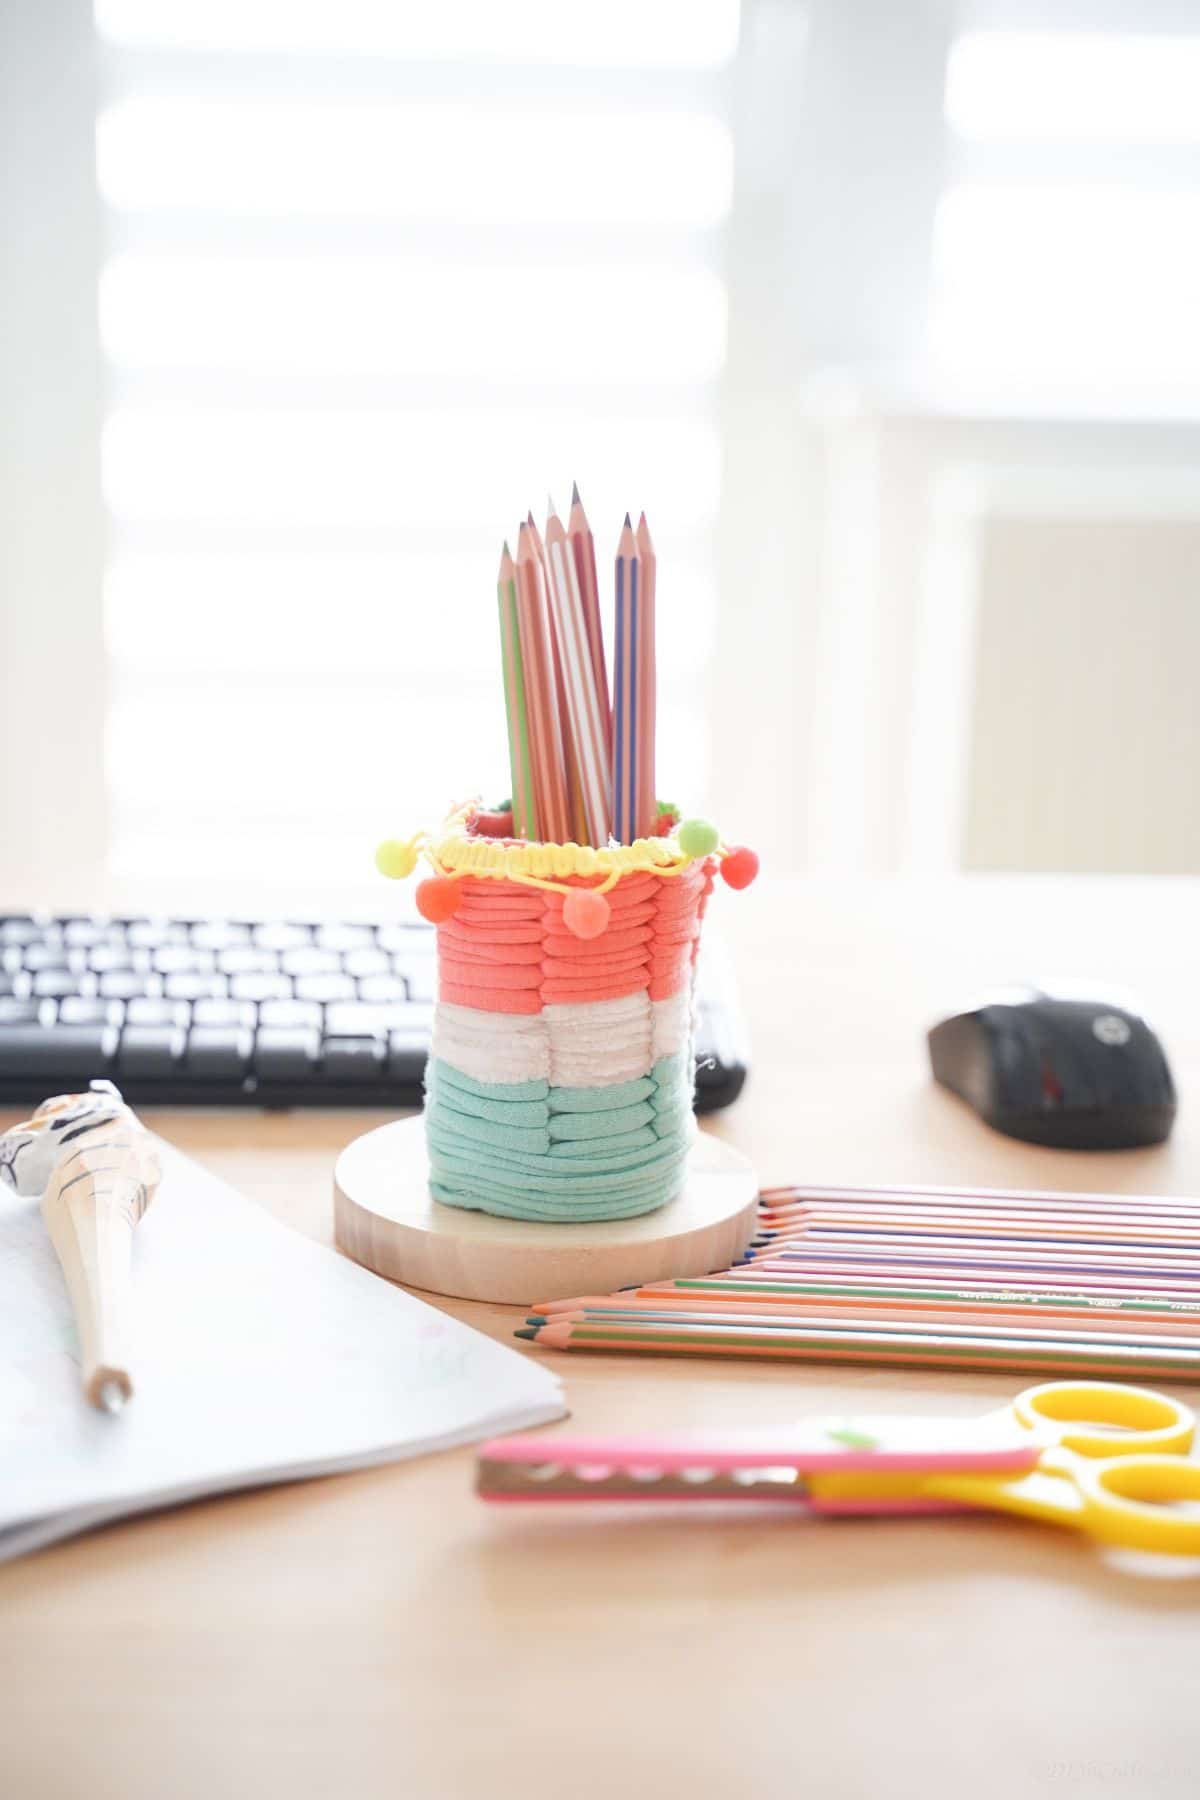
This pencil holder can be used for other things and not just for a pencil holder on your desk. You can also use this holder to organize your office supplies. It can hold scissors, paper clips, and other things that you need to have close at hand when you are working.
Outside of the office, it can be used to hold utensils and other kitchen tools. It's a great way to have plastic utensils handy on a picnic table for parties and events, and can easily be customized to suit a party color or theme. It can also be used to hold makeup brushes, paintbrushes or other art supplies.
This holder can even be used to hold plants. As a plant holder, you can use it with artificial plants or with live ones, but if using live plants, make sure you have holes in the bottom for drainage. It's a great way to customize your desk without spending a lot of money!
How Do I Keep There From Being Sharp Edges?
Whenever you cut plastic, it will cause sharp edges. Most times, these edges will not cut you but you don't want to take the chance. To get rid of the sharp edges, you can use a lighter and run the flame along the cut edges. This will melt the plastic and create a smooth edge.
Another popular option you can also use is to smooth the edges with a piece of sandpaper. Just make sure you only sand just enough to smooth it out and not make a hole or take away from the size of the bottle.
I have seen edges coated in hot glue to give a barrier, or like we show here, with a bit of ribbon or cloth. Other options include wrapping with electrical tape or washi tape. Of course, I like using something that will match the colors of the yarn, but you can do whatever works best for you.
Supplies Needed
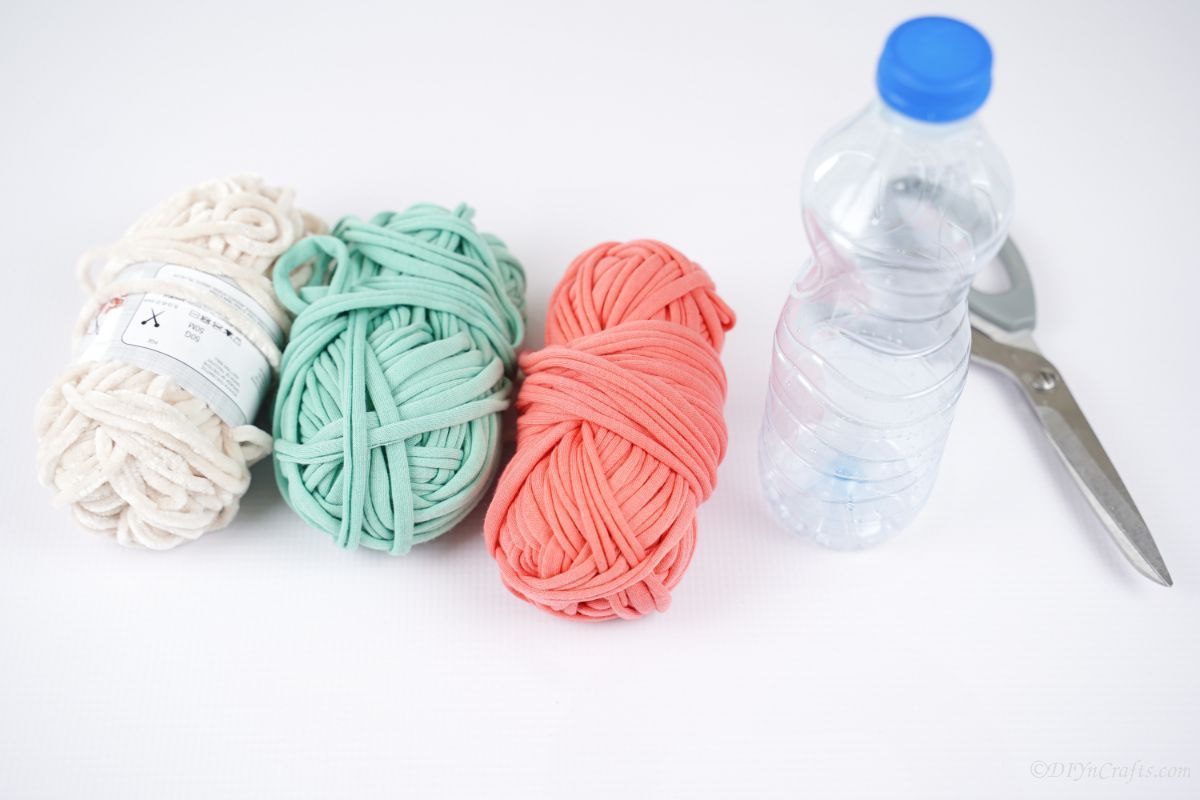
- Plastic bottle
- Pink yarn
- White yarn
- Light green yarn
- Yellow grosgrain ribbon
- Small multi-colored pom poms
- Scissors
- Hot glue gun
- Hot glue sticks
How to Make a Plastic Bottle Pencil Holder
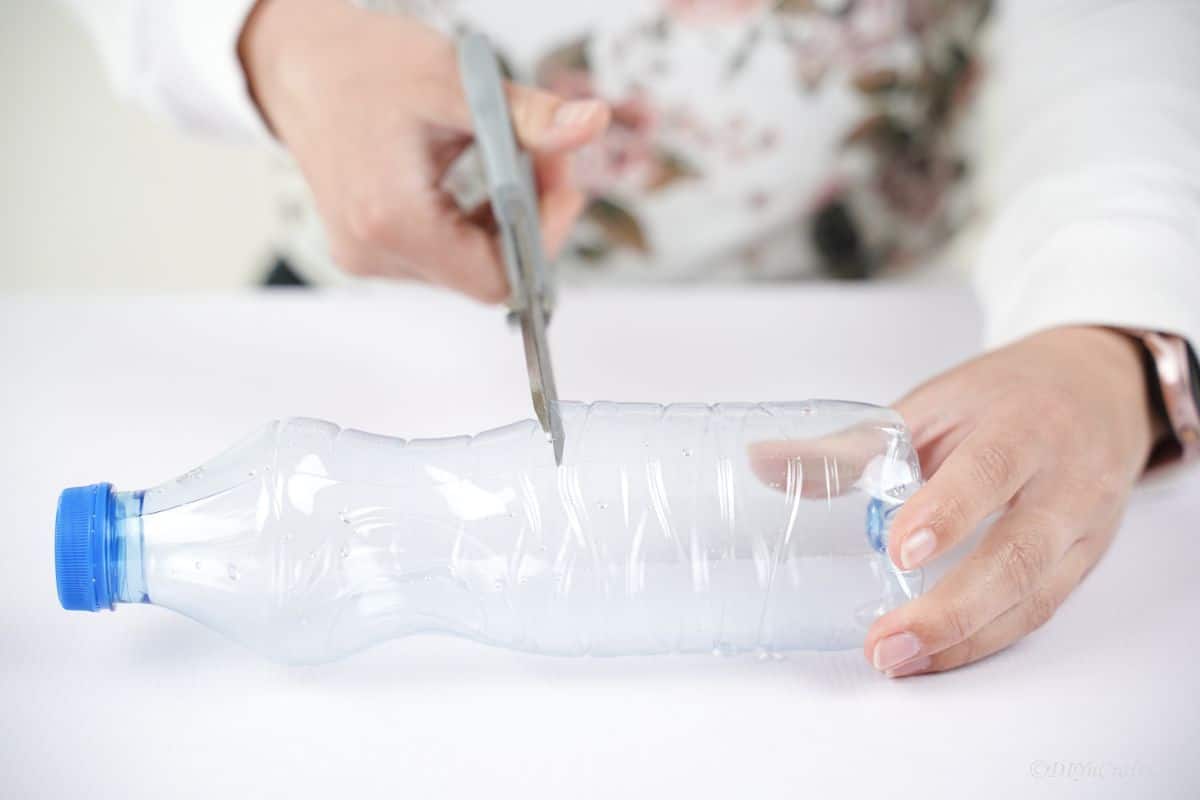
Wash the bottle well, then remove any labels or glue and allow it to dry completely before beginning your project. Once ready, cut the bottle in half and discard the top neck/opening end of the bottle. You will just be using the base for this project.
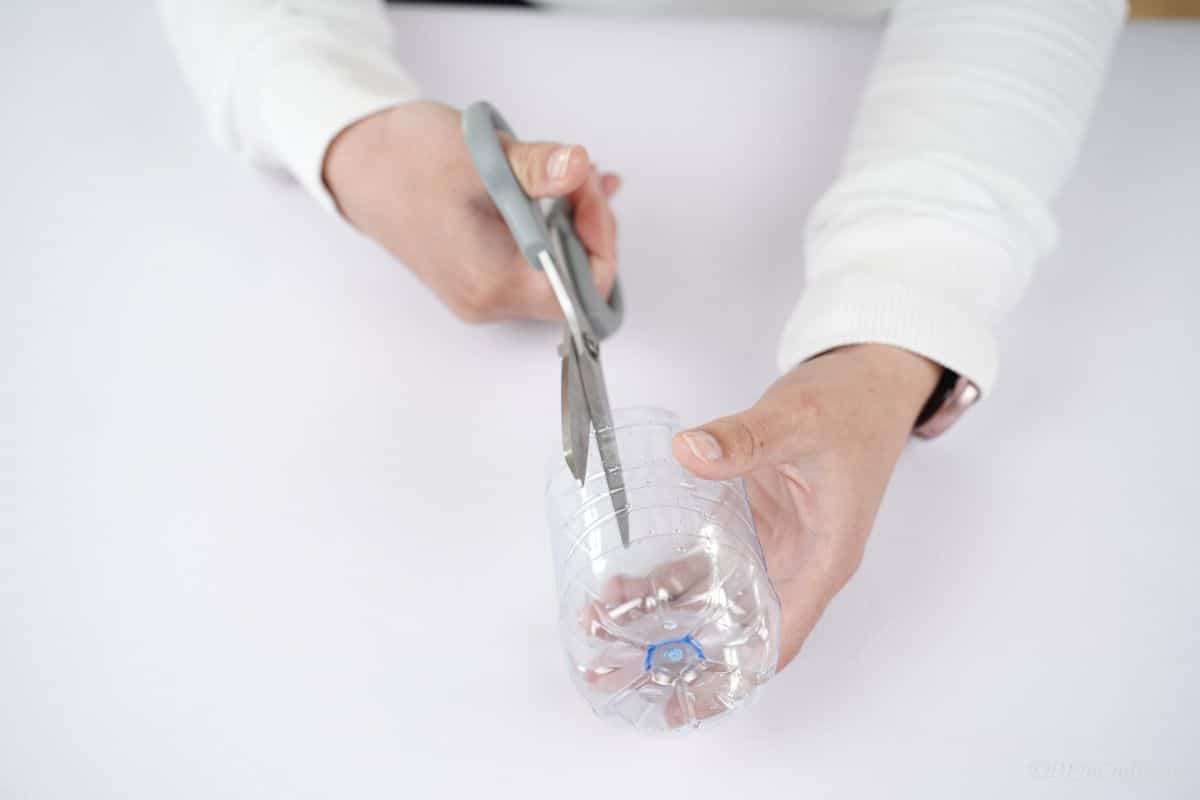
Now, on the top edge of the bottle, cut down to the base every 1". Do not cut completely through, but leave the bottom of the bottle intact. You want to create flaps around the outside but keep the structural integrity.
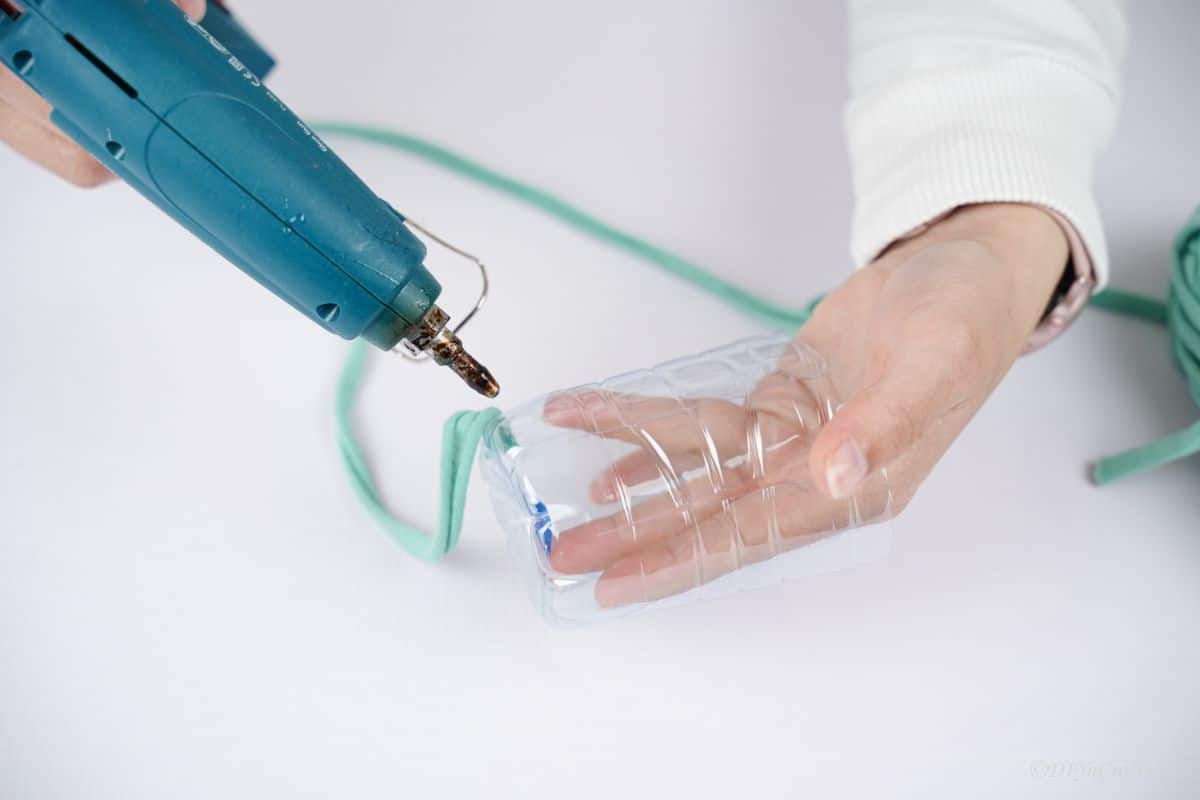
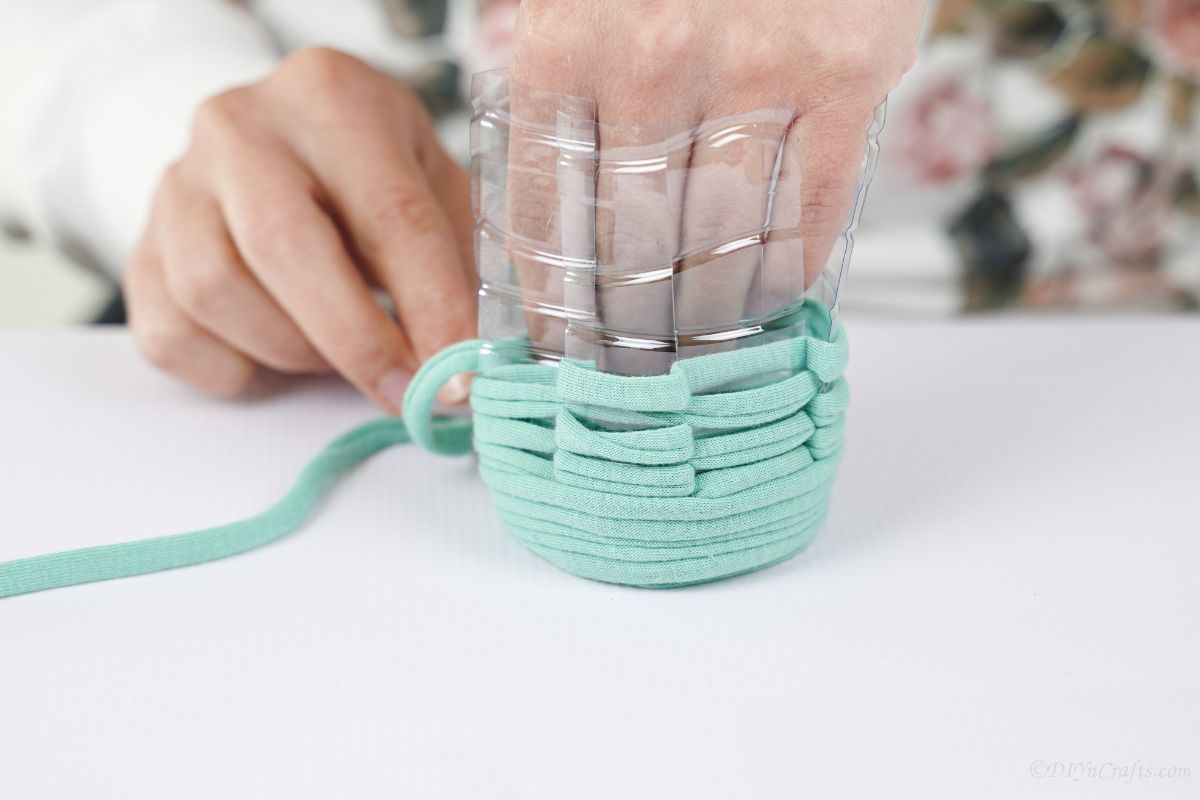
Starting on the bottom edge, where the end of the slit, glue your first color of yarn in place.
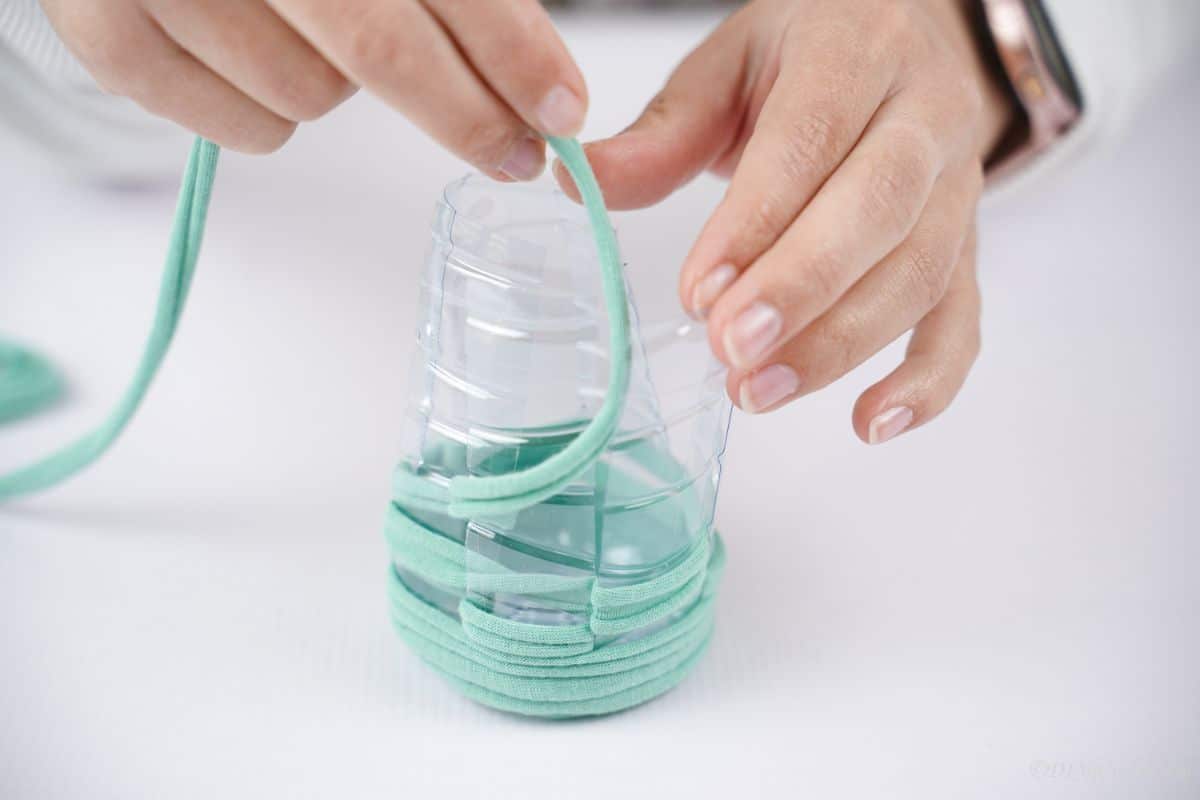
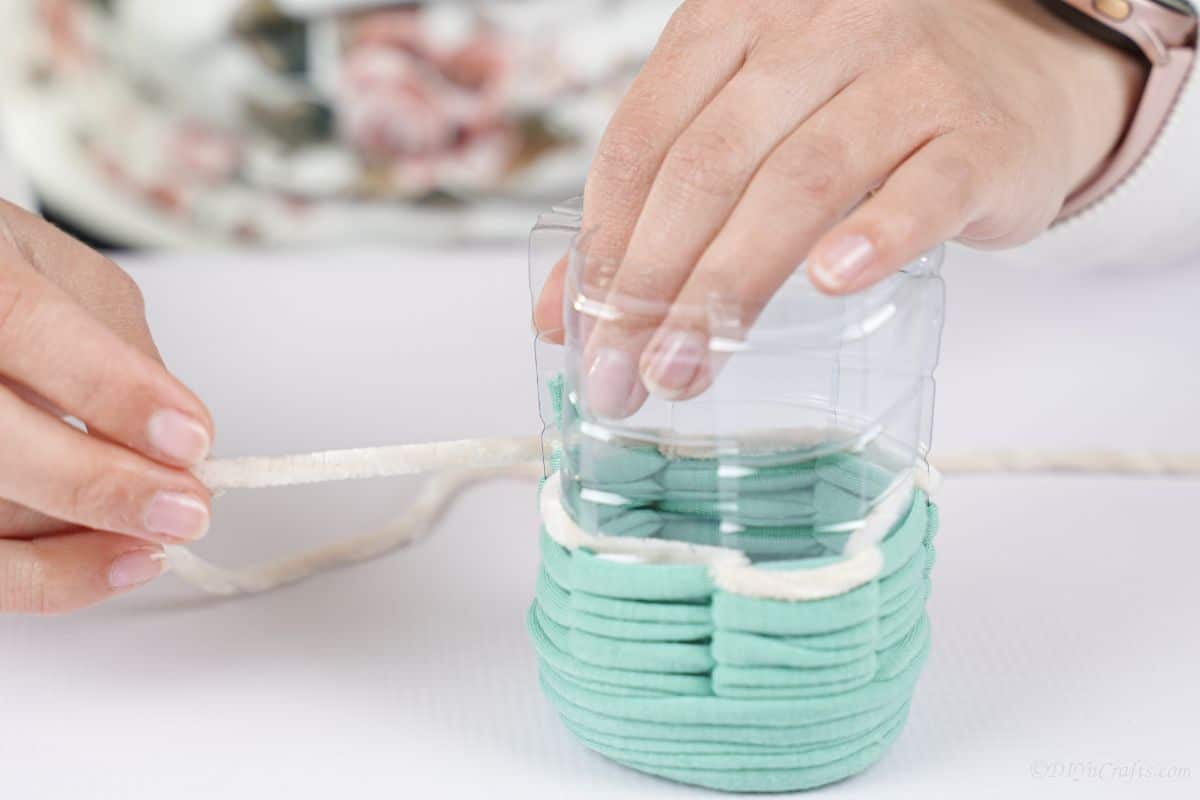
Now, go back and forth, inside and outside the flaps. You will continue this weaving process until you've covered around ⅓ of the bottle in that color.
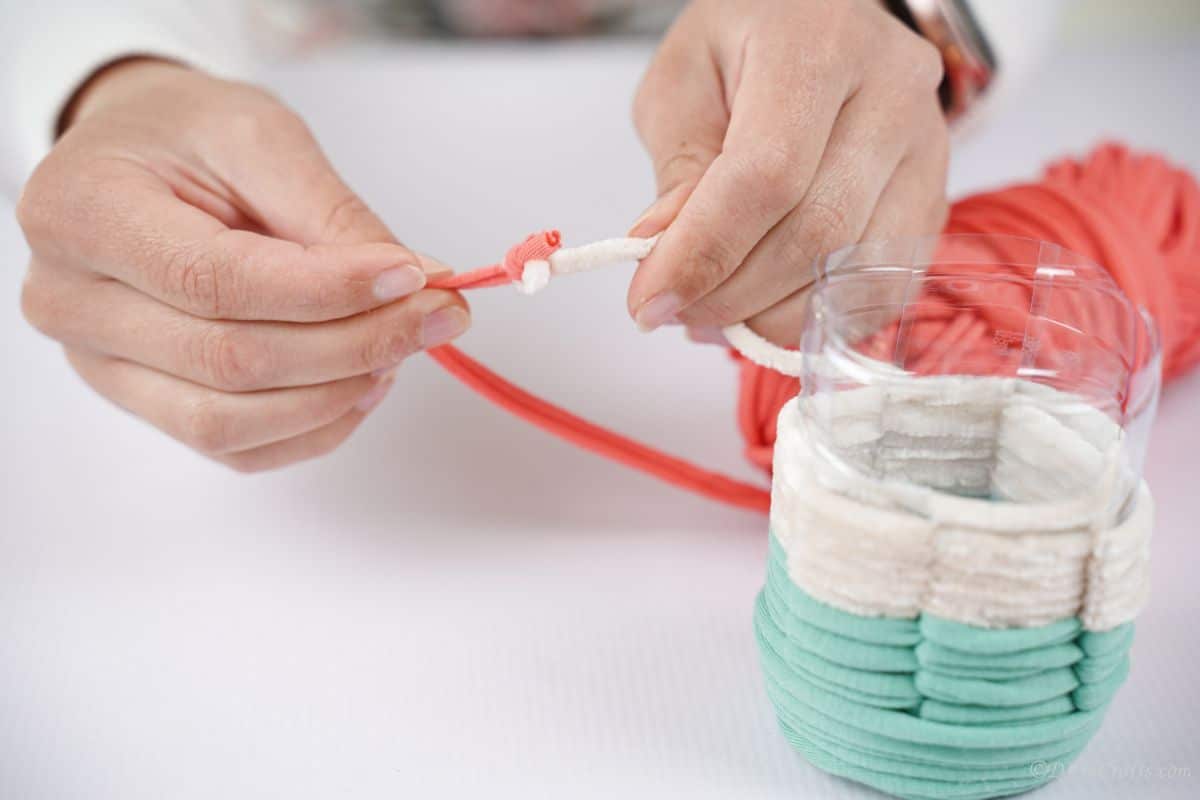
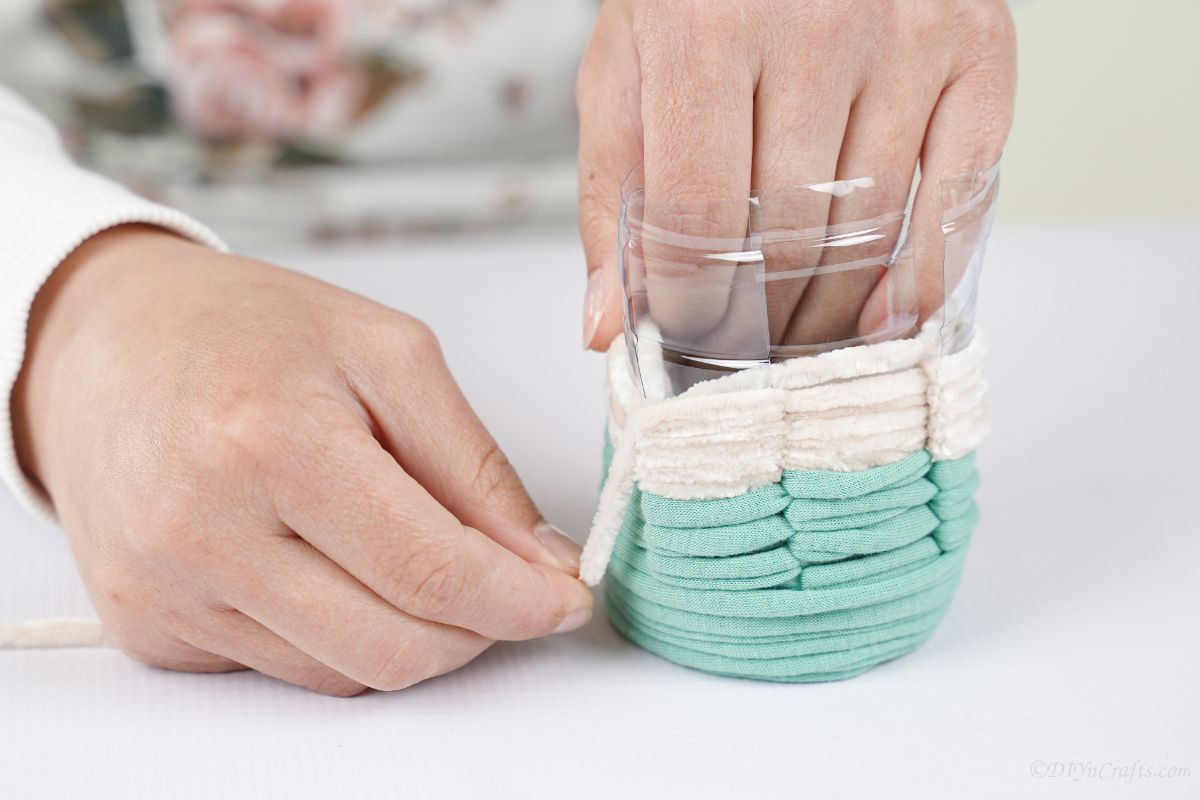
Then, tie it to your second color (mine was green, then white, then pink). Continue the weaving process for another ⅓ of the bottle.
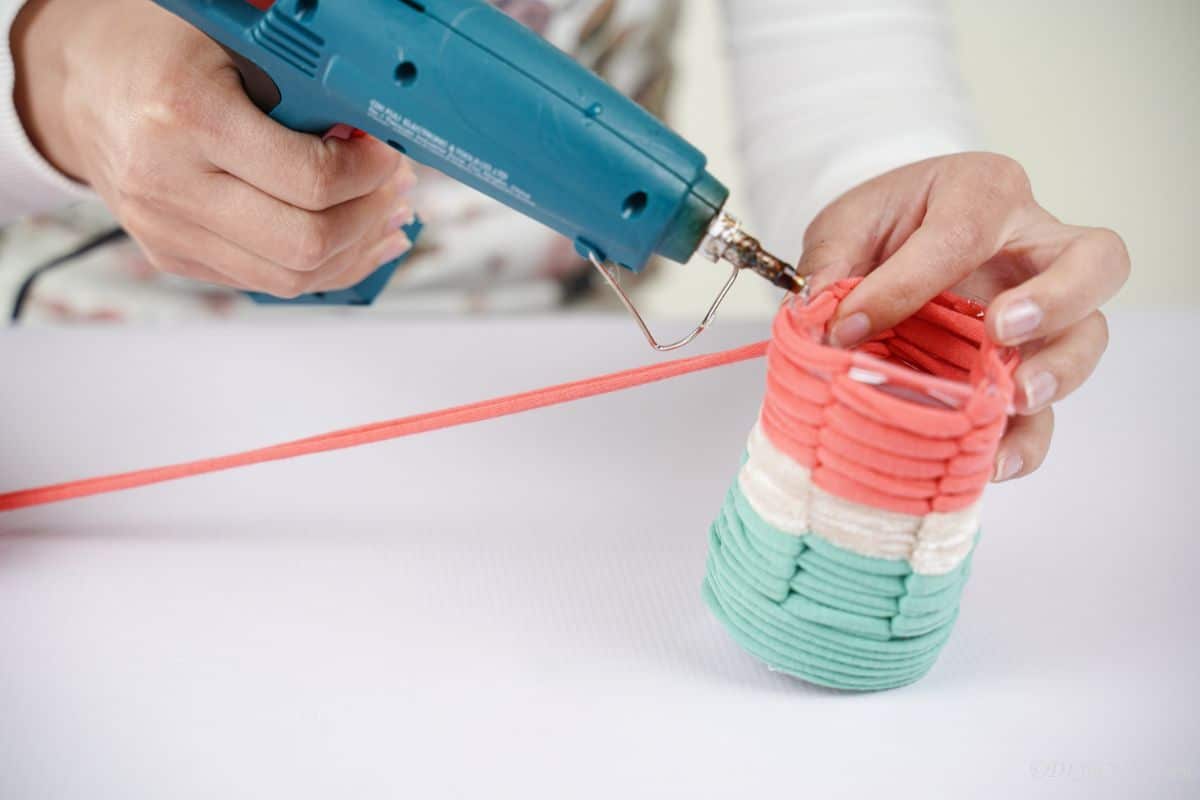
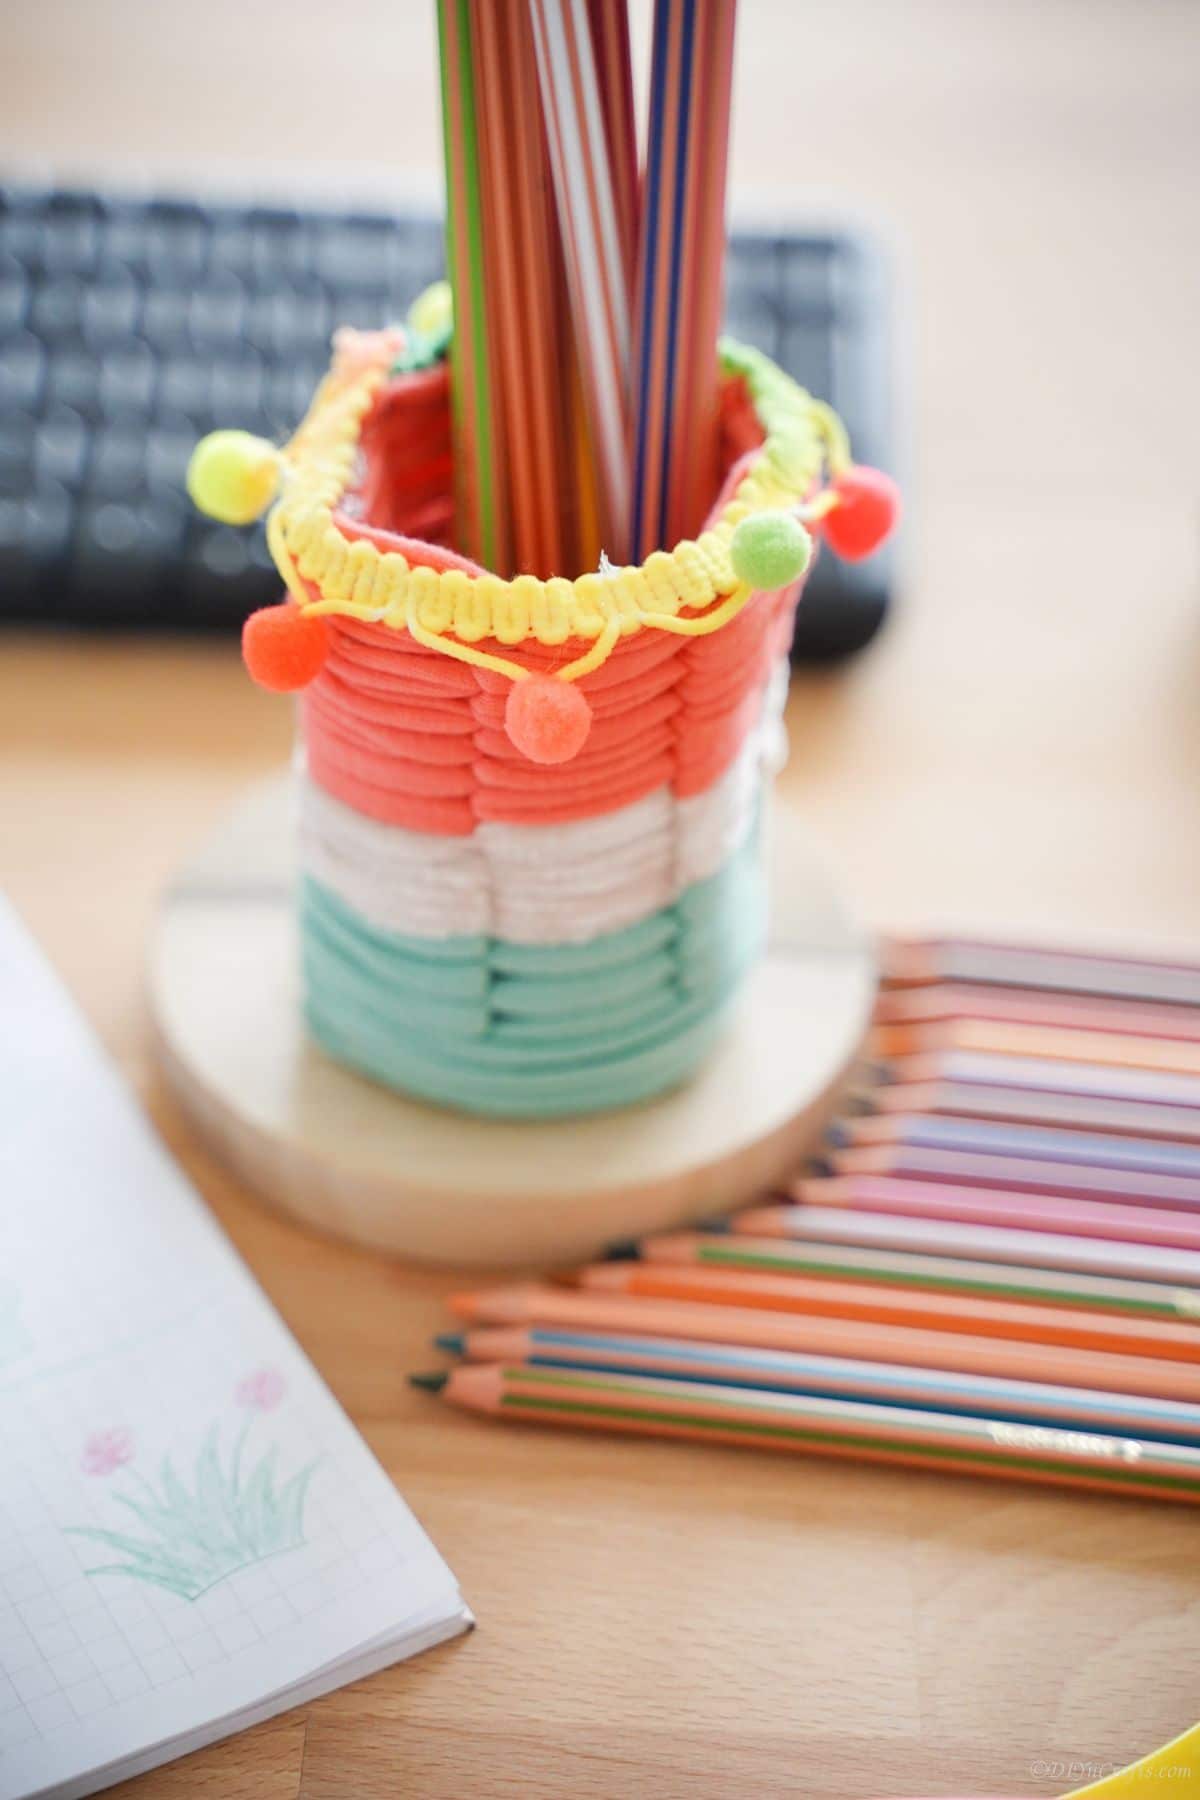
Finally, tie on the last color, and continue weaving it in and out until the bottle is covered with the yarn. This gives a lovely crocheted look without difficulty.
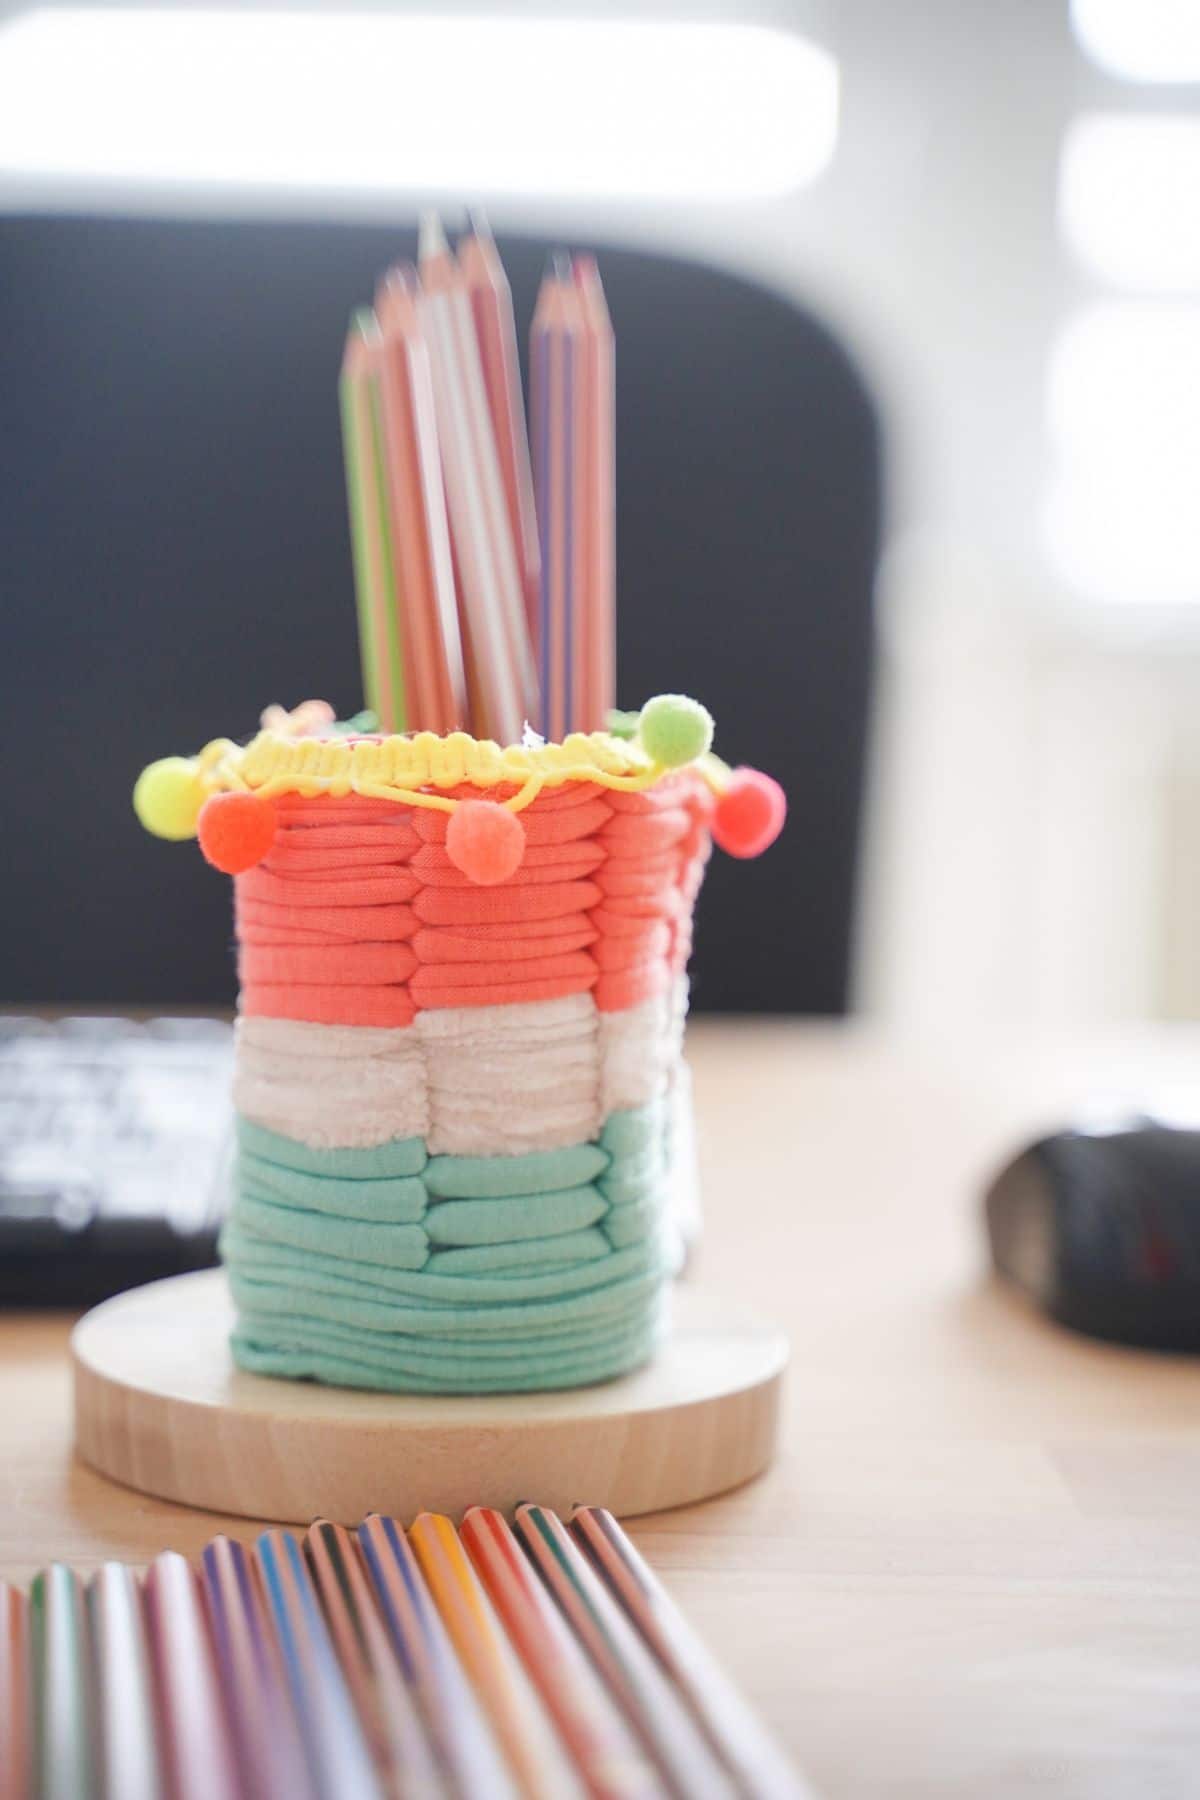
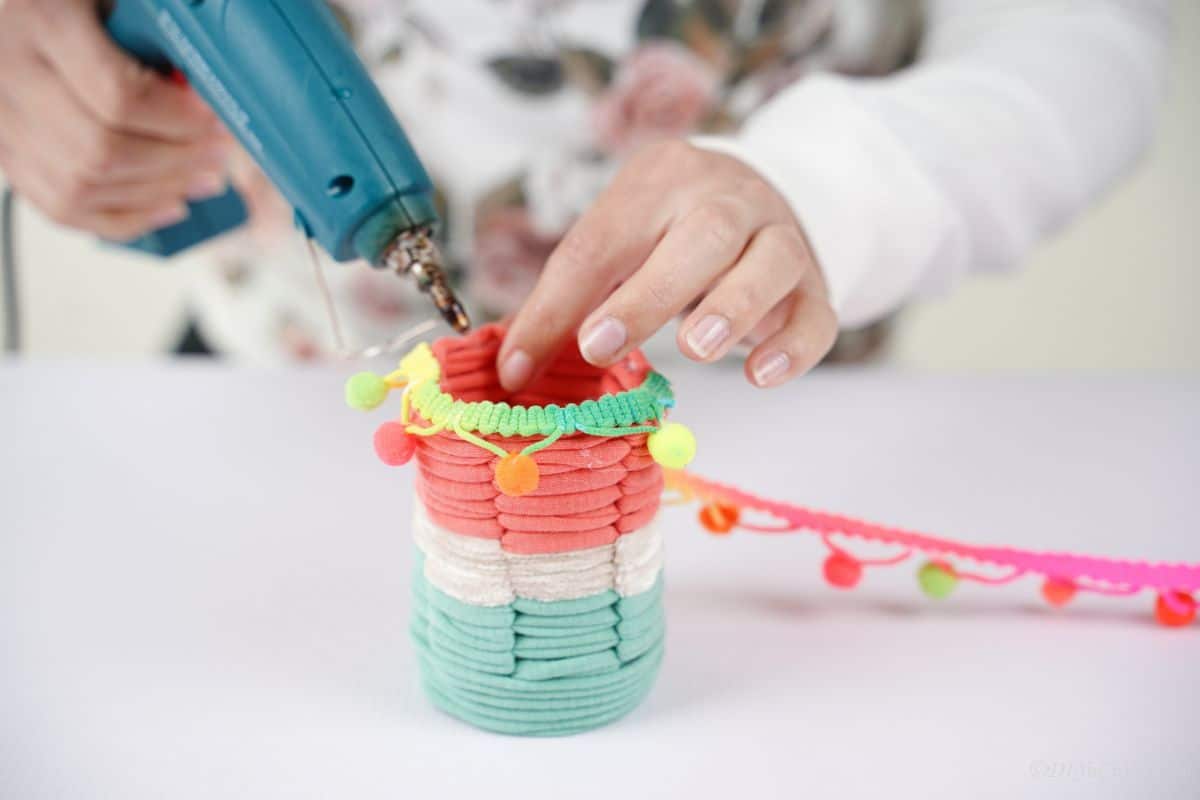
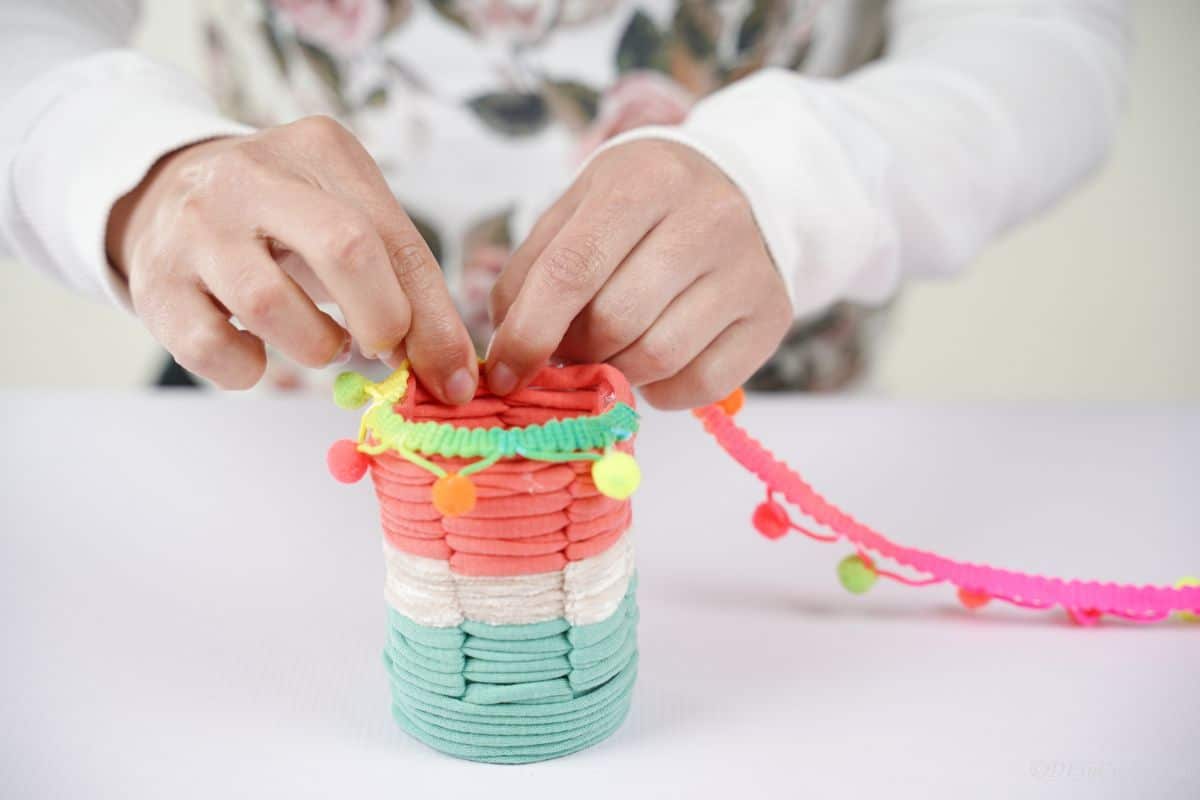
Next, glue the grosgrain ribbon or whatever edging you choose, around the top of the bottle. Add pom poms to the sides, beads, or other embellishments if desired.
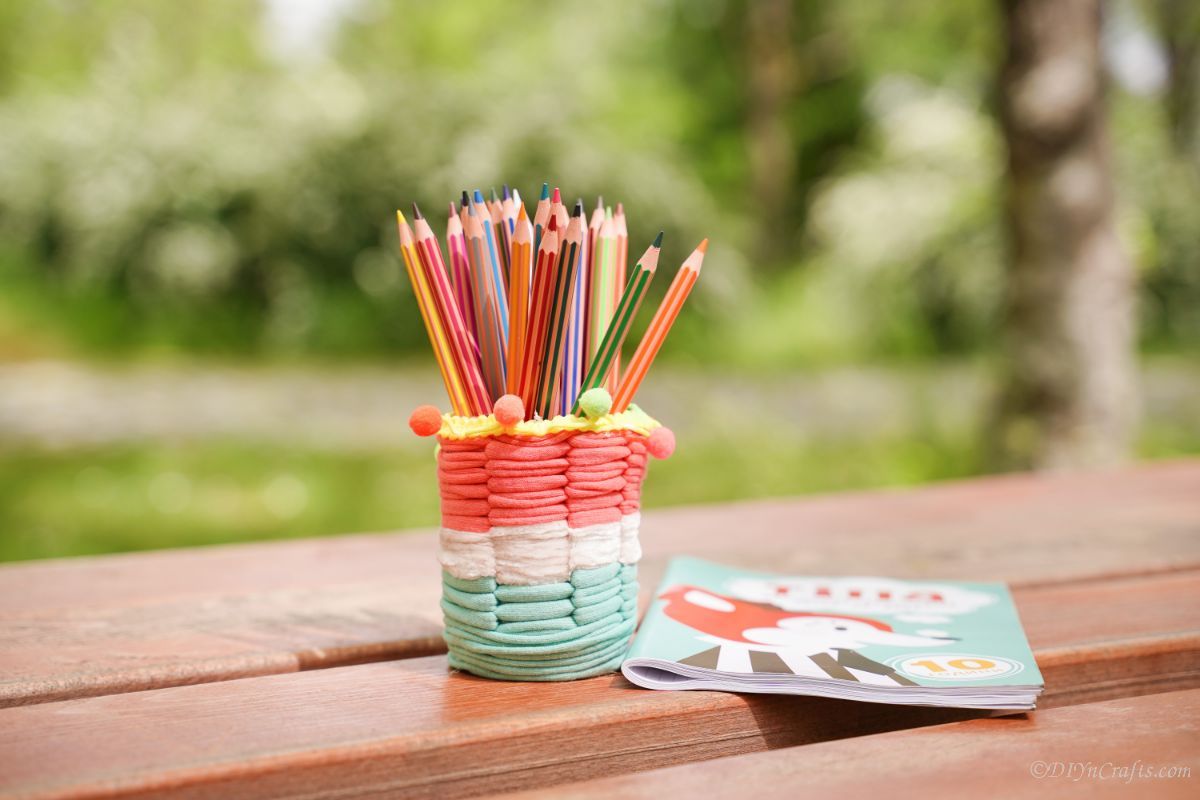
Now your pencil holder is ready to display and be used!
More Easy DIY Pencil Holders
I am all about organizing, well, pretty much everything in my life. My desk has multiple pencil holders, baskets, and trays to help me stay on top of my latest projects and keep everything orderly. If you want to do the same, check out the ideas below! Make sure that you bookmark the idea, print out the tutorial, or just pin it to a crafting board on Pinterest to make it soon!
- Repurposed Tin Can Owl Pencil Holder
- Upcycled Shampoo Bottle Monster Pencil Holders
- Adorable Upcycled Tin Can Owl Pencil Holder
- Upcycled Milk Carton Desk Organizer
- Cute DIY Paper Straw Desk Organizer or Pencil Holder

Easy DIY Pencil Holder From Plastic Bottle
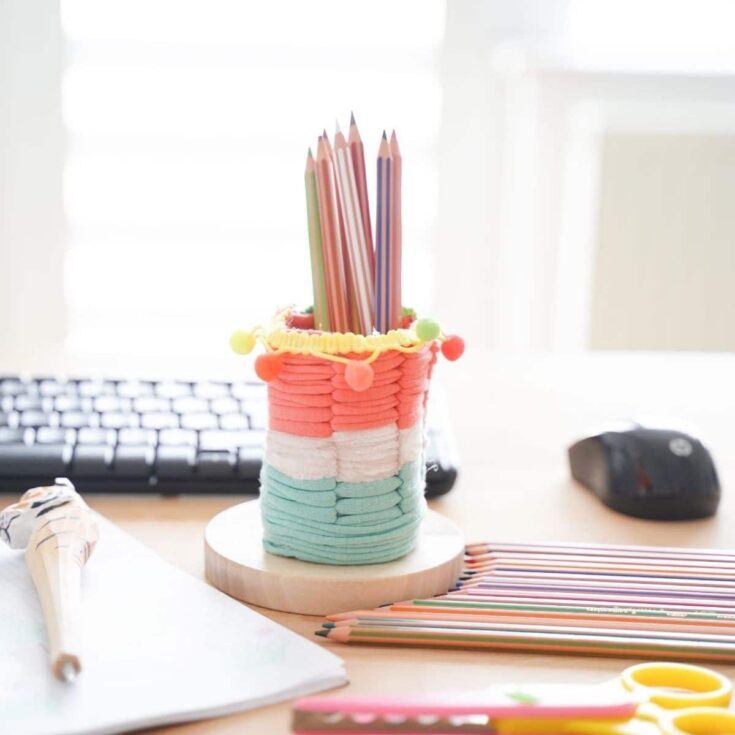
Make a simple DIY pencil holder from a plastic bottle and add unique decor to your desk that is practically free but still elegant!
Materials
- Plastic bottle
- Pink yarn
- White yarn
- Light green yarn
- Yellow grosgrain ribbon
- Small pom poms
Instructions
- Cut a plastic bottle in half and discard the top end of the bottle.
- On the bottle, cut around the top of the bottle, every 1" from the top to around 1" from the bottom of the bottle, leaving the bottle in tact at the base.
- Starting at the base of the bottle, glue the green yarn onto the bottle.
- Now, weave it back and forth going in and out of the bottle where you have cut it down.
- Weave the green yarn for 1 ½" to 2" up the bottle then cut the end and secure it with glue.
- Next, tie the white yarn to the end of the green, and continue doing this for another 1 ½" to 2" up the bottle.
- Tie the pink yarn to the end of the white, and continue the weaving process until the bottle is covered. Cut the end then glue in place on the edge of the bottle.
- Now, glue the yellow ribbon around the top edge of the bottle to cover any sharp edging. Then add on colorful pom poms along the edges of the ribbon as extra decoration.
Notes
Choose yarn, fabric strips, or ribbon for the cover on your bottle for best results and easiest process of weaving.
Recommended Products
As an Amazon Associate and member of other affiliate programs, I earn from qualifying purchases.
-
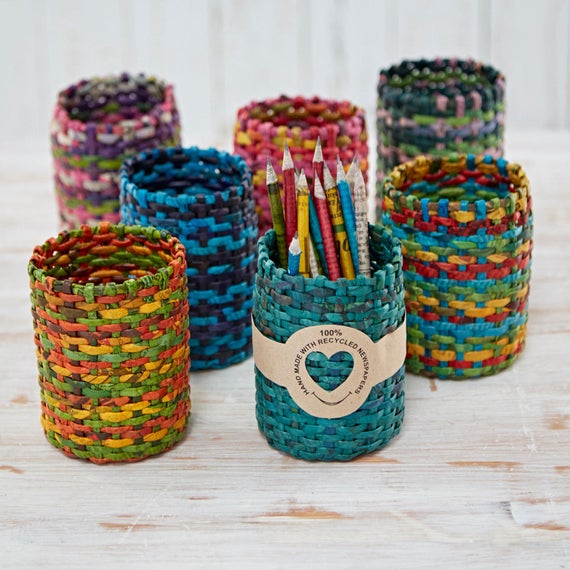 Recycled Newspaper Round Pencil Holder Pencil Holders for | Etsy
 -
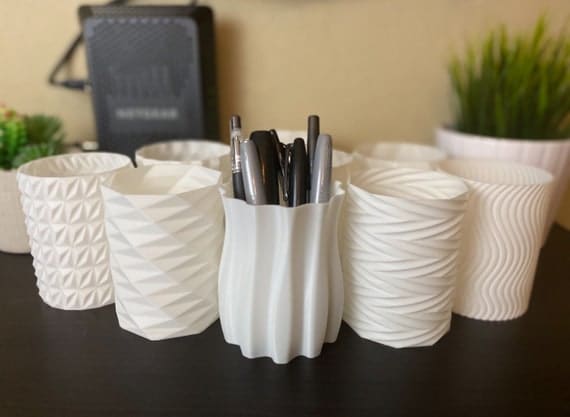 White Pencil Holders Minimalistic 3D Printed | Etsy
 -
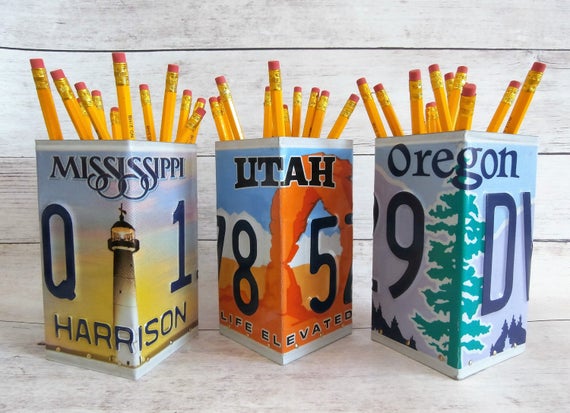 License Plate Decor Pencil Holder Unique Desk Accessories - Etsy
 -
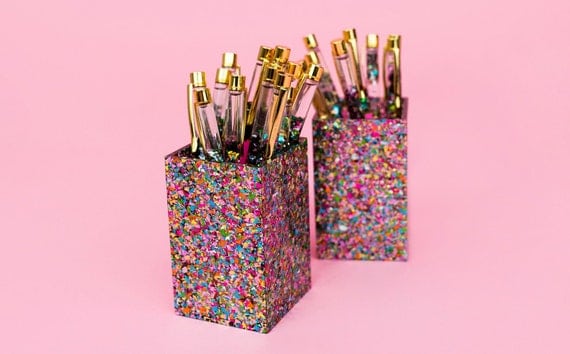 Confetti Acrylic Pen Pencil Cup Holder | Etsy
 -
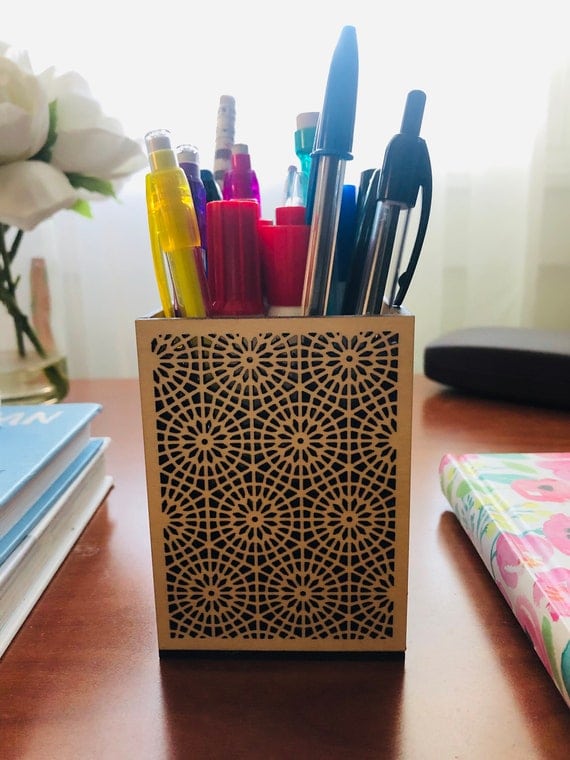 Modern Mosaic Wooden Pencil Holder/ Modern Mosaic Acrylic | Etsy
 -
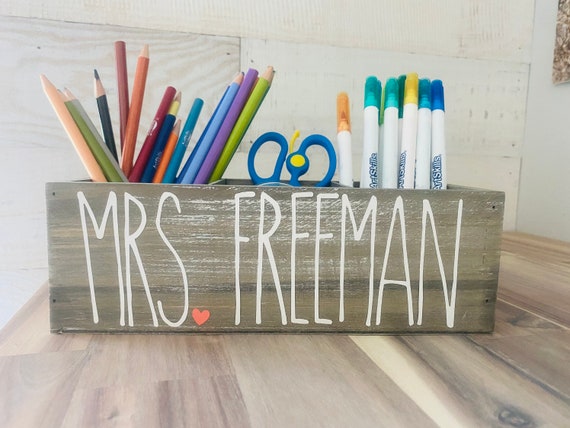 Personalized Pencil Holder Holiday Teacher Gift Classroom | Etsy
Finished Project Gallery
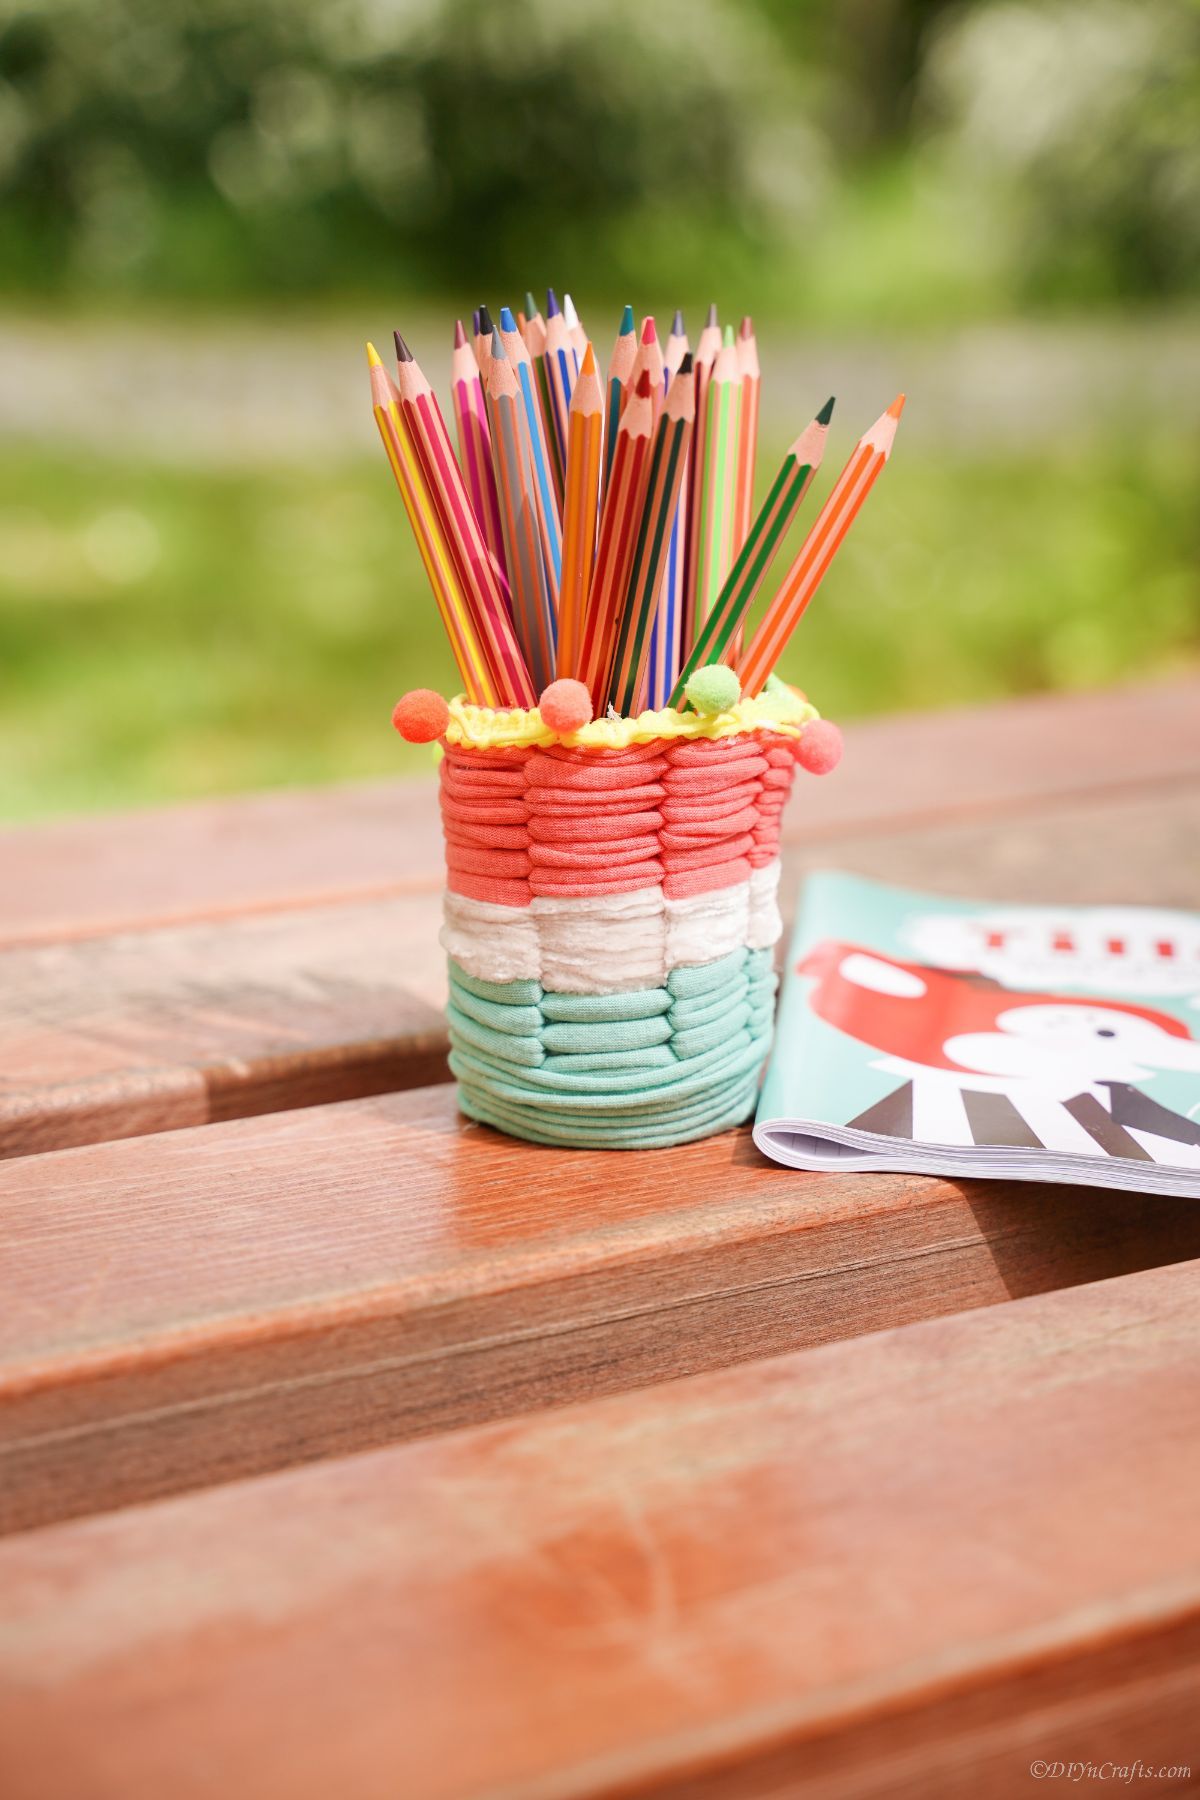
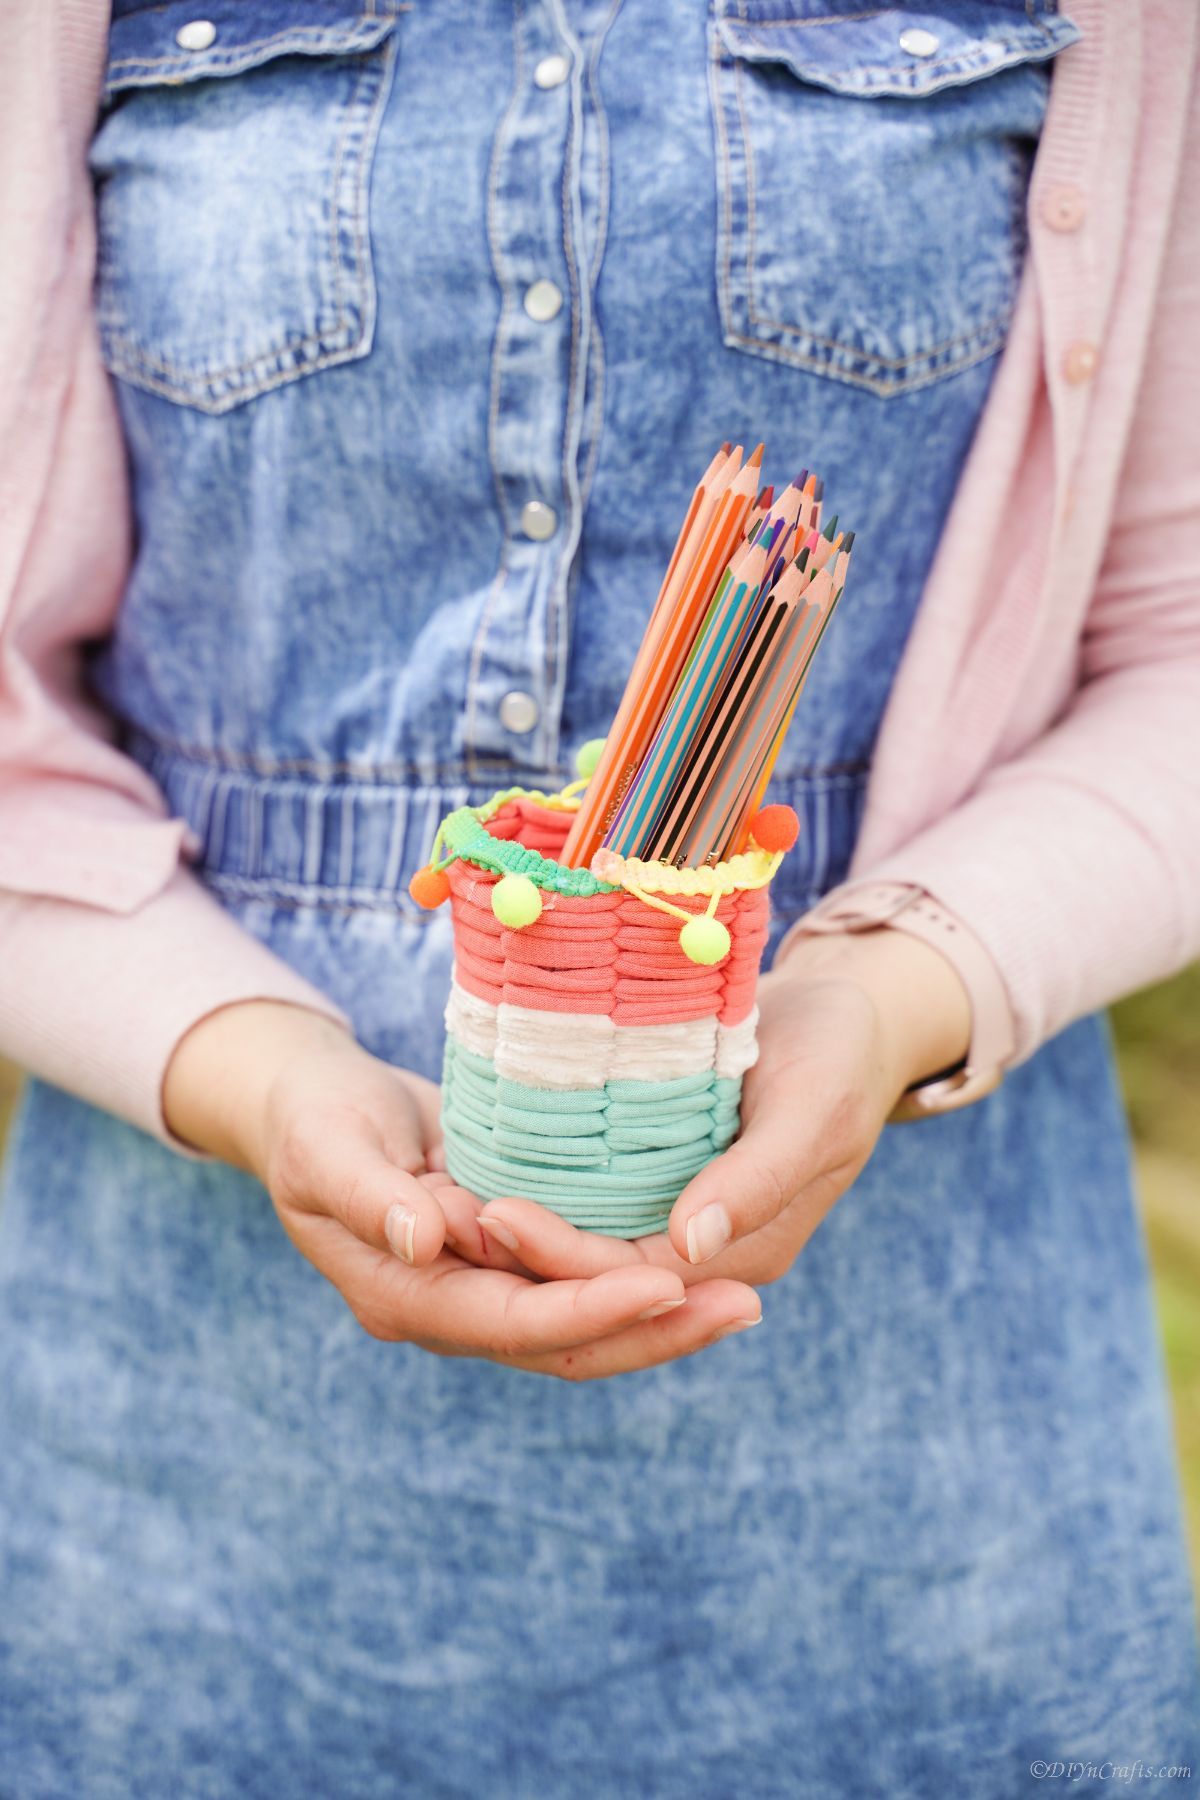
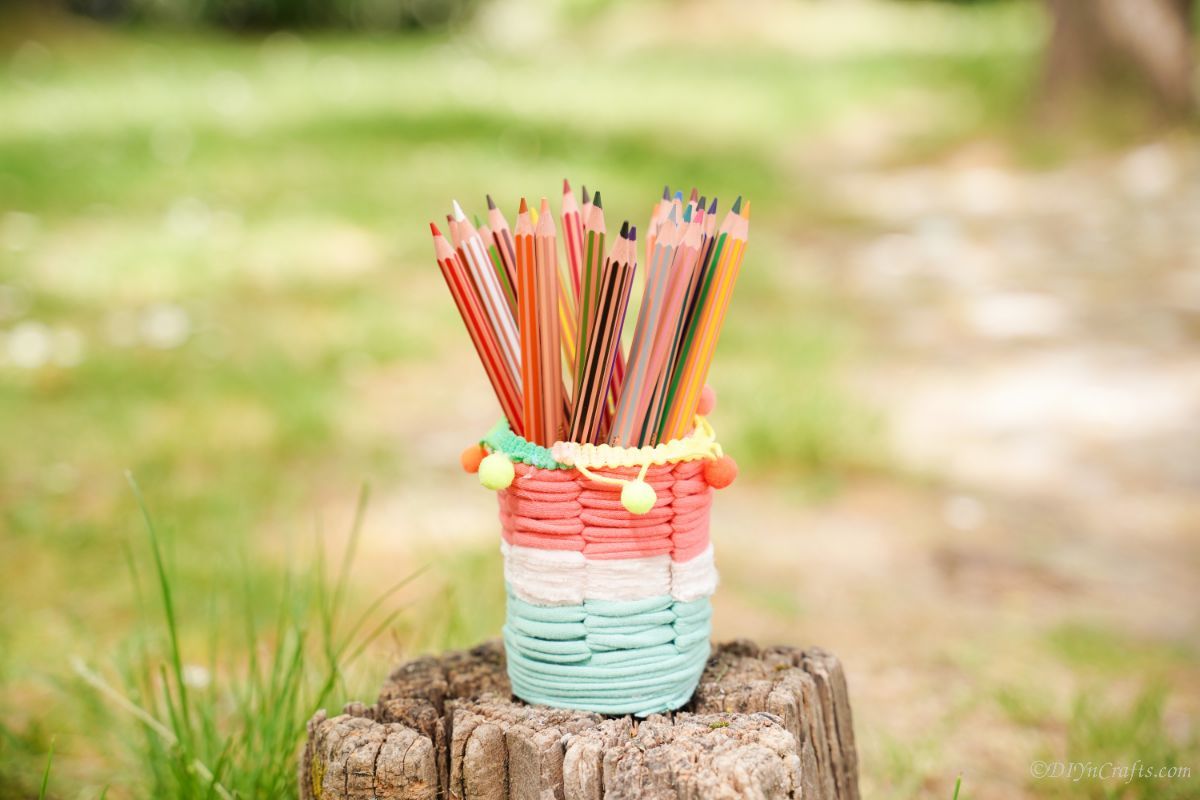
These are great for holding pens and pencils, but can also be used for utensils at the dinner table or even makeup brushes in the bathroom.
Of course, you can decorate them however you prefer with different colors of yarn and edging.







Leave a Reply