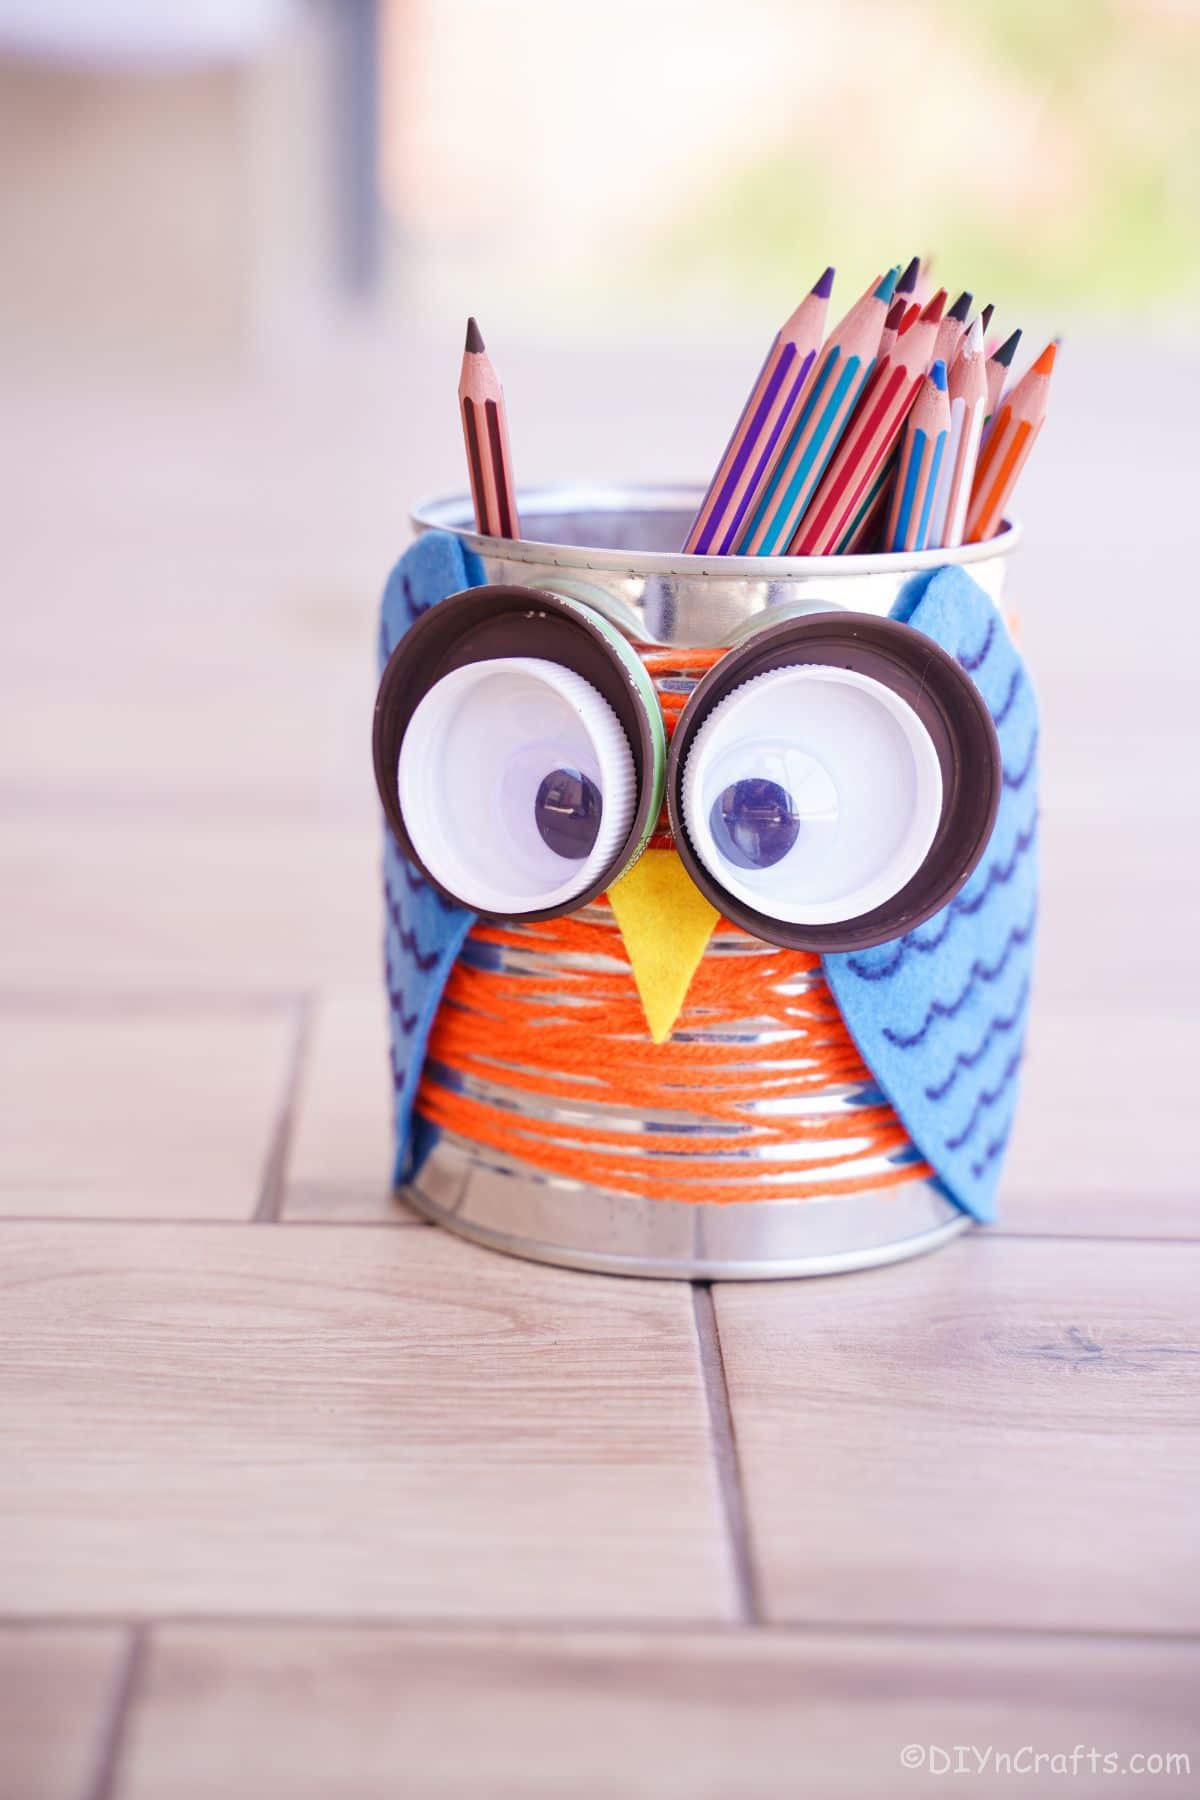
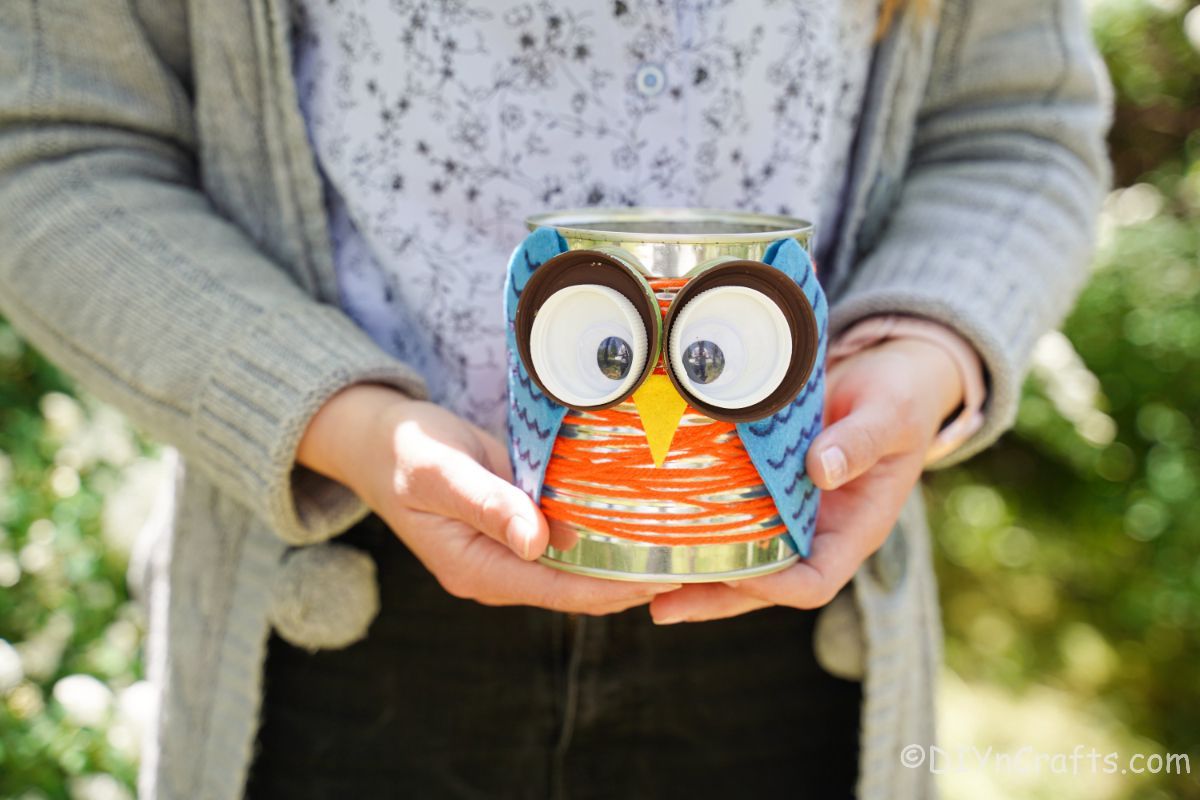
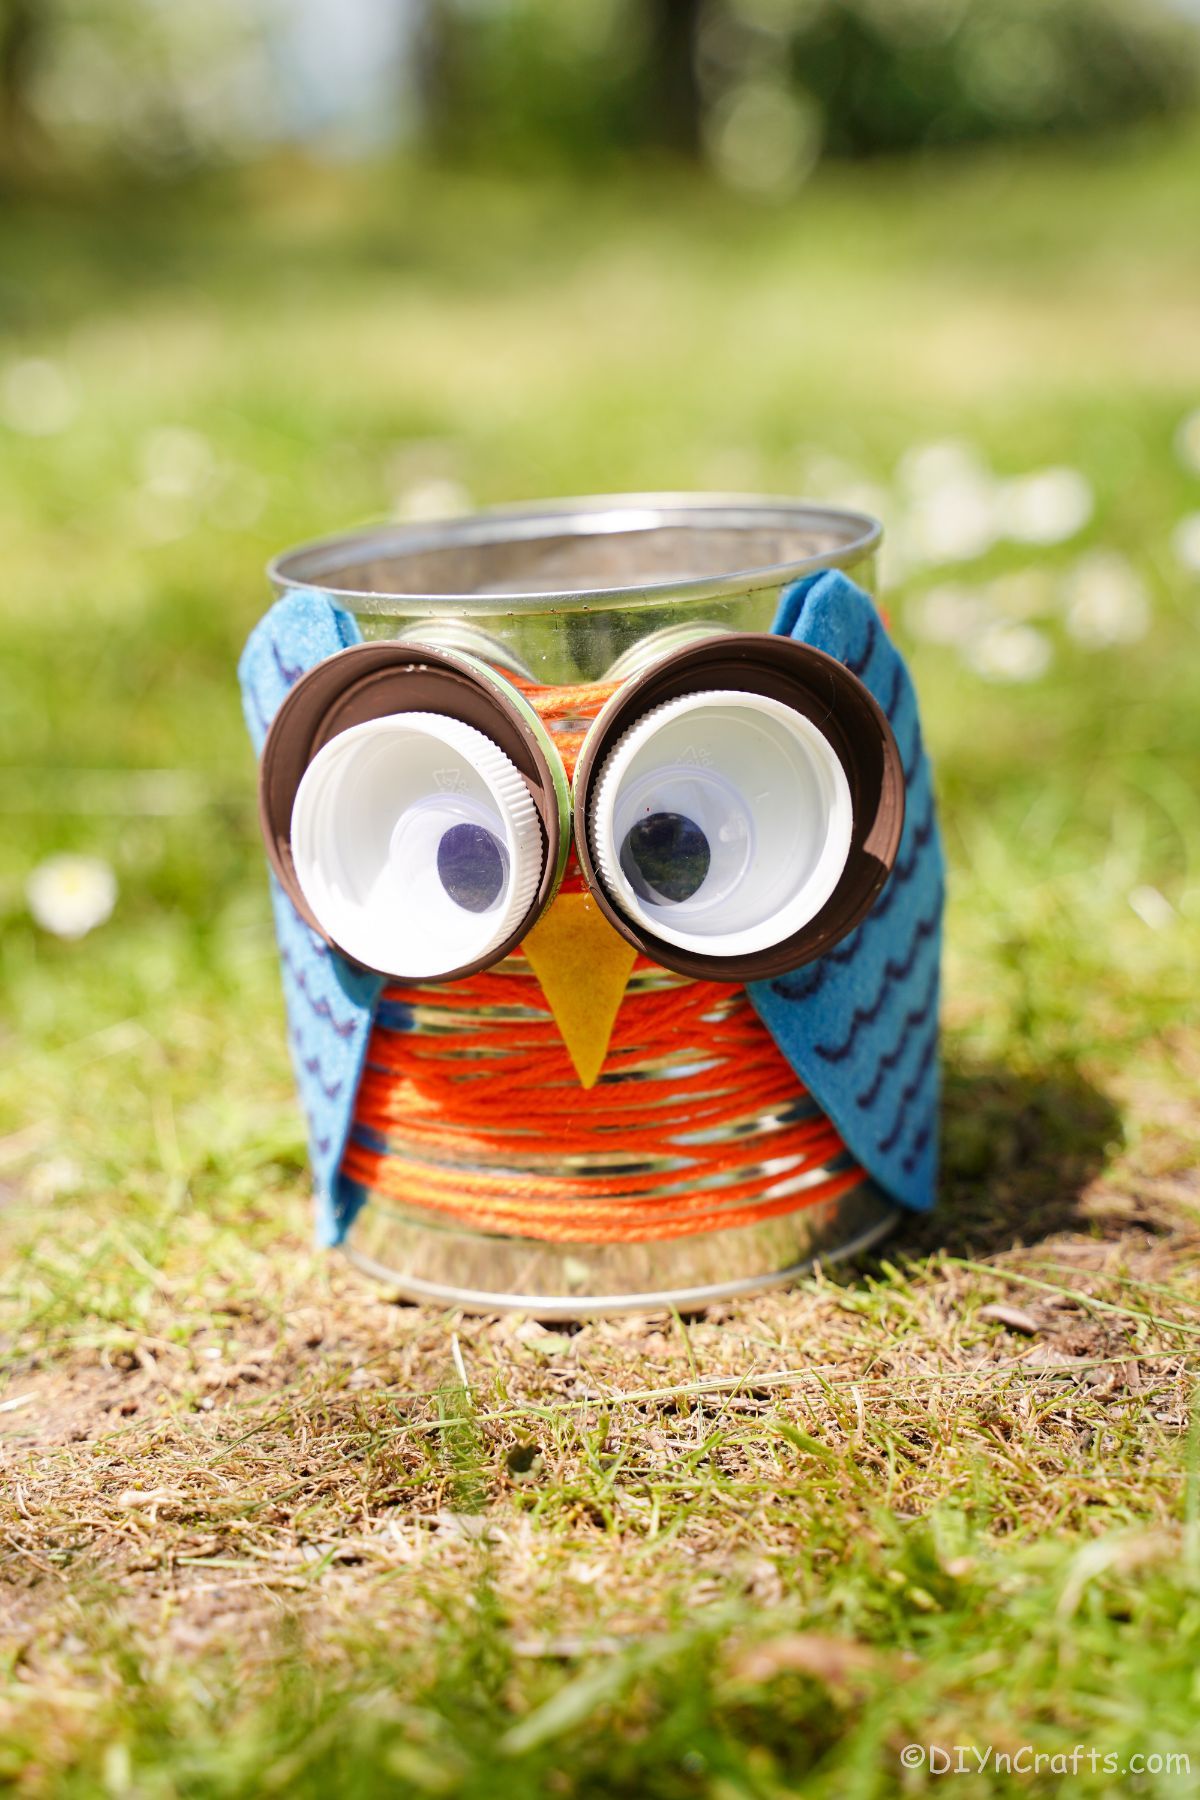
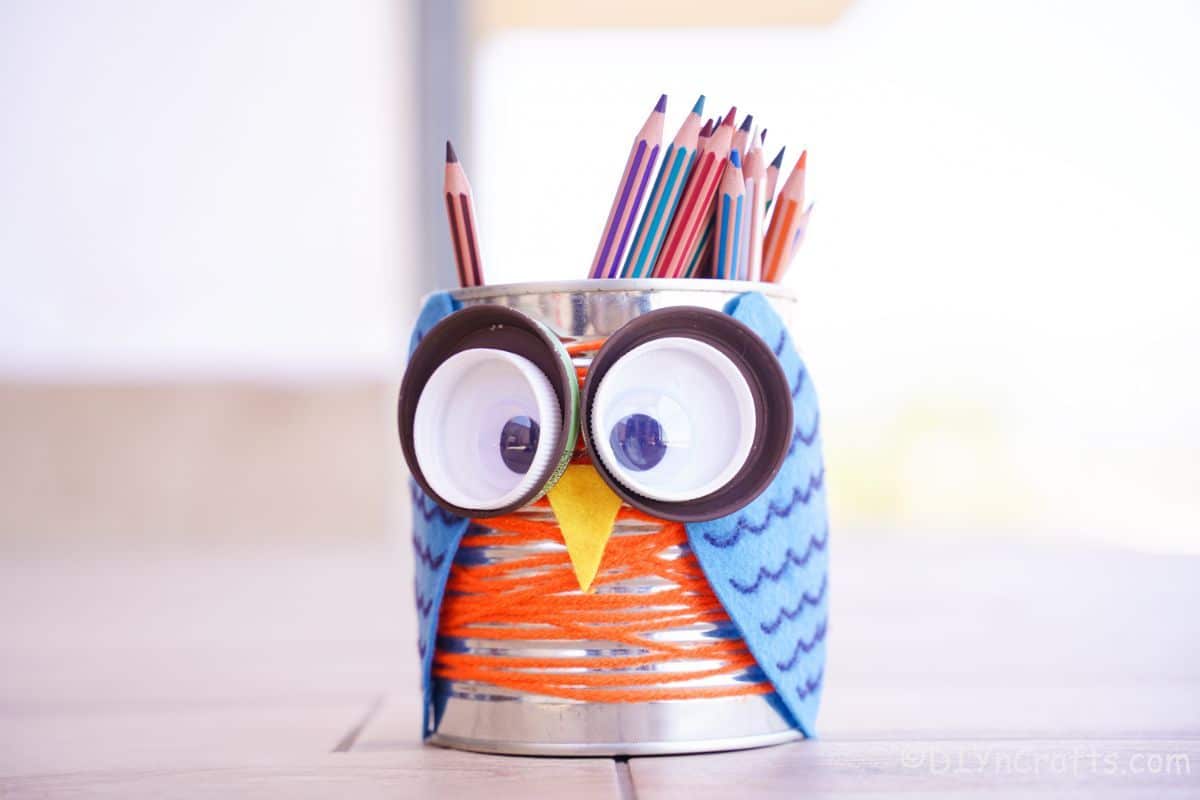
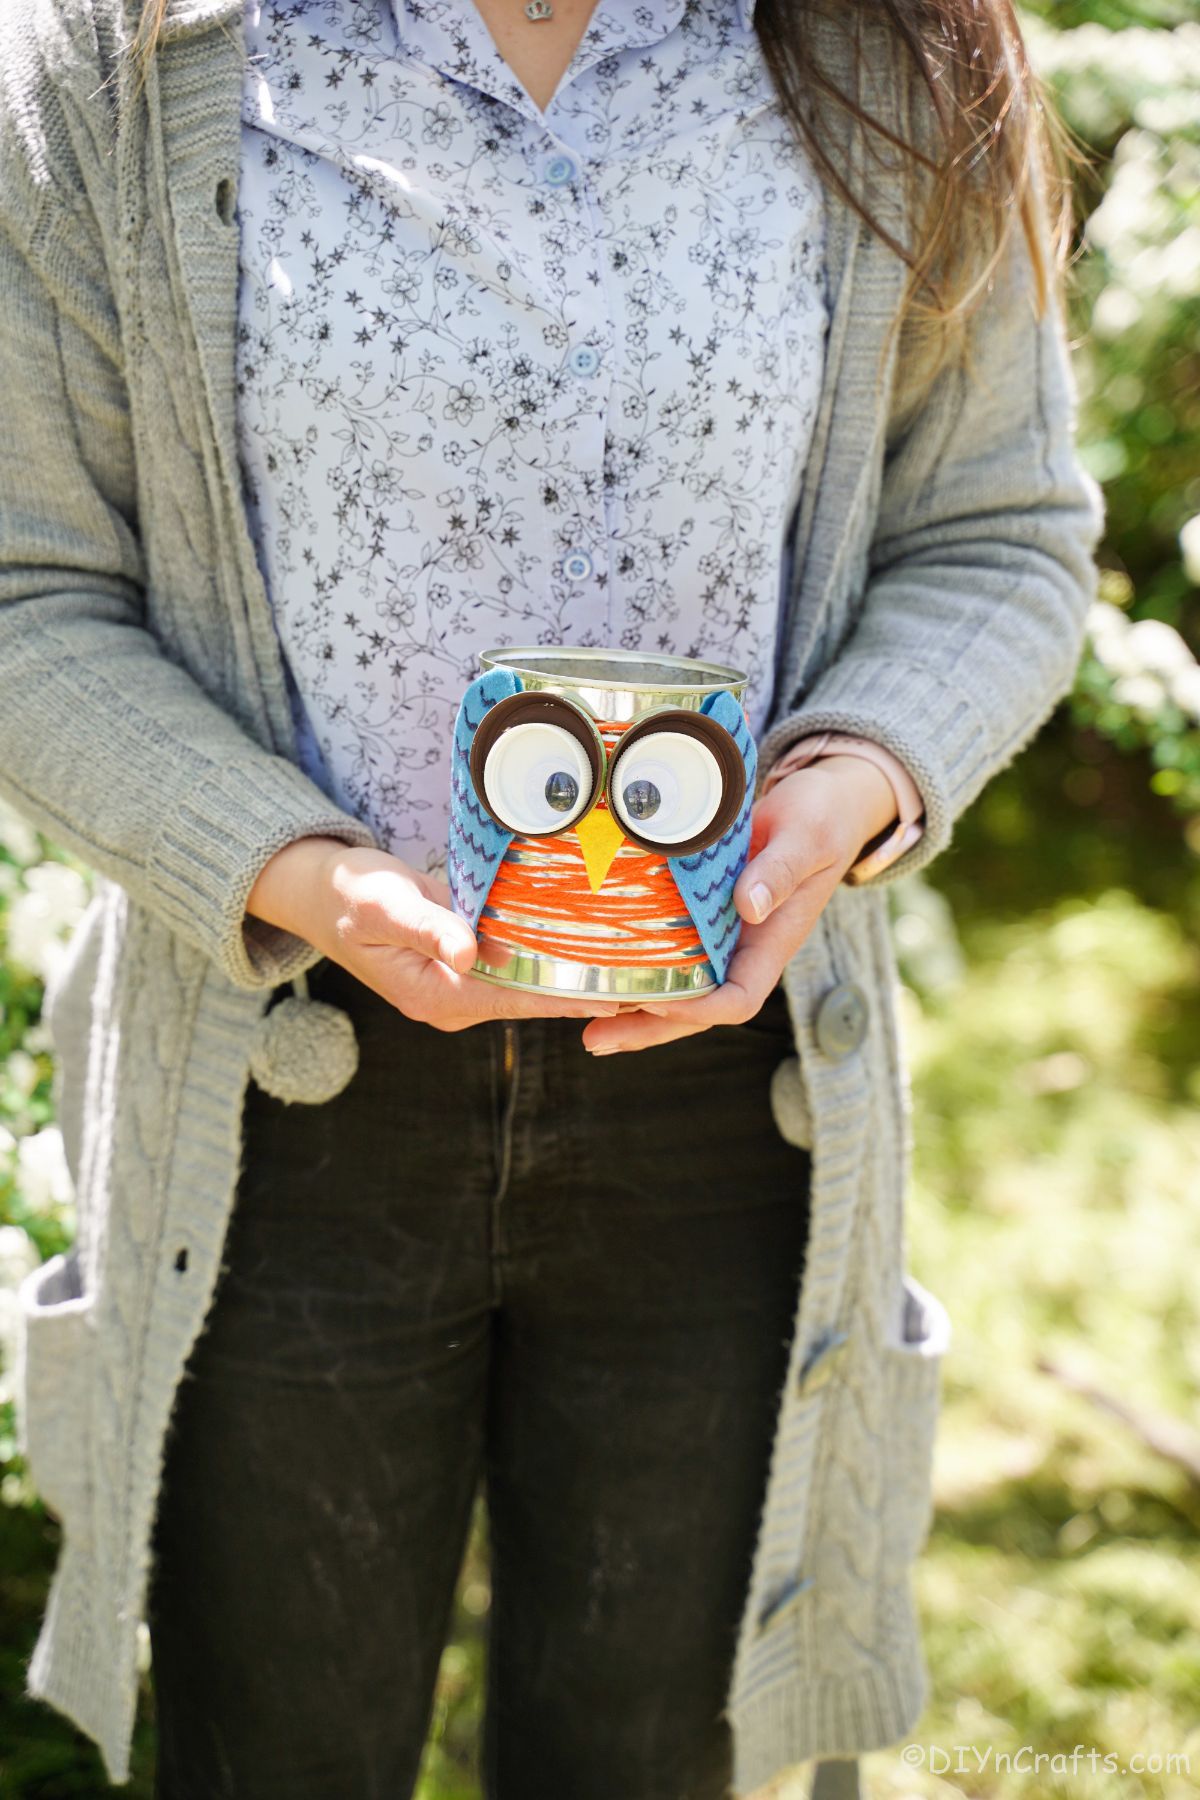
This enchanting tin can owl is the perfect way to add a touch of nature to your home. He's made from a recycled can and other upcycled crafting materials, so he's eco-friendly too! Plus, he makes a delightful addition to any room. Whether you use him as a decoration, a candle holder, or a pencil holder on a desk, you are sure to love how cute and easy this is to make.
Tin Can Owl
Tin Can Owl is the perfect way to recycle your old cans and give them a new life. Not only is this a super cute idea, but also eco-friendly. We use recycled materials to make our owl decorations, so you can feel good about making one and save money. This is a super easy project kids can help you make and looks great on a shelf, or on a desk!
If you love owls, then you may also like some of our other projects. Whether you want to make a rustic burlap owl wreath or have kids help with making this upcycled cup owl. Of course, I like the upcycled CD owl garden decoration or this rustic wood owl idea.
What Can I Use to Make the Owl Eyes?
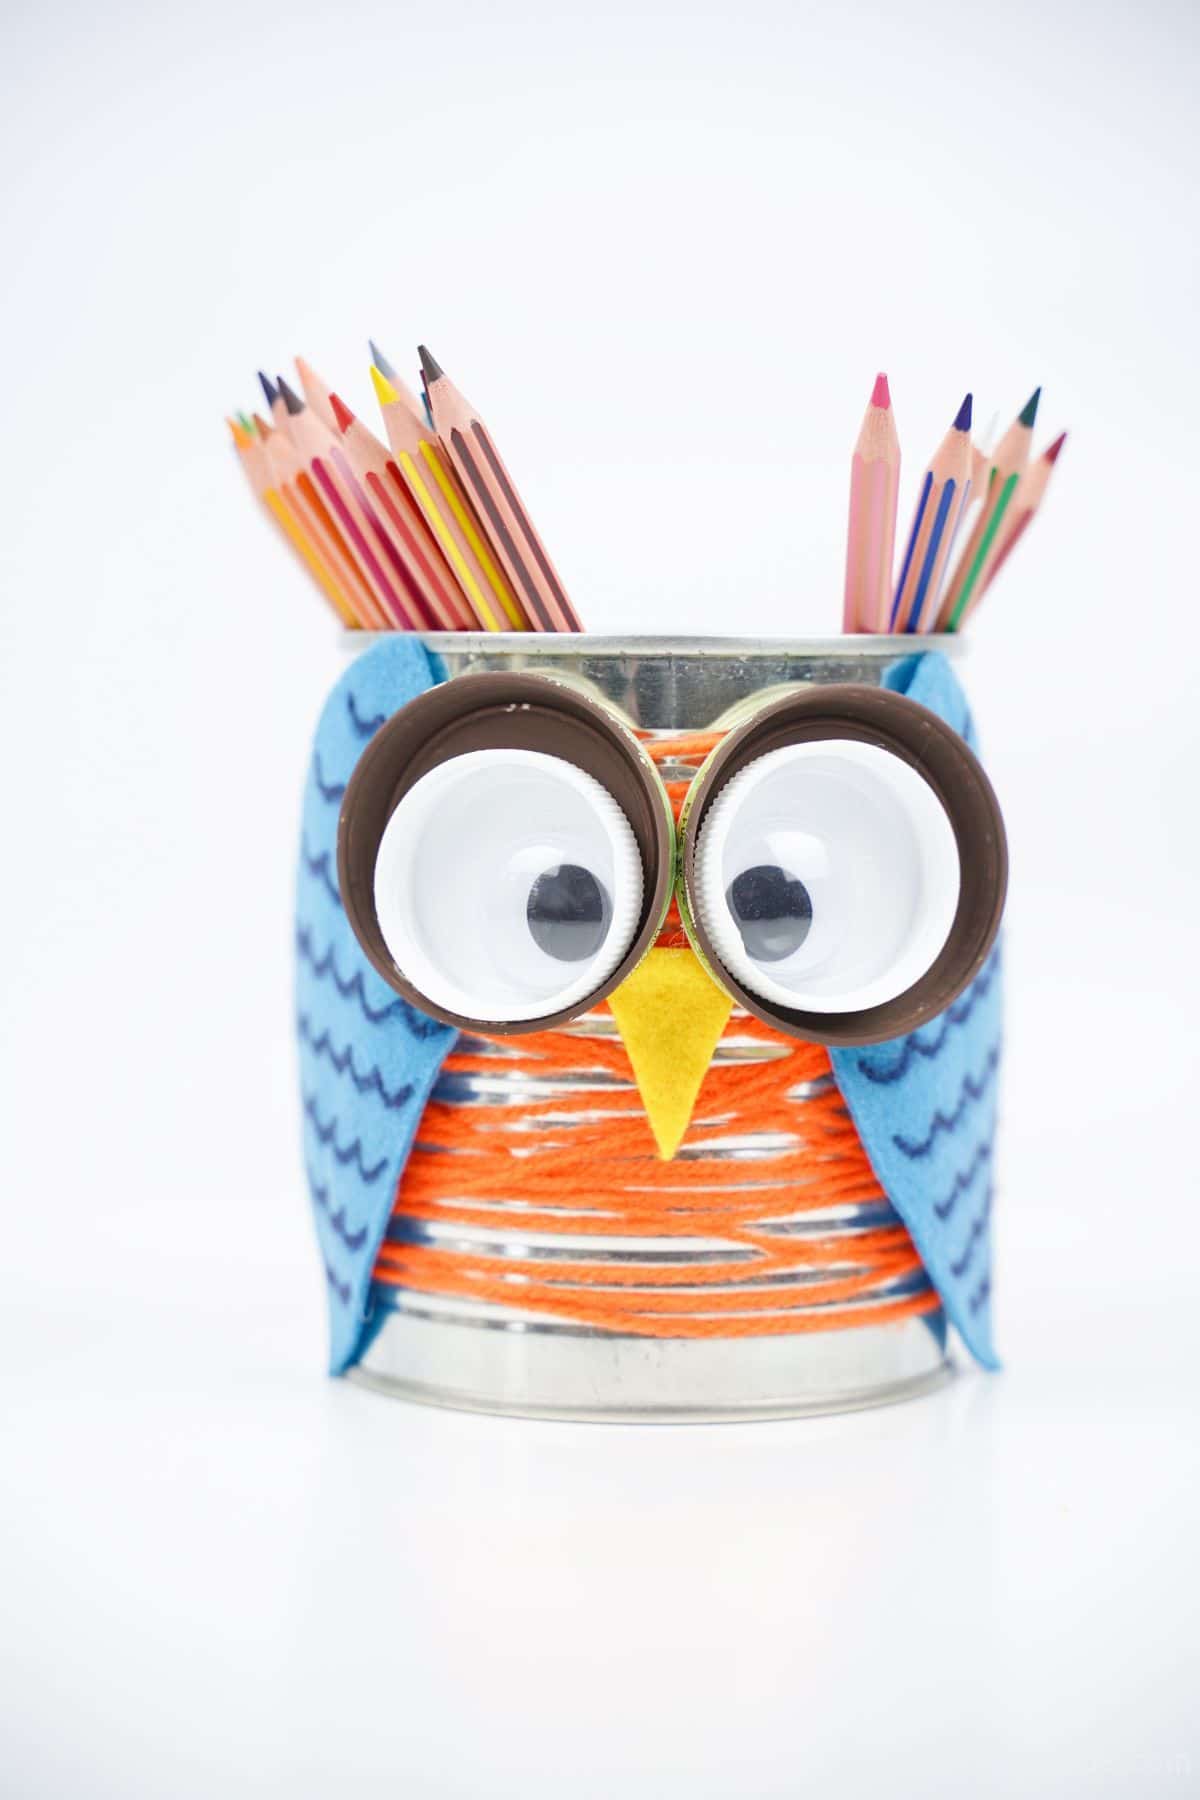
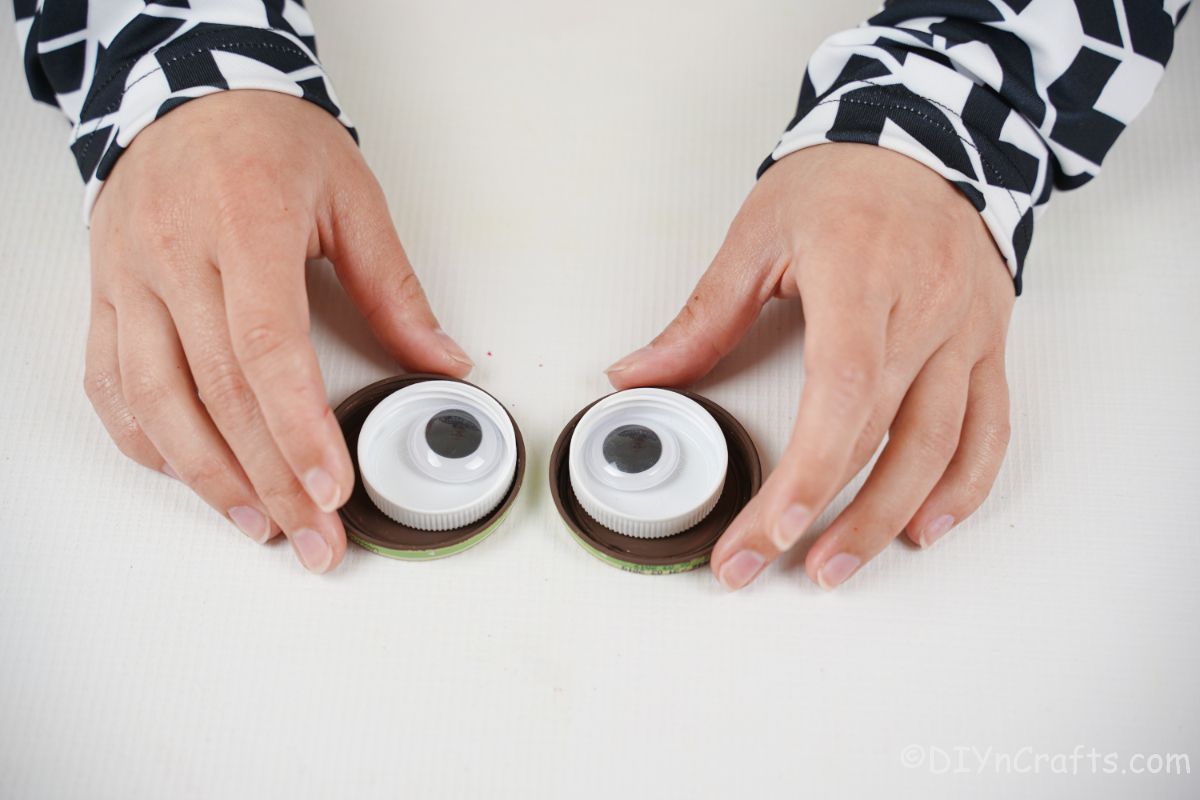
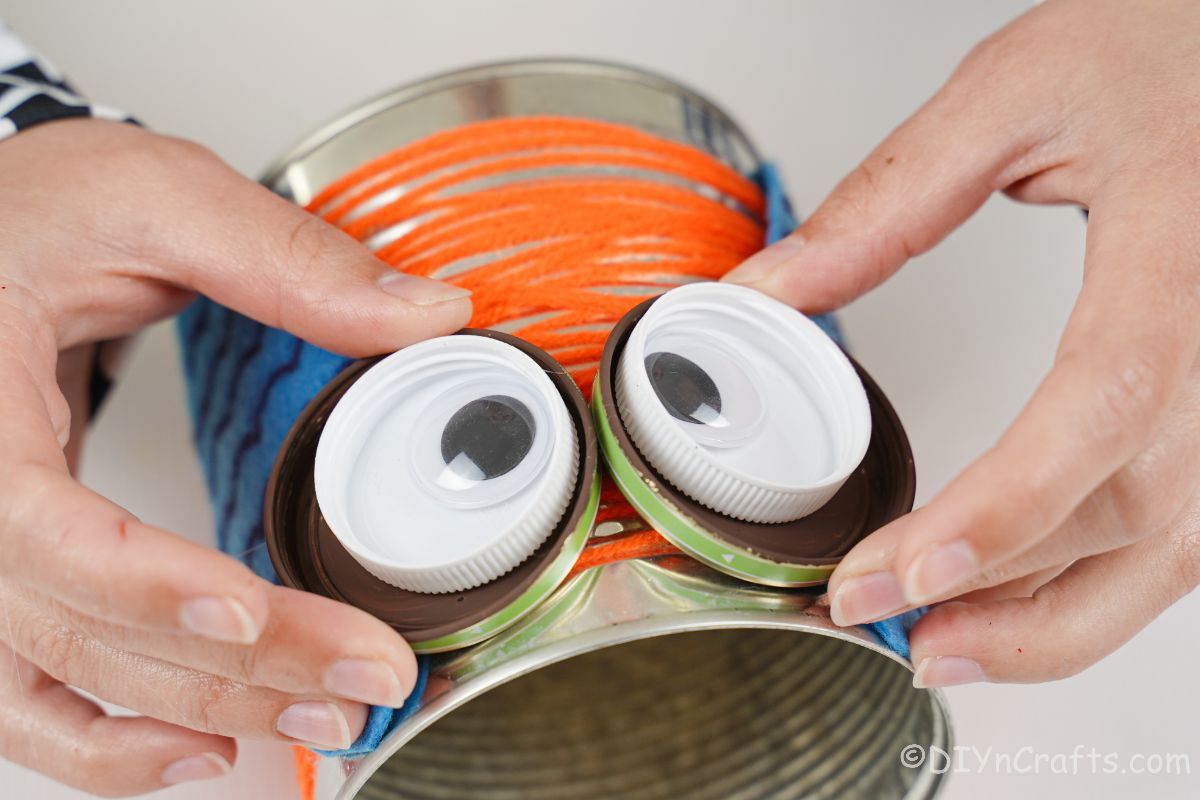
Since I want to keep this tin can owl as upcycled as possible, I am using 2 different size bottle caps. I like to use one larger one and then add a small one inside of it. Then inside the smaller bottle cap, I am adding a googly eye. Using all three like this gives that big owl eye appearance.
You can create this look with paper, felt, or foam if you prefer. Other options include pieces of wood or plastic cut and painted to stack together and attach to the can.
Should I Paint the Tin Can First?
Whether you paint the can or leave it the original color is a personal choice. I like the way the silver shines through the yarn around the cans, but if you want to paint it a different color, you certainly can.
It can be brightly colored like the orange and blue shown, or you can make it more traditional with black, brown, or tan paints. Whatever you use, match the wings to the paint with a complementary shade of the same color or a unique matching different color.
What Can This Be Used For?
I love making these tin can owls with kids either on a rainy afternoon, as part of daycare, preschool, or camp setting. They can even be a fun project to use as a way for kids to give these owls as gifts.
When you have the finished owl completed, it can be used to hold flowers, like a vase or as a plant holder. If using it as a plant holder, you might want to add holes in the bottoms as draining holes. That can easily be done using a nail.
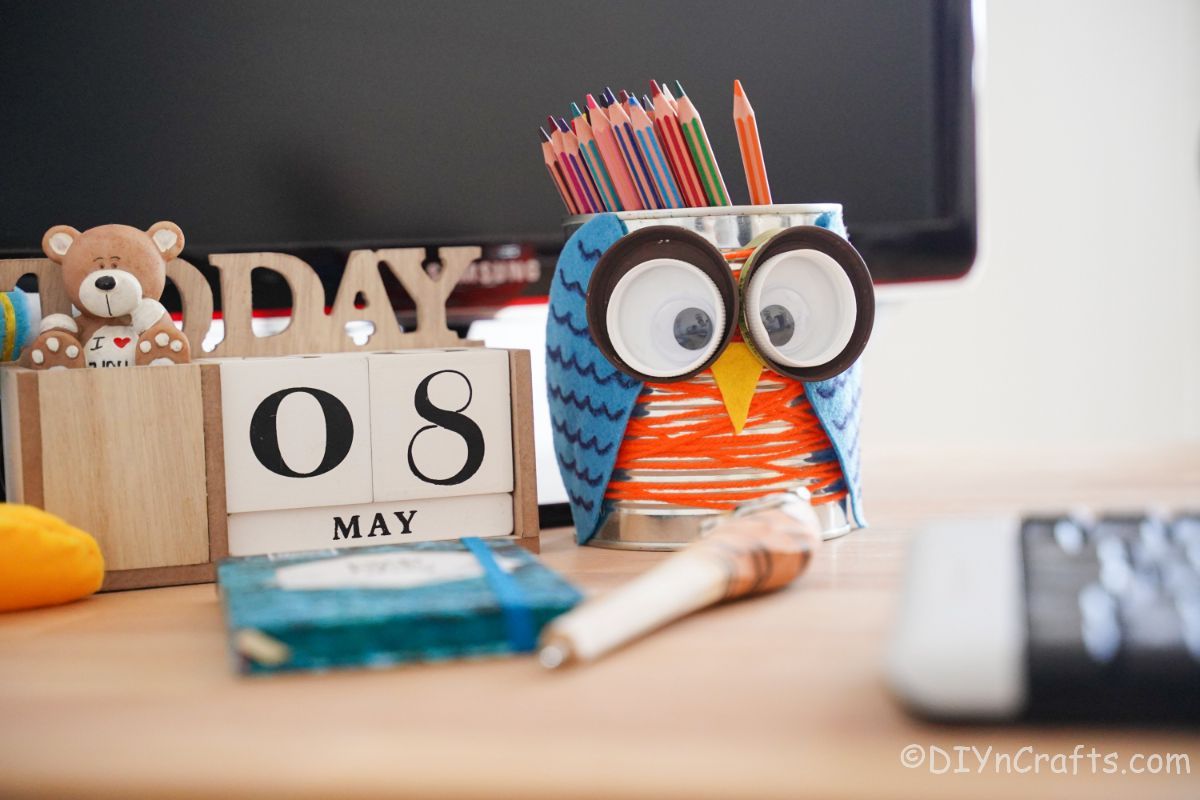
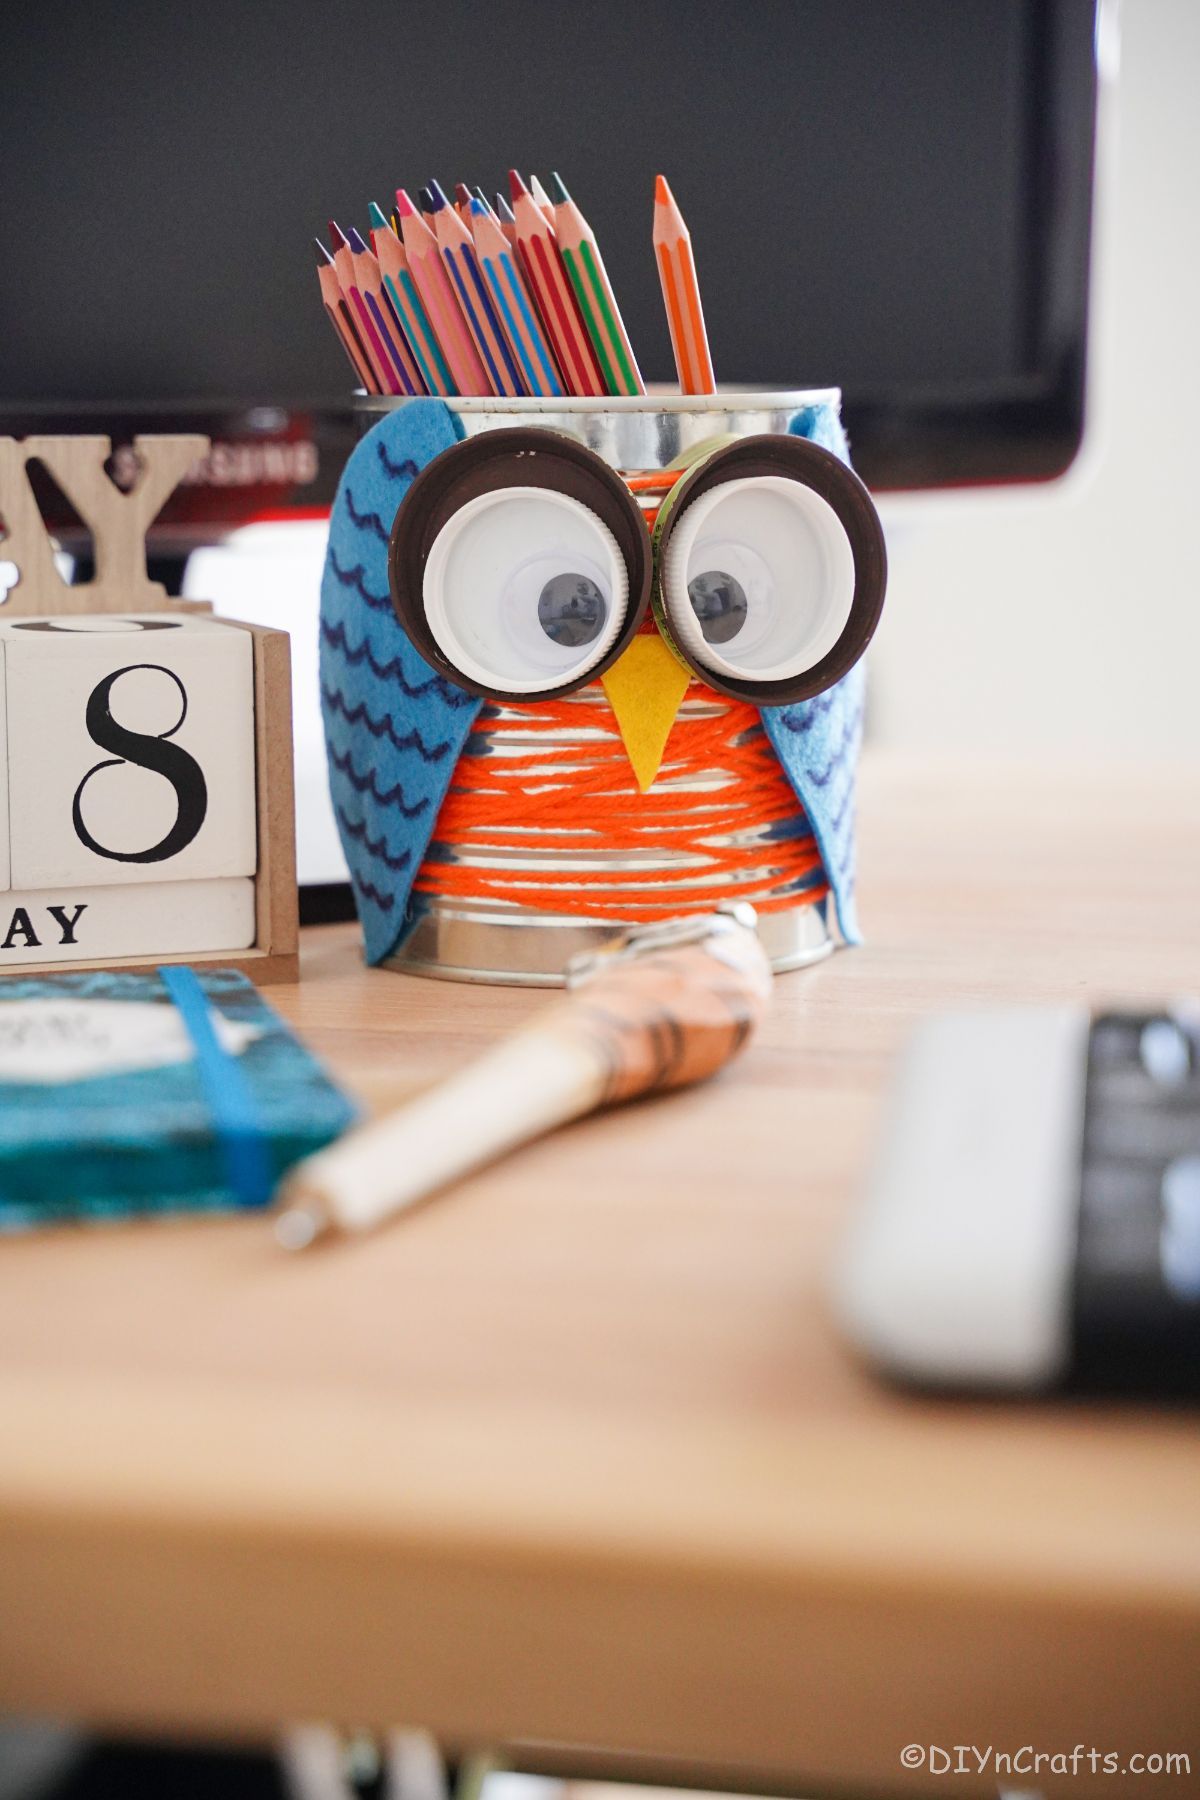
Another option is to use it as we have shown by placing it on a desk as a pencil holder or to hold all of those little things that fill up the desk and cause clutter. Place them all inside of the owl and store them for when you need them.
The owl can also be used as a cute decoration on a party table. It is ideal for any owl-themed birthday party or baby shower! Of course, it is also just as cute in a kid's room or on a shelf in your home as simple decor. I even like the idea of sitting it on a side table to hold remote controls when not in use.
How Can I Customize My Tin Can Owl?
The first thing I think of is to simply change the size of the owl. Use any tin can size to make it larger or even smaller. Of course, I already mentioned above that it can be painted, but you can also swap out the yarn, or even use something like a feather boa instead of yarn to wrap around the can.
Adding sequins, glitter, or rhinestones can definitely make it sparkle and be fun for kids. A bit of ribbon or lace can be added around the "neck" as a bow tie, or on the side by the ears as a hair bow.
The possibilities are endless with this project. From just changing the colors to adding fake eyelashes on the eyes for more character, you can really make your owl pencil holder unique!
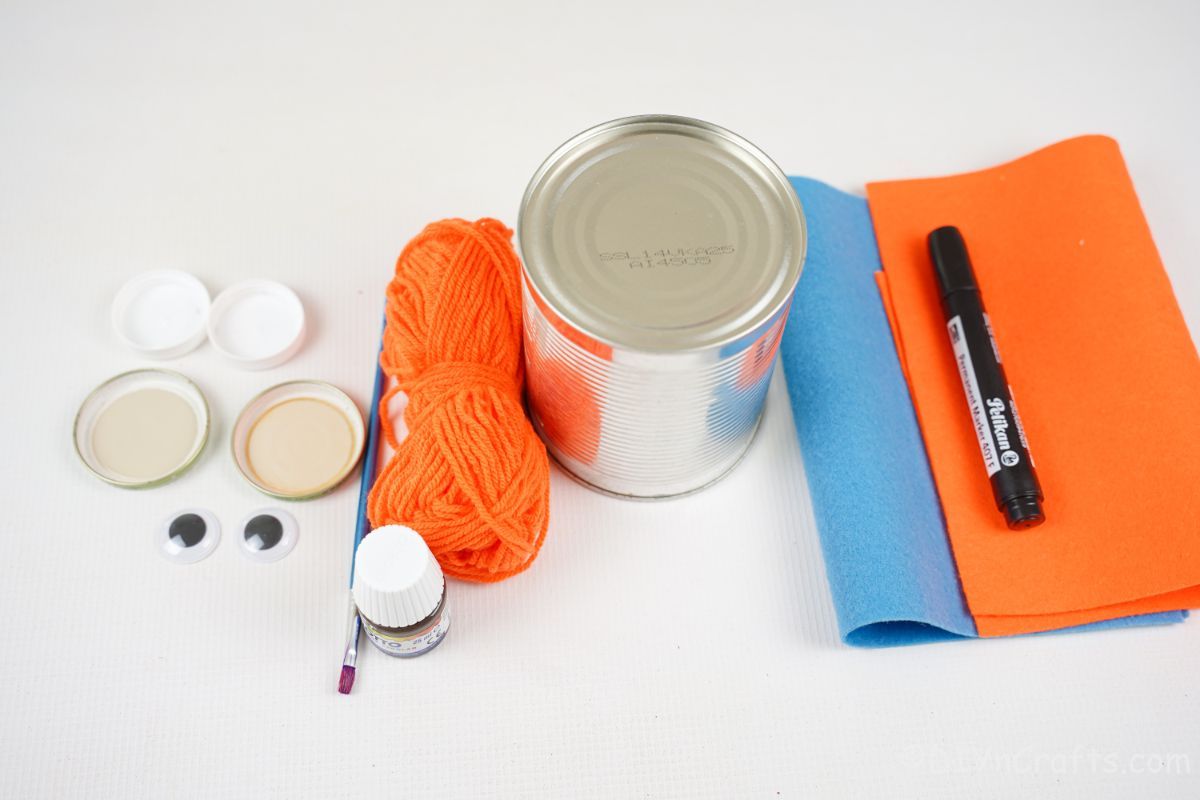
Supplies Needed
- Tin can
- Yellow foam paper
- Blue foam paper
- Orange yarn
- Brown craft paint
- 2 large bottle caps
- 2 medium bottle caps
- Googly eyes
- Black marker
- Hot glue gun
- Hot glue sticks
- Scissors
How to Make a Tin Can Owl
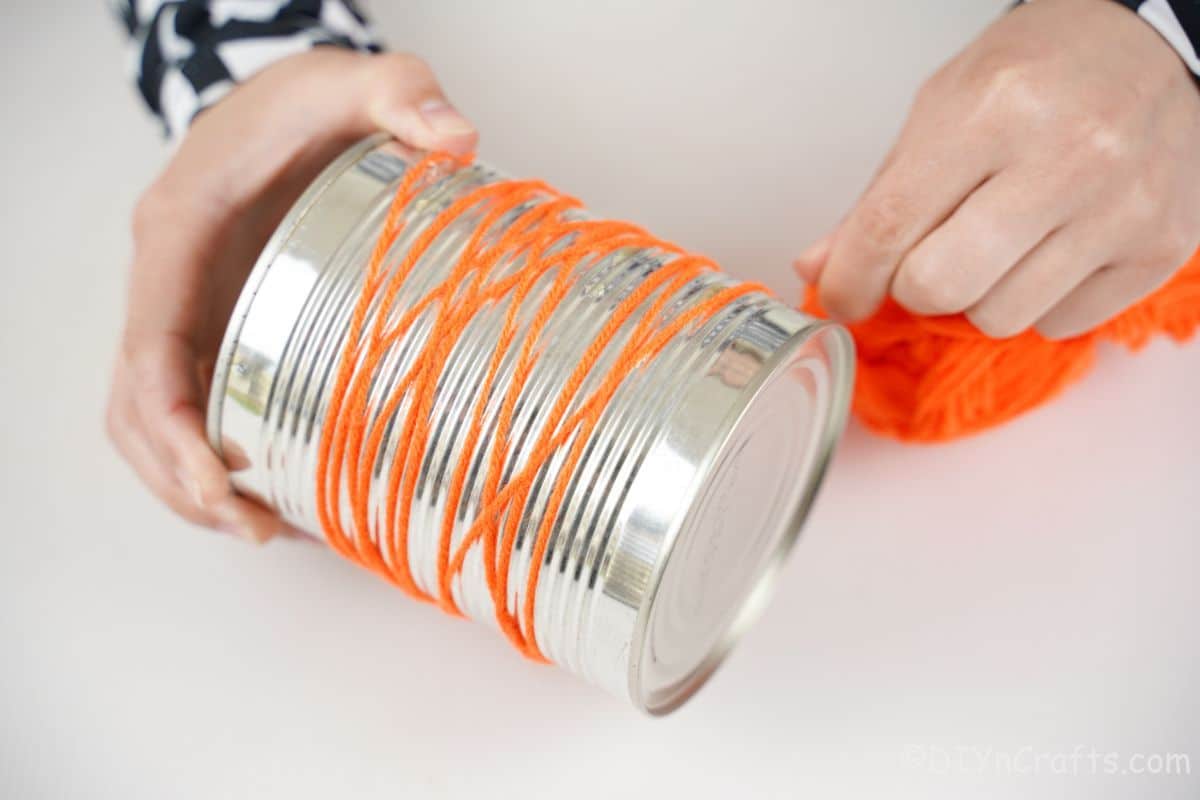
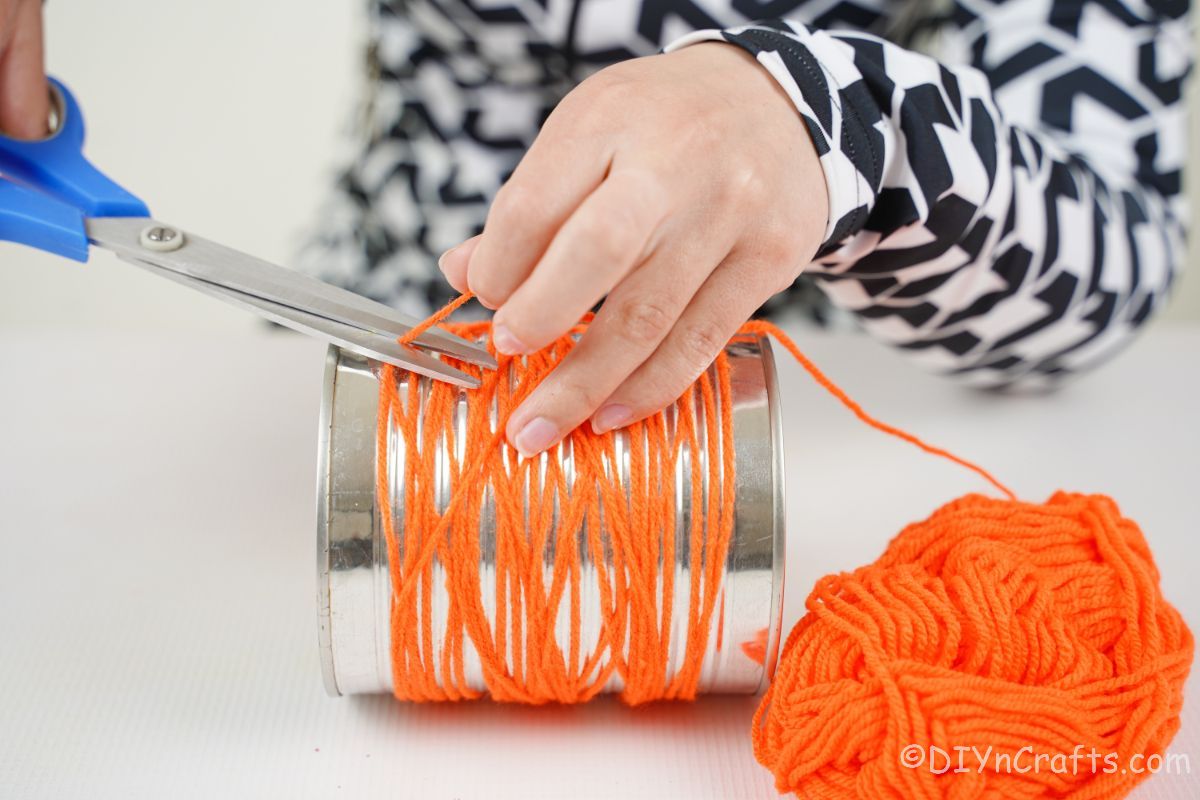
Remove labels from a tin can and clean it well. Let it dry, then begin wrapping orange yarn around the can. It is meant to be loose with gaps between each thread, so don't worry about it covering the entire can.
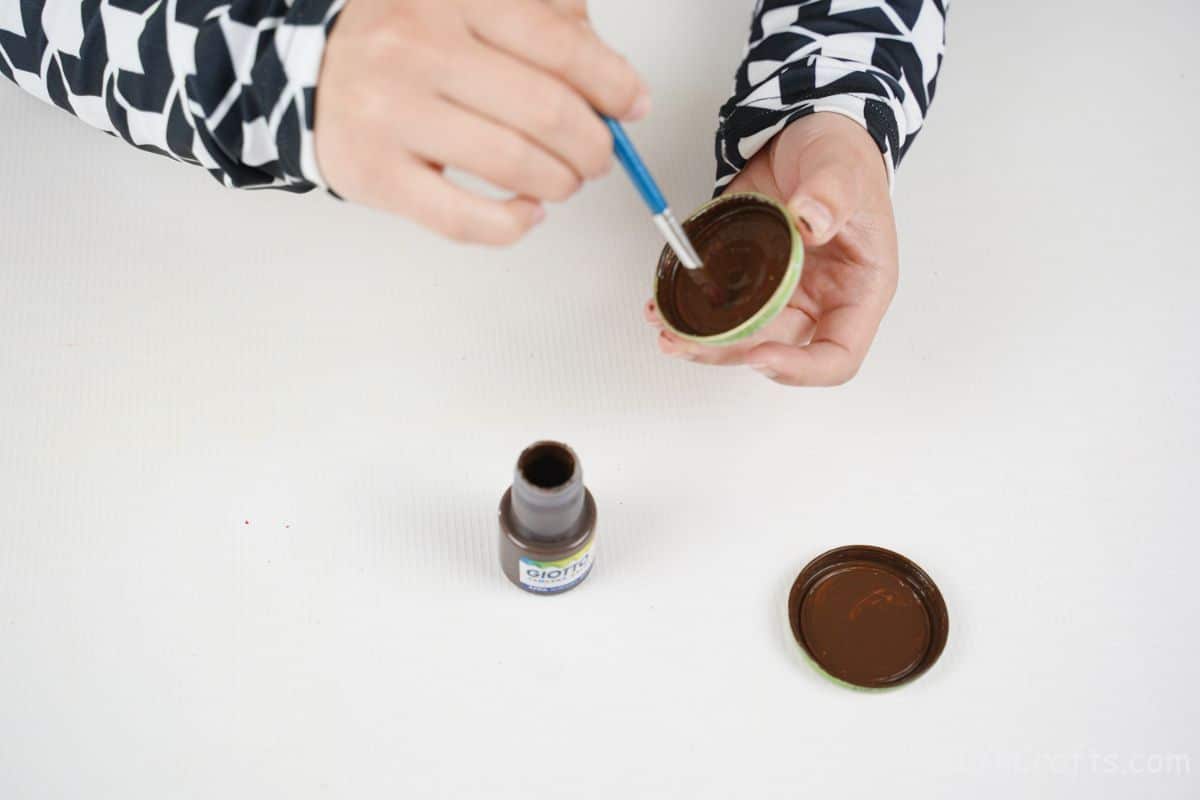
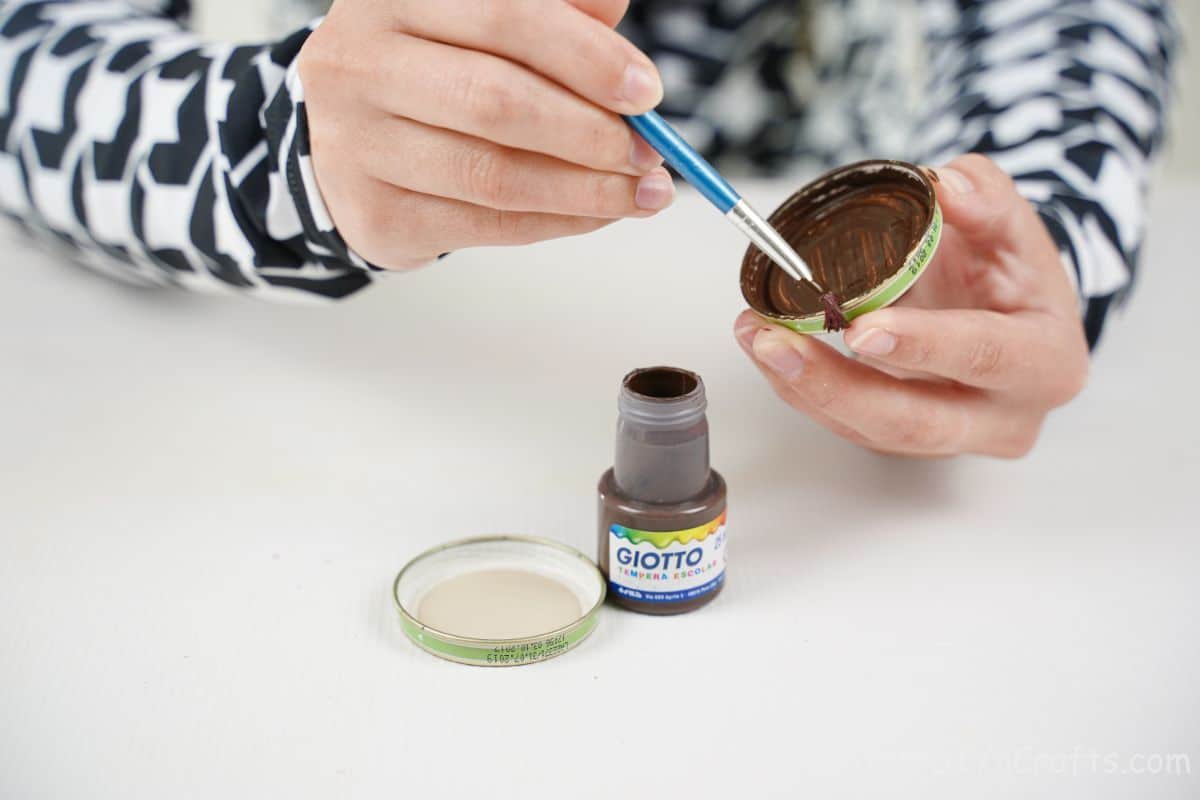
Now, set the can aside and paint the two larger bottle caps with brown paint, and set them aside to dry.
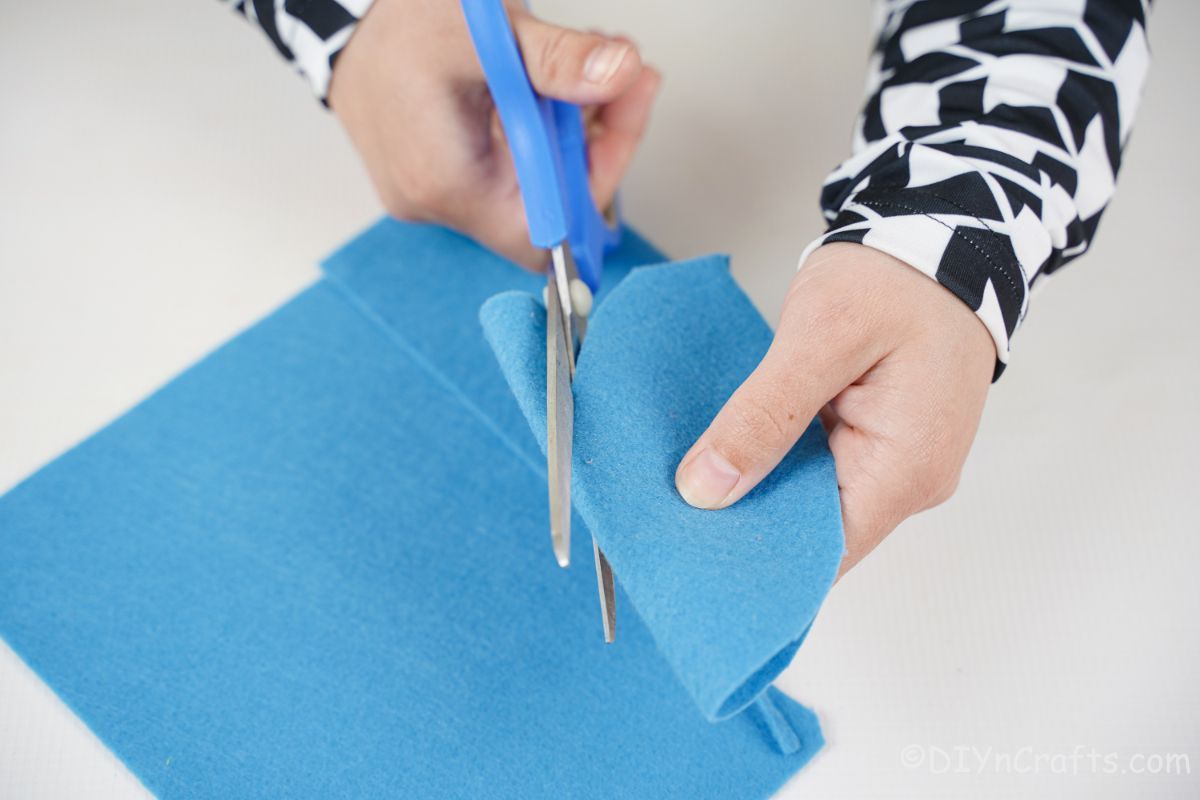
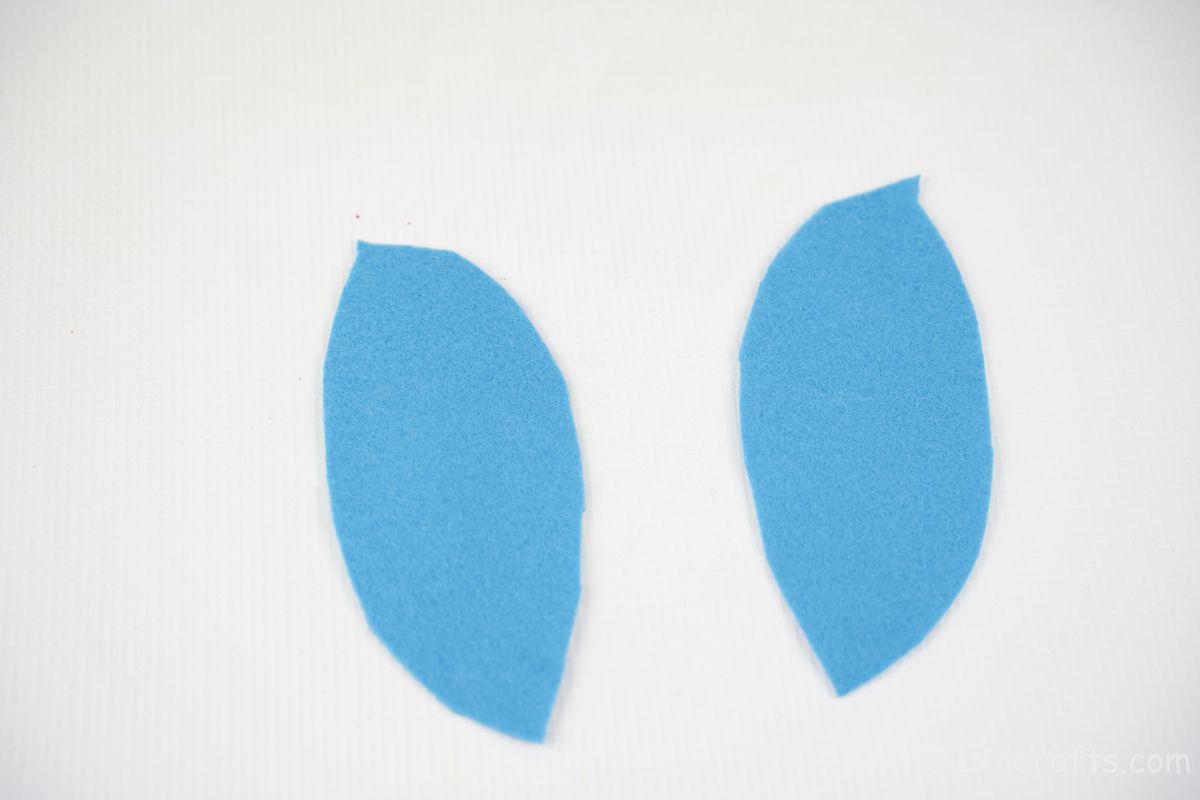
Fold the foam paper in half and trace a wing shape onto it. Cut out the wing, then cut apart at the fold in the middle.
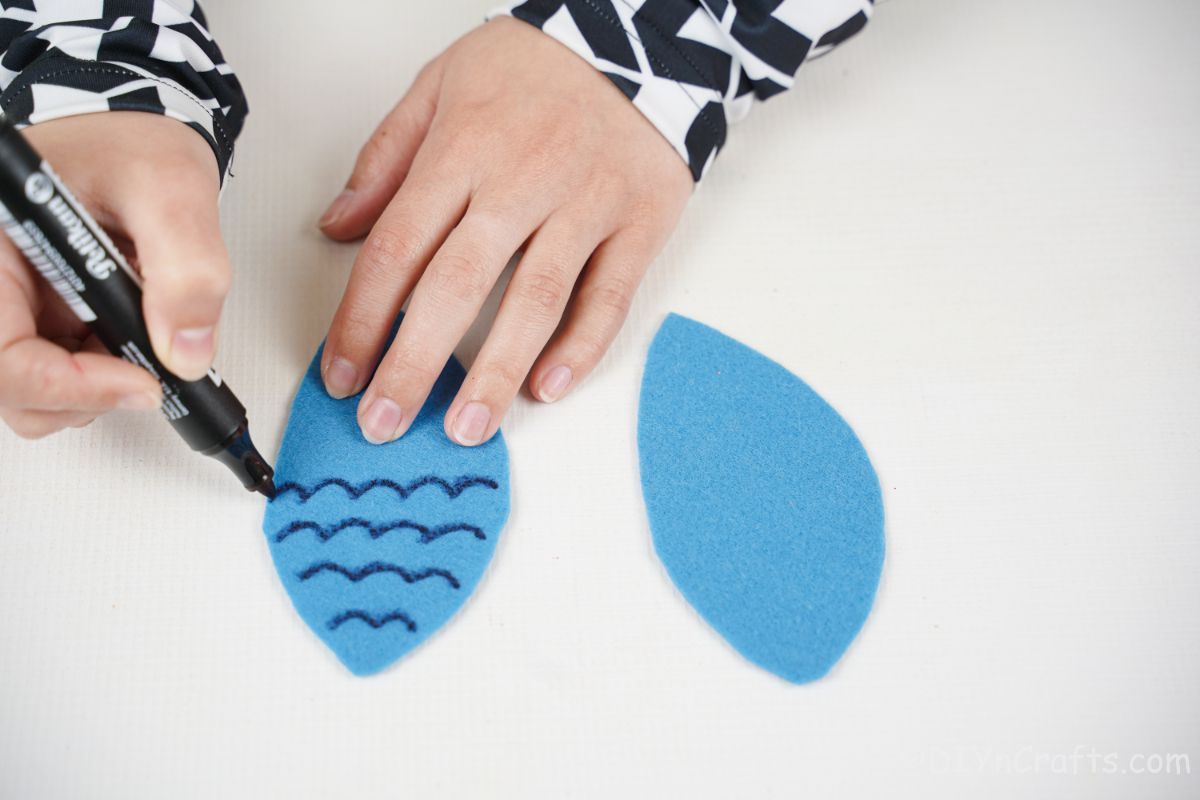
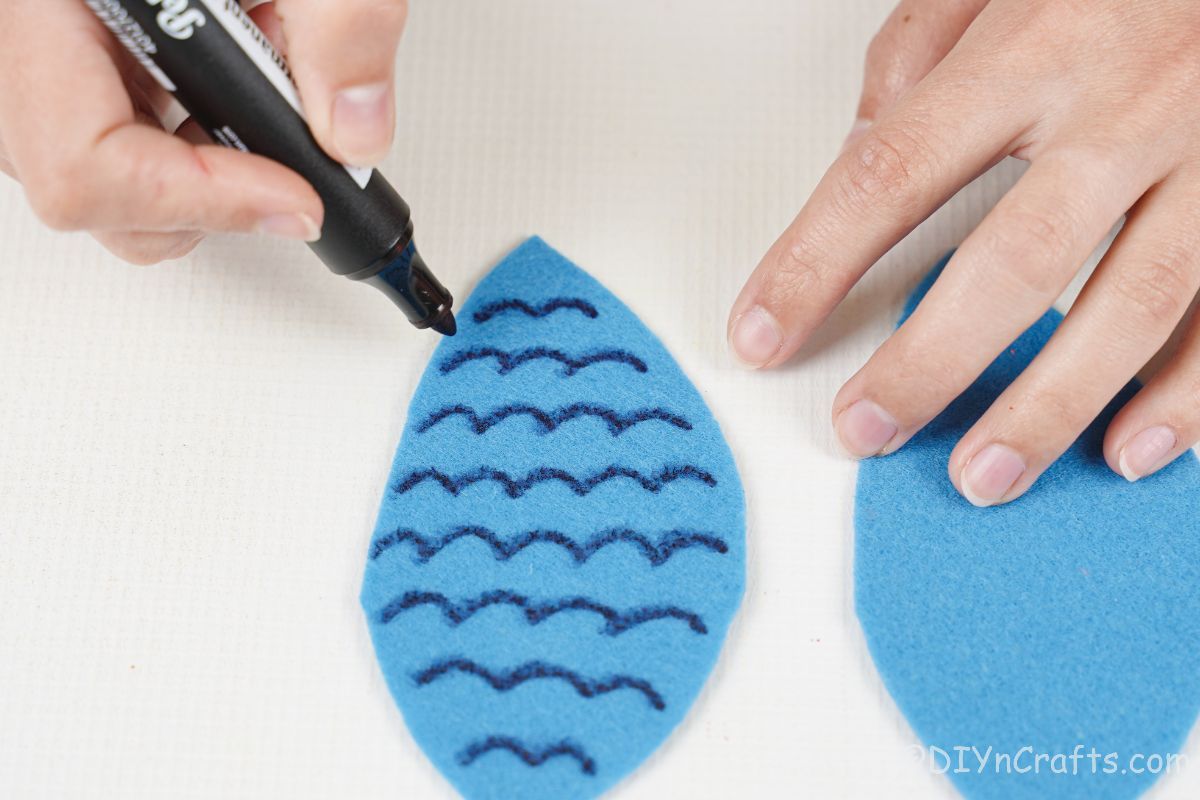
On the two wings, use a black marker to create squiggly marks to look like the feathers of the wings.
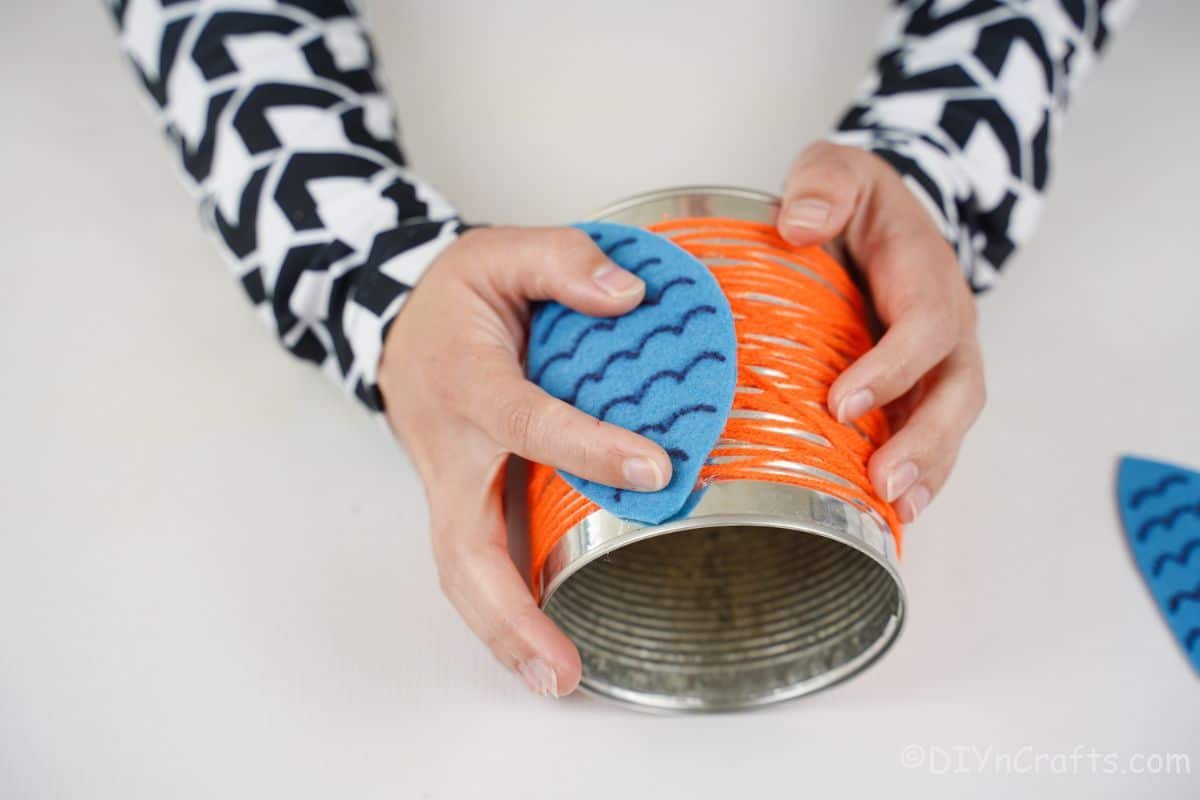
Now, glue the wings onto the sides of the can.
Then glue the small bottle cap into the now dry brown larger bottle caps. Glue the googly eyes inside those.
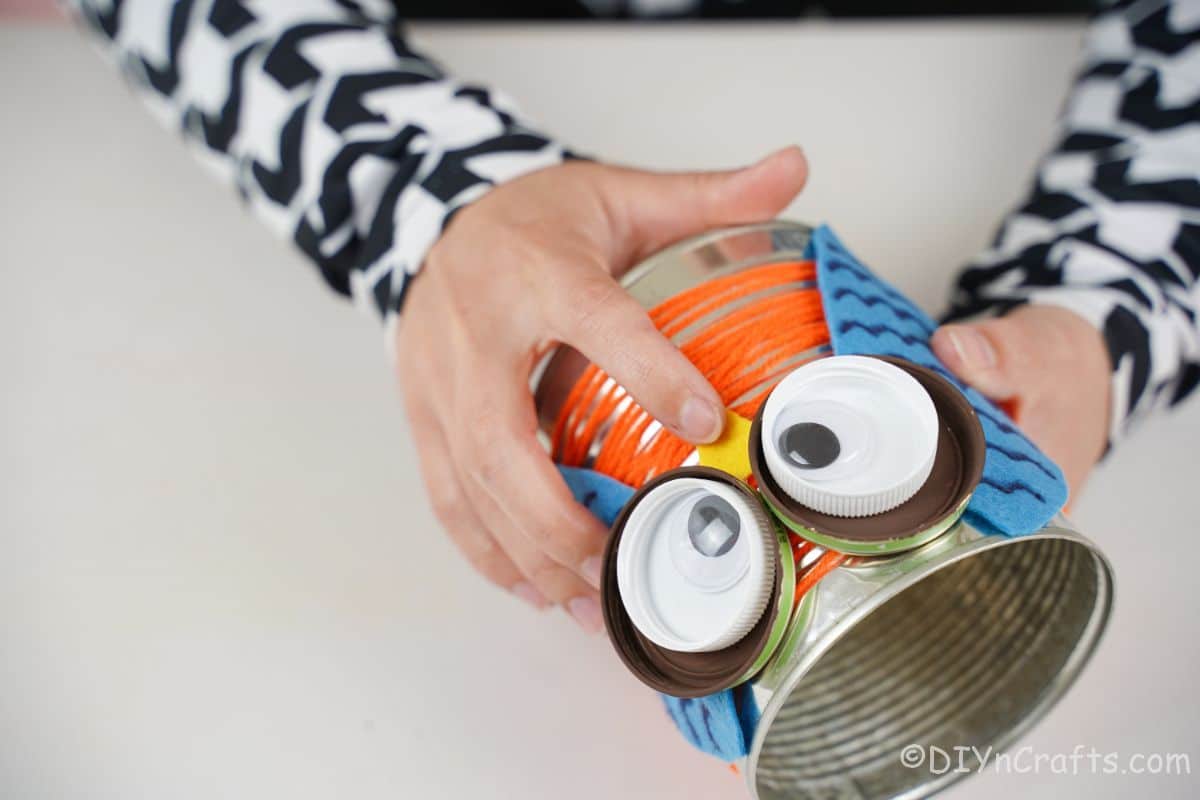
Attach the eyes to the top edge of the tin can. Cut out a small piece of yellow felt or foam paper in yellow or orange and glue it below the yes to create the beak of the owl.
Fill with pencils and display!
More Tin Can Craft Ideas
If you have more tin cans on hand and need ideas on how to use them, look no further! Below are some great ideas for using tin cans as upcycled items for unique decor and even a game. Make sure that you bookmark these posts, print out the tutorials, or pin them to an appropriate Pinterest board to make soon.
- Decorative Clothespin Tin Can Planter
- Rustic Coffee Bean Tin Can Watering Can
- 50 Jaw-Dropping Ideas To DIY Tin Cans
- Super Fun Upcycled Tin Can Ball Toss Game
Repurposed Tin Can Owl Pencil Holder
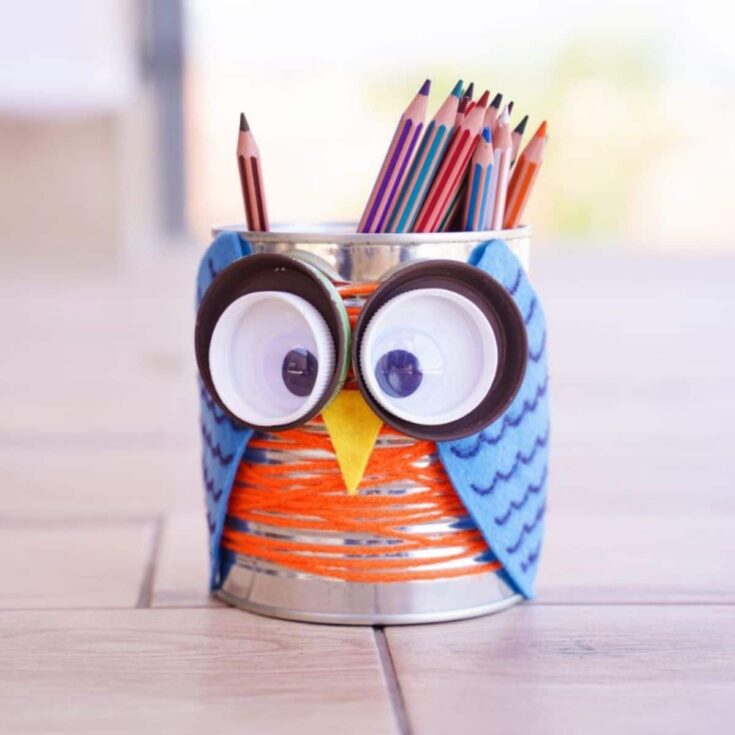
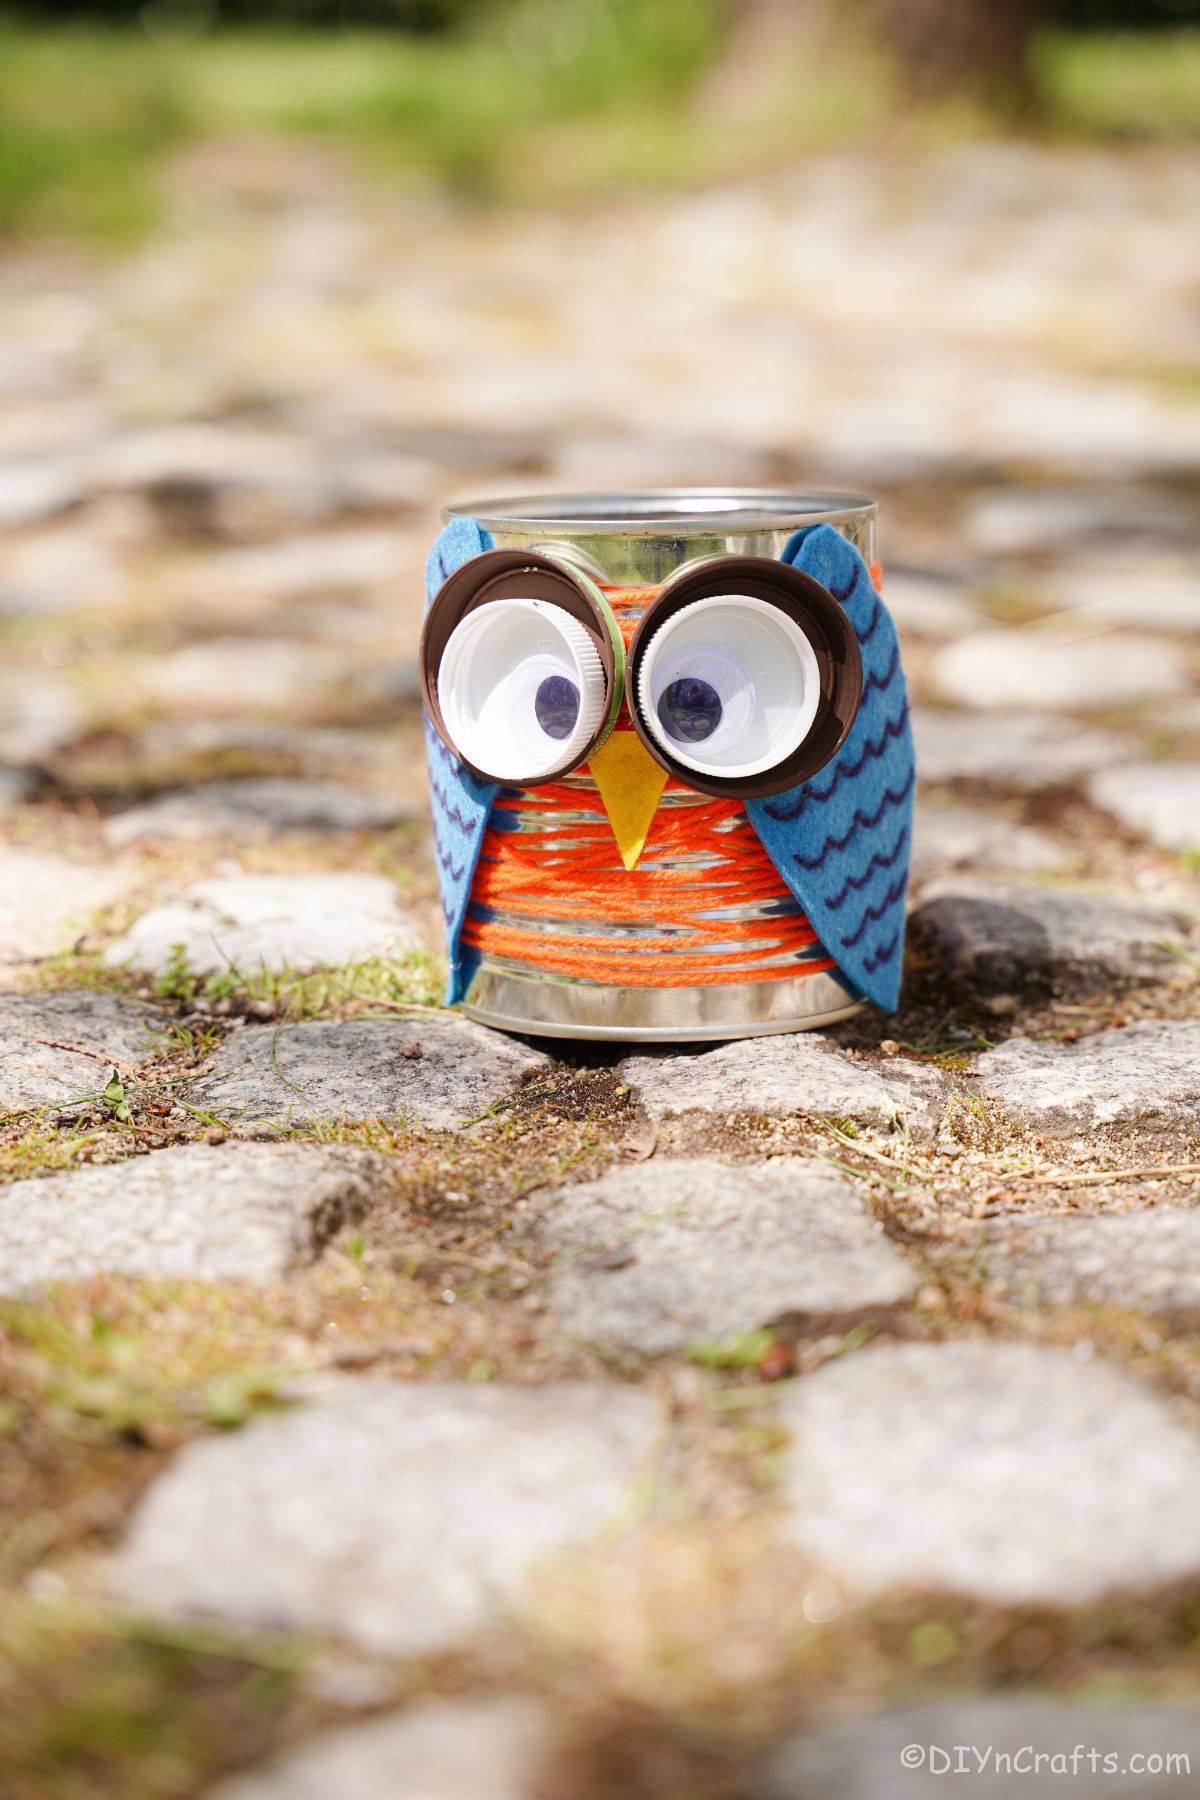
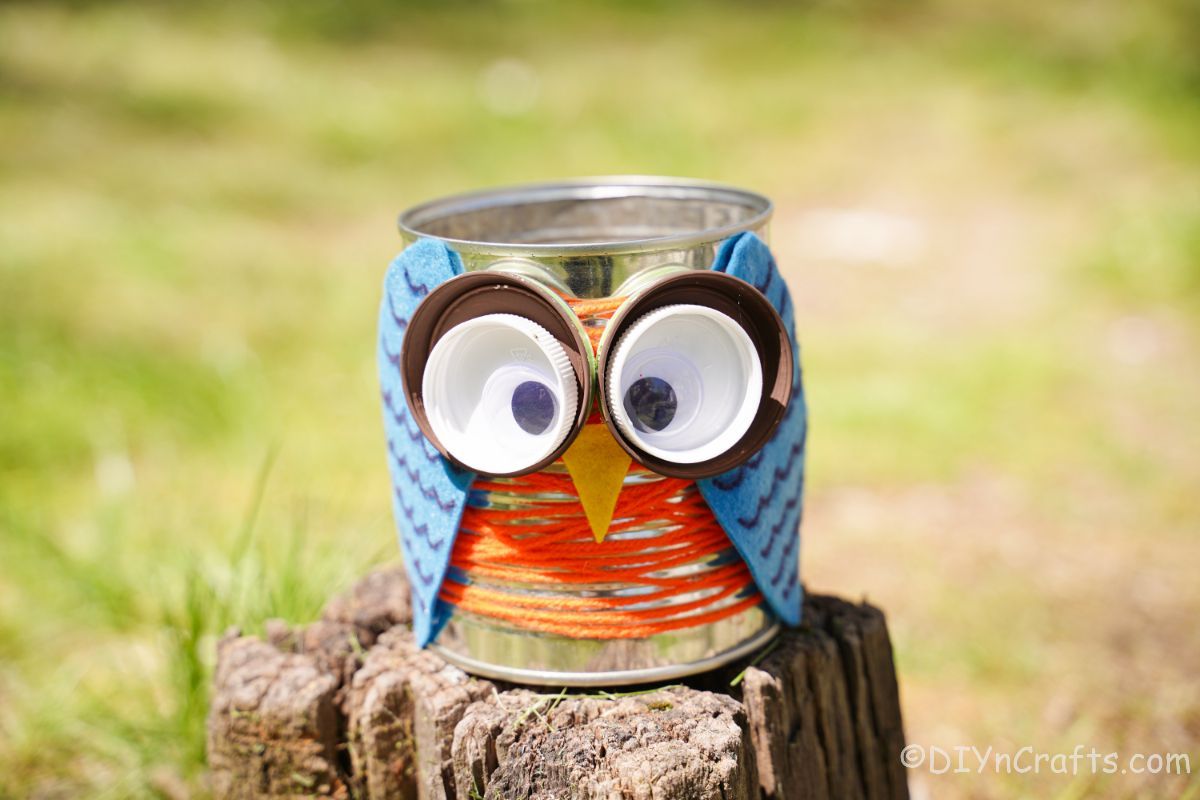
What a cute tin can owl using upcycled items! The perfect owl garden decoration for your summer garden display!
Materials
Instructions
- On a tin can, attach the end of the orange yarn with hot glue near the top of the can.
- Use brown paint to paint the inside of the two largest bottle caps then set them aside to dry.
- Now, wrap the yarn around the can multiple times, until it is covered but some of the tin cans is able to still be seen through.
- Fold the blue paper in half, then cut a wing shape out of the folded area.
- Cut this in half to create two separate wings.
- Use a black marker to draw squiggly lines along with the wings every ¼" or so to create the look of wings.
- Glue the wings on either side of the can.
- Glue the smaller bottle cap inside the larger bottle cap.
- Then glue the googly eyes into the smaller bottle cap to create eyes for the owl.
- Glue the bottle cap eyes near the top edge of the can.
- Then cut a small triangle of yellow felt out.
- Glue the beak in place just below the eyes of the owl.
Notes
Use any color yarn and foam to give your owl personality.
Recommended Products
As an Amazon Associate and member of other affiliate programs, I earn from qualifying purchases.
-
 Alchemy Witchcraft Wizardry Vintage-look Ephemera Themed | Etsy
 -
 Owl Rectangular Storage Tin | Etsy
 -
 Gufo owl Gufo Di Legno Wooden Owl Gufo Owl | Etsy
 -
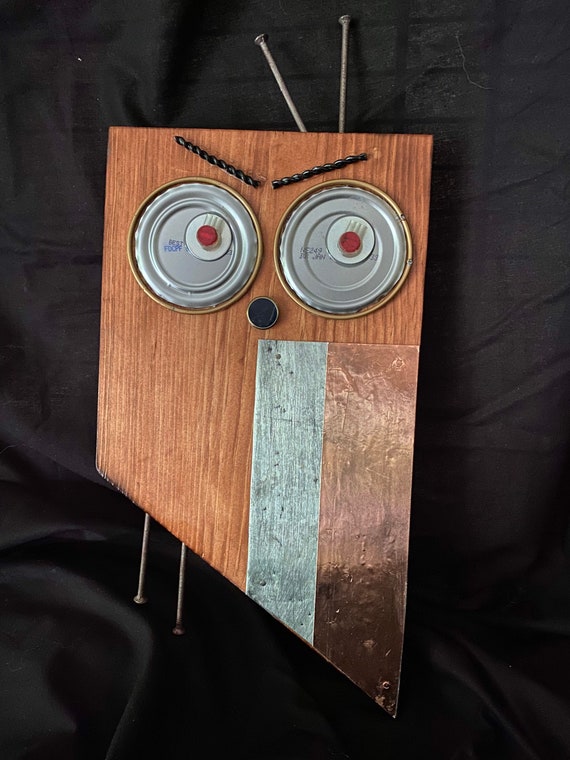 Tin Can Lid Eyed Owl With Button Nose and Nail Legs Homemade | Etsy
 -
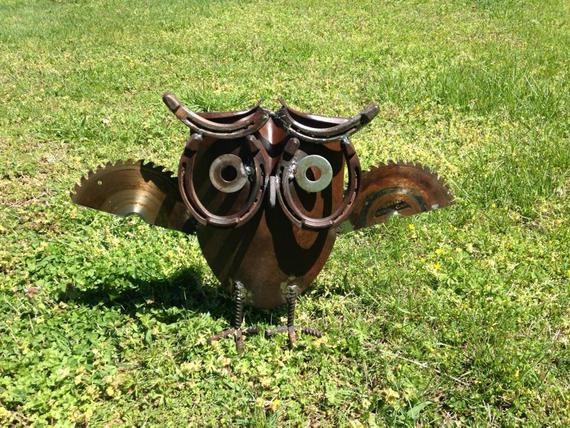 LARGER VERSION: Reduced Shipping Rustic Metal Owl Garden Yard | Etsy
 -
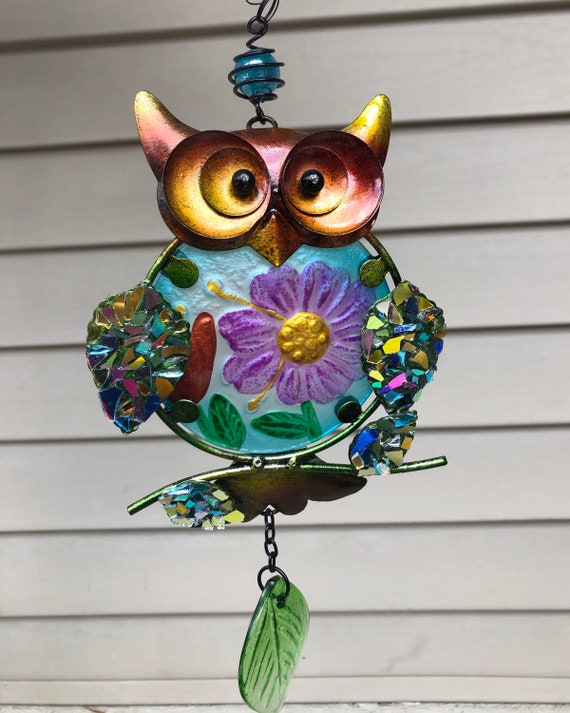 Shiny Glass Owl Owl Suncatcher.. Yard Art.. Garden Art .. | Etsy
Finished Project Gallery
I love using this on picnic tables for utensils at summer parties!




Leave a Reply