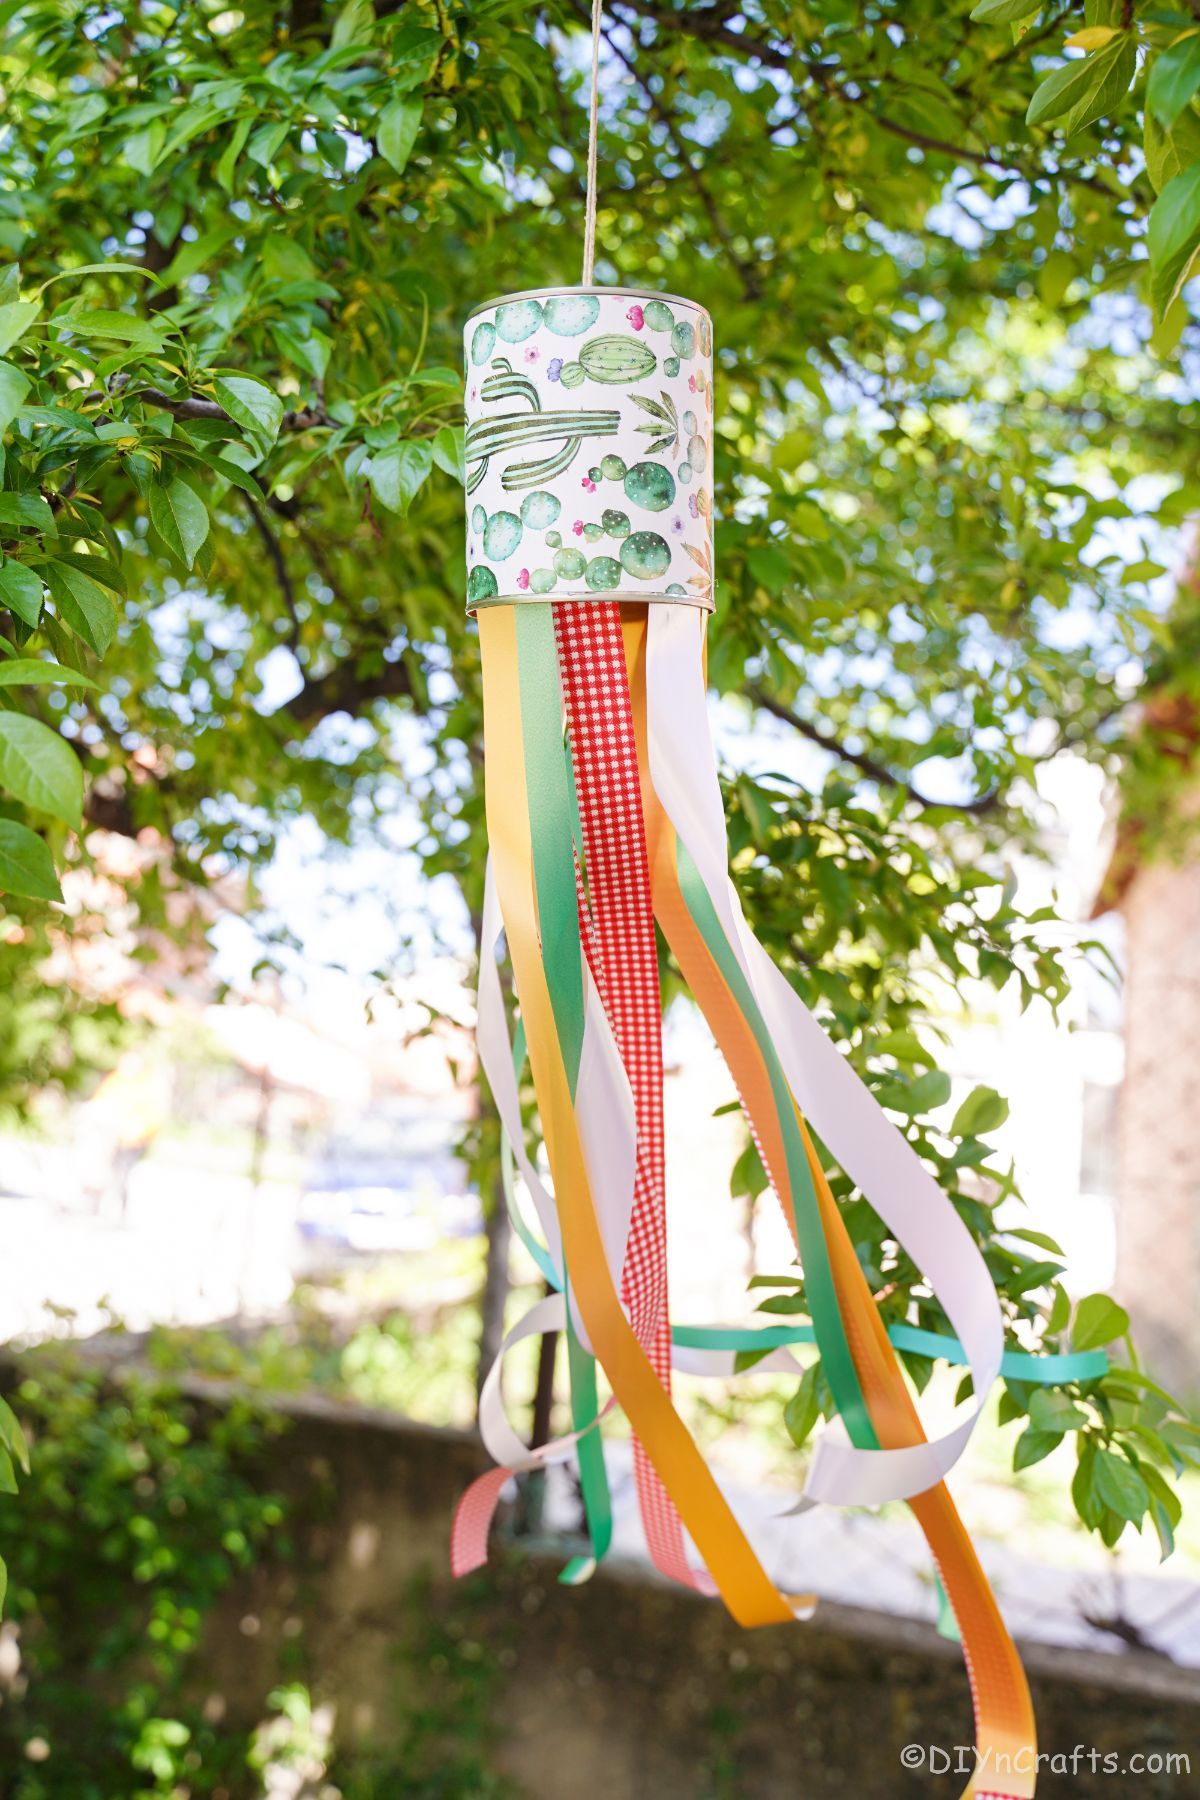
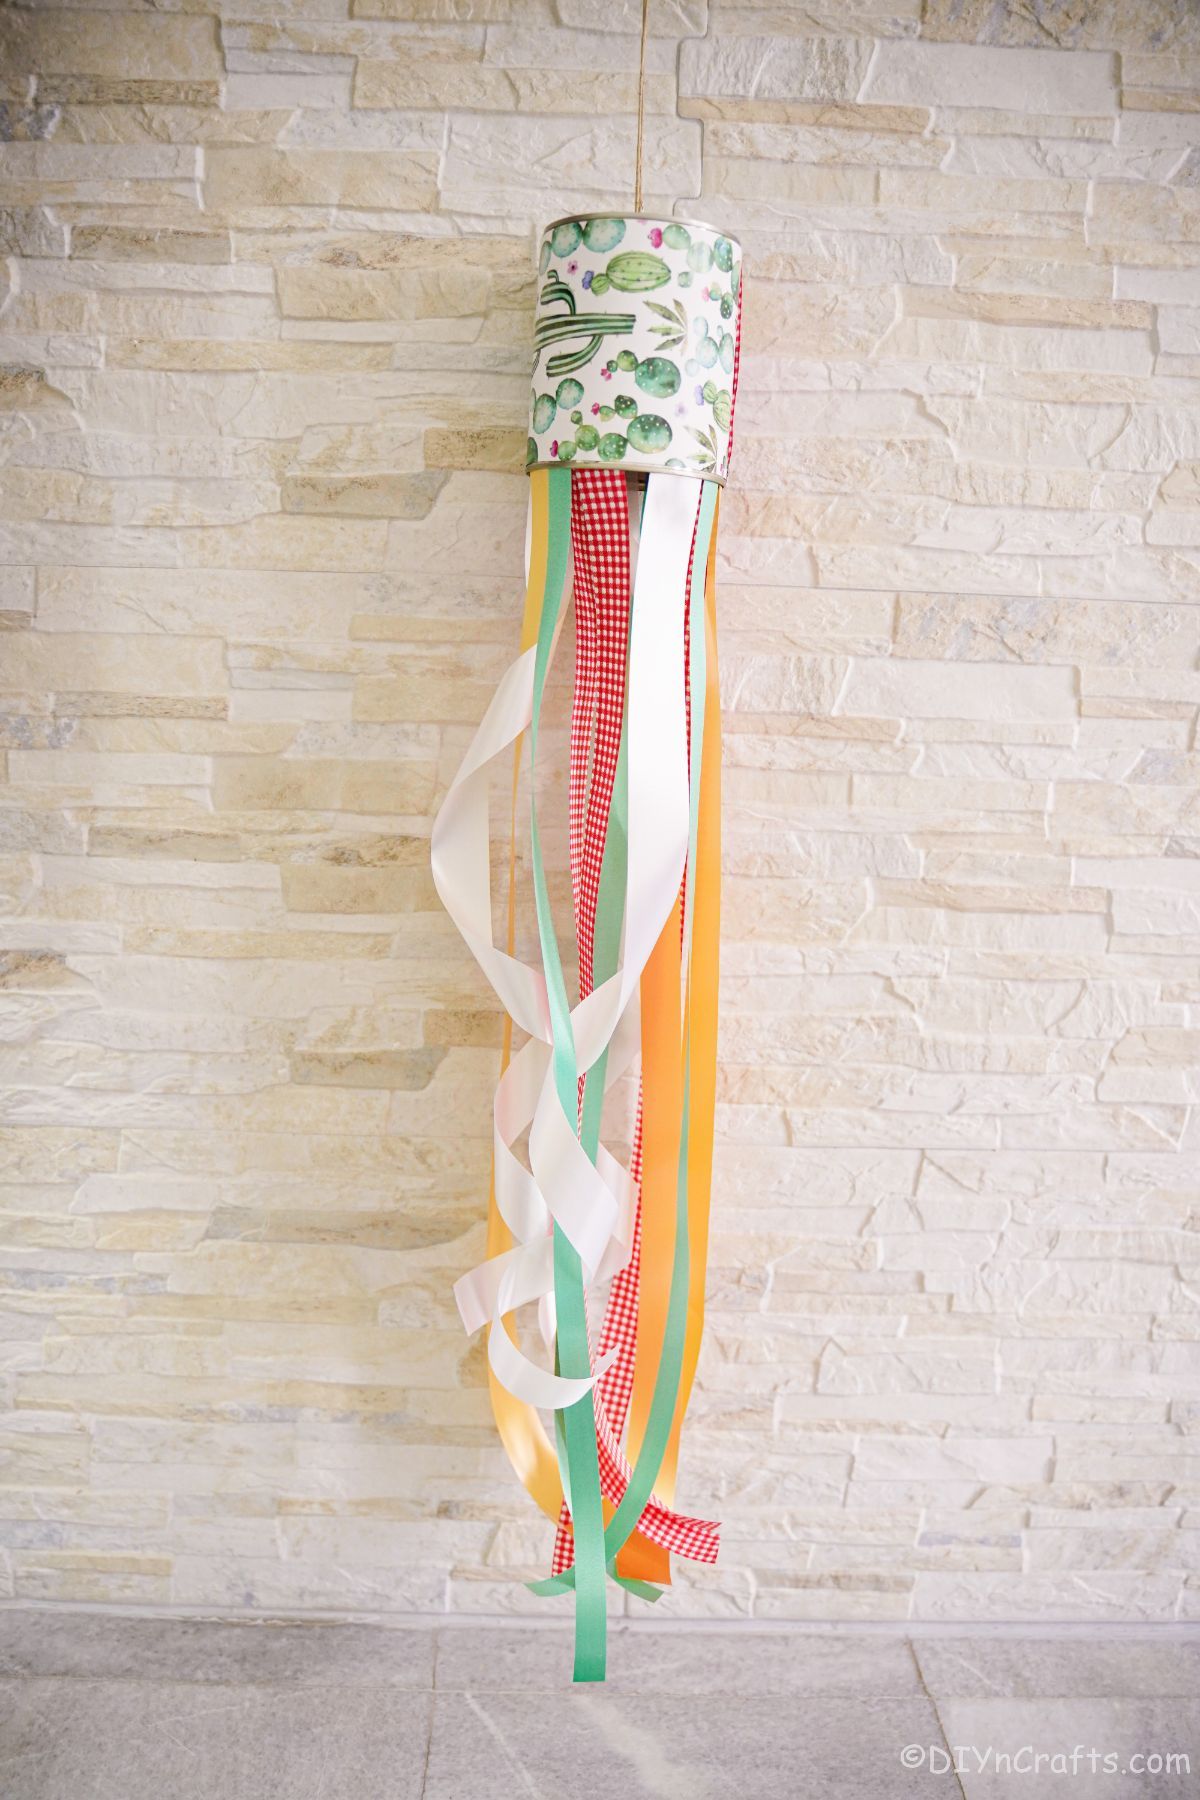
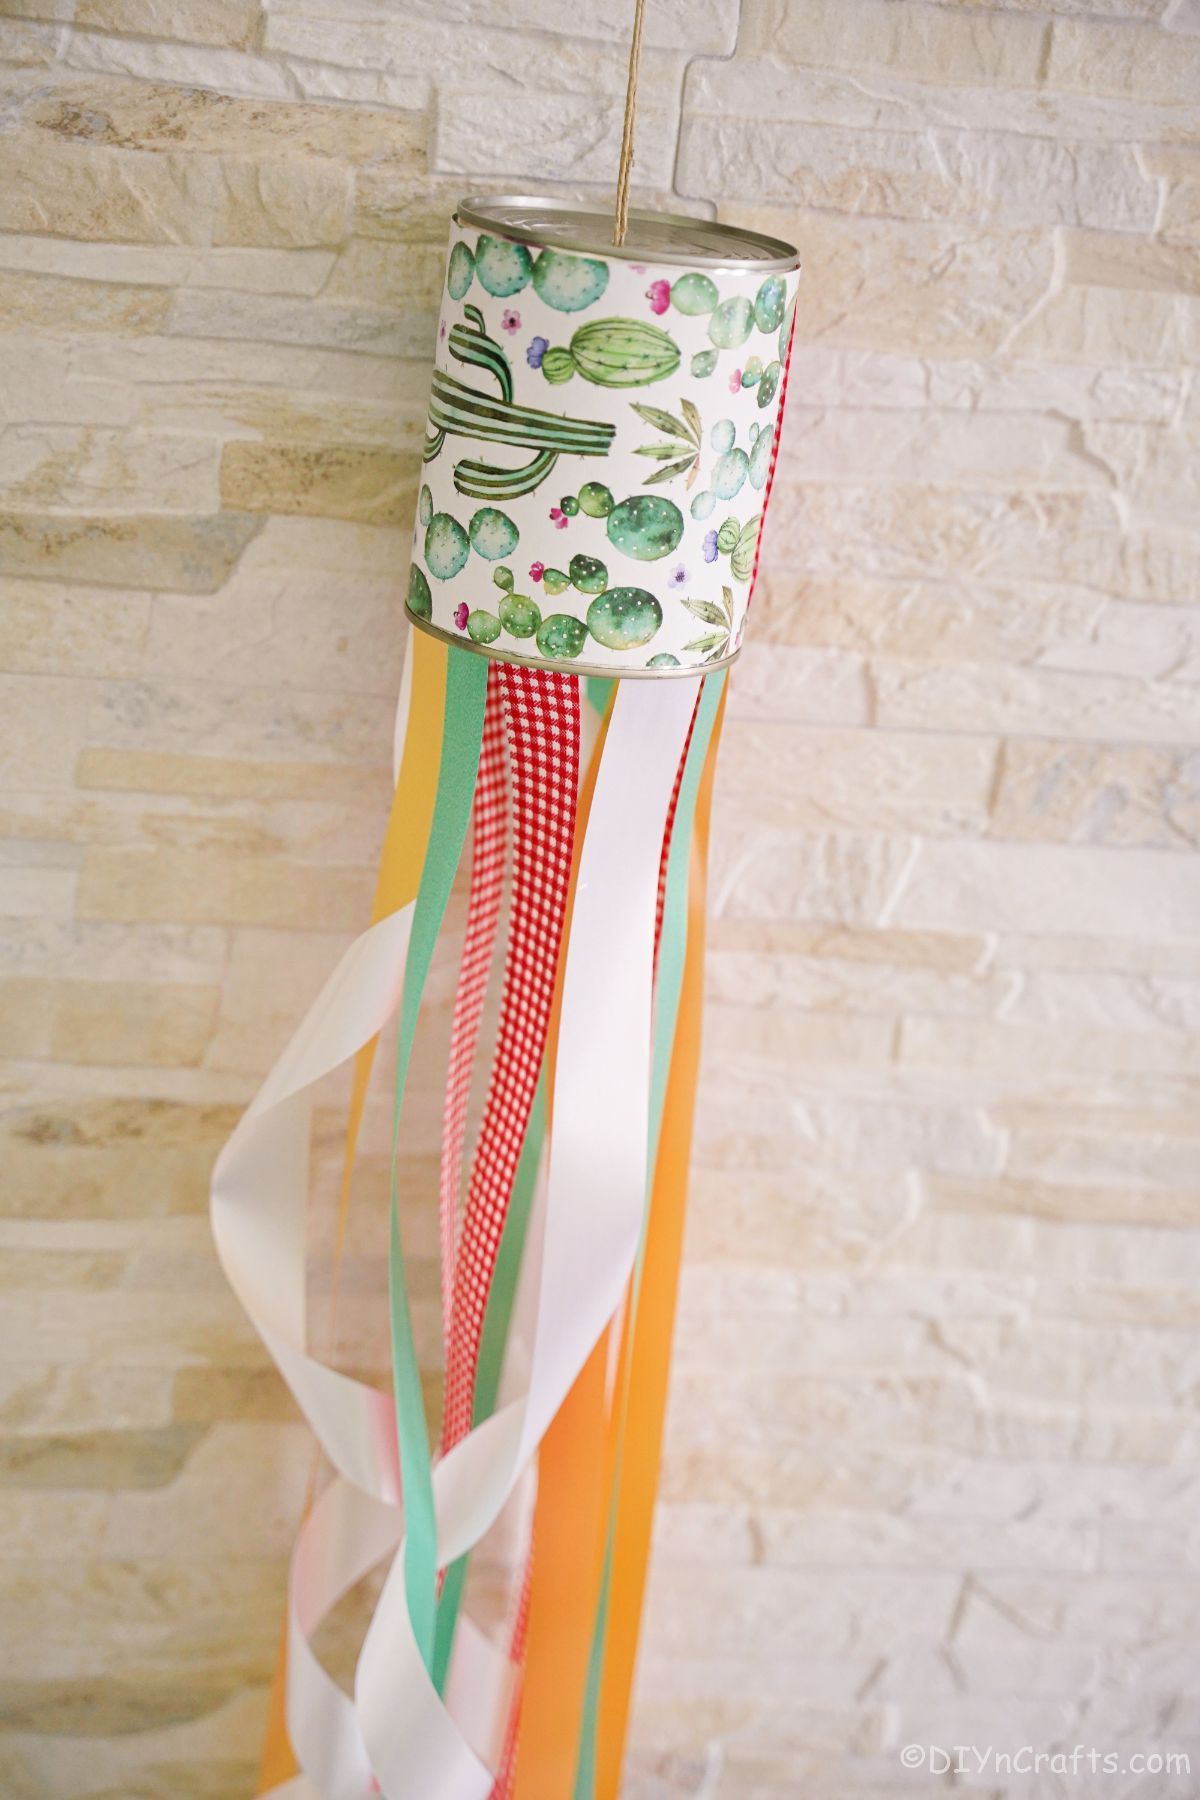
Are you ready to decorate your lawn and garden for springtime? Check out this super easy tin can windsock decoration. It's definitely a must for any home and garden. This craft project is perfect for those who want to add a bit of fun and whimsy to their outdoor decor. Since it is made from recycled materials, it's definitely one of those crafts that are free or at least very low cost. Plus, it's simple enough to make that you can do this with the kids!
Tin Can Wind Sock
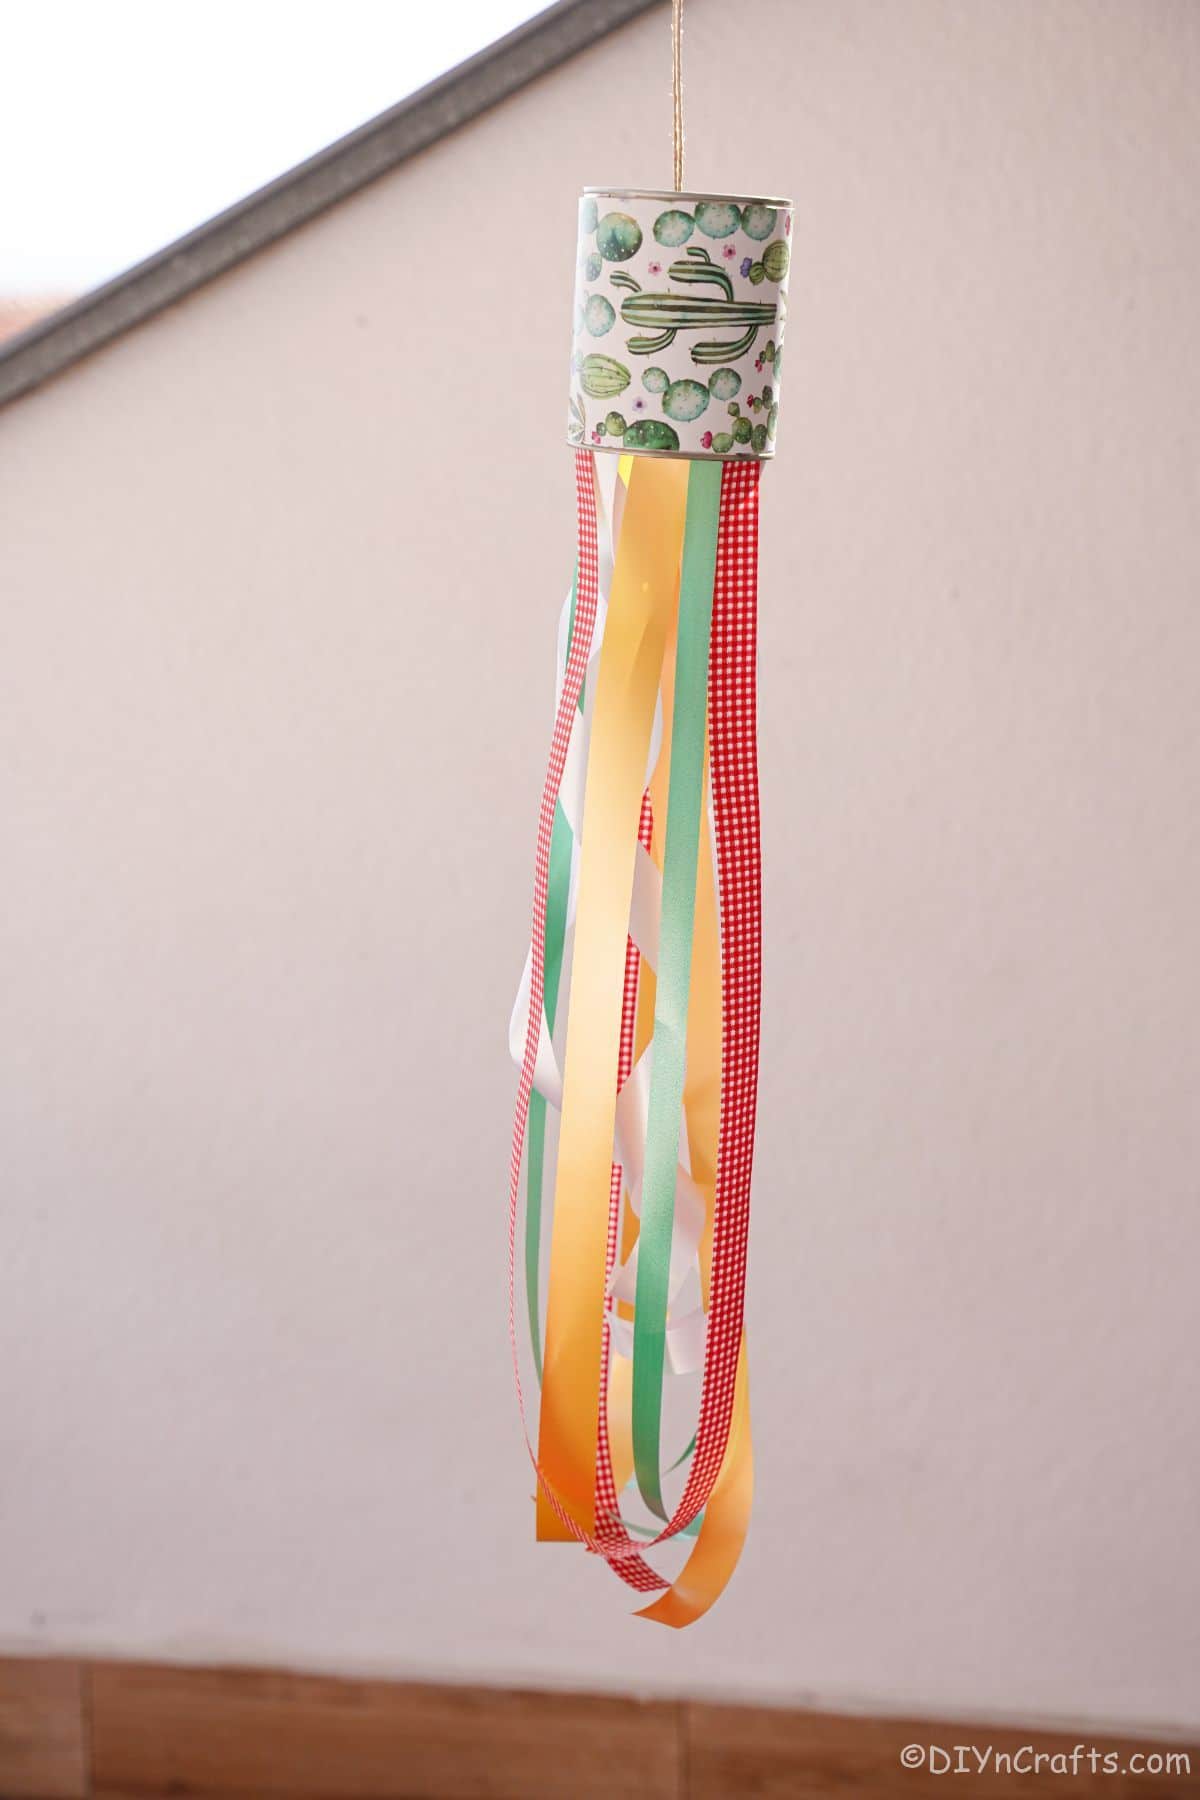
If you are like me and hold on to those empty tin cans for a project later down the road, then this is one you will have fun making. Use an empty tin can and a few craft supplies you already have on hand, and you have a decorative windsock for your garden.
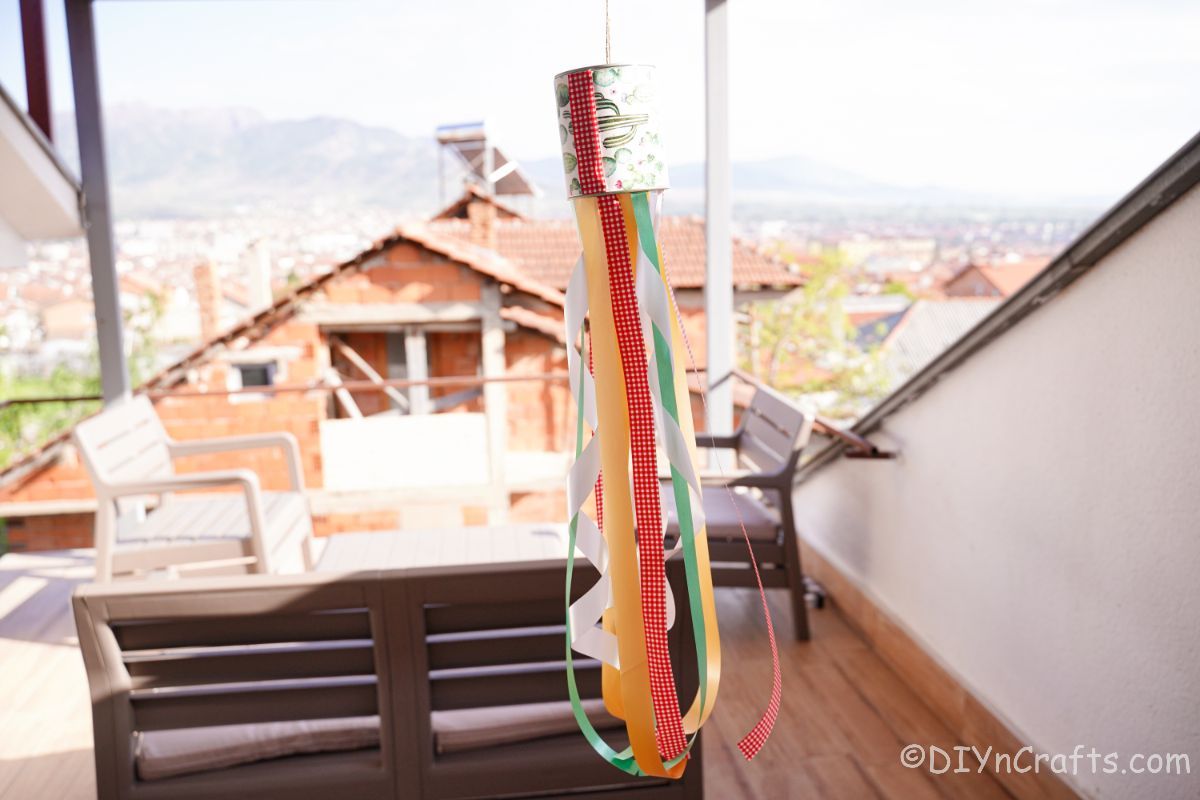
Hang this from trees, fences, or a porch roof. Of course, if you want it to blow around unrestrained, you can use a hook or a plant hanger on top. Even a Moses hook would work! Freestanding plant hangers work best for this and it is a great addition anywhere in your garden.
If you like this idea, then you'll probably like the ideas that are a bit more seasonal like this tin can ghost that is also a windsock of sorts. Another option is this upcycled CD and tin can wind chime idea. It's super cute but just a bit different!
What is a Wind Sock Used For?
A windsock is used to indicate the wind direction. It is placed in an open area so that it can spin and catch the wind. The direction of the spin will indicate the direction of the wind. It creates a beautiful decorative design to add color and movement to your garden. I love this because it looks so pretty hanging outside, but it also shows you exactly which way the wind is blowing and just how strong!
Where Do You Put a Wind Sock?
A windsock should be placed in an open area so it can catch the wind. The ideal placement for a traditional one is on top of a building or mast. However, if you don't have a good place to put your windsock, you can also hang it from a tree or post. I love the idea of using a garden Moses hook for it, or hanging it along the porch roof so it dangles over the rails but has room for movement.
You may have also seen some similar to this that are meant for interior decorations. You can use this one both inside and outside, but inside, obviously, it's all about decor and not functional for weather reasons.
Why is it Called A Wind Sock?
The windsock is called this because it is in the shape of a sock. The sock catches the wind and spins around to indicate the direction of the wind. It is simply one of those words that is very much a literal meaning.
What Should I Use for the Ribbons On My Tin Can Windsock?
Creating the "sock" part of this is easy when you use ribbons. You can choose from any type or size of ribbon, or even go for actual fabric cut into strips. I grabbed some ribbon that had a few extra feet leftover from past projects. As always, making something upcycled like this is great for using up items you already have on hand.
If you want to be specific, I find fabric ribbons to work well with this since it's a bit more durable for the elements. The only thing I would avoid is using a paper ribbon that would dissolve if it got wet.
Get creative and look at old towels, sheets, t-shirts, pillowcases, or fabric scraps to cut and create different widths of ribbon to make your own windsock look even more unique.
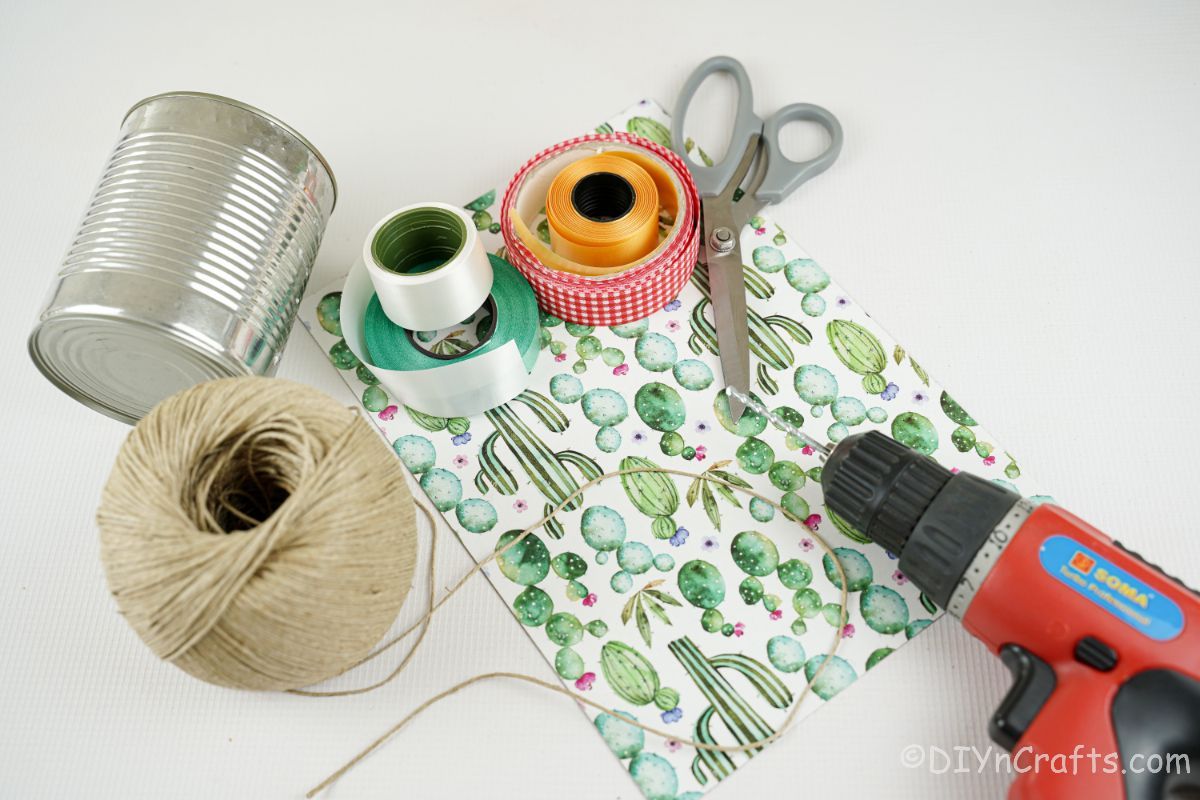
Supplies
- Tin can
- Scrapbook paper
- 1" wide ribbon
- 2" wide ribbon
- 3" wide ribbon
- Twine
- Ruler
- Pen or pencil
- Scissors
- Hot glue gun
- Hot glue sticks
- Drill with bit
How to Make a Tin Can Windsock
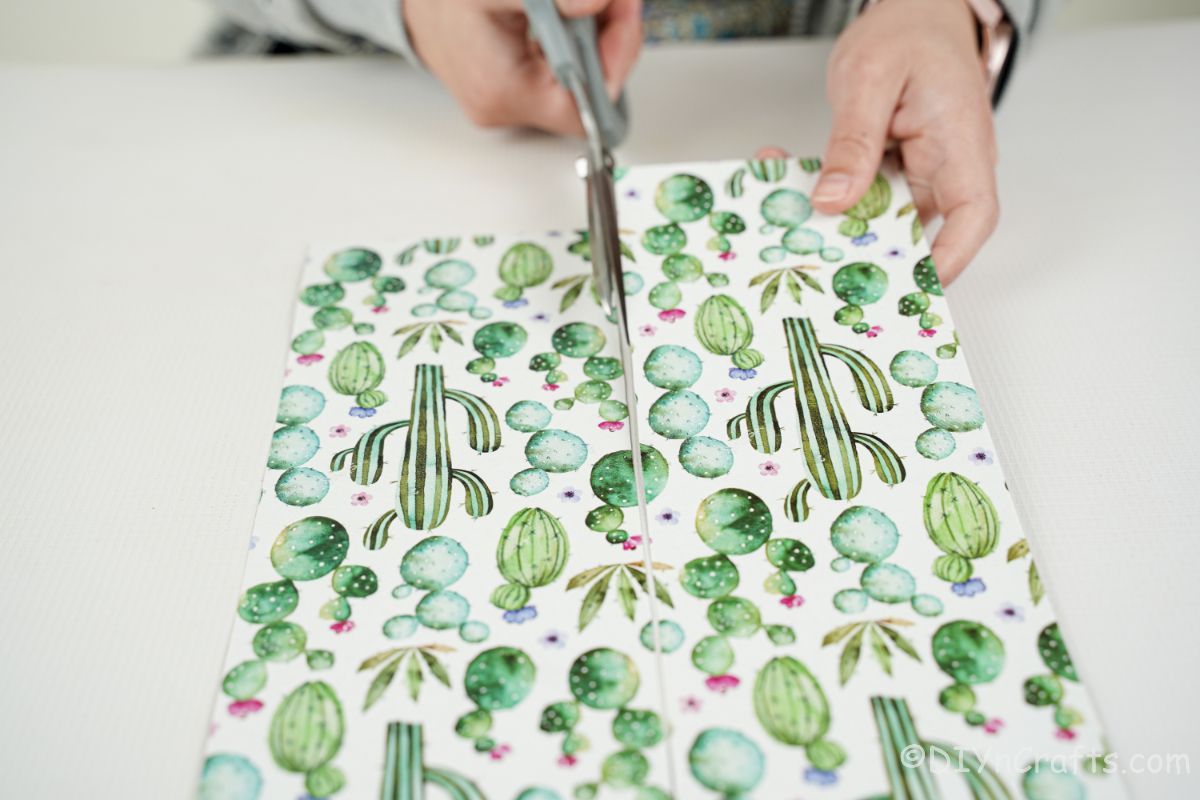
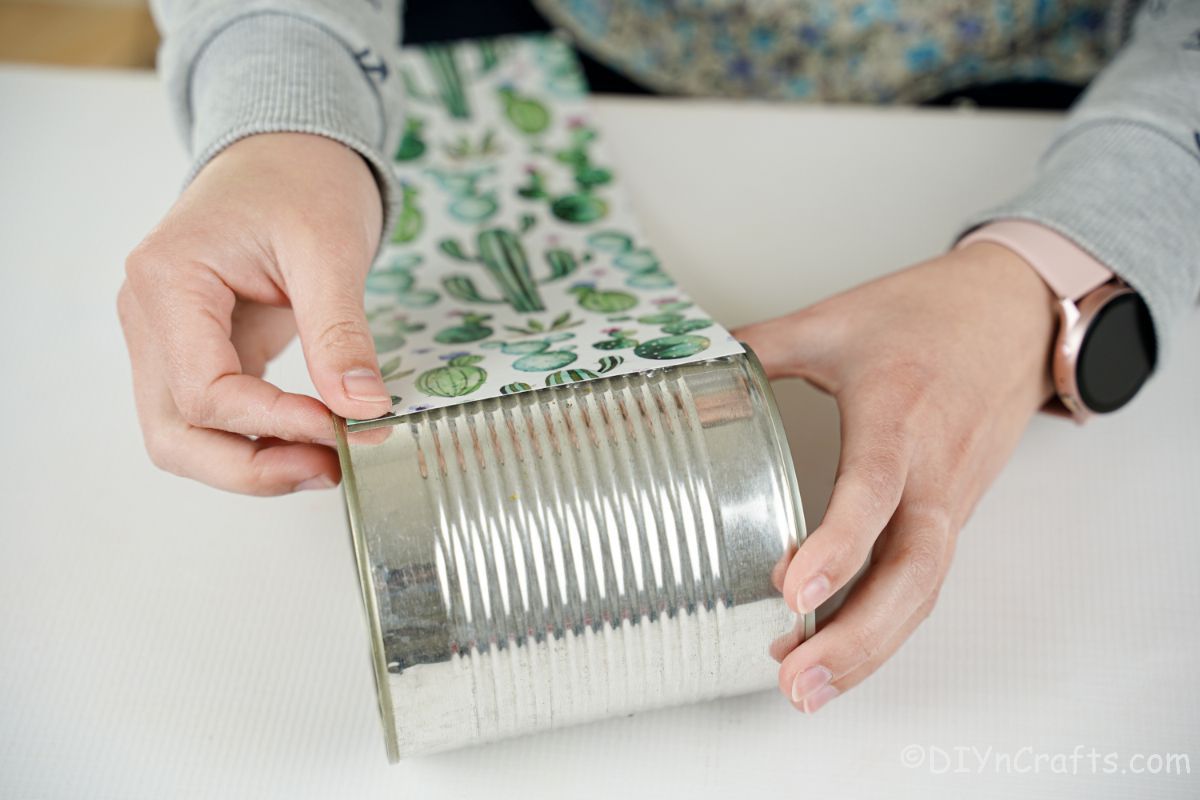
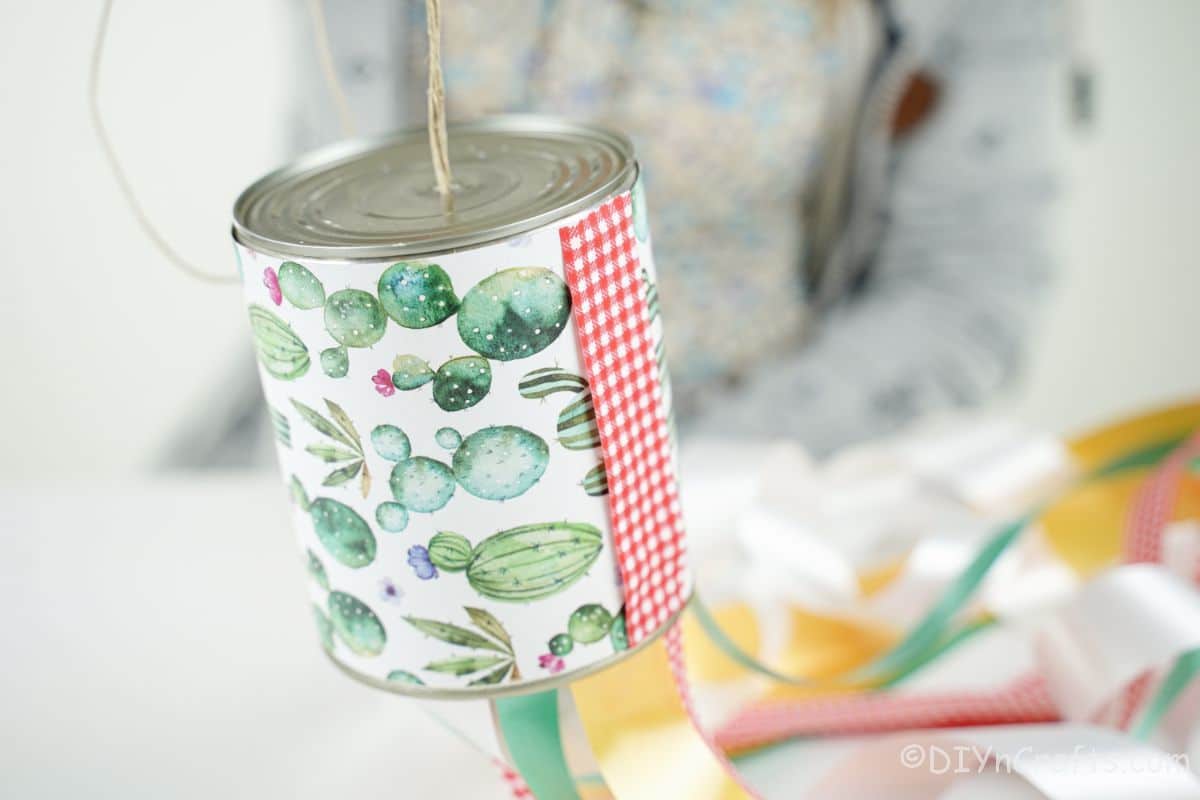
Measure the diameter and height of the tin can you will be using, then cut a length of scrapbook paper to fit.
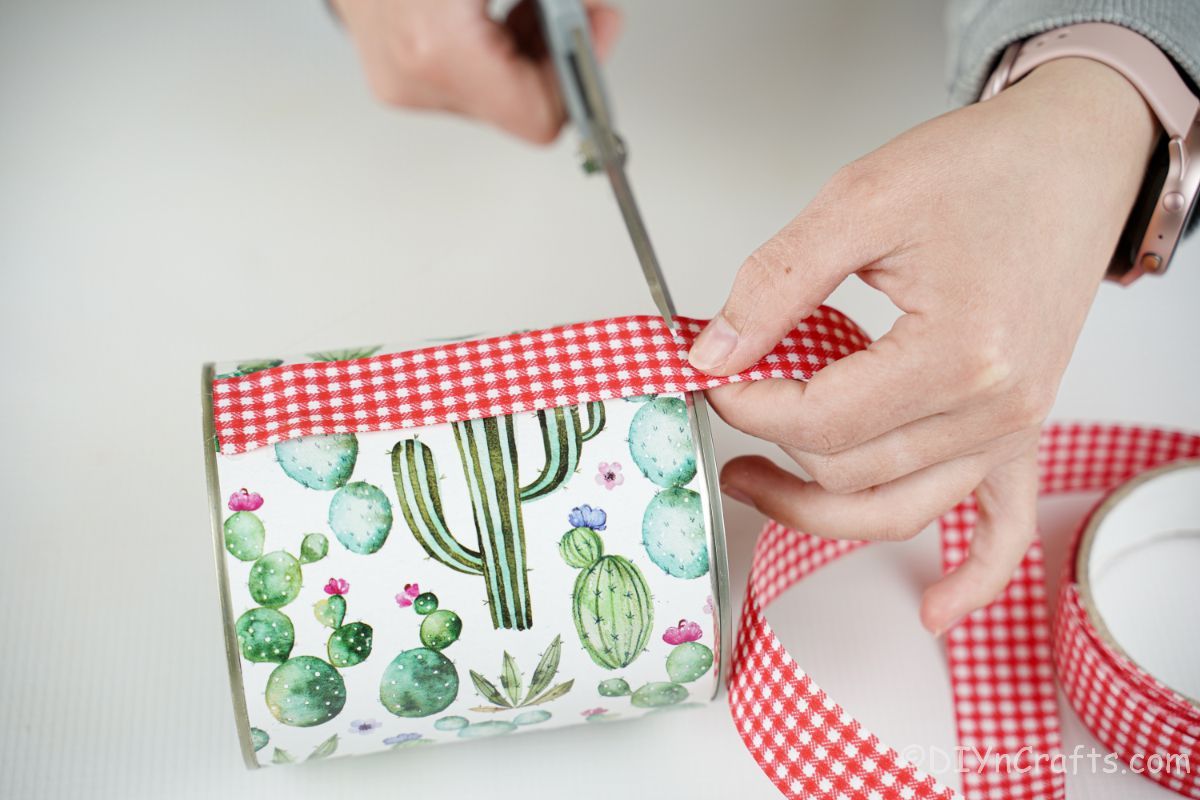
I ended up a bit short so used a length of ribbon as well, but that is not necessary.
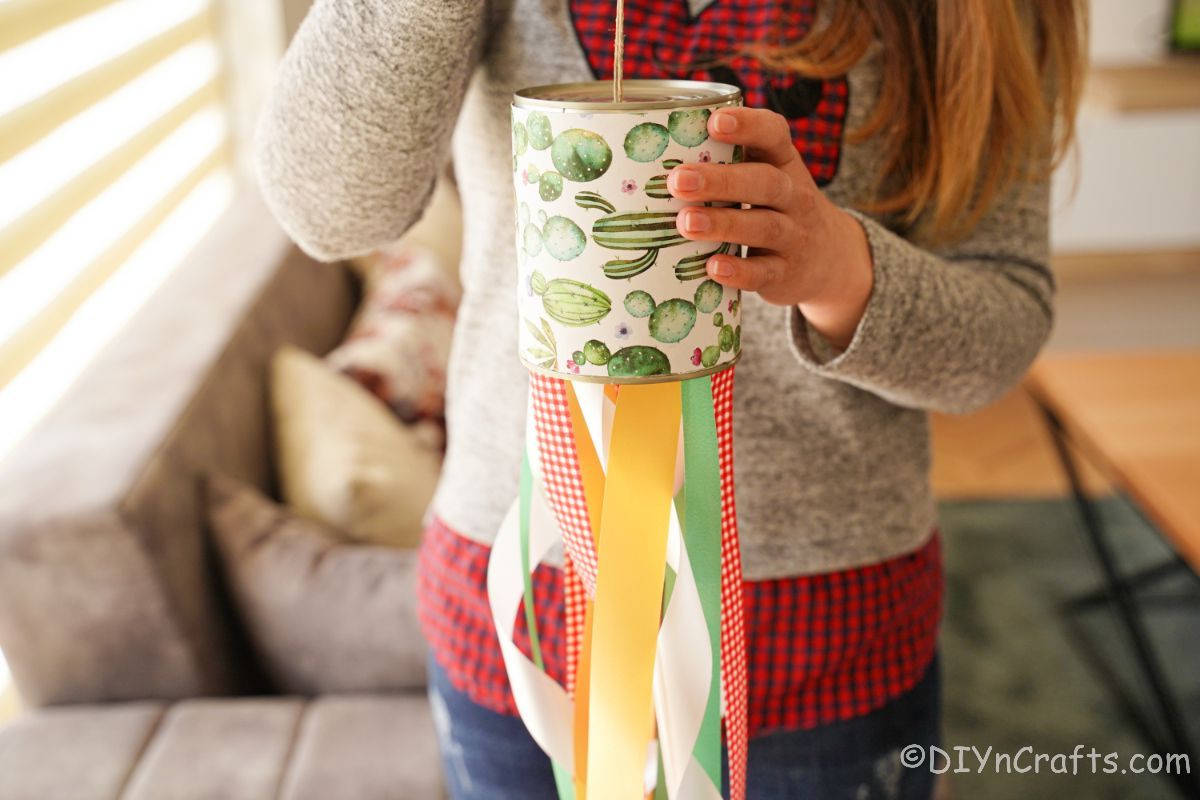
Once the paper is cut to size, wrap it around the tin can gluing in place and holding it to dry.
If wanted, you can still add ribbon on the seam for decor, but it is not necessary.
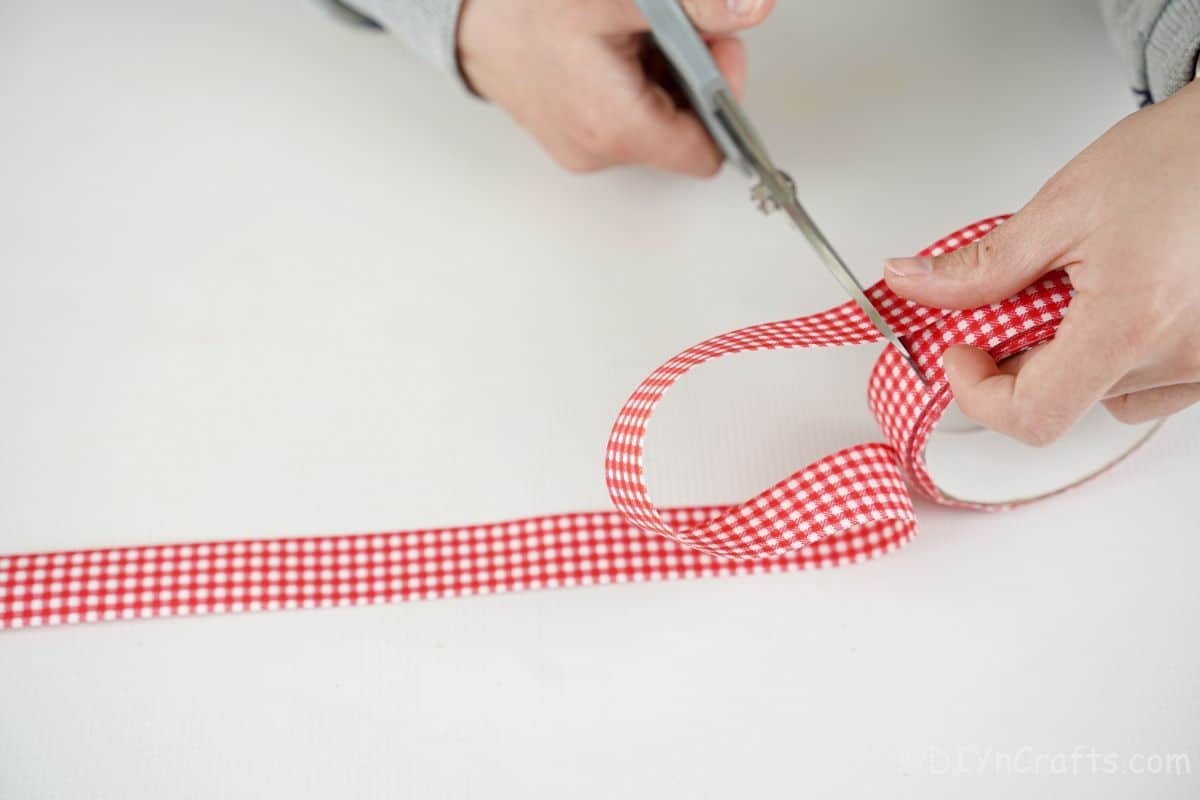
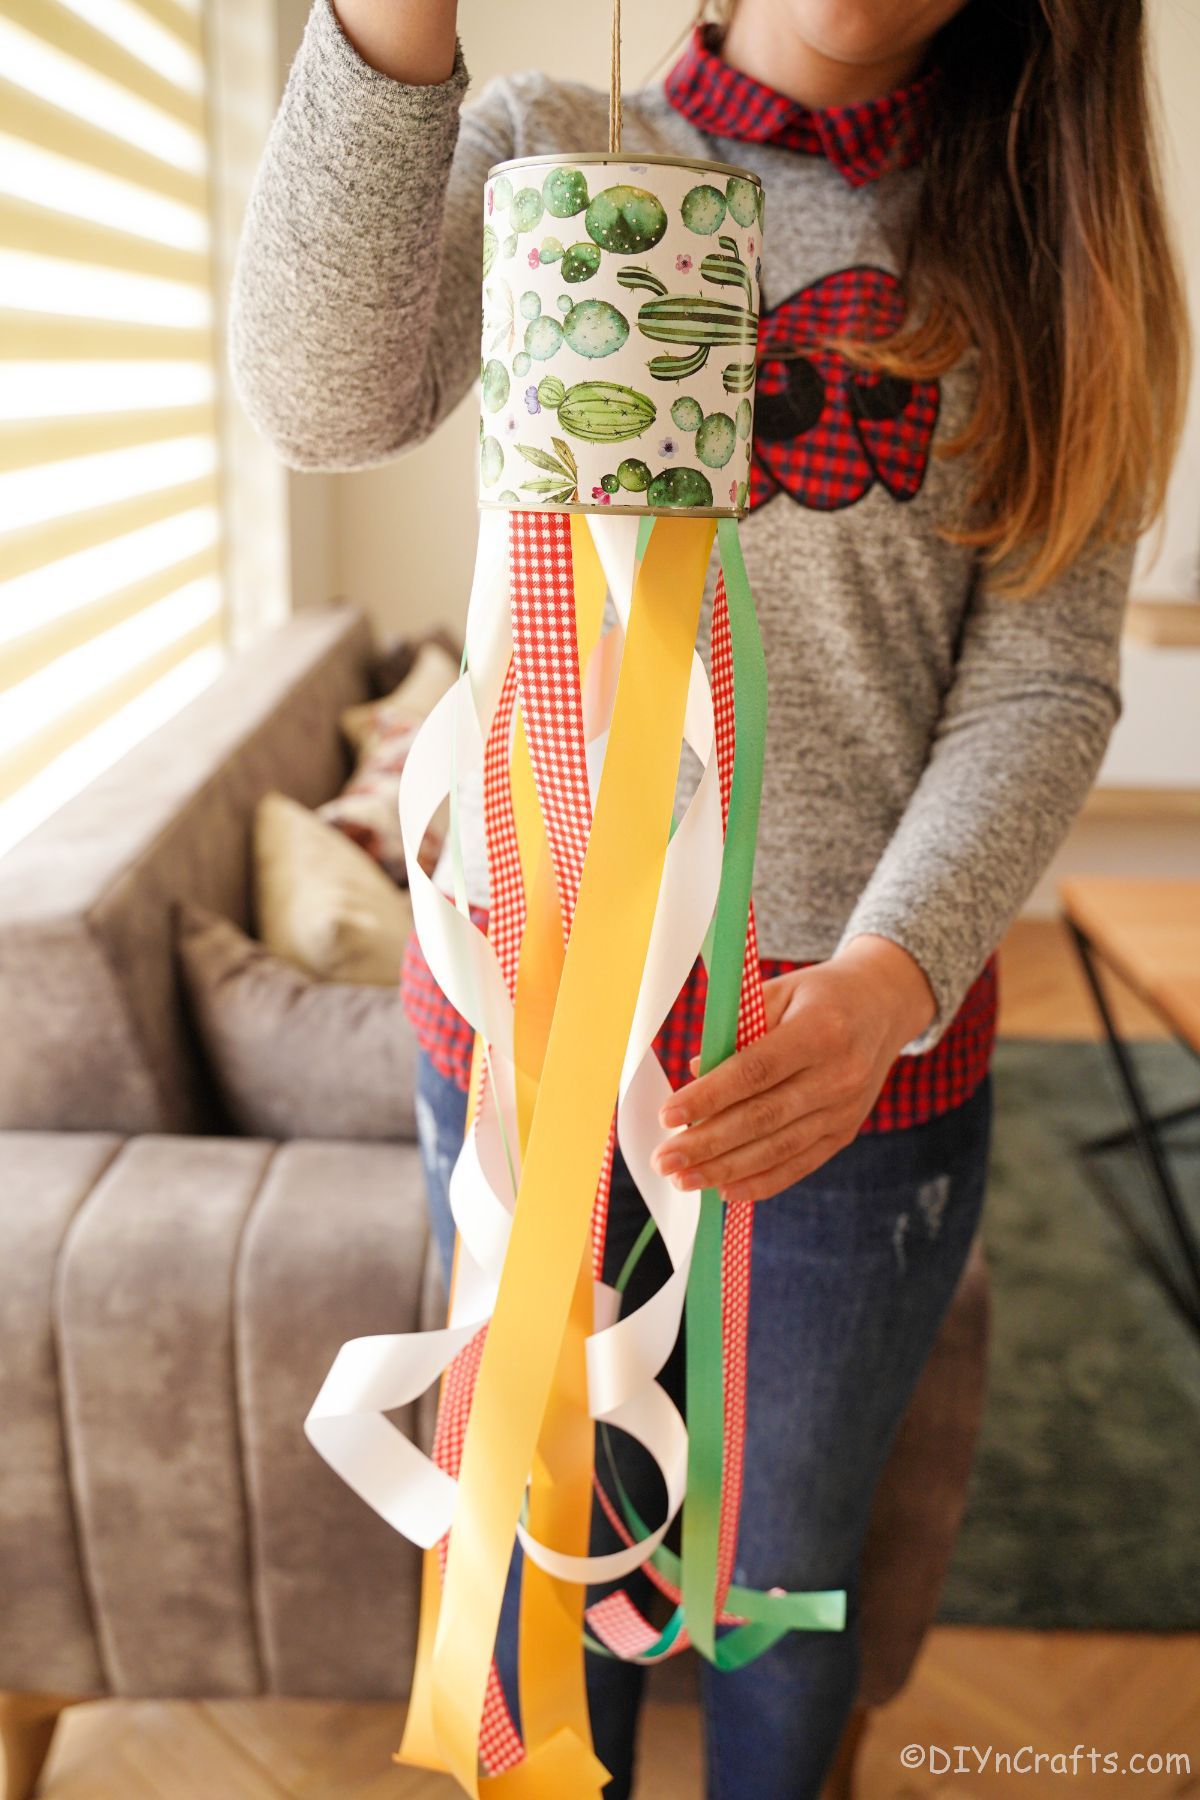
Next, measure out 3 foot long lengths of ribbon.
Make a few of each color or pattern of ribbon you want to use until you have 8 to 10 ribbons pieces.
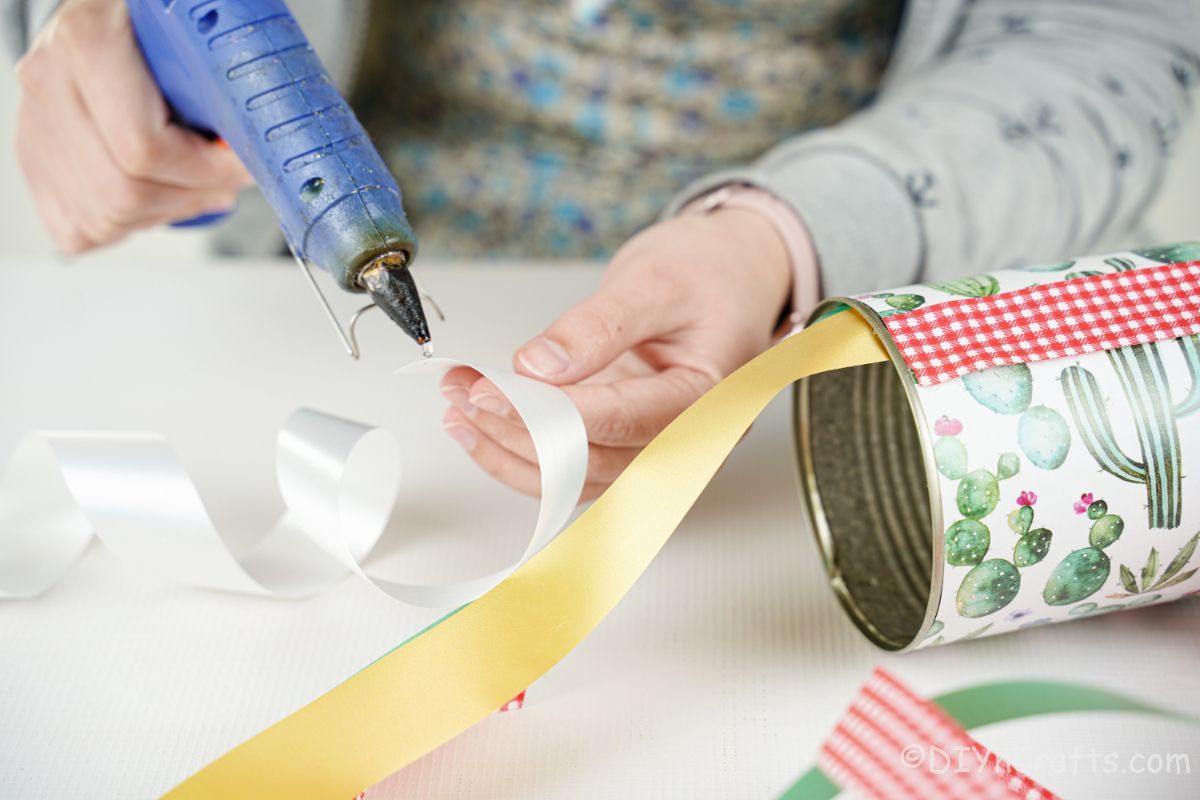
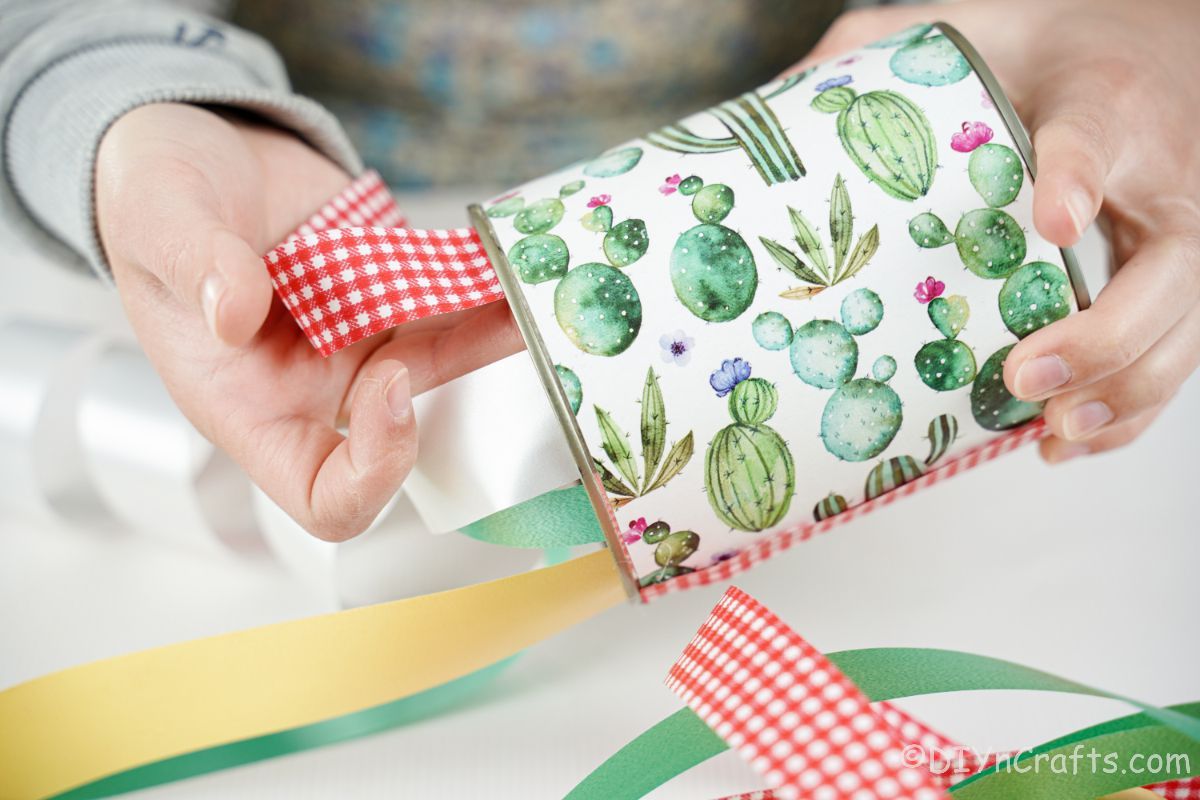
Now, begin gluing the ribbons just on the inside edge of the open end of the tin can.
Glue the ribbons along the inside edge until you are happy with how many are dangling, making sure you use different ones instead of all of the same in a row.
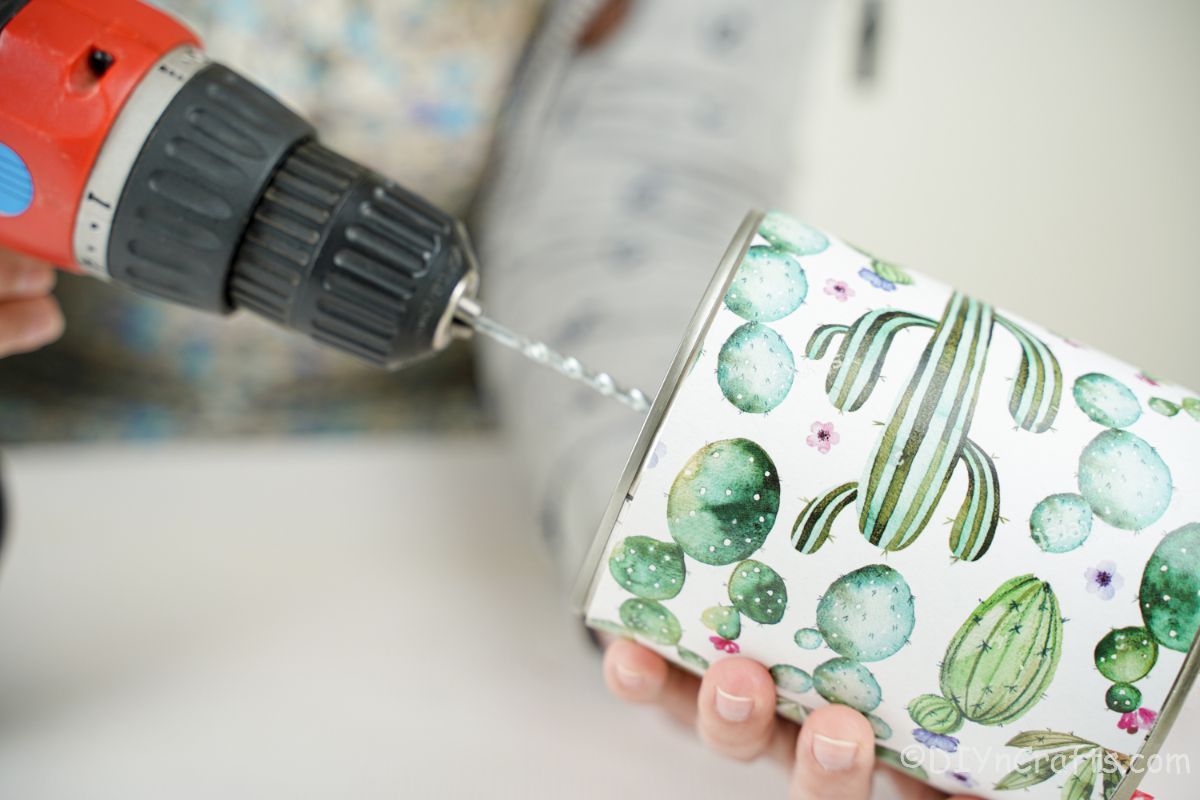
Then, use a soldering iron or a drill with a bit to make a hole in the other end of the tin can. A hammer and nail work well for this.
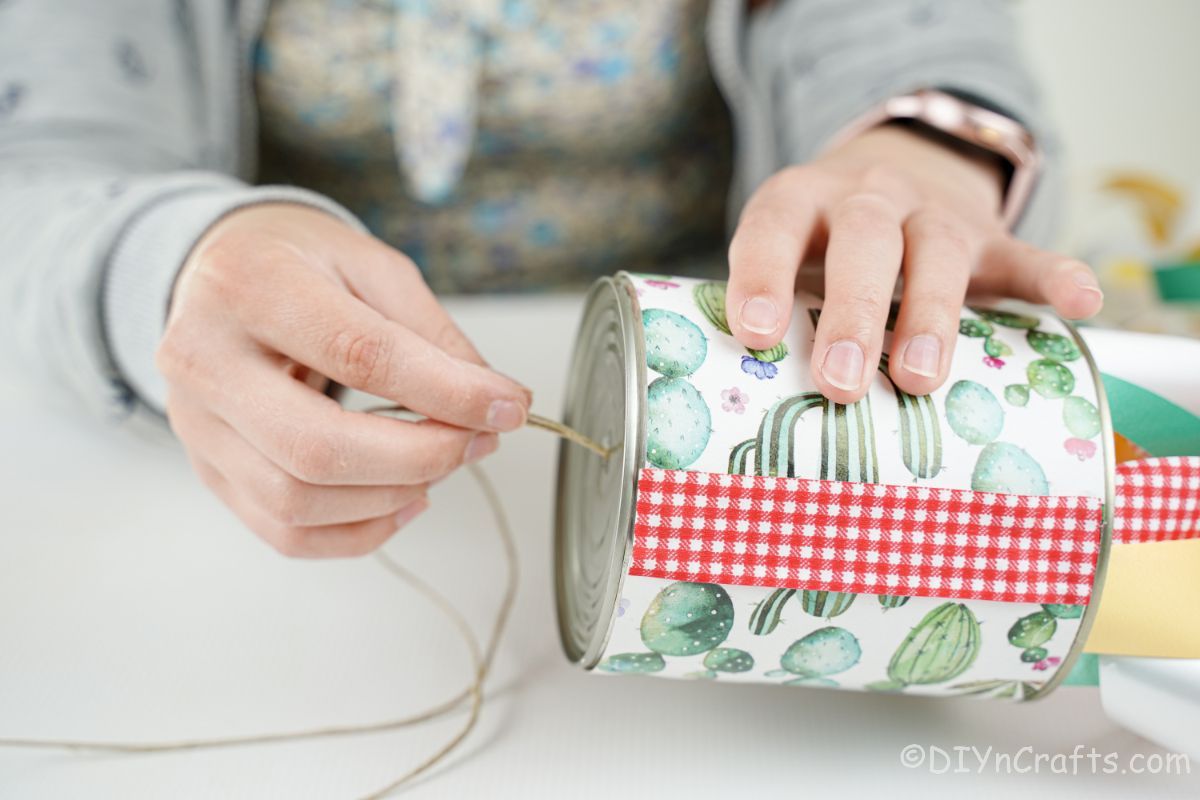
Cut a piece of twine that is around 20" long, then loop and push the two ends through the hole you just created. Reach through the can and pull the ends together to tie them into a knot. Then, pull the twine through the top so the knot keeps it in place with a loop over the top for hanging.
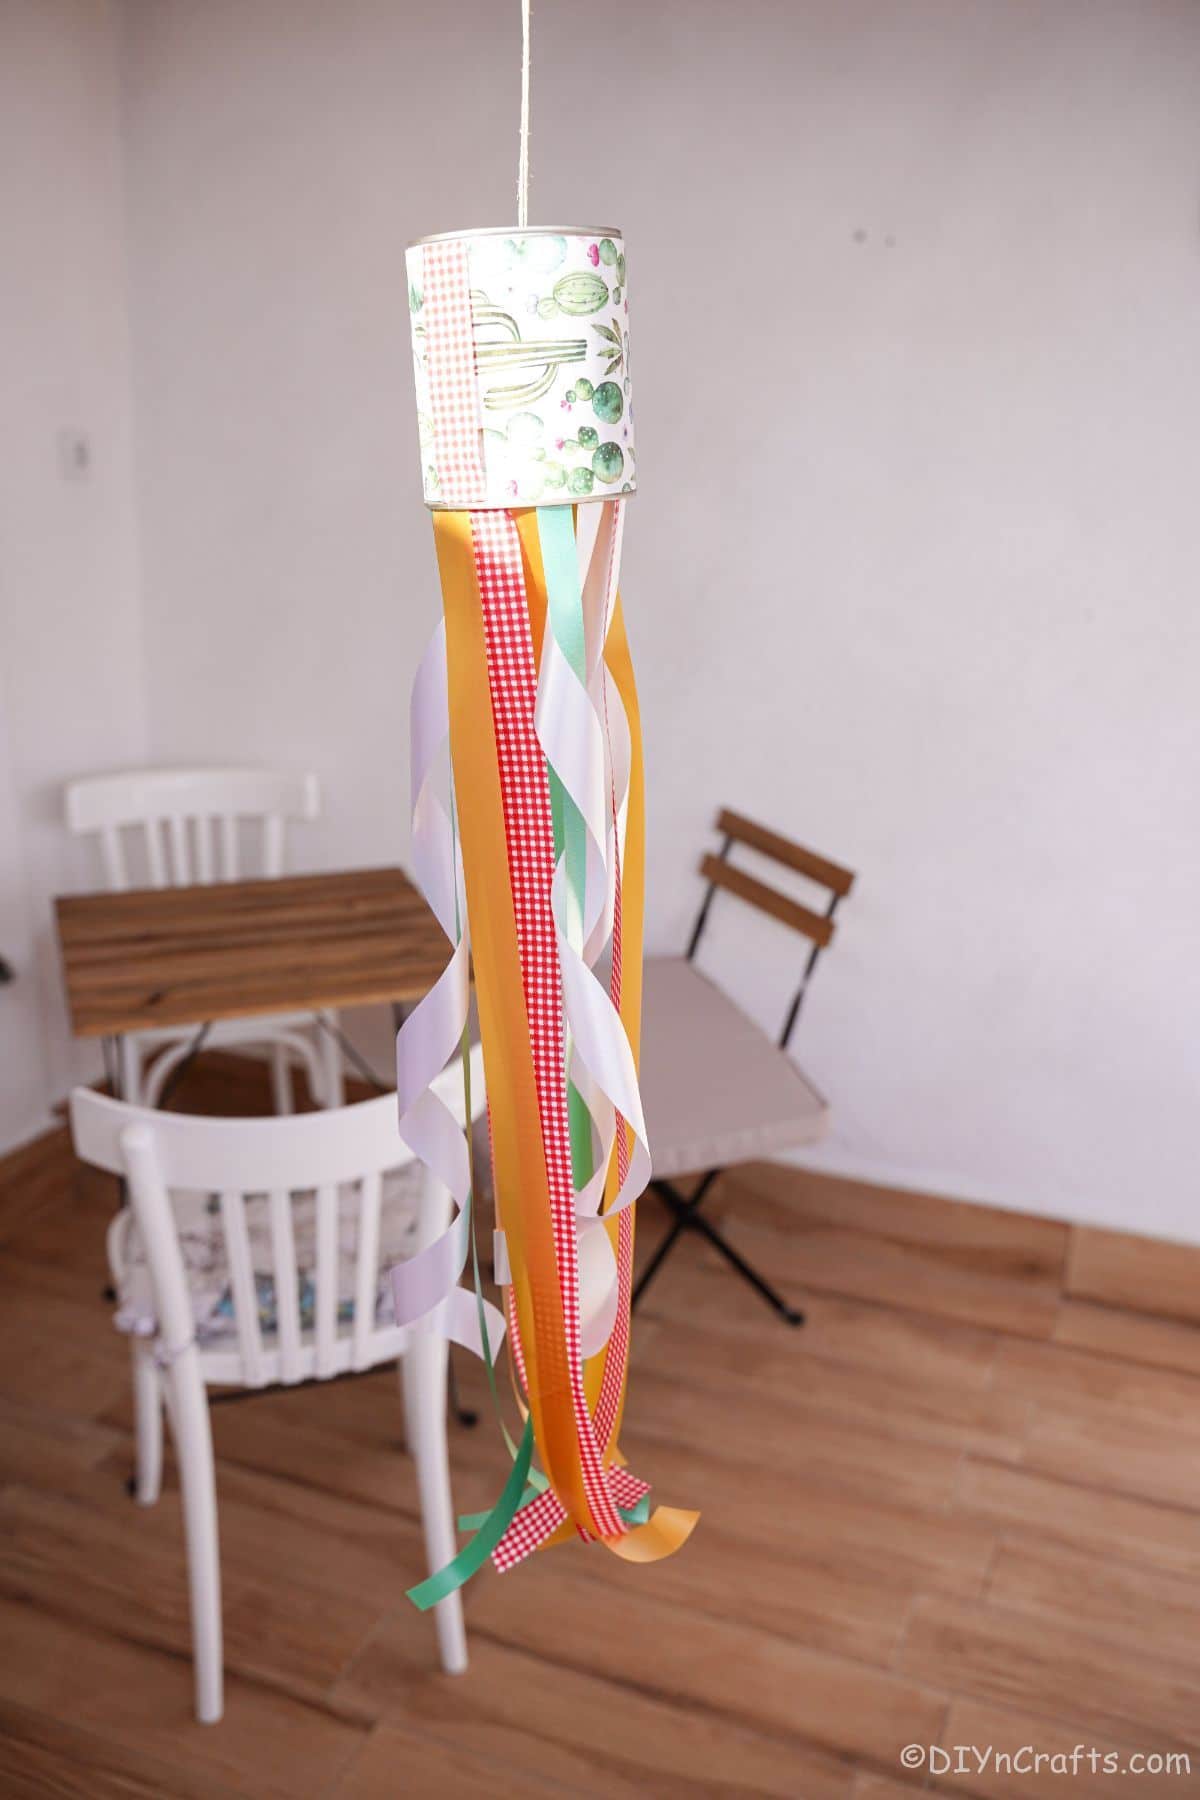
Add any additional decorations wanted before hanging outside in the wind!
More Tin Can Crafts
If you like this idea, you'll love some of our other tin can ideas. Upcycling is always preferred when it's time to craft, and below are some more of my favorite ideas using empty cans. Make sure that you bookmark the ideas, print out the tutorials, or pin them to a favorite crafting Pinterest board to make them soon!
- Super Fun Upcycled Tin Can Ball Toss Game
- Decorative Clothespin Tin Can Organizer
- DIY Hanging Bee Tin Can Garden Decoration
- How to Make Gorgeous DIY Tin Can Lanterns
- Creative Upcycled Tin Can Ladybug Pencil Holder
Colorful Upcycled Tin Can Wind Sock Decoration
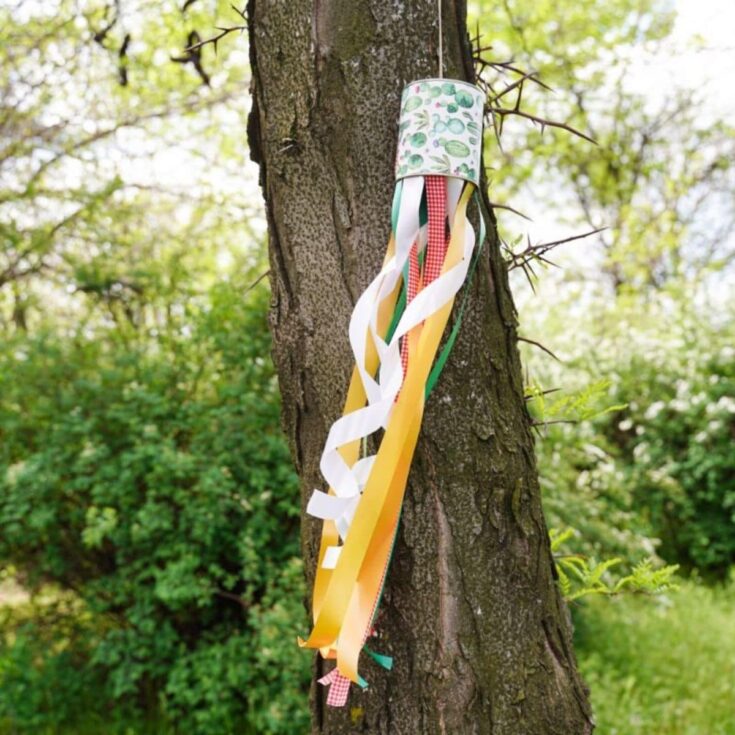
A fun upcycled tin can windsock is the best addition to your garden that uses entirely upcycled materials! An easy repurposed tin can craft!
Instructions
- On a piece of scrapbook paper, trace the width of the can and the length needed to wrap around it.
- Cut the paper to size.
- Wrap the scrapbook paper (pattern side out) on the tin can and glue it in place. You can add an extra ribbon where it comes together if you want or don't have enough paper to cover the space.
- Cut the different lengths of ribbon in 3' lengths, cutting at least 8 to 10 ribbons.
- Begin gluing the ribbons just on the inside edge of the open end of the tin can.
- Continue gluing them in place until you are happy with the number hanging from the can.
- Using a soldering iron or drill with a bit, pierce the top of the tin can to create a small hole for threading the twine through.
- Cut a length of twine and thread through the hole you just created.
- Tie the end of the twine to create a knot on the inside of the can to hold it in place while the other end is hanging out of the top to hang the windsock.
Notes
Use any ribbon, streamer, twine, or lace to create the "sock" on the wind sock.
Recommended Products
As an Amazon Associate and member of other affiliate programs, I earn from qualifying purchases.
-
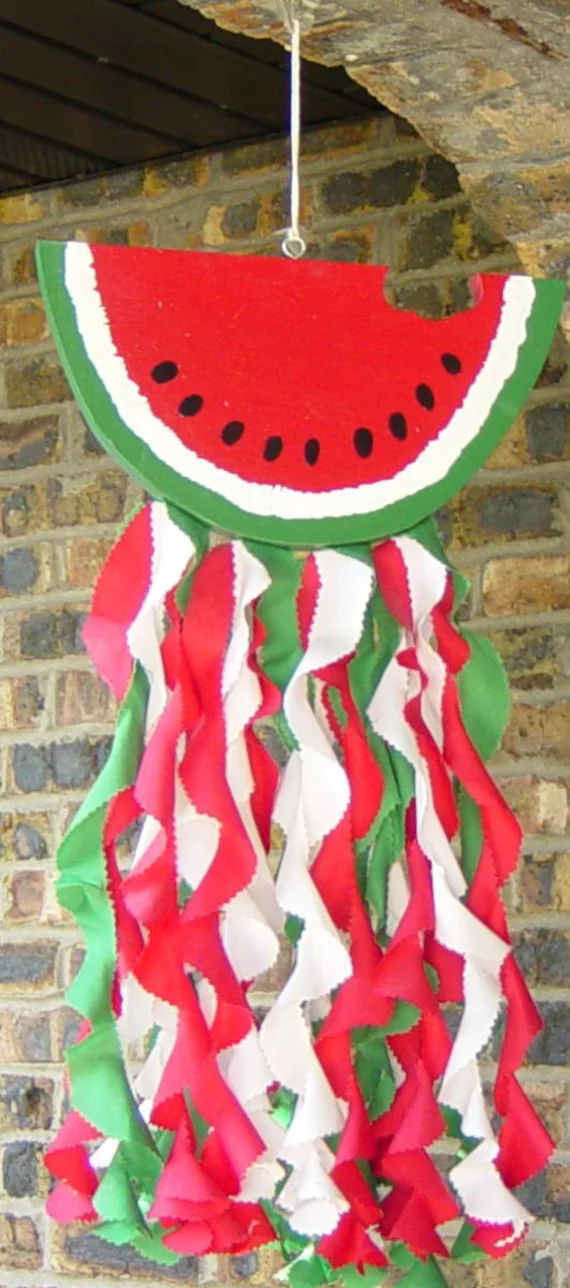 WATERMELON Wood and Fabric Windsock | Etsy
 -
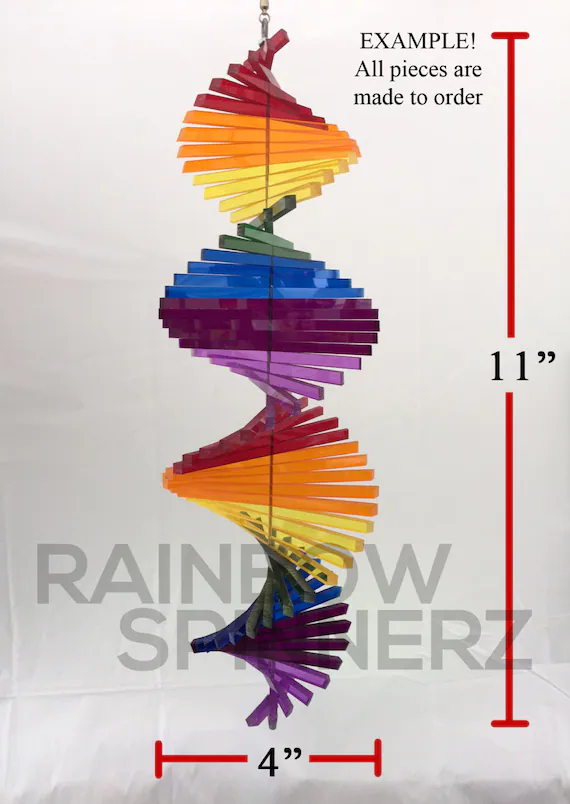 Rainbowspinnerz rainbow | Etsy
 -
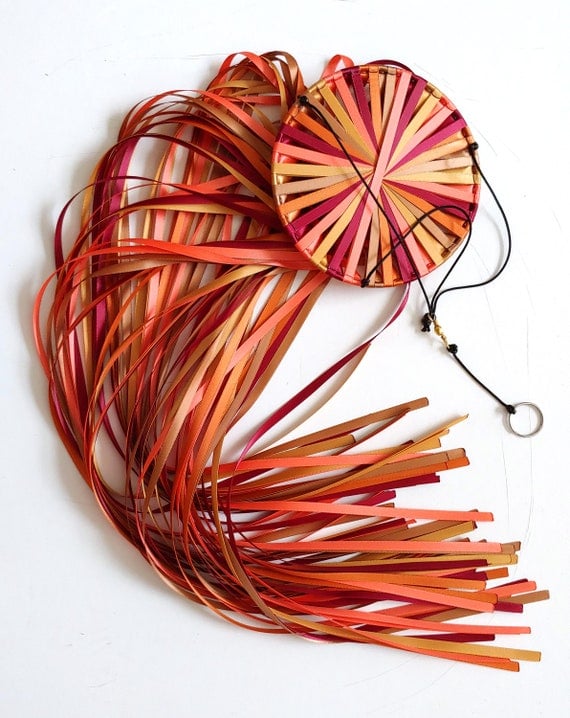 Autumn Leaves Ribbon Windsock Streamer Double-faced Satin | Etsy
 -
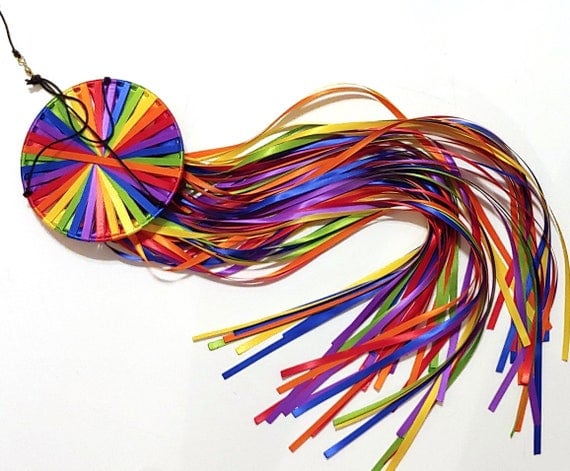 Double Rainbow Windsock Streamer Double-faced Satin Ribbon | Etsy
 -
 Windsock Mobile Craft Kit for Kids Windsock Chandelier Kit | Etsy
 -
 Aloha Windsock Choose From One of Our Six Hawaiian Aloha | Etsy
Finished Project Gallery
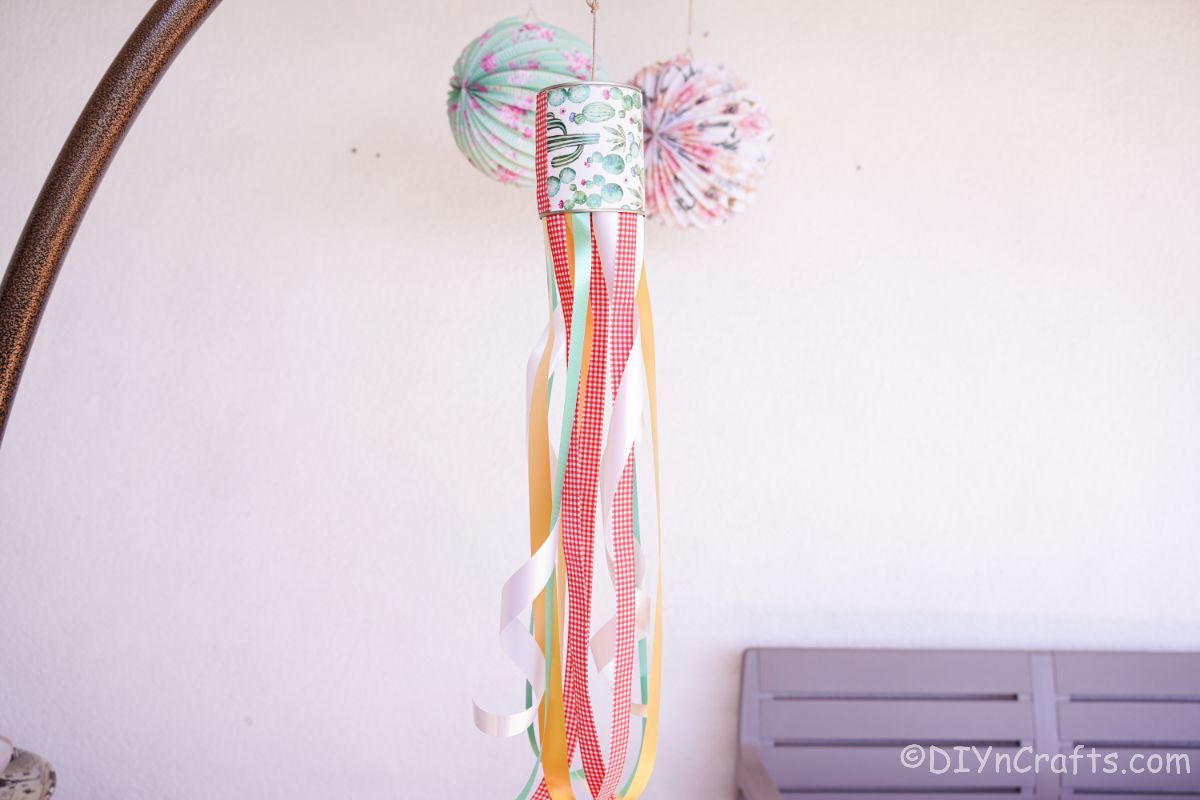
Add ribbon, twine, embroidery thread, or lace to dangle on the bottom of your windsock.
Make these in different holiday colors and themes to make a unique decoration for each season.









Tammy
I absolutely love this idea thank you for sharing!!!