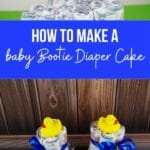
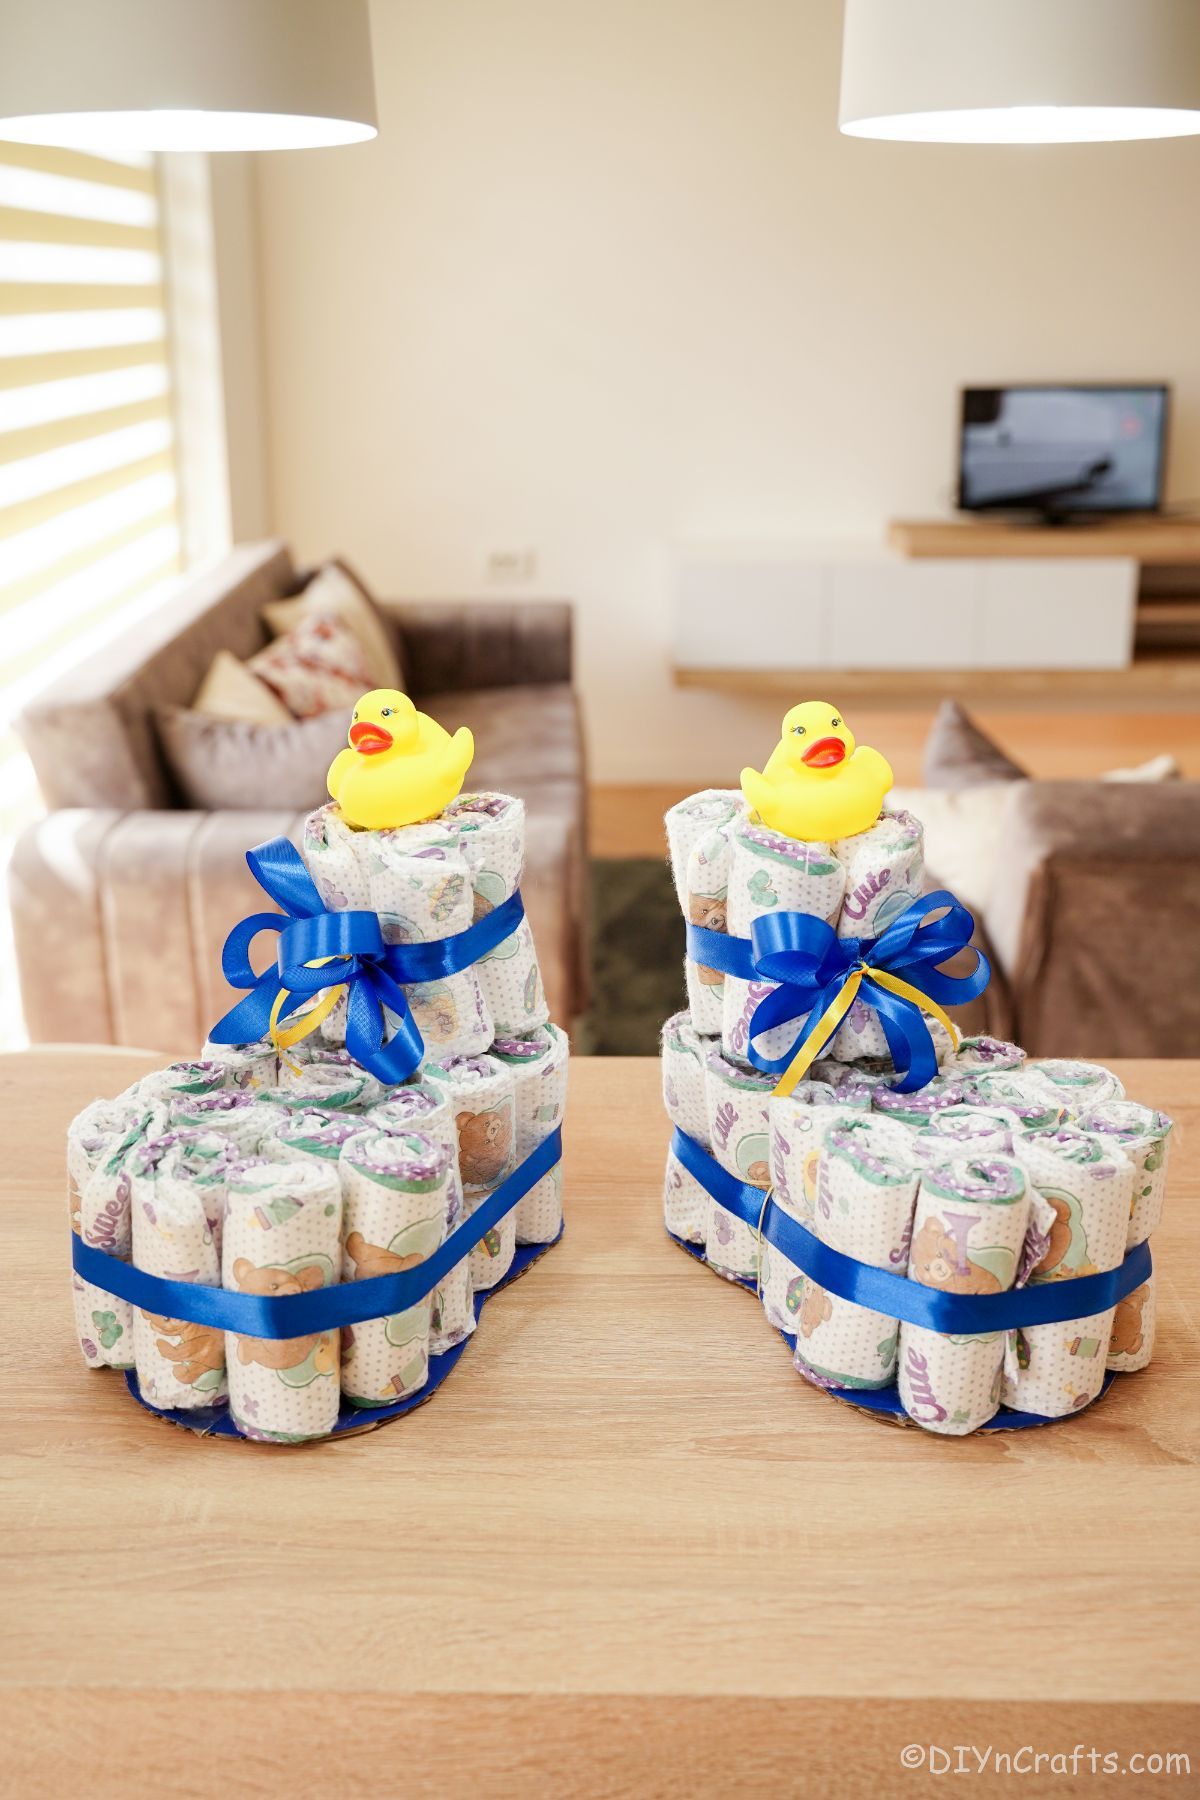
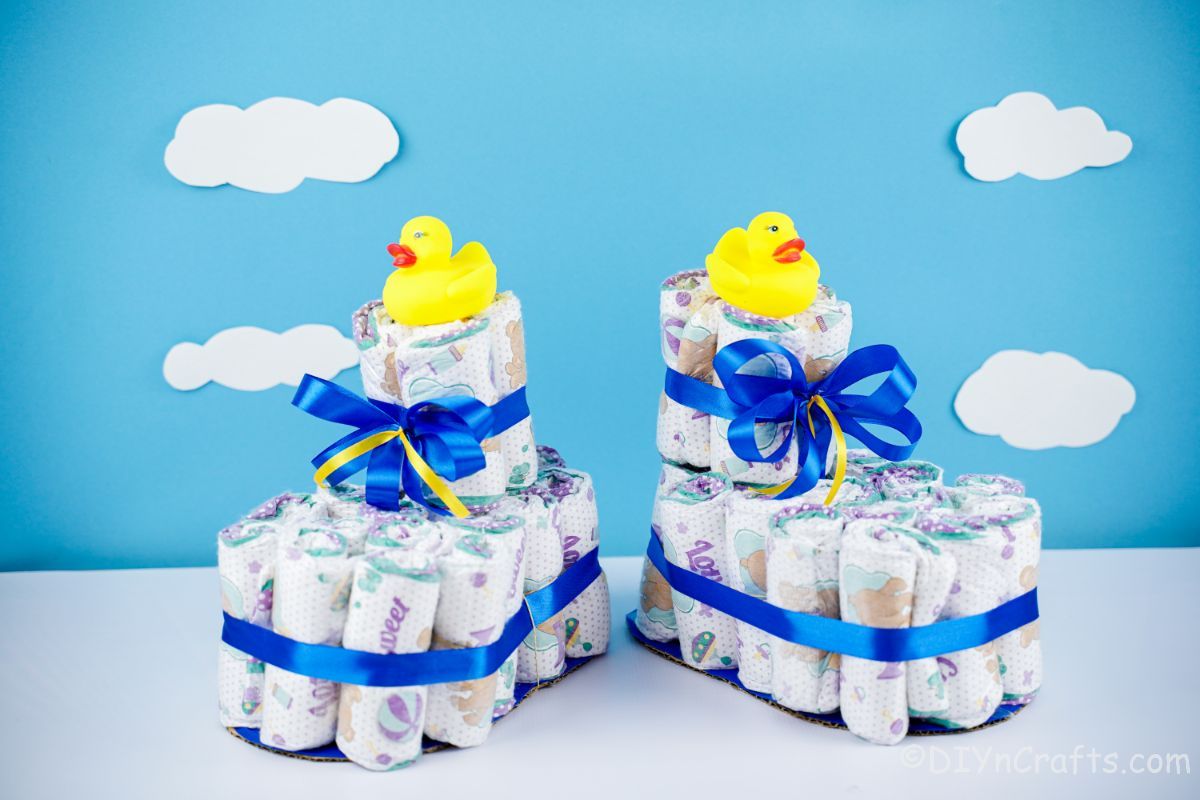
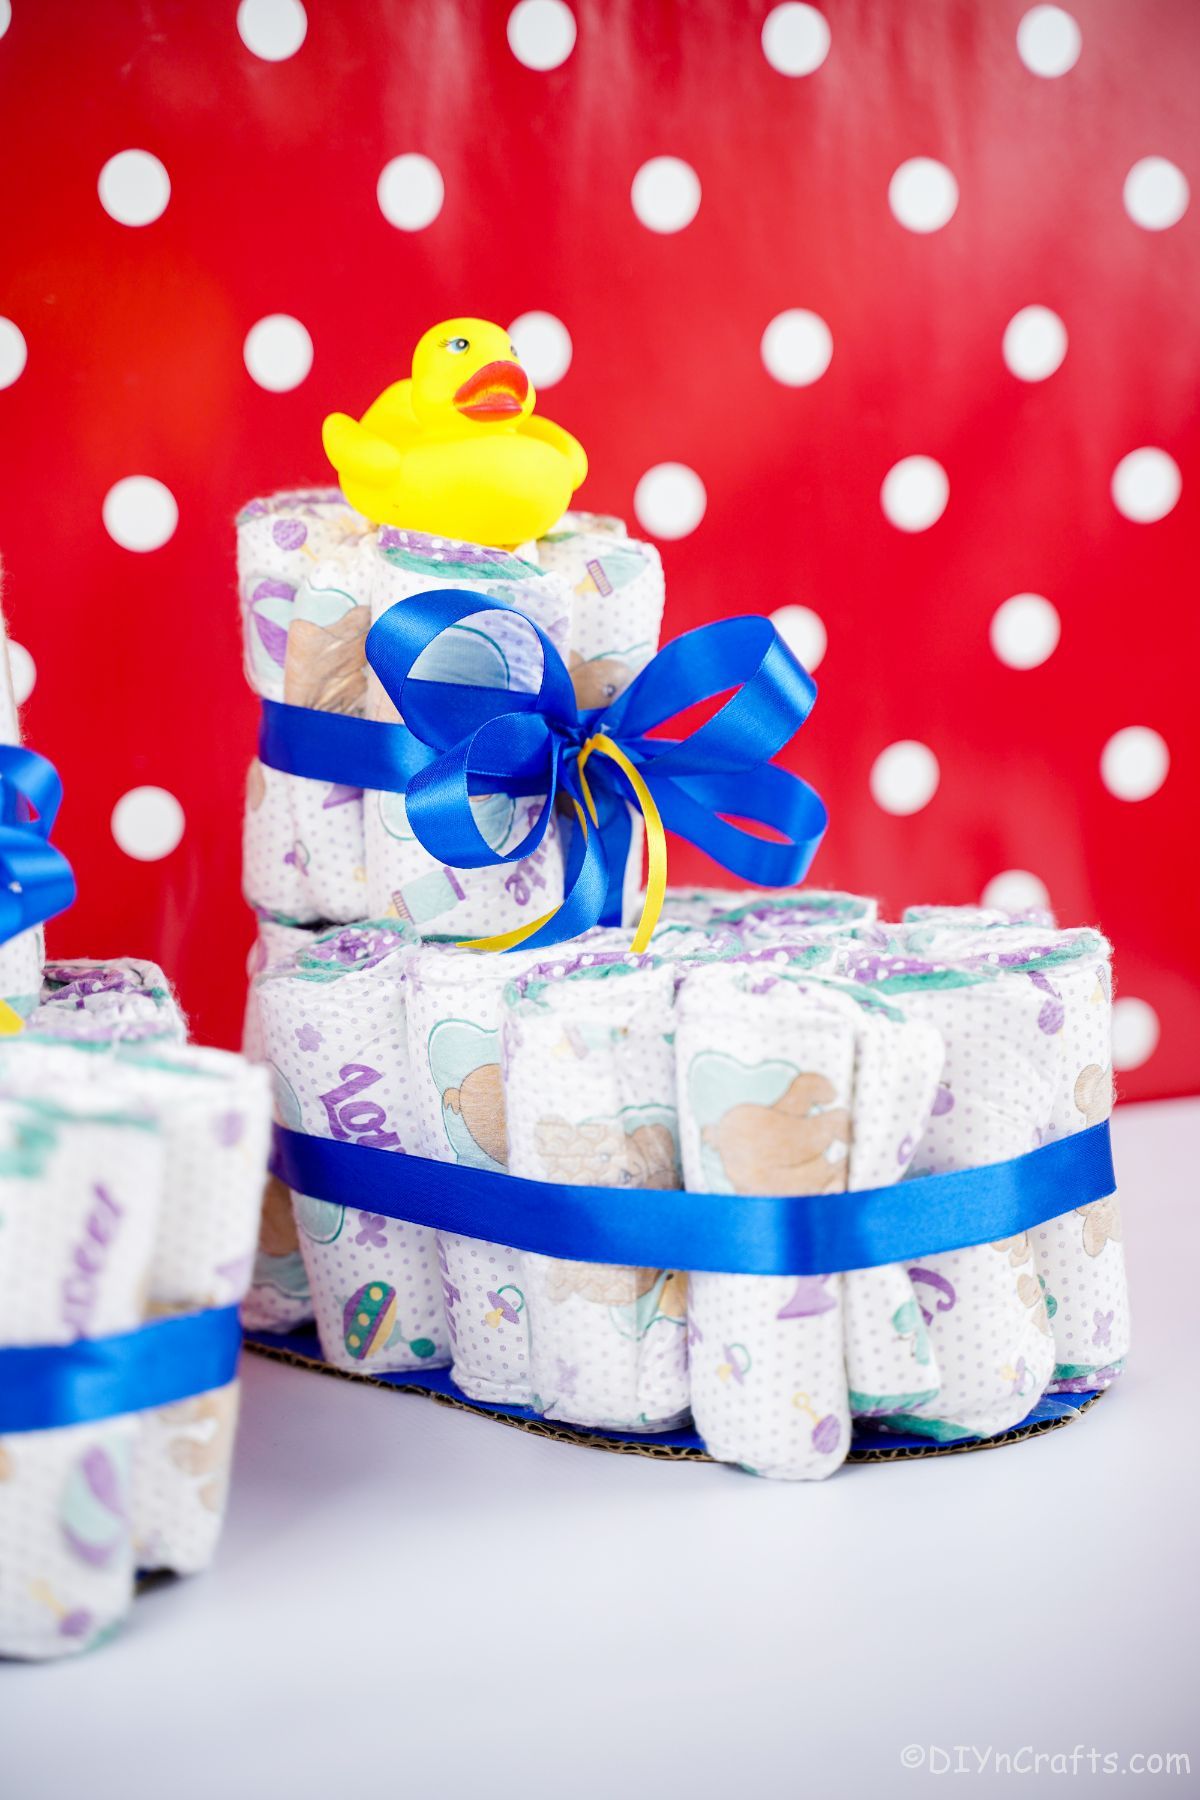
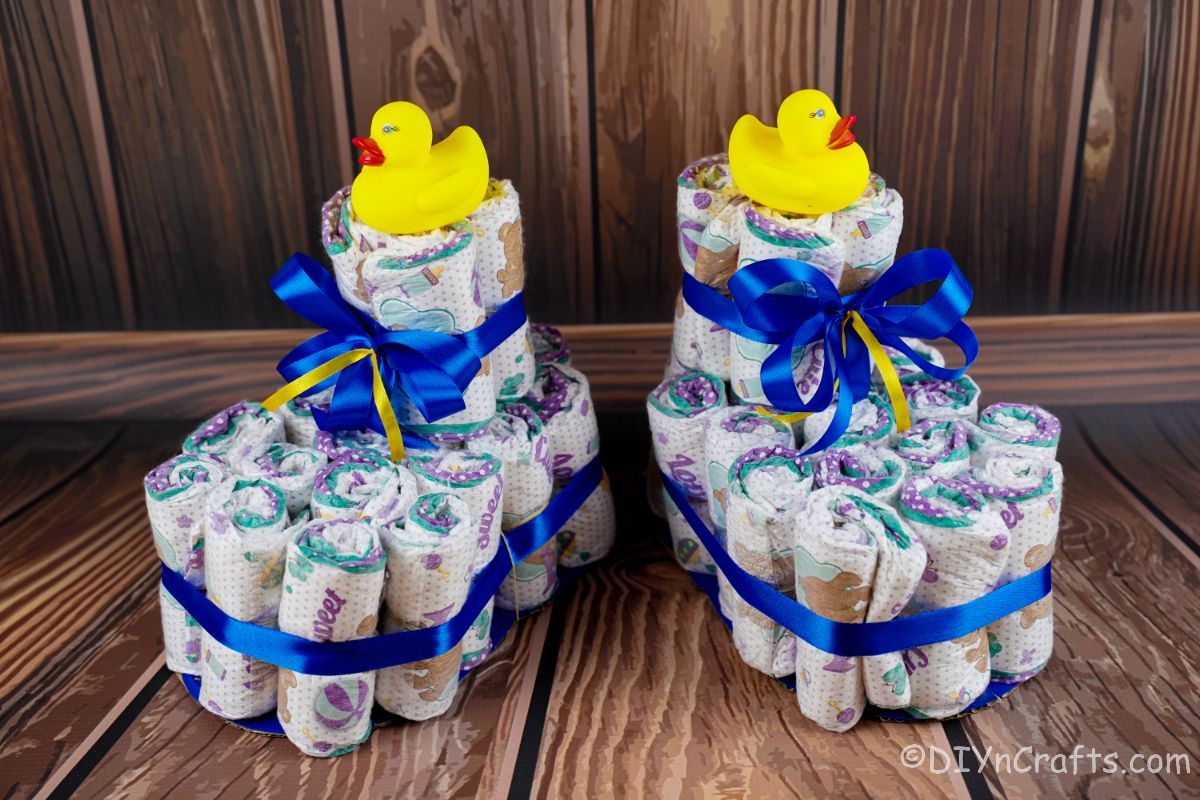
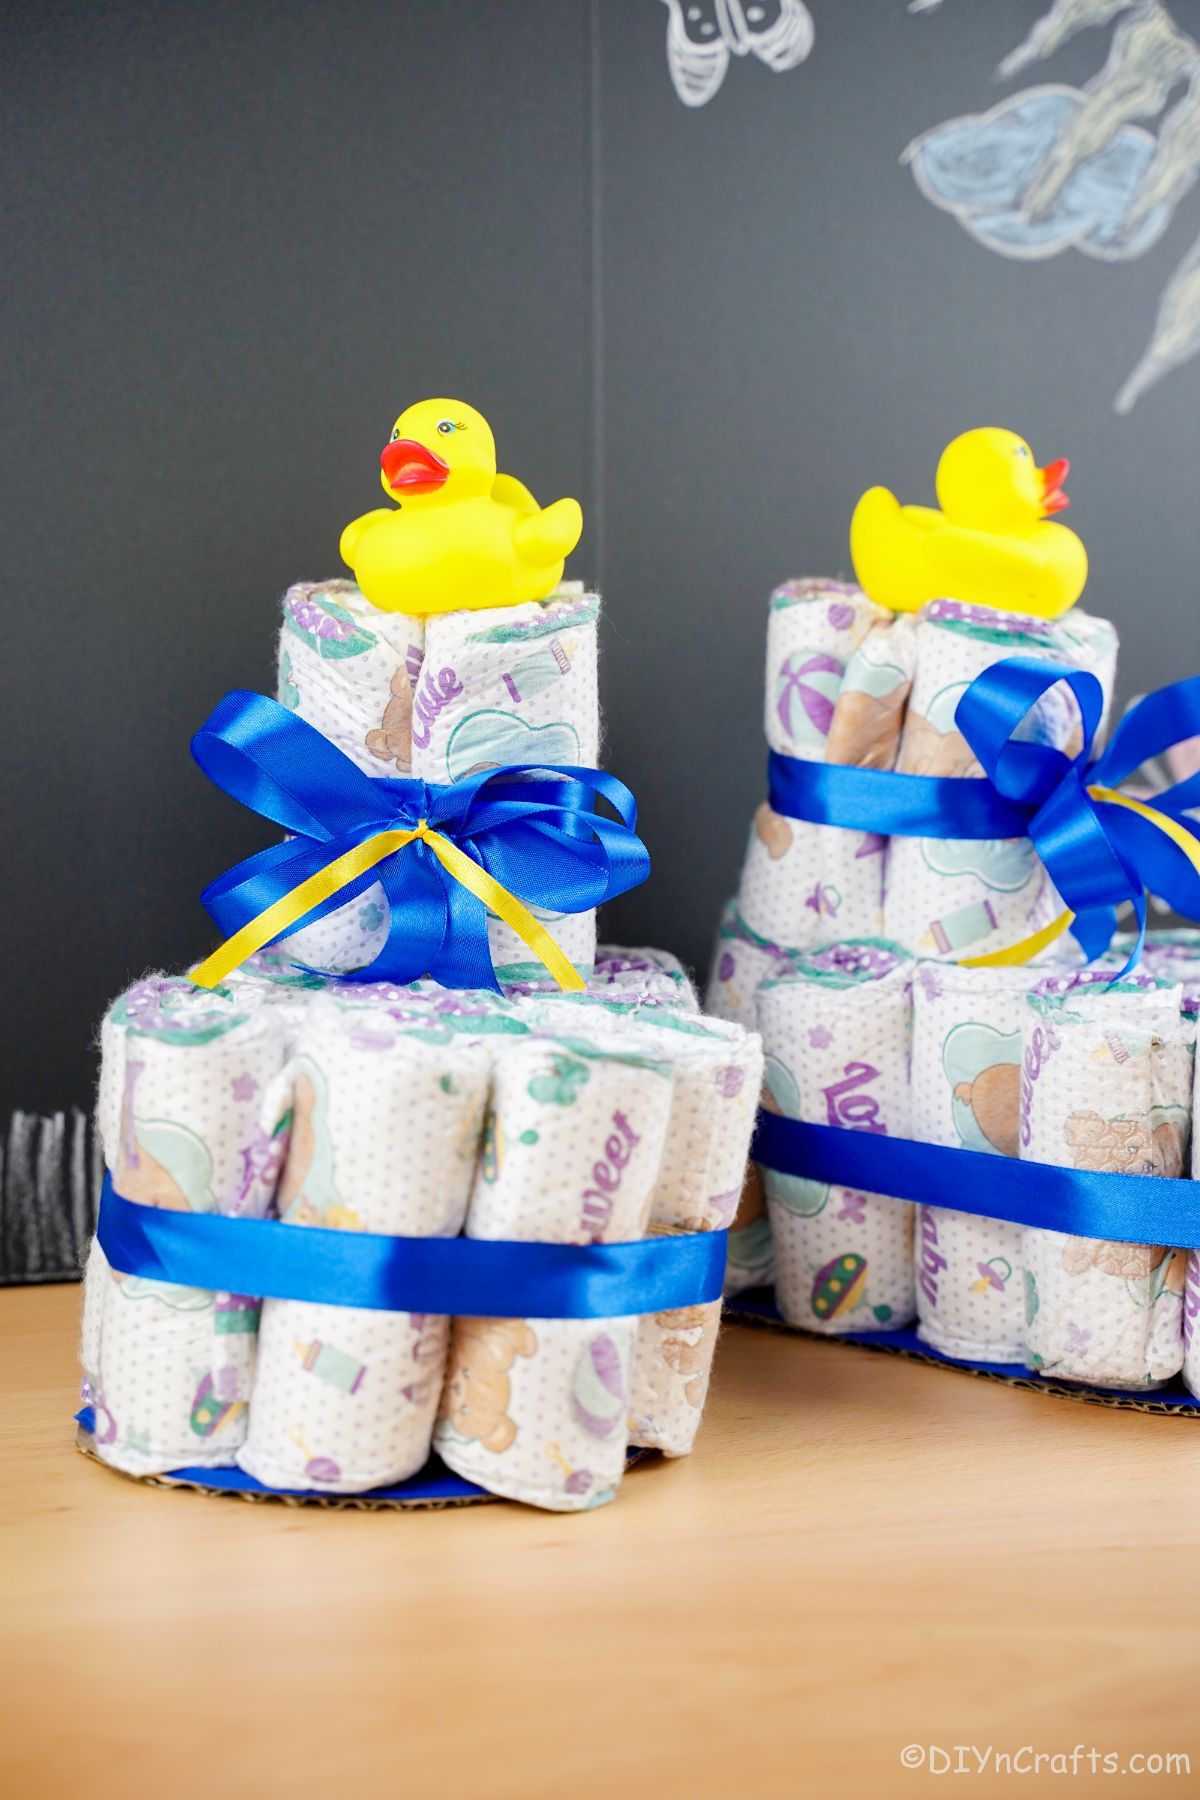
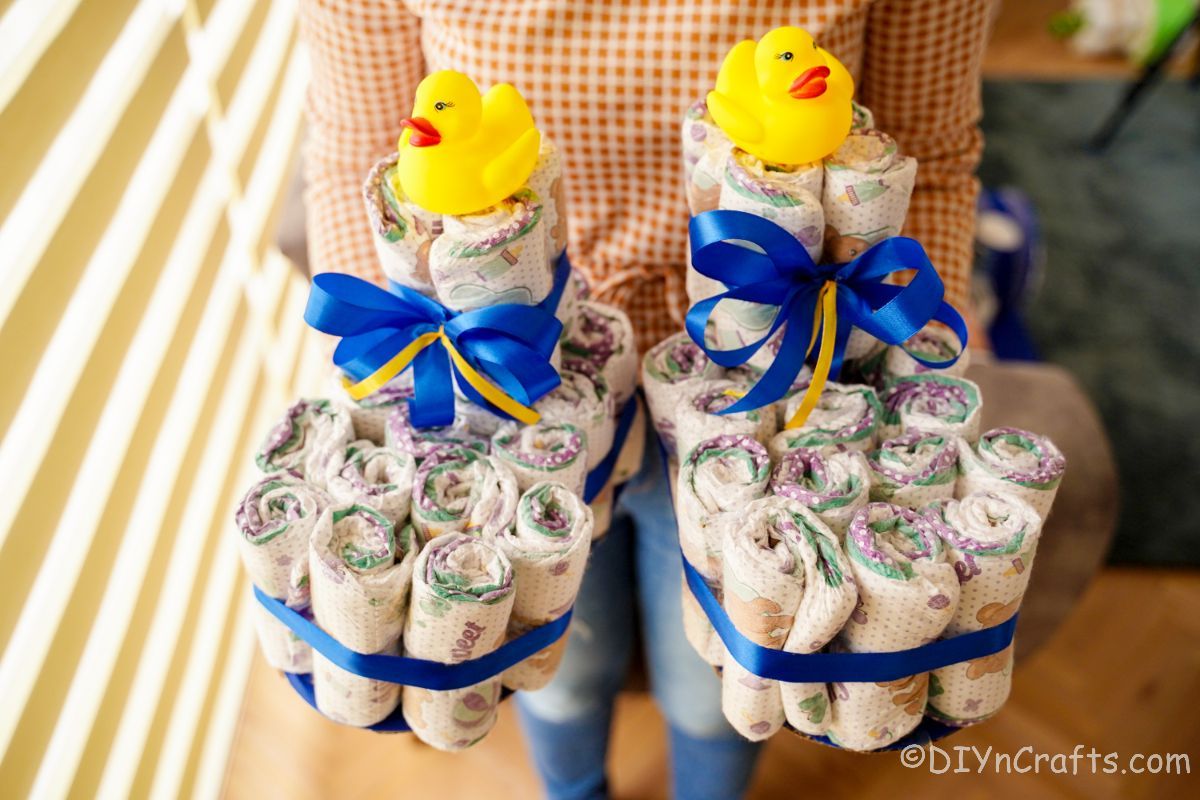
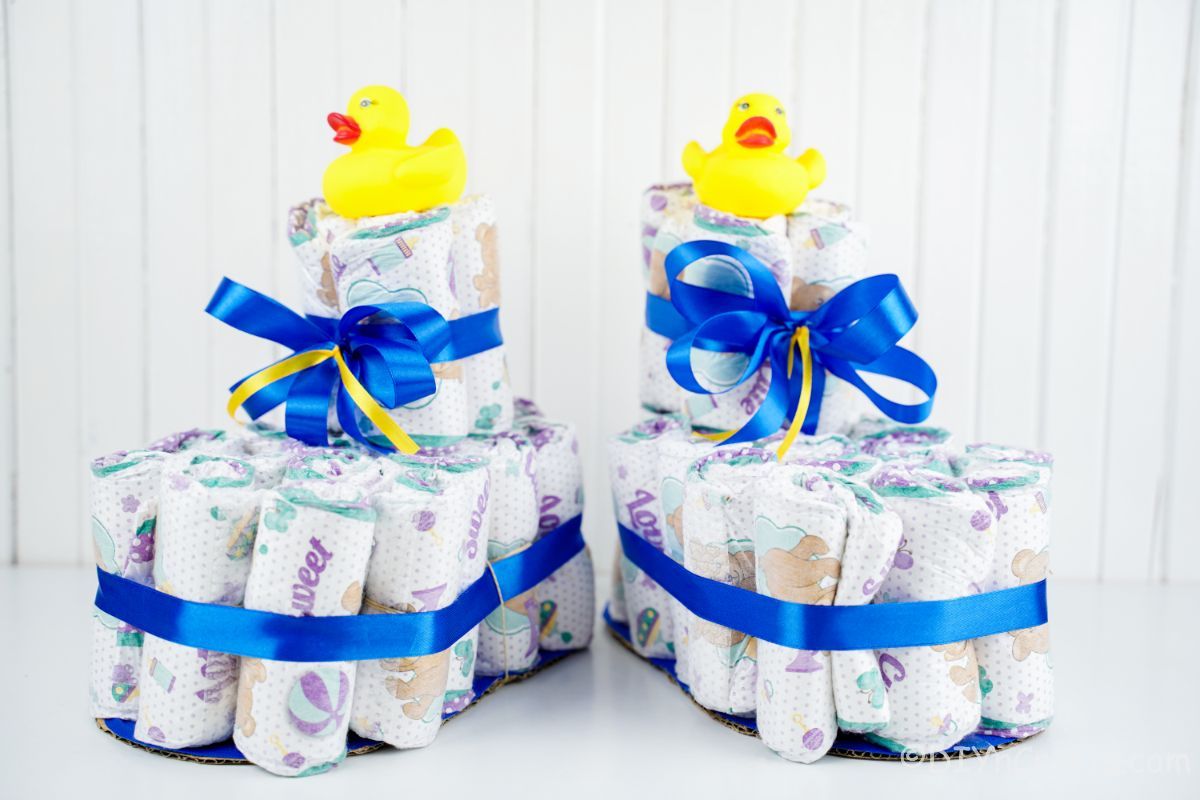
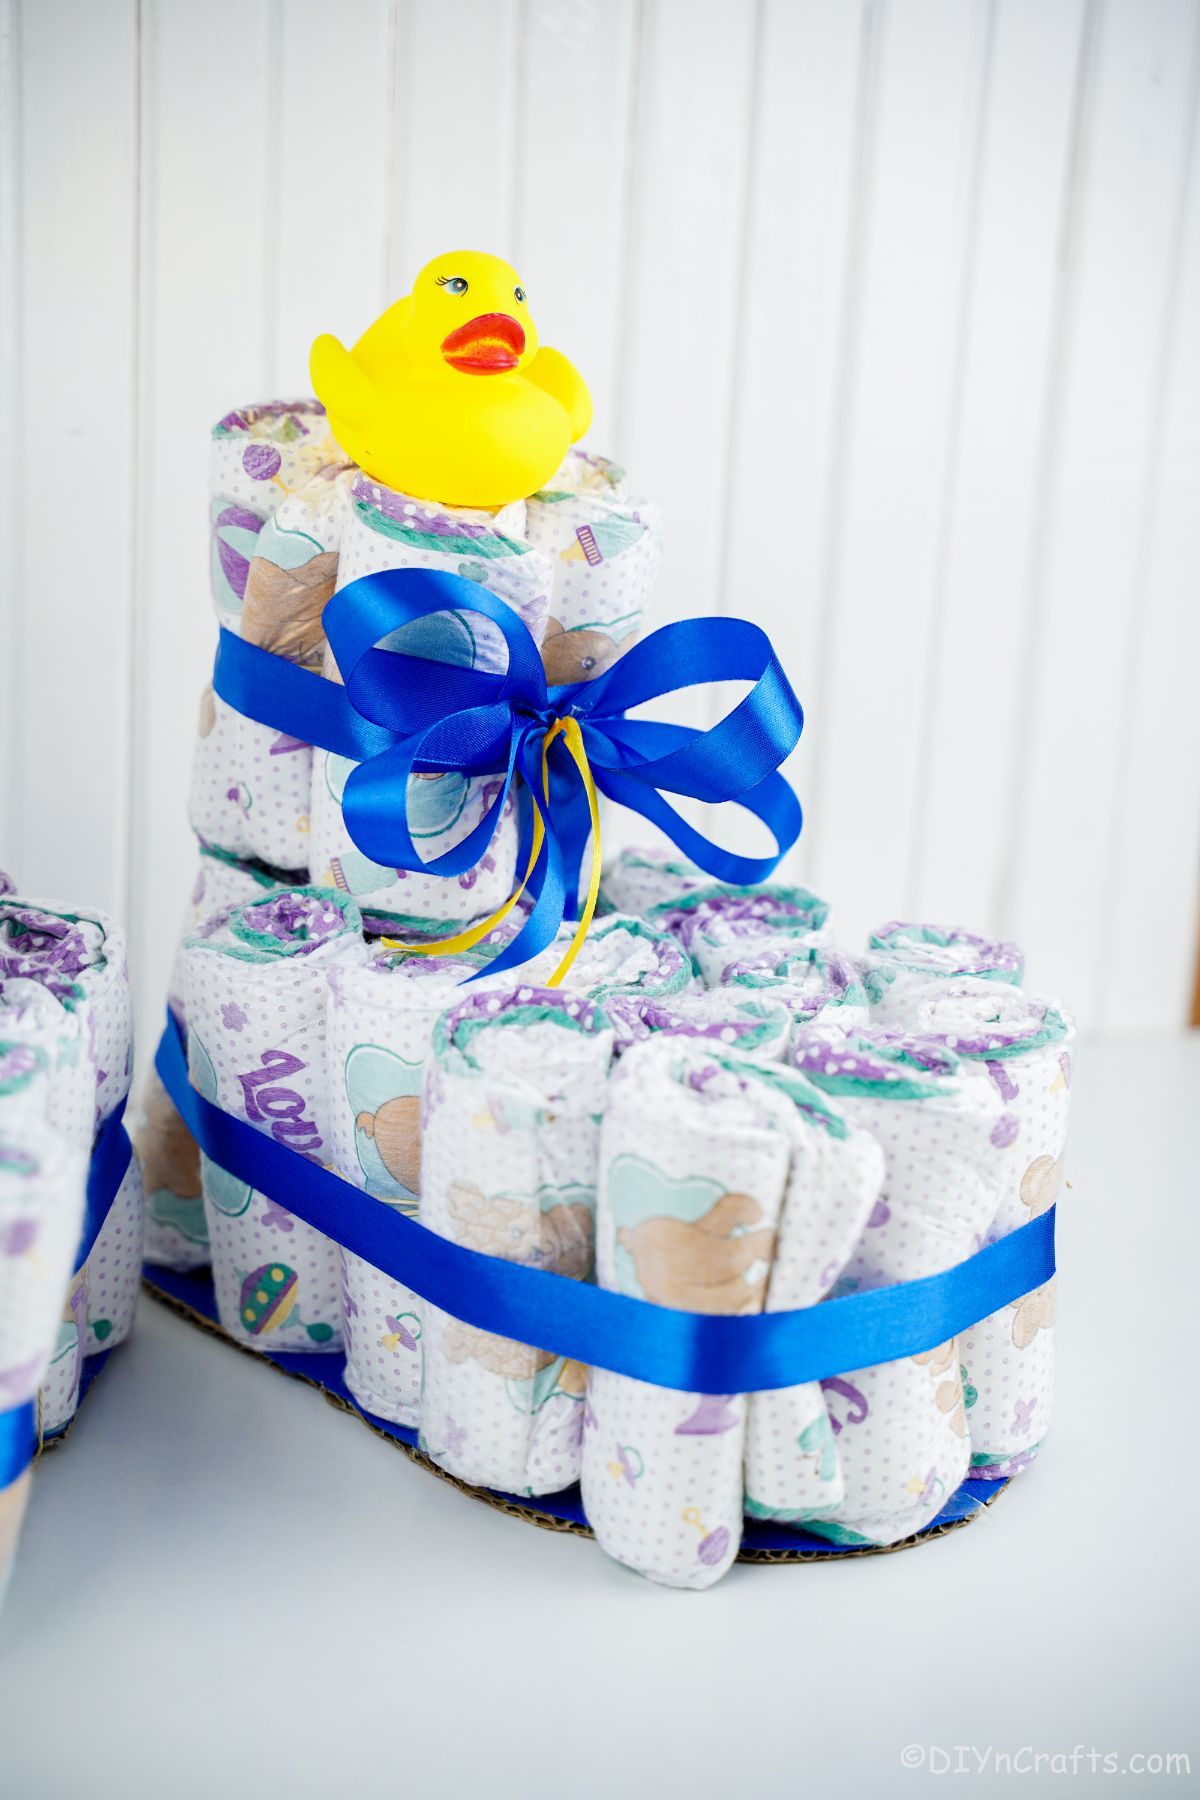
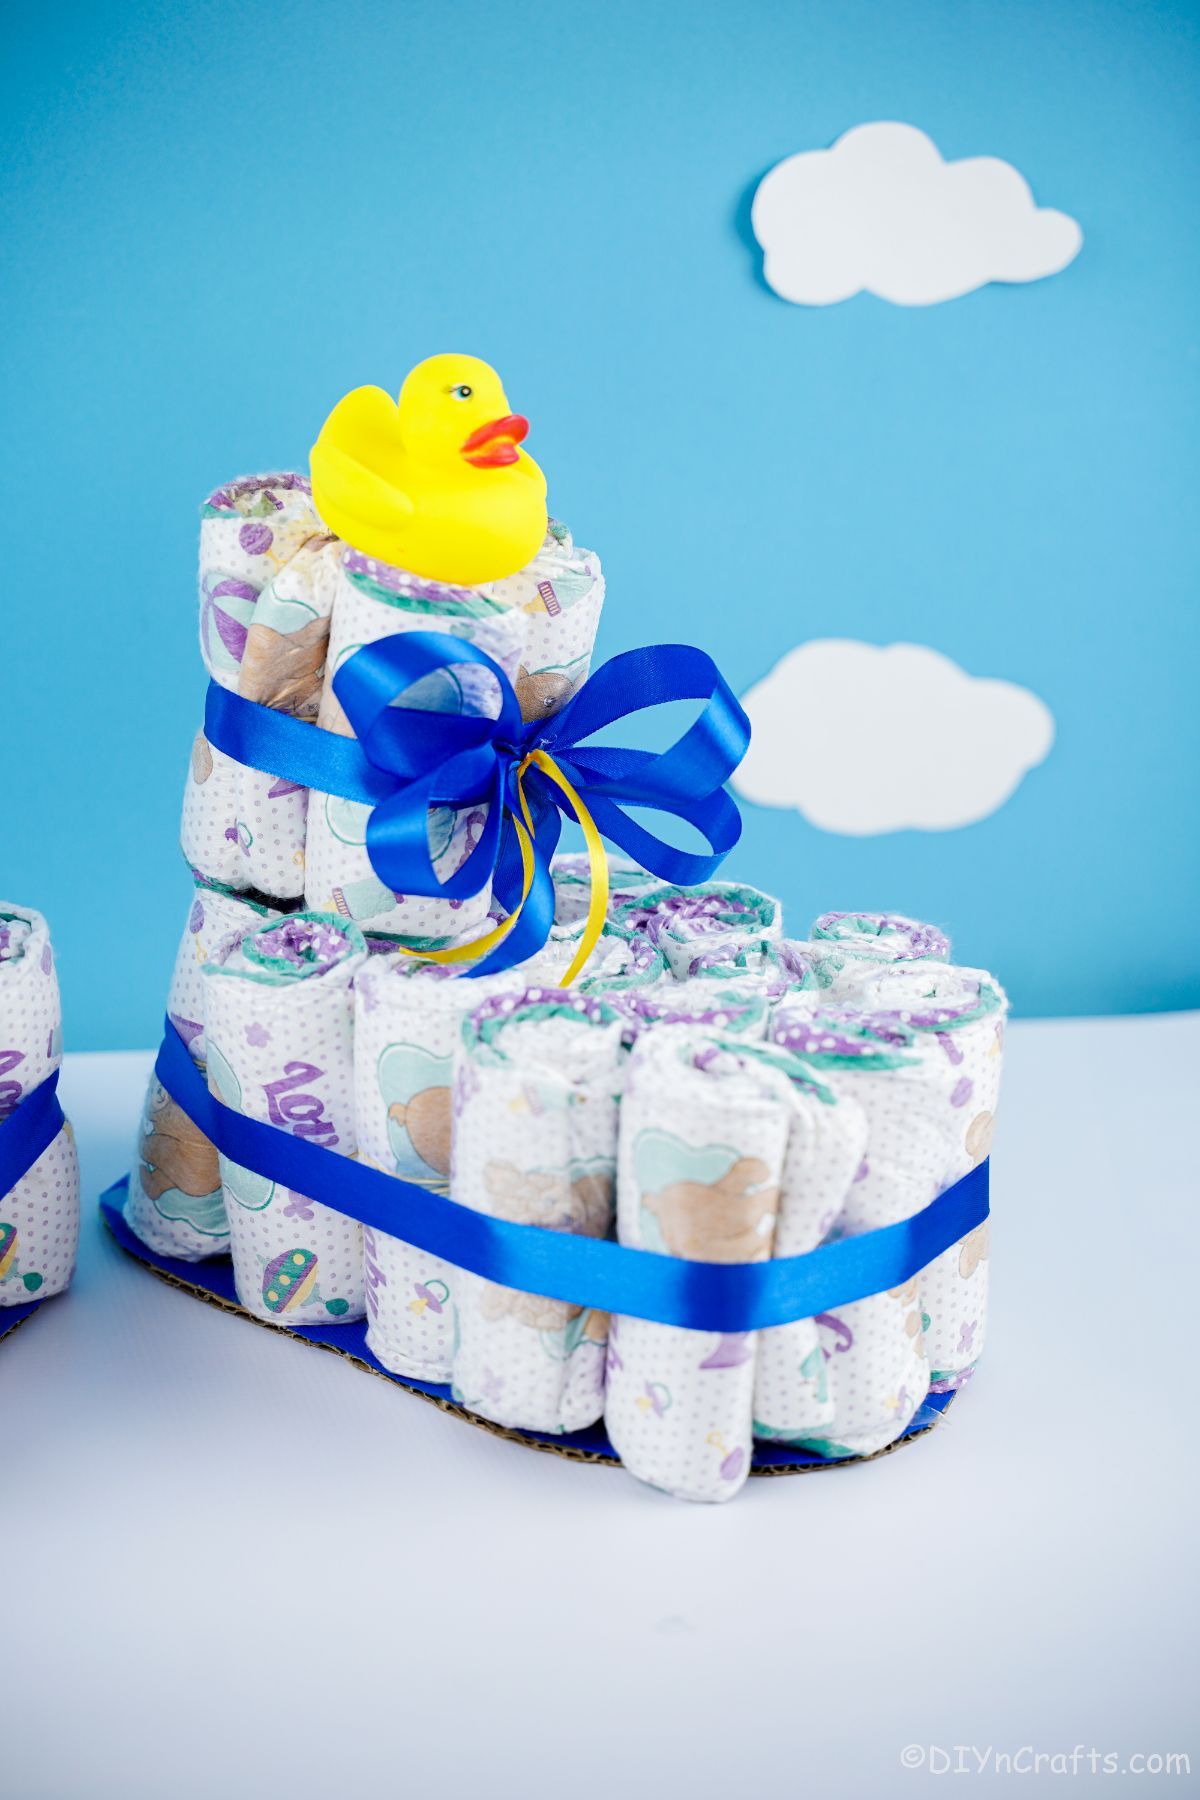
This is the perfect gift for any new parent! It's a great way to give them all of the diapers they will need in one go, and it's also really cute. The baby bootie diaper cake gift is absolutely adorable and is ideal for baby showers. It sits in two tiers of diapers, and it's topped off with a toy or rattle. This makes for the perfect gift for any new parent. You won't believe how easy it is to make this showstopper for the next baby shower.
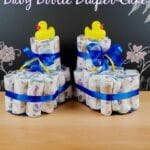
Baby Bootie Diaper Cake
It is no secret that I love diaper cakes. This baby bootie diaper cake is my new favorite. It is so easy to make and will look stunning sitting in the center of the gift table at the baby shower. Parents love getting diaper cakes because not only are they adorable and make great decorations for the new baby's room, but they are also useful.
We've made a ton of different diaper cakes in the past, and this one is definitely a favorite for gifting a large number of diapers. You might also like some of our others including this diaper bathtub baby shower gift idea or even this super cute idea to make a baby pacifier diaper cake.
What Size Diapers are Best for Making Diaper Cakes?
Most people automatically assume that they need to make diaper cakes with newborn-sized diapers since they are often given as a baby shower gift. However, you can make the baby bootie diaper cake or any diaper cake with any size diapers.
If you are giving this as a present and want the new parents to be able to set the diaper cake out as decoration, using a larger size diaper means that it can be displayed and the diapers can still be used later on. Using a larger size diaper is also great for parents who might be adopting or receiving this cake for an older child, still in diapers.
You can also use a variety of sizes, larger ones on the bottom and smaller ones on the top to give the bootie a different look. I prefer using a few different sizes then I can give any extras to the parents in a gift bag separately.
How Can I Attach Baby Items to a Diaper Cake Safely?
I like to just sit the toy on top when I can, and this is one instance where that works great. Of course, depending upon what you add, you may want to do something different. Below are some ways to add toys without damaging the diapers.
- Use removable double-sided tape.
- Attach the toy with tape or glue to a dowel, and stick it down inside the diaper cake.
- Another option is to use poster putty. This is used to hang things on the wall without damaging the wall or the item hung.
- Use a ribbon or even a rubber band to tie the toy in place.
How Many Diapers Do I Need to Make a Baby Bootie Cake?
When you are making this cake, you are going to need between 30 and 40 diapers in a size 2 or 3. If using newborn diapers, you may need to use up to 60. Of course, this also depends on how large you make the individual booties or if you make a single bootie or a pair.
Ways to Customize a Homemade Diaper Cake
There are tons of ways to turn a diaper cake into something unique. For this one, in particular, you can make simple changes or large changes, and all can be great fun. Below are a few that I think to work especially well with the baby bootie design.
- Change colors for a gender-neutral or specific theme. You can also use a variety of colors that coordinate or even match the future baby nursery style.
- Use reusable cloth diapers, their covers, inserts, and prefold style instead of disposable if the person receiving plans to cloth diaper.
- Add different toys or decorations on top of the booties to replace the ducky.
- Use receiving blankets or burp cloths around the outside instead of ribbon.
- Make the top part of the diaper cake with rolled onesies, blankets, sweaters, or even real baby booties.
- Add a big bow or tie with ribbon into a "lace" style across the top.
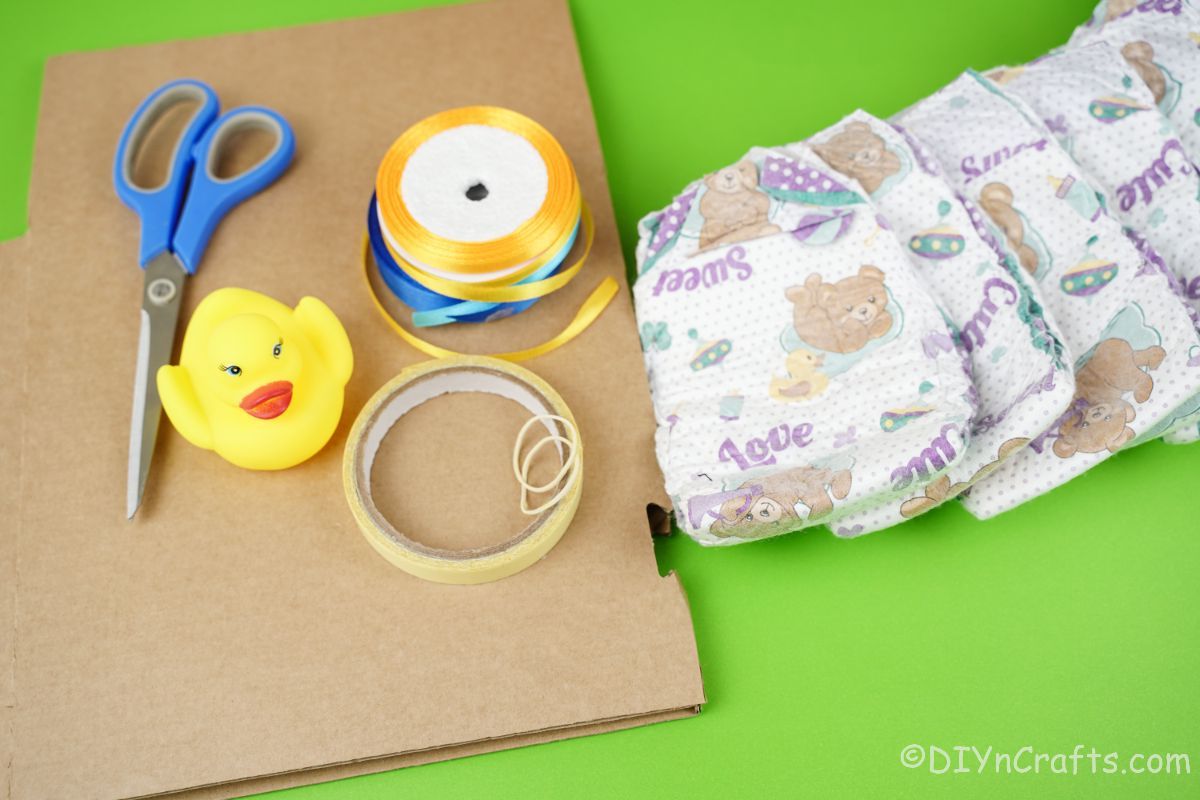
Supplies Needed
- Cardboard
- Blue tissue paper or wrapping paper
- Diapers
- Yellow ribbon
- Blue ribbon
- Rubber ducky
- Pen or pencil
- Scissors
- Double-sided tape
- Rubber bands
- Hot glue gun and hot glue
How to Make a Baby Bootie Diaper Cake
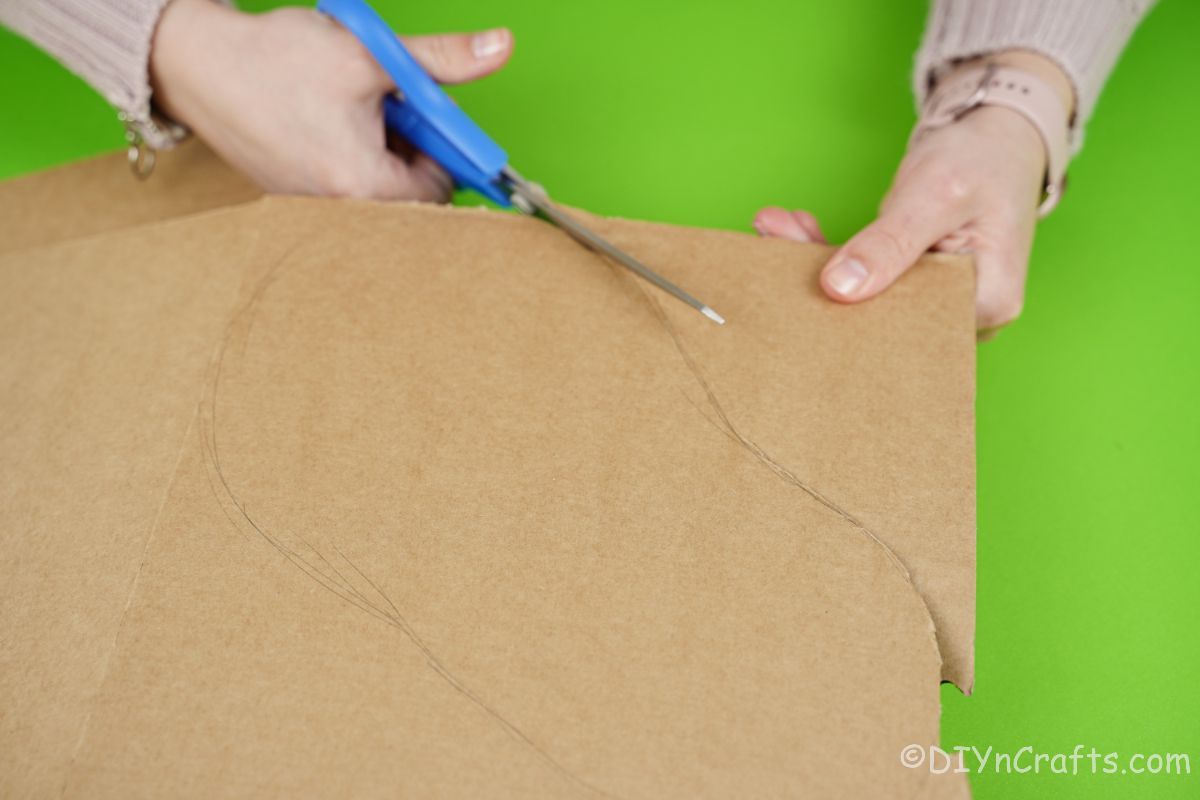
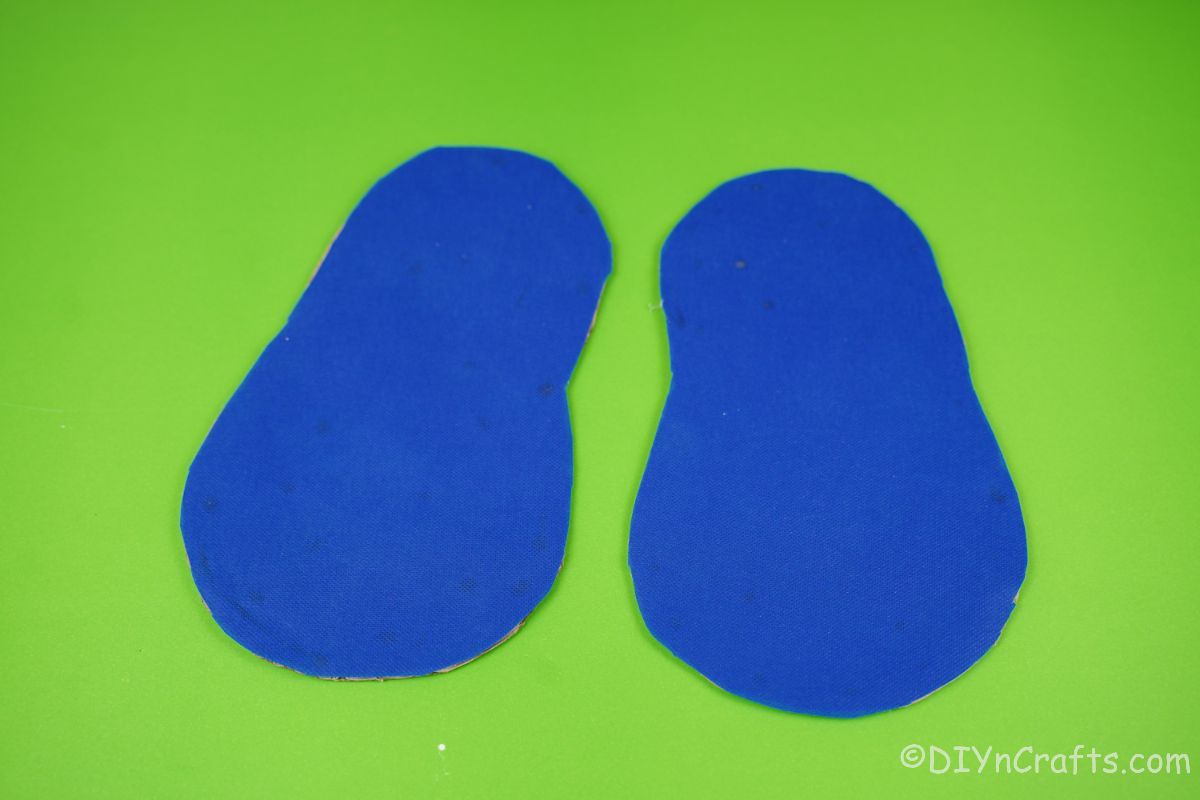
Gather all of your supplies together and begin withdrawing the base of your baby booties. On a large piece of cardboard, draw a large rounded booty base shape. Then, cut the shoe out of the cardboard, and use it to trace and create the second shoe.
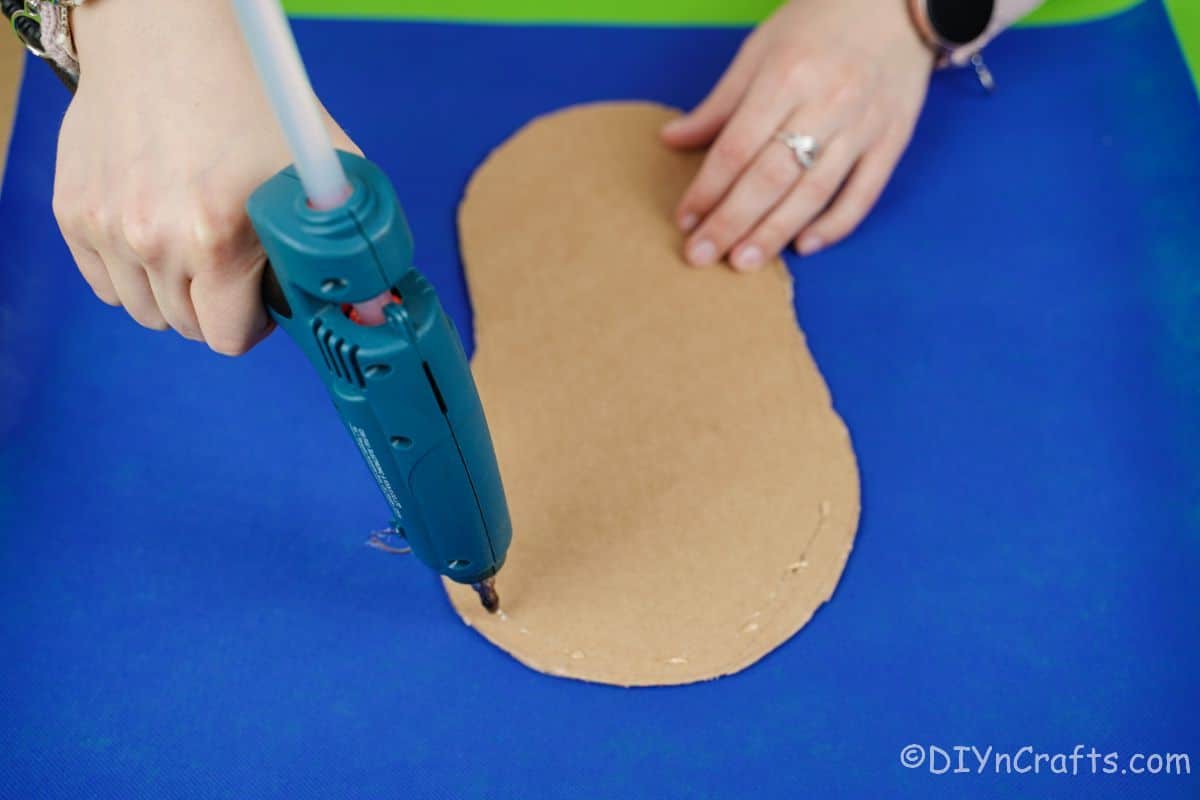
Glue or tape tissue paper or wrapping paper over the two cardboard booties.
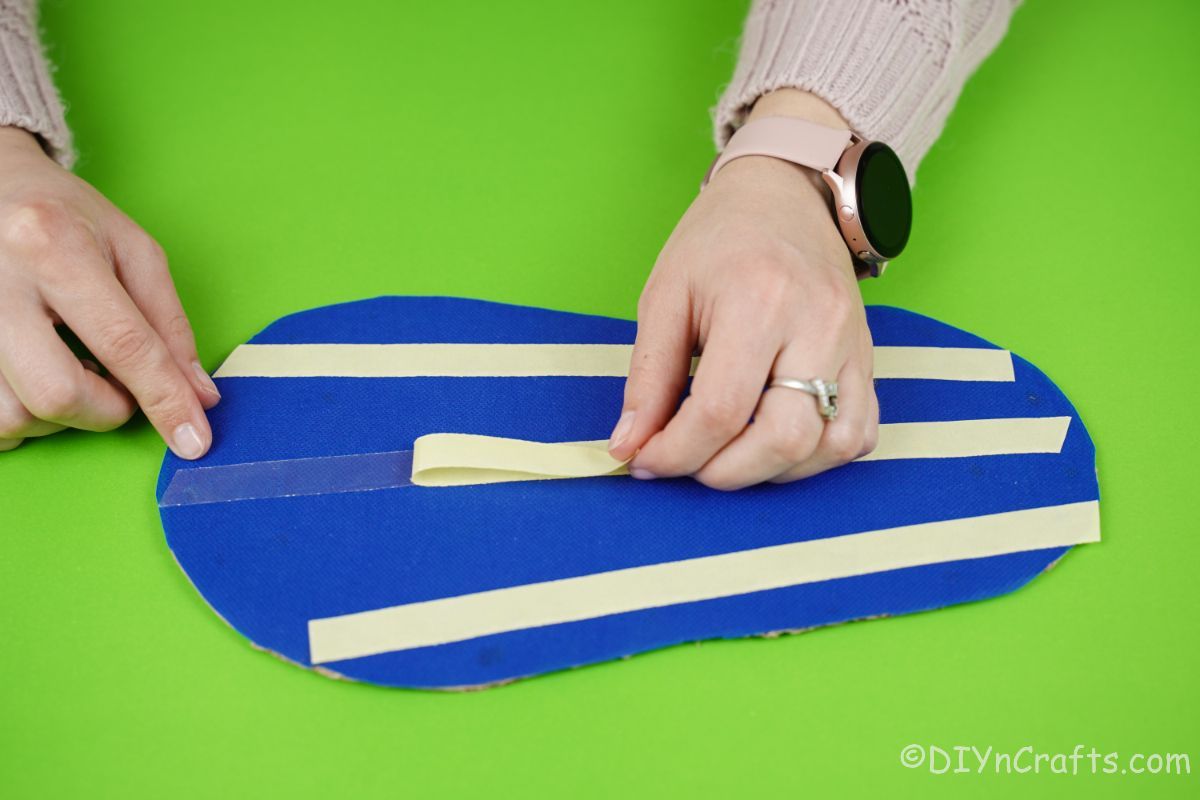
Once each bootie base is covered, add 2 to 3 pieces of double-sided tape on each bootie base, then set it aside.
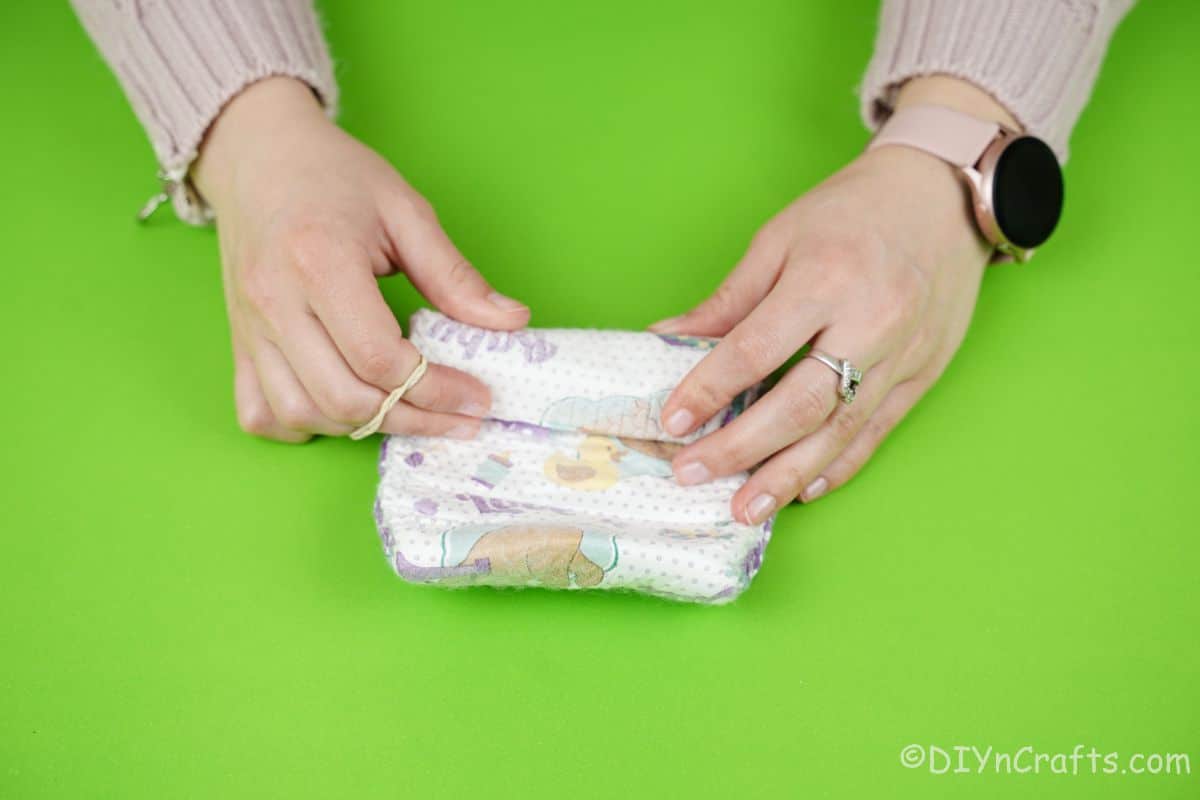
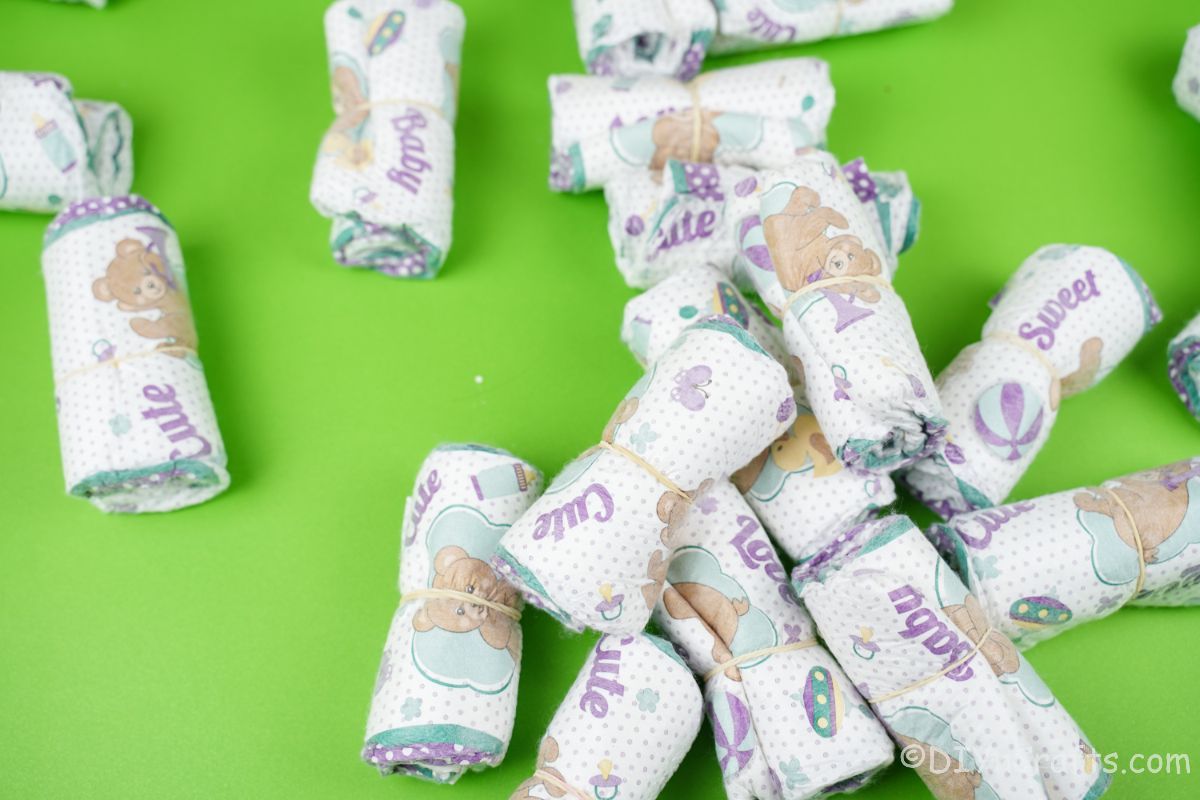
Beginrolling the diapers individually then securing each with a rubber band around the middle.
Once you have between 30 and 40 diapers ready,
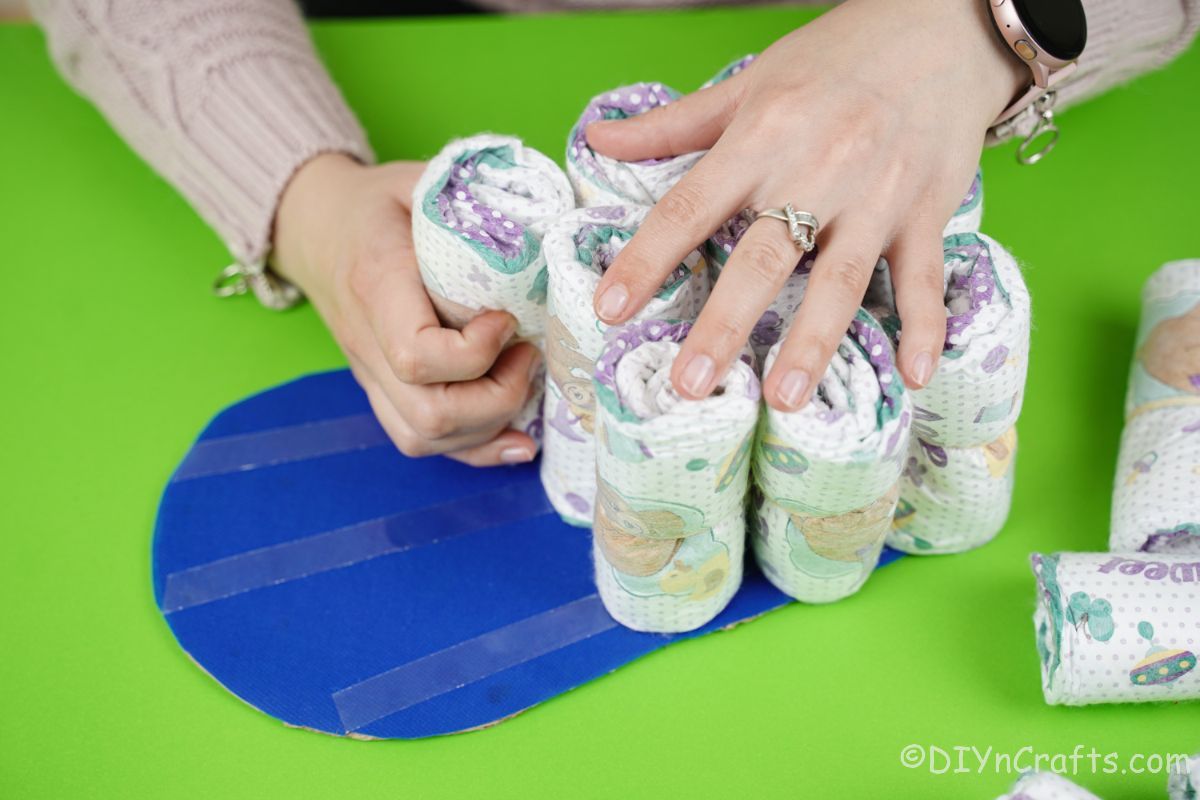
Set aside 8 to 10 of the diapers, then place the rest of them upright on the bootie bases.
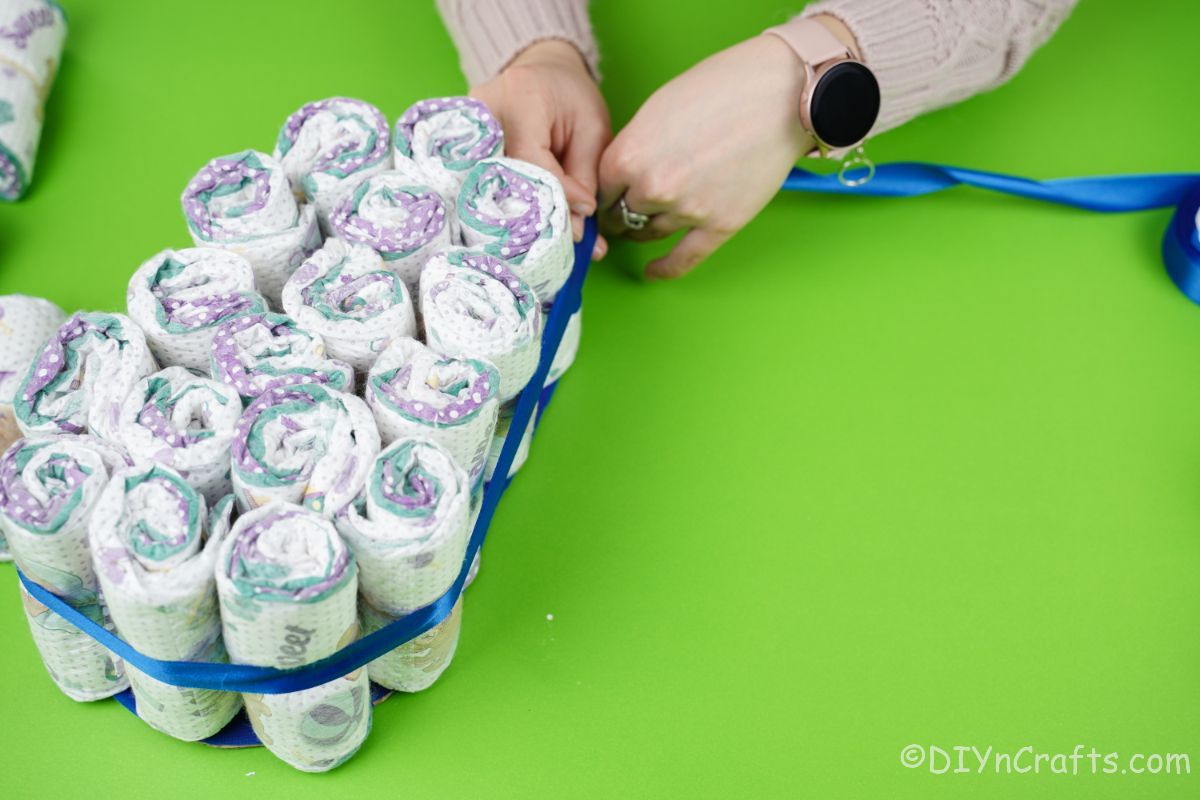
Once each shoe base is covered, wrap a piece of ribbon around the middle of the shoe. Secure the ends with glue and trim off any excess.
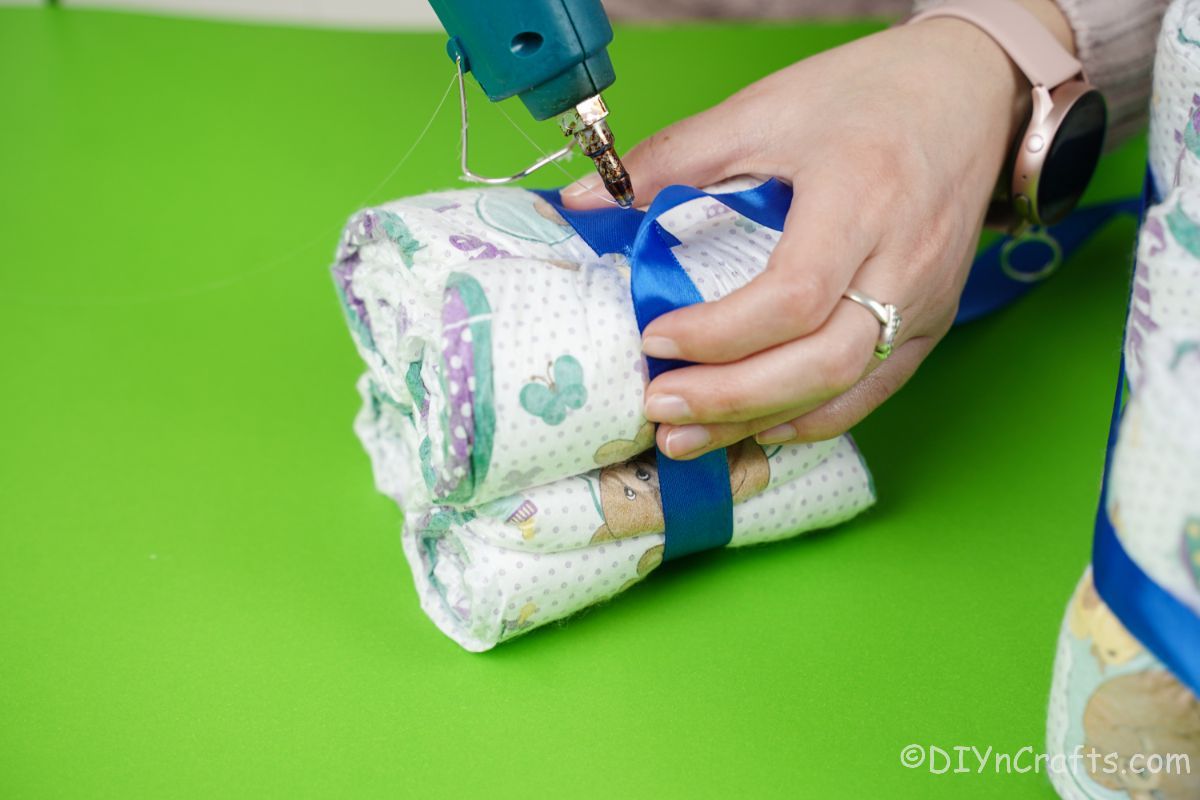
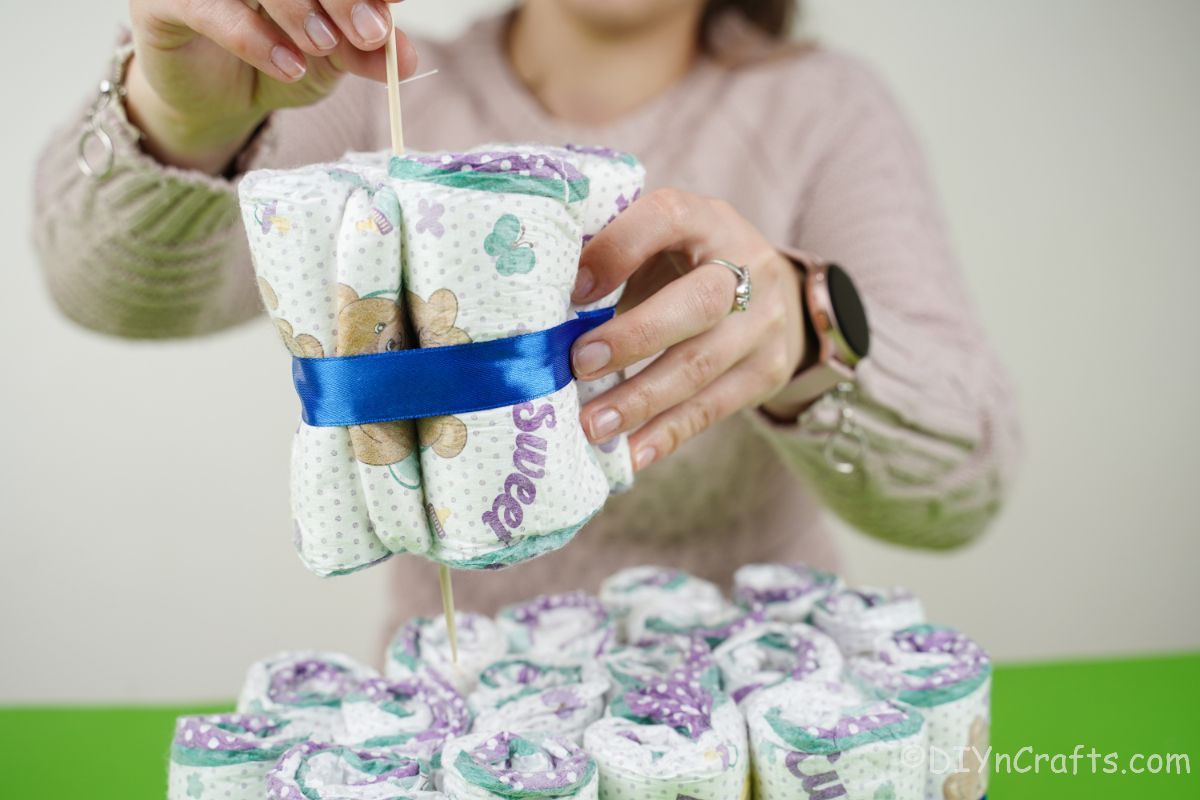
Now, divide the remaining diapers and wrap 4 to 5 at a time into a bundle. Wrap each bundle with a blue ribbon and secure it with glue.
Sit these bundles one on top of each bootie base.
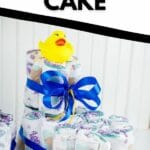
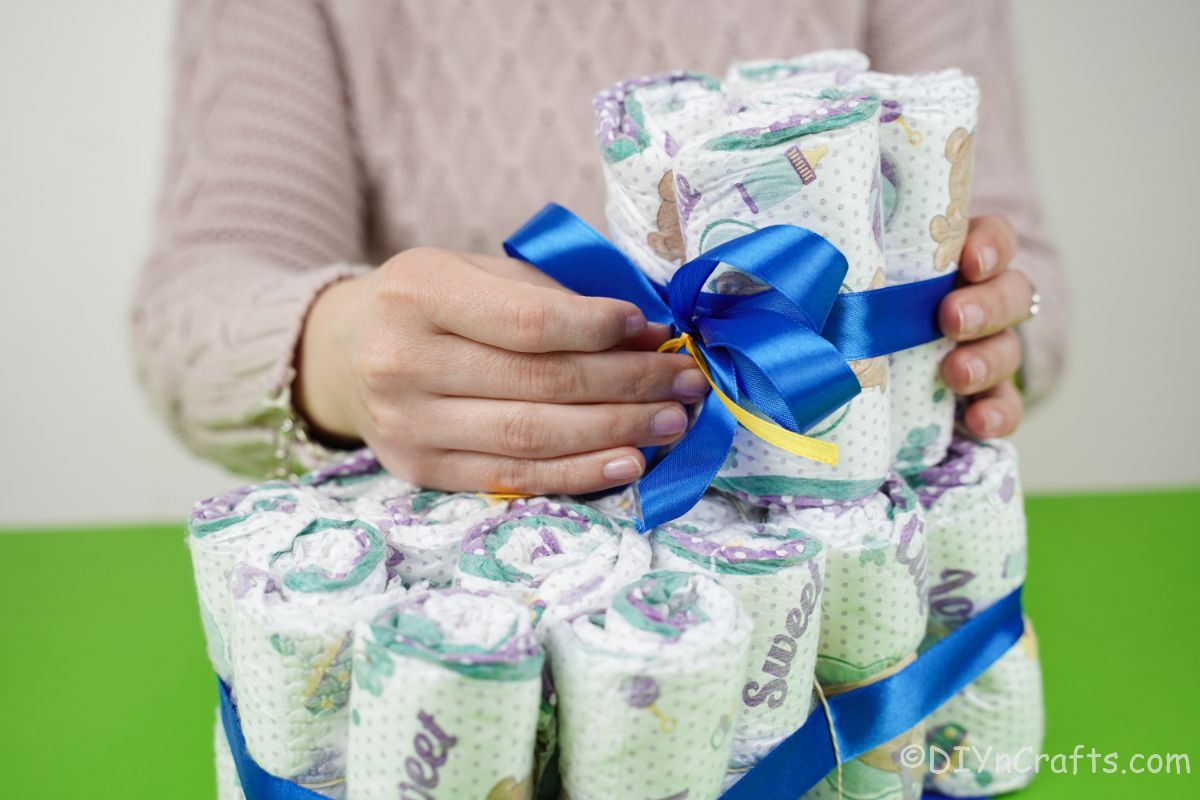
Use the blue and yellow ribbon to create a large bow for each. Tuck those bows into the front just below the smaller bundle of diapers on each bootie.
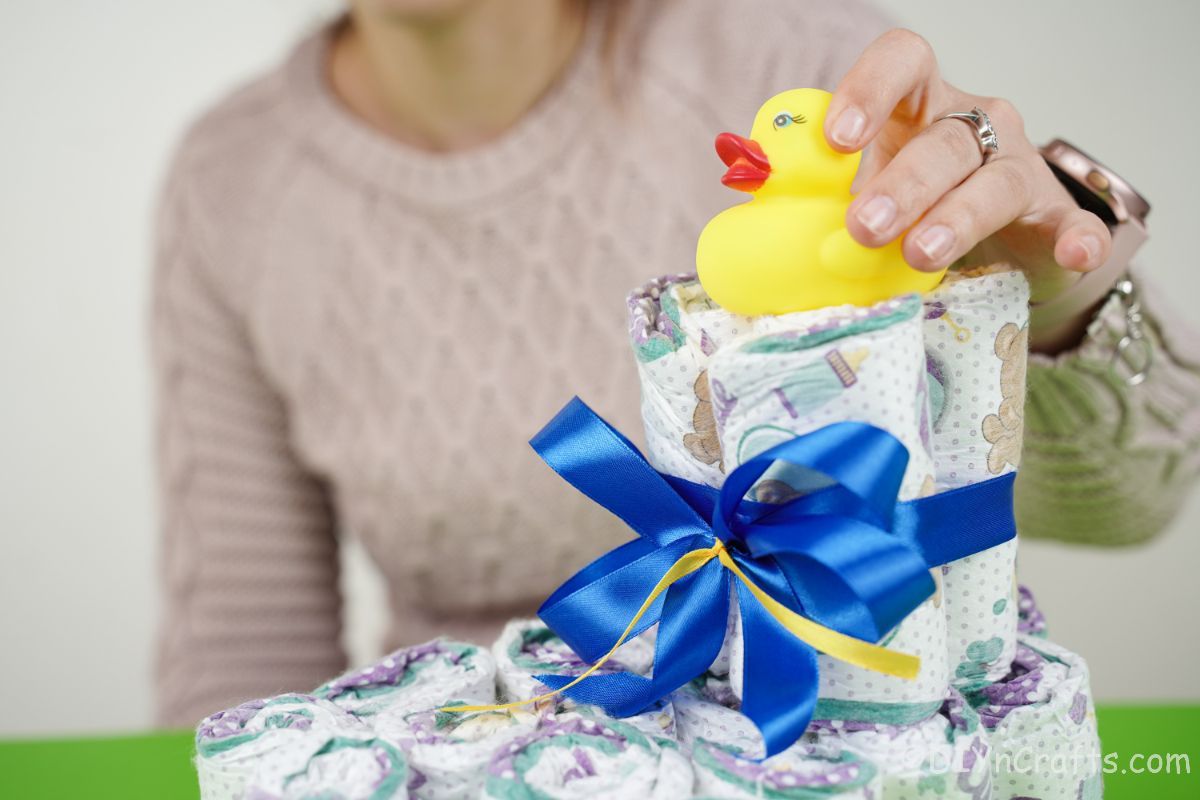
Then top each bootie with a rubber ducky.
Add any additional decorations to the diaper cakes, then wrap or gift for the new parents.
More Diaper Cake Tutorials
If you want more ideas for baby shower gifts, especially diaper cakes, don't worry, we have tons for you to choose from! Below are a few more of our past favorite diaper cake tutorials. Make sure that you bookmark the ideas, print out the tutorials, or pin them to a Pinterest board to make soon!
- Adorable Diaper Cake Bassinet Baby Shower Gift
- Precious Tricycle Diaper Cake Gift
- How to Make a Candy Diaper Cake Baby Gift
- DIY Cinderella Carriage Diaper Cake
- Adorable Diaper Cake Train Diaper Cake Baby Shower Gift

Adorable Baby Bootie Diaper Cake Gift
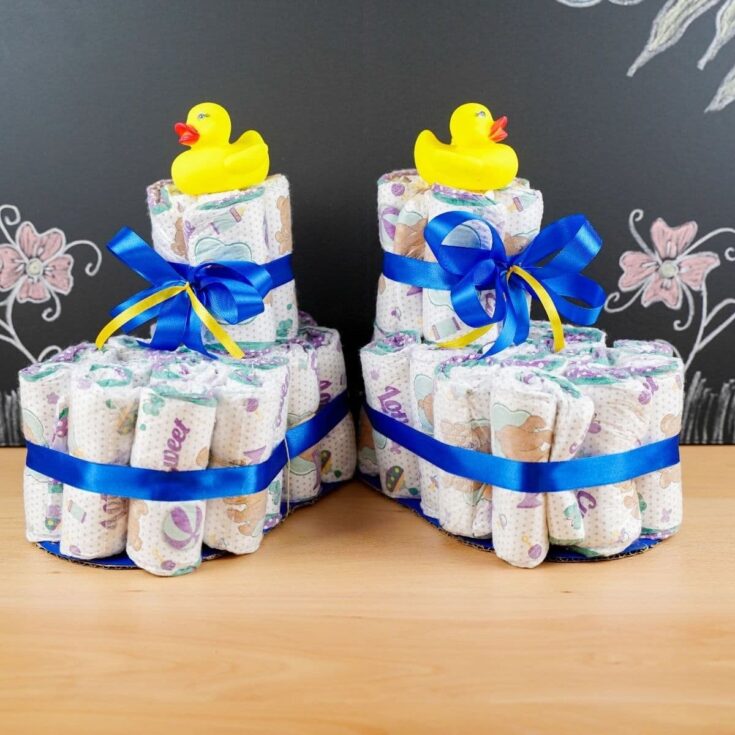
Make your own baby bootie diaper cake using this easy-to-follow tutorial! A perfect baby shower gift idea!
Materials
Instructions
- On a large piece of cardboard, draw a shoe base shape. Cut out this shoe shape, then use it as a template for the second shoe.
- Once the cardboard shoes are cut out, cover them with tissue paper or wrapping paper and trim the edges so they are smooth.
- Add 2 to 3 strips of double-sided tape on top of each foot, then set them aside.
- Now, roll the diapers and secure each one with a rubber band.
- Now, stand the rolled diapers upright on top of the double-sided tape on the baby bootie feet bases. Save 8 to 10 of the diapers to create the high-top on the booties.
- Wrap a piece of blue ribbon around the center of each bootie and secure with a bit of glue.
- Then, wrap 4 to 5 of the remaining diapers into a smaller bundle.
- And wrap them with a length of blue ribbon and secure them with glue as shown.
- Sit the smaller bundle on the back of the larger shoe.
- Then, create a blue bow for each bootie, with a bit of yellow ribbon trim.
- Stick or glue the bow onto the blue ribbon wrapped around the top booties.
- Place a rubber ducky on top of each shoe.
- Add additional decorations if you wish before displaying or gifting.
Notes
Change out the colors of tissue paper and ribbon to fit the baby nursery or baby shower decoration theme!
Recommended Products
As an Amazon Associate and member of other affiliate programs, I earn from qualifying purchases.
-
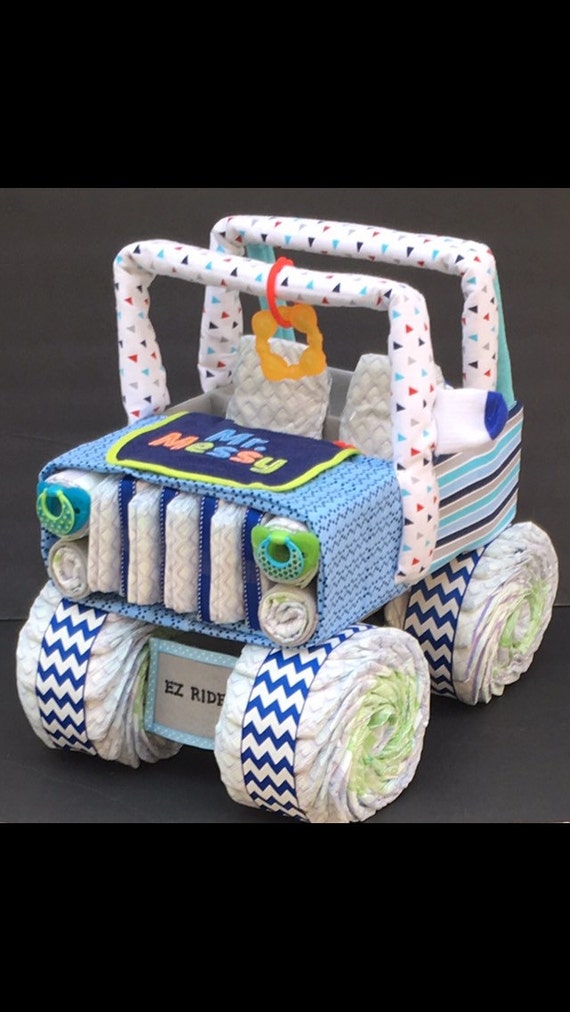 Jeep Baby Diaper Jeep Diaper Cake Boy Diaper Centerpiece | Etsy
 -
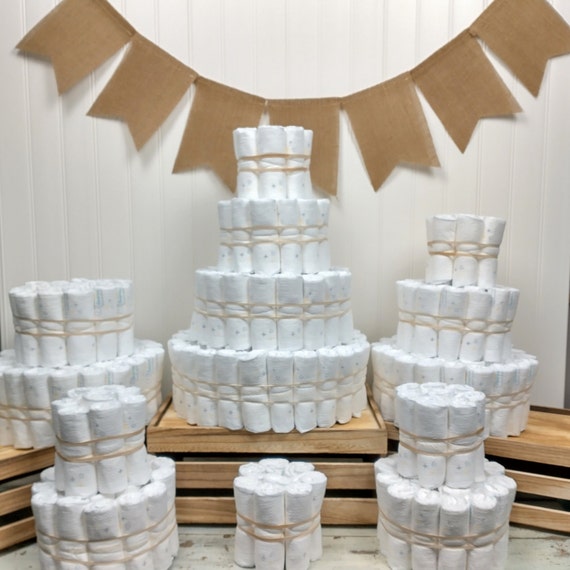 Diaper Cake Centerpiece DIY PLAIN UNDECORATED Baby Shower | Etsy
 -
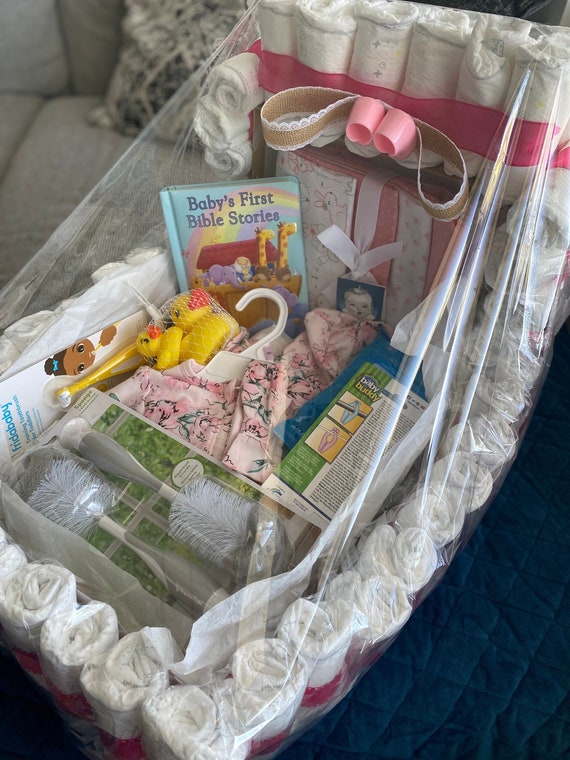 Baby Booties Diaper Carriage Personalize for Boy or Girl | Etsy
 -
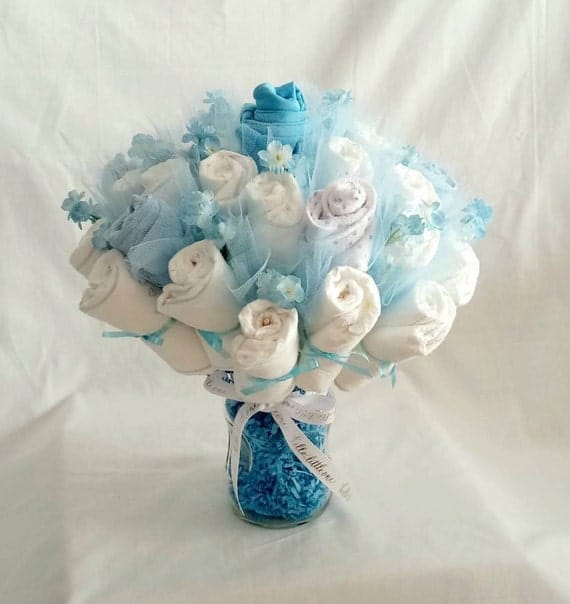 Diaper Cake Bouquet Baby Washcloths Baby Onesie Tulle Glass | Etsy
 -
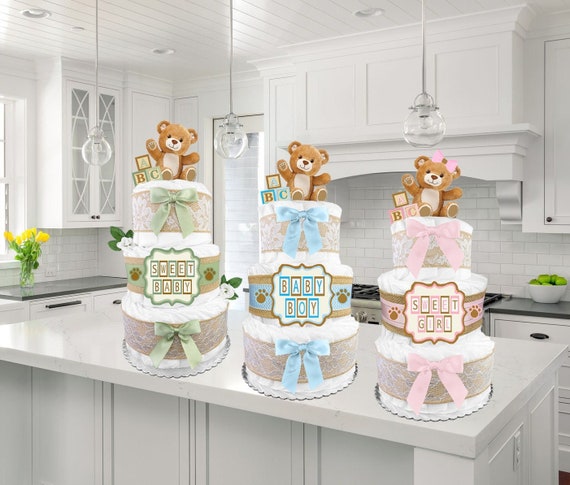 Baby Shower Gift Teddy Bear Diaper Cake for a Boy or Girl | Etsy
 -
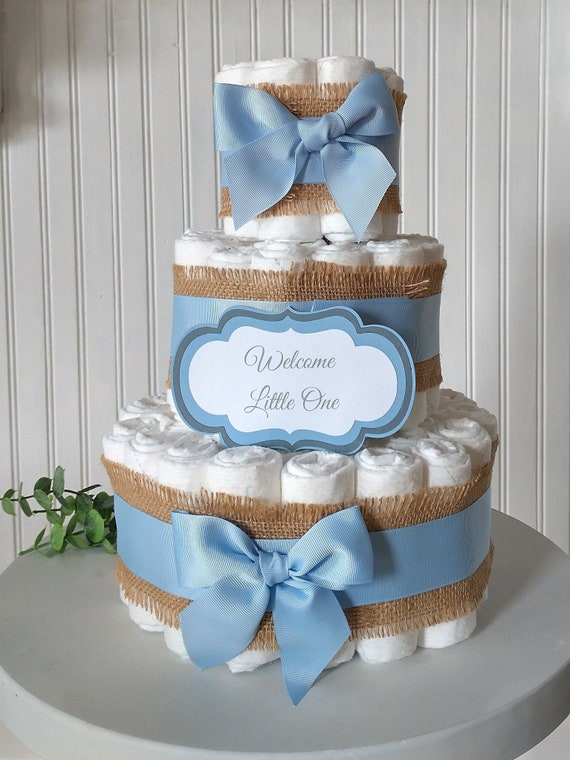 Diaper Cake Blue Ribbon and Burlap Baby Shower Centerpiece | Etsy
Finished Project Gallery
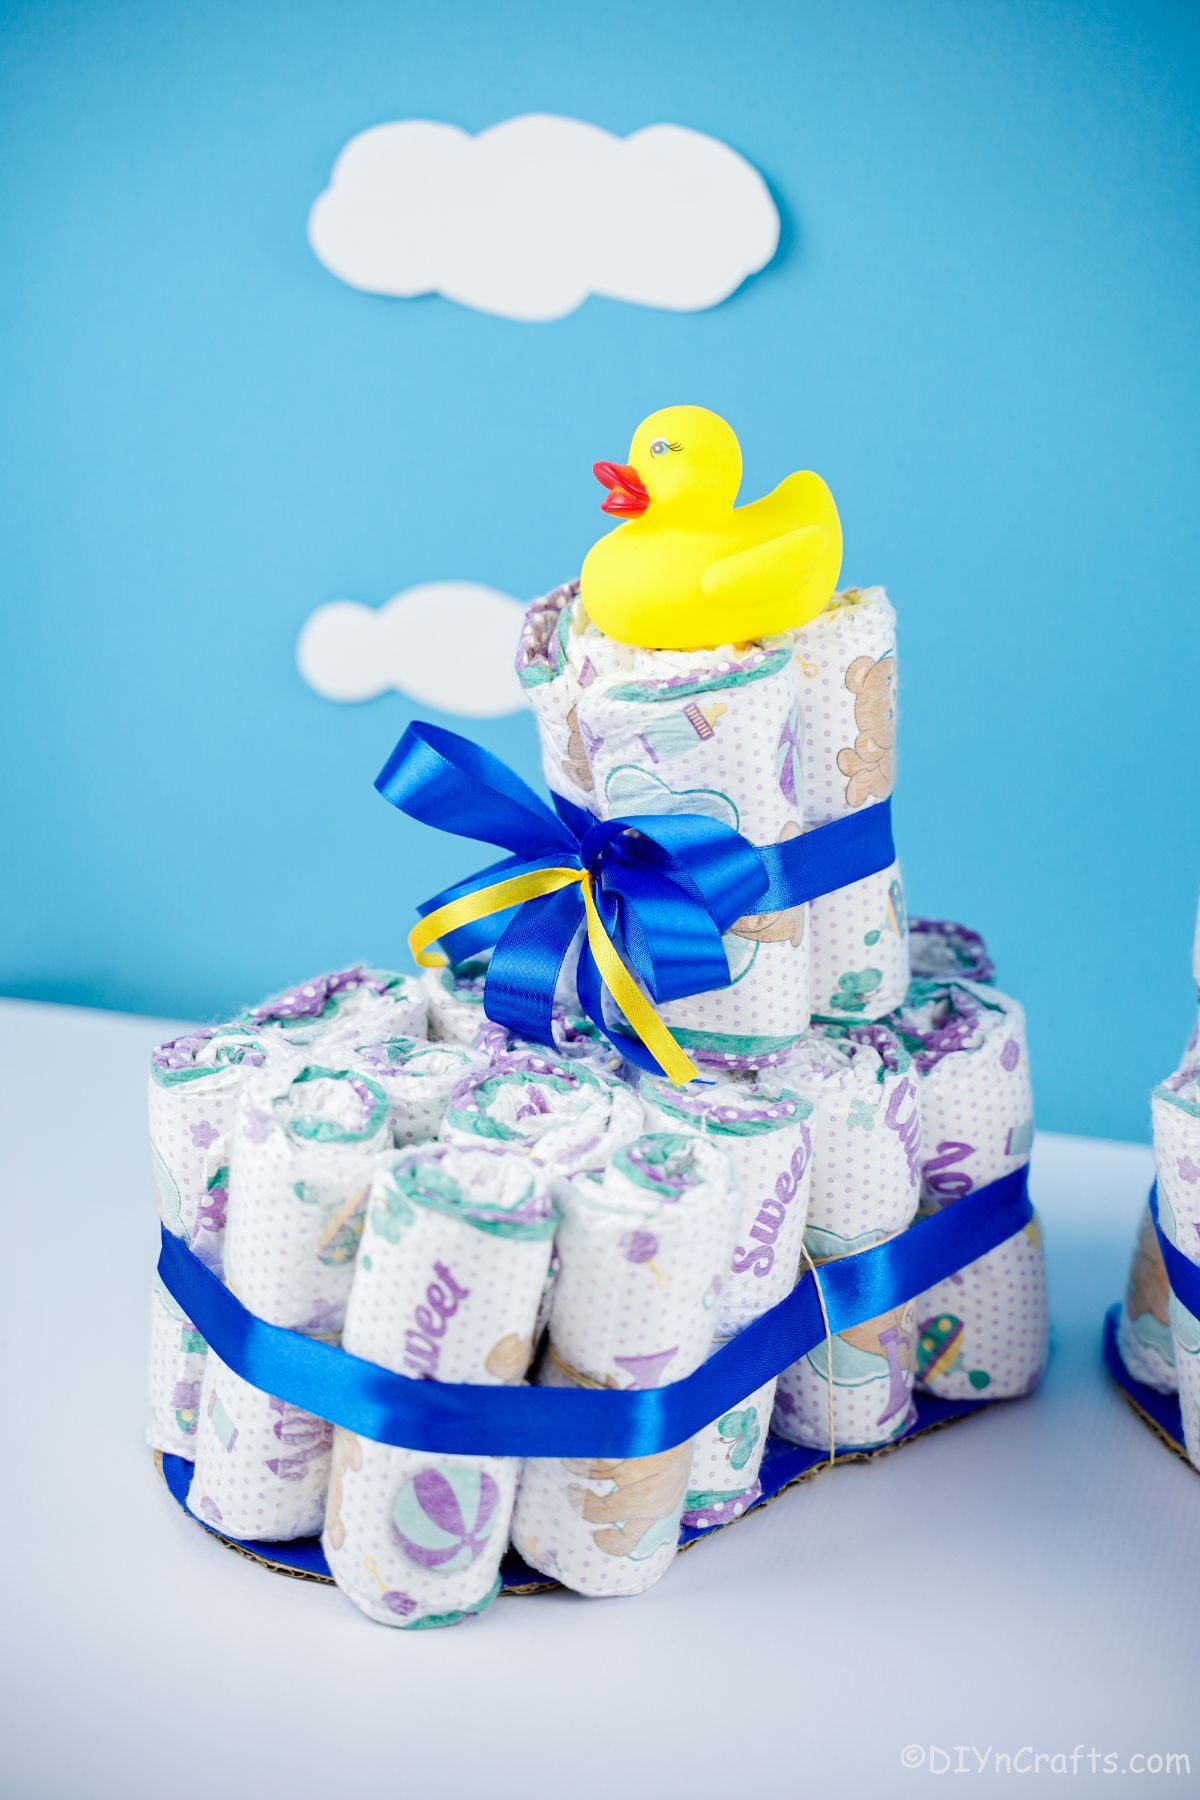
Use any color of ribbon to make this truly unique.
You can add a different toy if you prefer, and not rubber duckies.






Leave a Reply