Looking for a unique and stylish way to display your flowers? Check out these upcycled tin can vases! We use recycled cans, coffee beans, and simple household materials to create beautiful and one-of-a-kind pieces. It's a fun way to upcycle or repurpose items you have on hand and add a nice rustic addition to your home decor.
Upcycled Can Vase
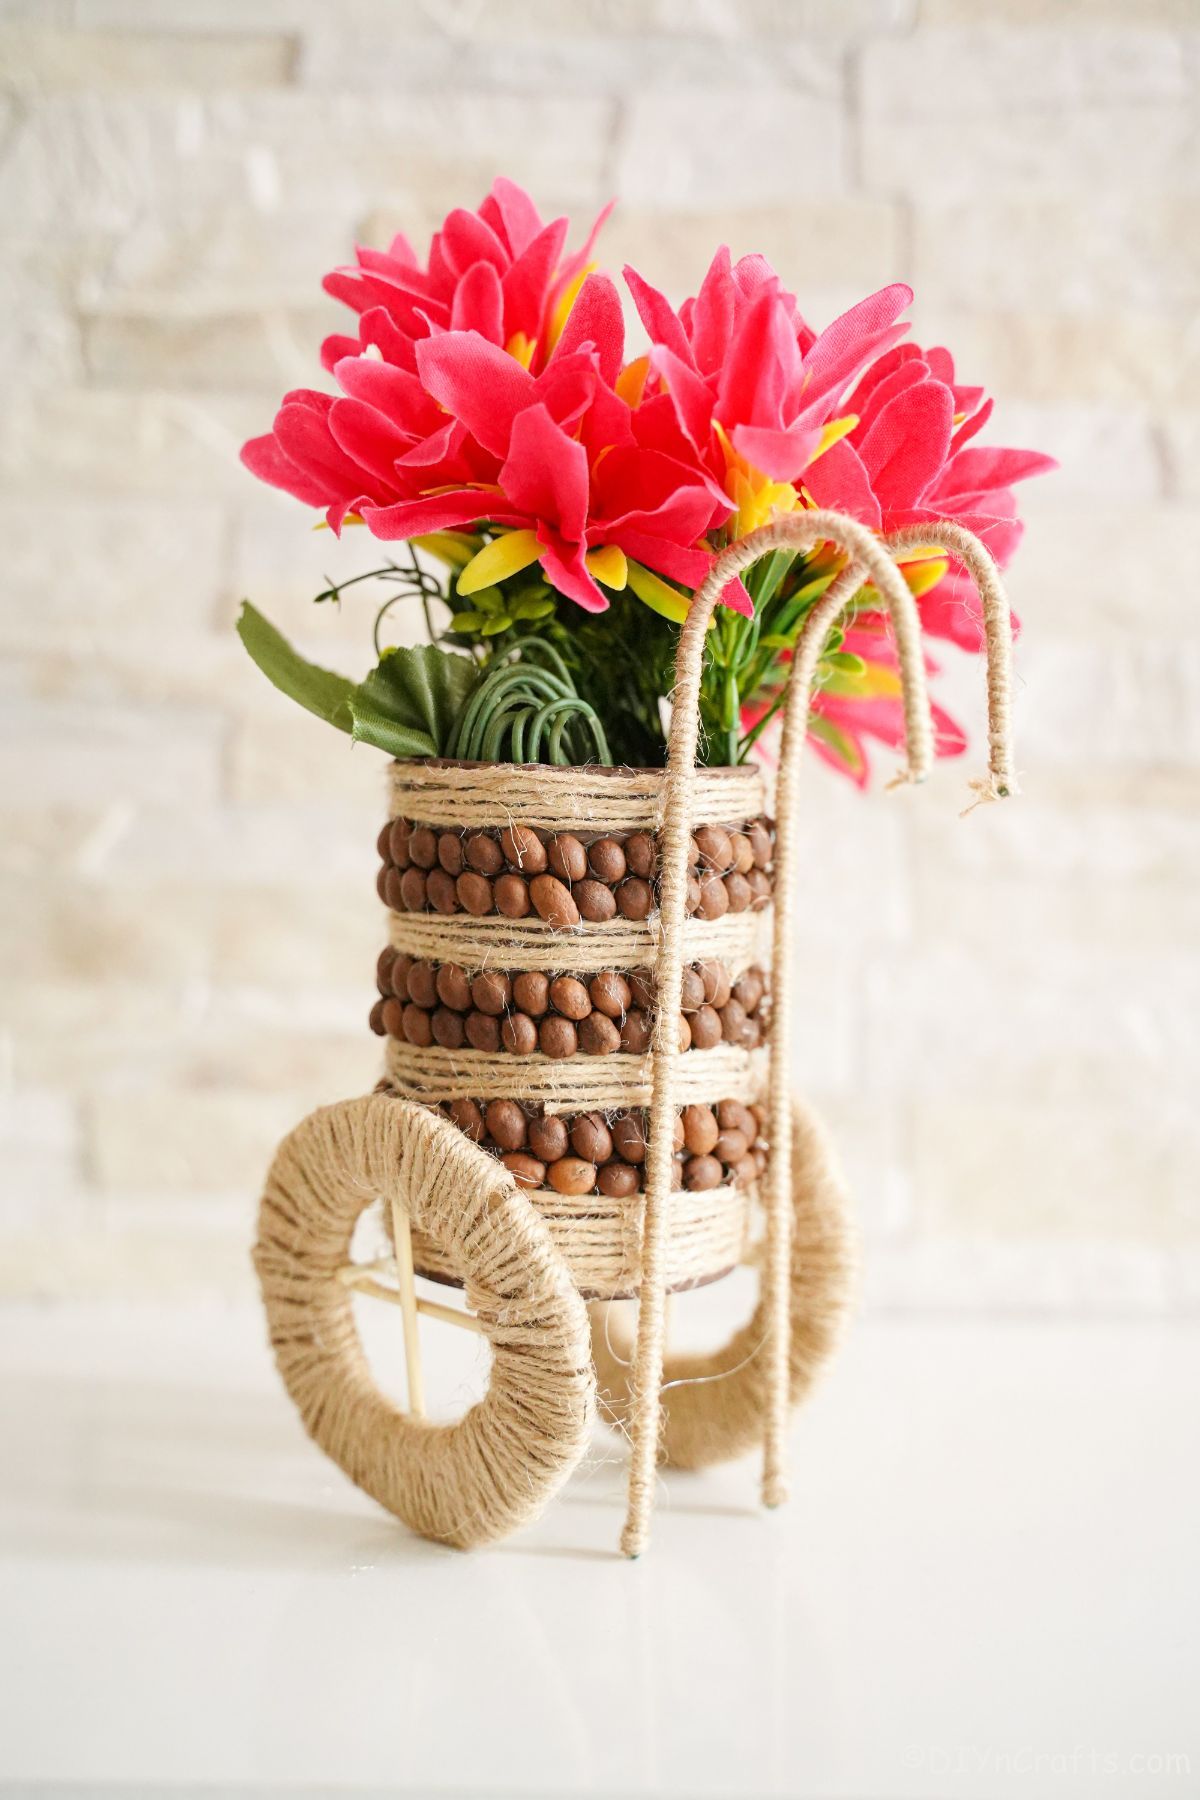
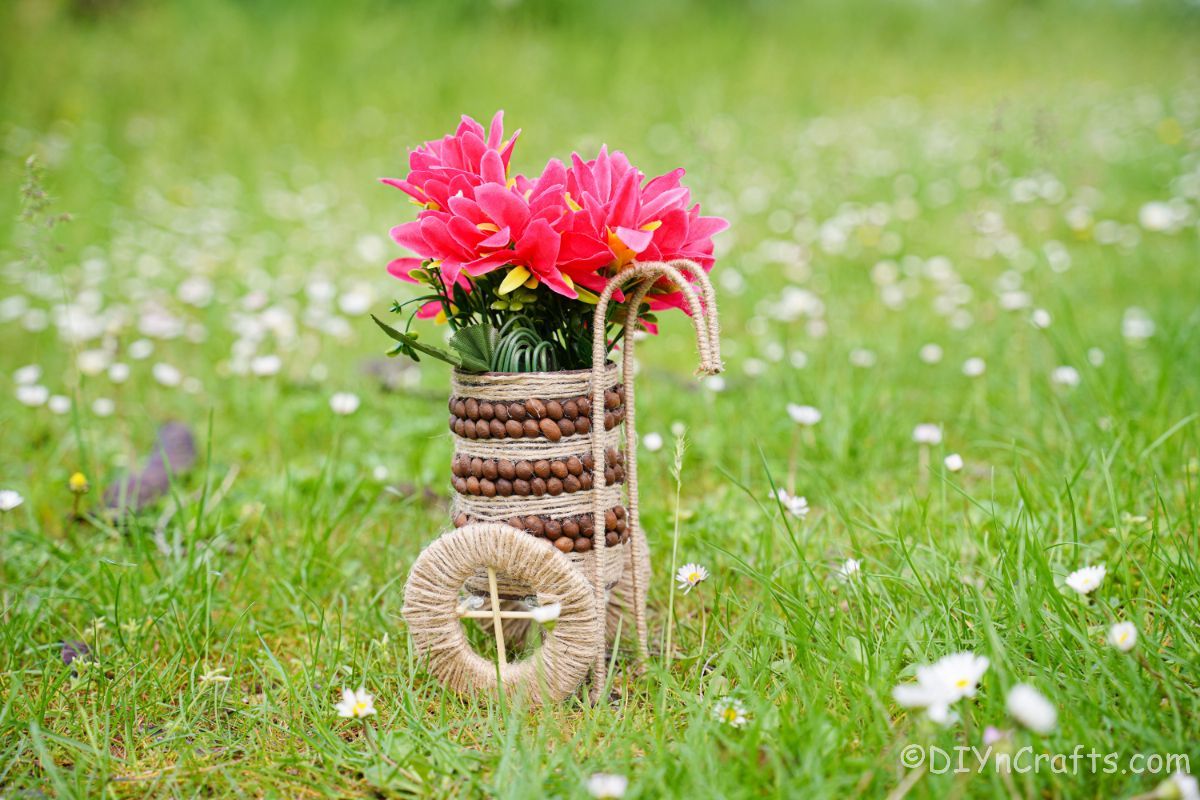
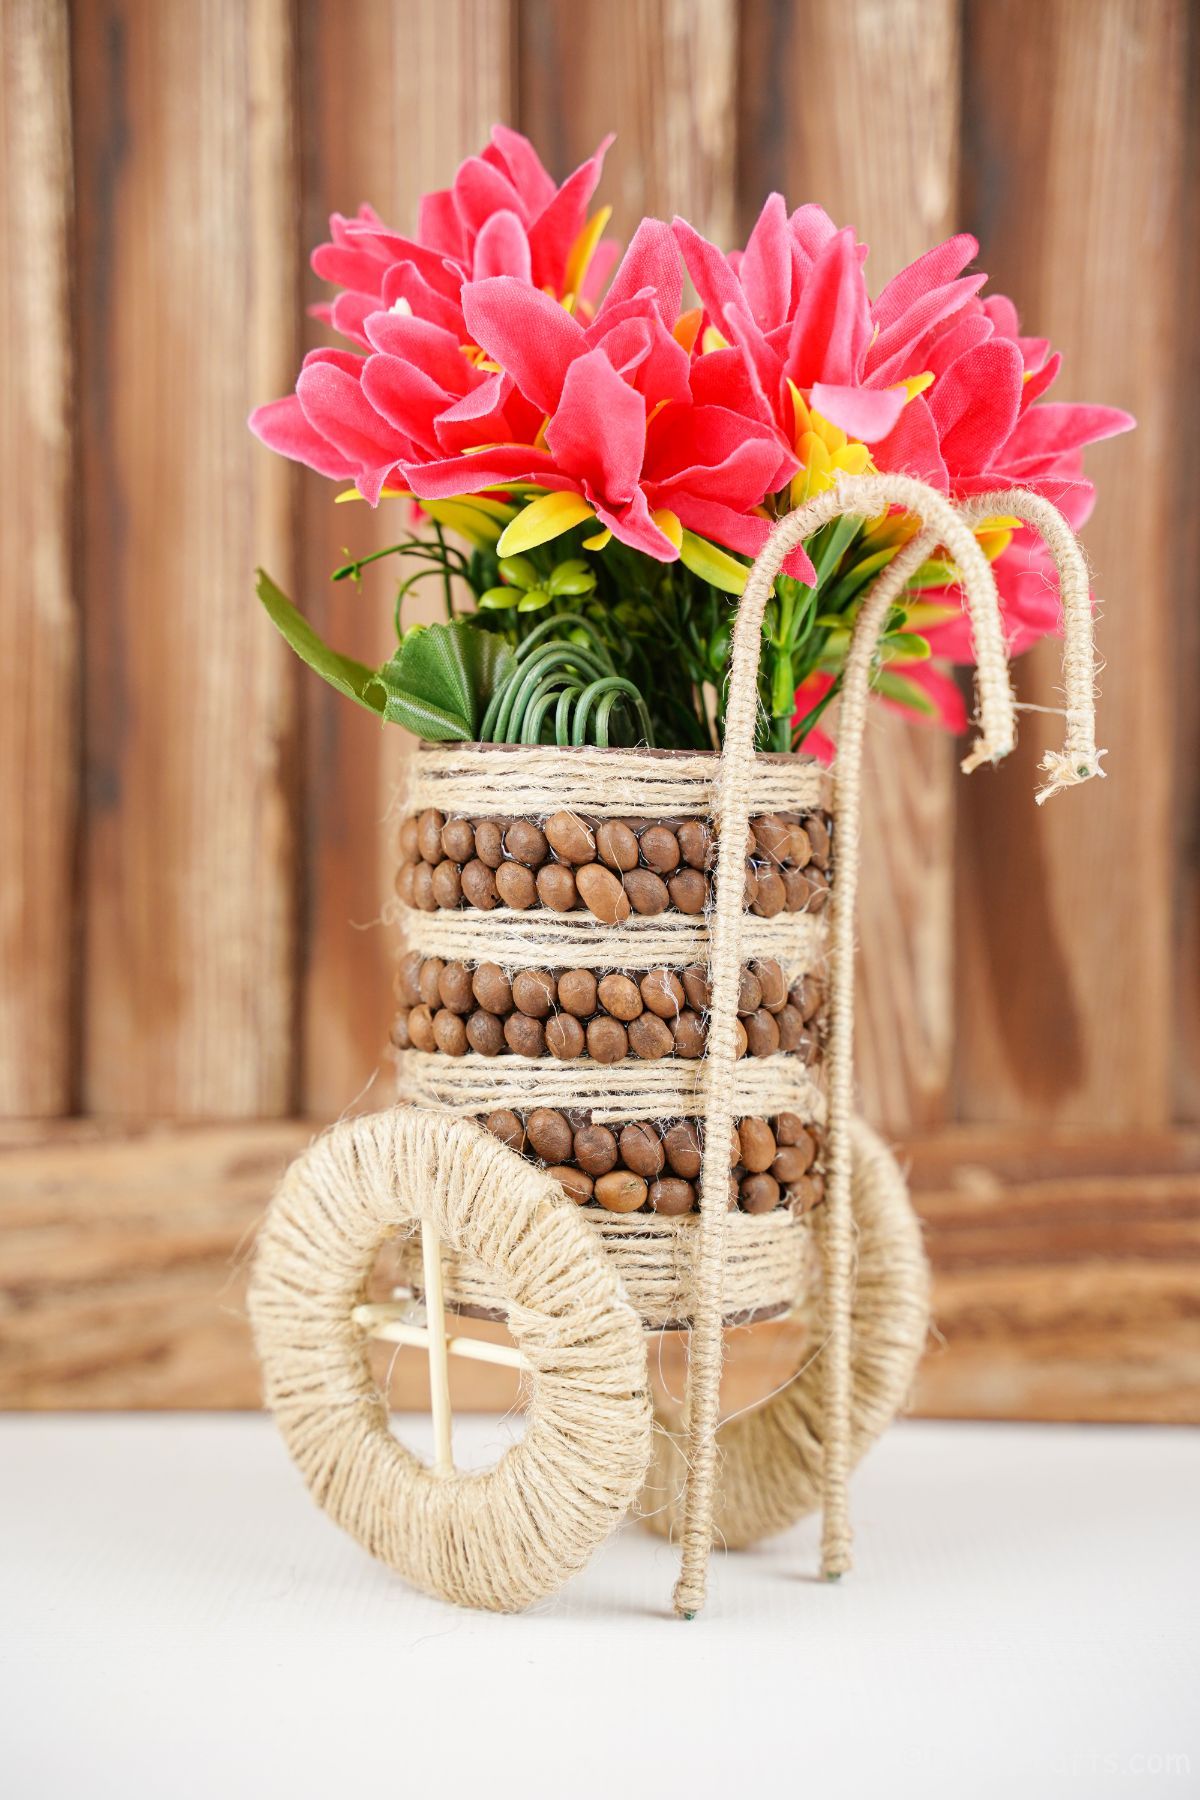
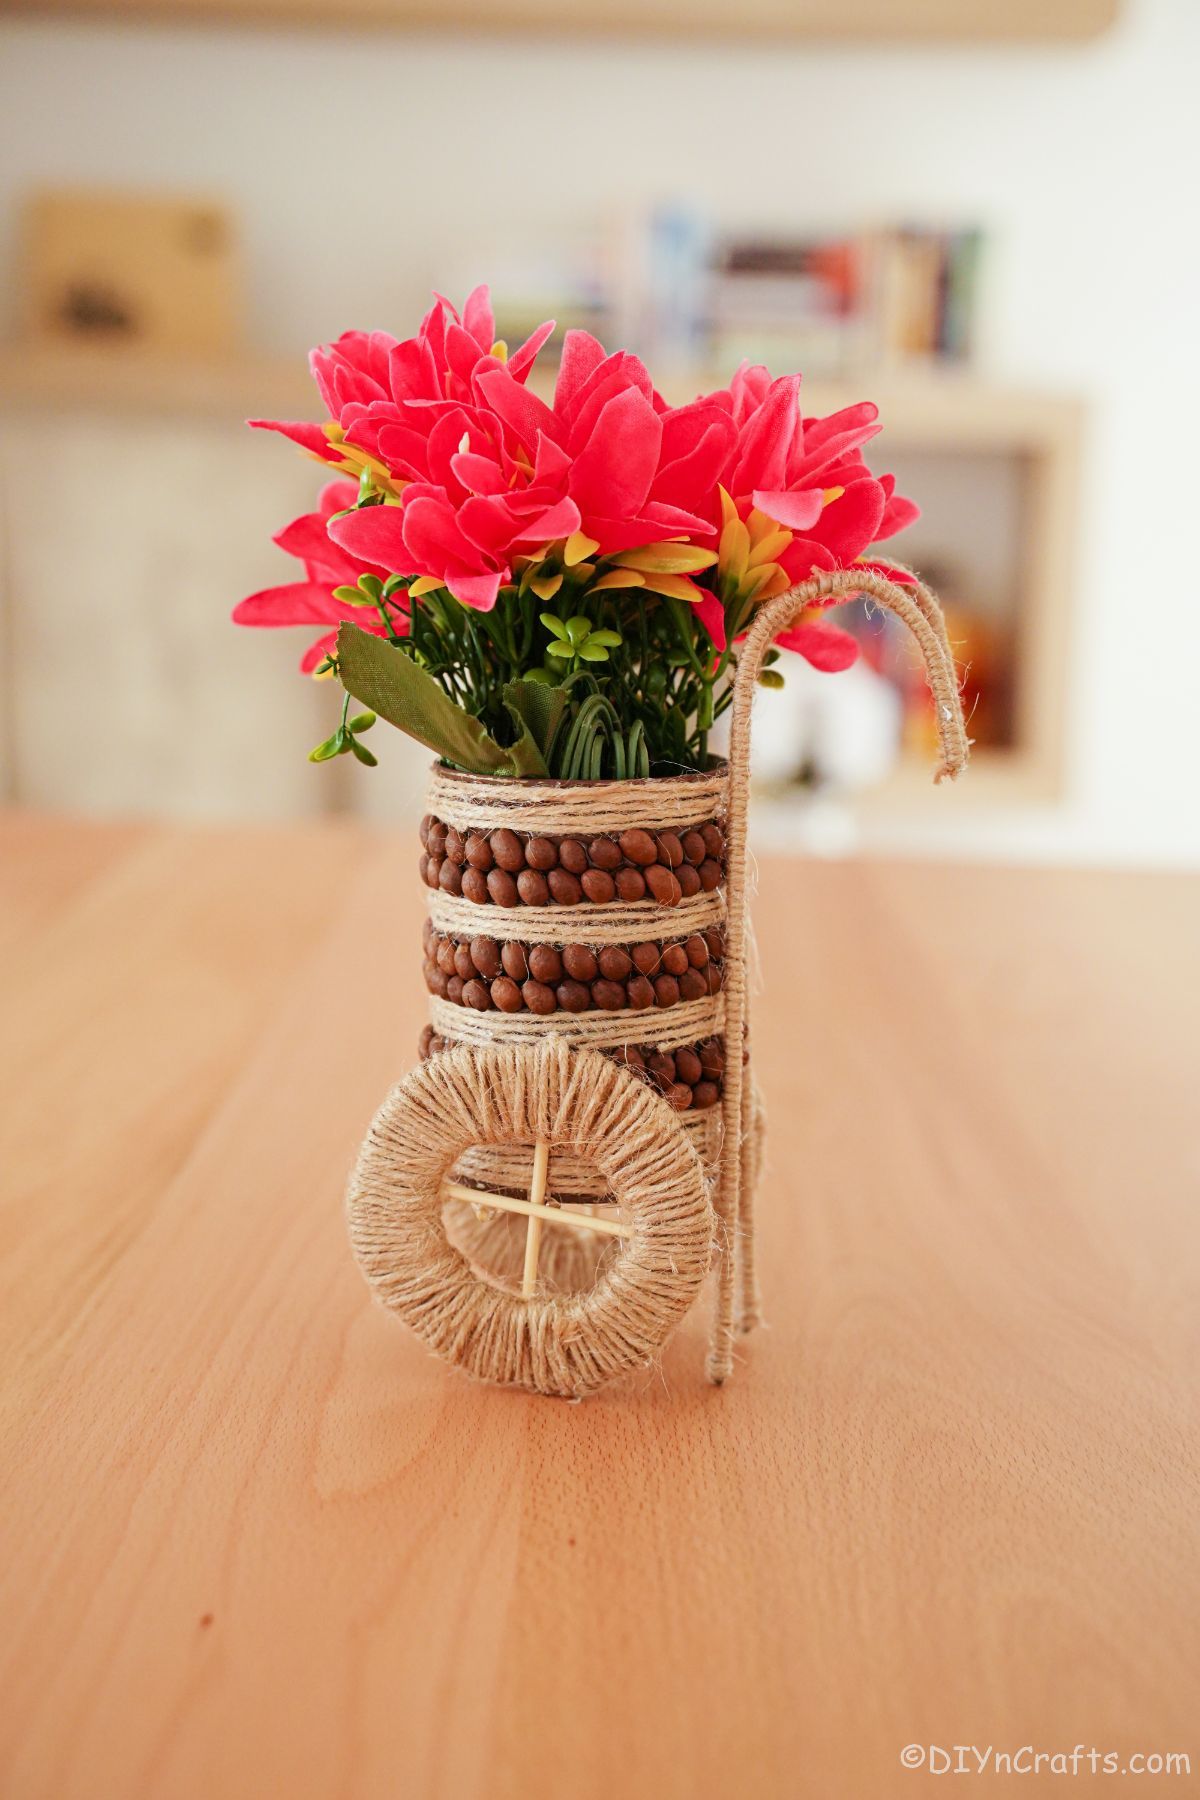
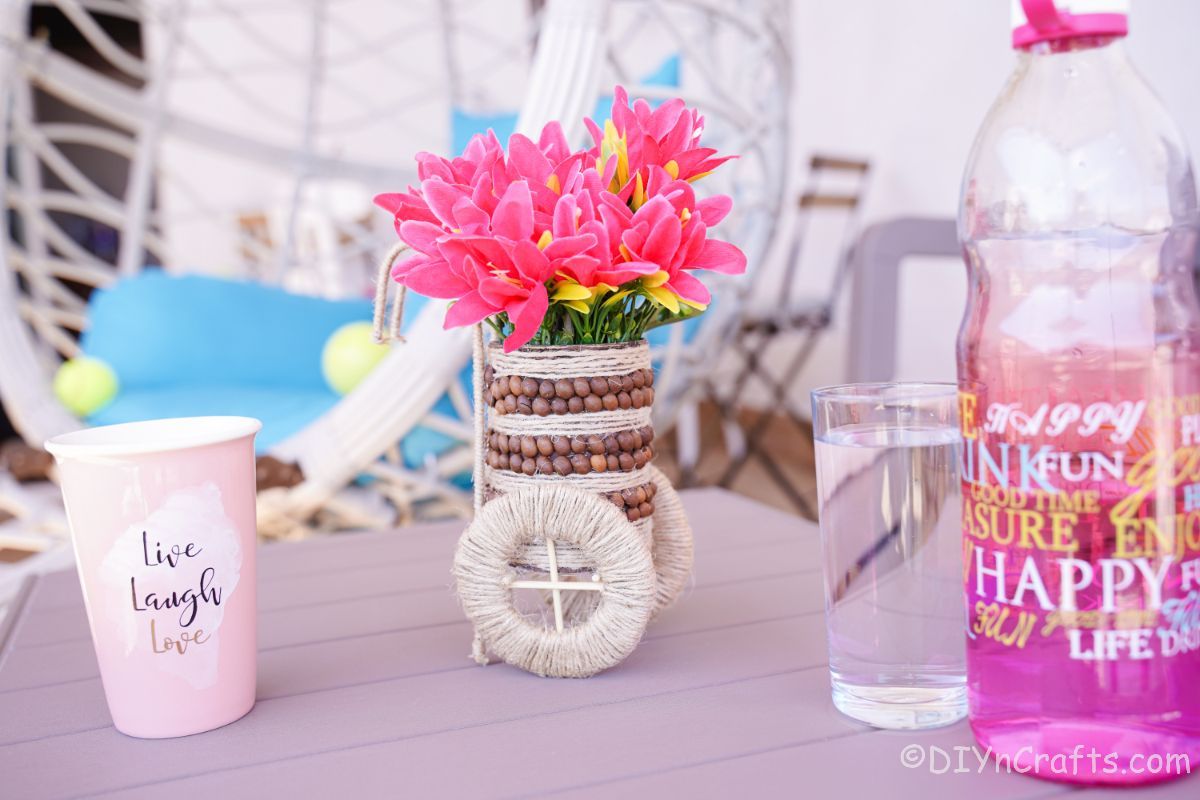
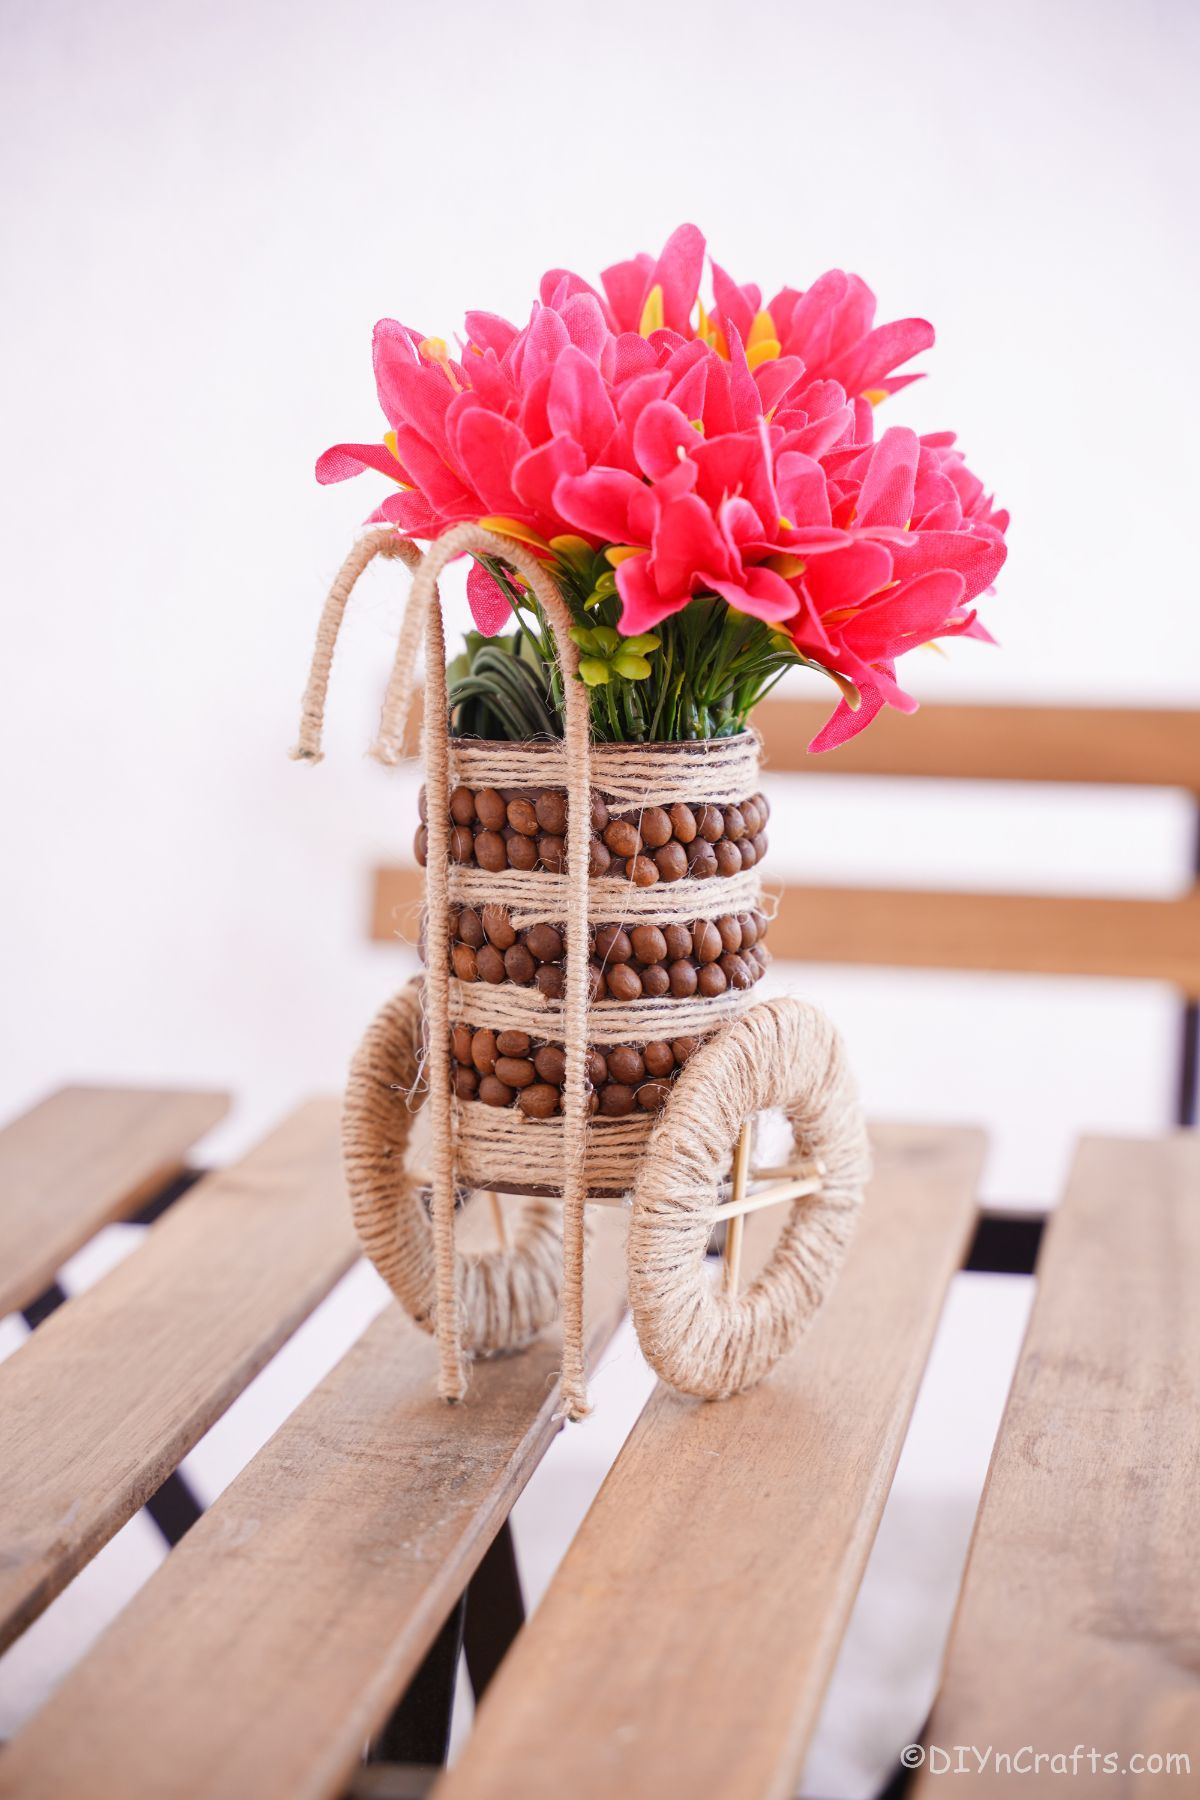
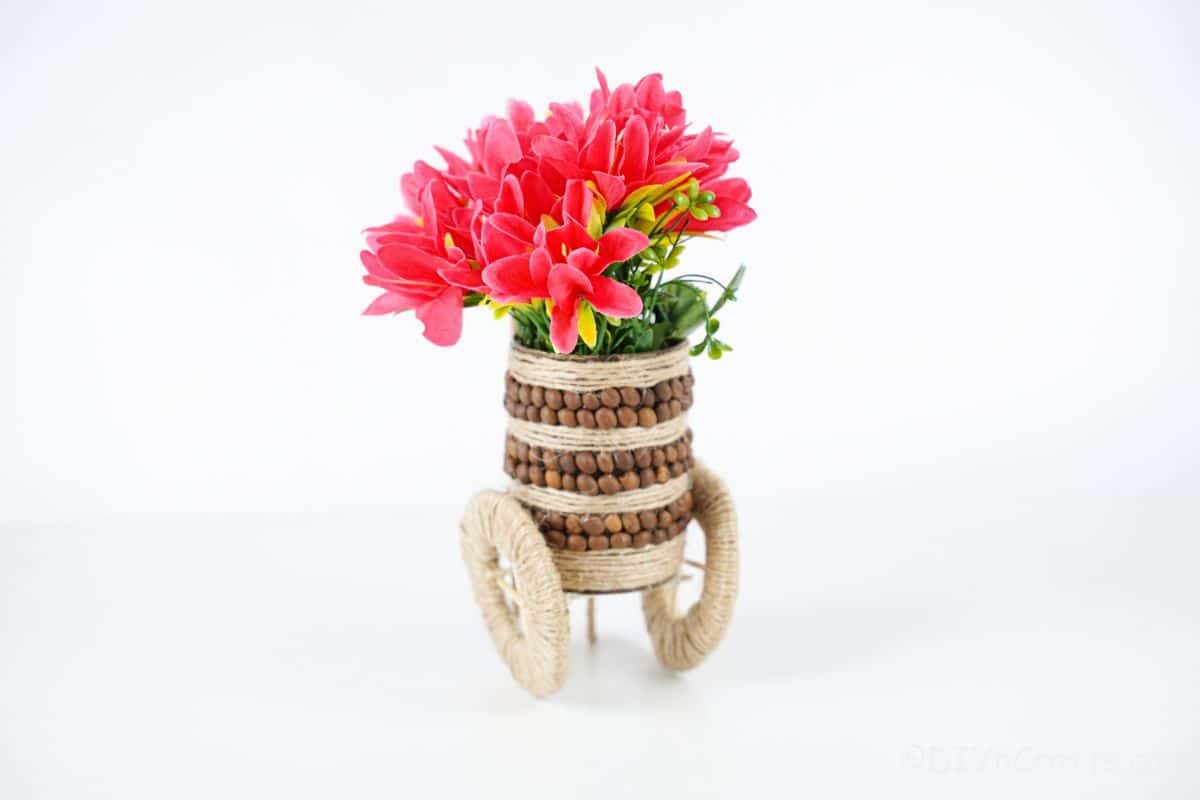
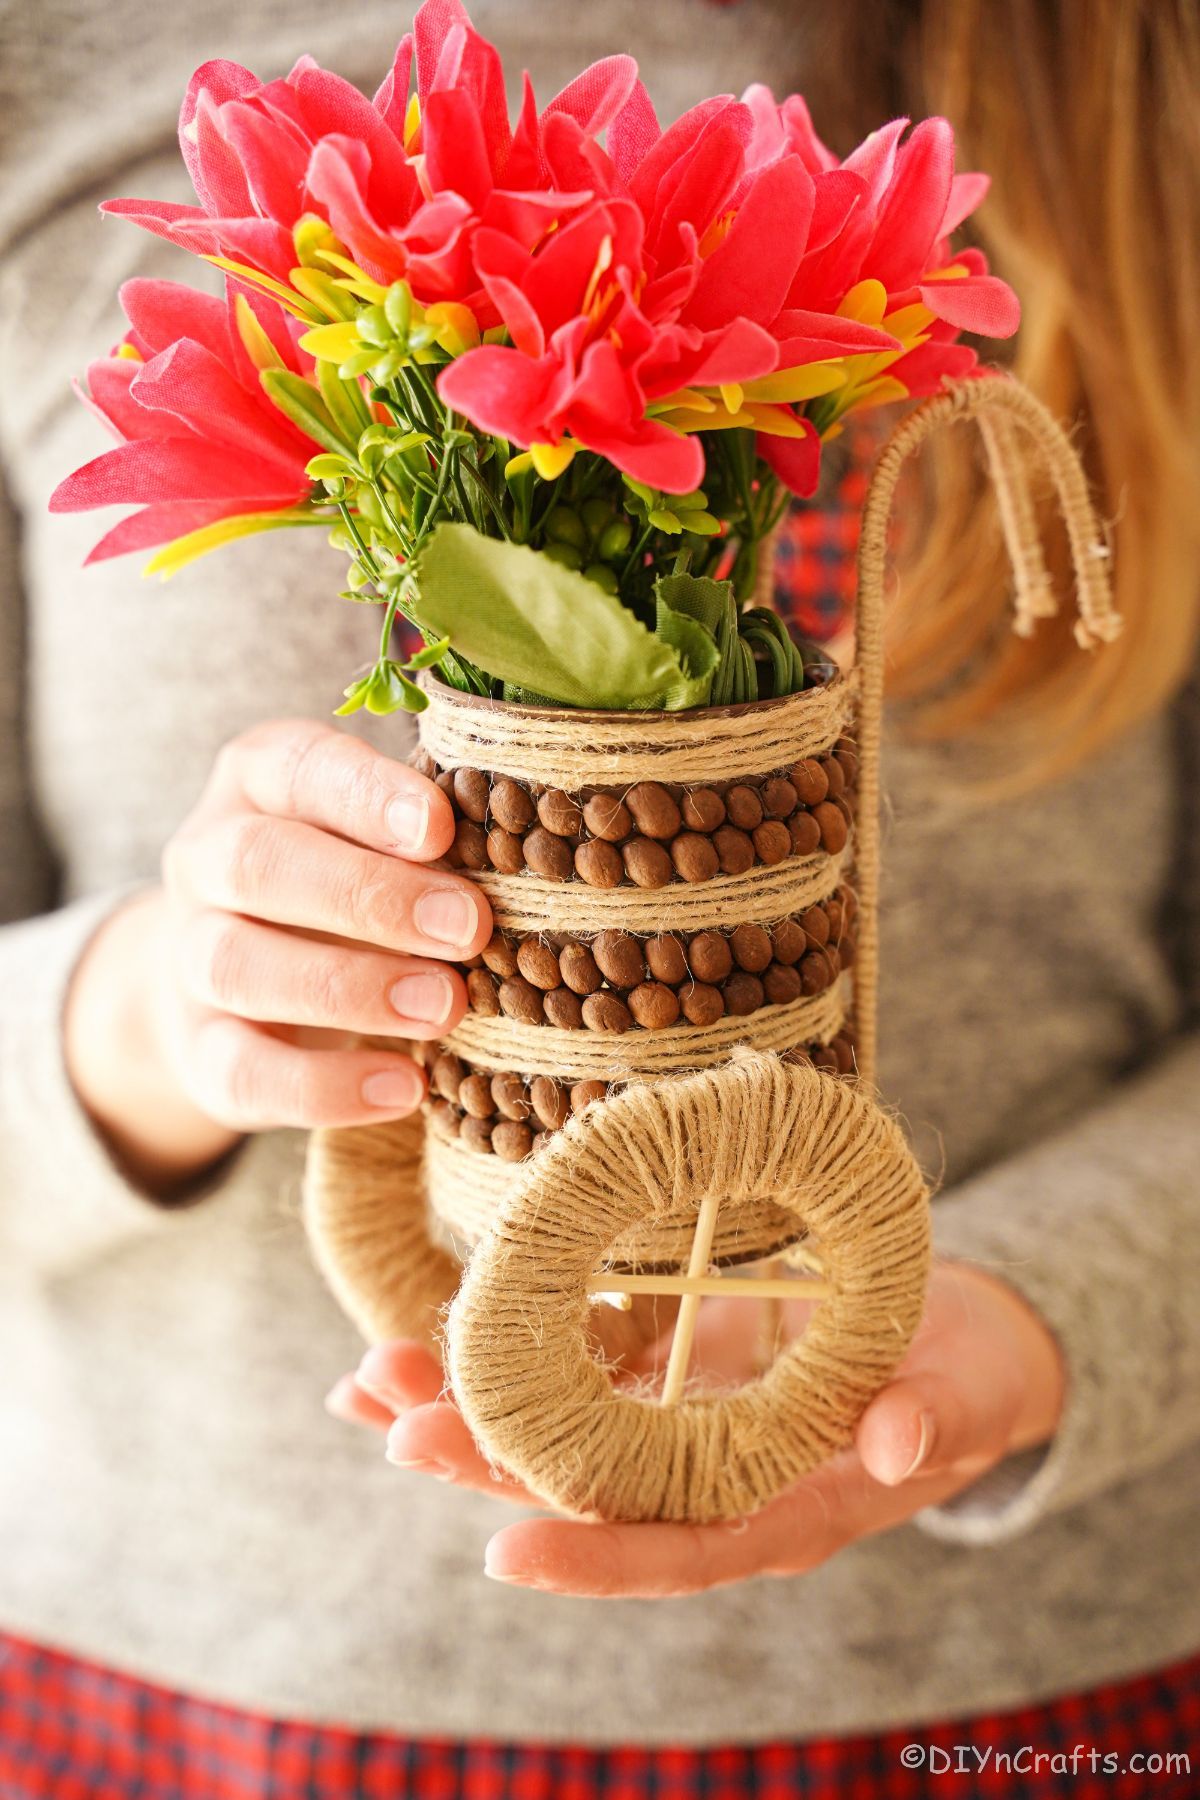
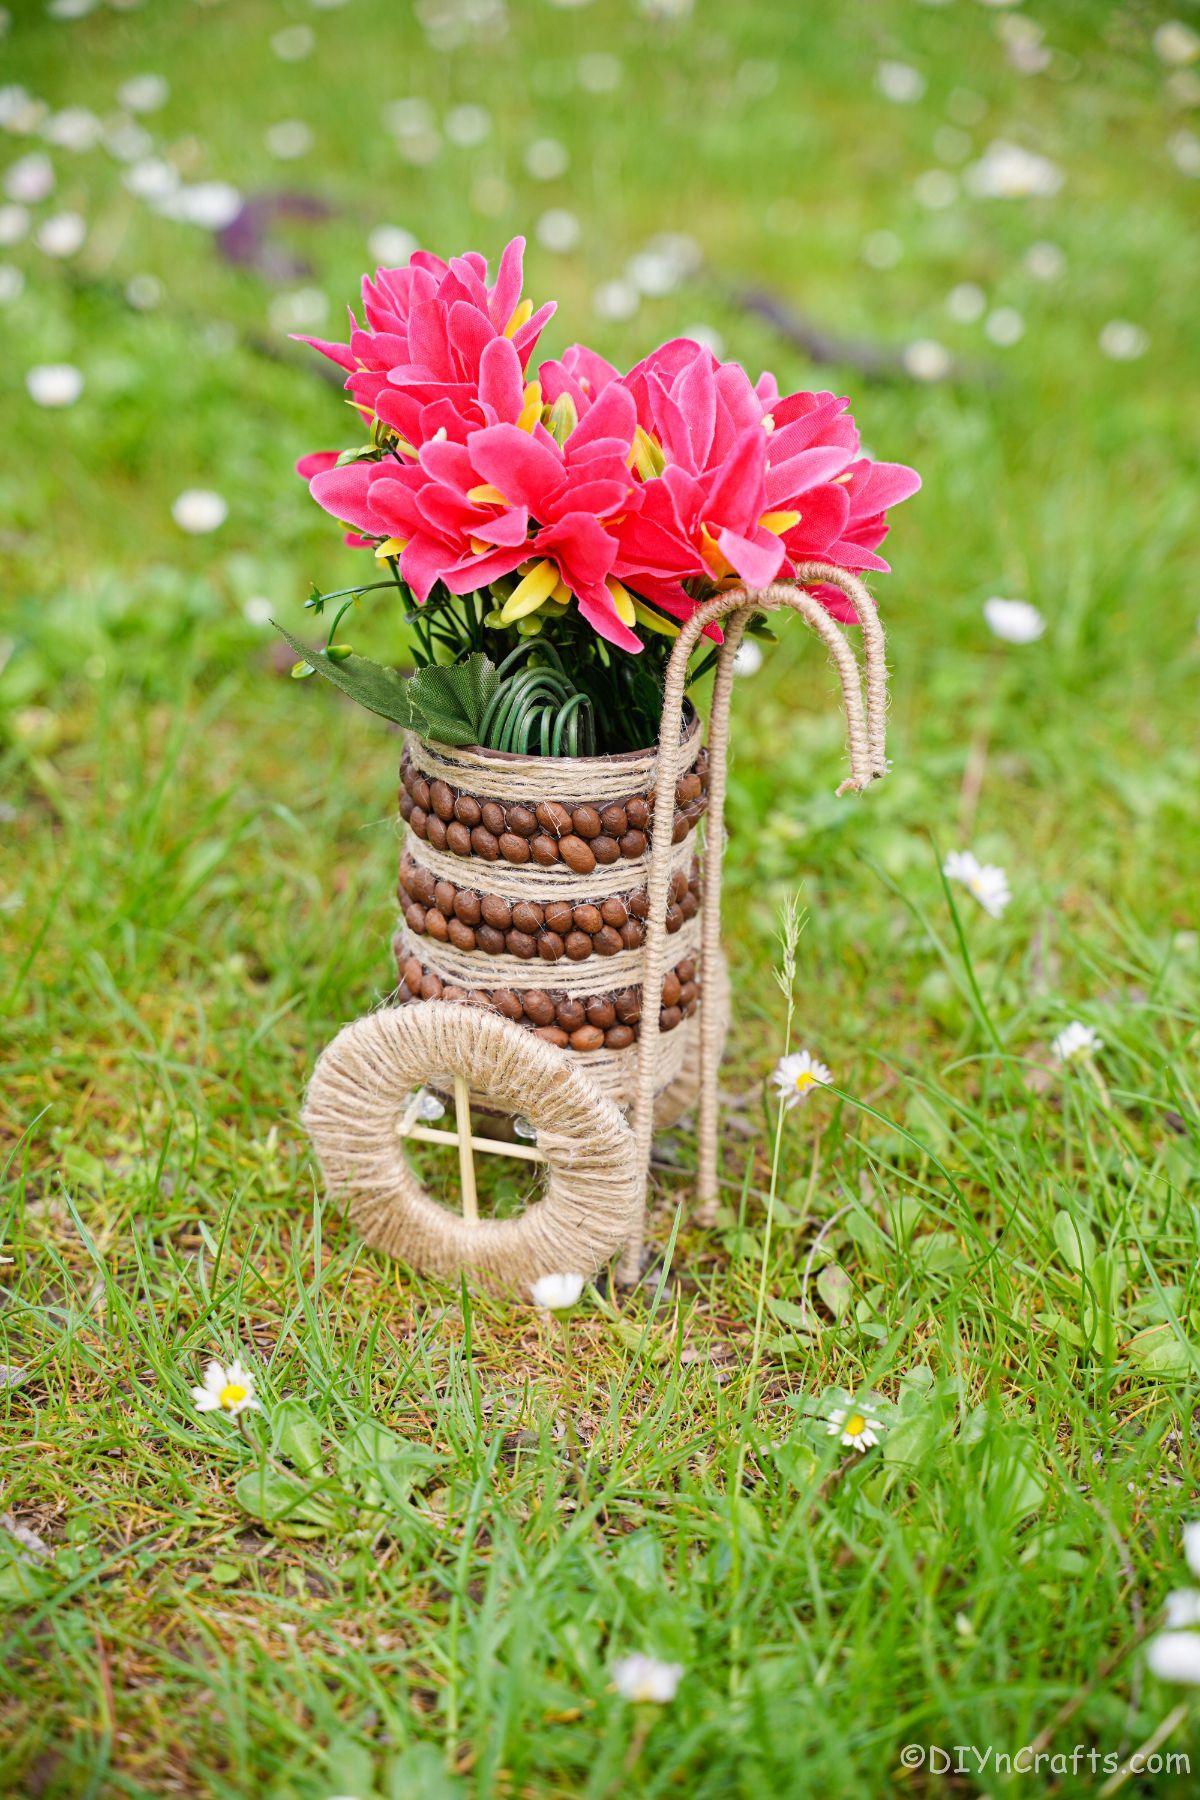
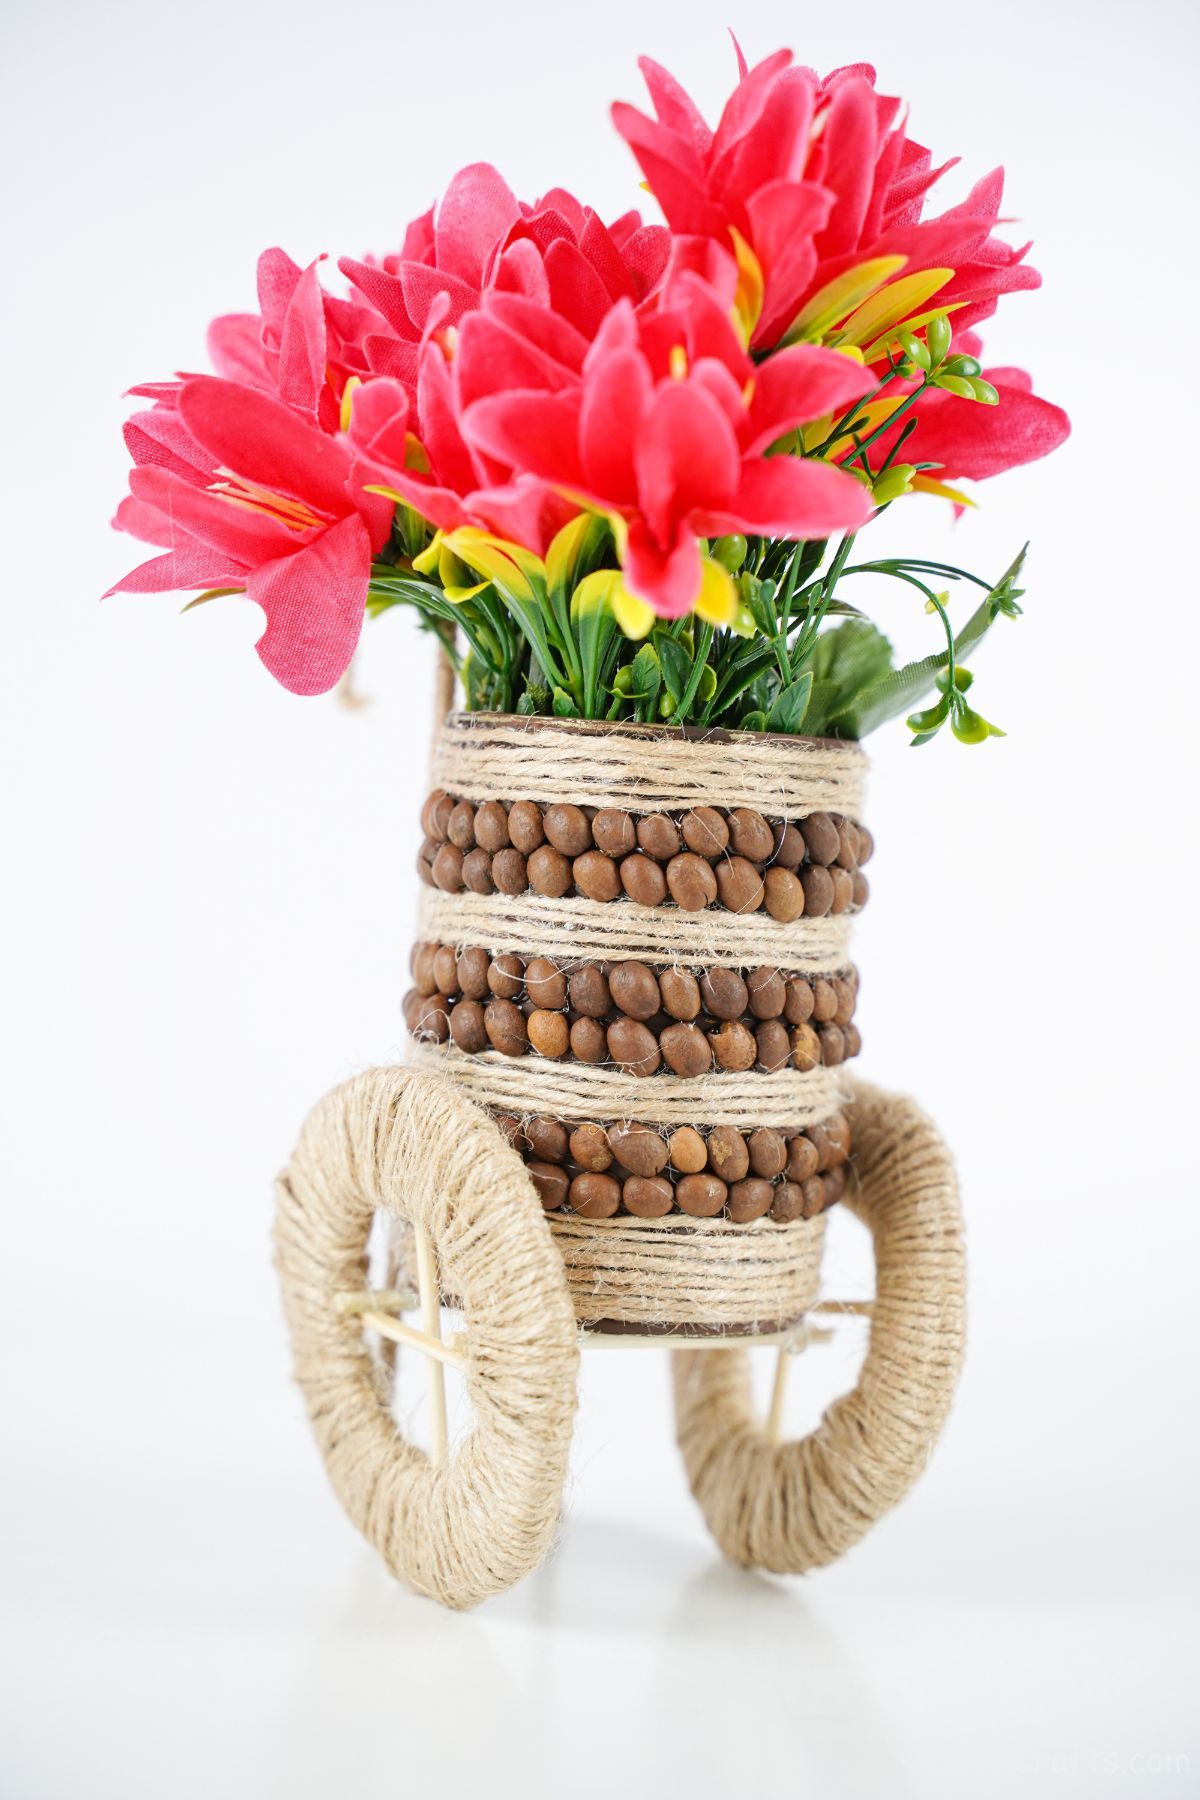
This upcycled can vase is adorable. No one would ever suspect that it is made with a recycled can you have from making dinner or coffee. I love how this is made to look like it has wheels. Whether it looks like a barrel or a little cart holding a vase, it is super cute and fun to add to your decor.
I love using tin cans in crafts because they are a free resource I already have on hand in my home. Once I empty them when preparing meals, I just peel off the labels and set them aside to clean well and use later. This is a great way to add a little bit of personality to any room, and do so while not spending much if any money on home decor!
In the past, I have made things like this decorative tin can planter and even fun ideas like this tin can snowman for holiday decor. They are super versatile and last forever, so they are perfect for crafting!
Do I Have to Paint the Can?
You do not have to paint the can. I do it because it gives a clean base when I start decorating the can. This way if there is a slight gap between the coffee beans, or decorative gems or if you are trying to paint it in a decorative way, it is nice to start with a base coat. It also can cover any blemishes on the can or marks you didn't remove.
If you choose to paint the tin can before crafting, I recommend using basic acrylic craft paint or your favorite spray paint. These stick well to the aluminum of the can and will last the longest.
What Can I Use for the Wheels?
The wheels are easy to make. Since the wheels aren't really to roll but are more decorative, this means you can make them with just about any material you have on hand that is stiff.
I used cardboard that had been cut into circles and then I wrap with twine. You can use cardstock, cardboard, plastic, or scrap cardboard from boxes. Of course, if you already have some craft wheels or similar wheels from a hobby or miniature store, those would work great as well.
What Can I Use This Tin Can Craft For?
This upcycled can vase is the cutest thing. It can be set out on the table as part of the centerpiece or you can use it as a plant pot. It would look adorable with your plants on the window or a plant shelf. I would add fake flowers for regular displaying, but it can be used as a vase for fresh flowers, just remember to clean out the water and dump any leaves before you use it again.
Another great option is to use this for storage. Add it to the desk or a kitchen counter with pens and pencils so you always have some on hand. Or, you can fill it with plastic cutlery and put it in the middle of your picnic table or buffet for your next dinner party!
What Else Can I Cover My Upcycled Can Vase With?
I am using coffee beans to cover my can. I love the rich brown color and I love the way it smells. You can use a variety of other supplies if you do not have coffee beans at home. A great option is to wrap the can with a thick sturdy fabric like burlap or wrap it completely in twine. You could also cover the outside with small stones or rocks. Of course, you can always grab beads or sequins if you want something a little bit sparkly and unique.
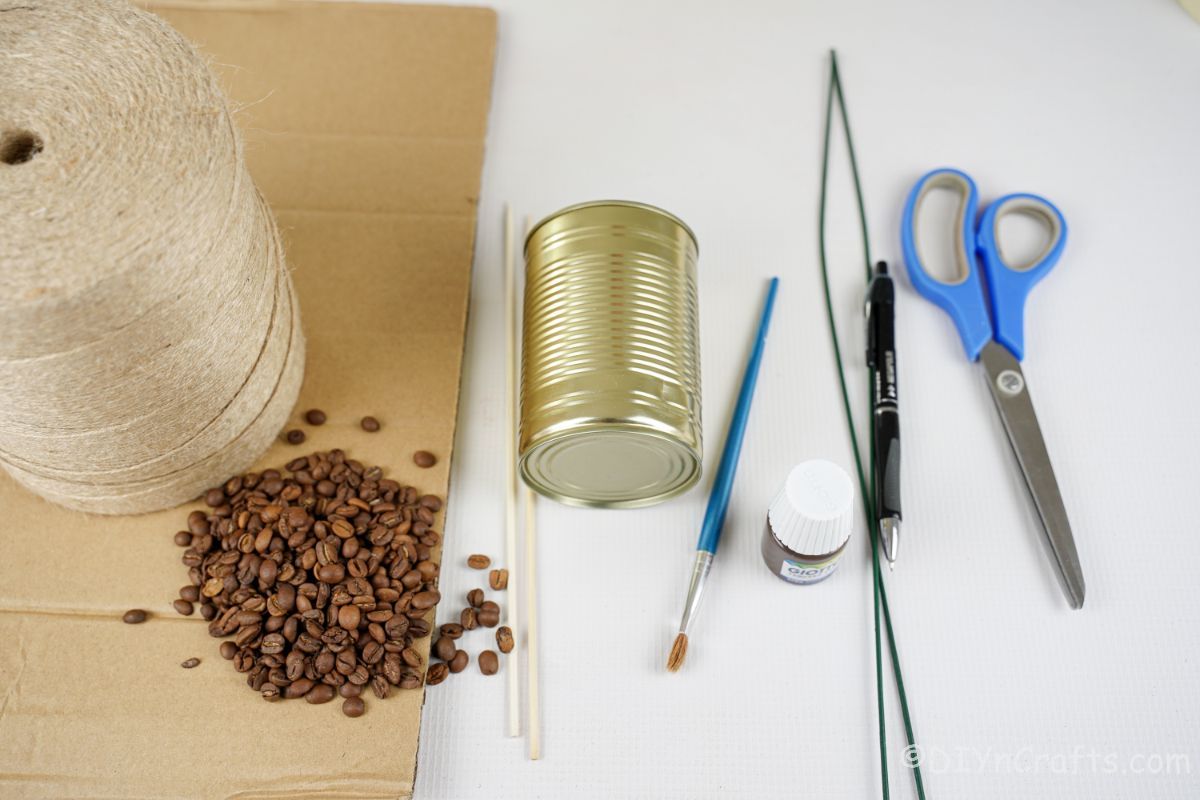
Supplies Needed
- Empty tin can
- Brown craft paint
- Cardboard
- Twine
- Small dowel or wood skewer
- Coffee beans
- Floral wire
- Paintbrush
- Hot glue gun
- Hot glue sticks
- Scissors
How to Make an Upcycled Tin Can Vase
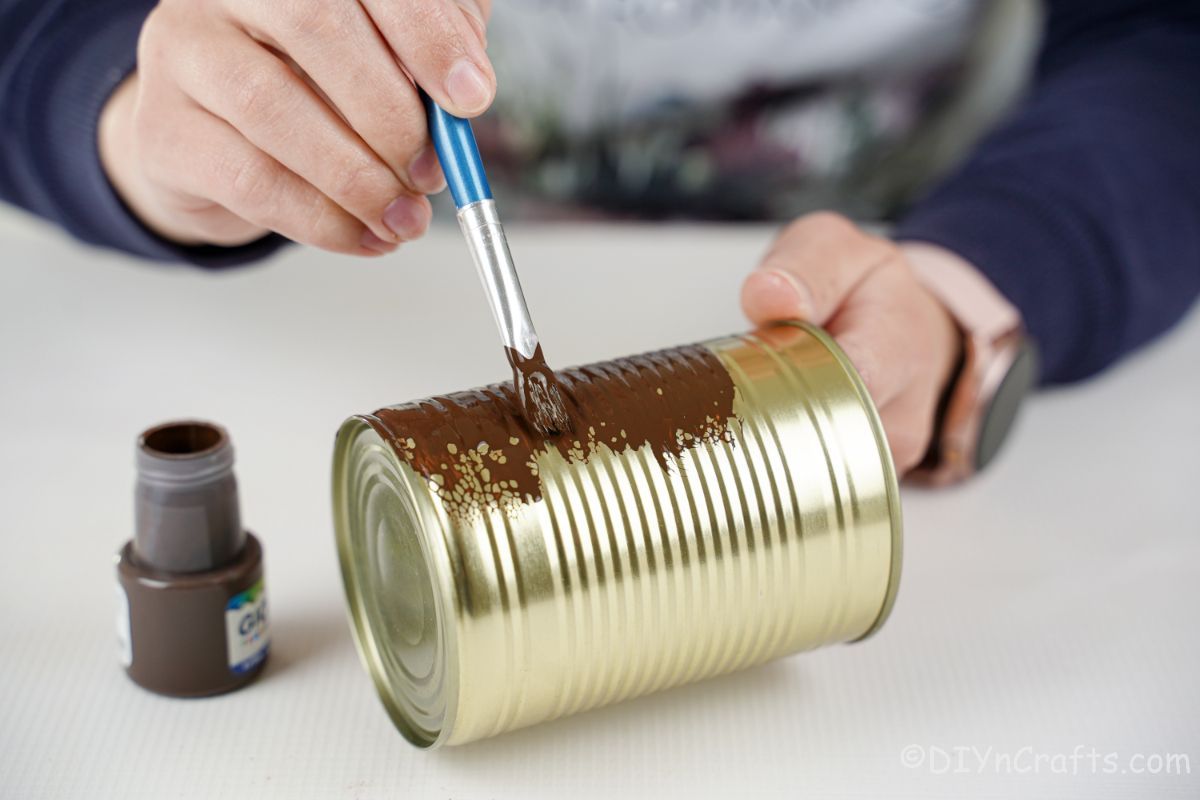
Cover your workspace with paper or newsprint, then paint the tin can on all sides with brown paint. Set it aside to dry for 30 minutes to an hour.
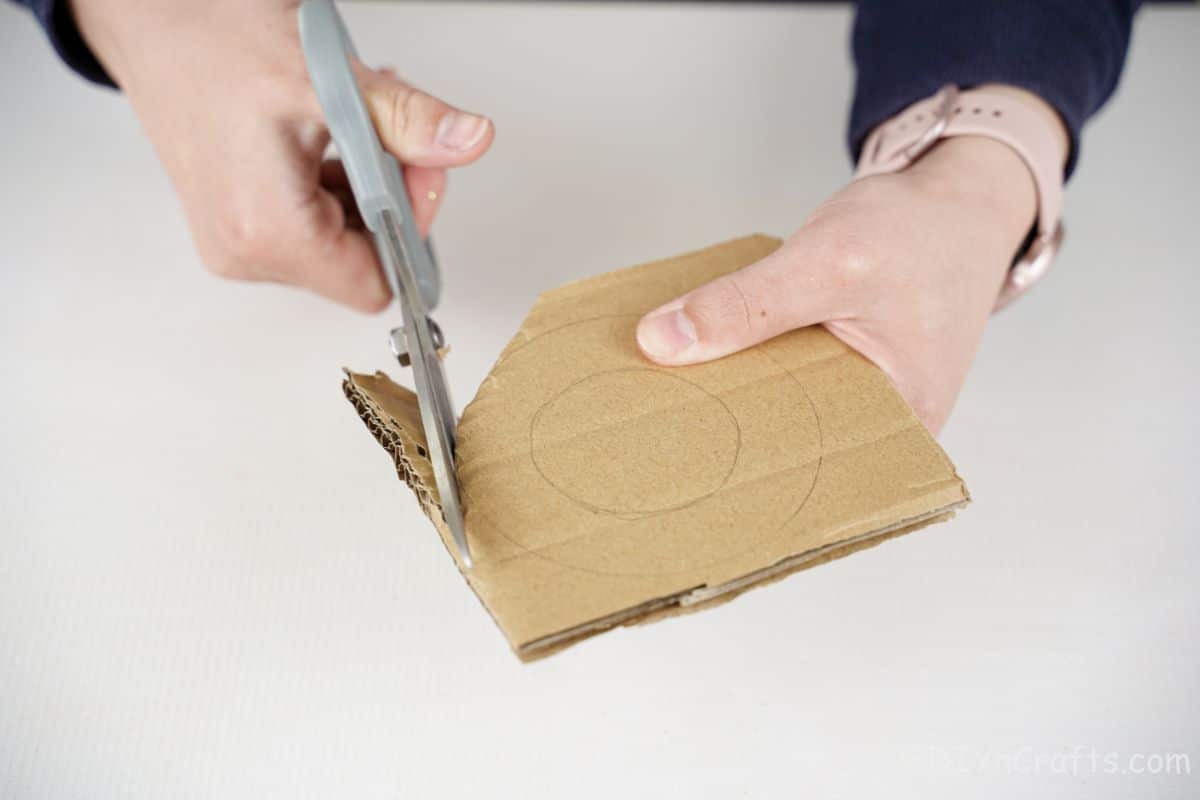
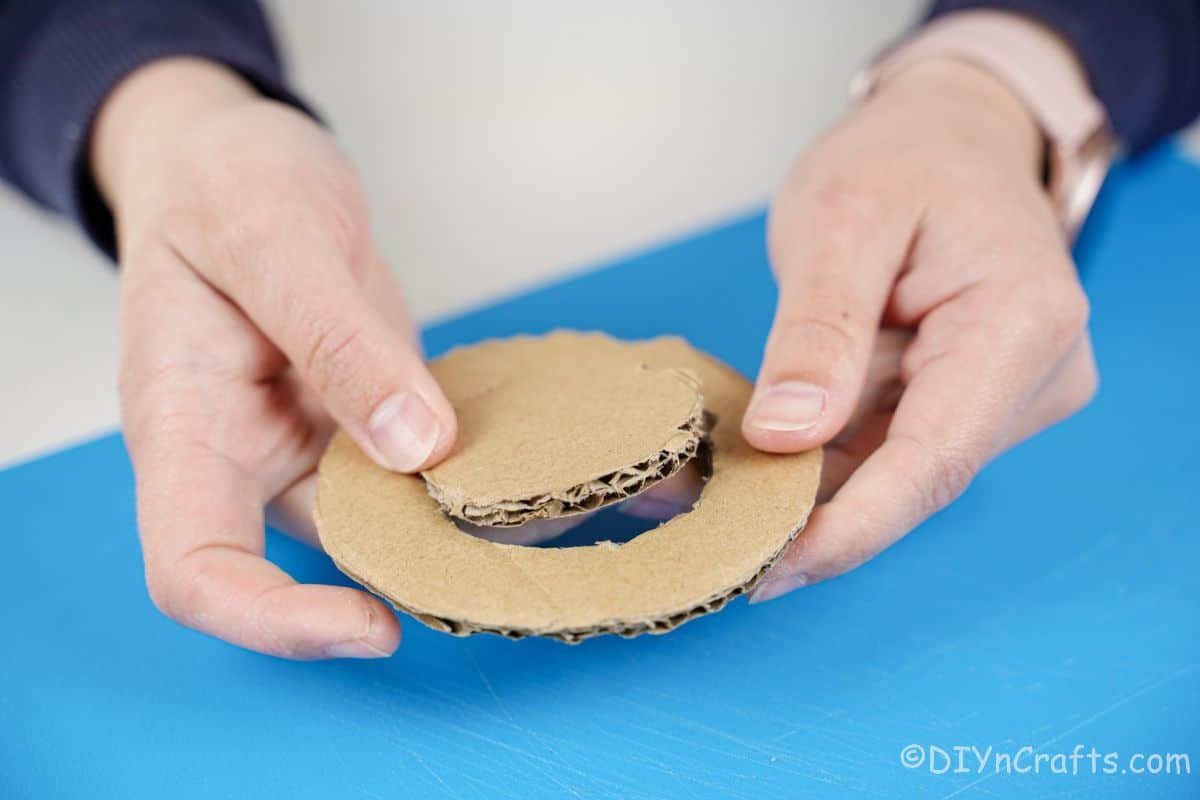
On a piece of cardboard, draw a circle with another smaller circle inside it, then cut it out.
Use this as a template to trace and cut out a matching wheel. Then cut the middle out of the "wheel" circle.
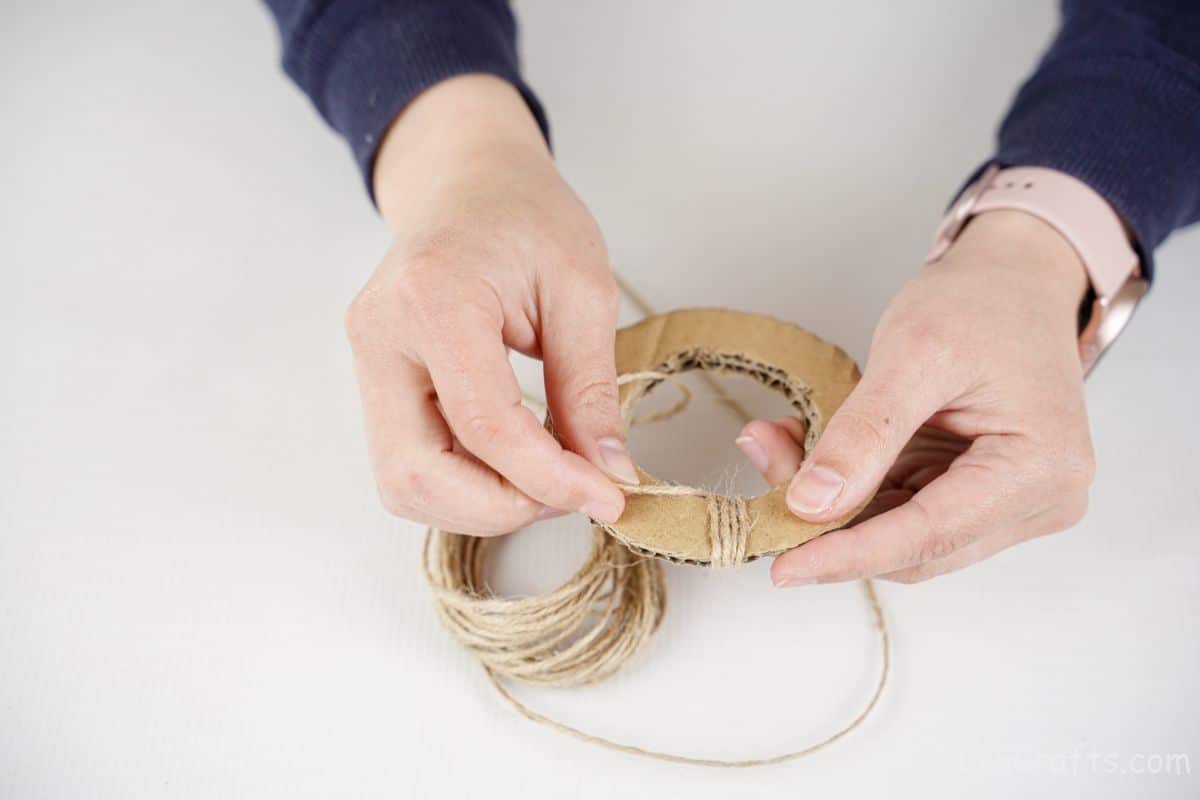
Attach the end of the twine to the edge of the cardboard circle, then begin wrapping it around to coat the wheel.
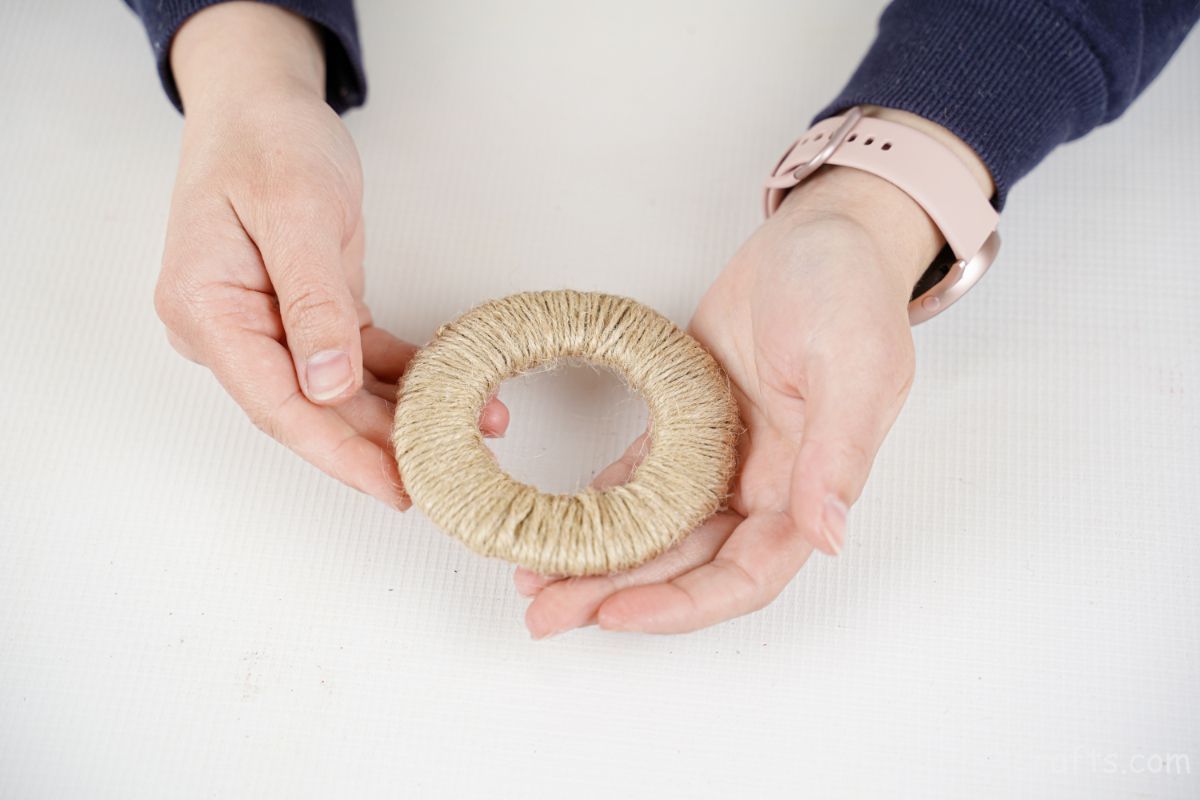
Continue wrapping with twine, gluing if needed every few inches. In the end, clip the twine and glue in place.
Repeat this with the second wheel.
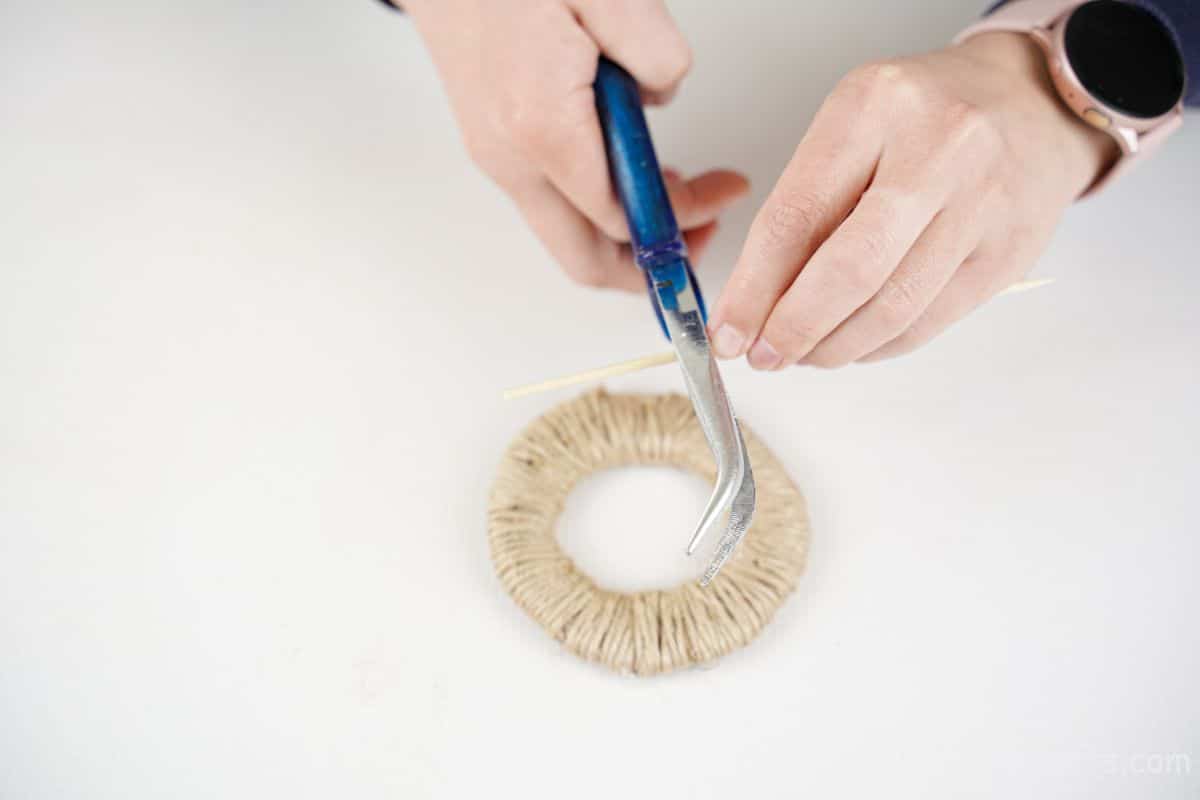
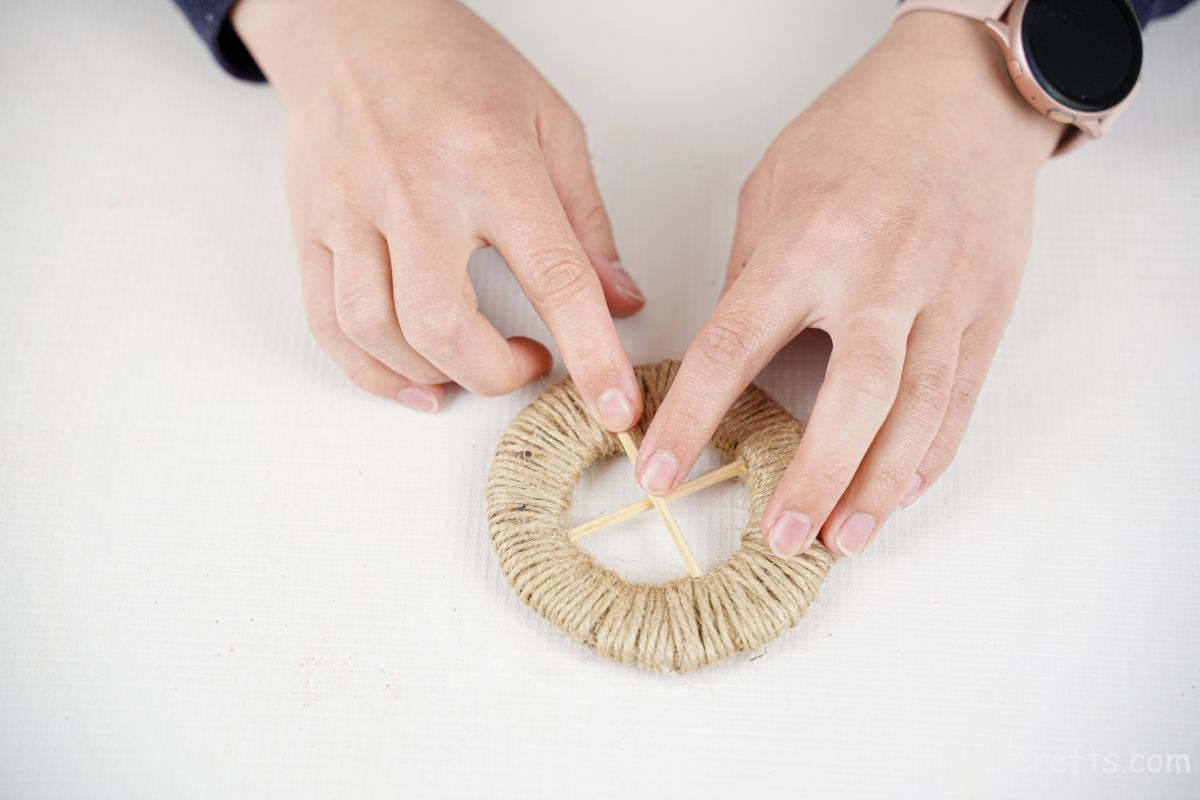
Then, cut 4 pieces of dowl that will fit just into the center of each wheel.
Glue these into place, two on each wheel, in a criss-cross pattern.
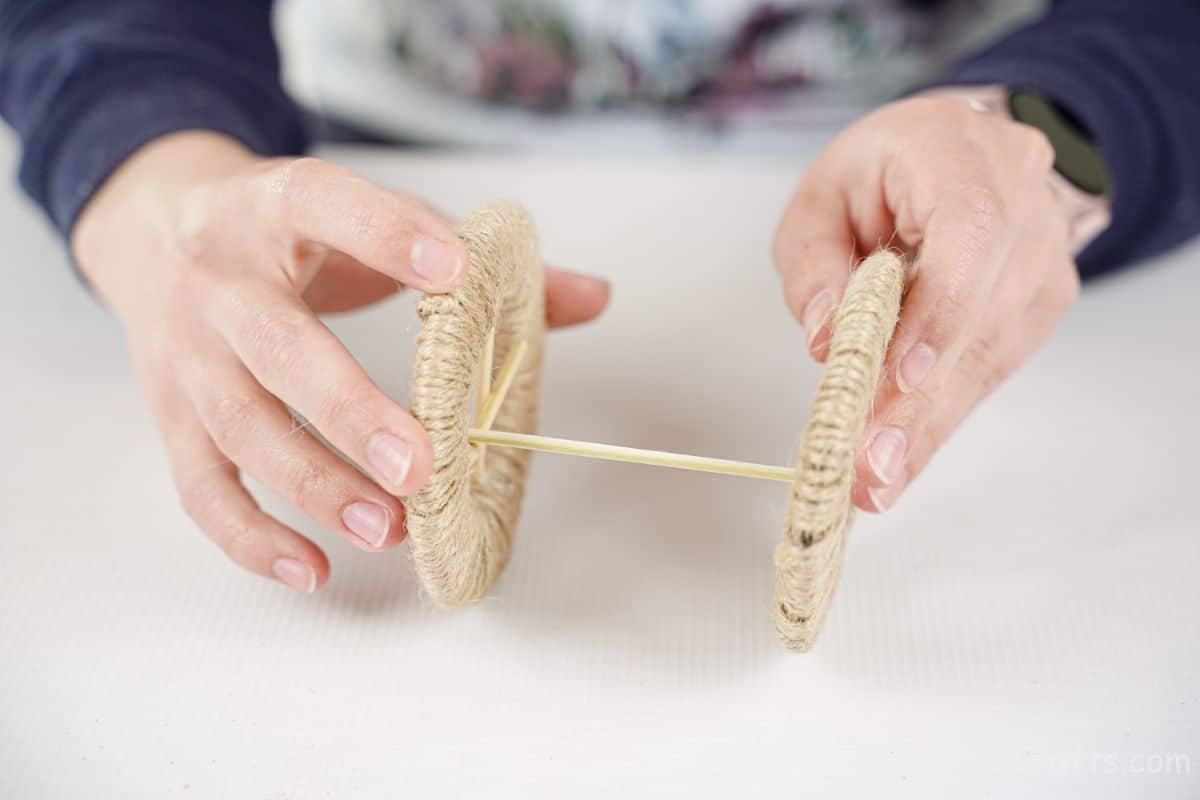
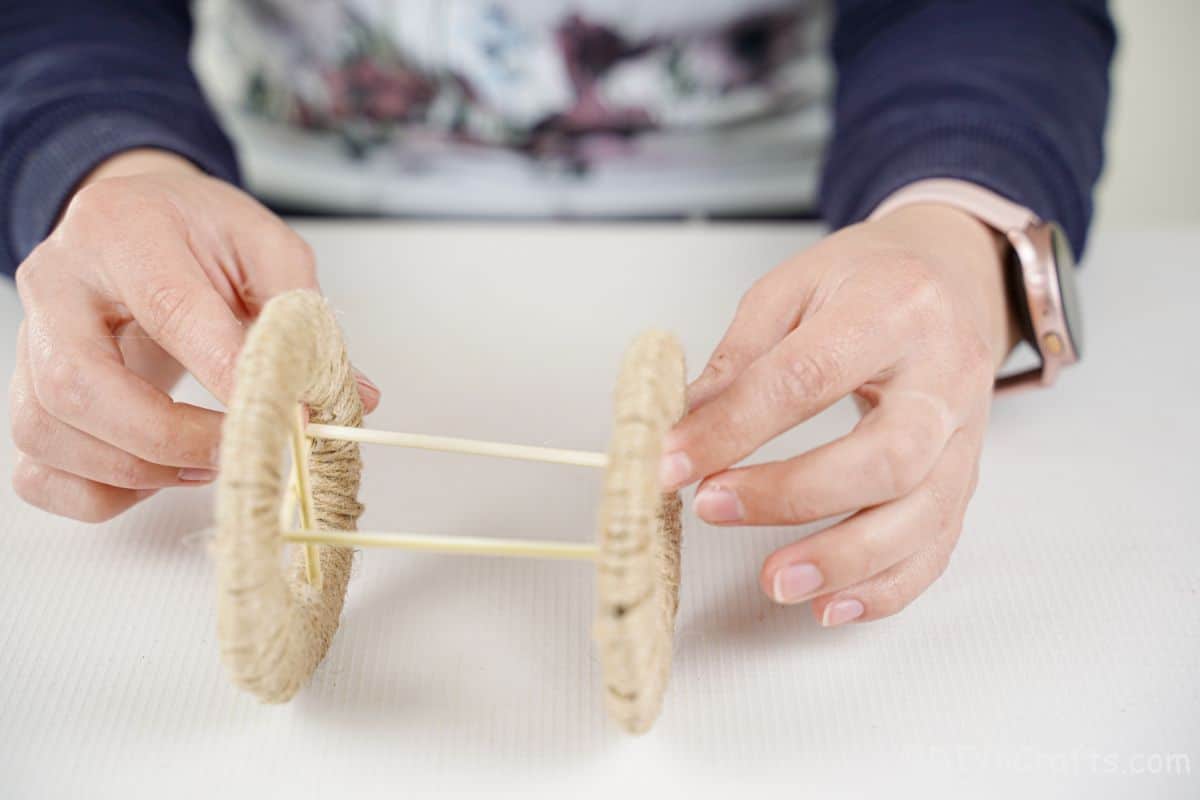
Next, measure the width of the tin can, and add about 1". Cut that length of dowel, then repeat for a second dowel piece.
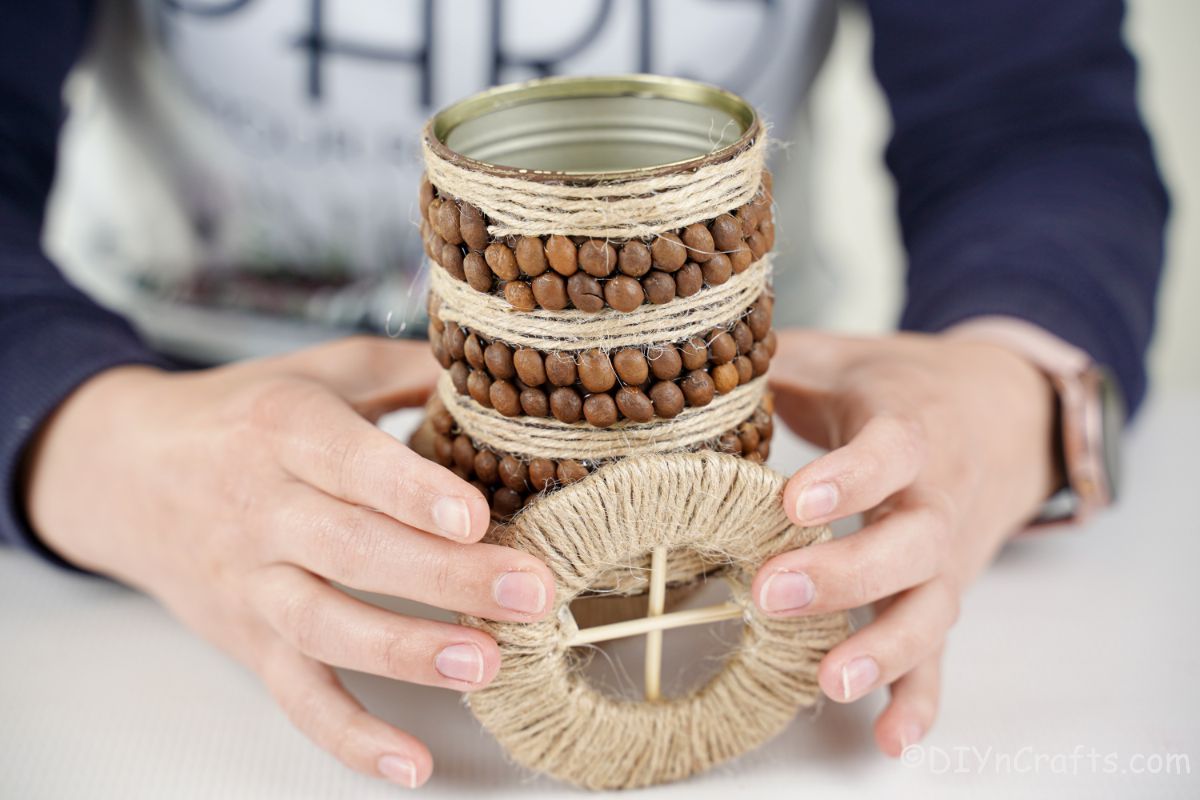
Glue these between the two wheels creating an "axle" to hold the wheels together.
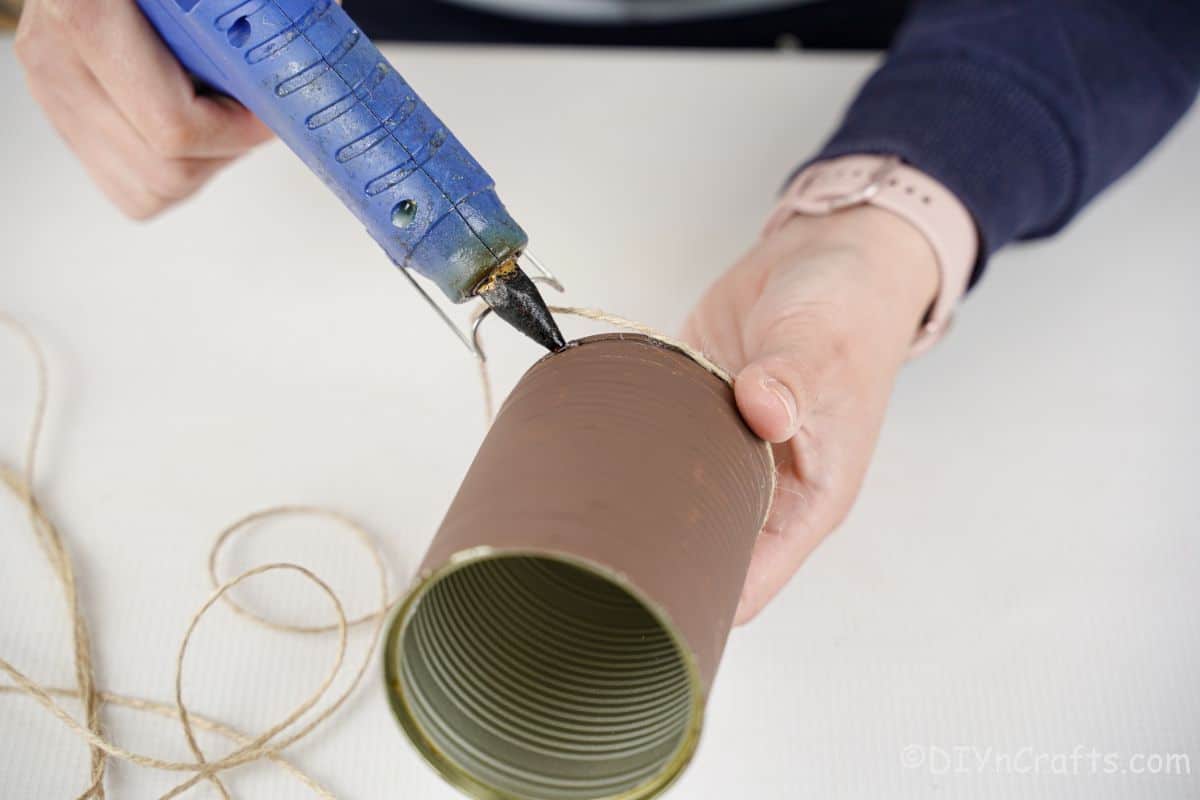
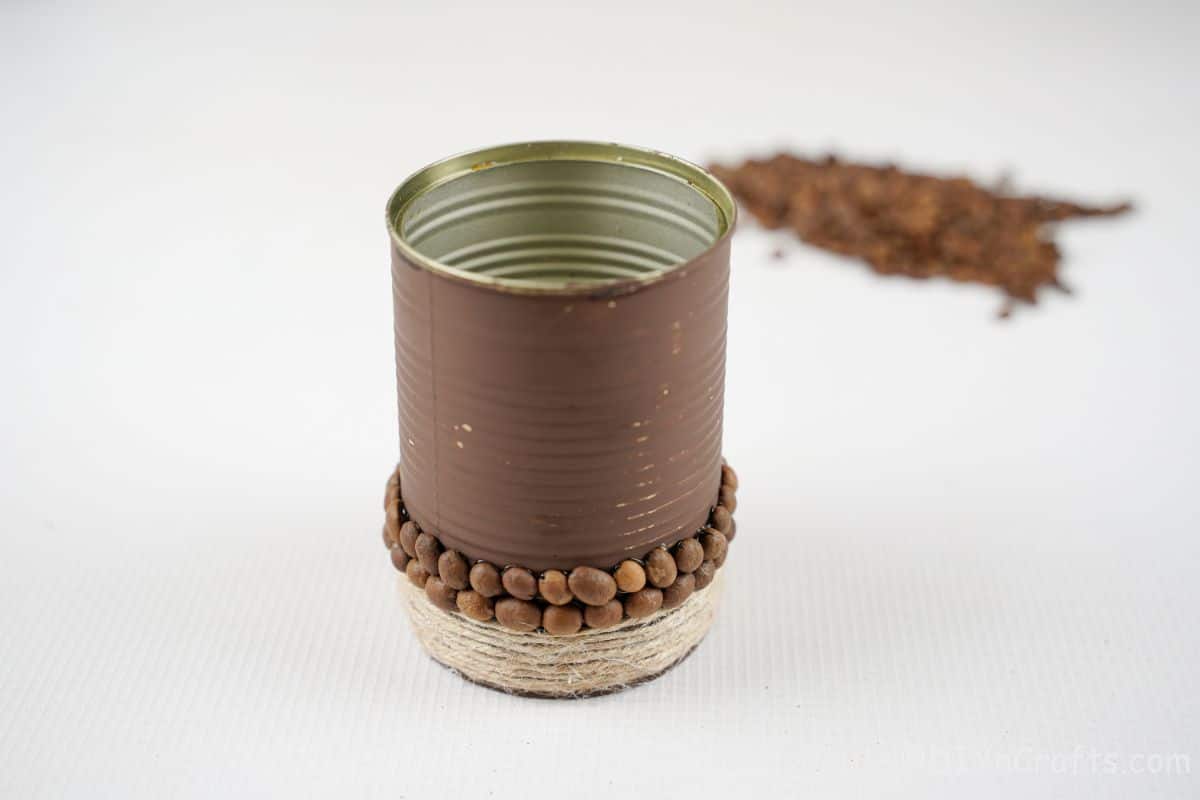
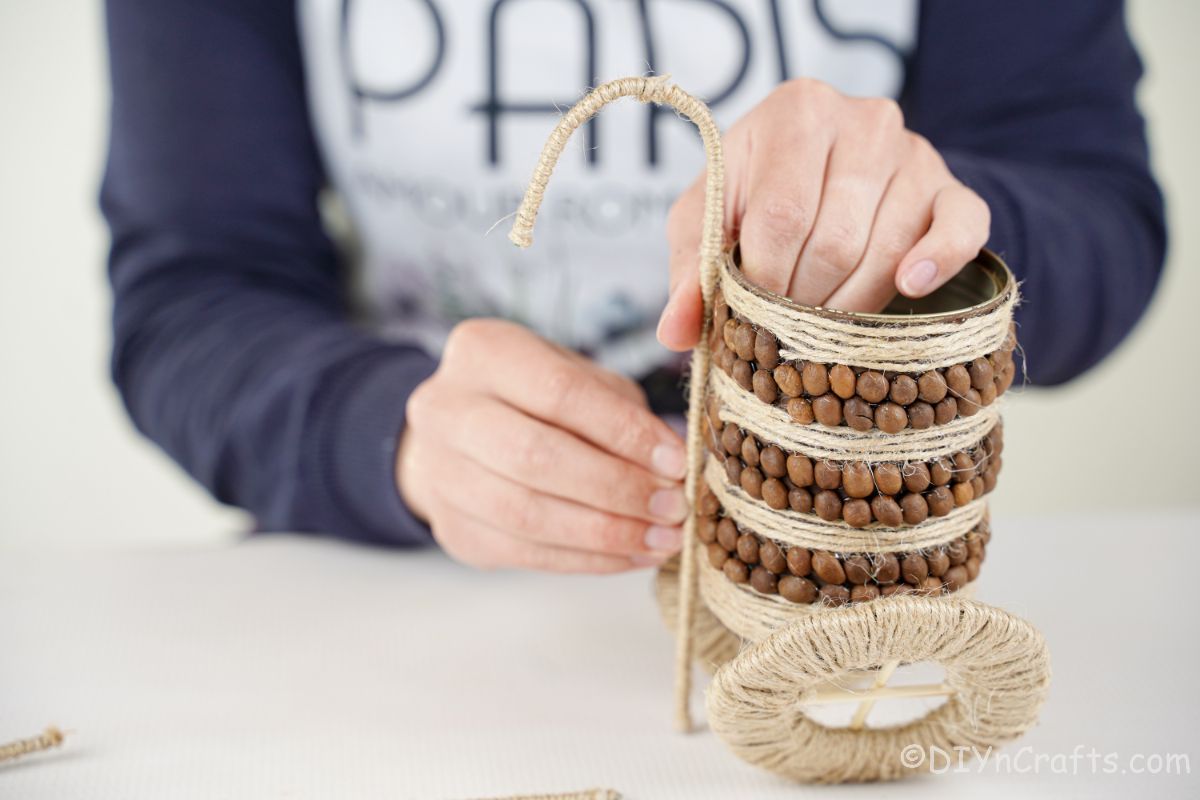
Now, begin wrapping your tin can as long as the paint has dried. Start by adding 1" of twine wrapped around the bottom and glued into place.
Then add two rows of coffee beans.
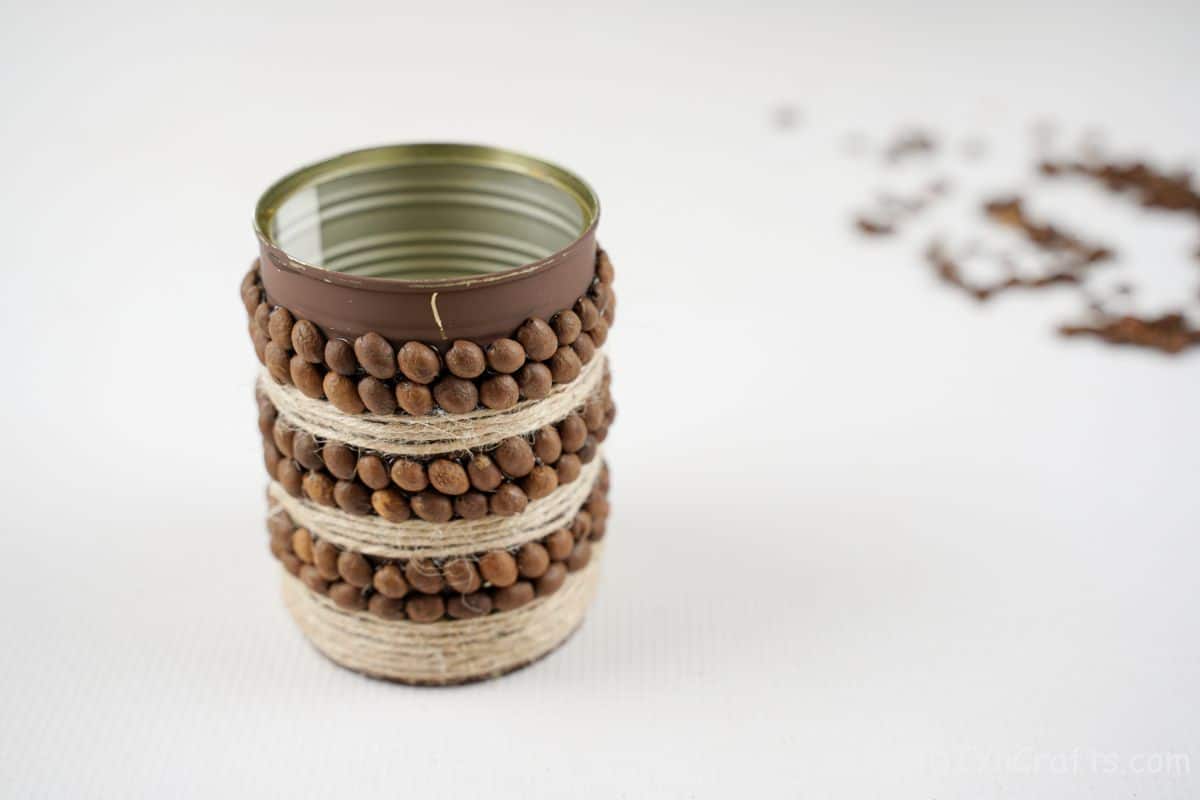
Repeat this until the can is covered with 4 twine rows and 3 rows of coffee beans.
Now, glue this on top of the dowel rods between the wheels and set it aside.
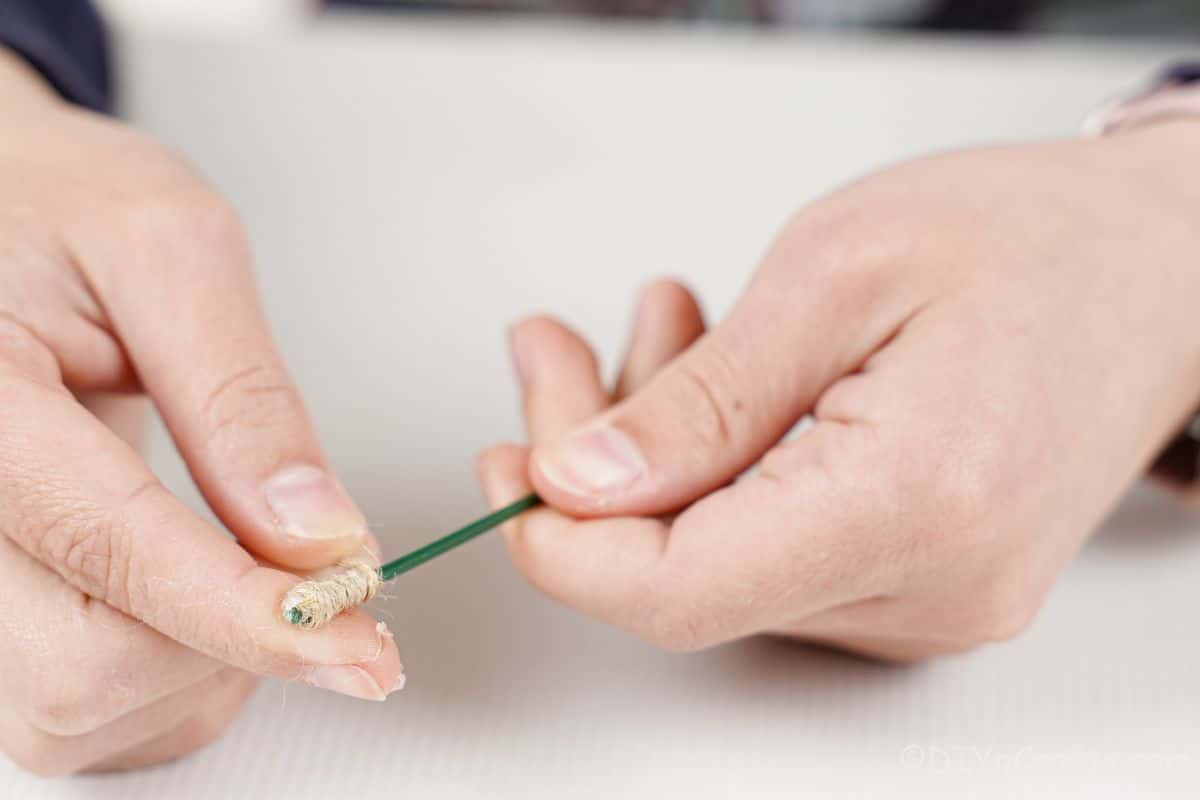
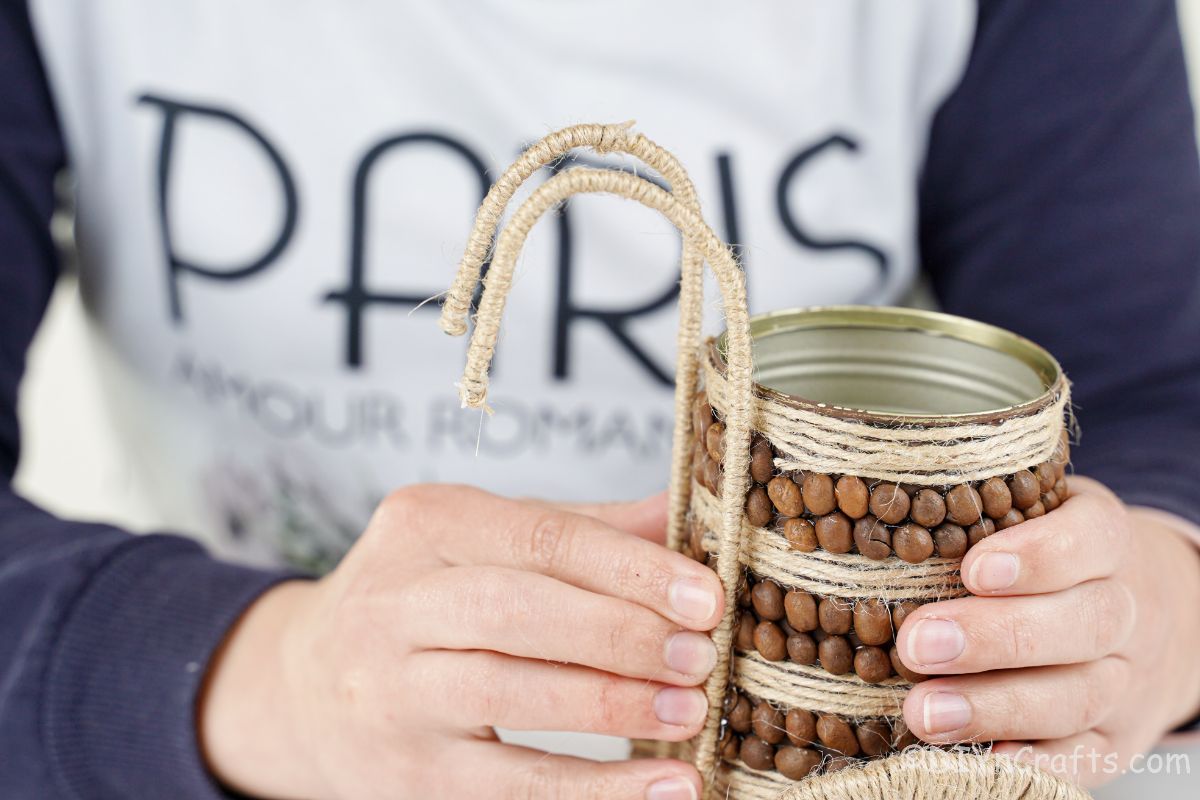
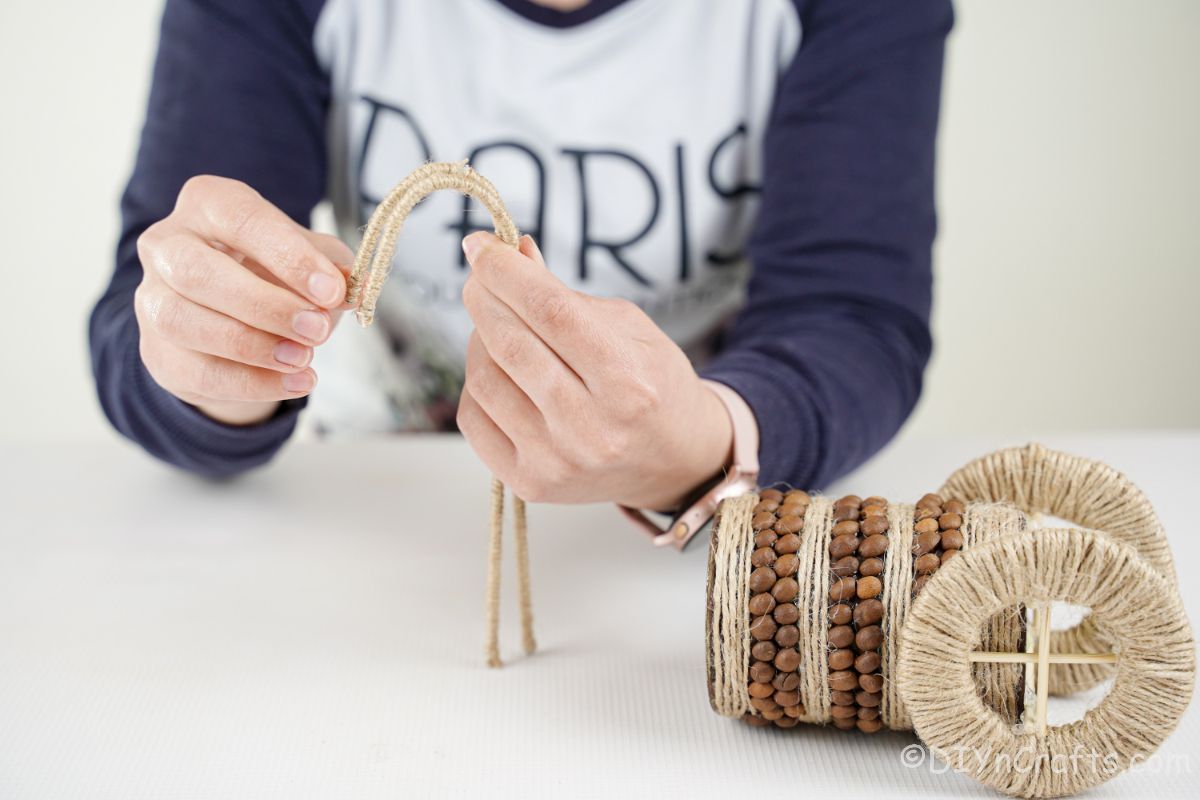
Attach twine to the end of a piece of floral wire, and roll it around, gluing in place, until the whole wire is covered. Repeat this with a second wire to create two handles for your vase.
Hold the wire up to the tin can and gently bend backward at the top of the can rim. Repeat this on the second wire giving a "handle" appearance.
Then, glue both of the wire handles to the back of the tin can.
Now you can fill it with flowers and display them!
More Crafts Using Tin Cans
I love using tin cans when crafting, and if you do as well, then you will adore the ideas below. Whether it is a vase or a decoration for a holiday, there are tons of ways to repurpose those cans from all of your favorite meals. Make sure that you print out the tutorials, bookmark the posts, or pin them to your favorite craft board on Pinterest to use soon!
- How to Make Gorgeous DIY Tin Can Lanterns
- Creative Repurposed TIn Can Ladybug Pencil Holder
- Upcycled CD and TIn Can Windchime Garden Decor
- Super Fun Upcycled TIn Can Ball Toss Game

Rustic Coffee Bean and Twine Upcycled Tin Can Vase
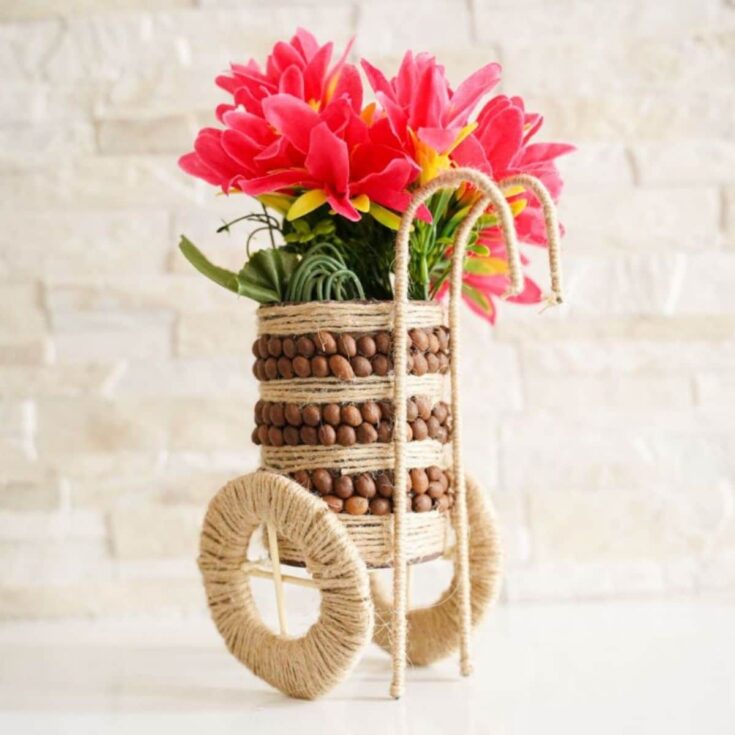
This rustic coffee bean and twine upcycled tin can vase is a perfect addition to your decor for springtime and summer!
Materials
Instructions
- Paint the outside of the tin can with brown paint, coating it completely. Set it aside to dry for 20 to 30 minutes, or until it is no longer tacky.
- Draw a circle onto cardboard, then cut out the center creating a "wheel". Make the wheel part at least 1" wide.
- Use this as a template to trace and cut out a matching wheel.
- Using twine, attach to one edge of the cardboard wheel, and then begin wrapping it tightly all around the wheel. Add glue if needed as you wrap to secure the twine, making sure to tuck it tightly against itself to cover all of the cardboard.
- Repeat with both wheels.
- Place the dowel or wooden skewer on the wheel, measuring the distance of the opening in the center of the wheel.
- Cut the dowel to fit just inside that opening, then repeat until you have 4 pieces, 2 for each wheel.
- Glue these two pieces criss-cross onto the center of each of the wheels.
- Then, cut a length of dowel, a little wider than the base of the tin can, and glue it between the wheels to create the "axle". Repeat with a second piece equal to the first.
- When the paint on the can has dried, begin wrapping the twine around the can starting at the bottom. Glue in place every few inches.
- Wrap 1" to 1 ½" high on the can with the twine.
- Now, glue coffee beans around the can, for approximately the same height as you did the twine.
- Repeat this process with twine, then beans, until the entire can is covered. Mine had 4 sections of twine and 3 of coffee beans.
- Now, add a bit of hot glue onto the top of the two dowels between the cardboard wheels, and set the can on top of them. Hold until the glue dries, then set this aside.
- On the end of a piece of floral wire, glue the end of the twine, and continue wrapping twine around the wire until it is completely covered.
- Repeat this with the second piece of floral wire of an equal height.
- Now, place the wrapped floral wire against the tin can and measure to right above the edge of the top of the can. At this point, gently bend back your floral wire creating a "handle" for the cart.
- Repeat this with the second wire until they are equal.
- Then, glue both of these to the back of the cart with hot glue to secure them.
- Once the glue has dried, fill your vase with flowers and display it!
Notes
Use colored twine to add something unique to your vase.
Recommended Products
As an Amazon Associate and member of other affiliate programs, I earn from qualifying purchases.
-
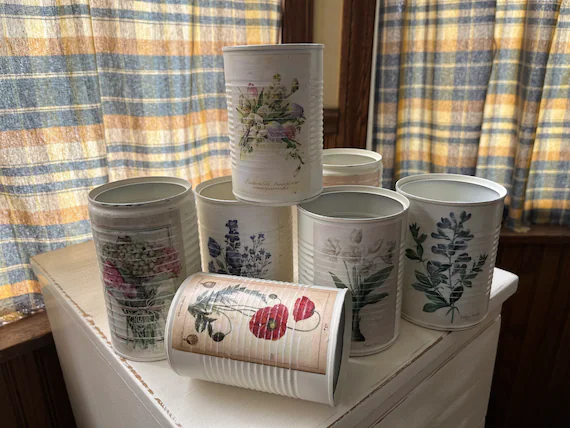 Antique White Shabby Chic Repurposed Tin Can With Floral Label | Etsy
 -
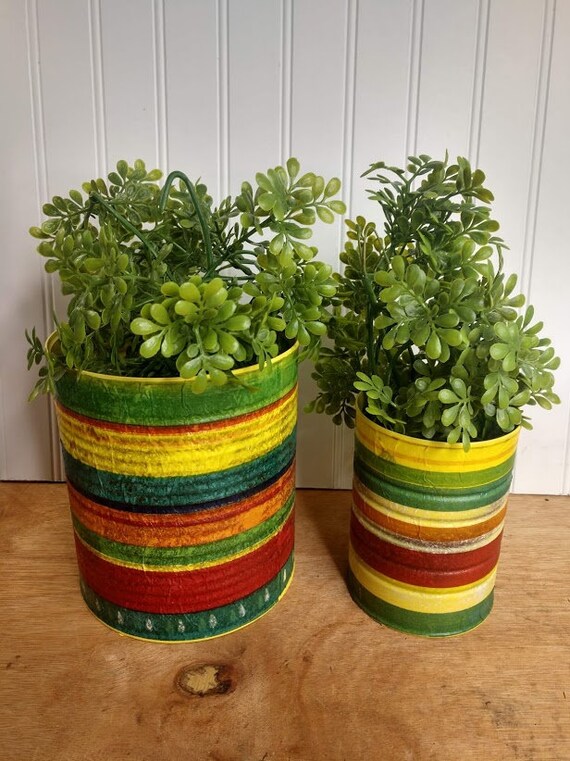 Tin Can Redo Painted Tin Can Rustic Centerpiece Tin Can | Etsy
 -
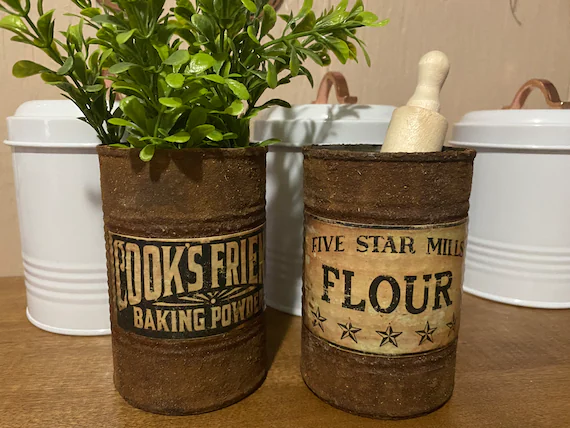 Rustic Cans Faux Rusty Cans With Old Label Rustic Home | Etsy
 -
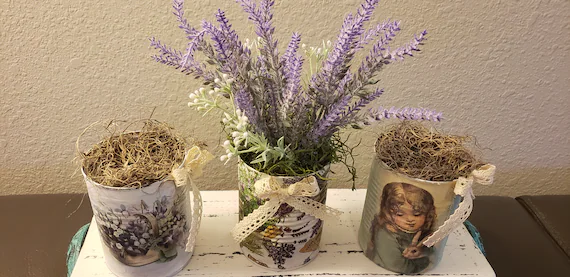 Upcycled Tin Can | Etsy
 -
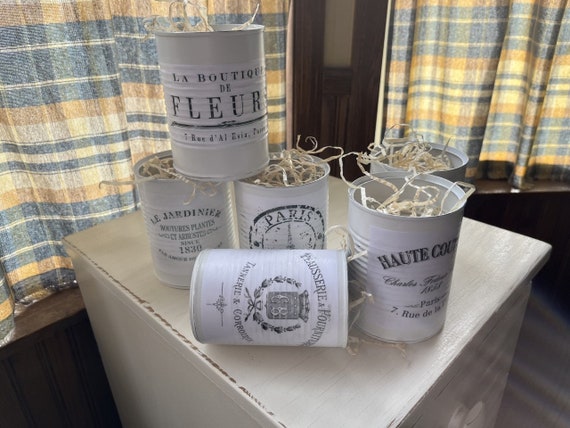 White Shabby Chic Repurposed Tin Can With Vintage French Label | Etsy
 -
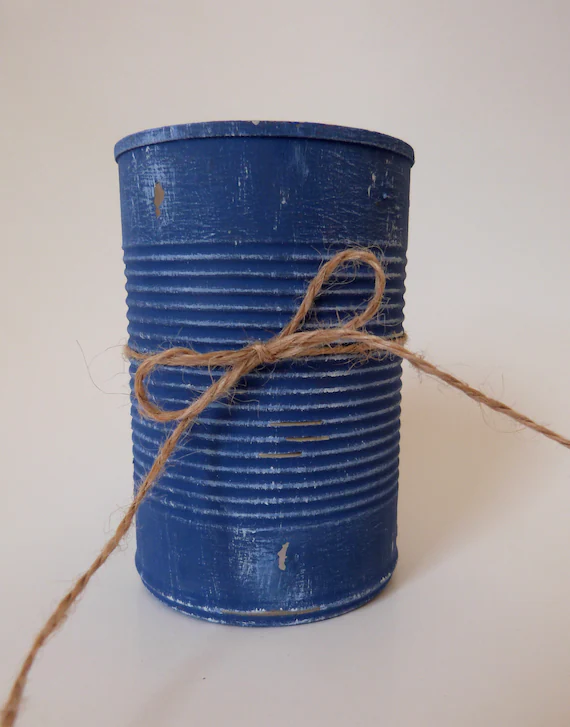 MULTIPLE COLORS Upcycled Tin Can Vase Rustic Home Decor | Etsy
Finished Project Gallery
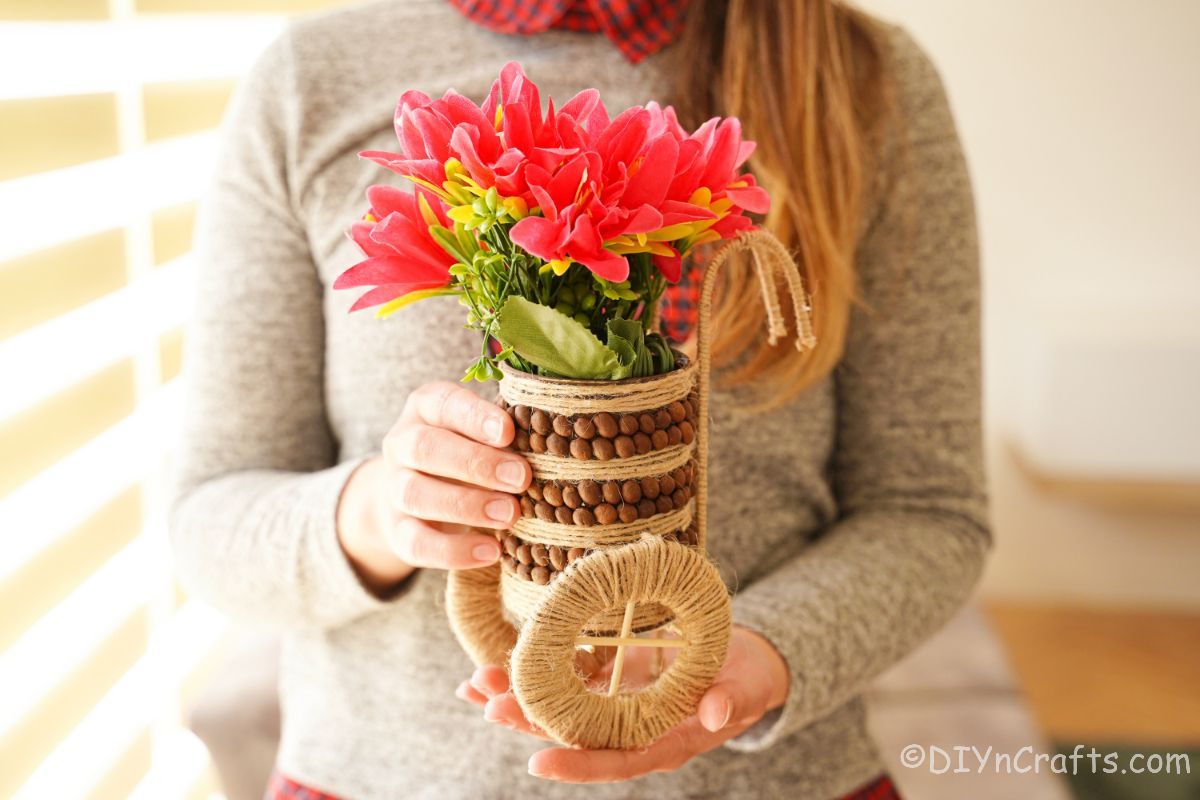
I love this as a vase for real or fake flowers, but you have tons of options to use it for decor.
You can even use ribbon instead of twine to give this more color and an upscale look.











Leave a Reply