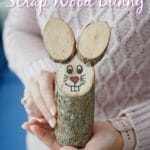
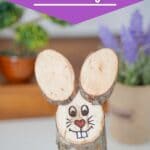
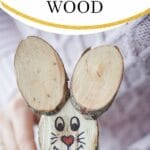
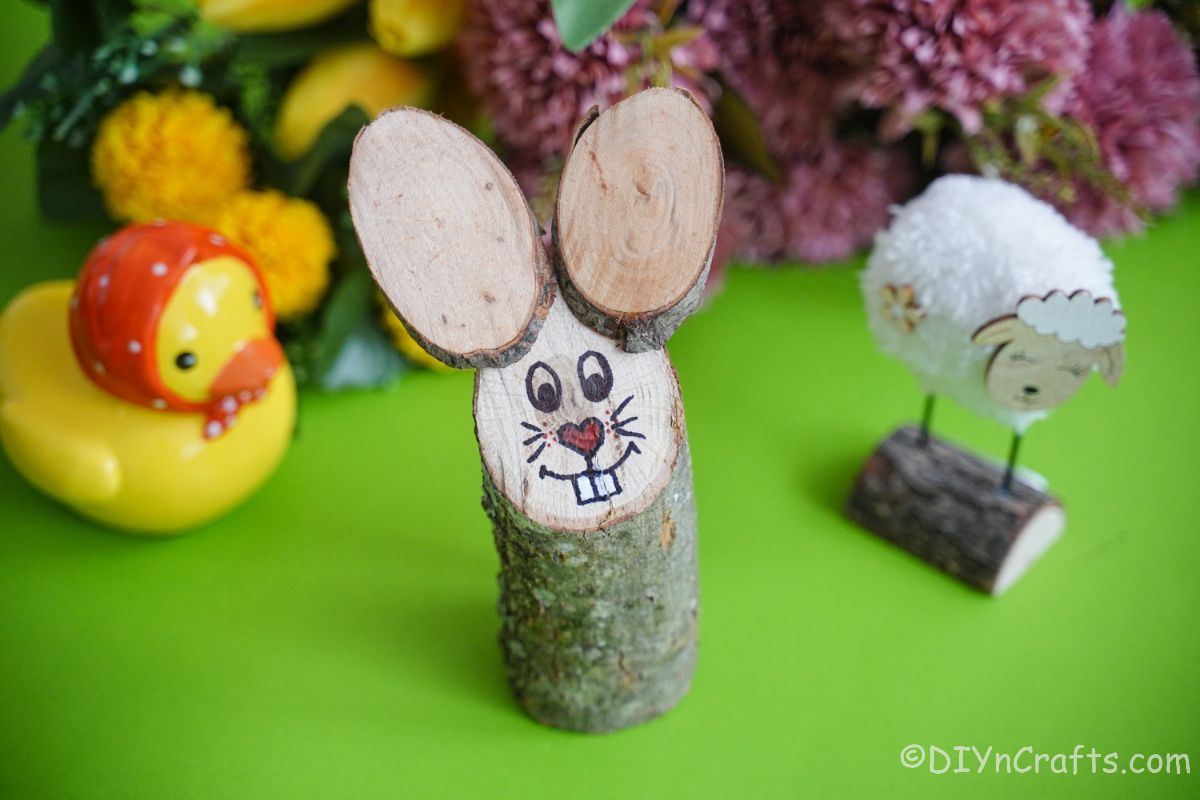
Easter is coming up and this is the perfect decoration for your home! Our wooden log Easter bunny decoration is a unique way to celebrate the holiday. It’s made of a few pieces of scrap wood and will look great in any room. If you like a rustic look in your decor, then this is a perfect choice that is fast and easy to make plus easy to customize for your own style.
Wooden Log Easter Bunny Decoration
Creating rustic spring decorations using materials that are easily available in your own front yard, is a fun and simple way to add decorations without breaking the bank. This wooden log Easter Bunny decoration is so easy to make and super versatile. Whether you put it on your front porch or your mantle, it's a great idea that kids and adults alike can make in no time.
This is one of those crazy crafts that people love so much. They spend a fortune to buy them at specialty stores never realizing how inexpensive and easy it is to make at home. This craft takes almost no time to make and if you can get the log from your own front yard, it costs almost nothing to make. If you like the idea of making your own decorations, then check out this huge list of Easter decorations you can make at home for even more inspiration.
What Can I Use to Make the Bunny Face?
I am using markers for the face but there are several options you have to make your own bunny faces unique. You can use acrylic craft paint, markers, stickers, felt, or even fabric. I have even used paint pens for craft projects like this one.
Another option is to buy stickers or even a paper napkin with the Easter bunny face already on it. A bit of Mod Podge or a decoupage option can put this onto the log instead of creating an even more unique or rustic style of bunny face.
Paper foam or felt can be cut out into the eyes, nose, and ear shapes and they can all be easily glued in place. This is a super fun way to customize the bunny face. You can even use twine, embroidery floss, or even yarn to create whiskers or the mouth.
Where Should I Display My Log Easter Bunny?
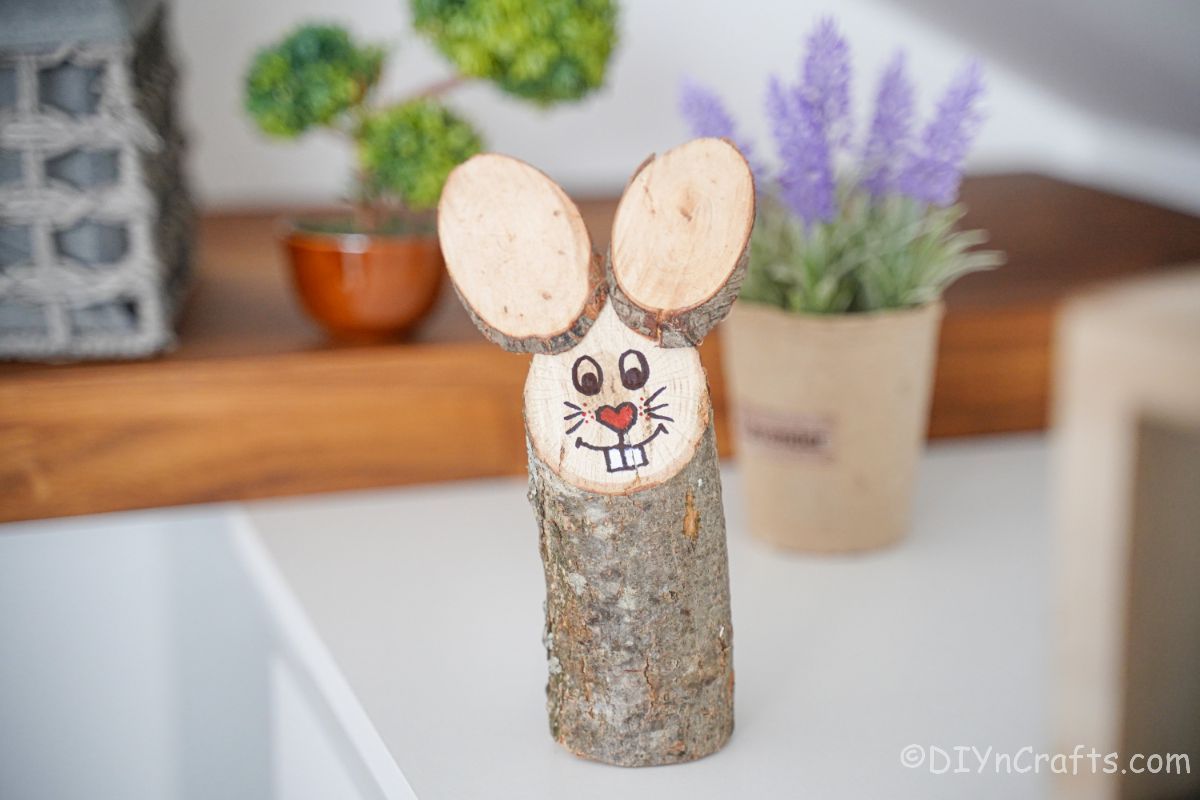
This adorable log bunny can be displayed inside the house or outside. Easter decor for me tends to go all over the house. Below are a few ways that you can place this in your home.
- Place this on a mantle with other Easter signs, garlands, or decorations.
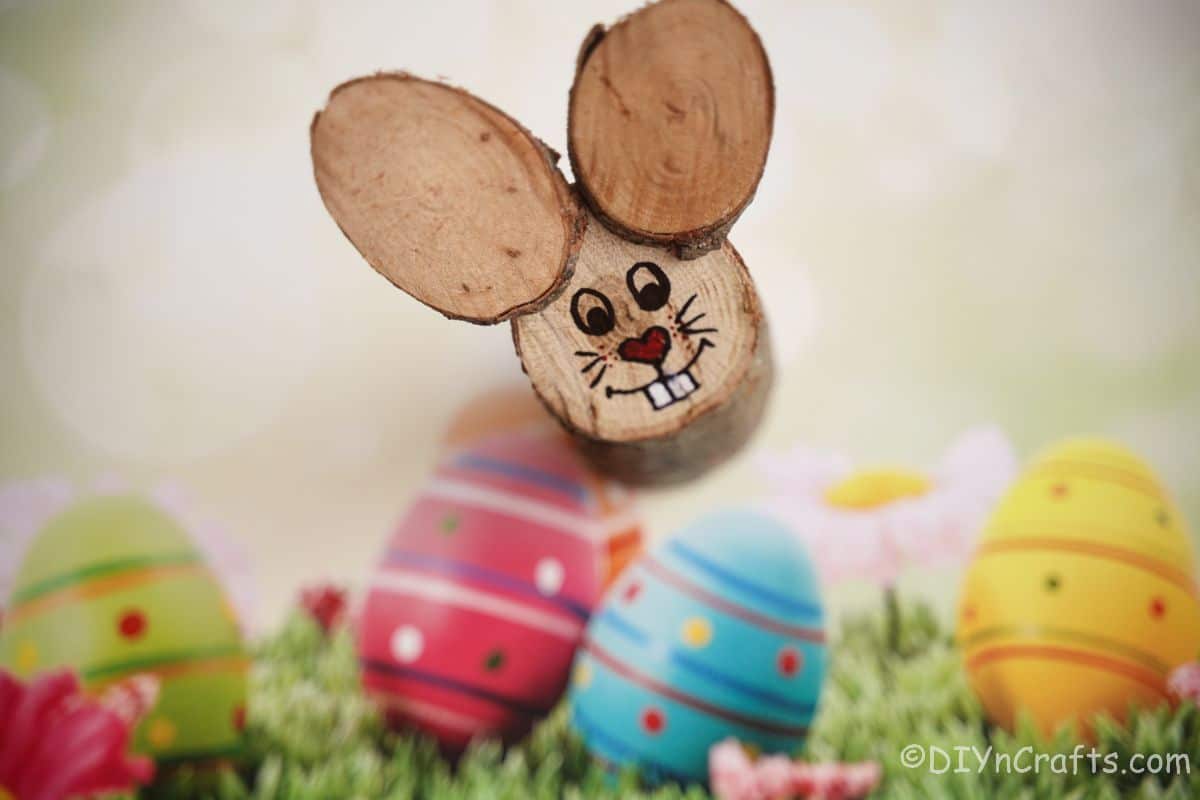
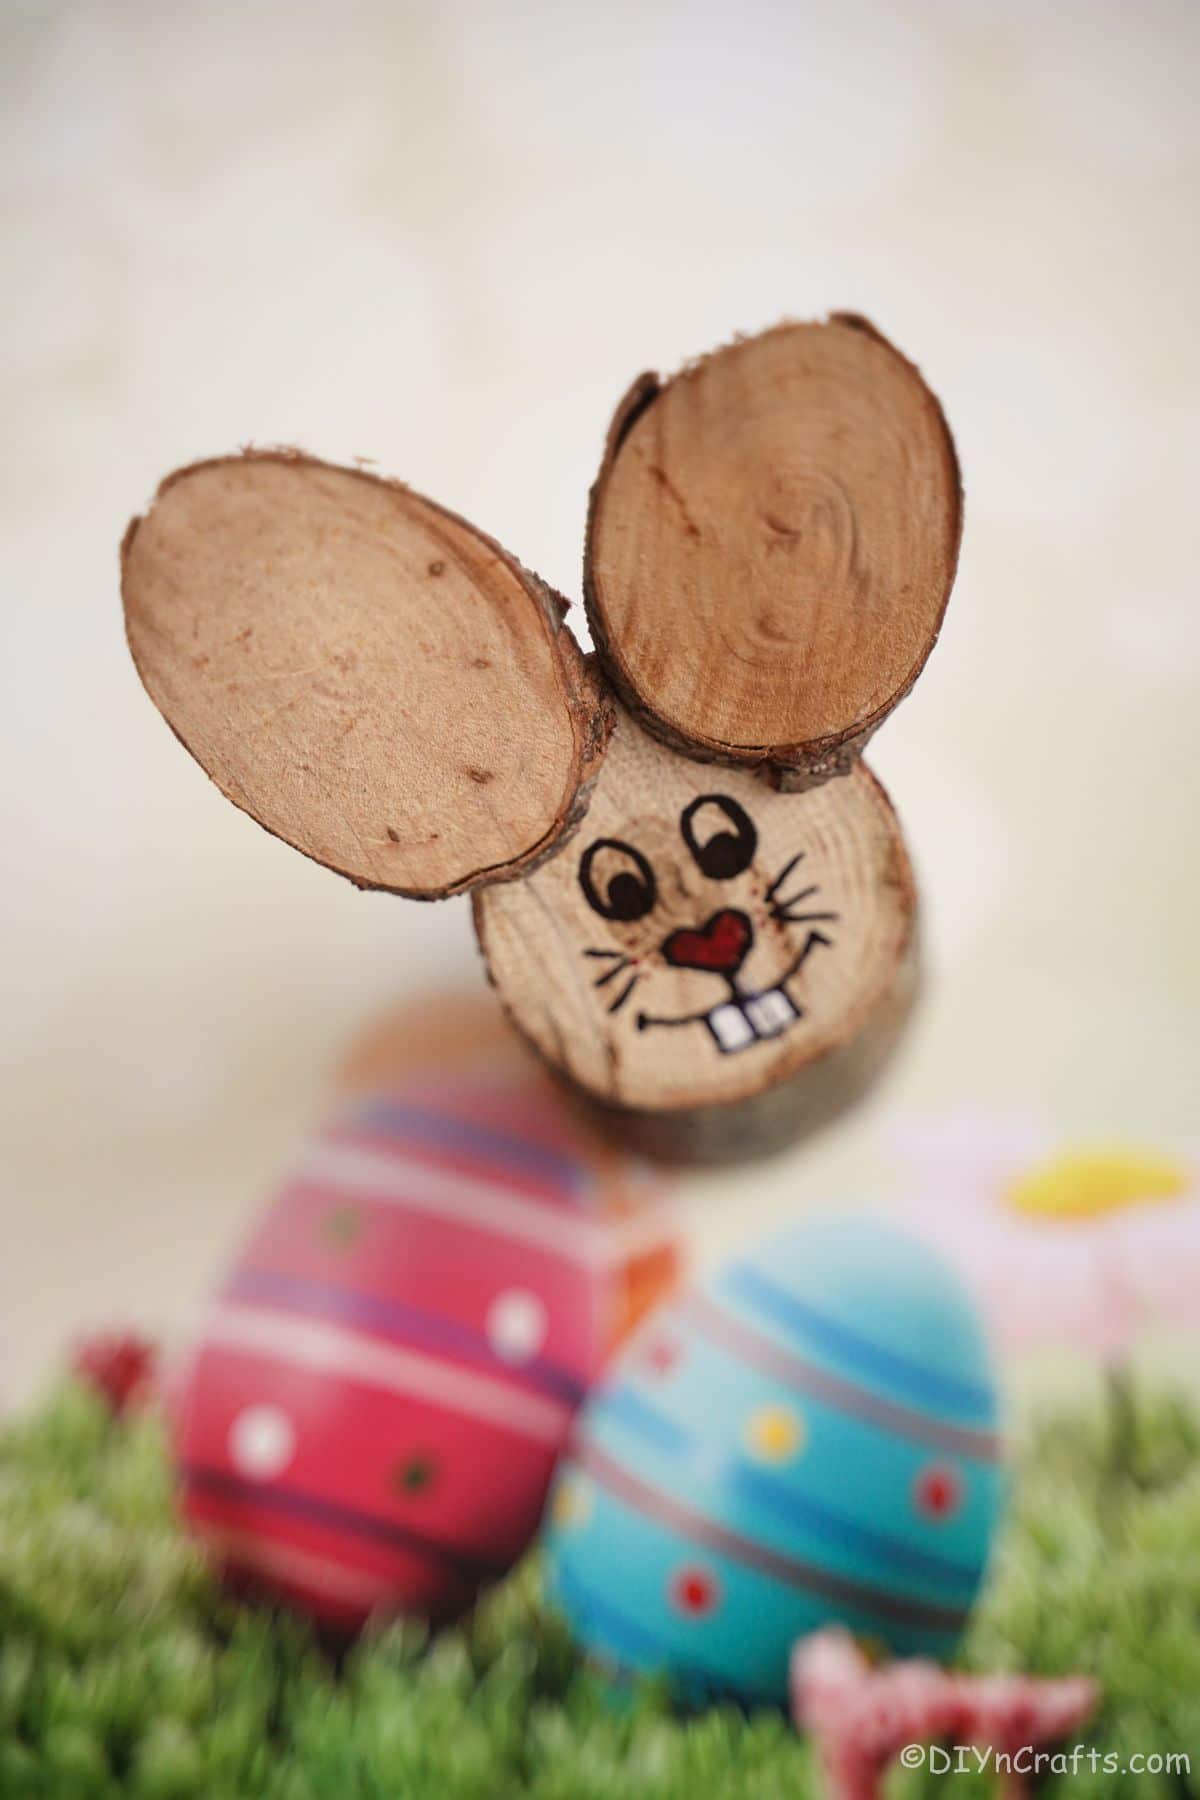
- Add as the focal point of your Easter dinner centerpiece with other small decorations, fake grass, or decorated Easter eggs around it.
- Use this bunny on bookshelves, countertops, side tables, or shelves around your house.
- You can even put this on your front porch, or right by your front door as an entry greeter.
Is This Safe to Leave Outside?
You can definitely leave this bunny outside. If you are creating the bunny's face using markers or paint markers, you do not have to worry about anything while leaving this log bunny outside. You might want to seal the face so that the paint or markers do not wear off. If you are using something else for the face, like paper or foam, you might want to keep the bunny in the house so it is protected from the weather.
How Else Can I Customize My Bunny?
This bunny is so cute and so simple, but you can always customize it to look just a bit different. There are tons of ways to make any craft your own style, and this one is a perfect chance to get creative. It's easy to make this look more like the rest of your decor or even just to be a bit more sophisticated. Below are some fun ways you can customize your bunny.
- Use cotton balls or pillow stuffing to create a bunny tail on the back of your Easter bunny.
- Add glitter all over the bunny so it sparkles in the sunshine.
- Use felt to create a richer pink ear on the wood slices.
- Glue fake grass or mini eggs around the base to create a full scene around the bunny.
- Paint the wood with gray, white, brown, or even pastel Easter colors to make it look a bit more cartoonish.
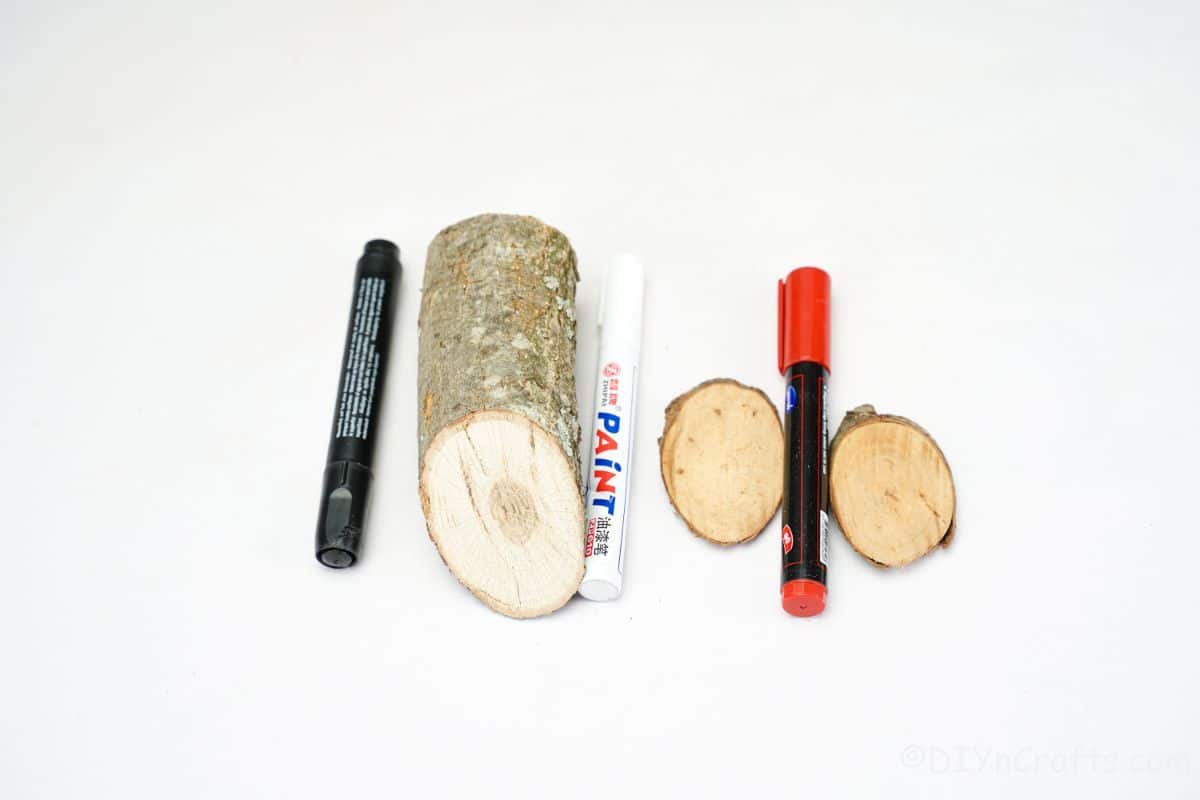
Supplies Needed
How to Make a Log Easter Bunny Decoration
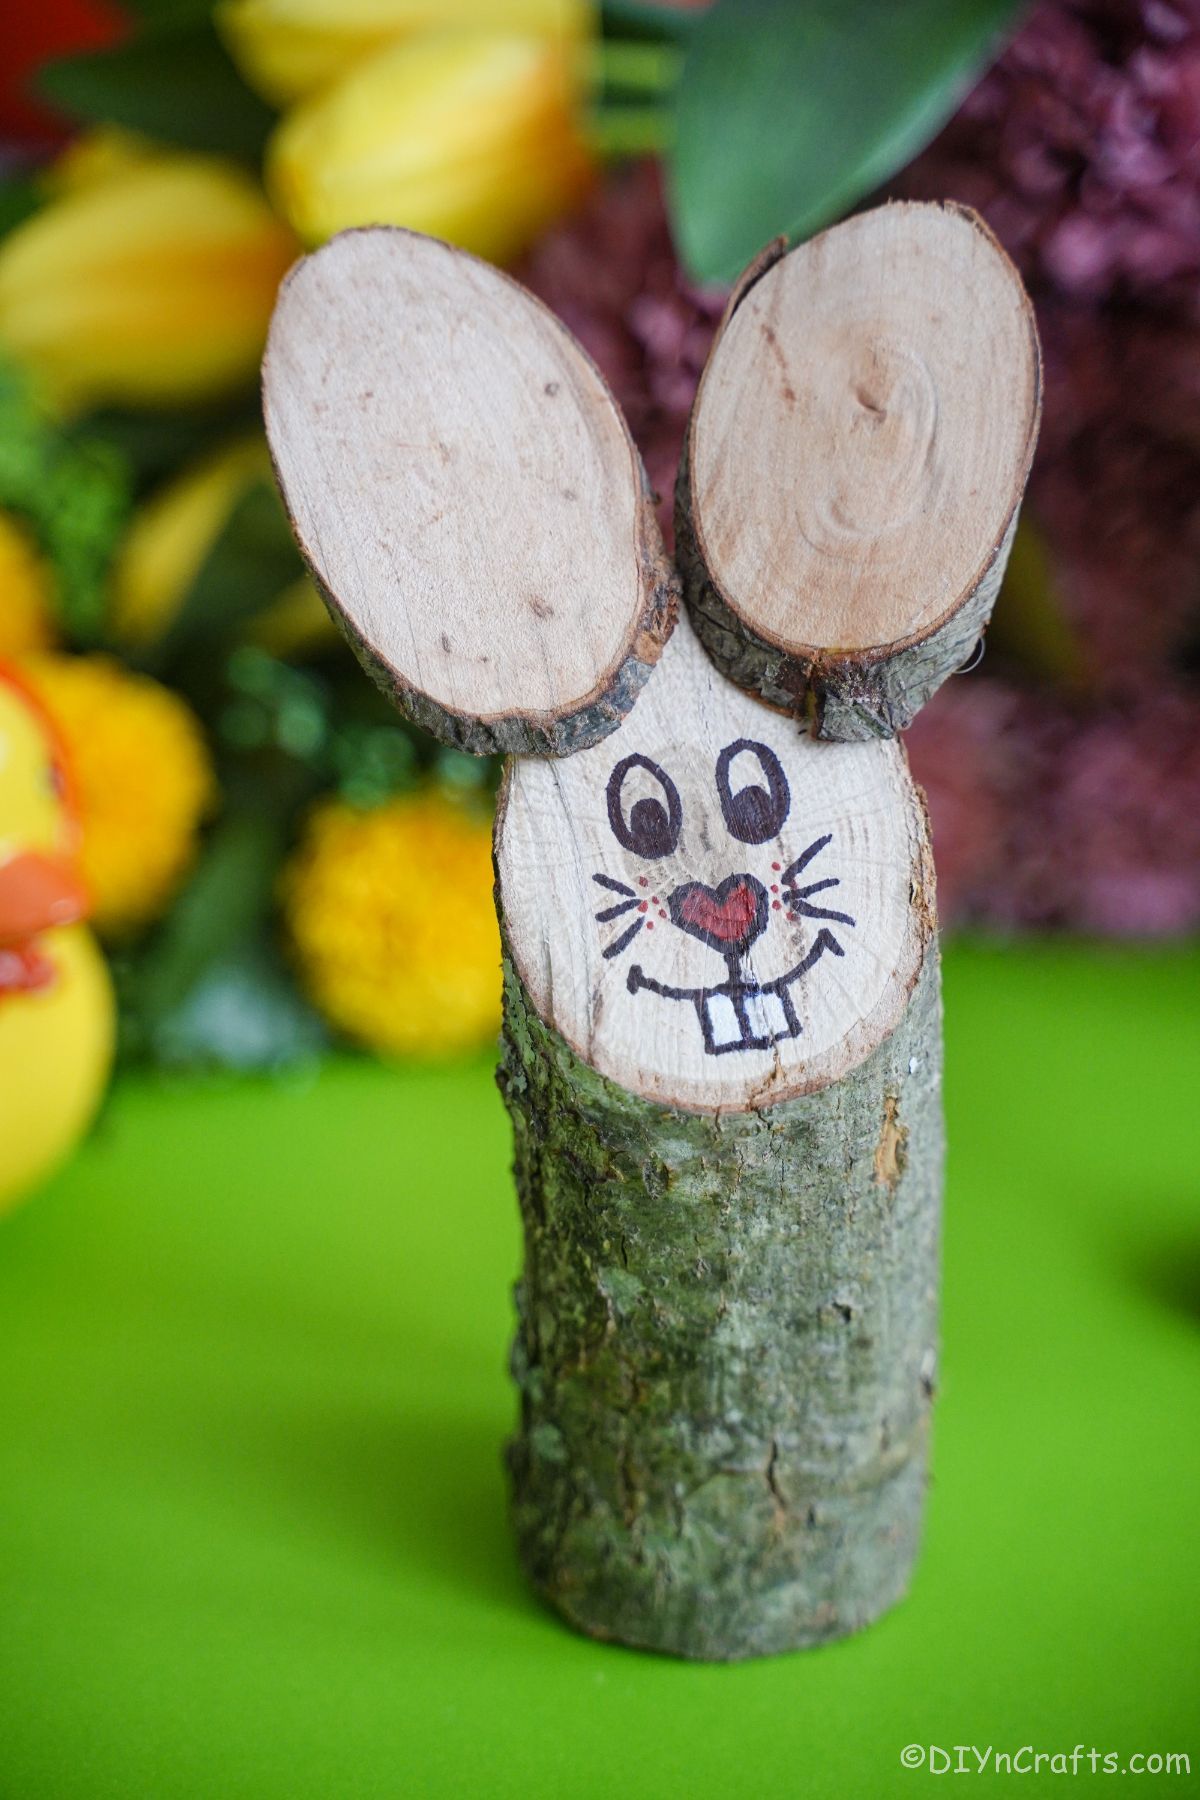
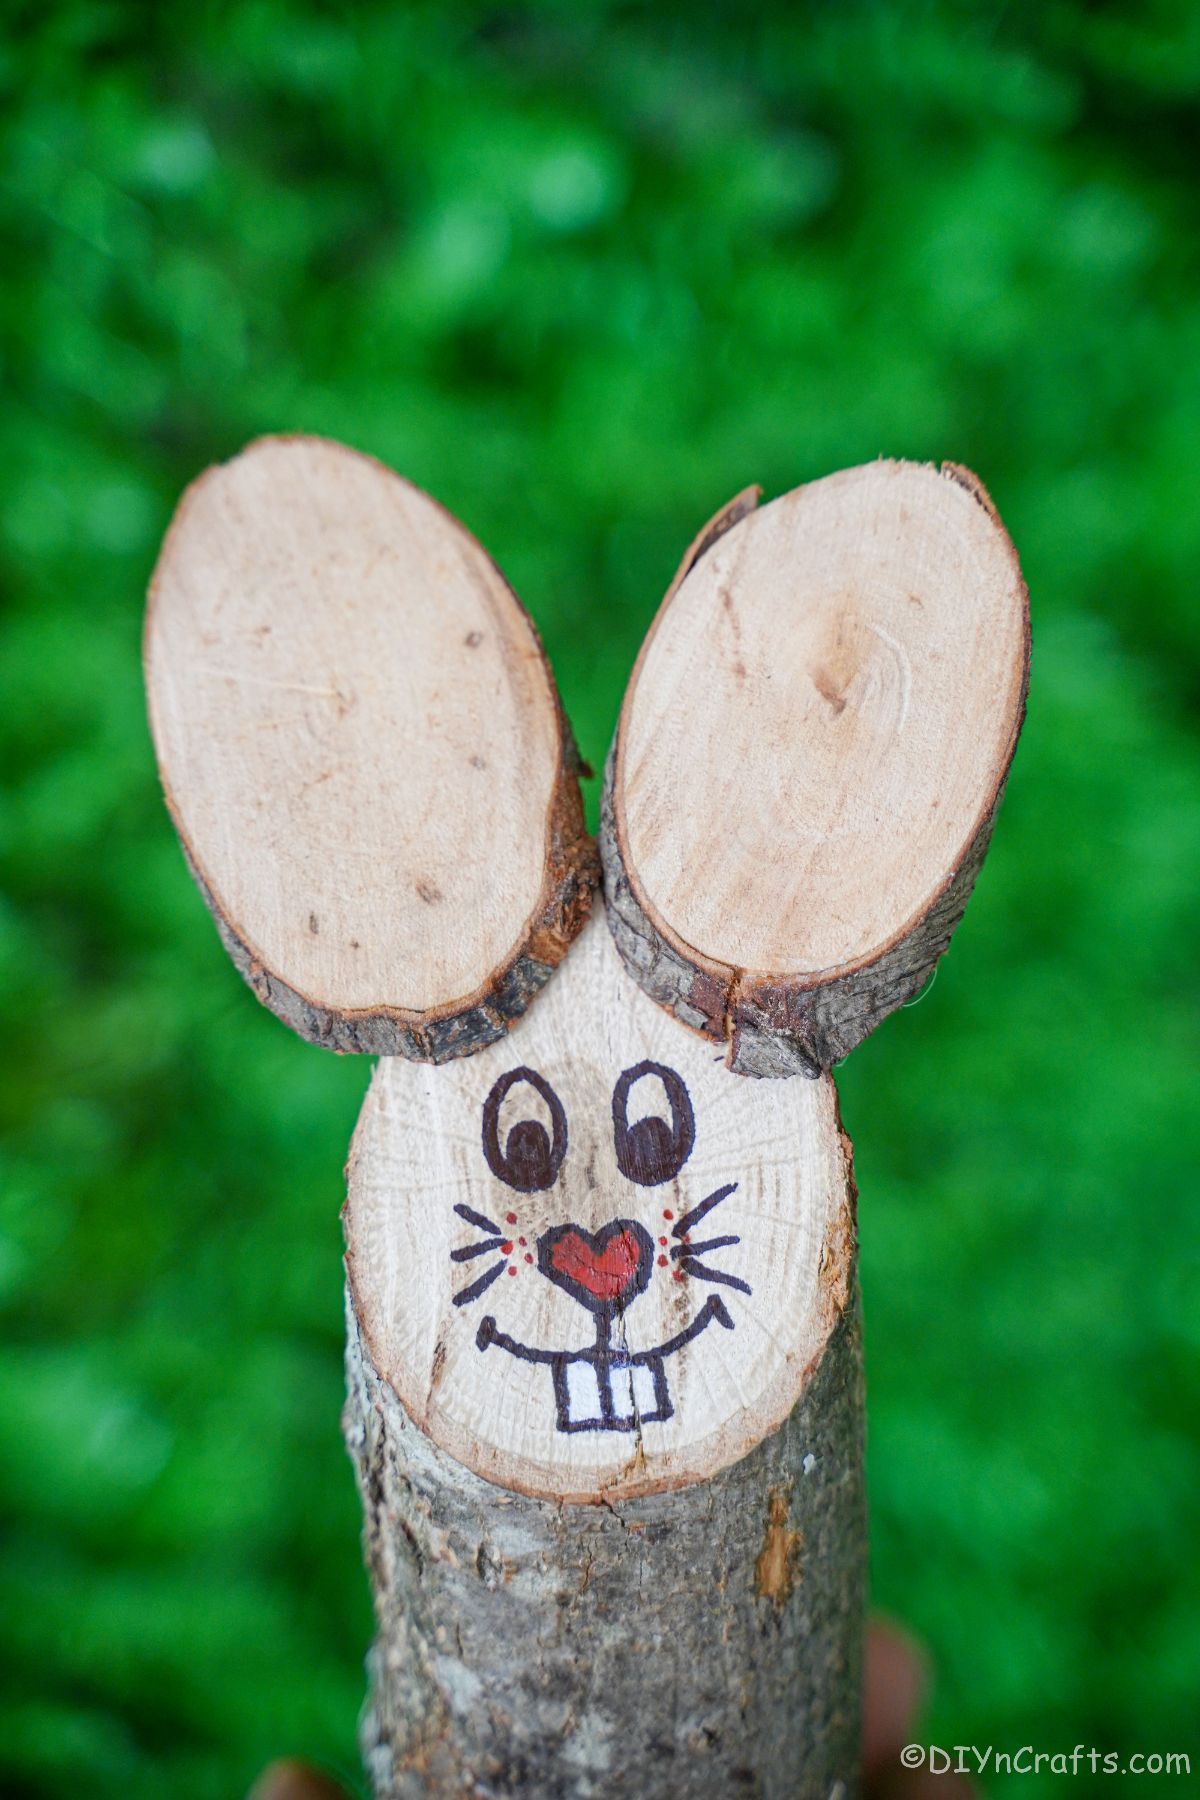
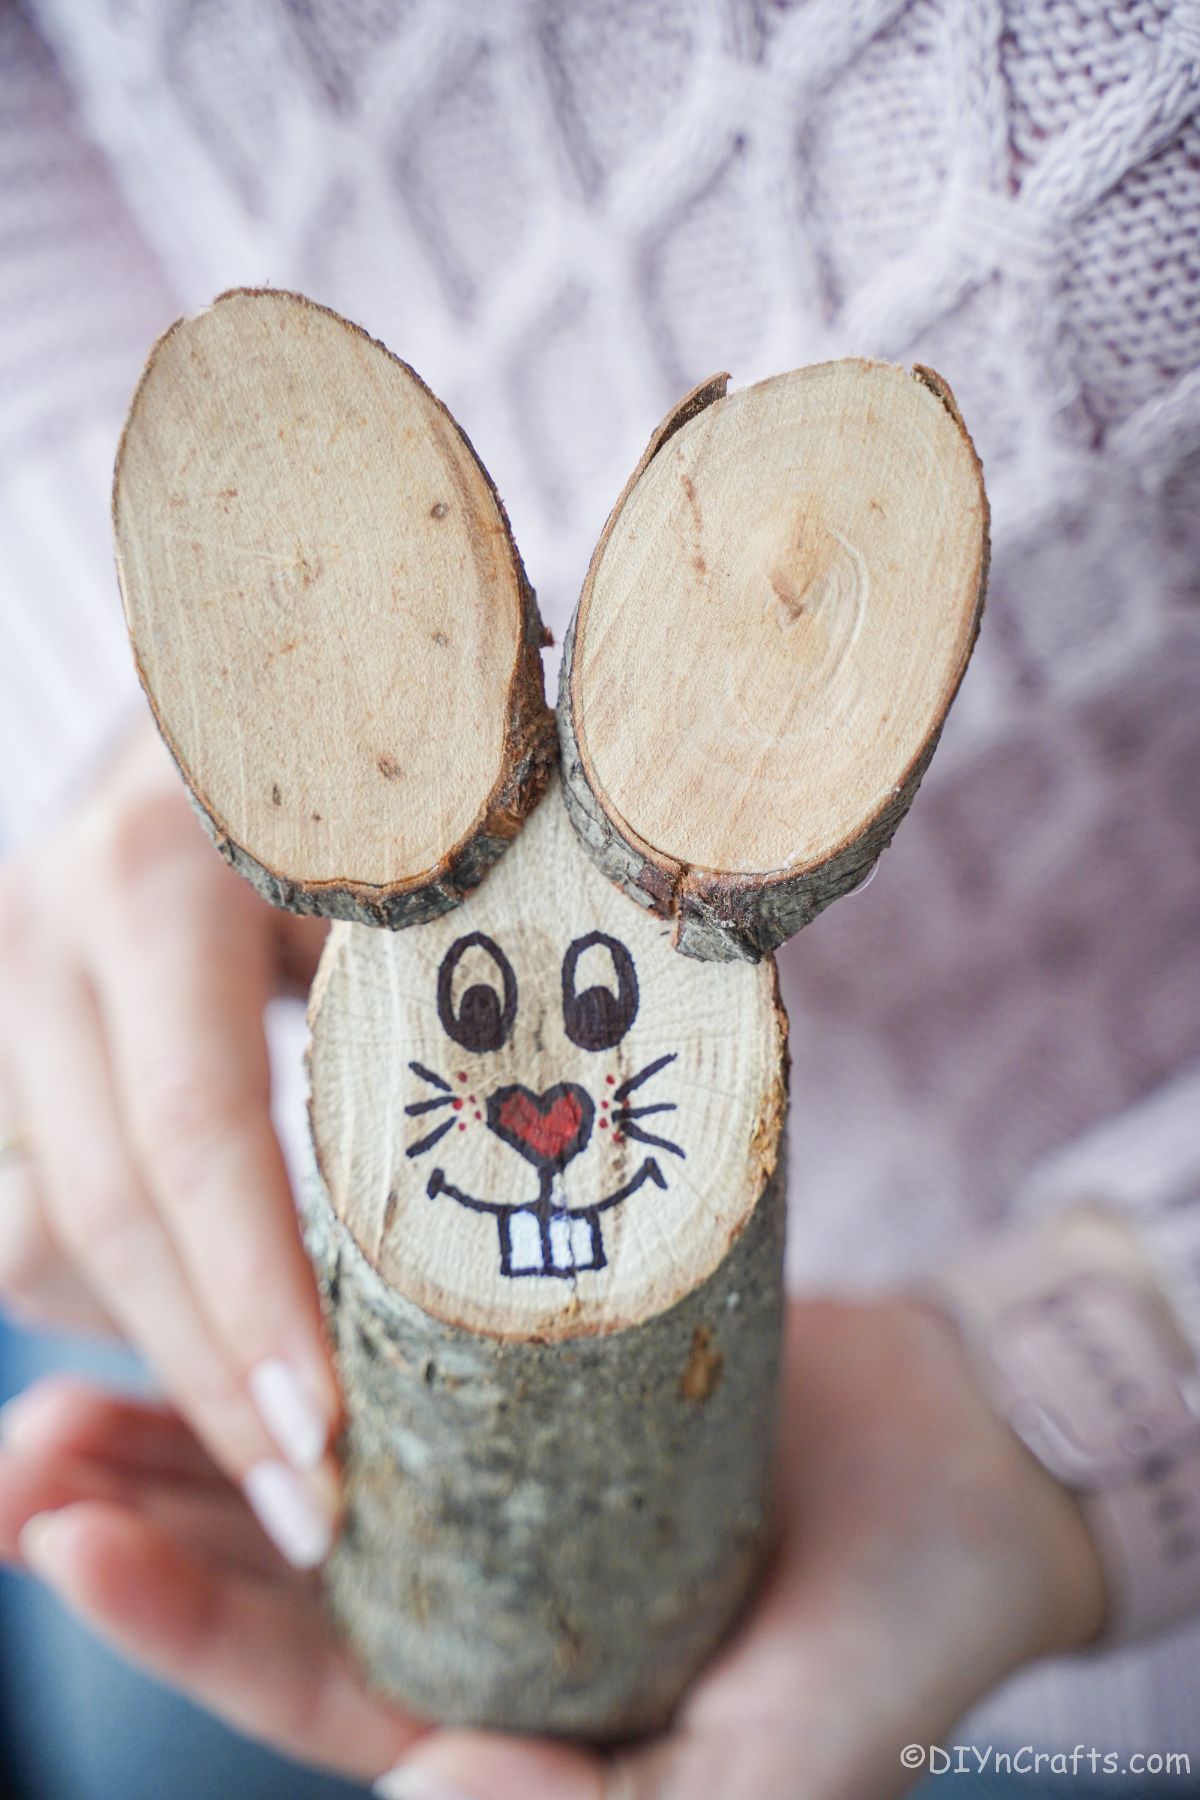
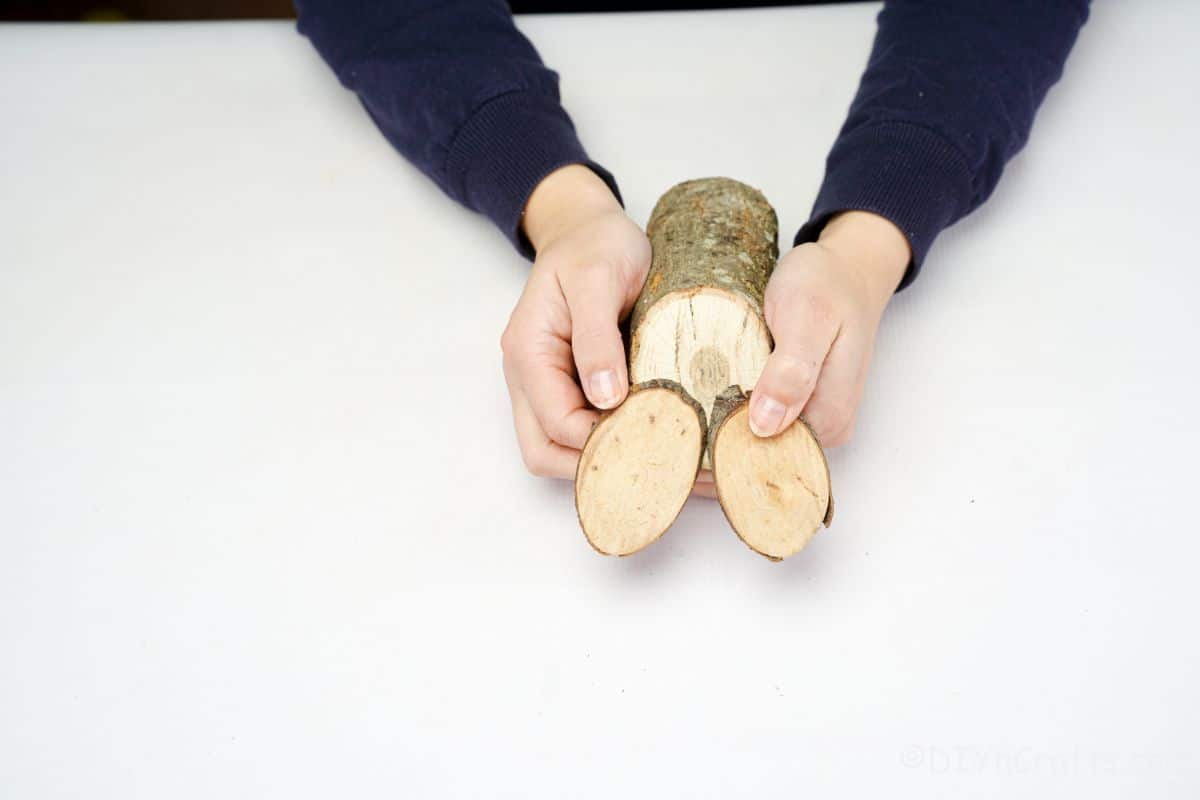
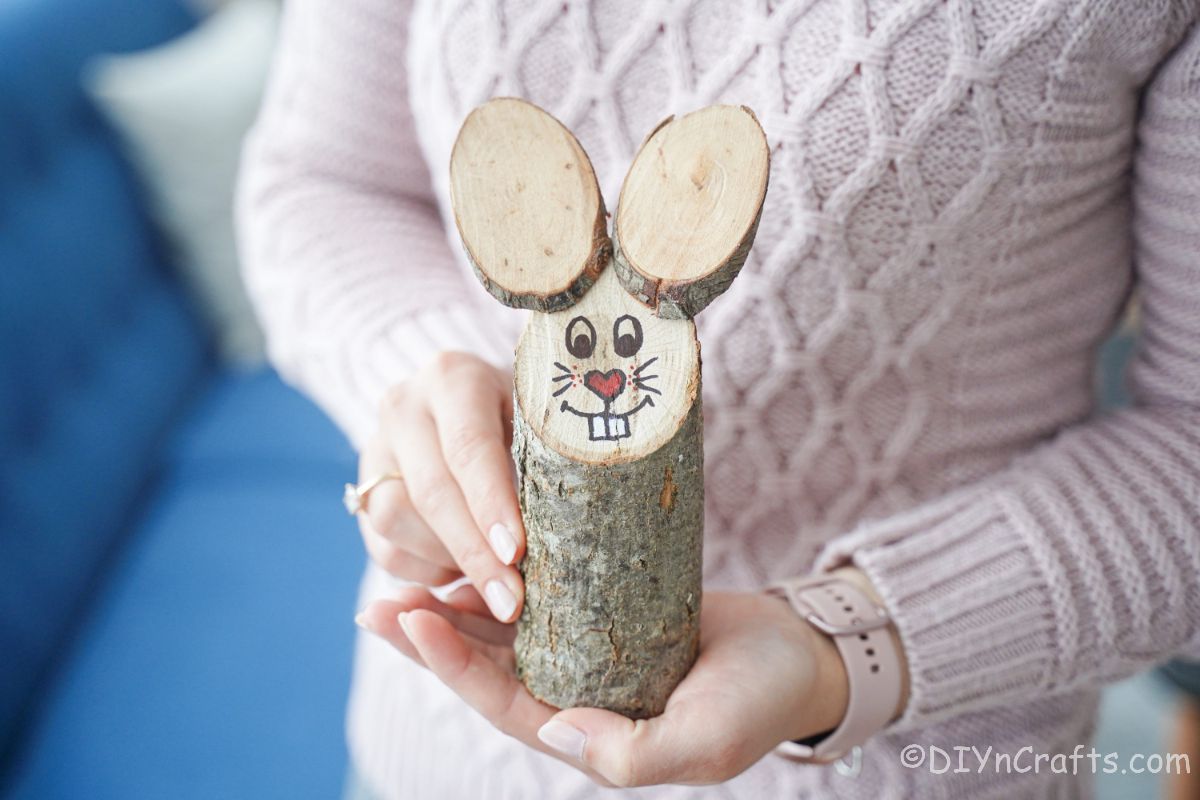
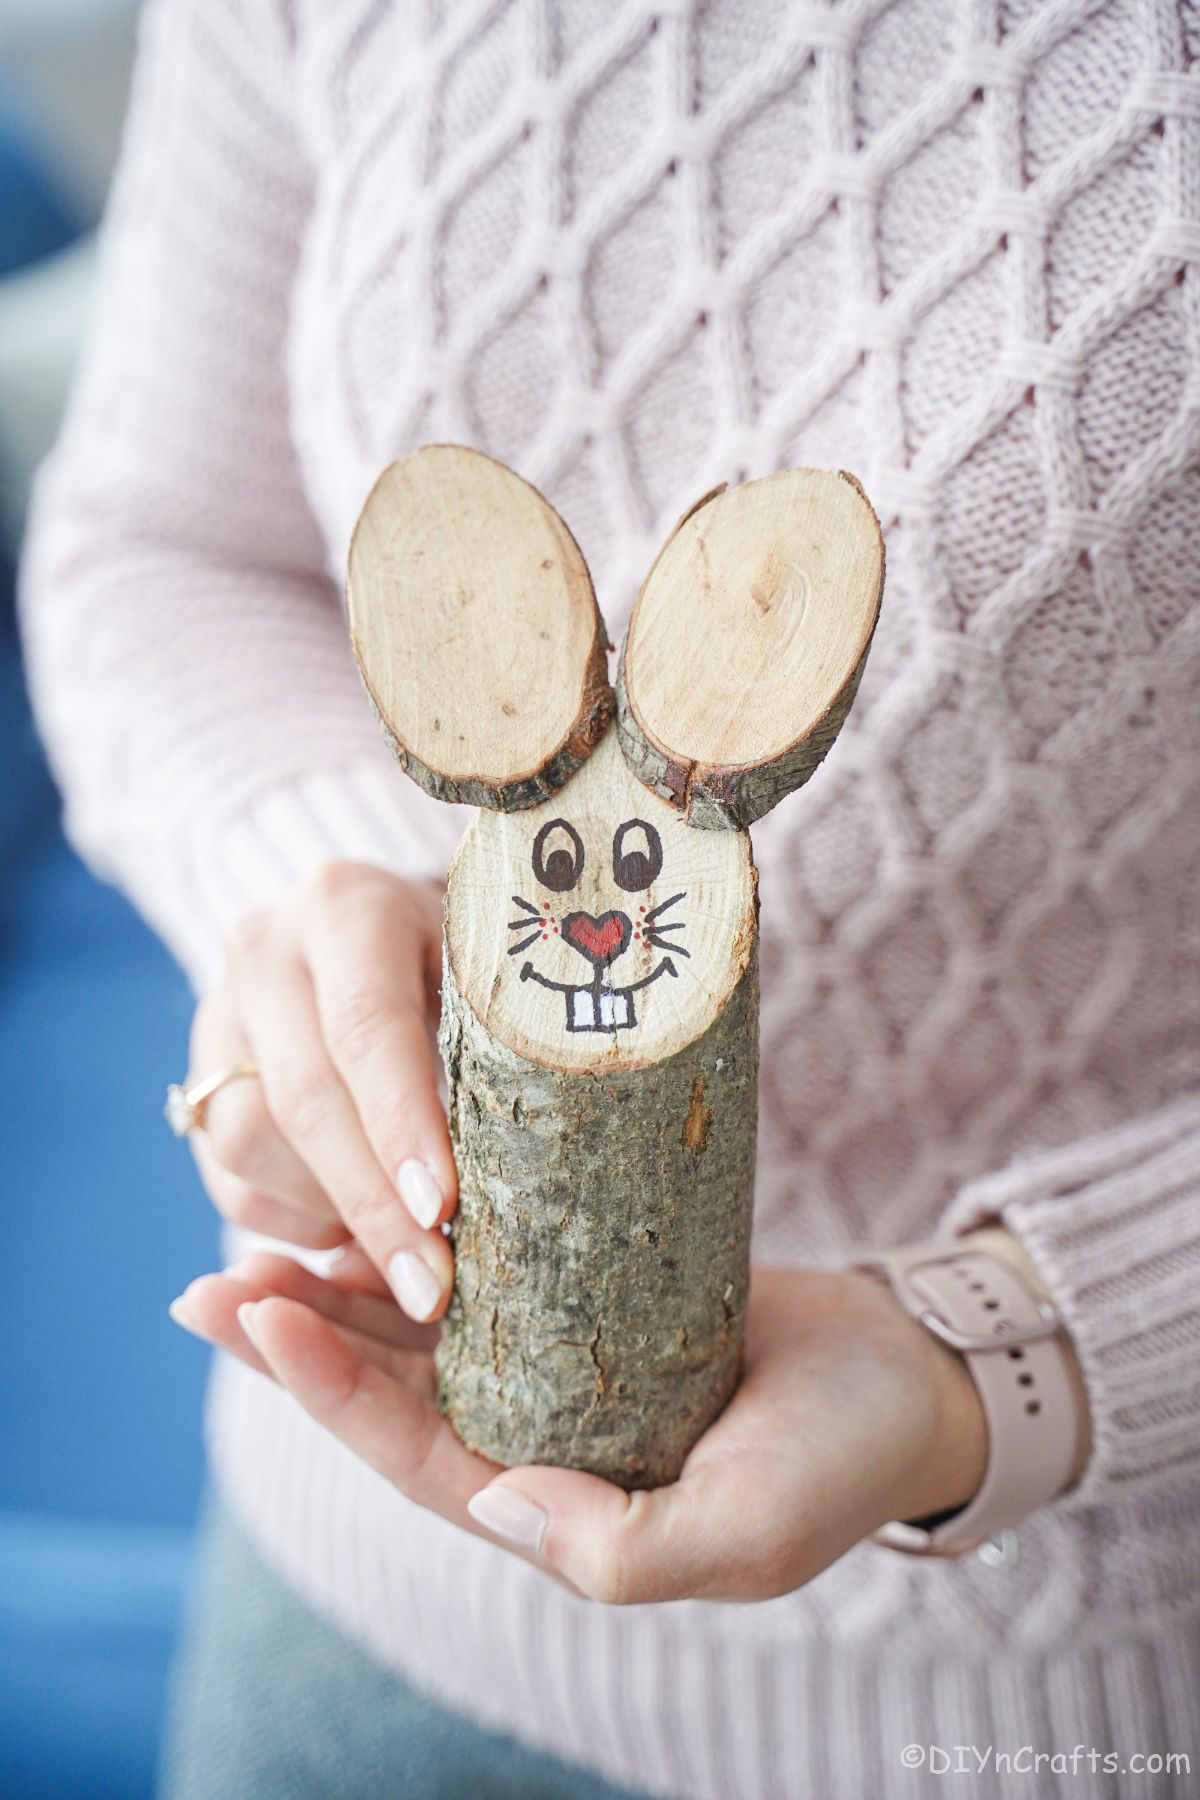
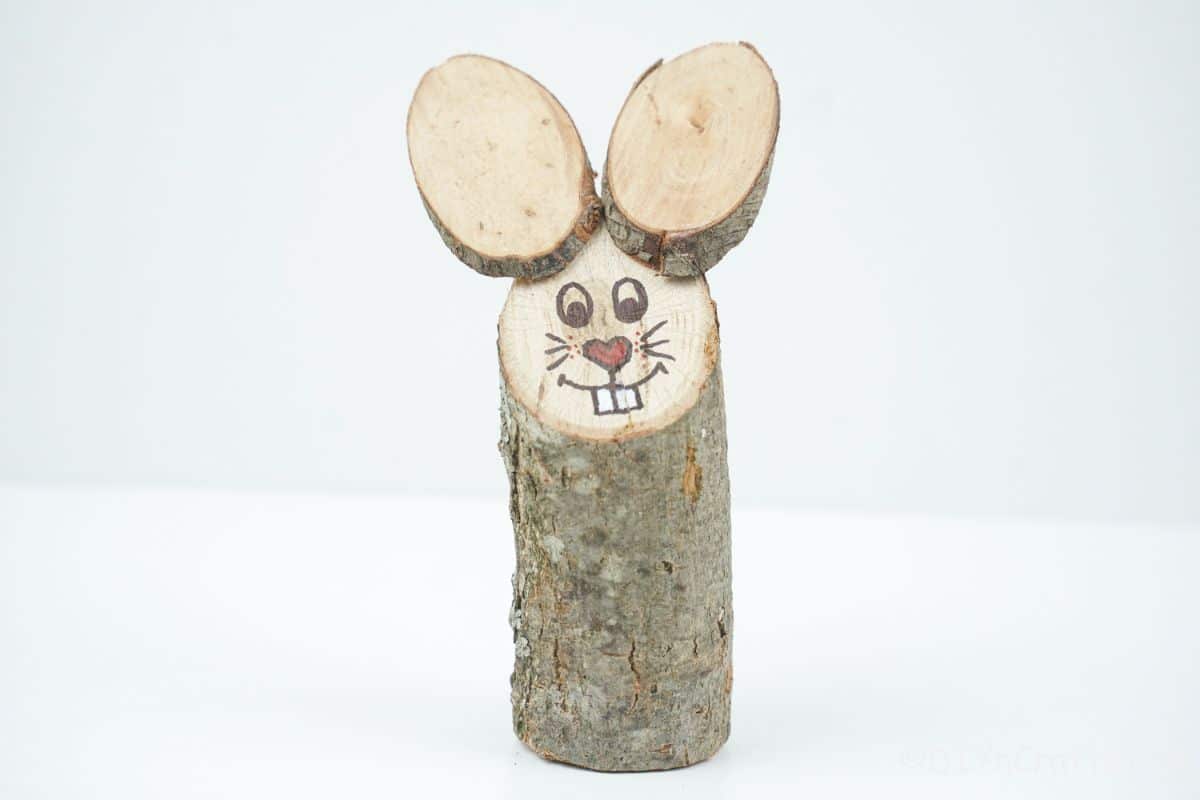
Find or cut a small log to use as the base of your bunny. I used one about 12" tall and 5" in diameter. Then you will need two wood slices about 3" in diameter and if possible, cut at an angle so they look more oval than round. These will be the bunny ears.
Use wood glue or a hot glue gun and glue to attach the two wood slices at angles on top of the log.
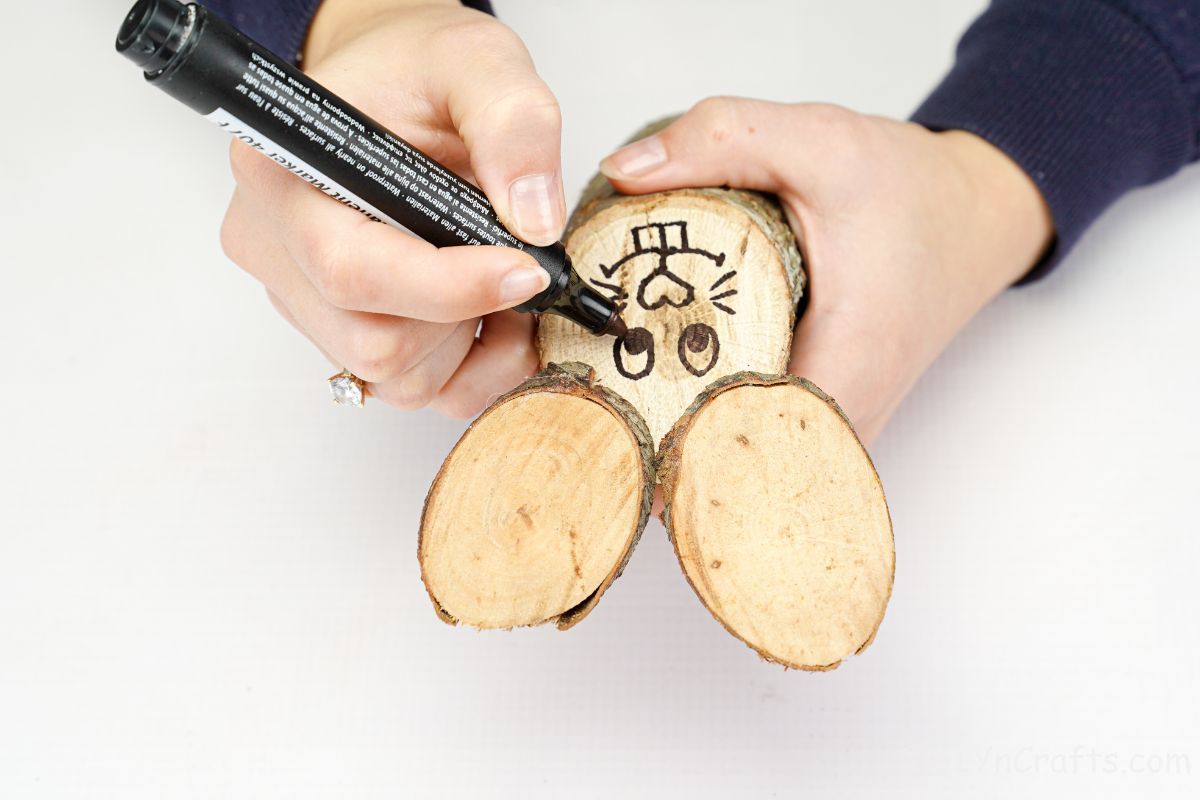
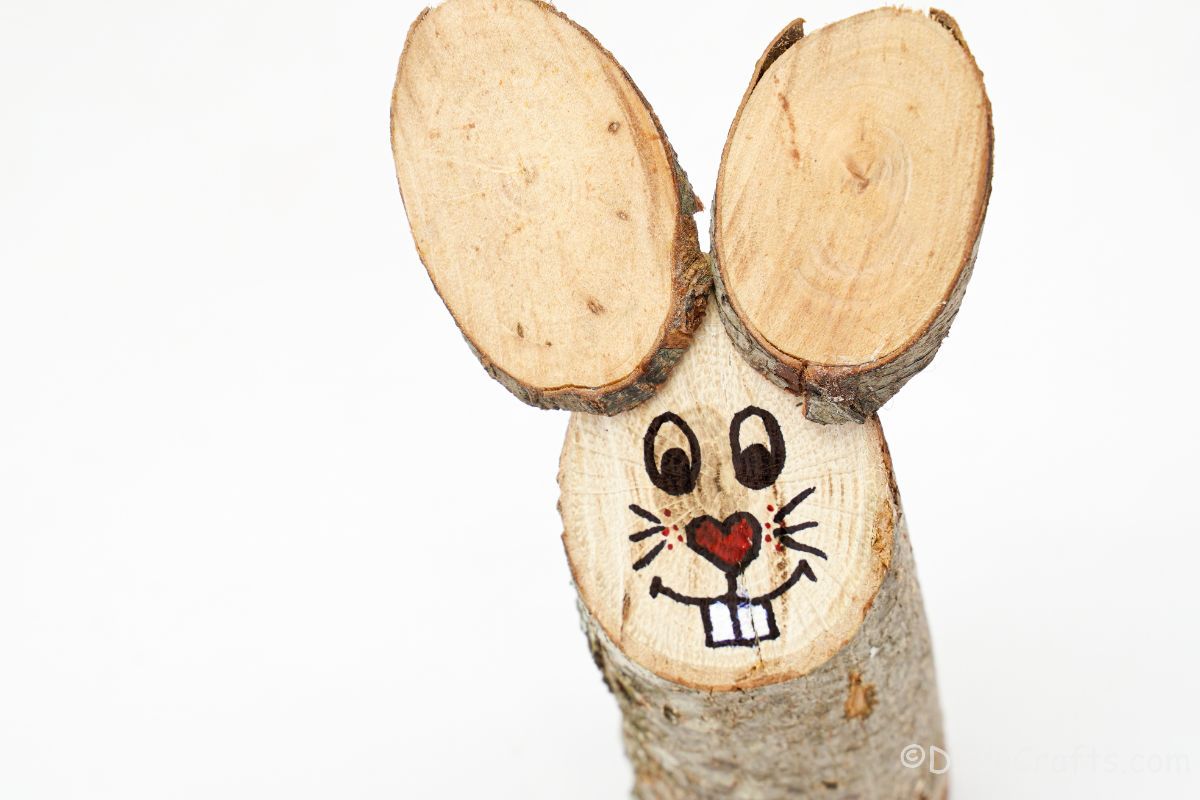
Use a black marker or paint pen to create the face of your bunny outline. Start with drawing two oval eyes at the top of the open space between the wood slice ears.
Then draw a little rounded triangle nose just below the eyes.
Add two curved lines as the smile, and two small squares below it to create the bunny teeth.
Next, add a few lines on both sides of the nose above the mouth to create whiskers.
Fill in two smaller circles inside the eyes with the black marker.
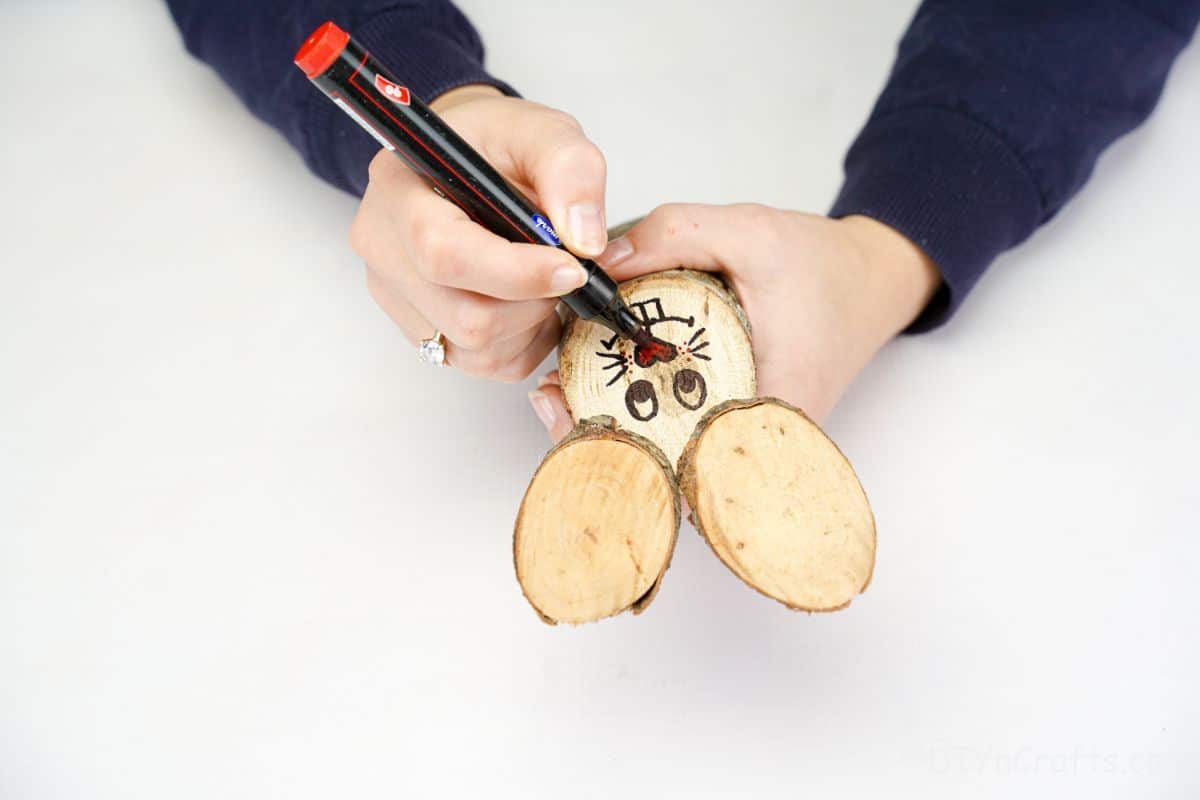
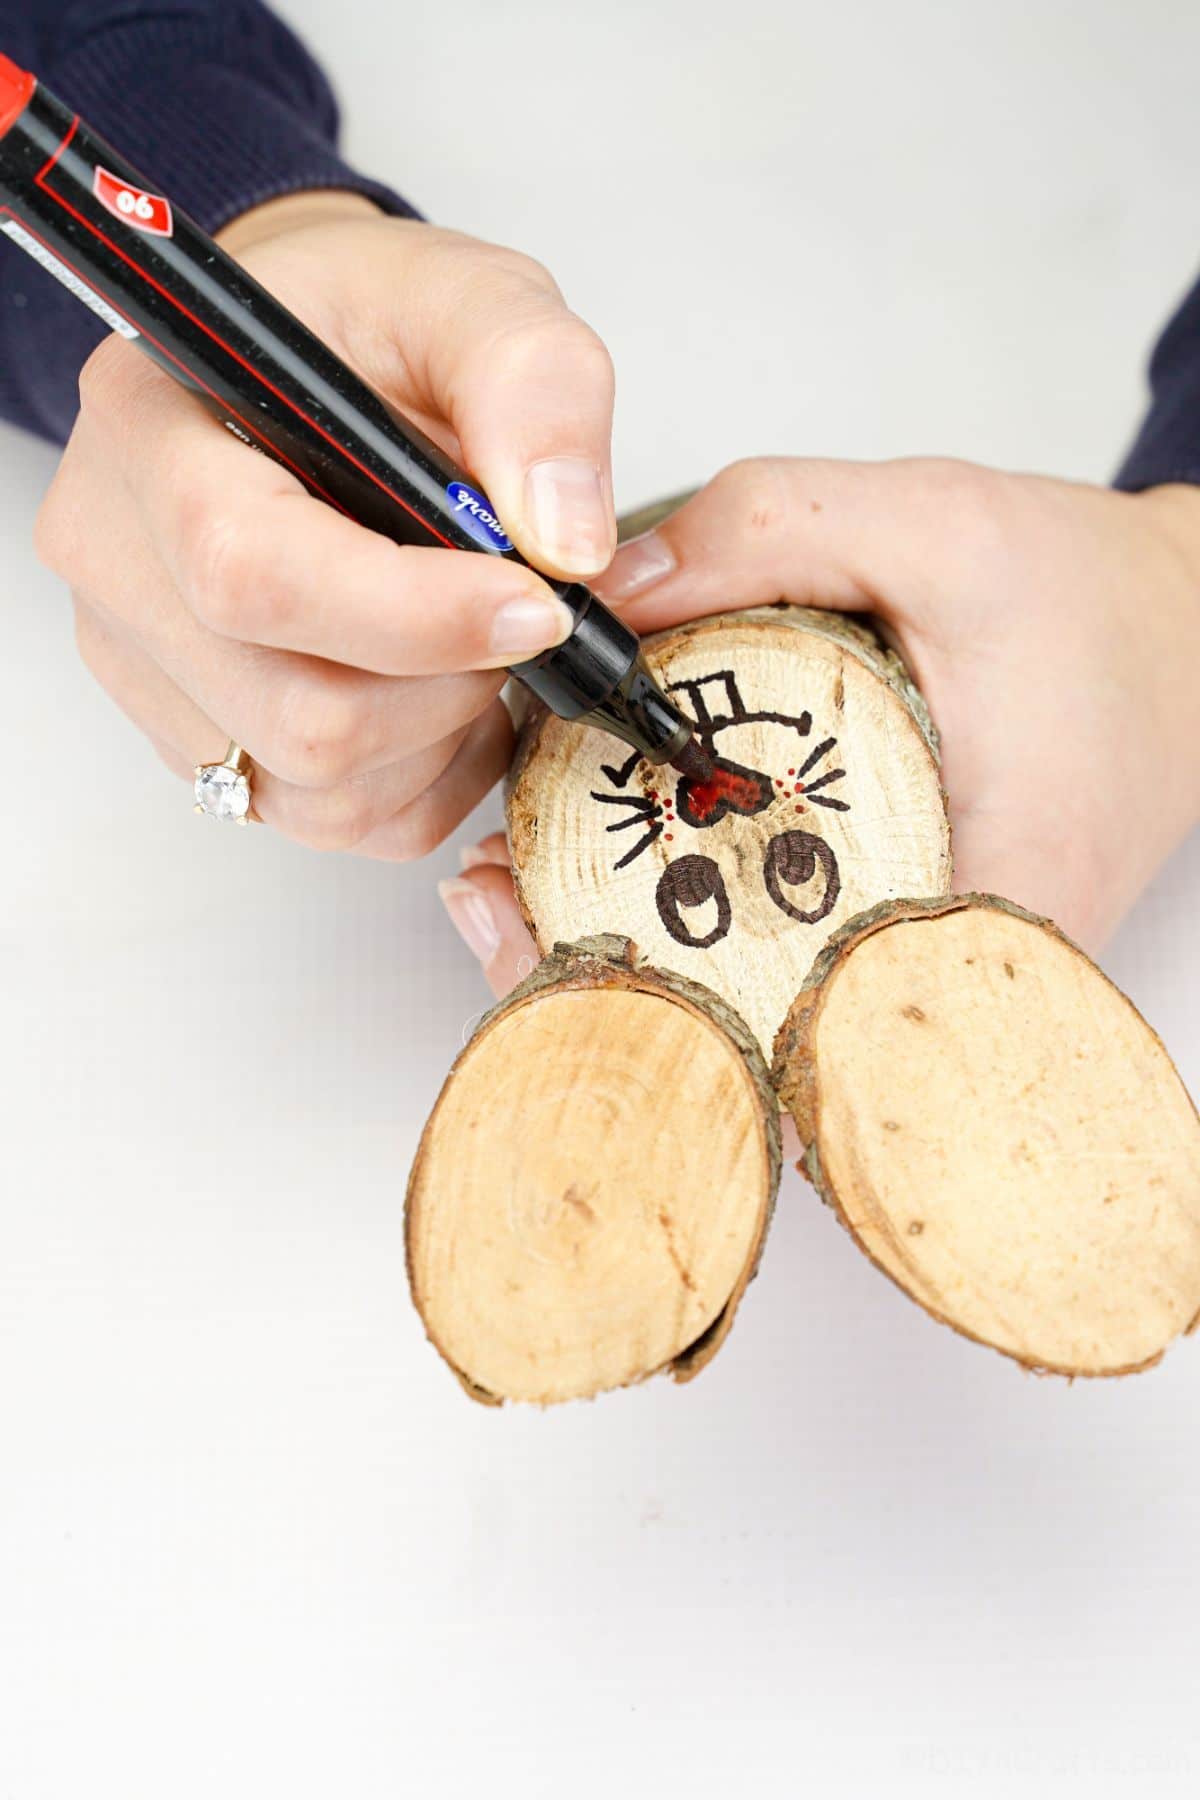
Then, fill in the nose with the red or pink marker.
Add dots of red around the nose and between it and the whiskers.
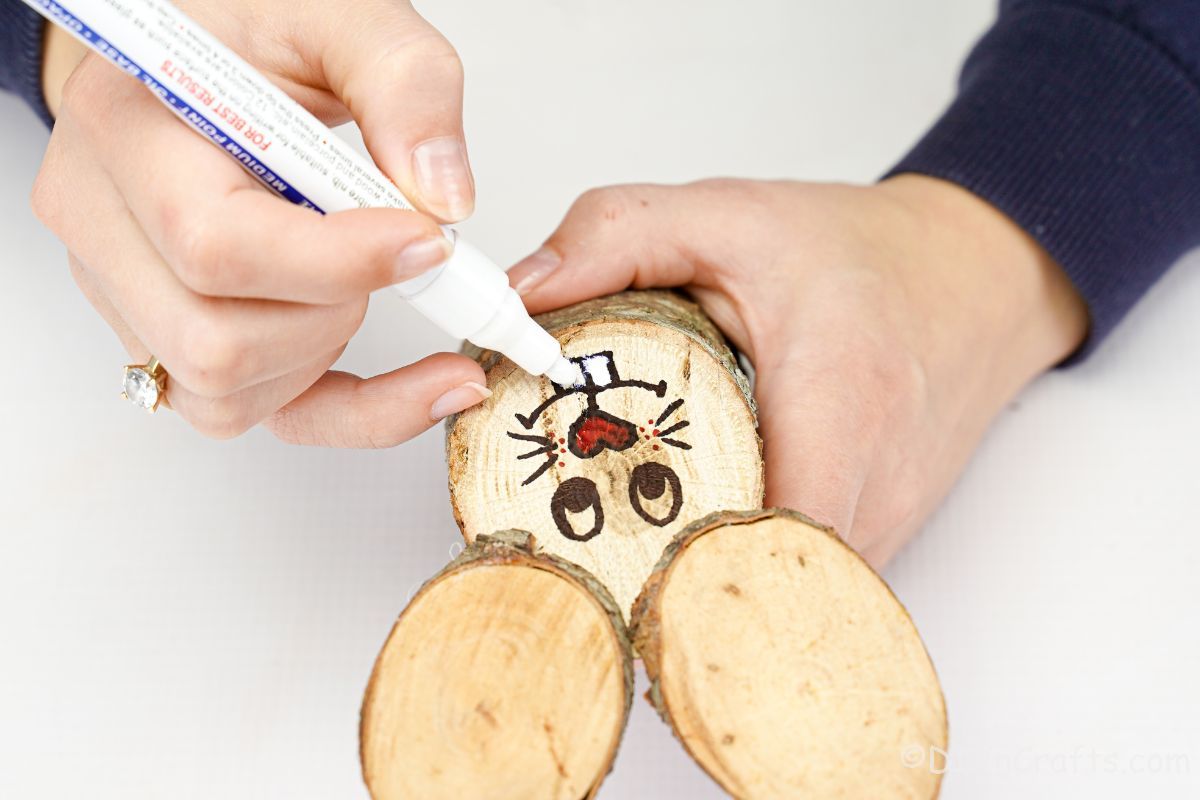
Fill in the teeth with the white paint pen.
You can also add a bit of white around the nose, in the eyes, or as the whiskers.
Add pink inside the wood slice ears if desired and a cotton ball as a tail on the base of the bunny.
More Easy Easter Crafts
Easter is one of, if not my all-time favorite times of the year to decorate. All of the springtime pastel colors and fun little additions make it amazing. Whether you are decorating for the whole season or just a simple Easter dinner party, below are some more great ideas to add to your holiday decor list.
- Easy DIY Pom Pom Easter Bunny Wreath
- Popsicle Stick Bunny and Chick Easter Bookmarks
- Adorable Burlap Easter Bunny Wreath with Smiling Bunny
- Bunny Hiding in a Flower Pot Easter Decoration
- DIY Flower Pot Carrot Easter Decoration

Upcycled Wooden Log Easter Bunny Decoration
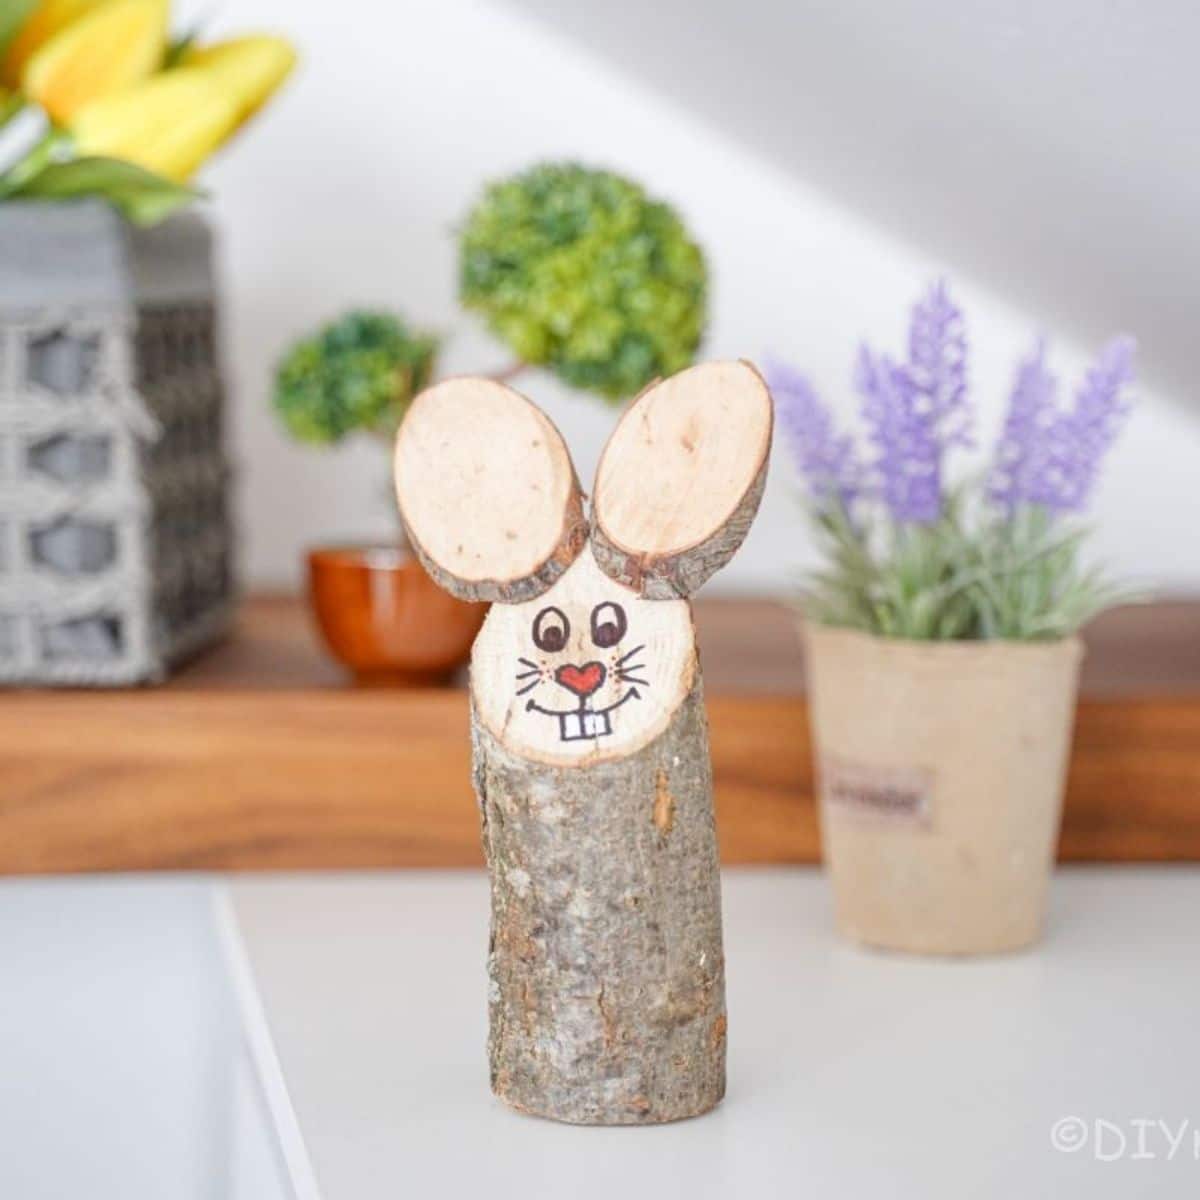
This rustic upcycled wooden log Easter bunny is the perfect decoration to add to your table or mantle this spring!
Tools
Instructions
- Cut a 12" high and 5" diameter log and cut the top at an angle so it sits flat but has an angled downward "face". Brush off any extra dirt, debris, bugs, or sawdust. Then, glue two wood slices on top at angles to create ears.
- Once the glue dries, use a black marker to draw on the eyes. Then the nose just below the eyes. Draw a curved line on either side of the nose as a smile, and two teeth at the bottom of the smile.
- Fill in the eyes partially with black circles.
- Then fill in the nose with red paint or marker.
- Use the white marker or paint pen to fill in the teeth and add accents to the bunny if desired.
- Add additional embellishments, hair, tail, or other items to the bunny before displaying.
Notes
Use craft paint, markers, or paint pen to create the bunny face.
Recommended Products
As an Amazon Associate and member of other affiliate programs, I earn from qualifying purchases.
-
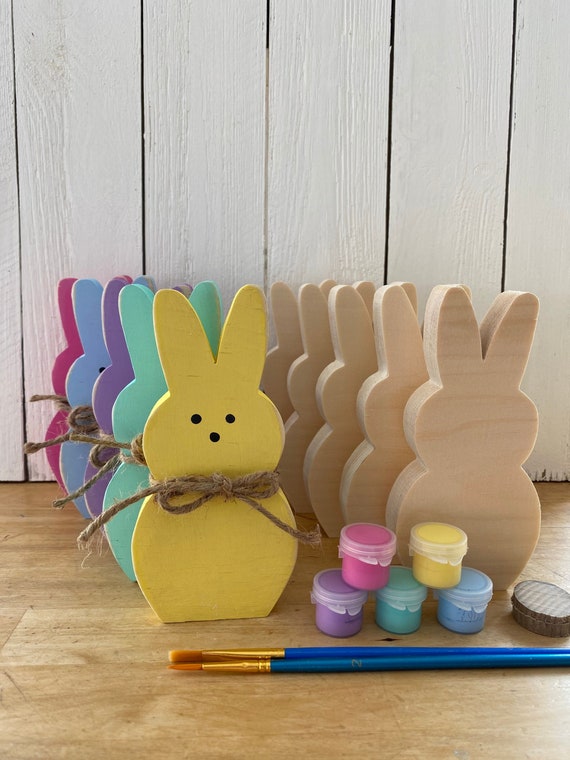 Easter Handmade Wooden Craft Kit for Kids Easter Decor Wood | Etsy
 -
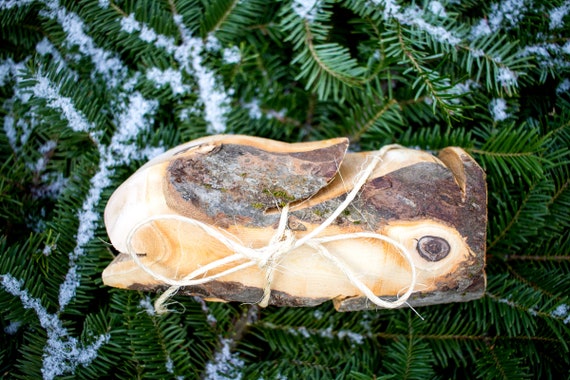 Binkies Organic Apple Wood Bunny Chew Block | Etsy
 -
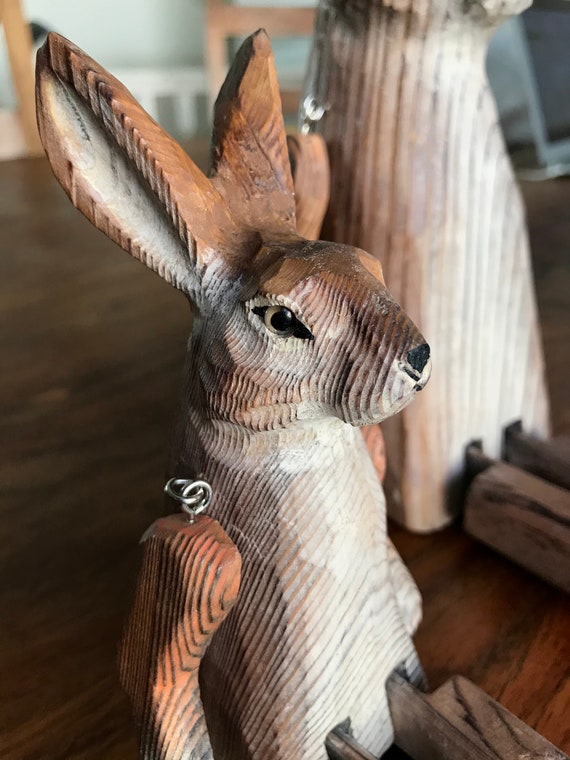 Wooden Rabbit Hand Carved Rabbit Bunny Statue Sitting | Etsy
 -
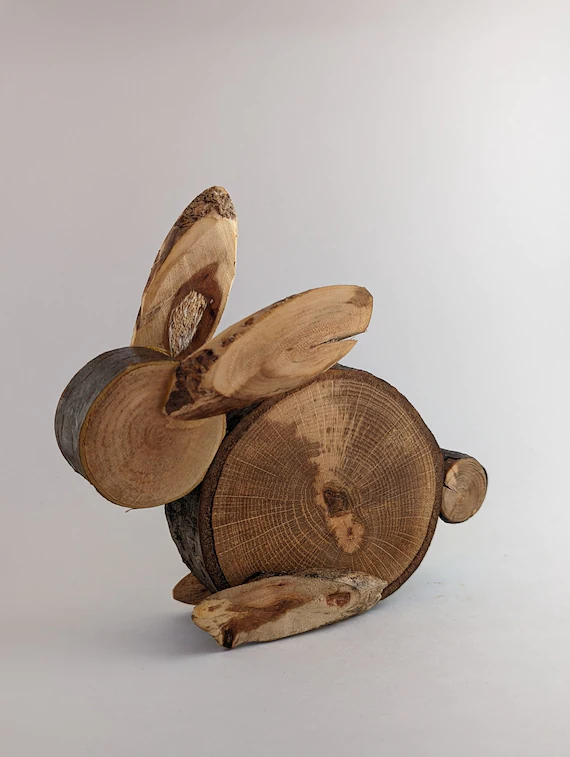 Wood Slice Bunny Easter Table Top Decor | Etsy
 -
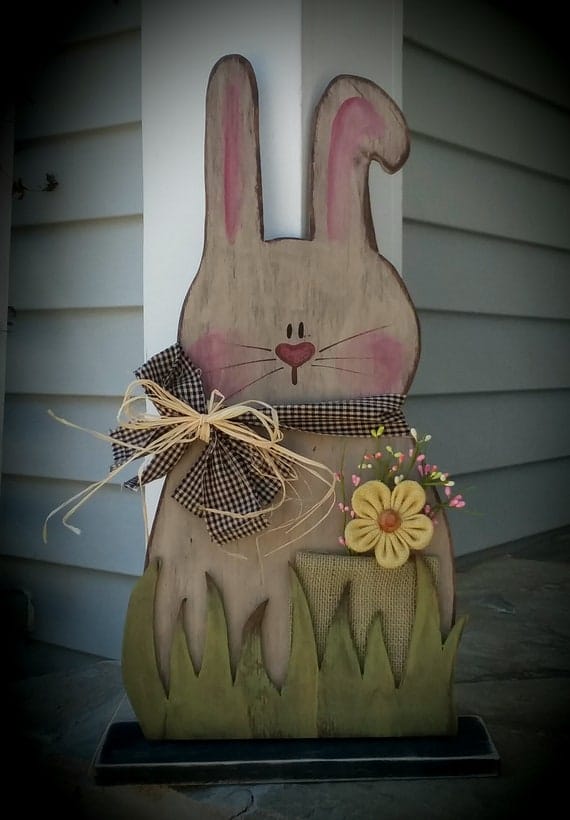 Wood Bunny/22 Tall/ Made PER Order NOT Ready to | Etsy
 -
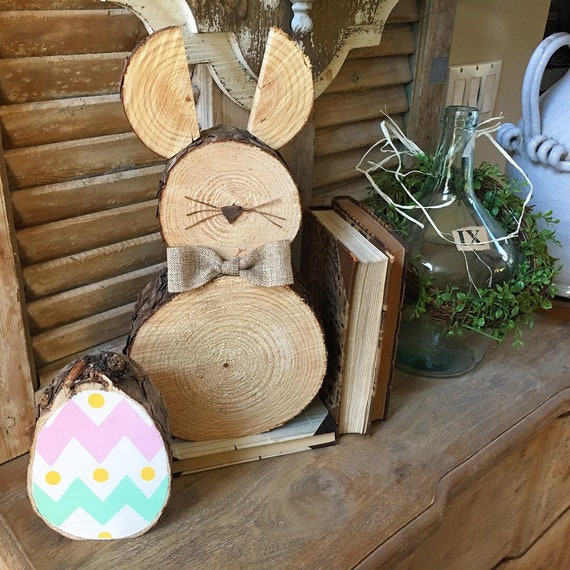 Wood Slice Easter Bunny | Etsy
Finished Project Gallery
Decorate your Easter bunny with glitter around the nose for a more festive look.
Or add some fake grass around the base to give it a bit more of a springtime style.






Leave a Reply