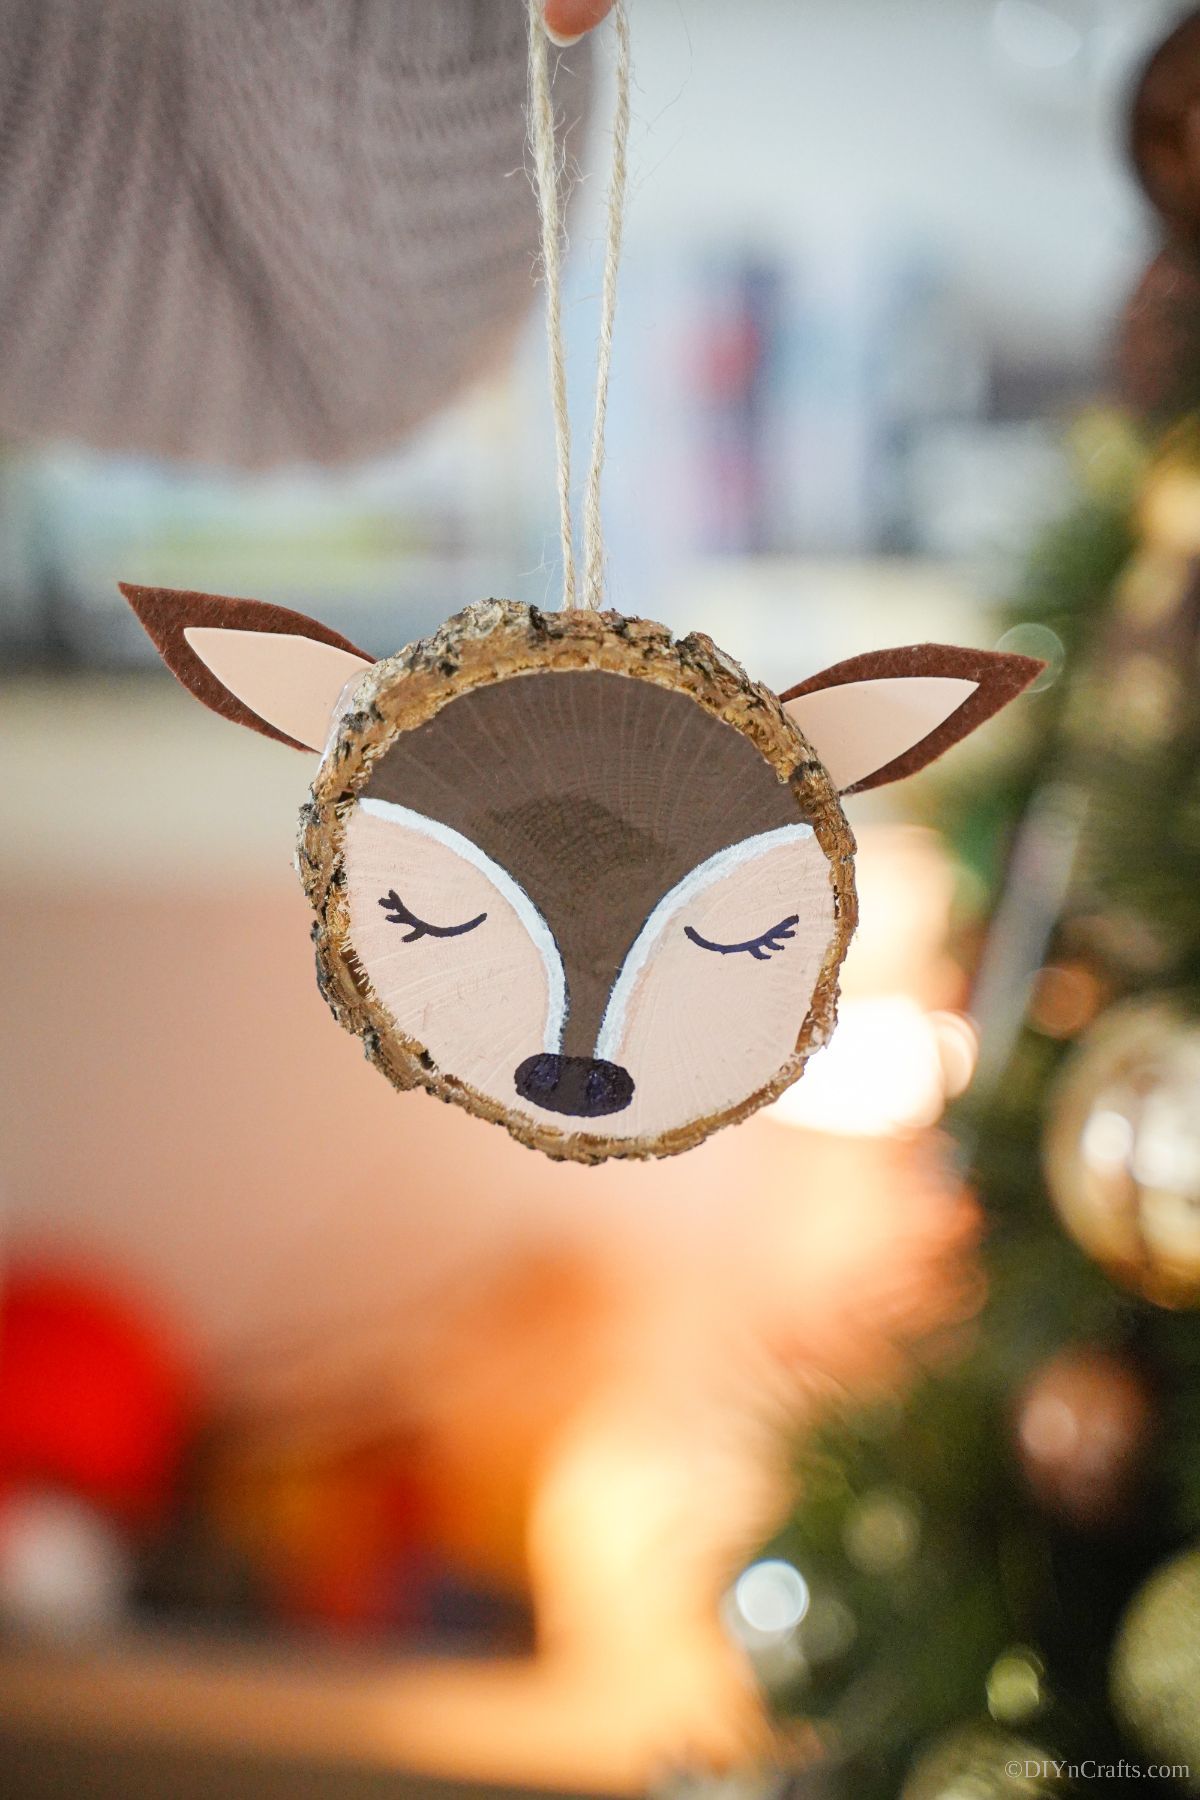
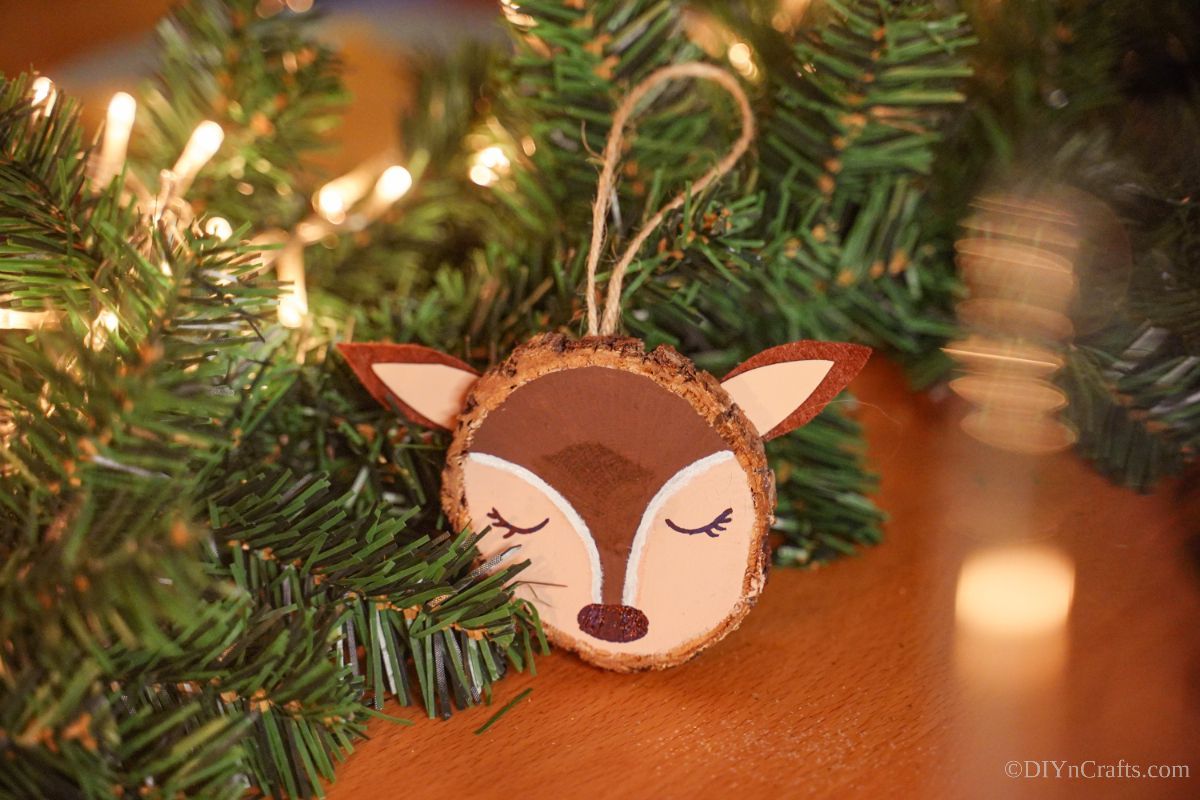
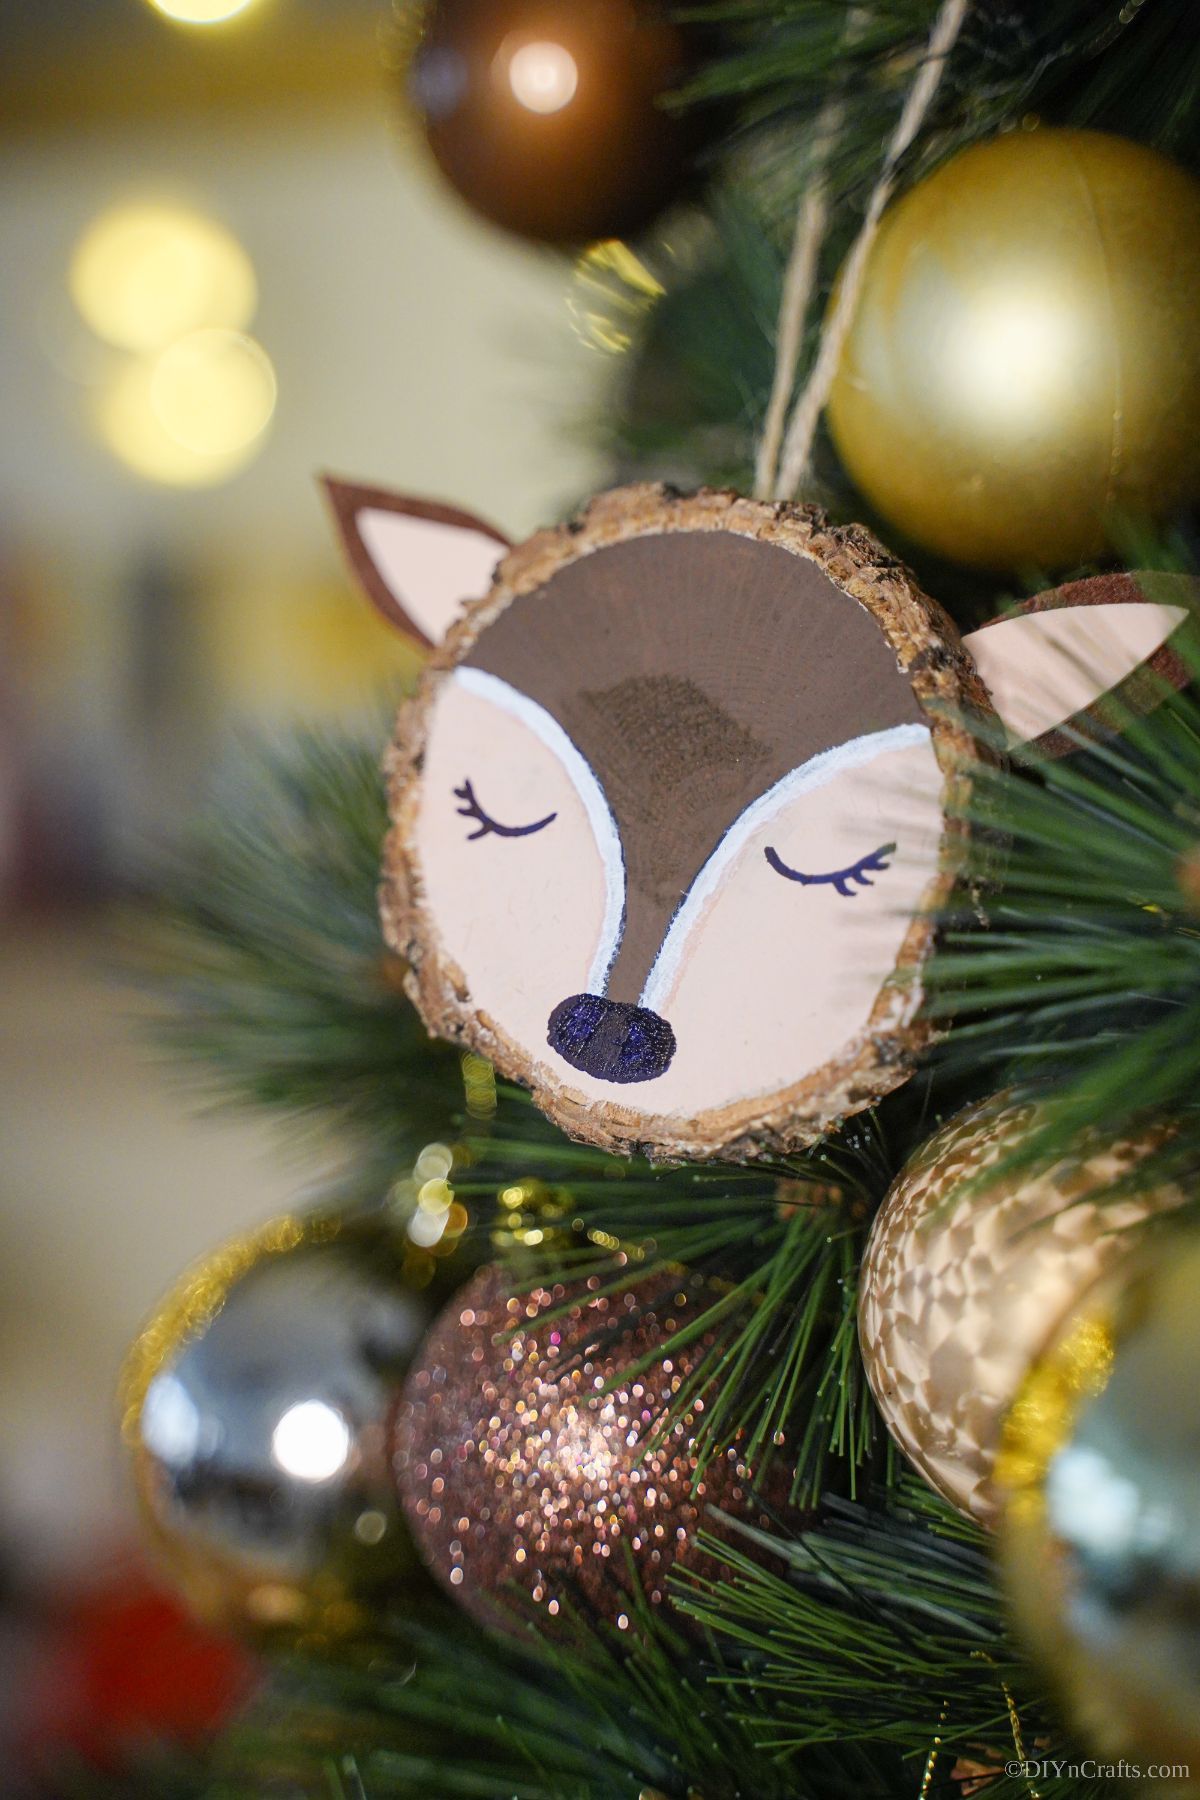
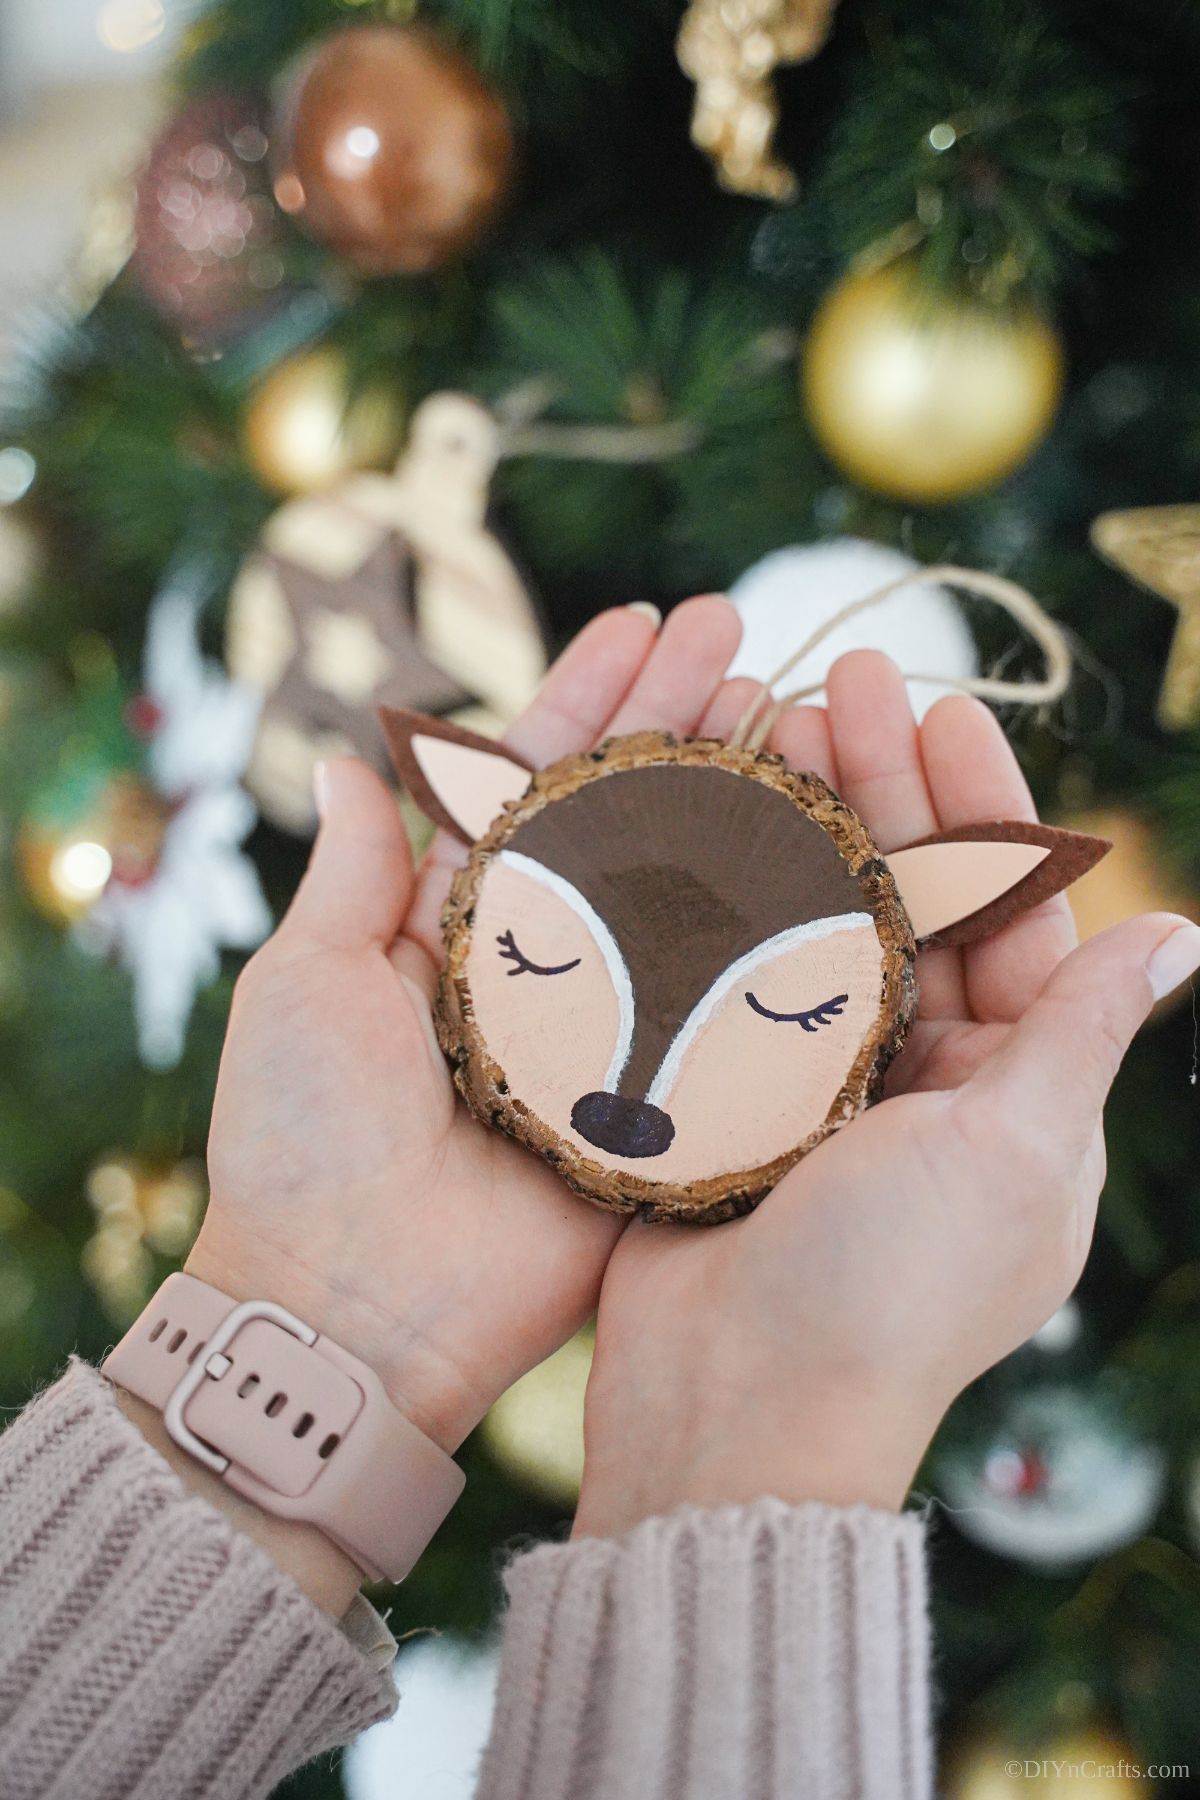
When it comes to Christmas, there are a few things that come to mind, and reindeer are one of them. This wood slice reindeer ornament is a great idea that goes perfectly on your holiday tree. While this isn't the classic Rudolph with a red nose, you can adjust it to be him if you want! It is so simple to make this ornament and everyone will love to make them and see it hanging on the tree.
Wood Slice Reindeer Ornament
Creating ornaments for the tree can easily be a Christmas tradition. These traditions create memories and happy moments. Making these wood slice reindeer ornaments is so simple and the kids will love them. So fun to paint, the reindeer ornaments will be a cherished family keepsake. If you like this idea, you might want something similar but a bit easier for kids to make. This wood slice reindeer with twigs is another super cute idea that little ones can easily make.
When it comes to fun and easy crafts, this wood slice ornament is such a joy to make that you are going to want to make some for everyone. Give them as gifts and hang them on your tree. Make one or 10 so you have one for each of Santa's reindeer!
Where Can I Get Wood Slices?
Some people have a lot of branches around that they can make their own wood slices. However, a lot of people do not. There are ways to get wood slices even if you don't have any near.
You can get wood slices online at places like Etsy or even from Amazon. Some stores, like craft stores of big box stores, even sell wood slices in the crafting area. Hobby Lobby, Michael's, and Walmart almost always have these in stock in a variety of sizes for a low price.
What Ways Can I Create the Reindeer Face?
How you will make the face depends on who is making the reindeer. If you want to make a more professional or classic-looking wood slice reindeer ornament, you will want to paint it.
If kids are making this ornament, you can have them draw the face or glue paper or foam on the wood slice to create the face. Another option is to draw the outlines of the reindeer's face and let the kids paint it.
I made mine freehand with regular craft paint, but you can start by using a pencil to trace out the design before filling in with marker, paint, paint pen, or strips of paper or felt cut and glued into place.
Can I Use This on Other Decorations?
This wood slice reindeer ornament doesn't need to be only for a Christmas tree. It can be used for decoration around the house. Hang the ornament on the wall, in the archways, or just about anywhere.
- When you are making a centerpiece, this wood slice reindeer ornament would look great in the center.
- Attach it to a candle or something similar to highlight the reindeer.
- It can also be used on wreaths. This can be the perfect addition to a rustic wreath or an organic pine wreath.
- Add a bit of fabric, twine, ribbon, raffia, or a pipe cleaner to the back then tie it around your napkin as a fun place setting.
- Write the names of your guests on the back and use them as a place name card.
- Replace bows and ribbon with this on a gift as decoration.
You can even give this as a gift on its own or tuck it into a gift basket. It's a great simple gift to go along with cash or a gift card when you have a limited budget. They can even be made in large batches and used as something you sell at craft fairs for a bit of extra income!
Supplies Needed
This list of supplies comes in handy for making your own, but you can customize with felt, foam paper, construction paper, or whatever you have on hand at the time. You can also easily replace hot glue with tacky craft glue or even superglue to hold items in place.
- Wood slices
- Brown paper
- Tan paper
- Brown paint
- White paint
- Black paint
- Twine
- Paintbrush
- Hot glue gun
- Hot glue sticks
How to Make a Wood Slice Reindeer Ornament
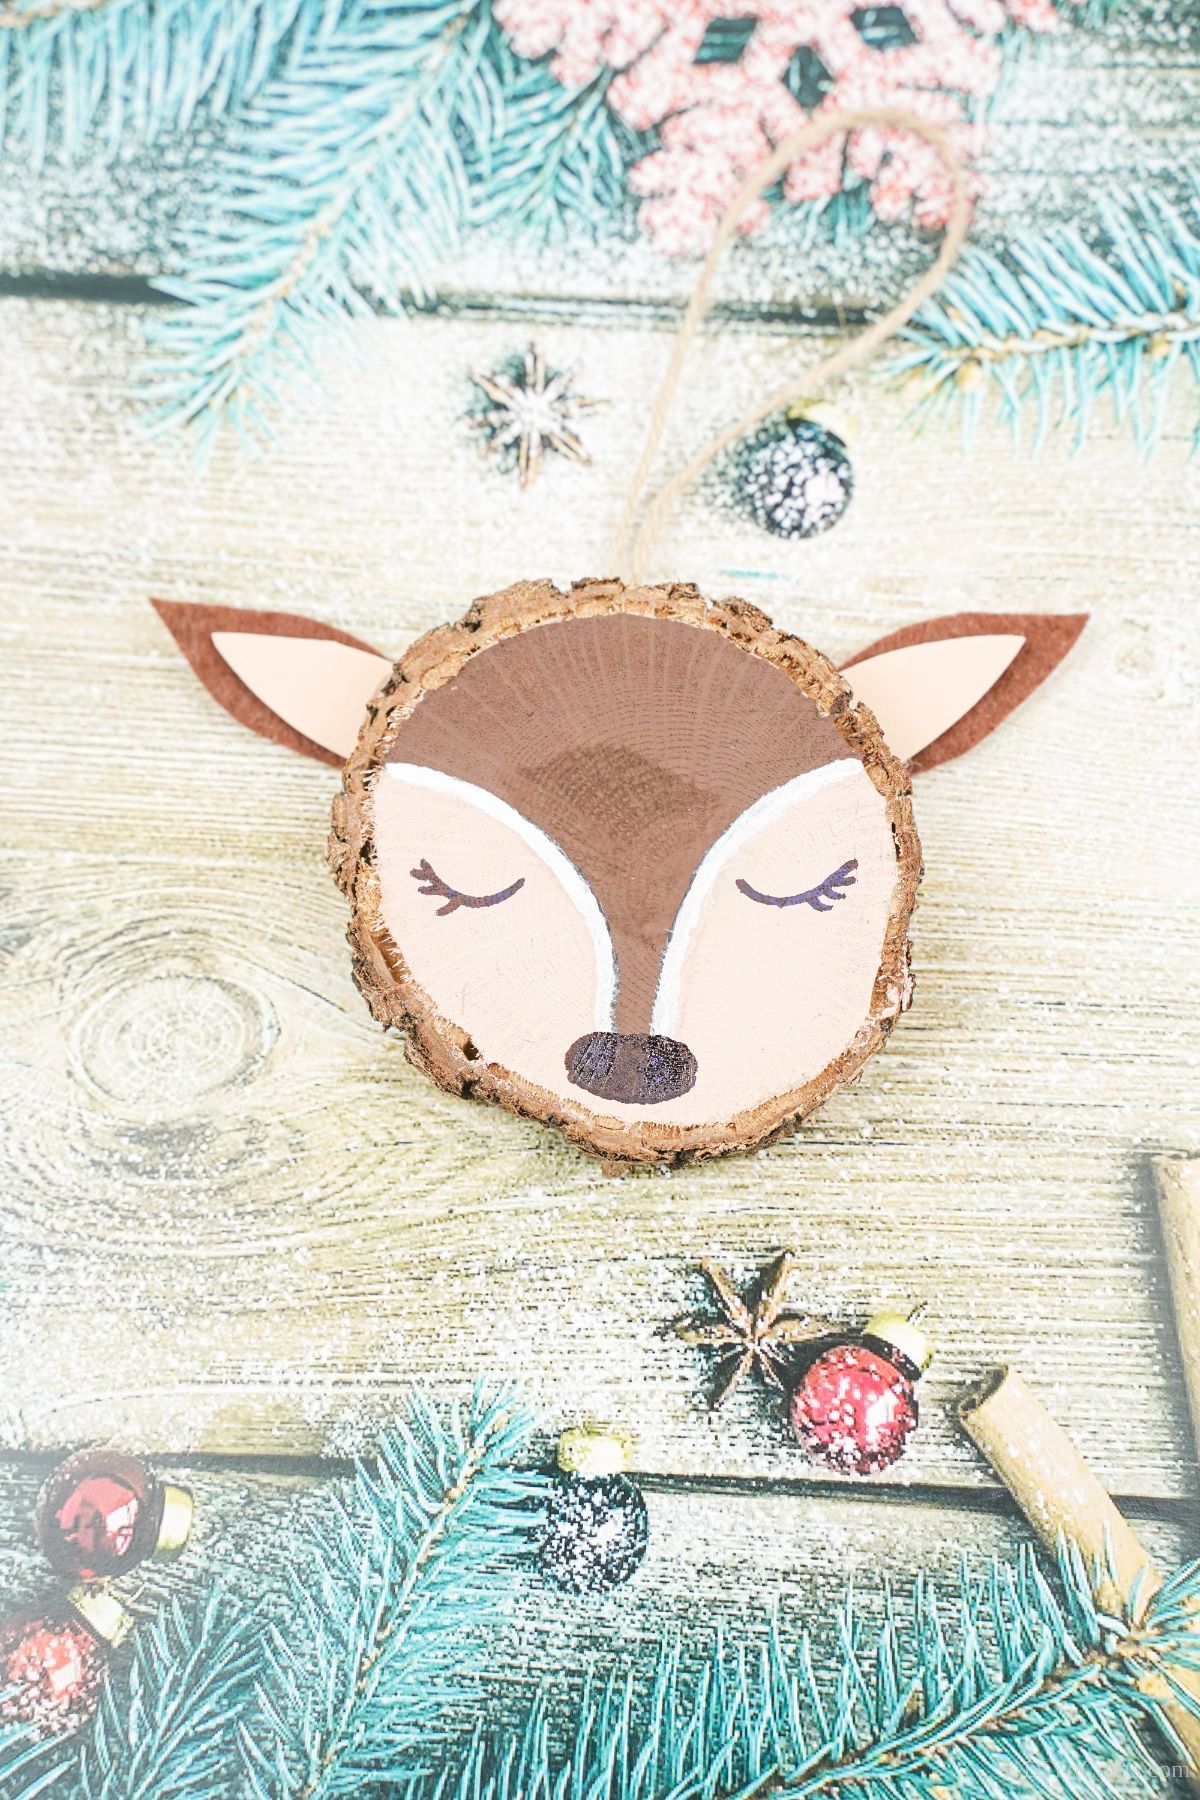
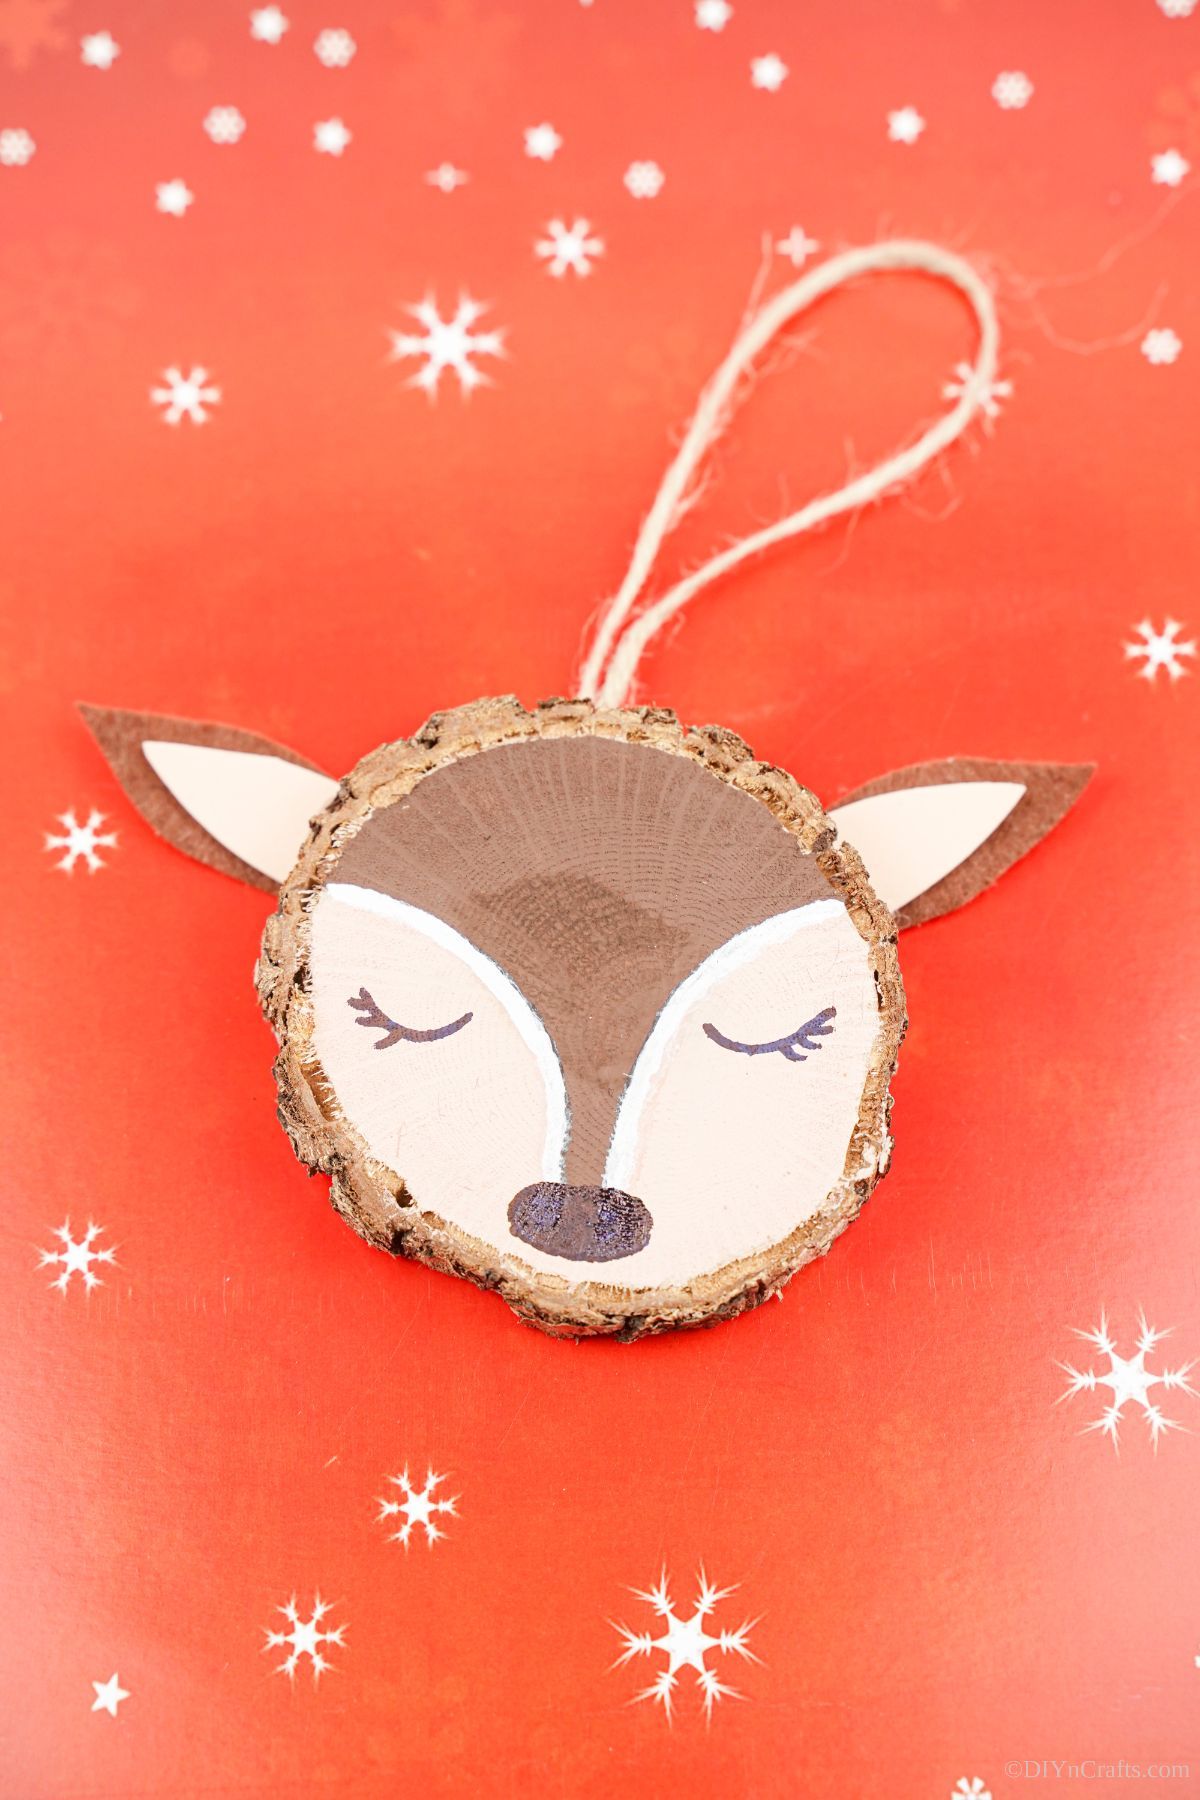
Using brown craft paint, paint a curved triangle with the point facing downward and stopping toward the bottom of the wood slice.
Fill in the brown face with paint leaving the lower sides of the slice blank.
On the two empty areas on each side, paint with light brown or cream paint.
Set aside to dry.
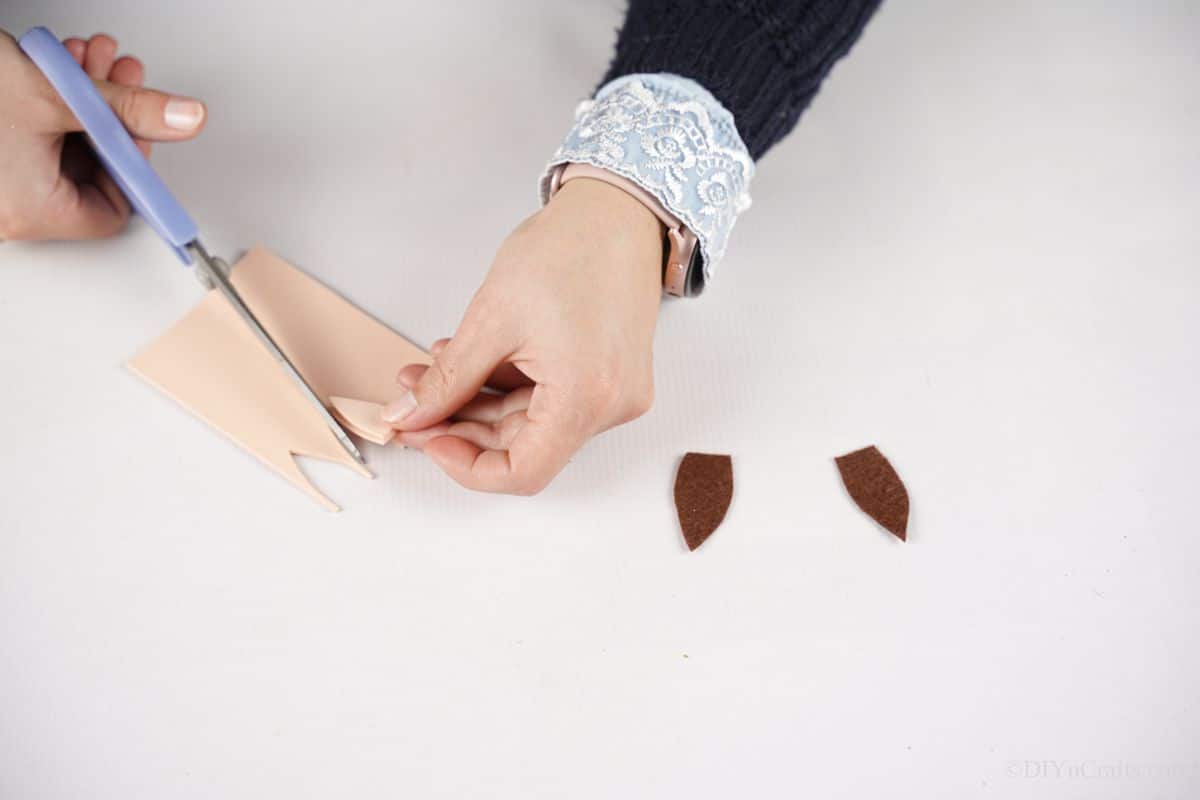
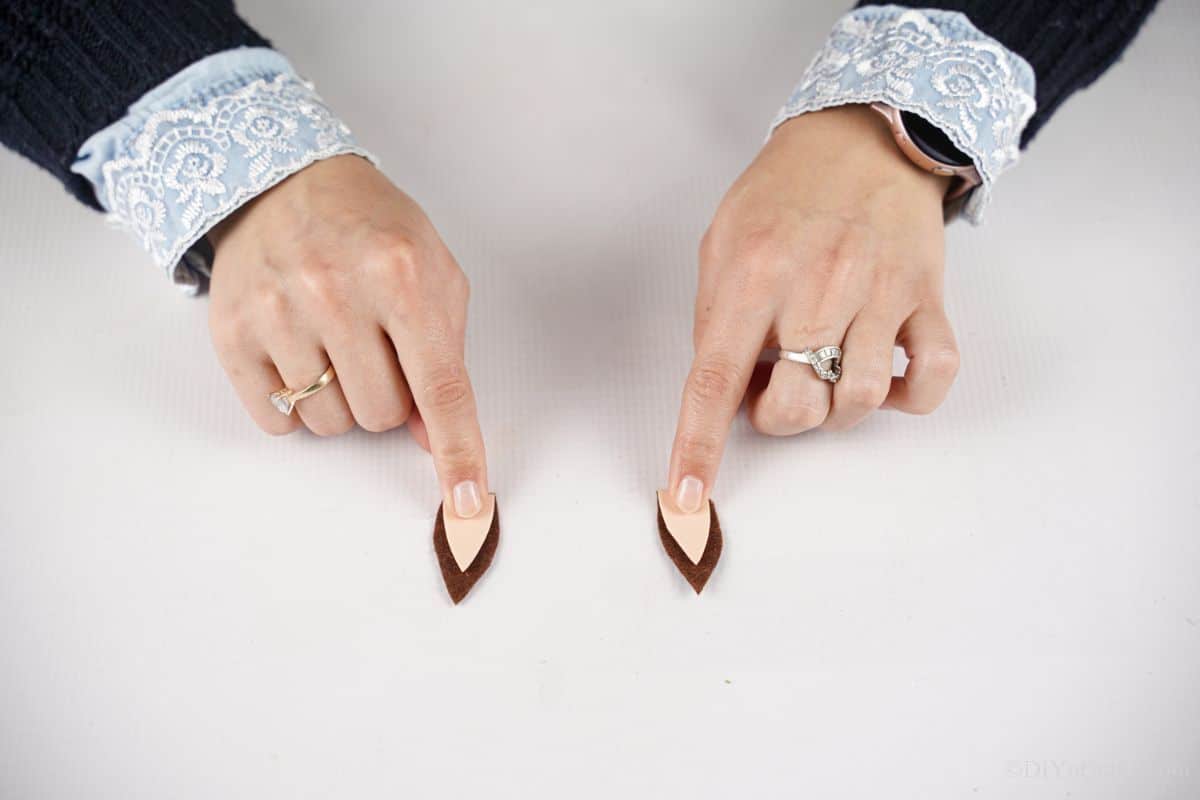
Trace and cut out two ear shapes from dark brown paper.
Use these to trace and cut out two lighter brown or cream shapes just slightly smaller than the dark brown.
Glue the light on top of the dark brown ears.
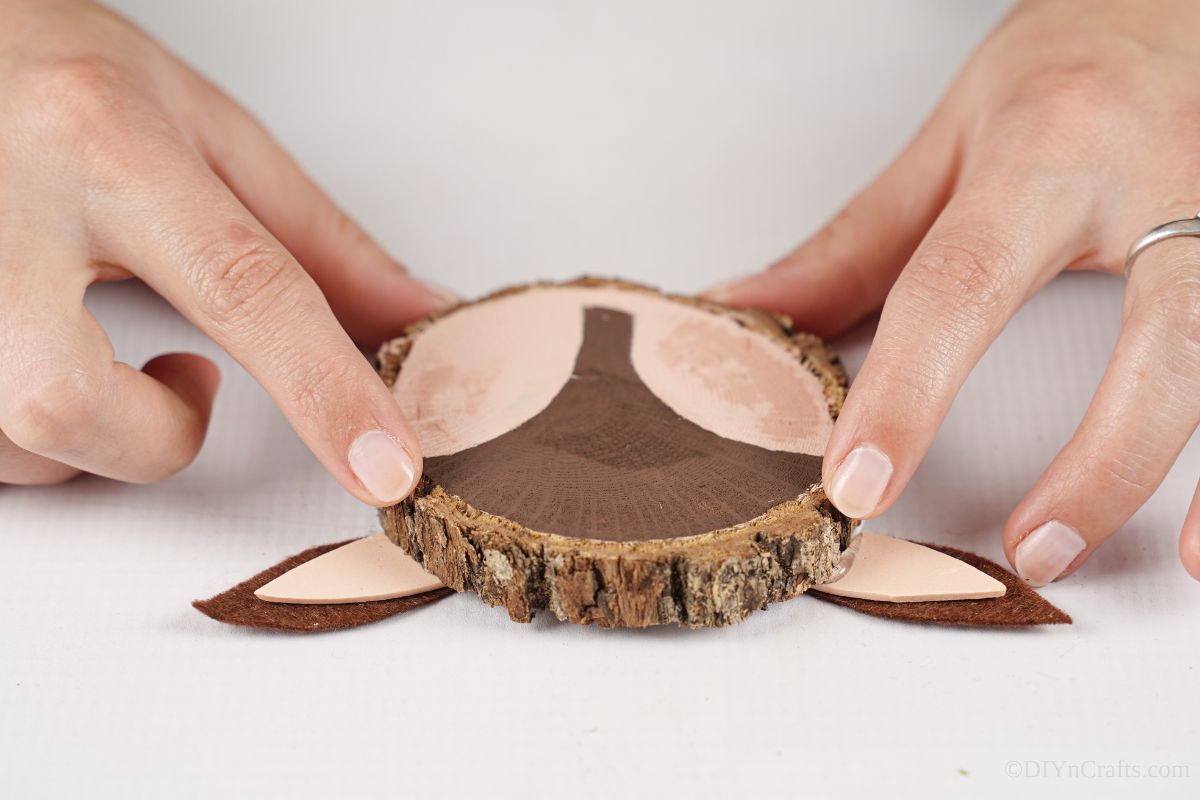
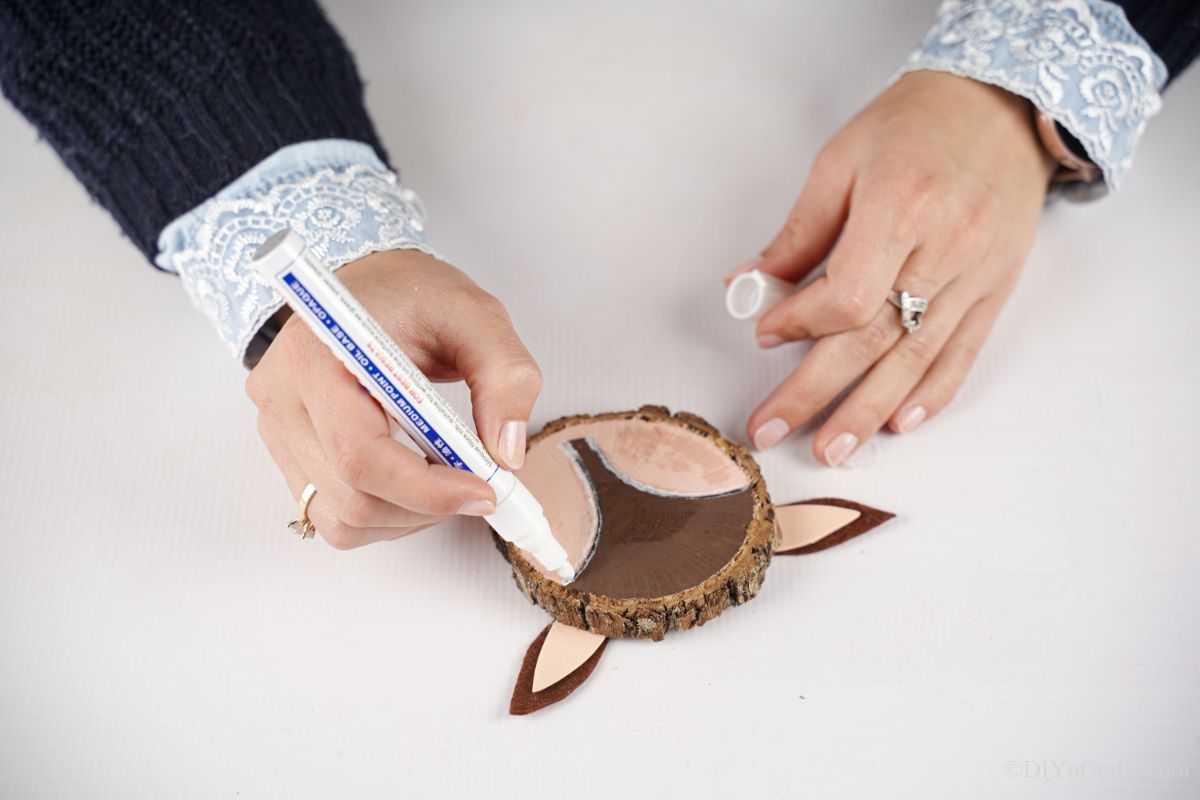
Next, glue the ears on the top and back of the wood slice at a slightly off-centered angle so they are more on the sides than the top.
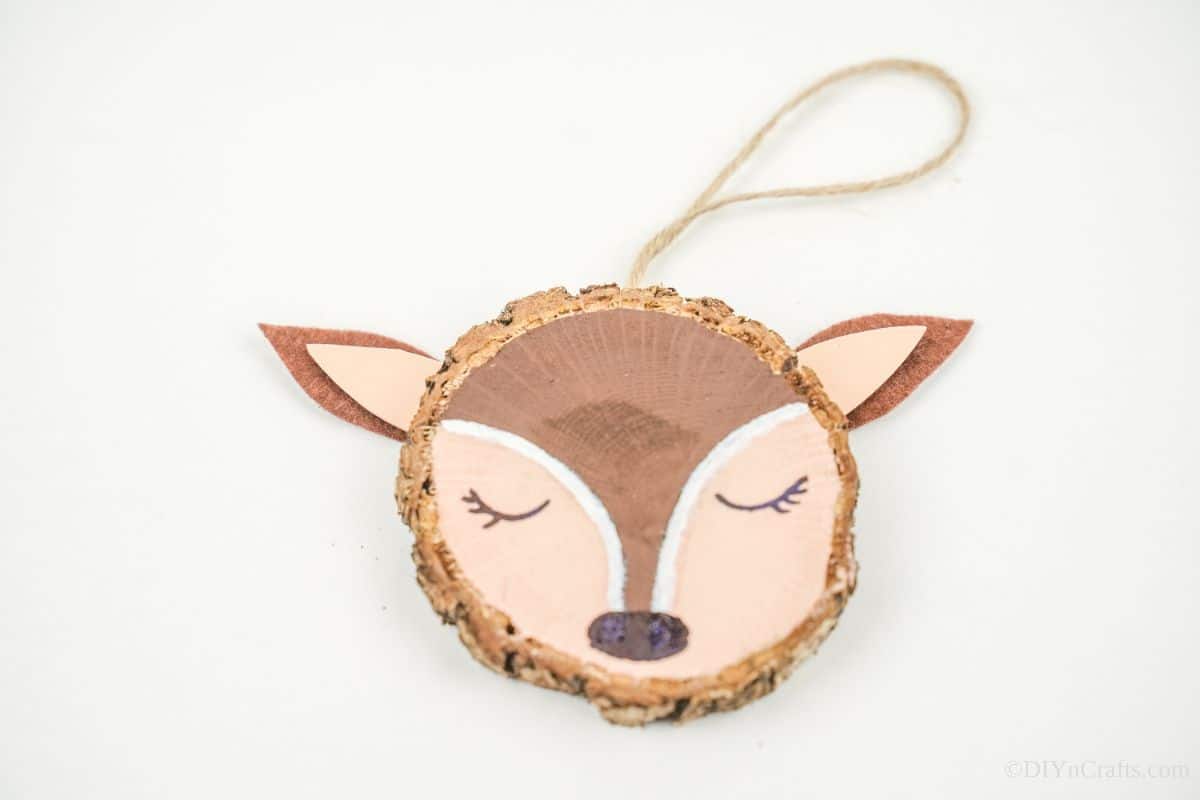
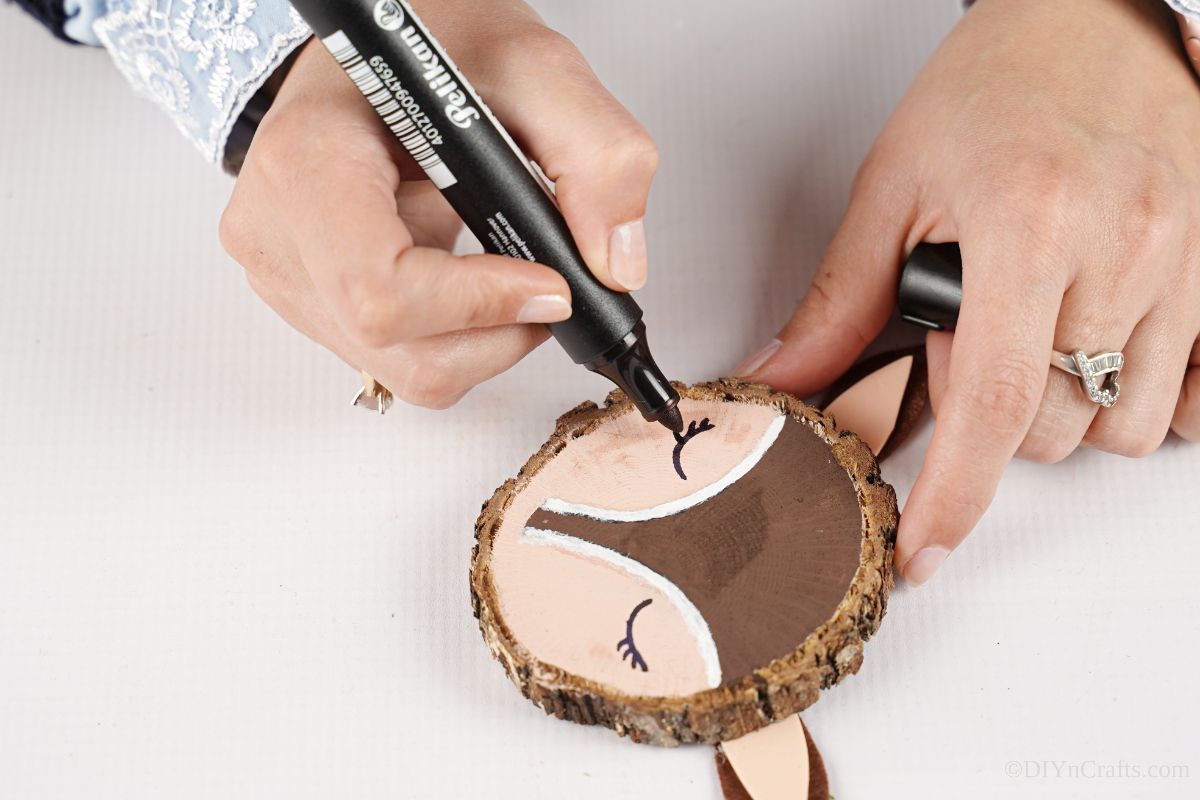
Outline the dark brown on the face with a white paint pen.
Use a black paint pen or marker to create small curves on both sides to give the reindeer face eyes and eyelashes.
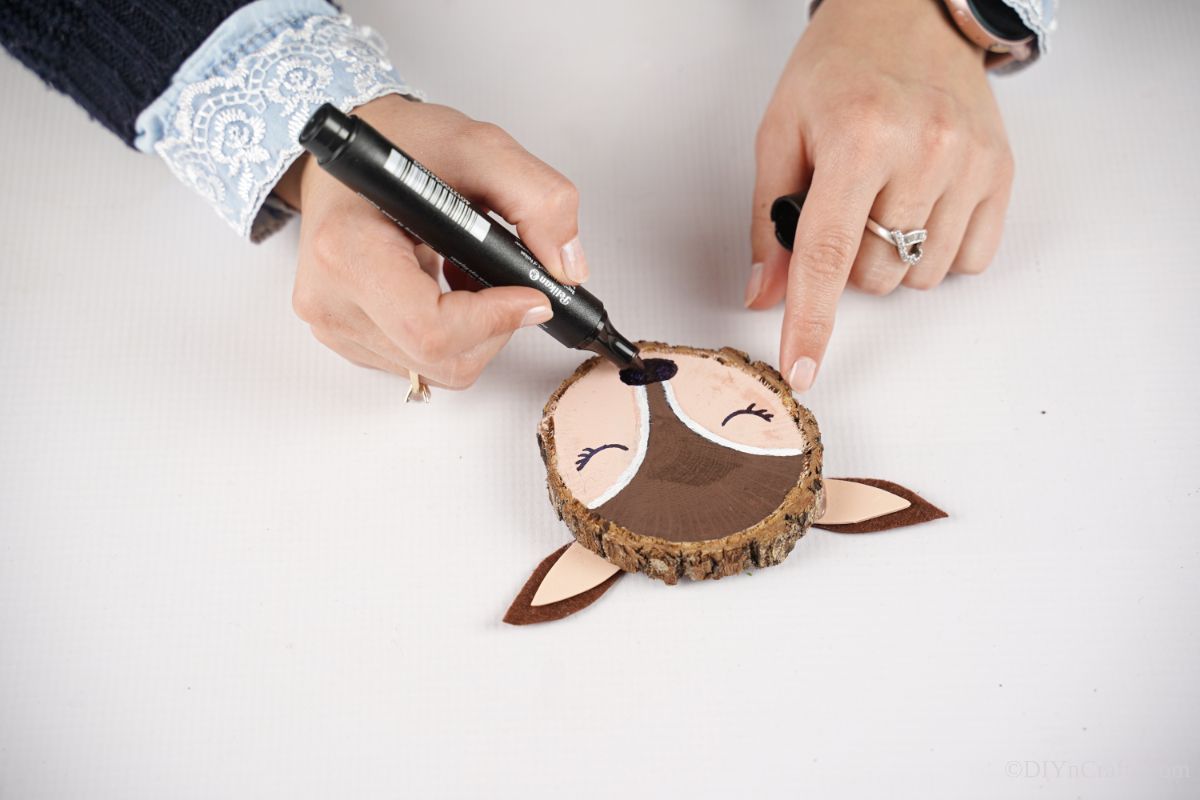
Then, use the black marker or pen to draw the round black nose on the bottom of the dark brown point of the face.
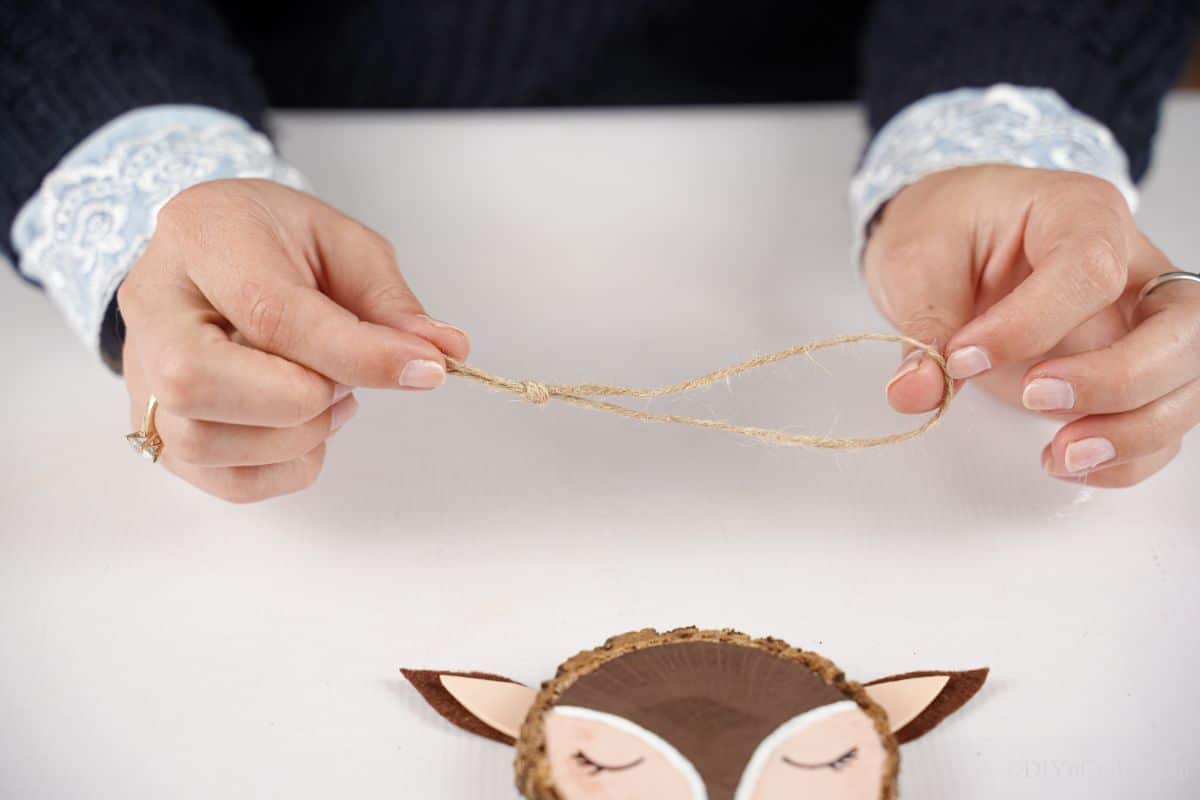
Finally, cut and loop a bit of twine, then glue it to the back of the ornament for hanging.
Add additional accents like pink to the cheeks before hanging on the tree.
More Reindeer Crafts
Reindeer are a huge part of decorating at Christmastime. Below are some of my favorite crafts featuring reindeer, and specifically Rudolph. Add these to your holiday decoration crafting list this year. There are tons of ideas on this list including ornaments, garlands, and more. They are a perfect addition to your decorations, so make sure you bookmark, print out the tutorials or pin them to Pinterest to make soon.
- Rustic Wine Cork Reindeer Christmas Decoration
- Cute Pom Pom Reindeer Christmas Garland
- Cinnamon Stick Reindeer Christmas Ornaments
- Hanging Burlap Reindeer Christmas Garland
- Charming DIY Reindeer Clothespin Ornament
- Shiny Gold Rudolph the Red-Nosed Reindeer Ornament
- Rustic Upcycled Wood Log Rudolph the Reindeer Christmas Decoration

Cute Wood Slice Reindeer Ornament
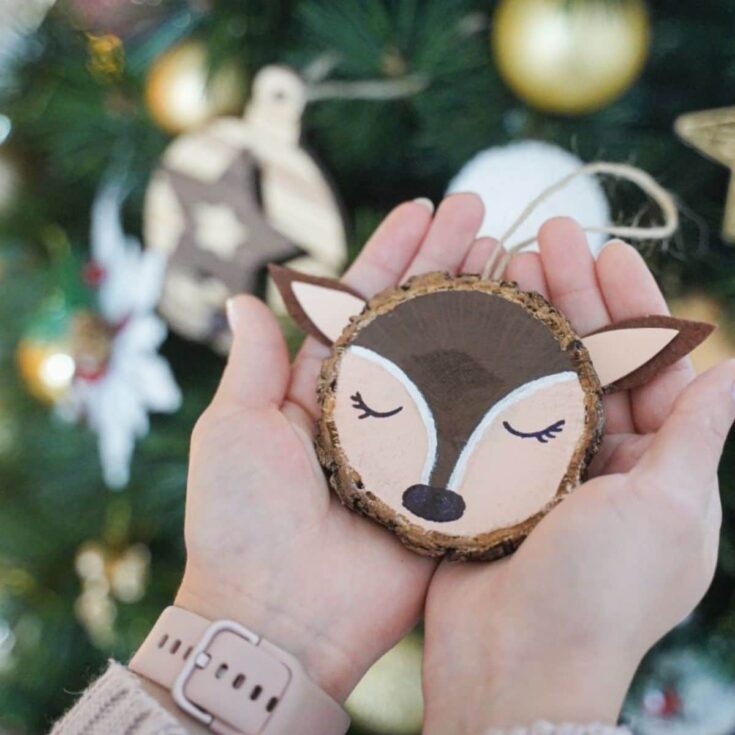
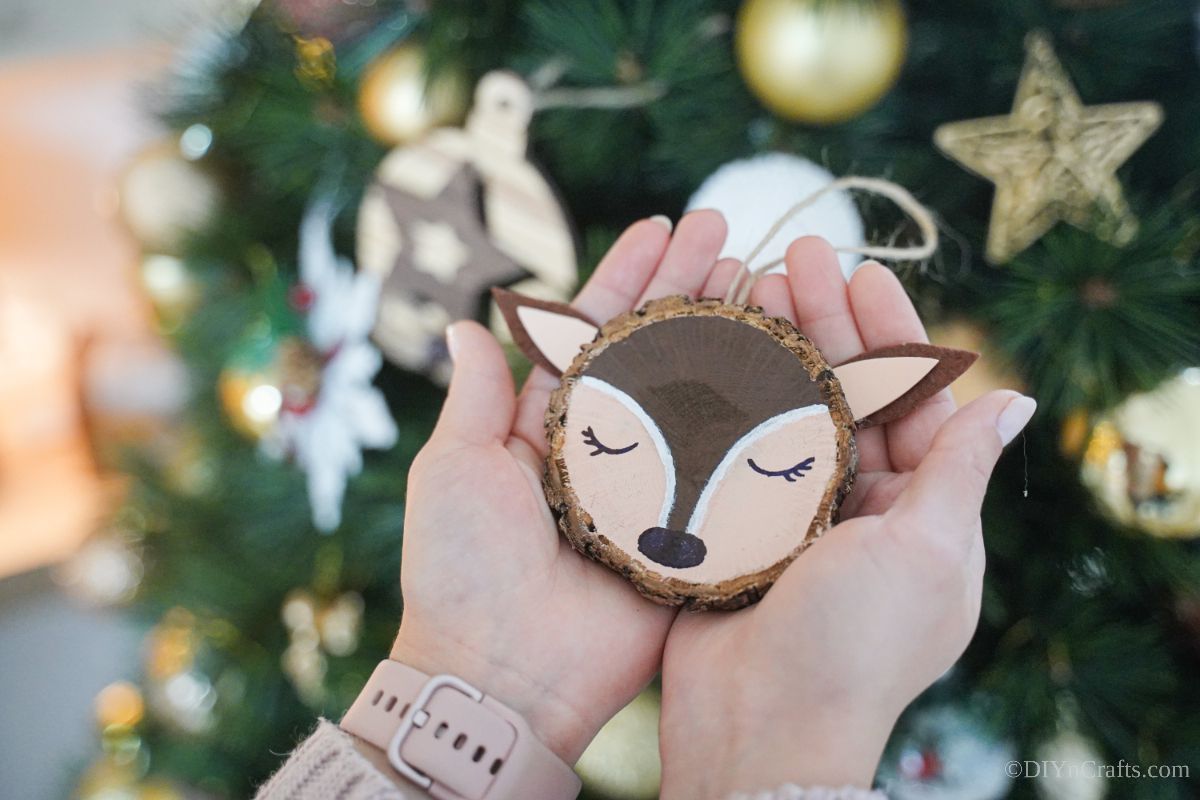
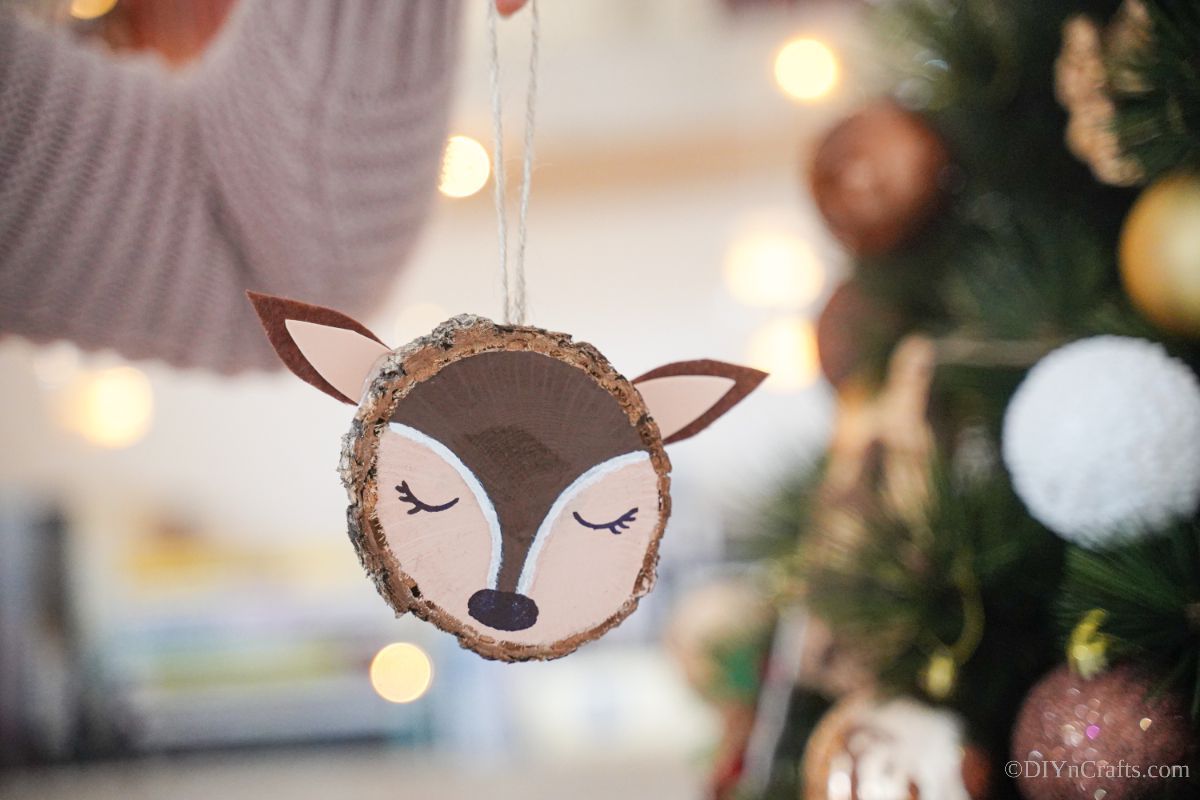
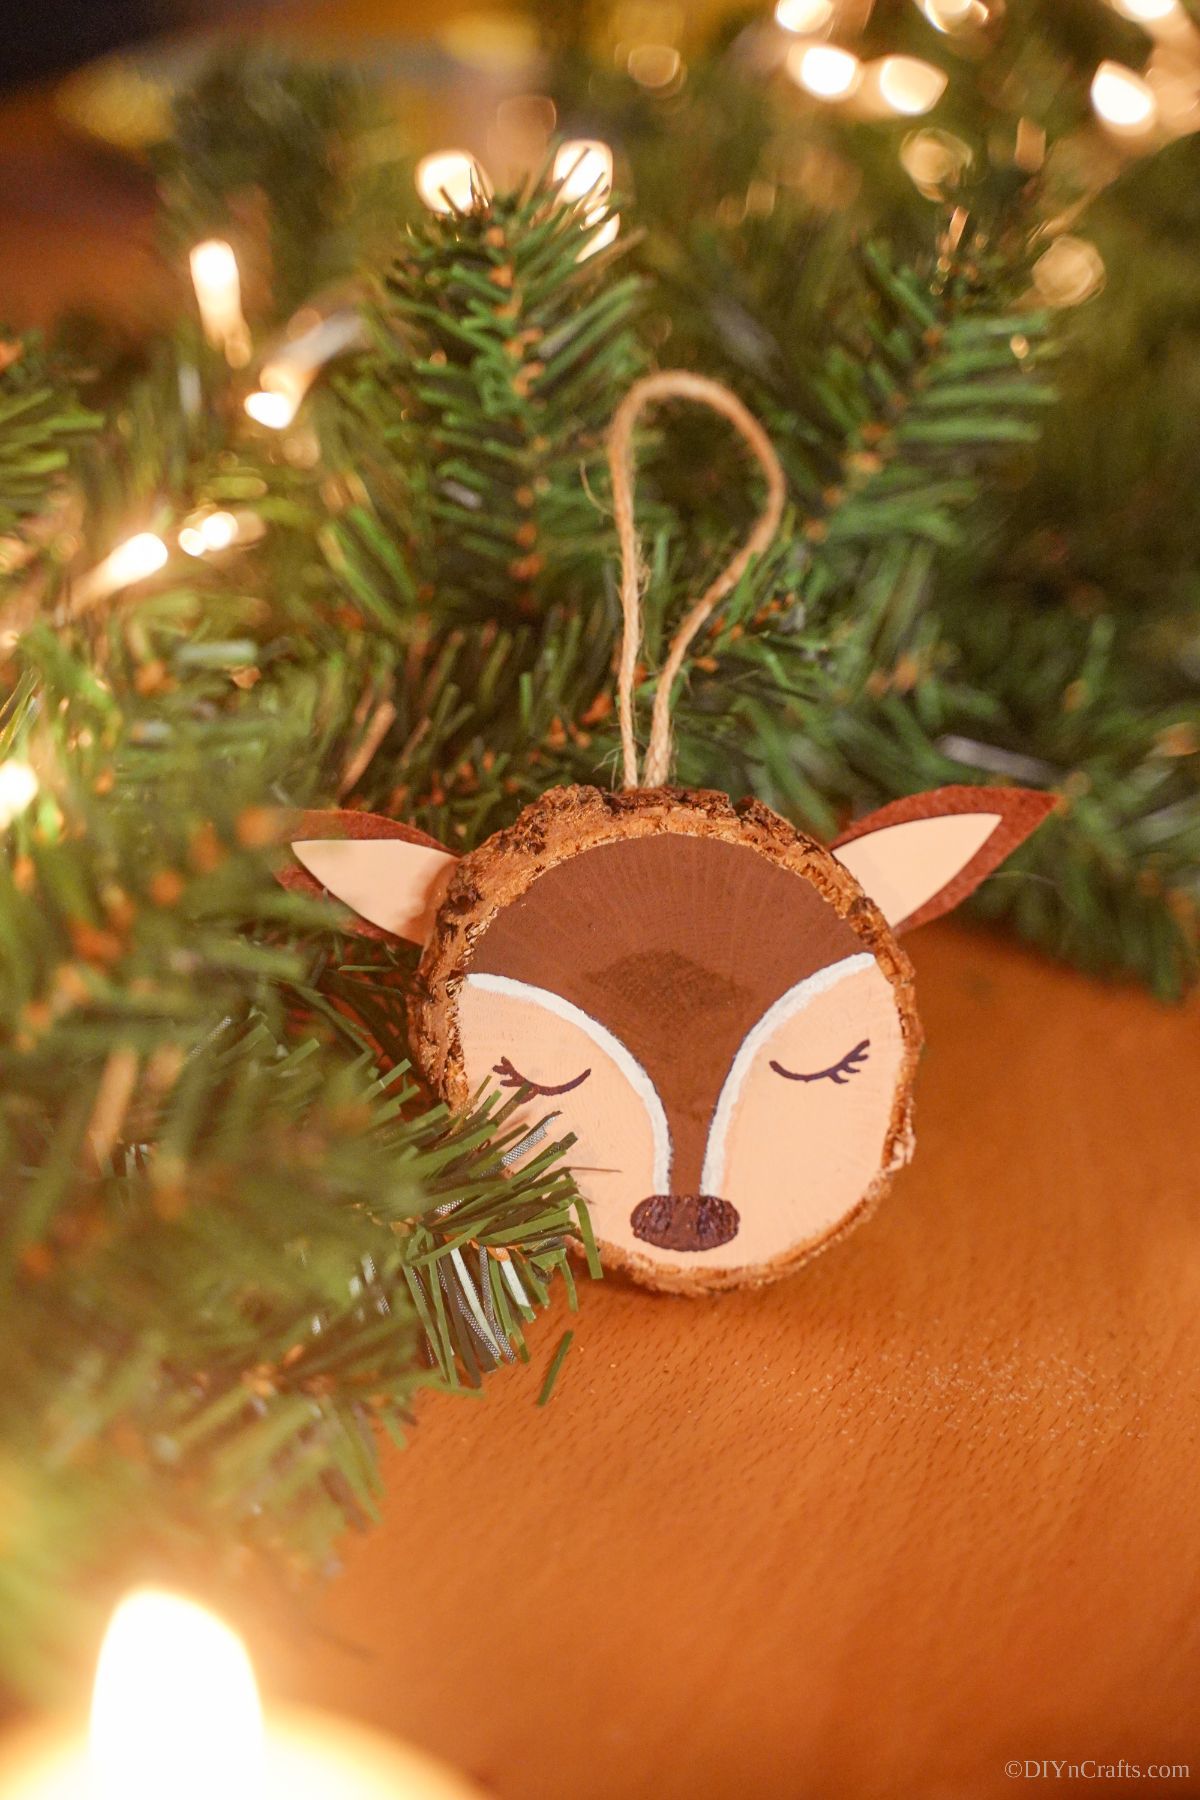
This adorable painted wood slice reindeer ornament is a great addition to your Christmas tree!
Instructions
- Using brown craft paint, paint a curved triangle with the point facing downward and stopping toward the bottom of the wood slice.
- Fill in the brown face with paint leaving the lower sides of the slice blank.
- On the two empty areas on each side, paint with light brown or cream paint.
- Set aside to dry.
- Trace and cut out two ear shapes from dark brown paper.
- Use these to trace and cut out two lighter brown or cream shapes just slightly smaller than the dark brown.
- Glue the light on top of the dark brown ears.
- Next, glue the ears on the top and back of the wood slice at a slightly off-centered angle so they are more on the sides than the top.
- Outline the dark brown on the face with a white paint pen.
- Use a black paint pen or marker to create small curves on both sides to give the reindeer face eyes and eyelashes.
- Then, use the black marker or pen to draw a round black nose on the bottom of the dark brown point of the face.
- Finally, cut and loop a bit of twine, then glue it to the back of the ornament for hanging.
- Add additional accents like pink to the cheeks before hanging on the tree.
Notes
Add a red nose to make this look more like Rudolph!
Recommended Products
As an Amazon Associate and member of other affiliate programs, I earn from qualifying purchases.
-
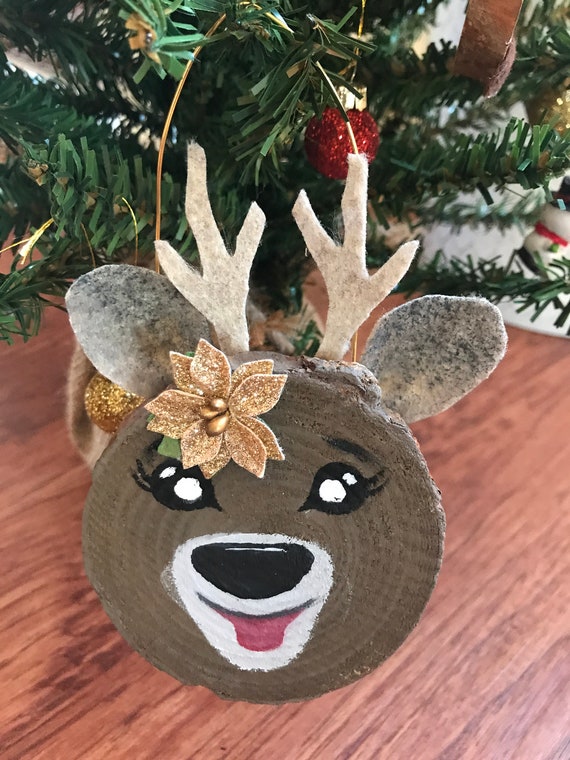 Reindeer Wood Slice Christmas Ornament | Etsy
 -
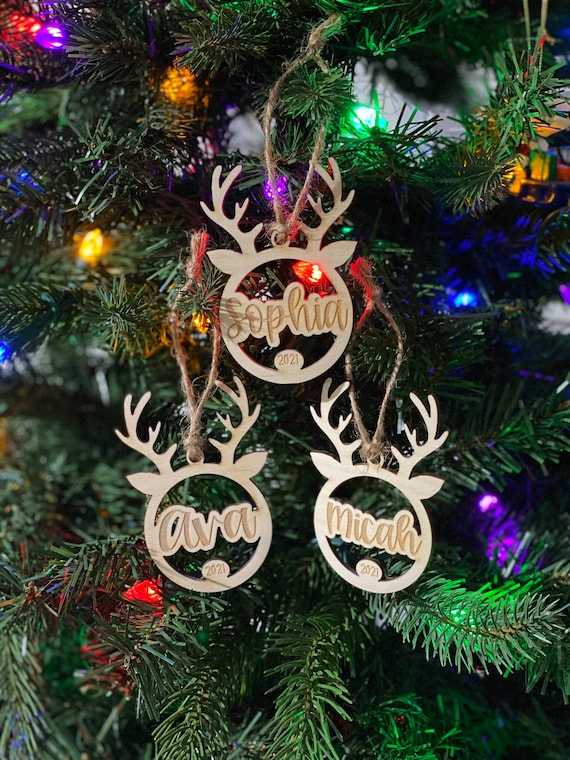 Personalized Rustic Reindeer Christmas Ornament Baby's | Etsy
 -
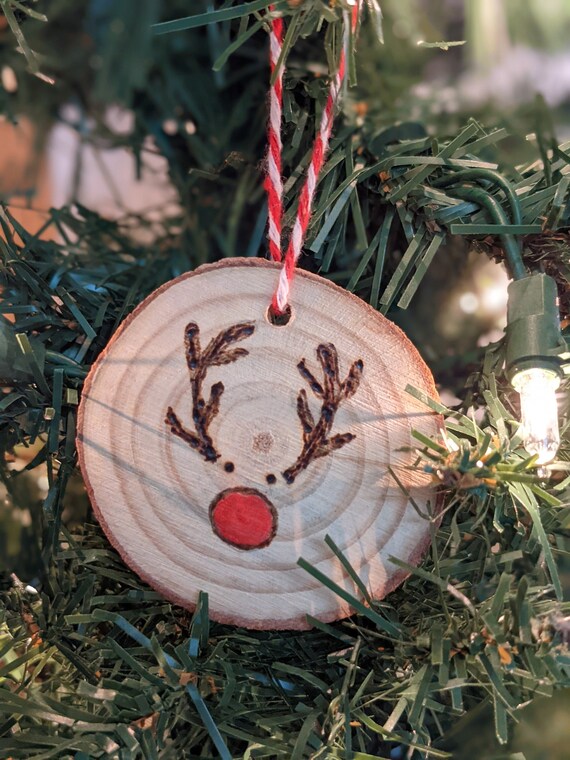 Reindeer Natural Wood Slice Ornament | Etsy
 -
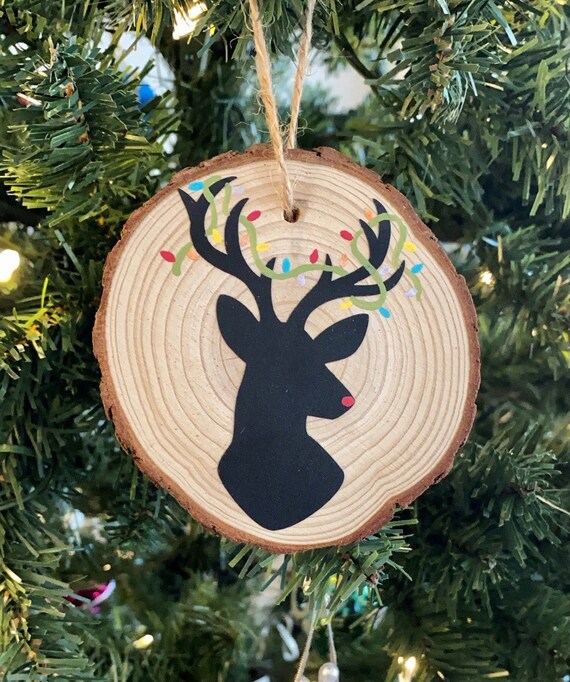 Reindeer Silhouette Wood Slice Ornament | Etsy
 -
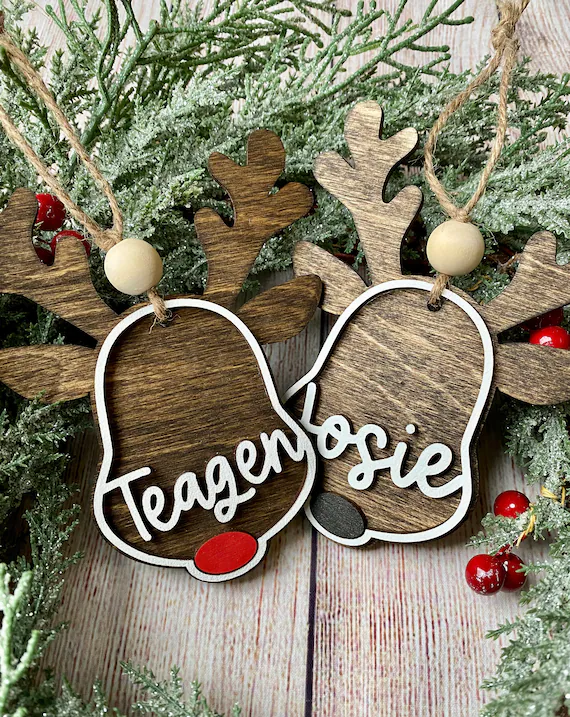 Customized Reindeer Ornament 3-D Wooden Christmas Ornament | Etsy
 -
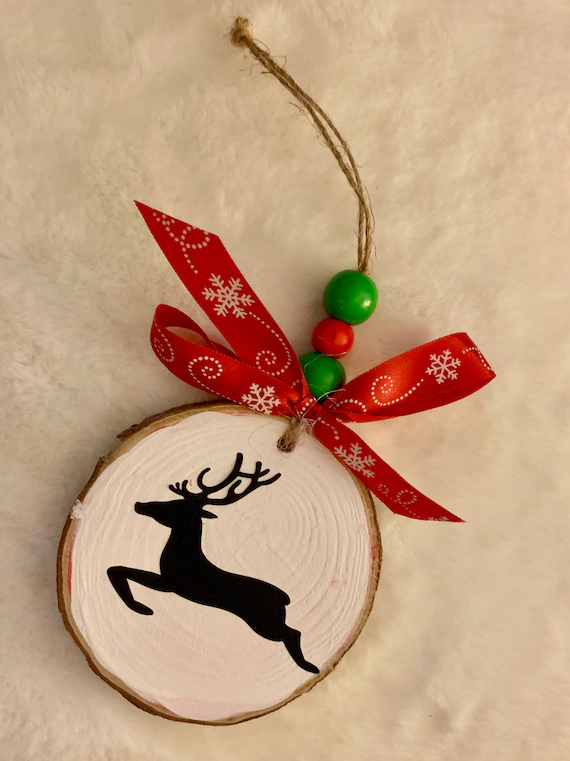 Reindeer Wood Slice Christmas Ornament | Etsy
Finished Project Gallery
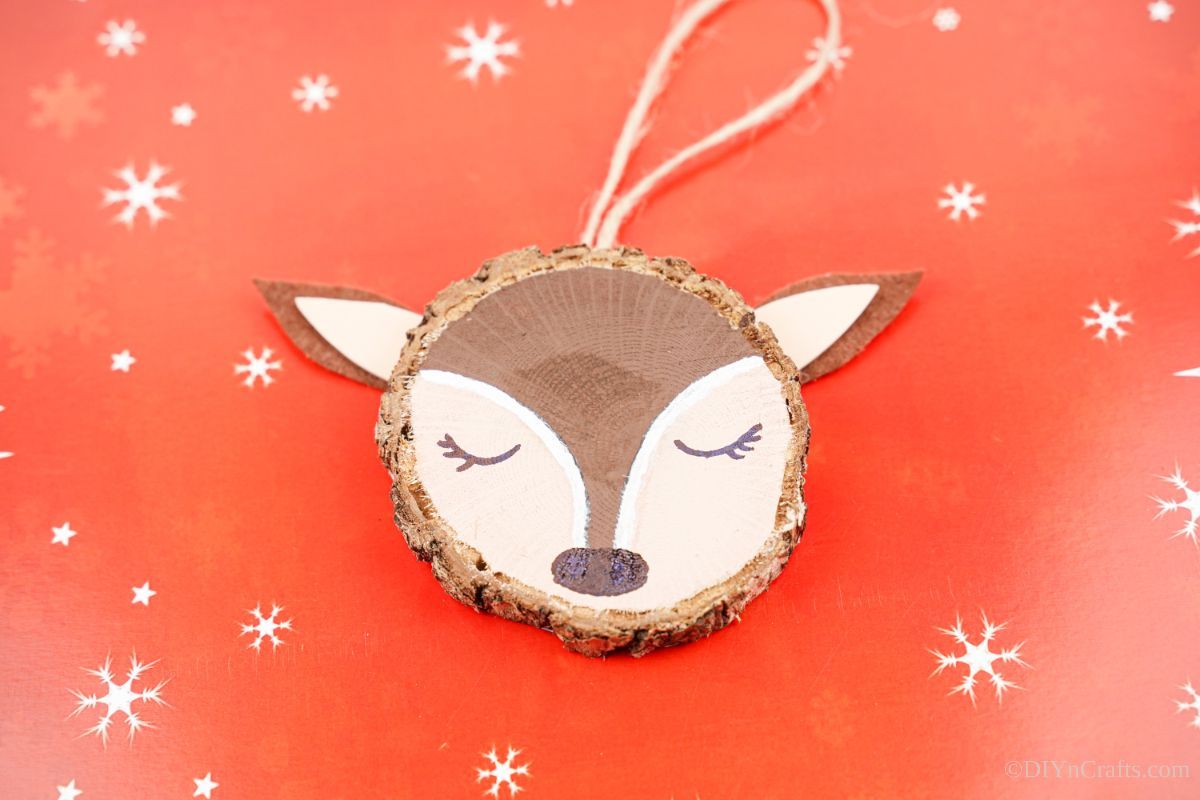
Use this as a template to create other animal faces you can customize to hang on your tree this year.
Replace the nose with a black or red pom pom for a 3D look on your ornament.







Leave a Reply