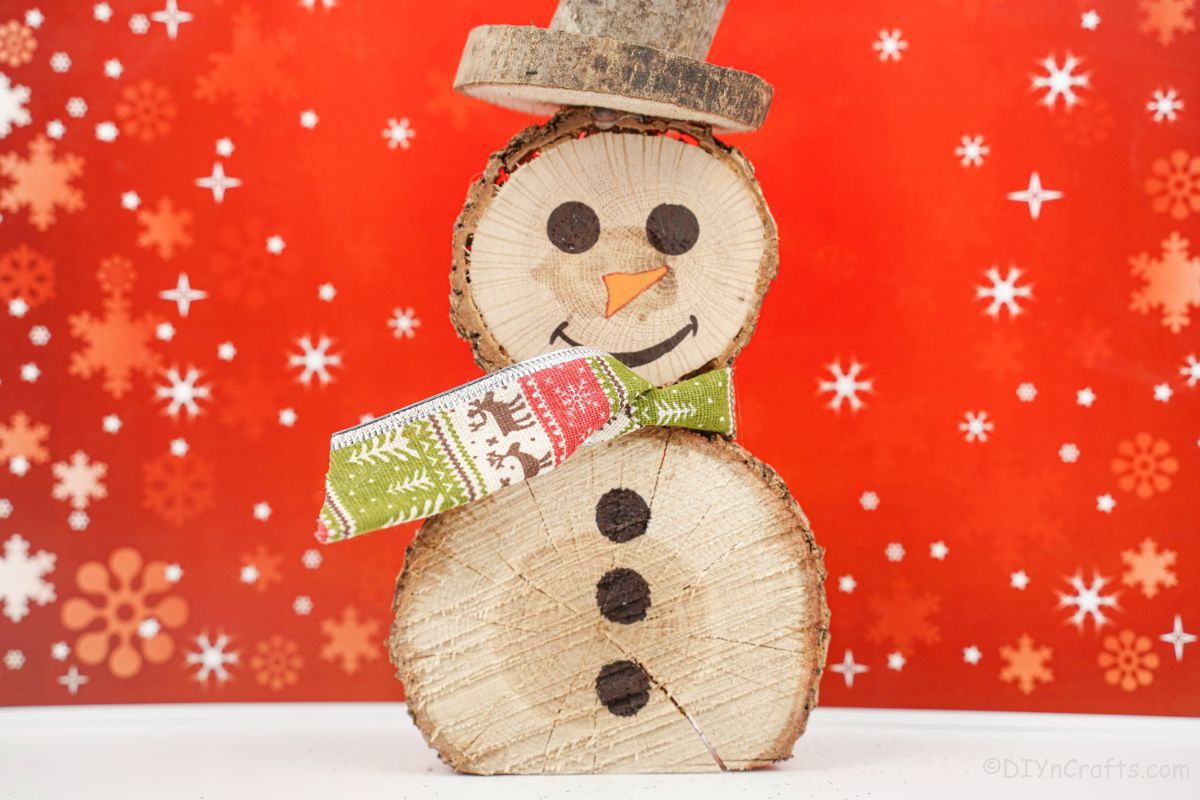
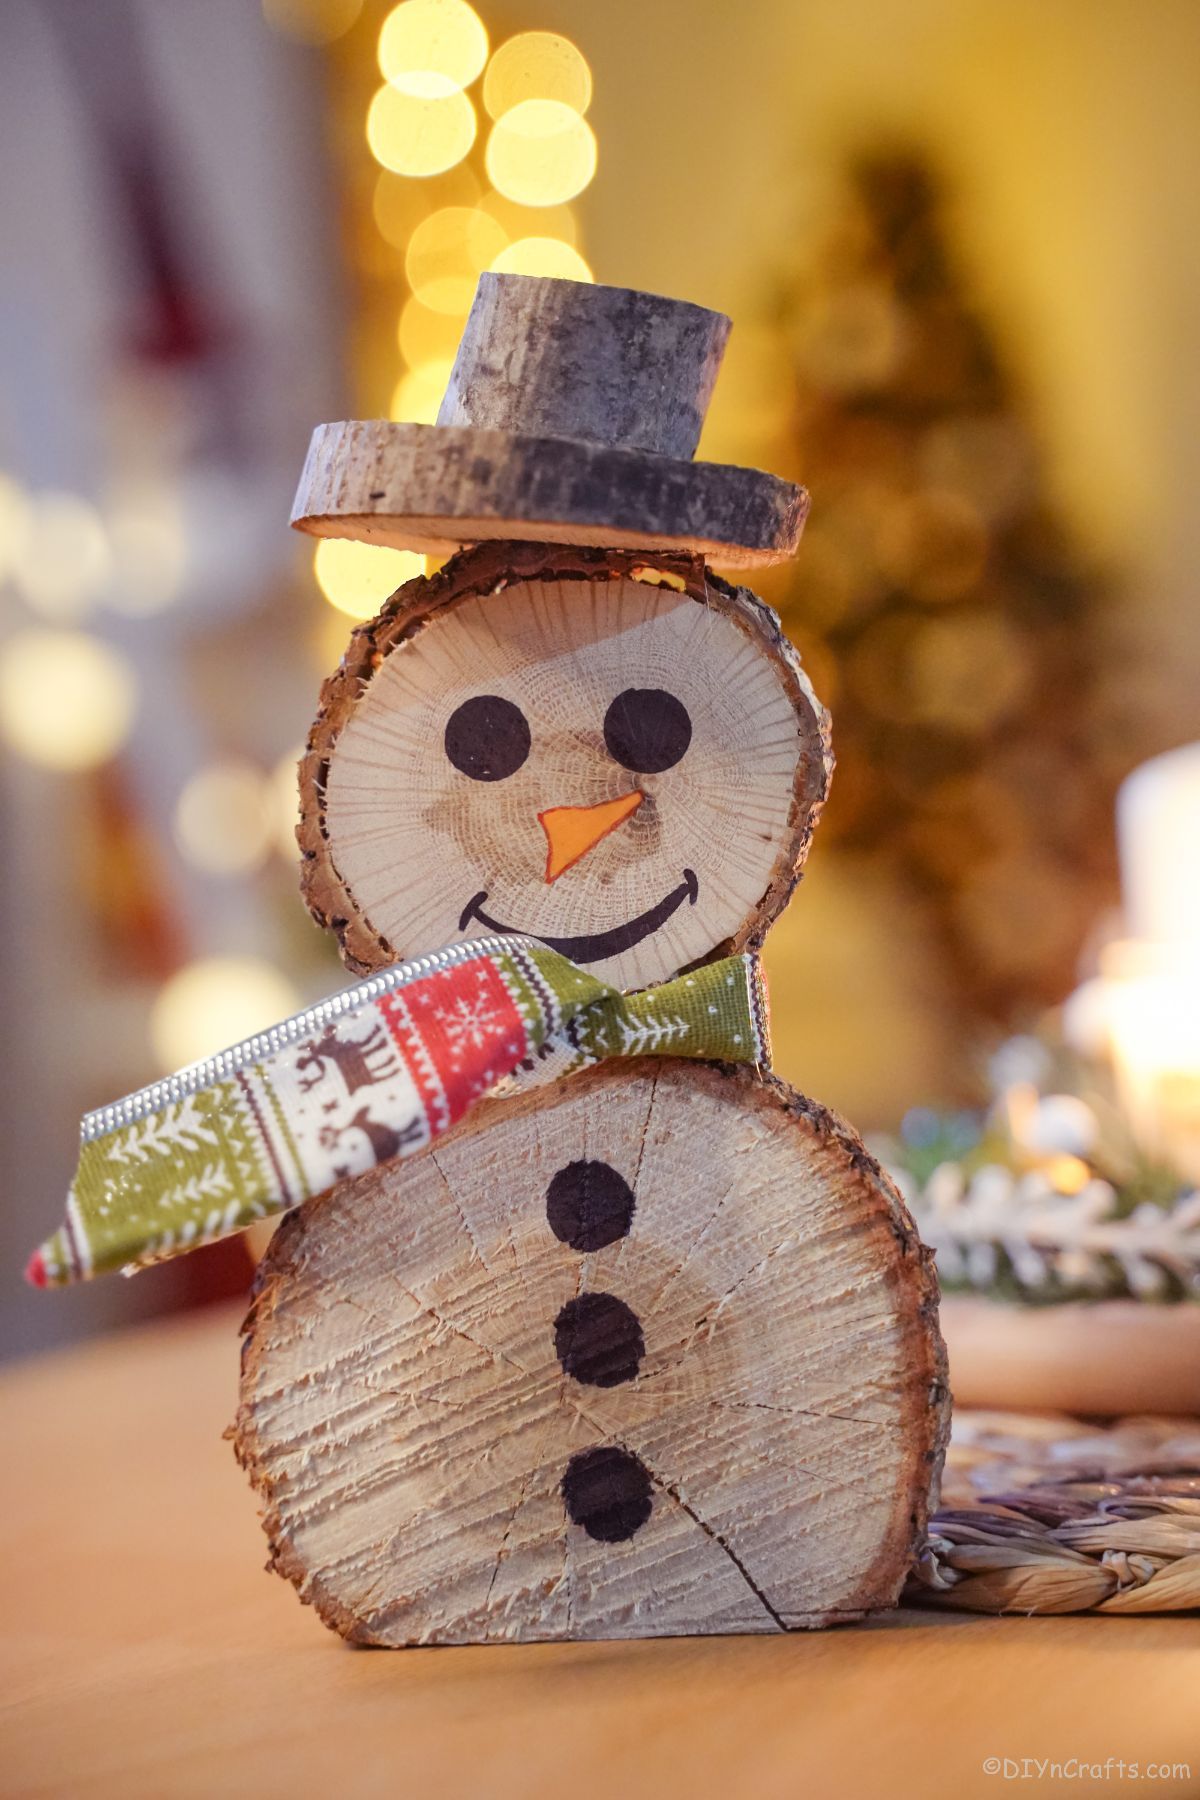
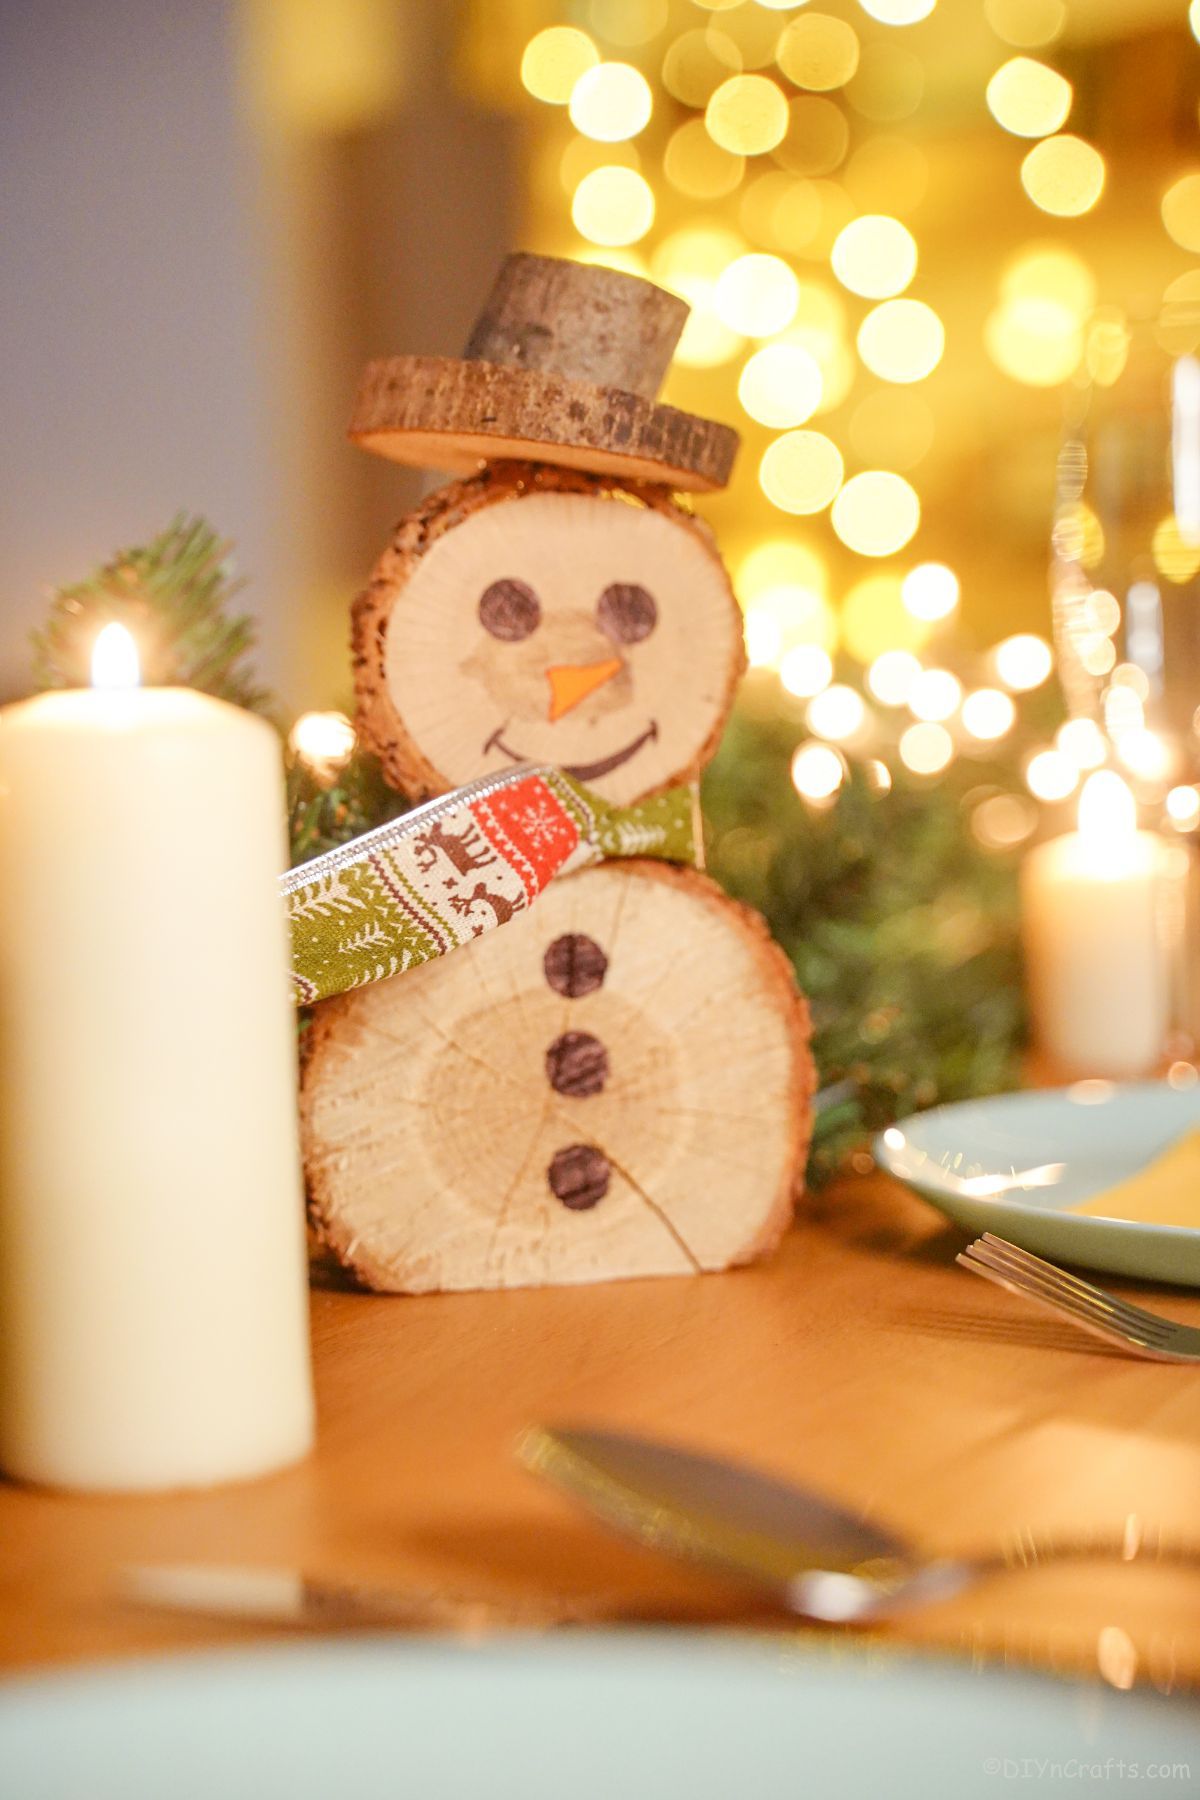
Making a wood slice snowman for your holiday decor is such a simple and cute idea. It's the perfect snowman decoration for your home this holiday season. I love the idea of making this with the kids to create a new holiday memory, or to even gift to a teacher, grandparent, or friend. Customize your snowman to suit your style and make it a fun addition to your regular holiday decorating!
Wood Slice Snowman
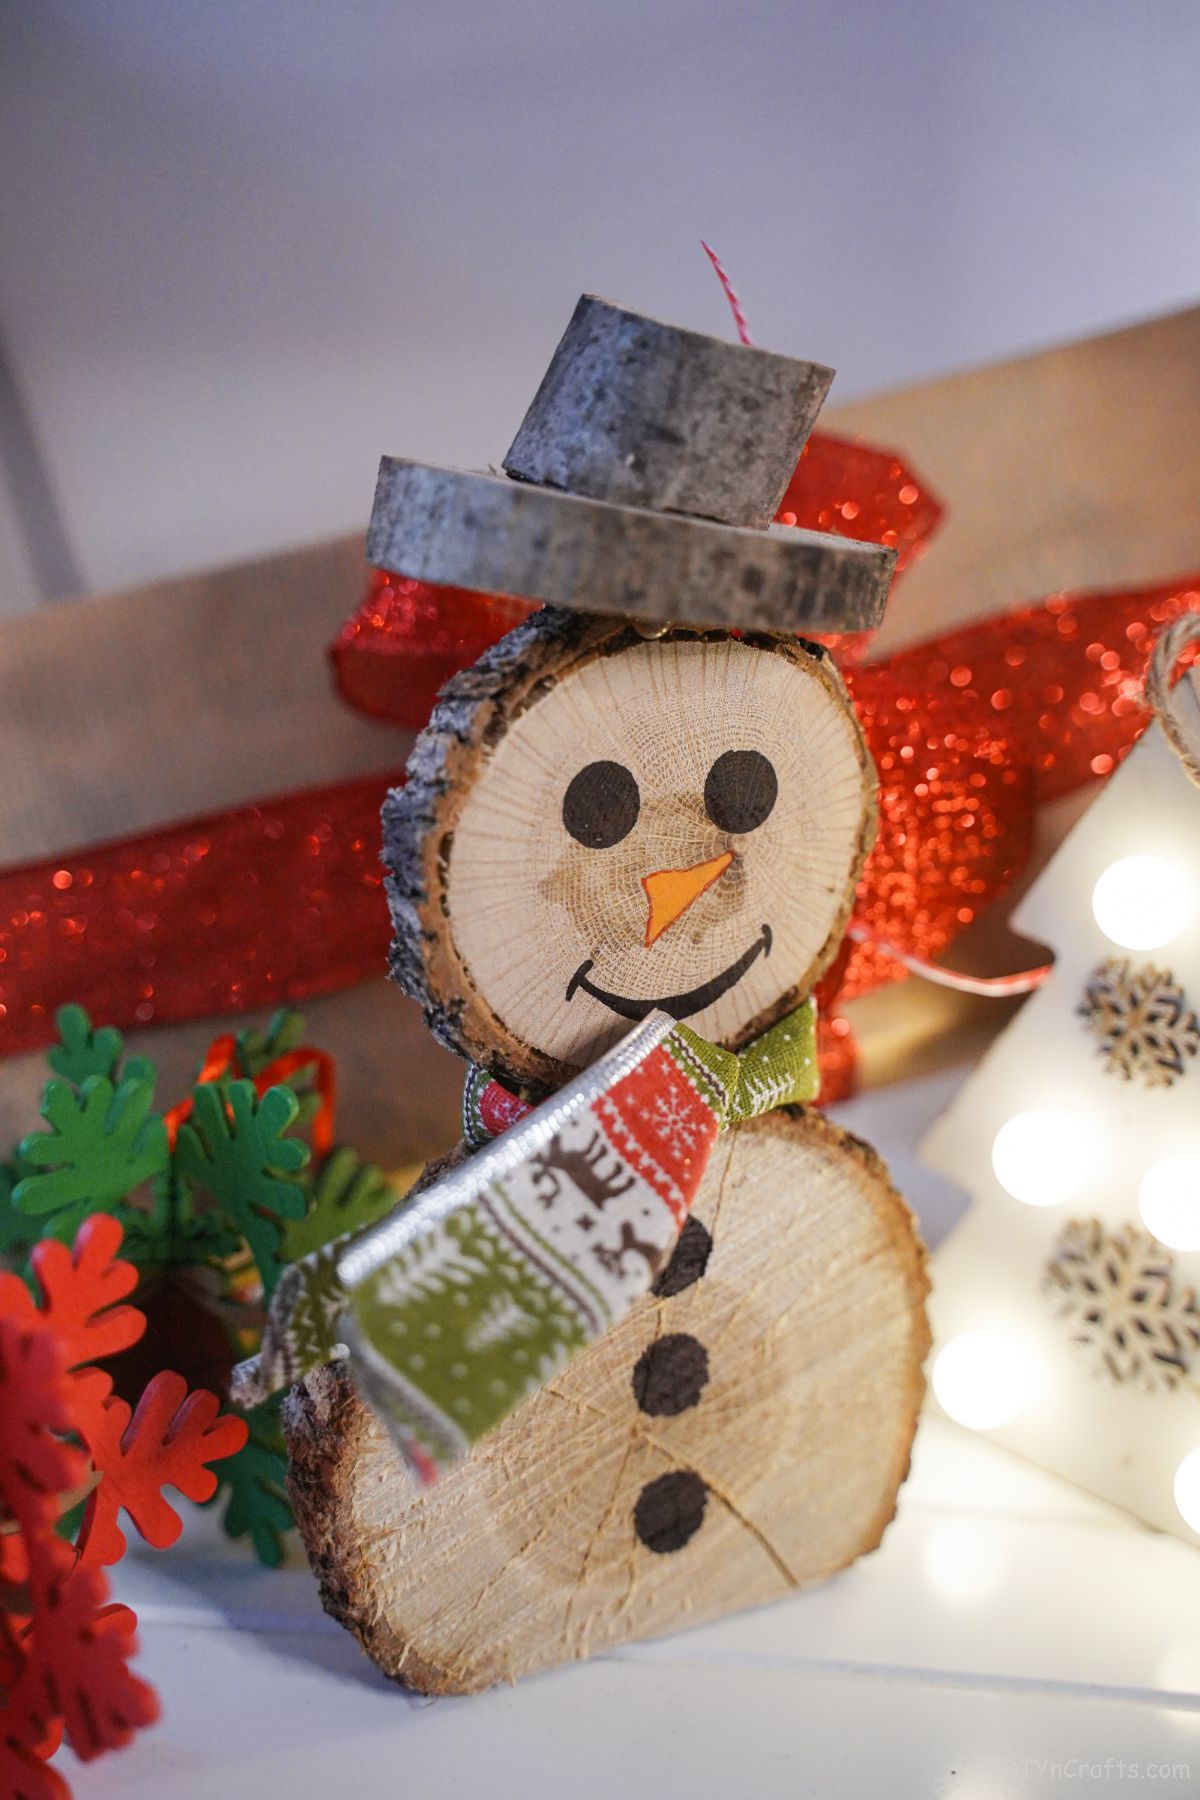
I love this simple wood slice snowman. Using a few slices of tree rounds, these snowmen are easy to make and will look adorable around the house. Whether you make one to just sit on a shelf or make several of them to decorate around the house, you will have a cute one-of-a-kind decoration. No two pieces of wood are the same and that means your snowman won't look like any other!
I love snowmen as part of the holiday decor theme, and this year you can add tons of them from this wood slice snowman to a flower pot snowman on the front porch or even this tin can snowman on your mantle. Add some fake snow around them and give your home a bit of the chilly outdoors inside!
Where Can I Get Wood Slices?
If you have had a tree cut down that has branches you can easily slice your own. Truthfully, cutting branches off one of your trees is the easiest way to get the wood slices. Just use a chainsaw and cut the branch into small rounds to make the snowman.
If you do not have a tree branch around that you can use, you can also buy wood slices. Craft stores and the local hobby store is the easiest way to find wood slices. You can also get them on Amazon. Sometimes, big box stores, like Walmart, will carry the processed wood slices. I've even seen them in big batches on Etsy that others have cut from their own backyard.
How Should I Make My Snowman's Face?
The wood slice snowman has the cutest face. If you want to go with the easiest way to make the face you can use a black paint pen or permanent marker. If you are a bit more artistic, you could also use some acrylic craft paint for this project. An eye to detail could give your snowman a truly unique personality with just a few little changes made with paint.
If you aren't as good with freehand drawing or painting, there are some other ideas below that work great for creating a snowman face that looks unique.
- Use a stencil to paint or draw the features onto the wood slice.
- Cut out paper foam pieces in eye, mouth, and nose shapes. I like the ones with sticky backing so they just peel and stick right onto the wood.
- Use stickers of eyes, mouths, and noses or carrots to create a snowman look.
- Replace the eyes with googly eyes for a more fanciful look on your snowman.
- Use fabric or felt pieces from scrap fabric you already have on hand.
Just use your imagination and make your snowman have a fun personality with only a few changes on their face!
How Can I Customize My Wood Slice Snowman?
There are many ways to customize this snowman. It's all about using what you already have on hand, as well as some of your natural creativity. Below are a few other ideas to use.
- You can easily change his hat. Use something other than wood slices for his hat. You can also paint the hat black.
- Add arms. Use branches for his arms. Create a broom in his hand using another tree branch and some pine needles.
- Paint him white. Right now he has a natural look, but you can either paint him a solid white or you can whitewash the wood to give it a different look.
- Add holly. You can add holy to his hat, his scarf, or in his hands.
- Use a stick for the nose. Cut or break a small piece of twig and glue it onto the wood slice snowman's face.
- If experienced, you can use a wood burner to add detail to the face and body of the snowman.
Can I Hang This On My Tree?
This wood slice snowman is really heavy. It would look great as a tree ornament. However, you will need a very strong and heavy-duty hook to hang it from the tree. You would, also, need very small wood slices in order to make it able to hang.
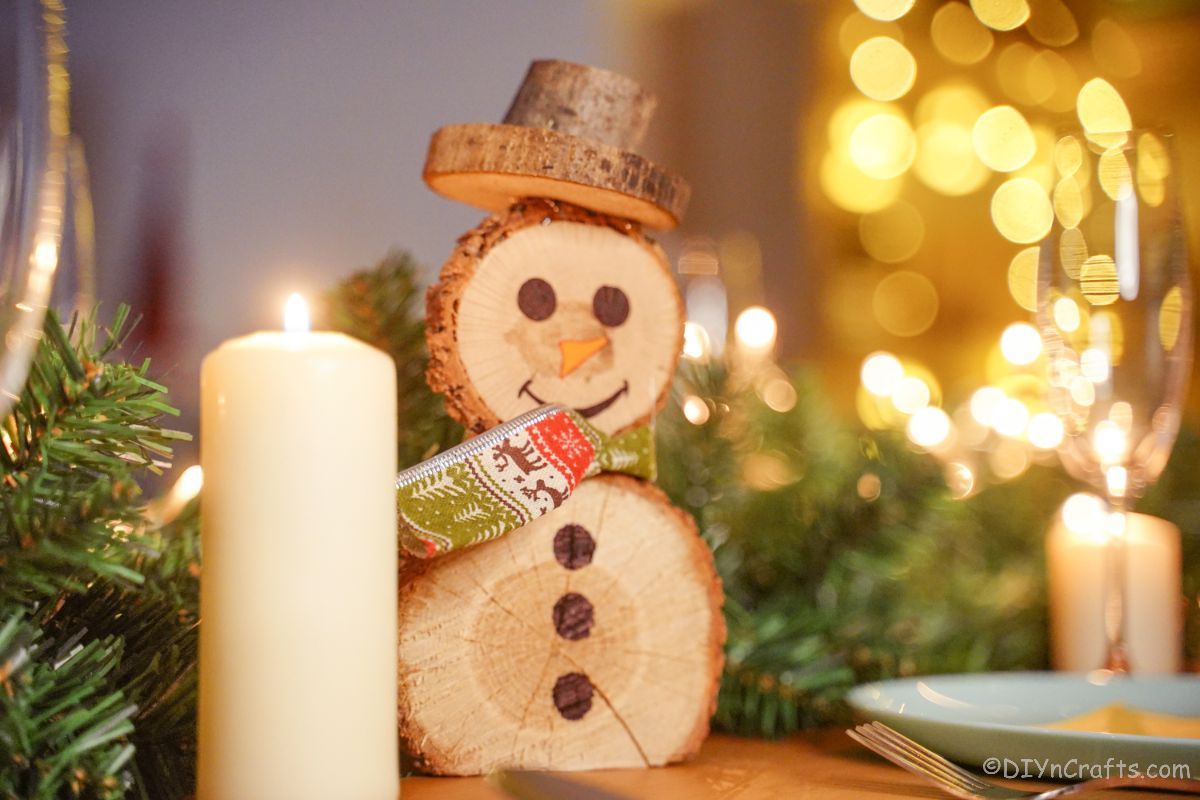
The best way to display the snowman is on your shelves or on the mantle. It would also look cute in a Christmas village or around a train village. Since it is wood, it could stay outside but you would want to use something different as the scarf to make sure it isn't going to get moldy or mildewed.
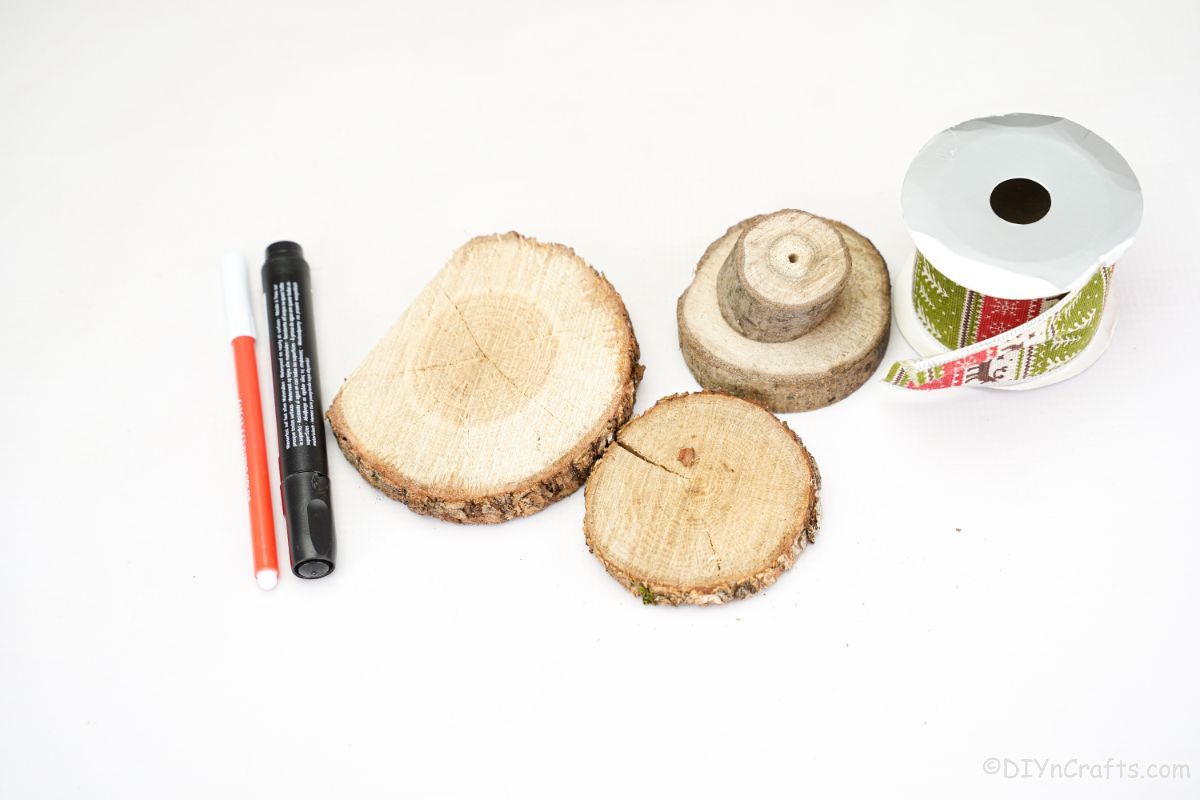
Supplies Needed
- Wood slices
- Wide green holiday ribbon
- Black marker
- Orange marker
- Hand saw
- Hot glue gun
- Hot glue sticks
How to Make a Wood Slice Snowman
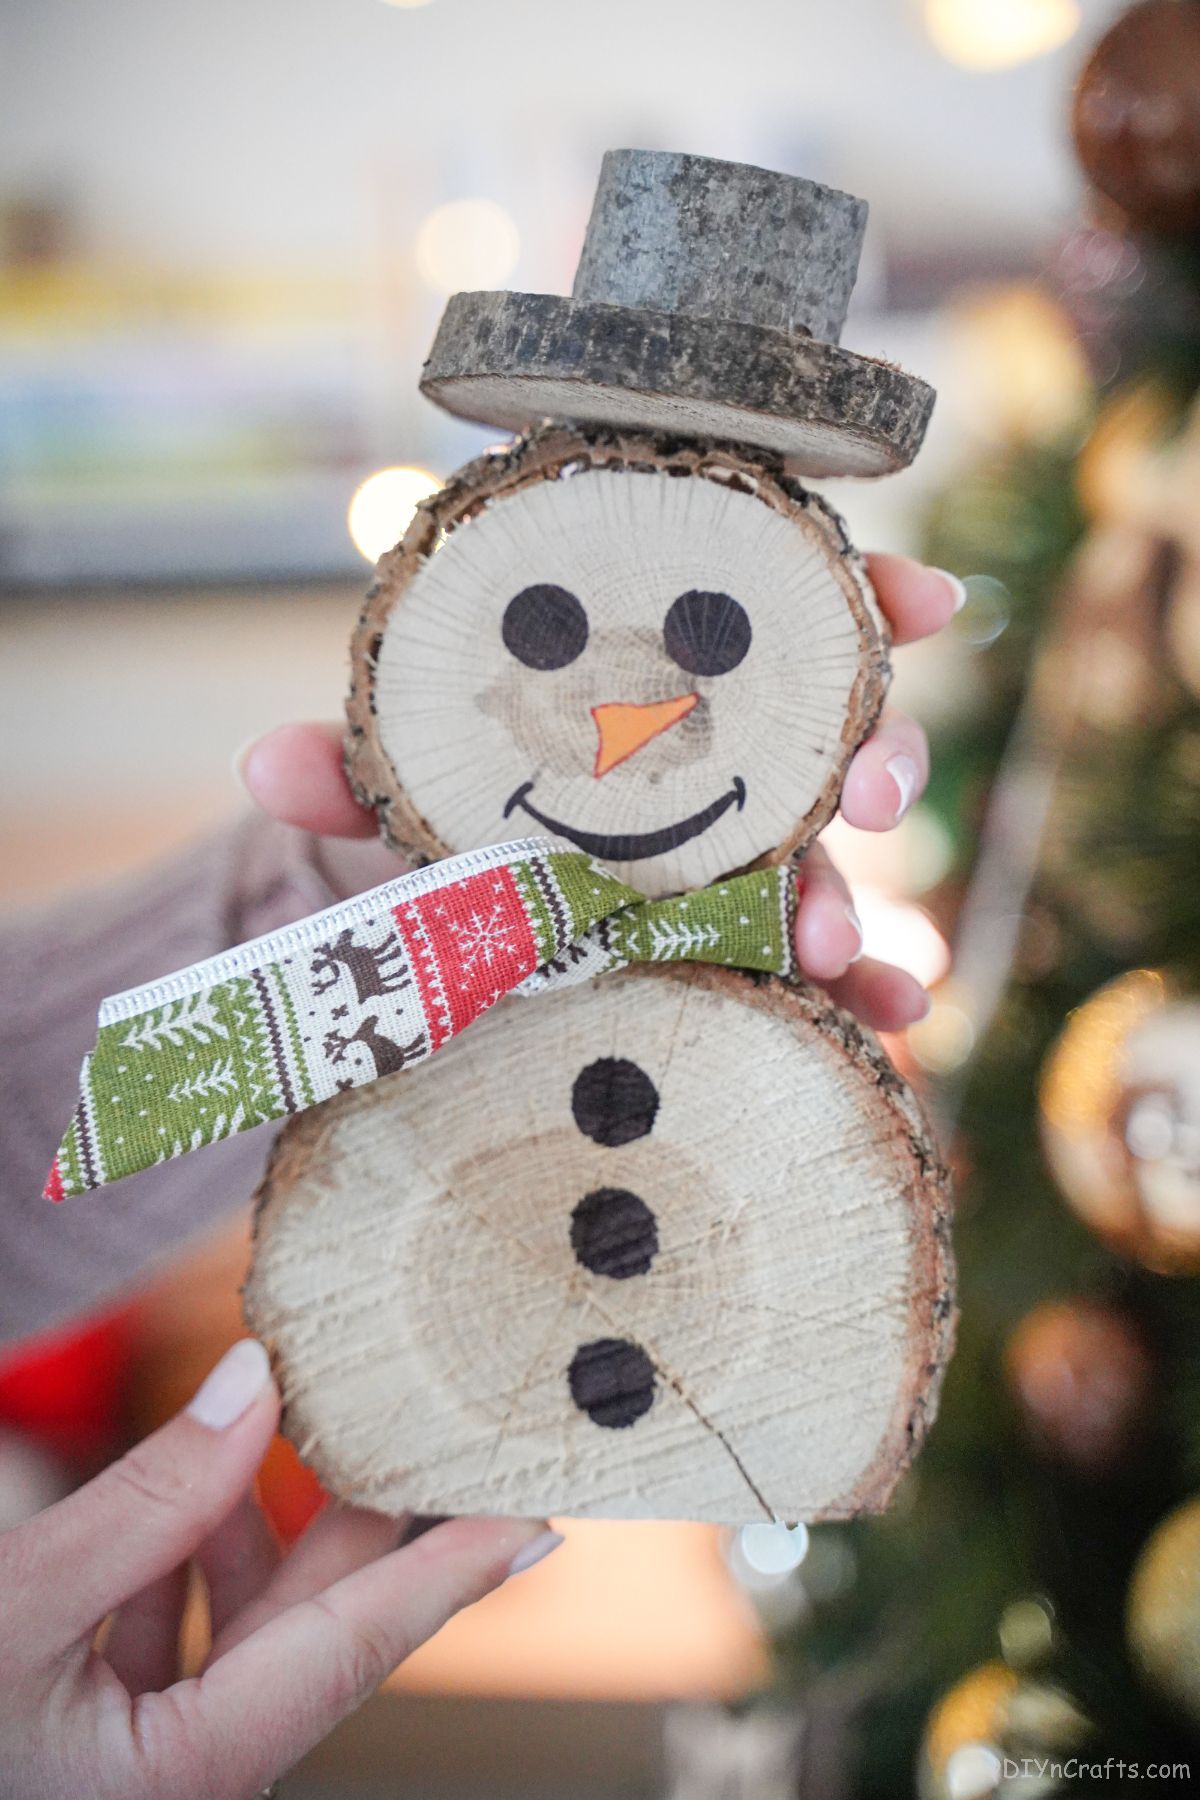
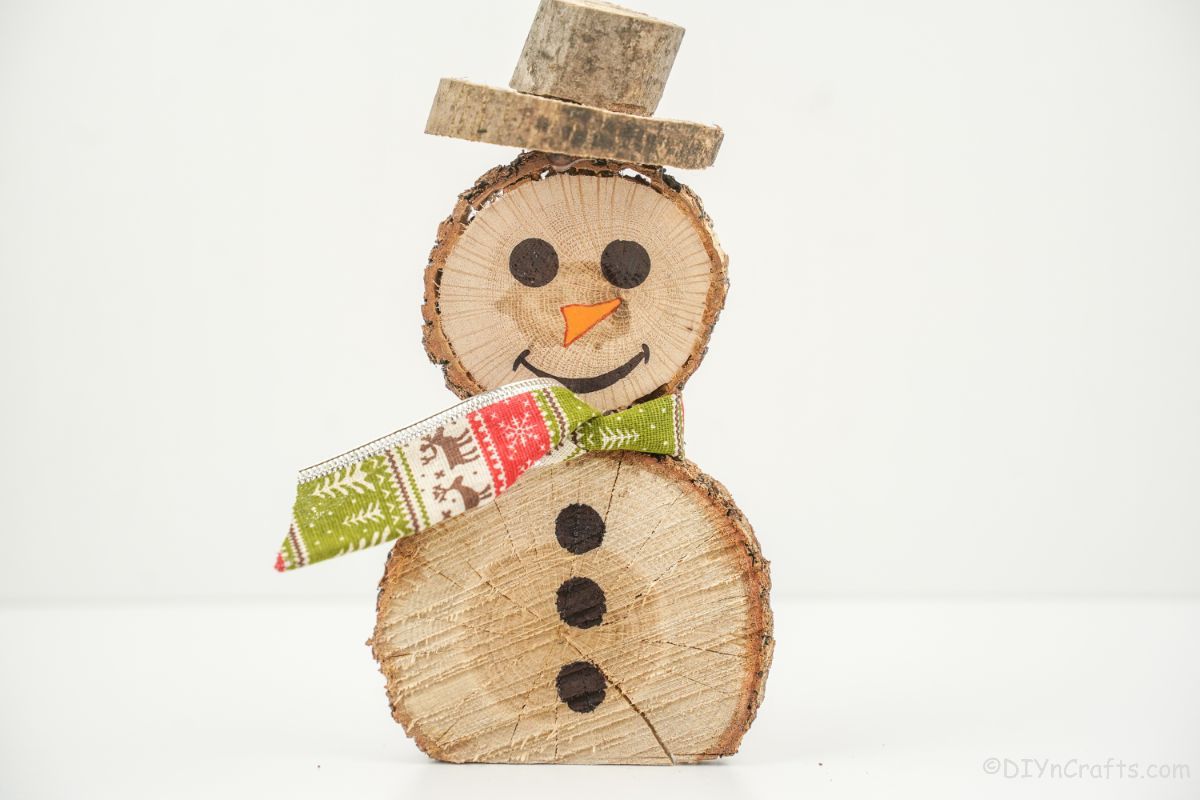
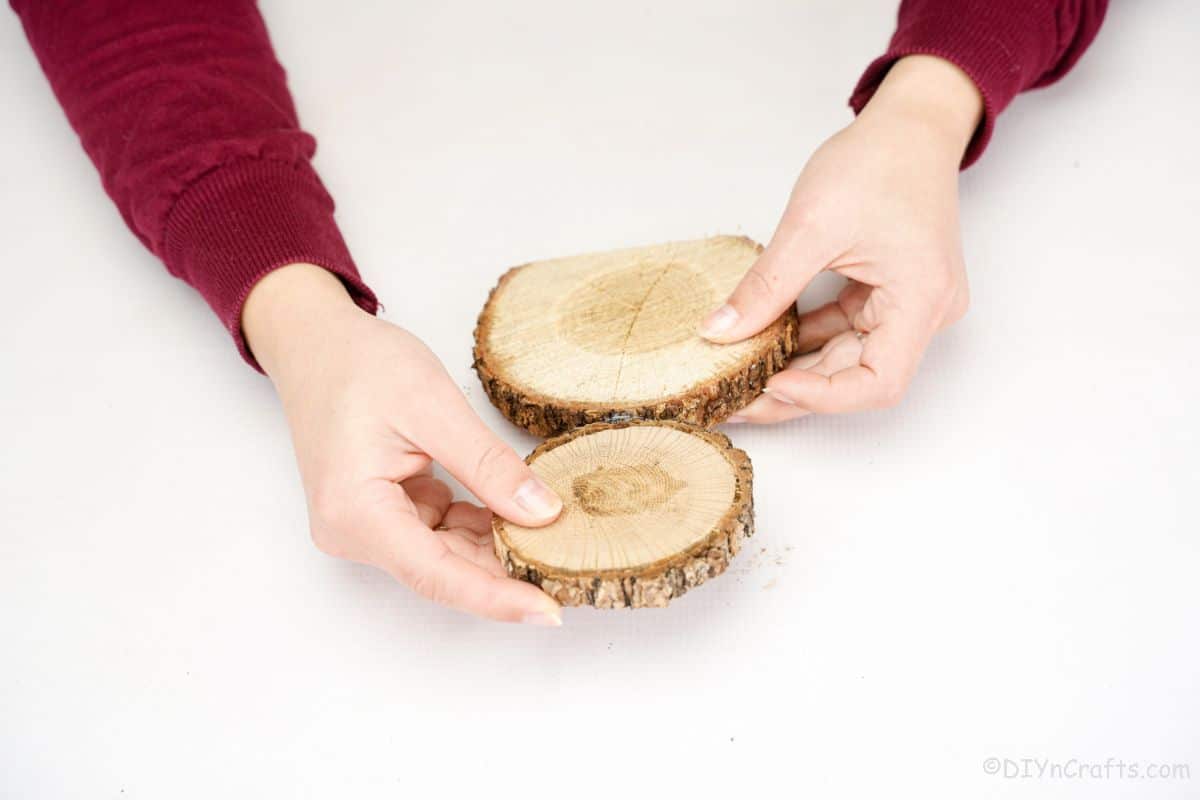
If needed, saw ½" off the base of one of the larger wood slices to make it flat on the bottom.
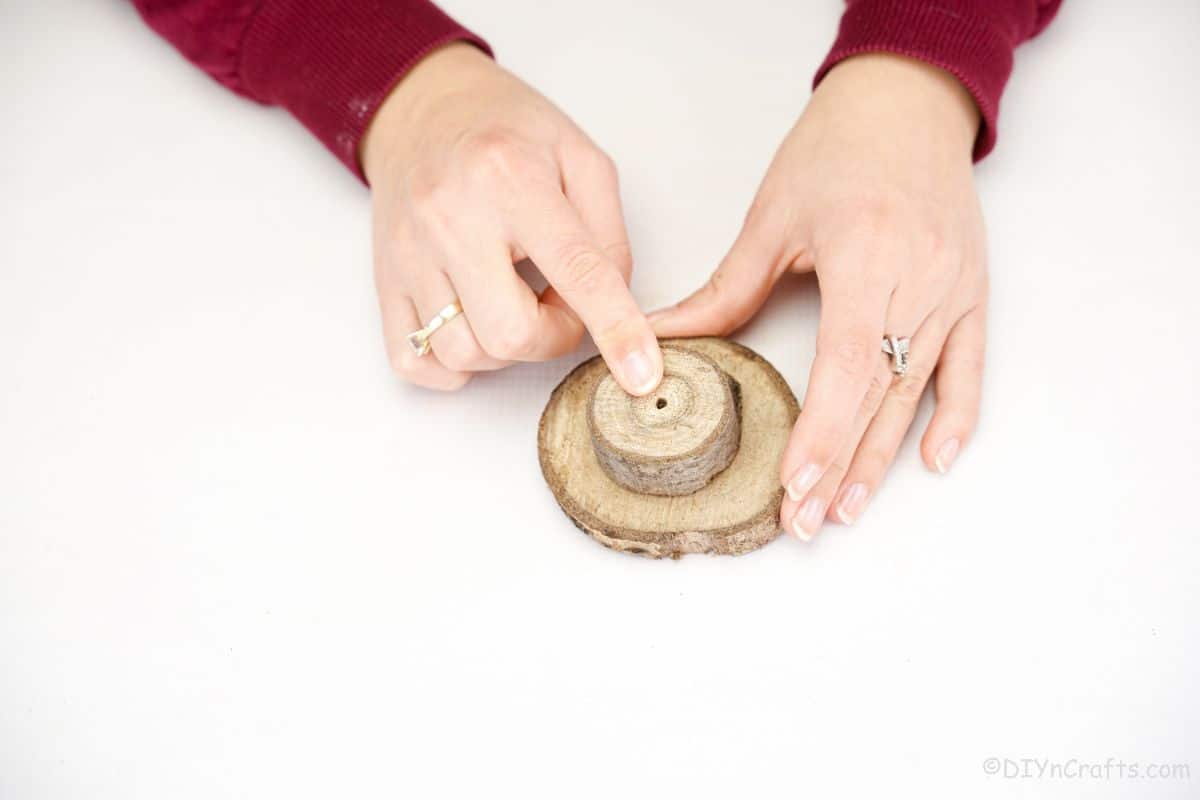
Glue a medium-sized wood slice on top of the larger flat-base wood slice to create a snowman body.
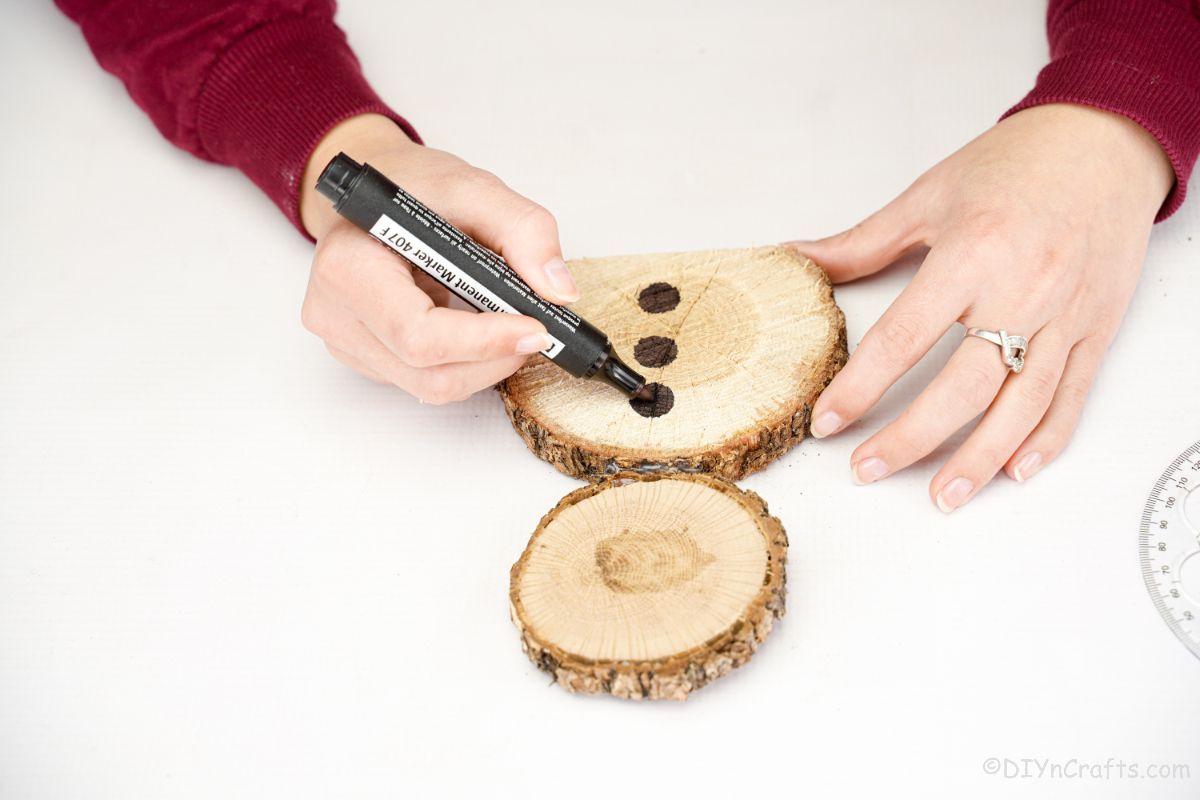
Draw and fill in 3 circles on the bottom piece along the center to create "buttons".
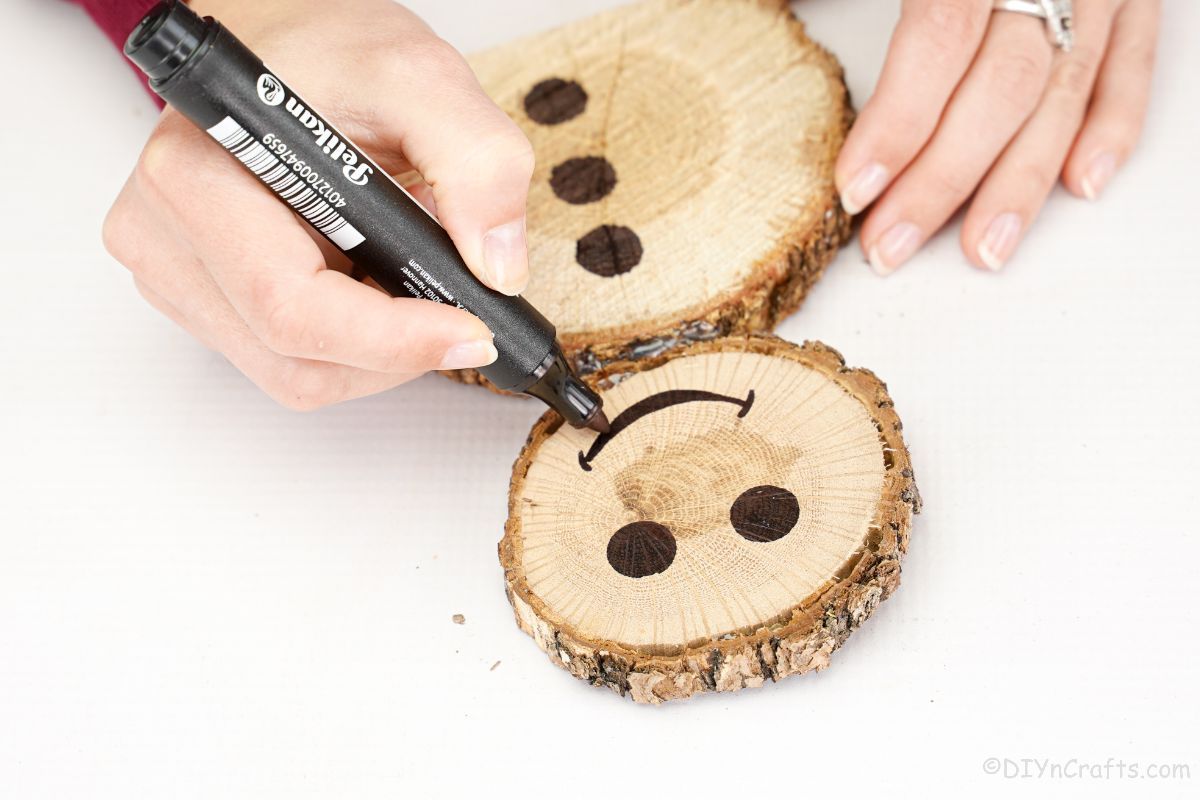
Then, create a face by drawing 2 circles for eyes and filling them in with a black marker. Then draw a smile below the eyes.
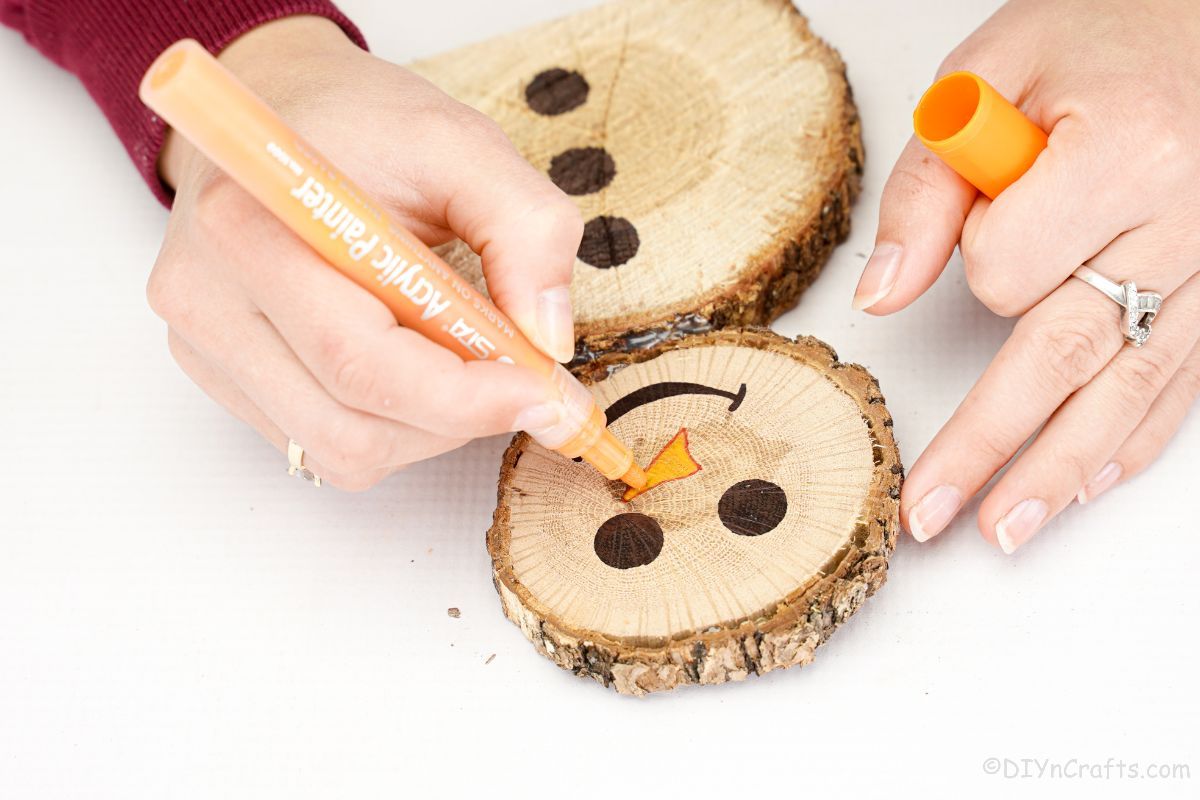
And add a small carrot-shaped nose using an orange marker.
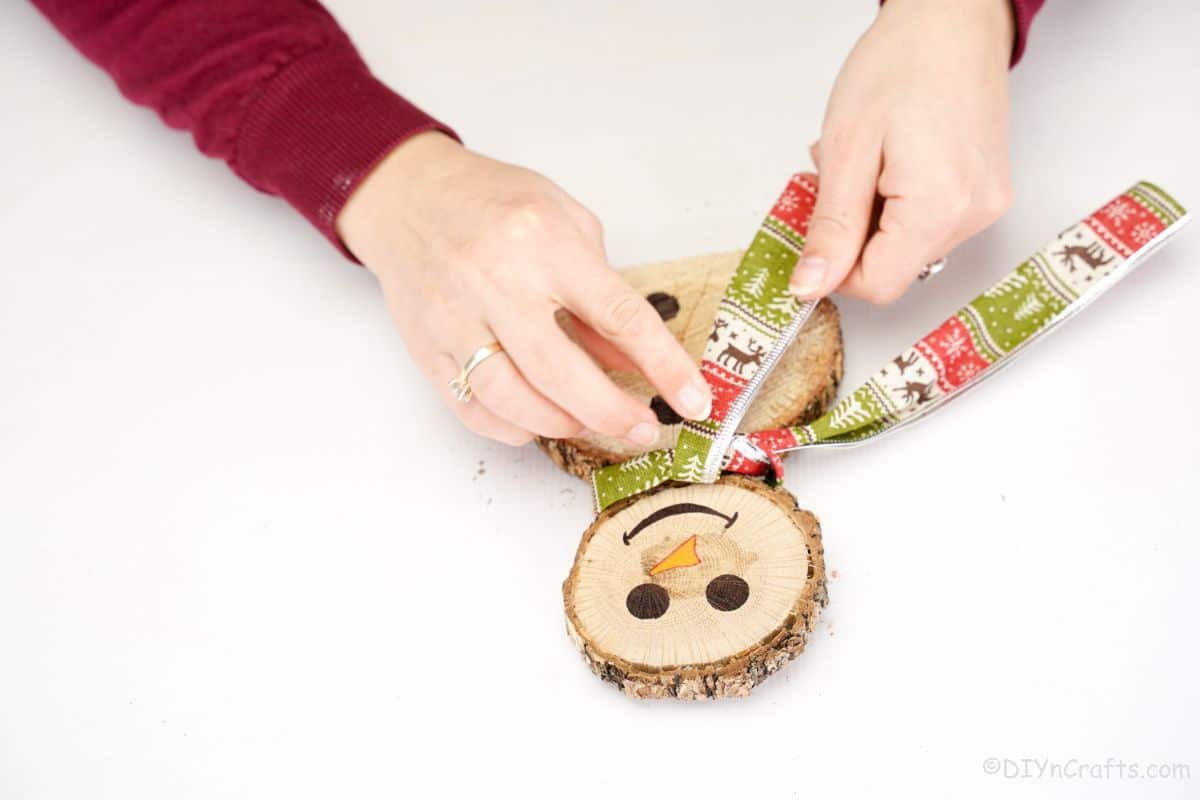
Cut a length of green holiday-themed ribbon and tie it around the middle of the "neck" to create a scarf.
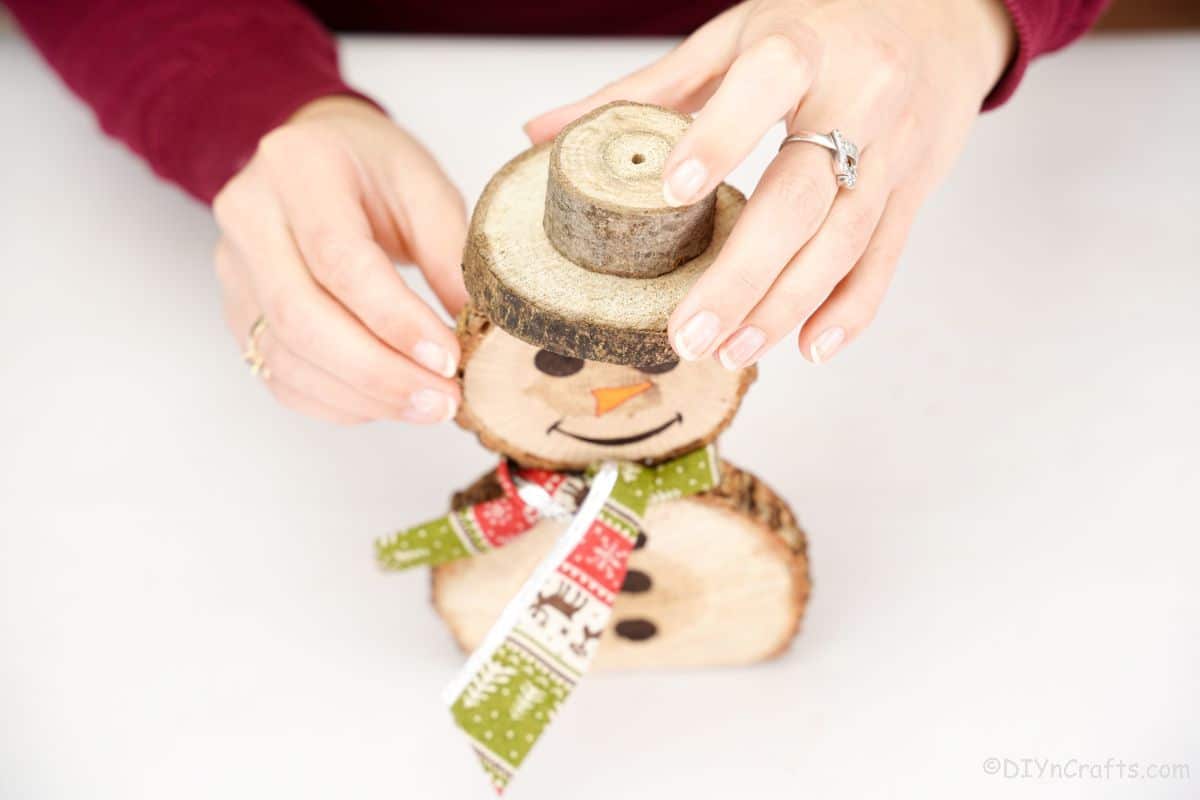
Glue a short piece of a tree branch on top of a wood slice to create a hat shape.
Then, glue this hat on top of the head of the snowman.
Now you can add additional decorations or just display it on your mantle!
More Snowman Decorations
There are definitely more ideas to add snowmen to your holiday decor. Below are some great ideas that you can make and add to your holiday and winter decor this year. Make sure that you bookmark, print the tutorials, or pin them to a holiday-themed Pinterest board.
- Adorable Rope Snowman Christmas Decoration
- Snowman Wine Cork Christmas Ornament
- Cute Bottle Cap Snowman Ornament
- Christmas Clay Pot Snowman Decoration
- Cute DIY Popsicle Stick Snowman Christmas Ornament
Rustic Wood Slice Snowman Winter Decor
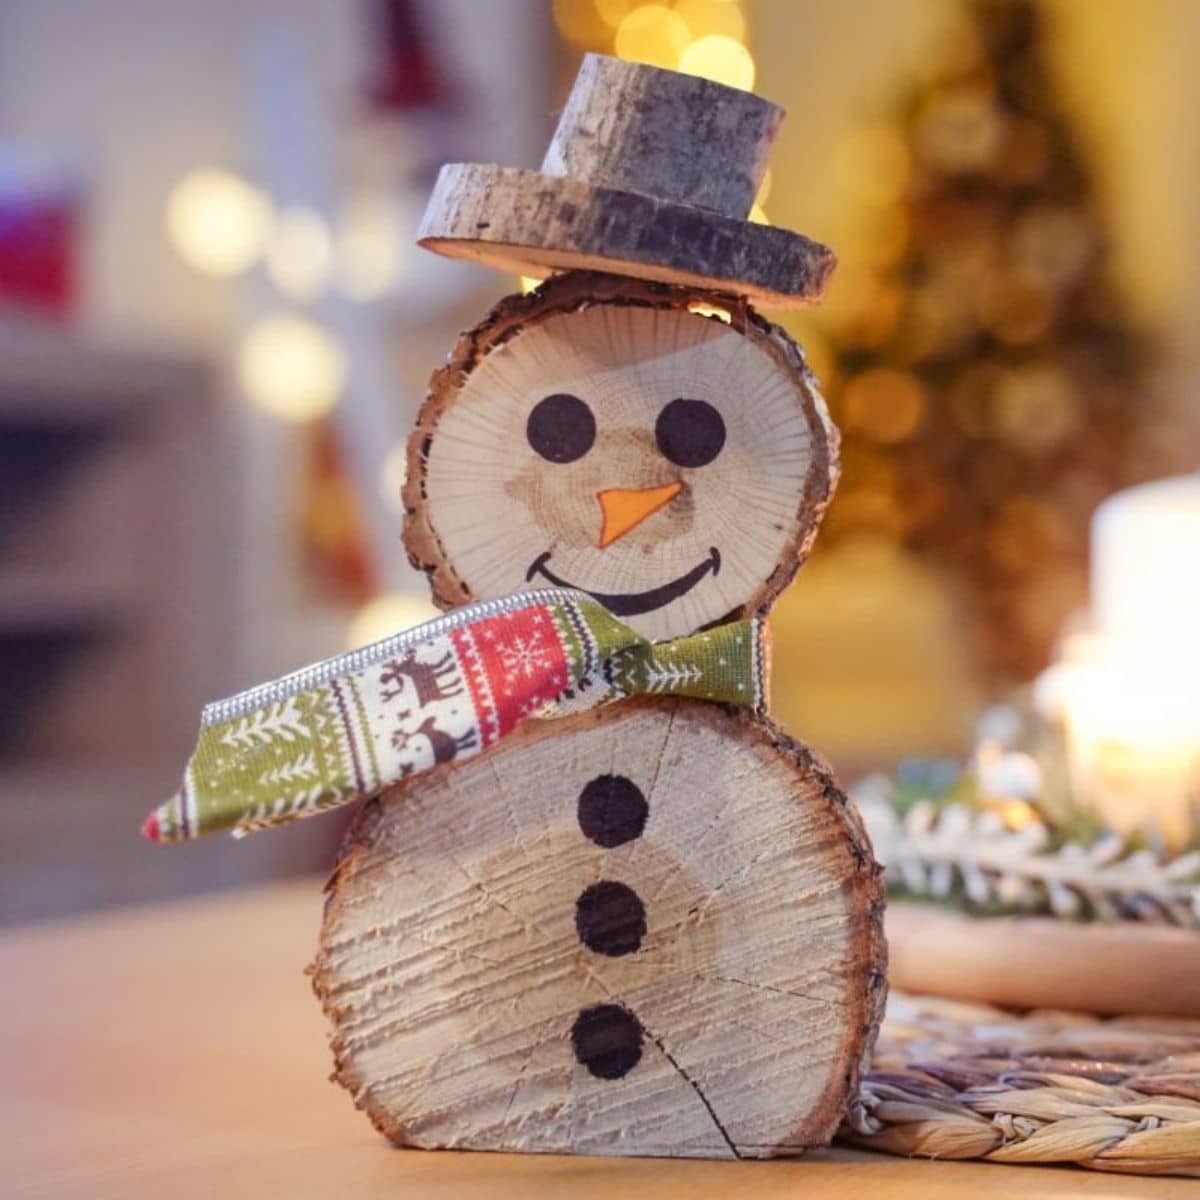
Make this rustic wood slice snowman is the perfect winter or Christmas decor to fit a country chic style! Easy-to-make woodcraft that everyone will rave over on your holiday table!
Instructions
- If needed, saw ½" off the base of one of the larger wood slices to make it flat on the bottom.
- Glue a medium-sized wood slice on top of the larger flat-base wood slice to create a snowman body.
- Draw and fill in 3 circles on the bottom piece along the center to create "buttons".
- Then, create a face by drawing 2 circles for eyes and filling them in with a black marker.
- And add a small carrot-shaped nose using an orange marker.
- Finally, draw a smile with a black marker.
- Cut a length of green holiday-themed ribbon and tie it around the middle of the "neck" to create a scarf.
- Glue a short piece of a tree branch on top of a wood slice to create a hat shape.
- Then, glue this hat on top of the head of the snowman.
- Now you can add additional decorations or just display it on your mantle!
Notes
Paint the wood slices white if you want to give it more of a traditional snowman look.
Recommended Products
As an Amazon Associate and member of other affiliate programs, I earn from qualifying purchases.
-
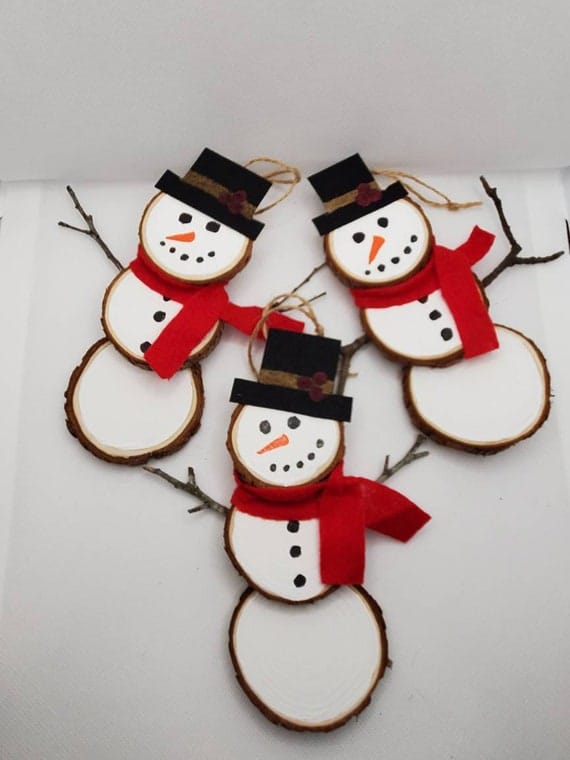 6.5 Snowman Wood Slice Ornaments Christmas Farmhouse | Etsy
 -
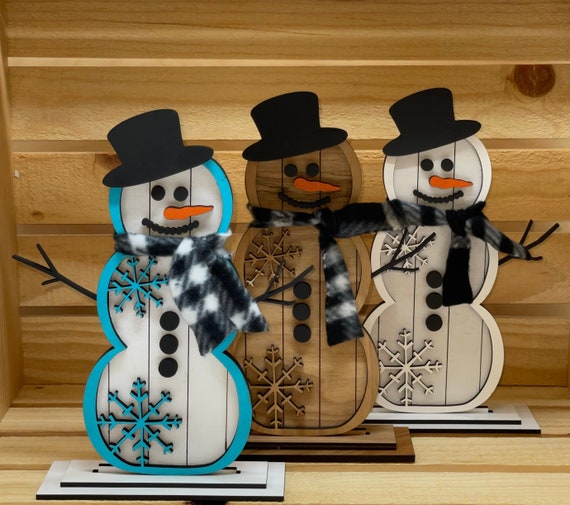 Wood Painted Free Standing Snowman Decor Sign Winter | Etsy
 -
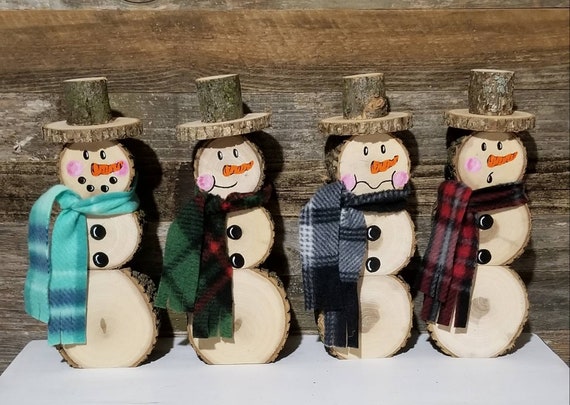 Adorable Handmade Rustic Wood Snowmen Woodland Decor Rustic | Etsy
 -
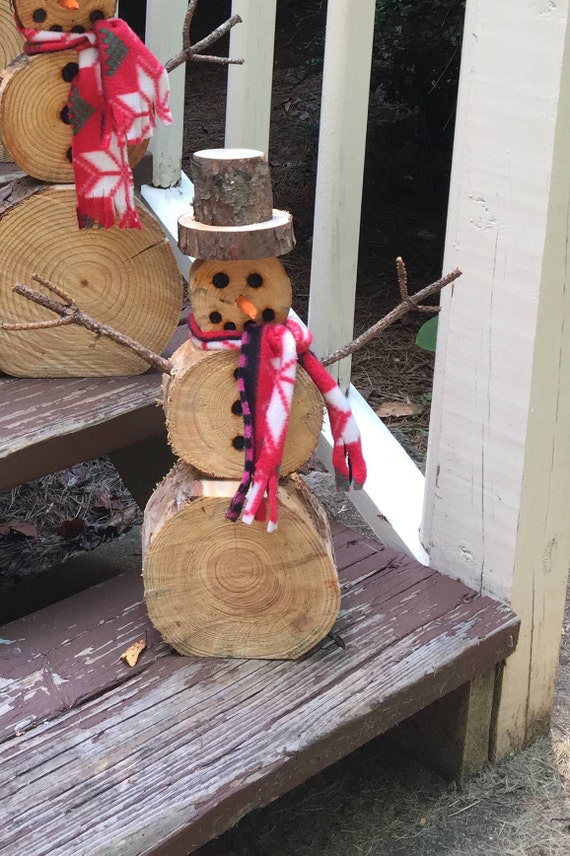 Small Wood Slice Snowman Christmas Decor | Etsy
 -
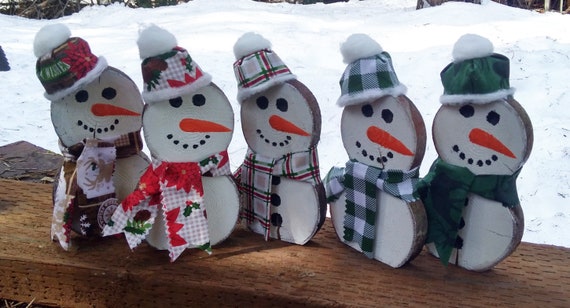 Individual Wood Slice Stand Alone Snowman Hand Painted | Etsy
 -
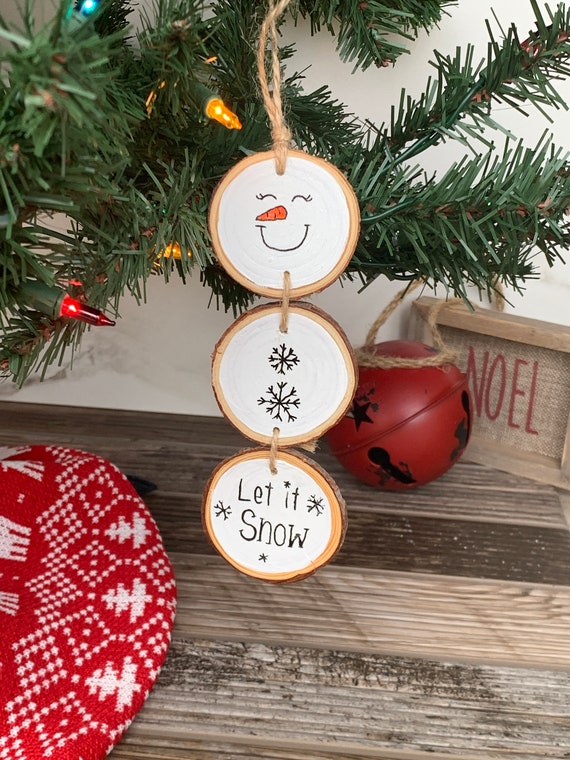 Snowman Wood Slice Ornament Farmhouse Ornament Rustic Wood | Etsy
Finished Project Gallery
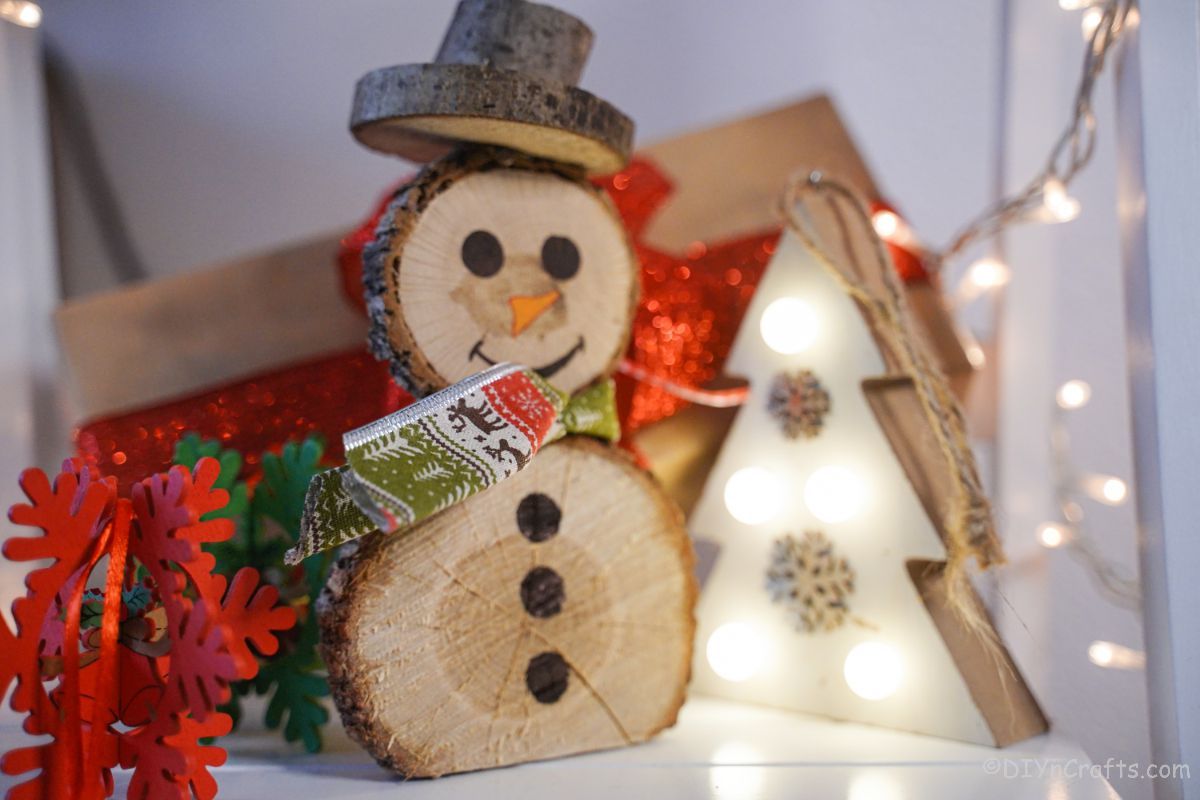
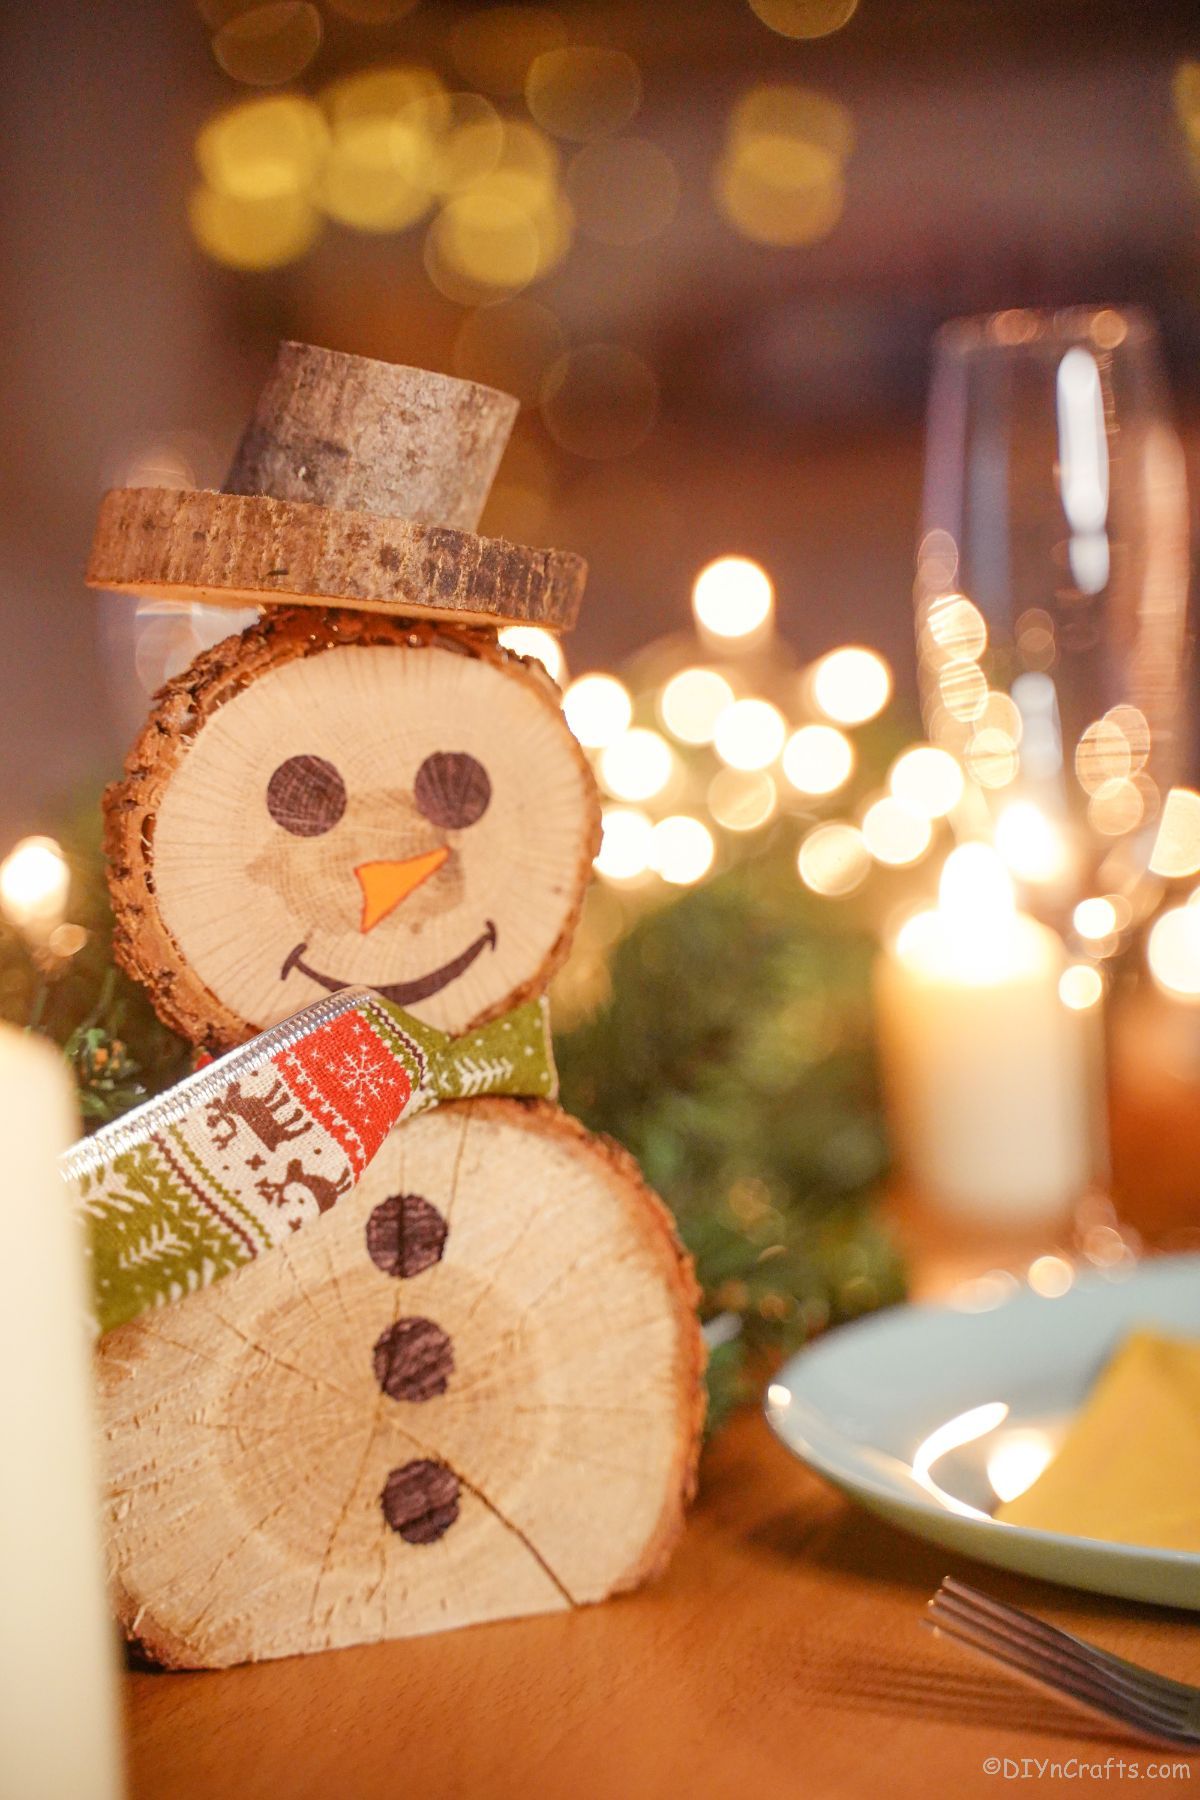
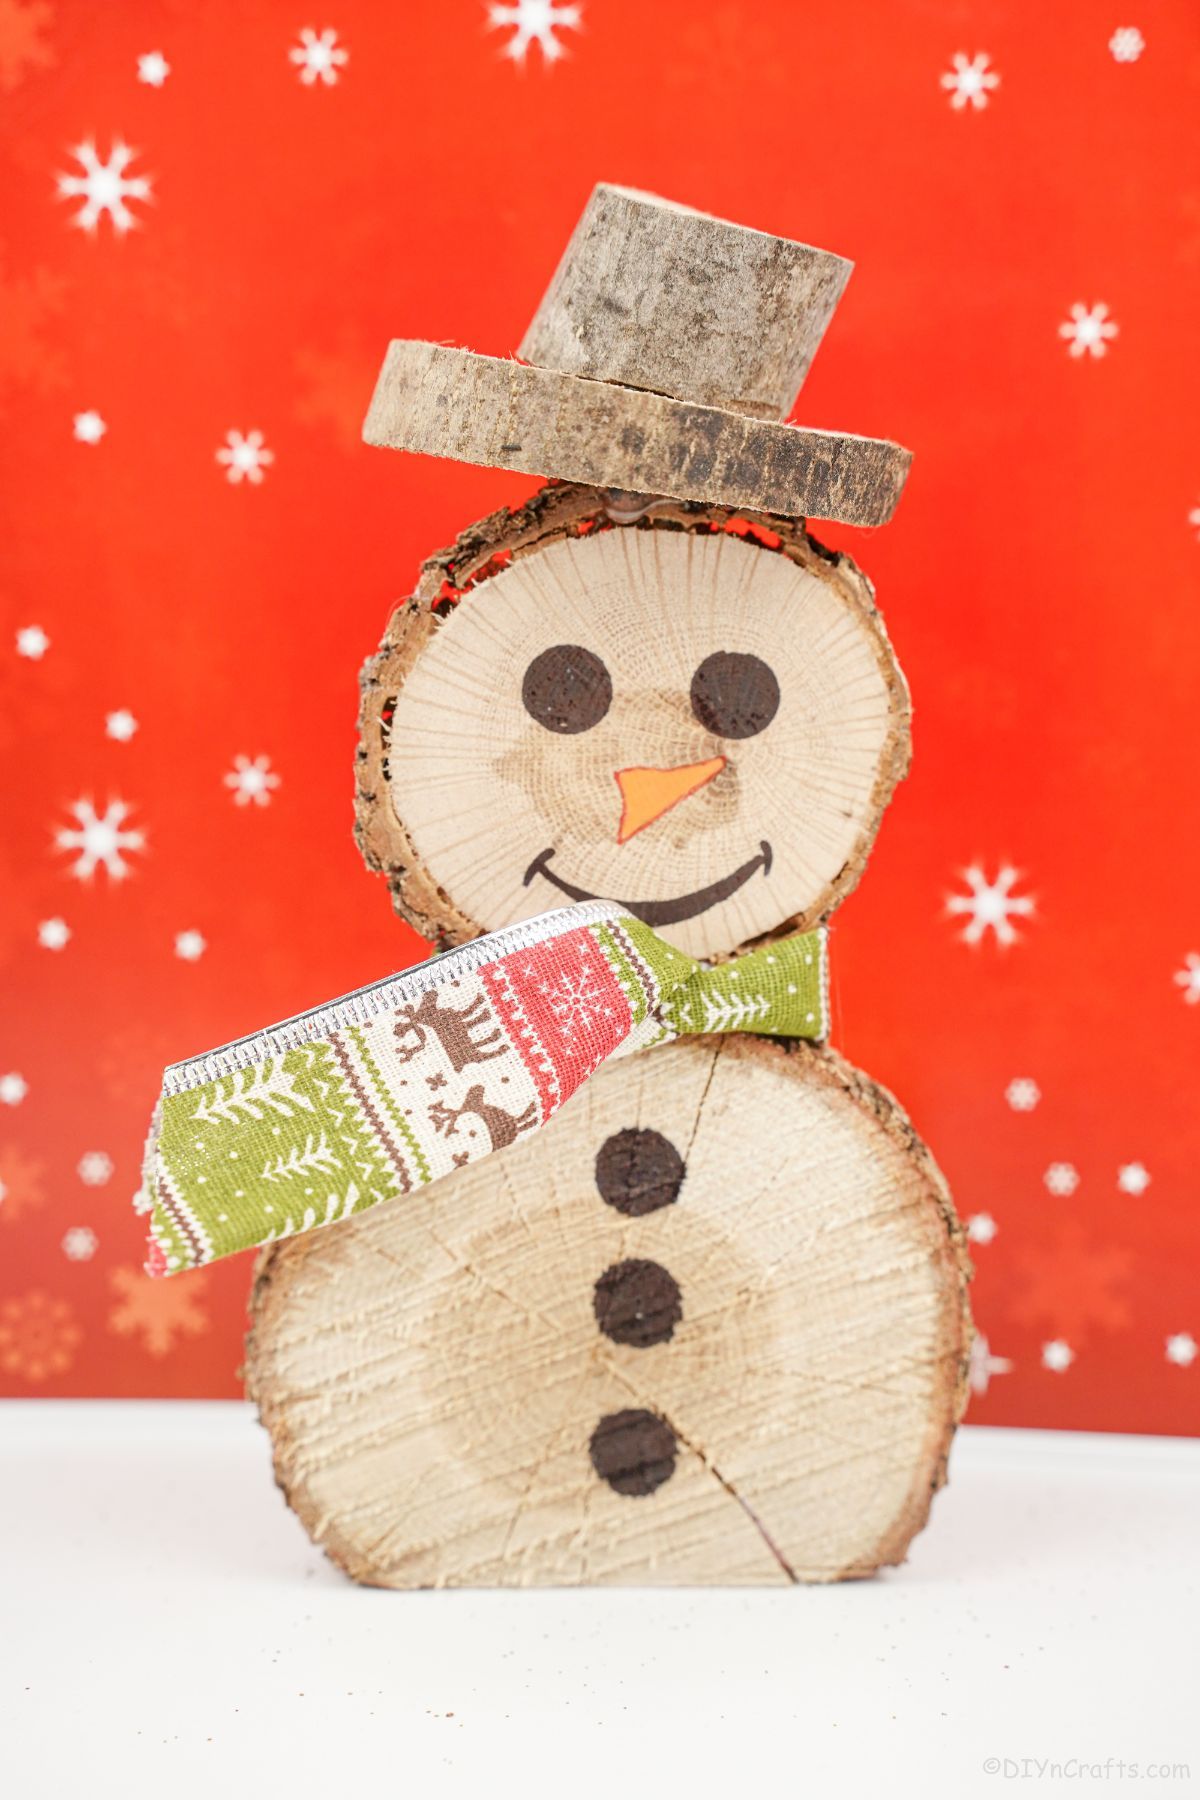
Make these in a few sizes for a little snowman family!











Leave a Reply