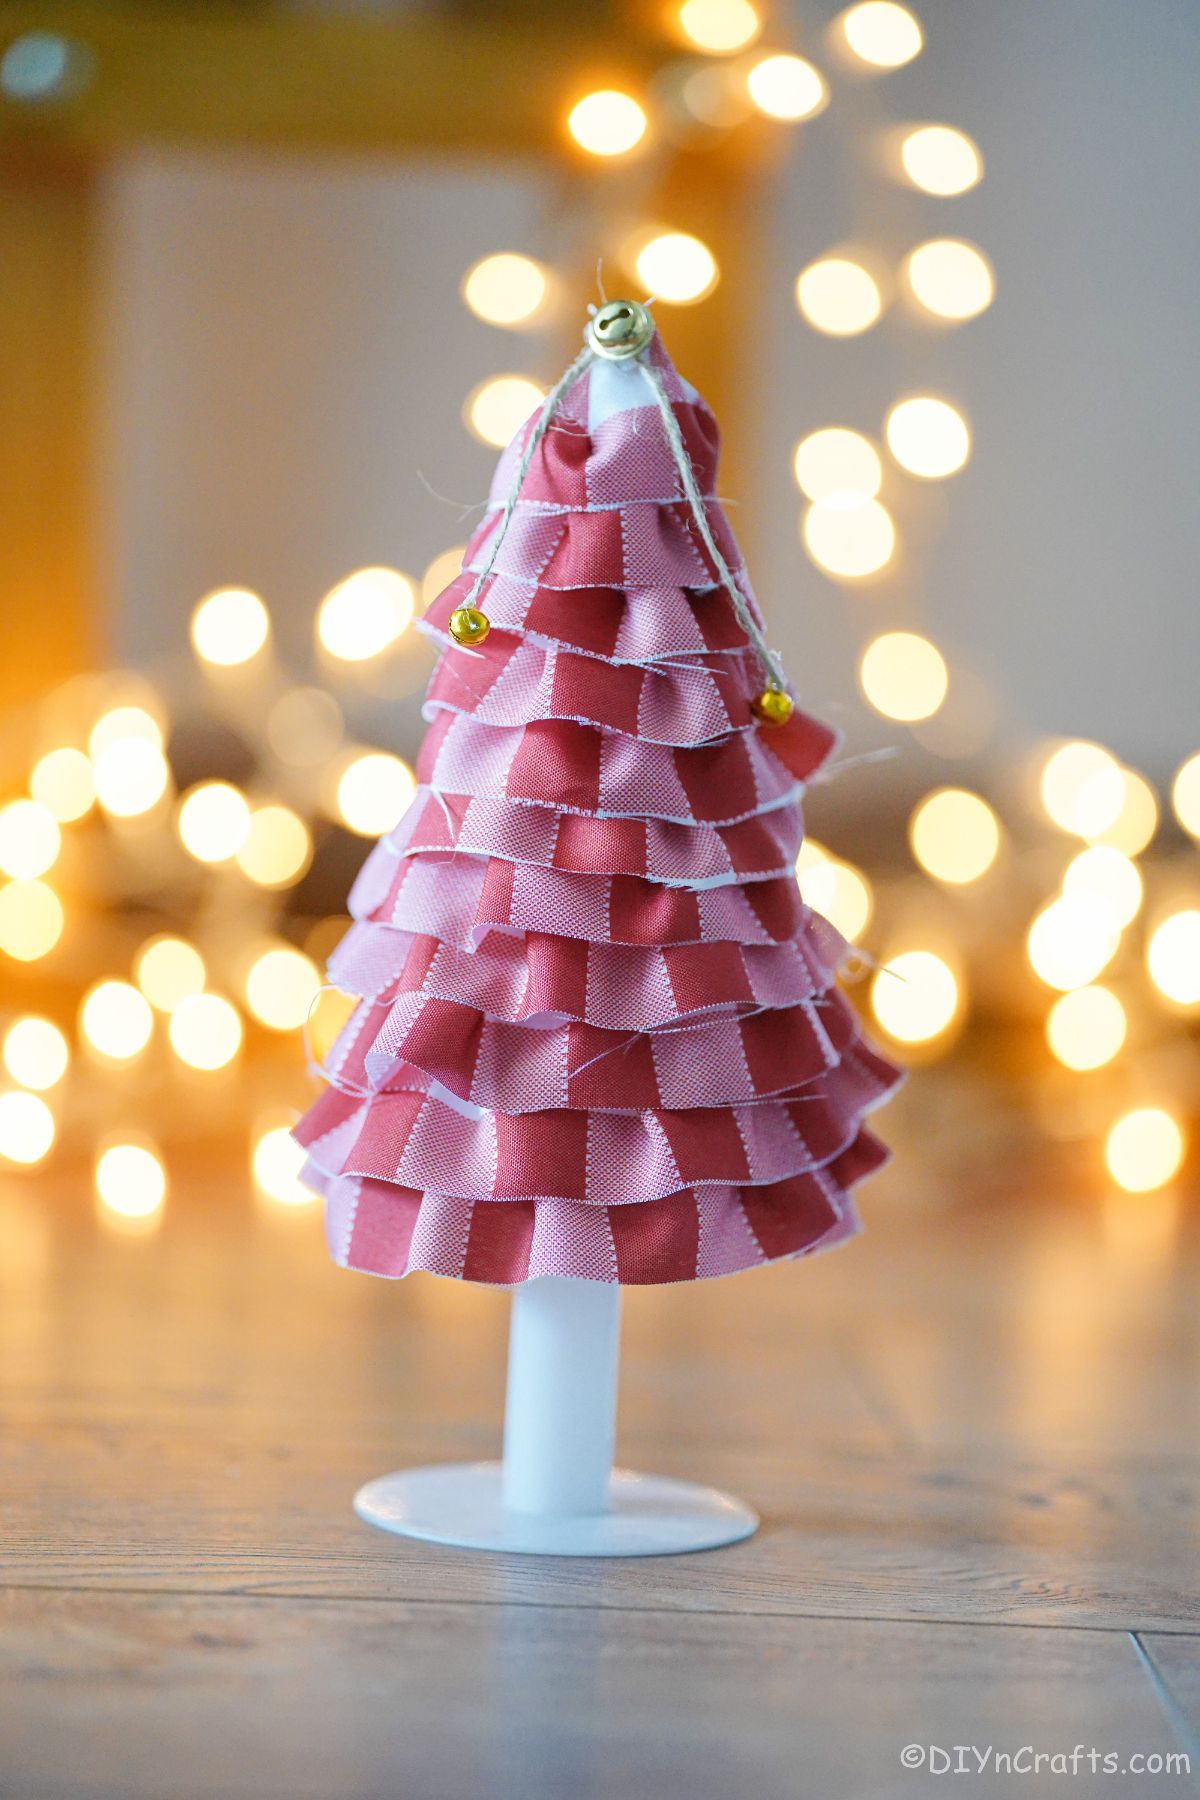
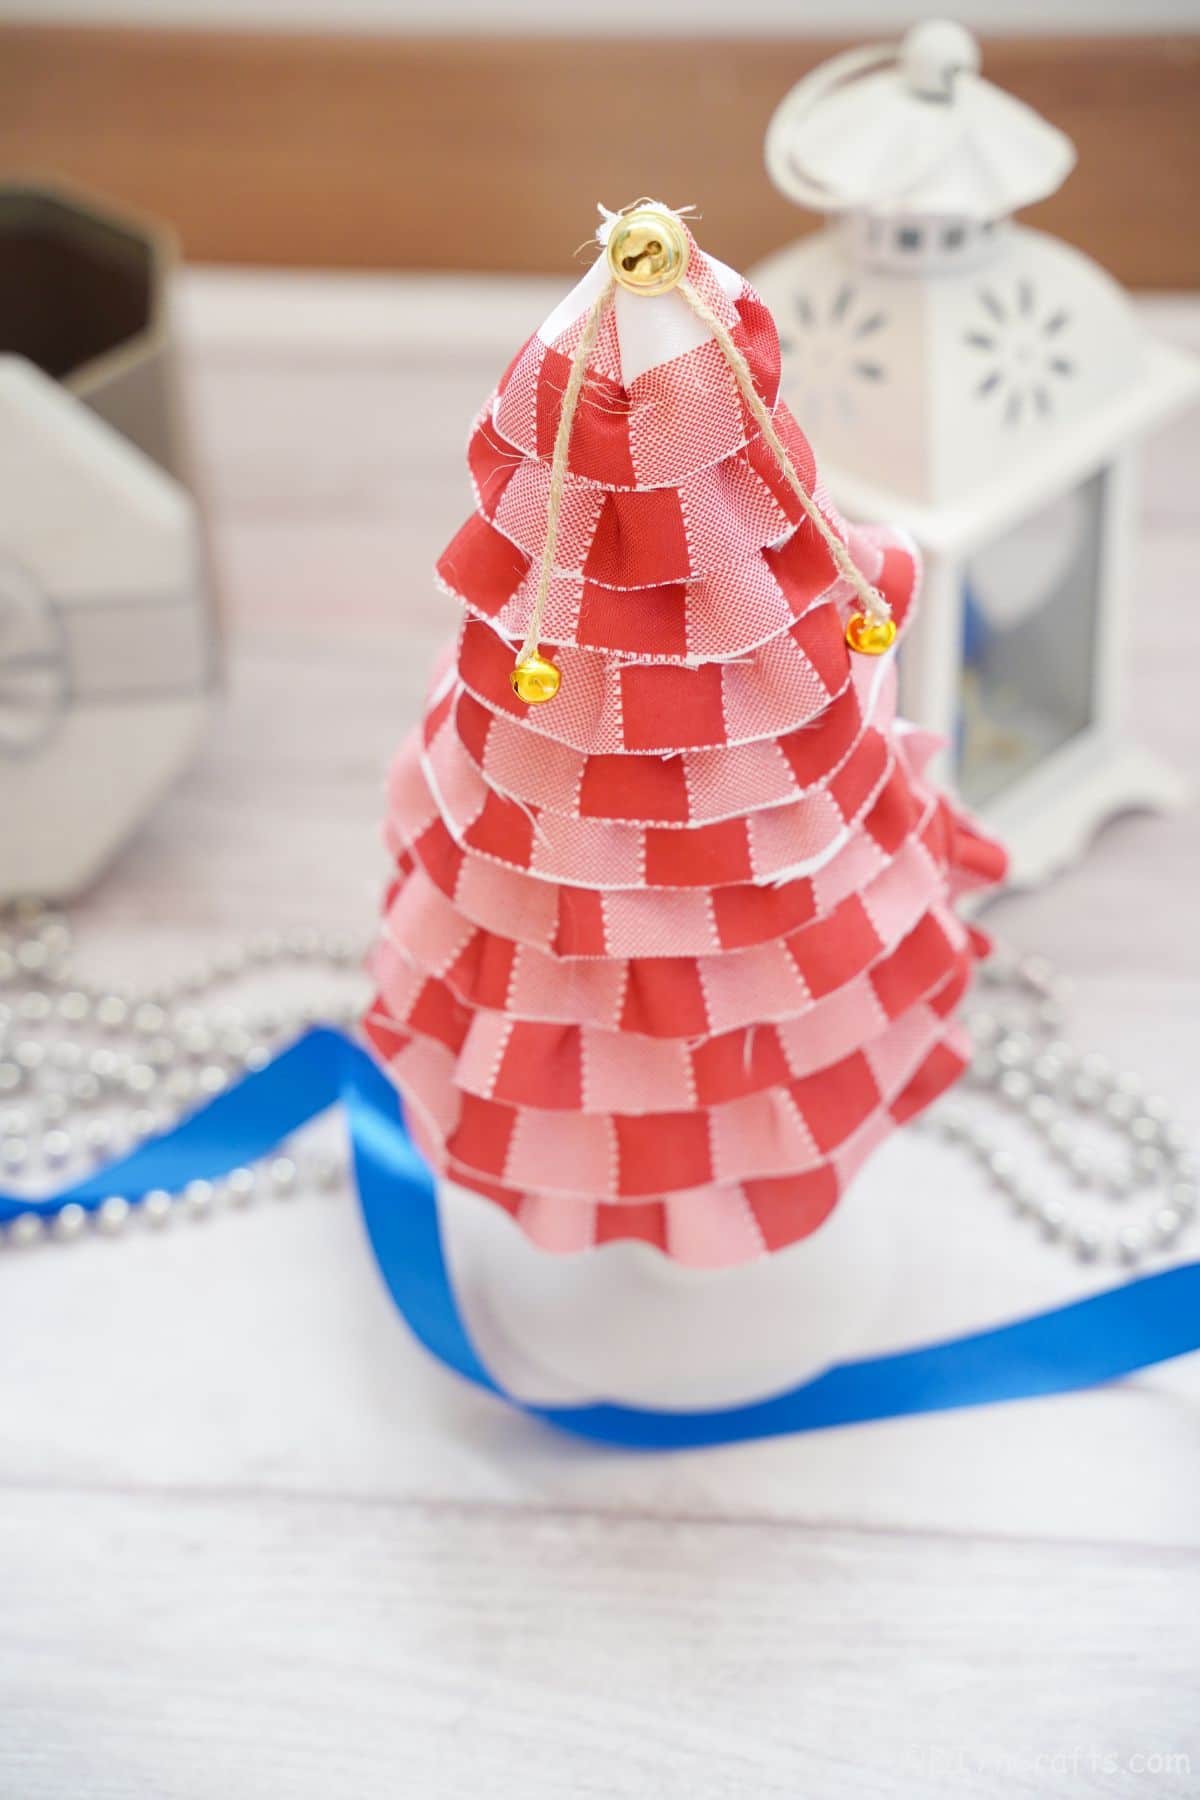
You've probably seen these adorable fabric miniature Christmas tree decorations in various home decor stores. They are just adorable but so pricey. Now you can make your own! Making this tree is simple to do, takes a short time to make, and will be the perfect addition to your Christmas decor. Make this simple tree for your home or to give as gifts. You can even make each one different for a completely different look to display around the house.
Fabric Miniature Christmas Tree
If you like doing simple Christmas crafts, this is the perfect project for you! You can make your own fabric miniature Christmas tree with some simple supplies. The best part about this project is that it can be made with any old scraps of fabric you have lying around. You don’t need a specific type of material or even time to plan ahead, which makes this a great last-minute idea!
This craft will be a great decoration to display around your home or give as a gift. Who would smile when they receive this gorgeous fabric miniature Christmas tree. If you like the idea of mini trees as your decor, you might also like this mini Christmas tree from old blue jeans or this adorable pinecone mini Christmas tree too! Another personal favorite is this recent gold ornament ring miniature Christmas tree. So sparkly!
Can I Use Different Fabrics?
Absolutely. Using different fabrics lets you make this tree fit into your decor. Not only can you use different types of fabric, but you can use different colors and textures.
I like the idea of using things like thick ribbon, burlap, felt, velvet or even sequined fabric to create a truly unique tree every time. Imagine how unique they would look gathered in a "group' on your mantle with various different colors and textures! So pretty and super easy to make.
What Should I Use for the Tree Base?
I am using a plastic stand for the base of this fabric miniature tree. This one is simply an empty plastic spool from the ribbon. Using something laying around the house is always preferred, so get creative. You simply want the tree elevated some, so the base needs to have a bit of height.
Things like a doll stand or jewelry holders, like the ones for necklaces and bracelets will work well. If you can not get a stand like those a strong, sturdy cardboard base will work too. It needs to be strong, so something like the kind of cardboard that can be found inside of cotton yarn.
Can I Add a Star to The Top of My Tree?
I have not added a start to the top of my tree but it is easy to add one. You can use a fabric star that is wrapped around cardboard or you can make it as a stuffed pillow star. Just glue it into place or secure it using something stronger. Below are some other options for making a star for your tree.
- Any wooden or plastic star designed for a mini tree.
- Star stickers on cardboard.
- Painted or colored cardboard star the kids made.
- Silver snowflake ornament or even a silver ball ornament.
- A tiny angel figurine can also work on top!
You can also make a space in the fabric so it can slide onto the base of the tree. A star at the top of the tree will complete the Christmas look.
How Can I Customize My Miniature Christmas Tree?
The easiest way to customize this miniature Christmas tree is to change the colors or texture of the fabric. Another option is to add additional things to the tree. Things like little baubles, bells, Christmas lights, or balls will add flair to the tree.
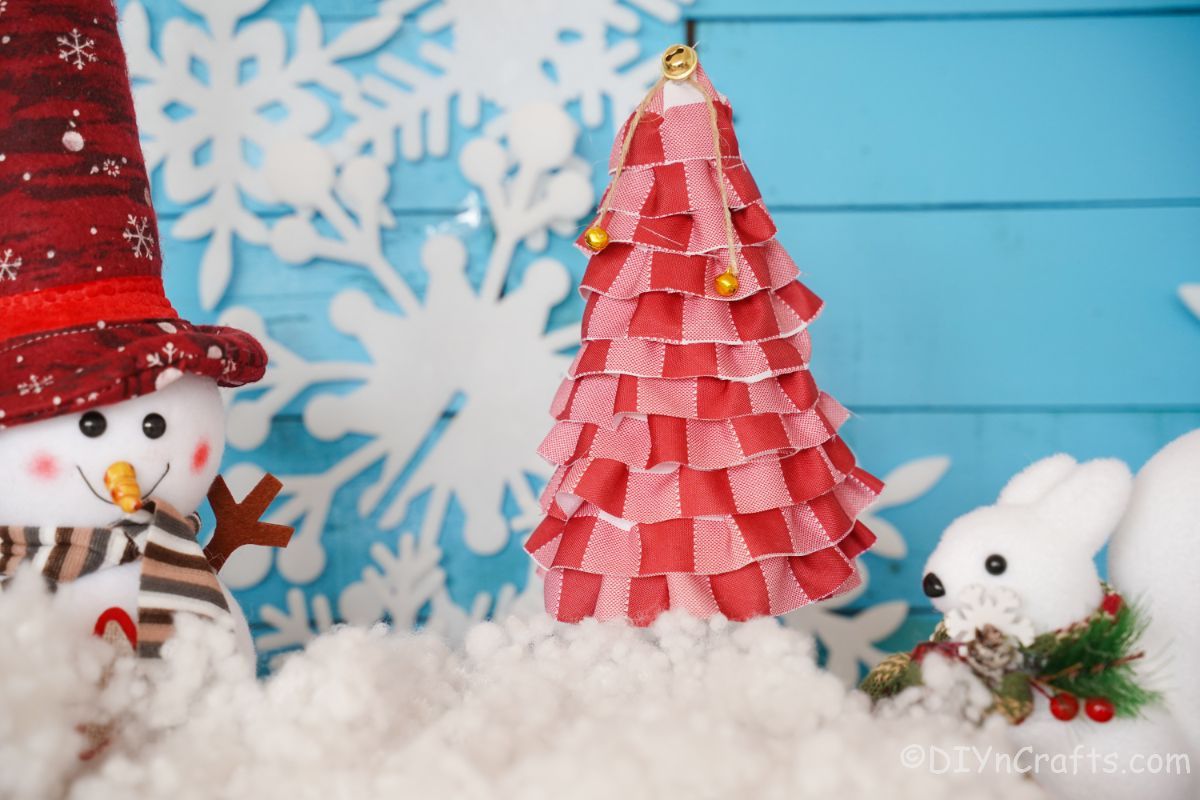
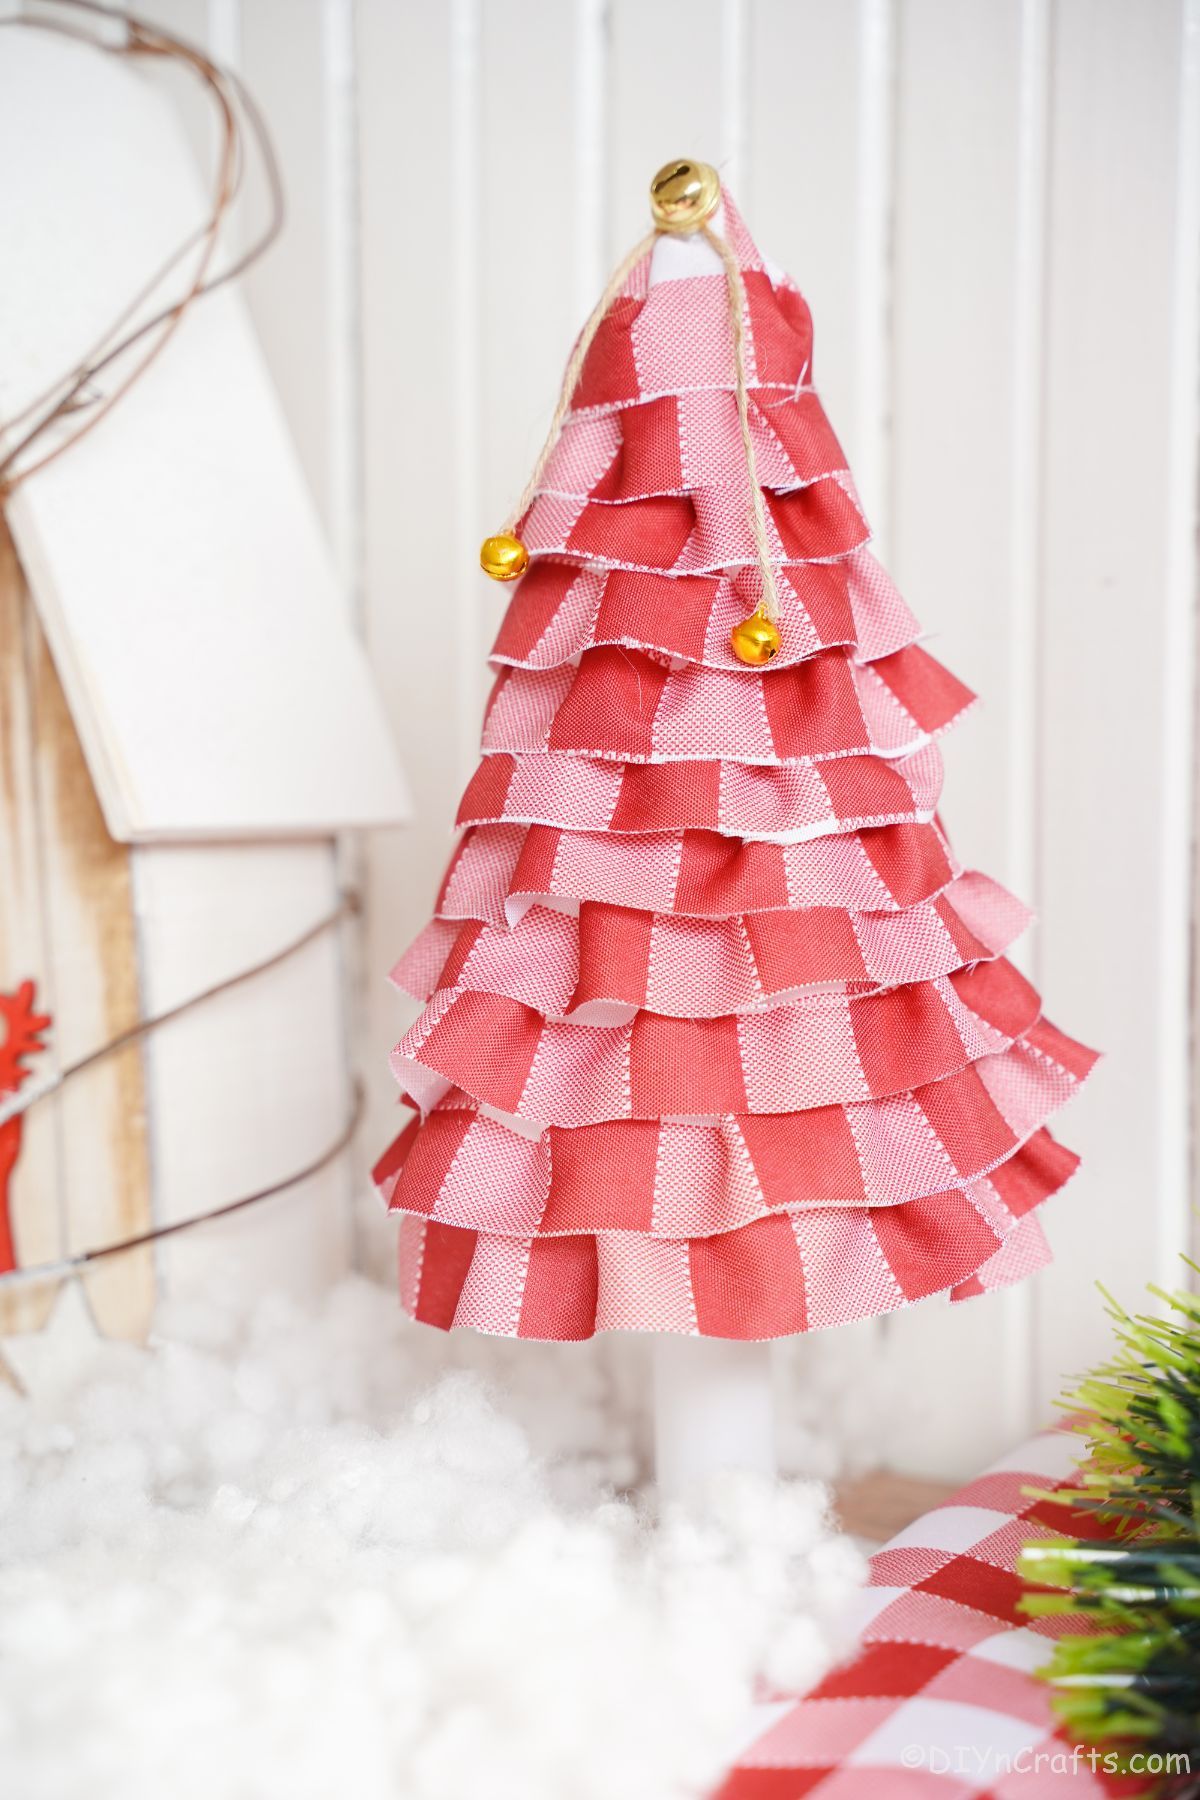
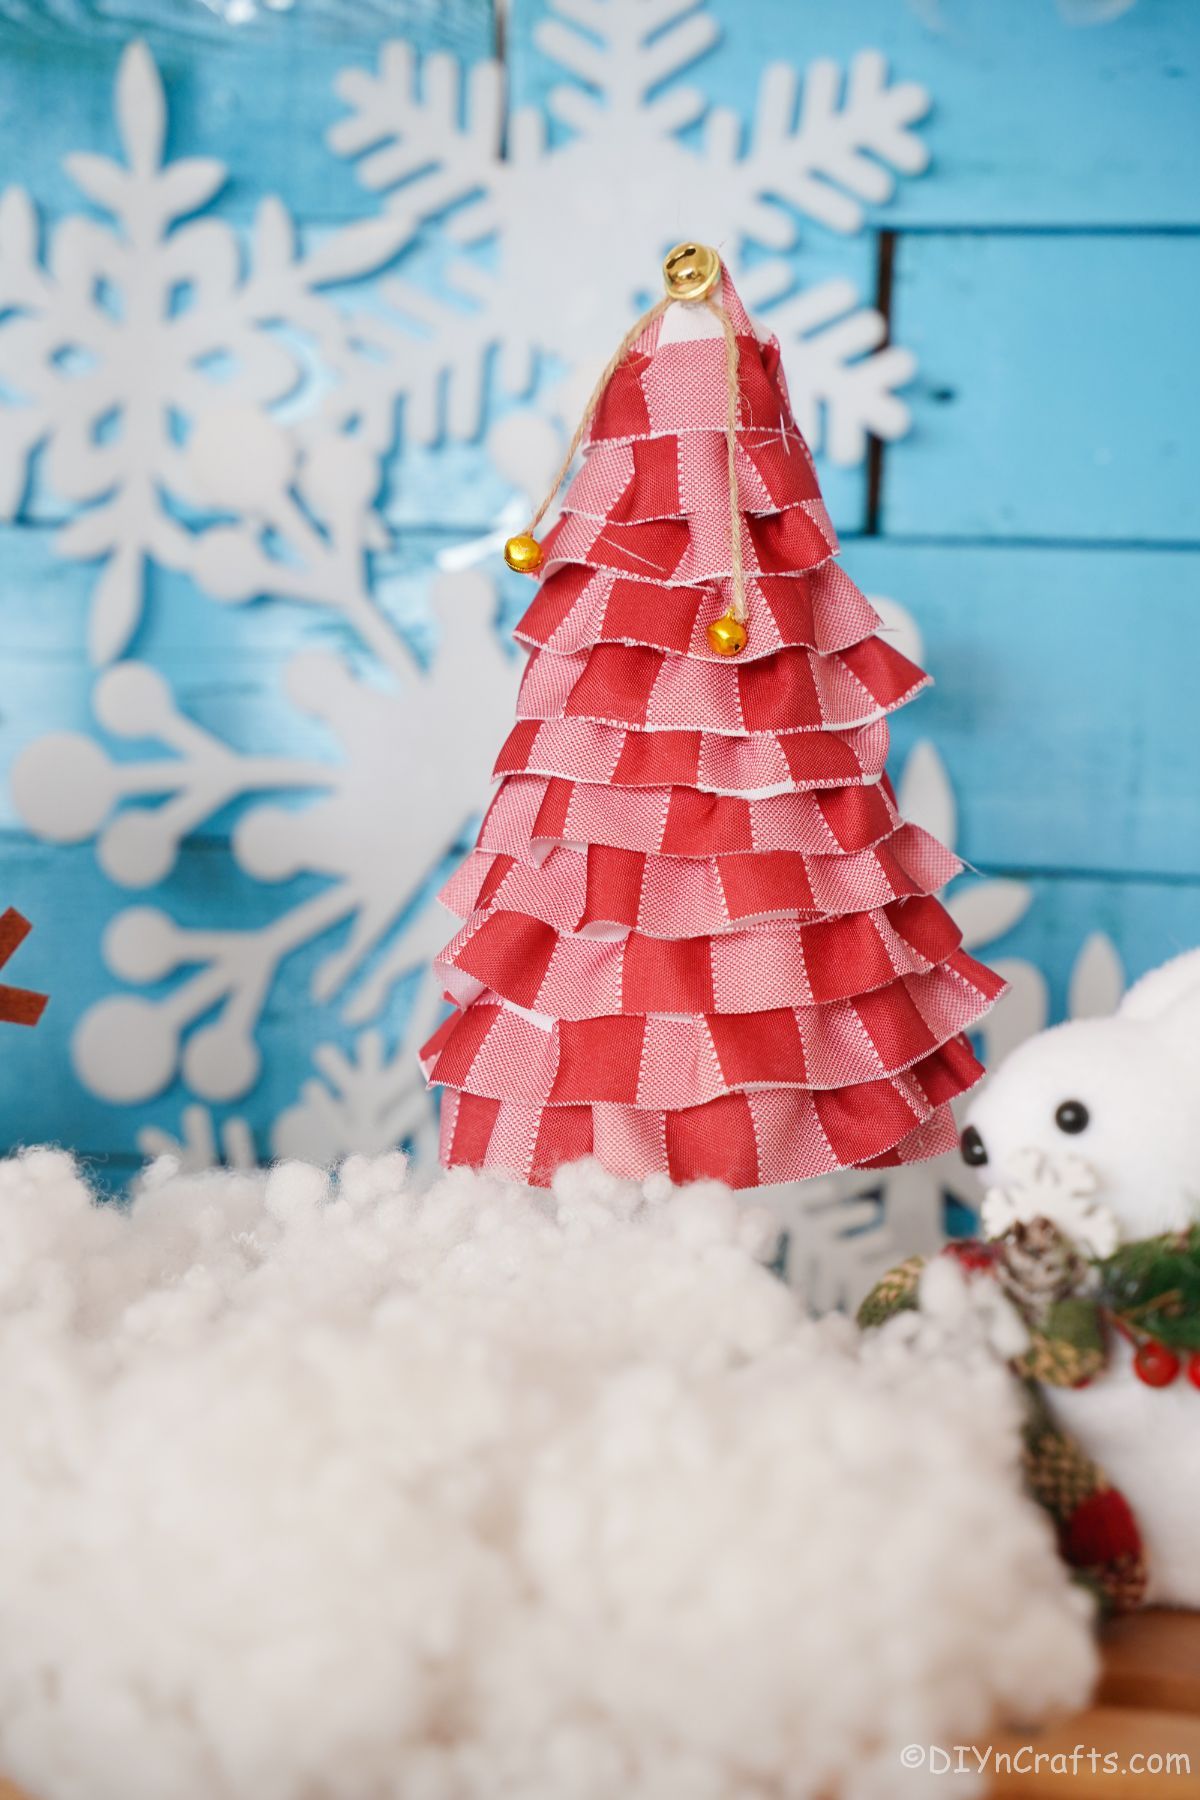
I also love the idea of using fake snow or snow paint as texture and giving it the look of being a winter wonderland tree. Even simply gluing a bit of fake snow or cotton batting around the base of the tree can totally change the look!
Where Should I Display This Tree?
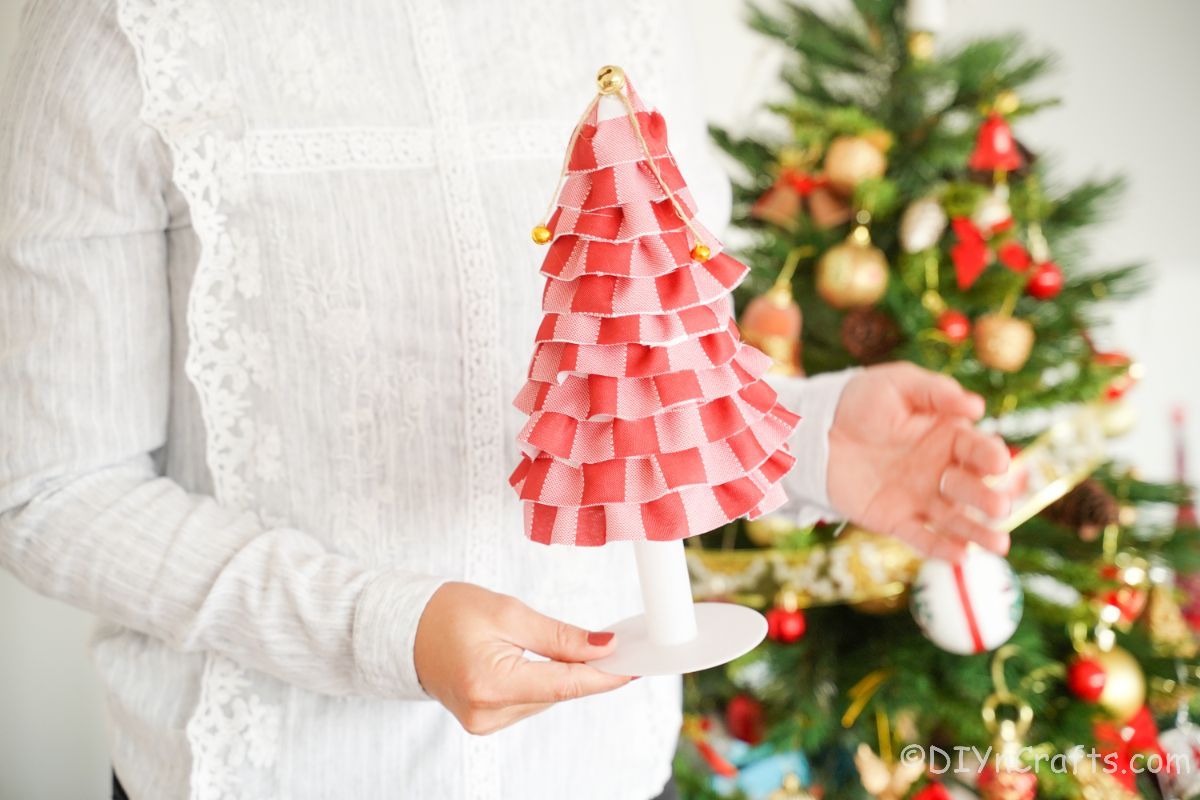
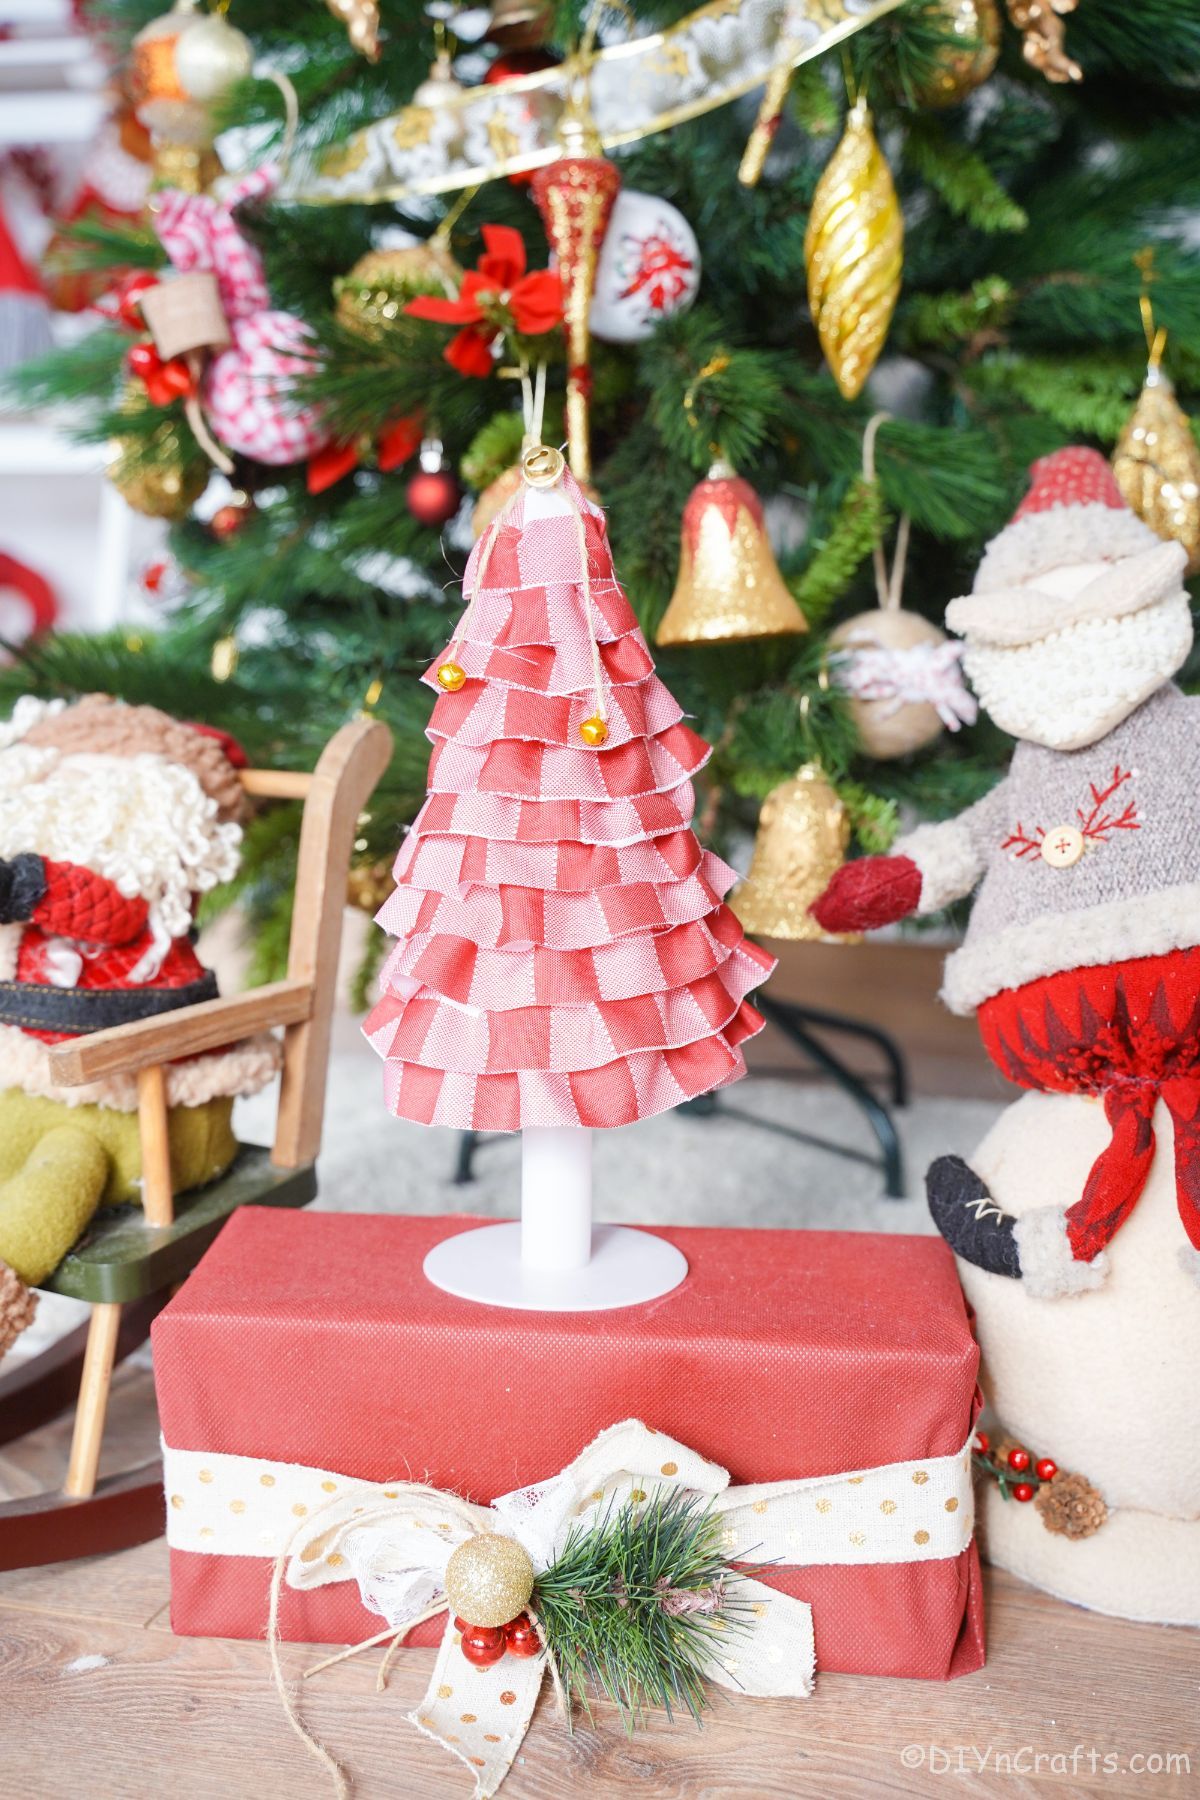
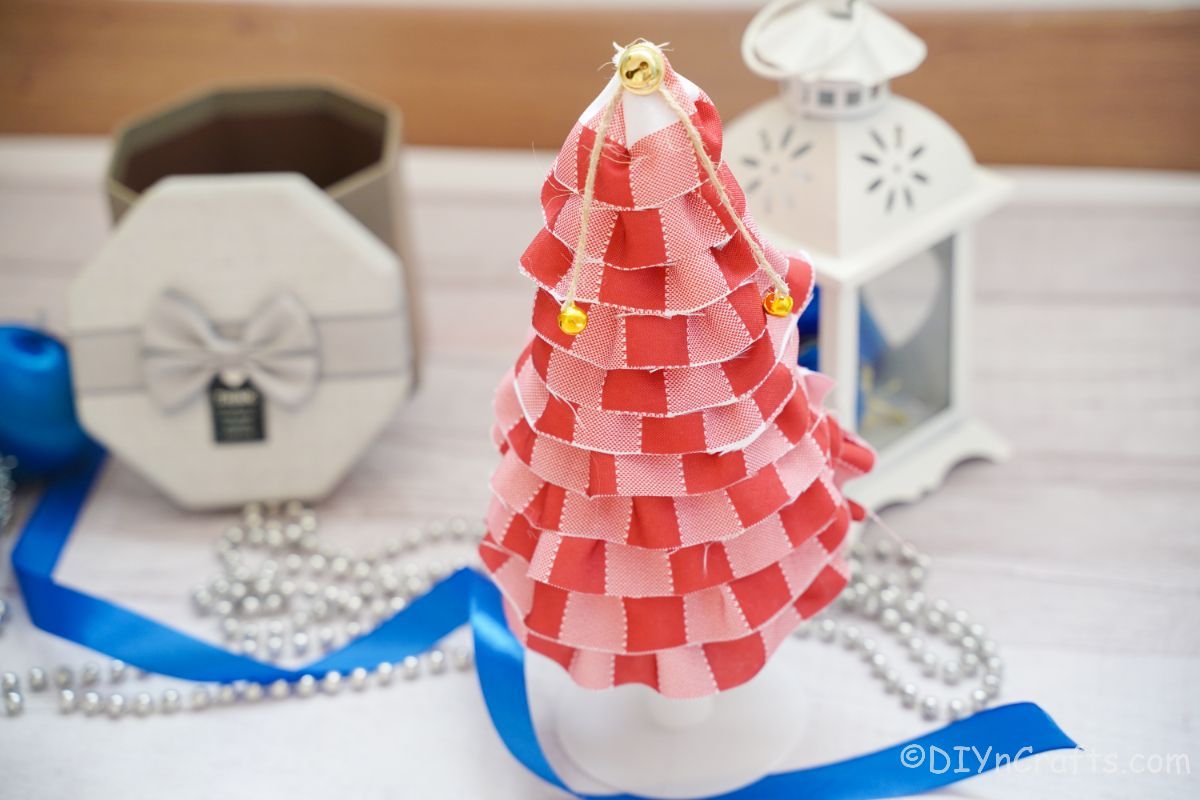
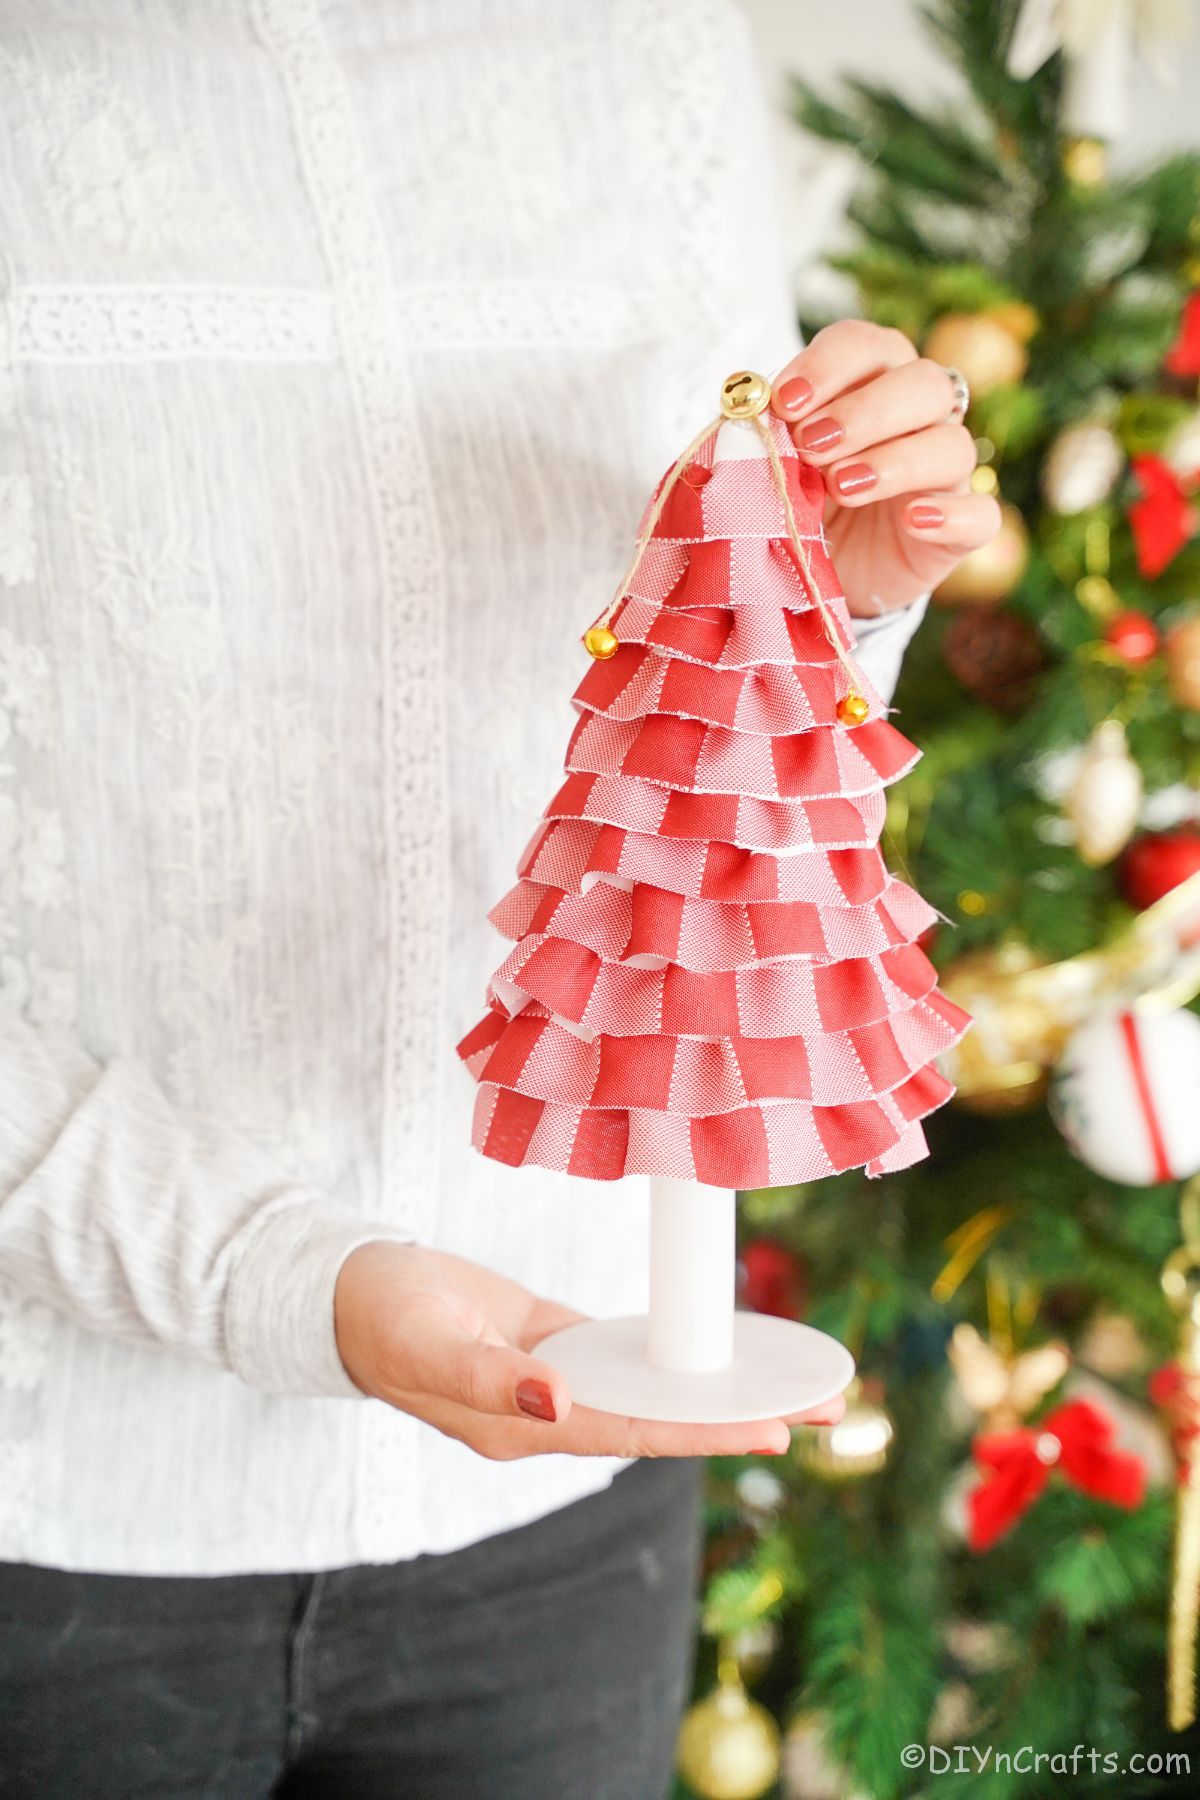
This fabric mini tree can be displayed anywhere in your home! My first idea is to place this on your fireplace mantel. Another option is to use them as centerpieces for your coffee table or dining room table.
This tree will look beautiful anywhere in your house. You can place this miniature tree on your mantle or on a shelf. If you have a miniature holiday village or train track, you can place the tree around it. It would be a beautiful and simple addition. You can even use them as part of your Christmas tree by adding some branches to the bottom of it!
Supplies Needed
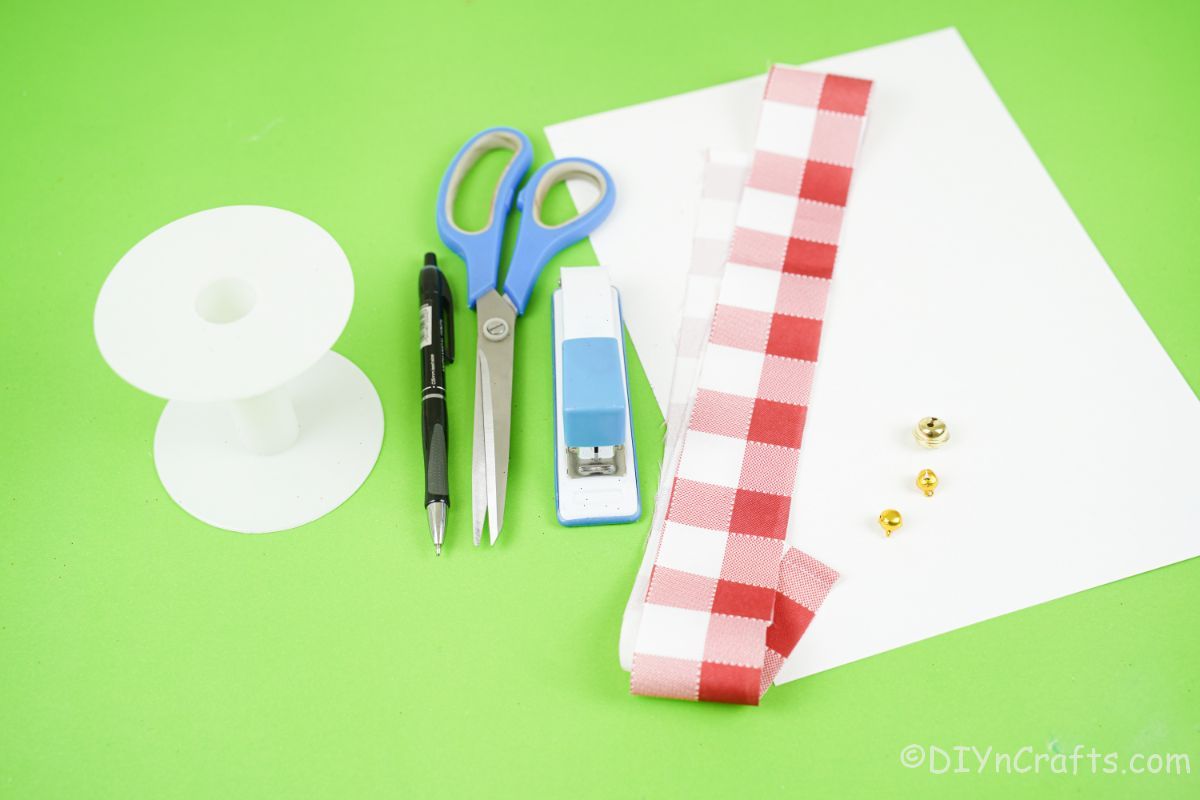
- White paper
- Christmas themed fabric or wide ribbon
- Plastic stand
- Miniature gold bell
- Twine
- Scissors
- Hot glue gun
- Hot glue sticks
How to Make a Fabric Mini Christmas Tree
If using fabric, cut so you have 1 ½ to 2 yards of 3" wide fabric or ribbon.
Measure and cut out a triangle of paper with a rounded base, and then roll it into a cone shape then glue the edge closed.
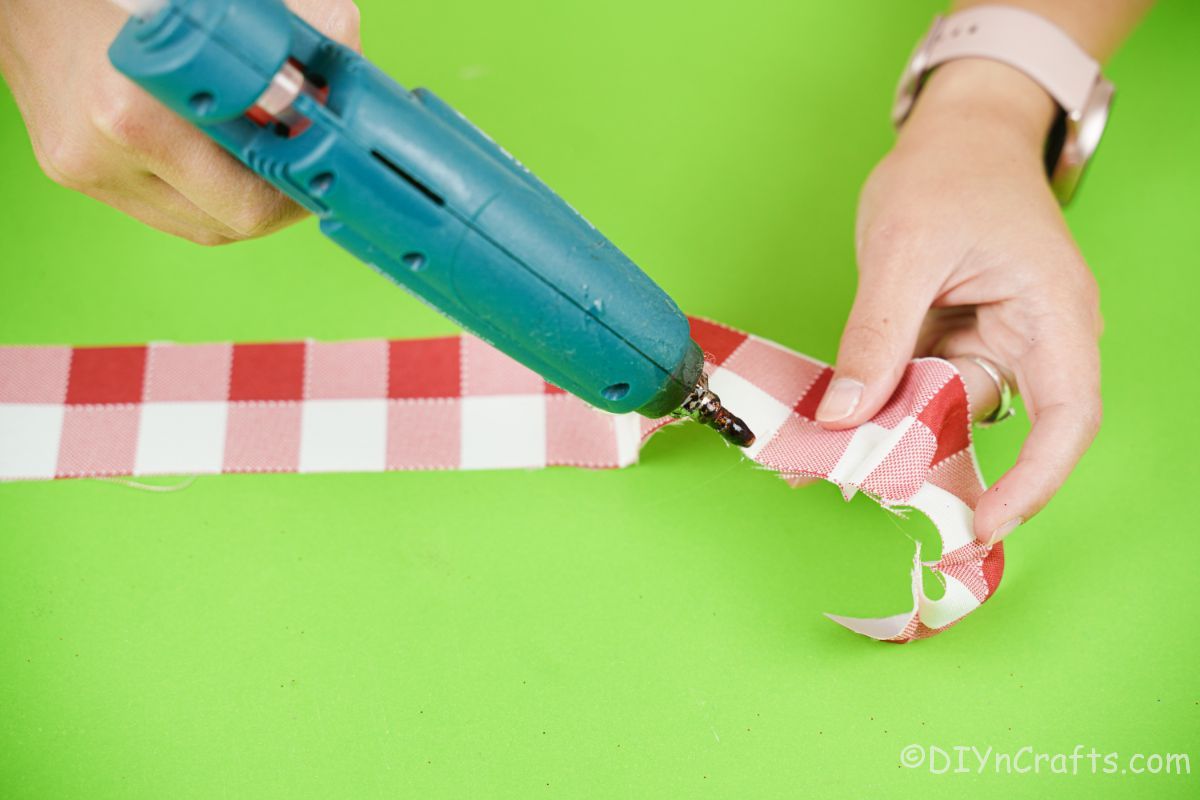
Starting at one end of the fabric or ribbon, fold every 1 ½ inches and glue at the top to create a ruffle look.
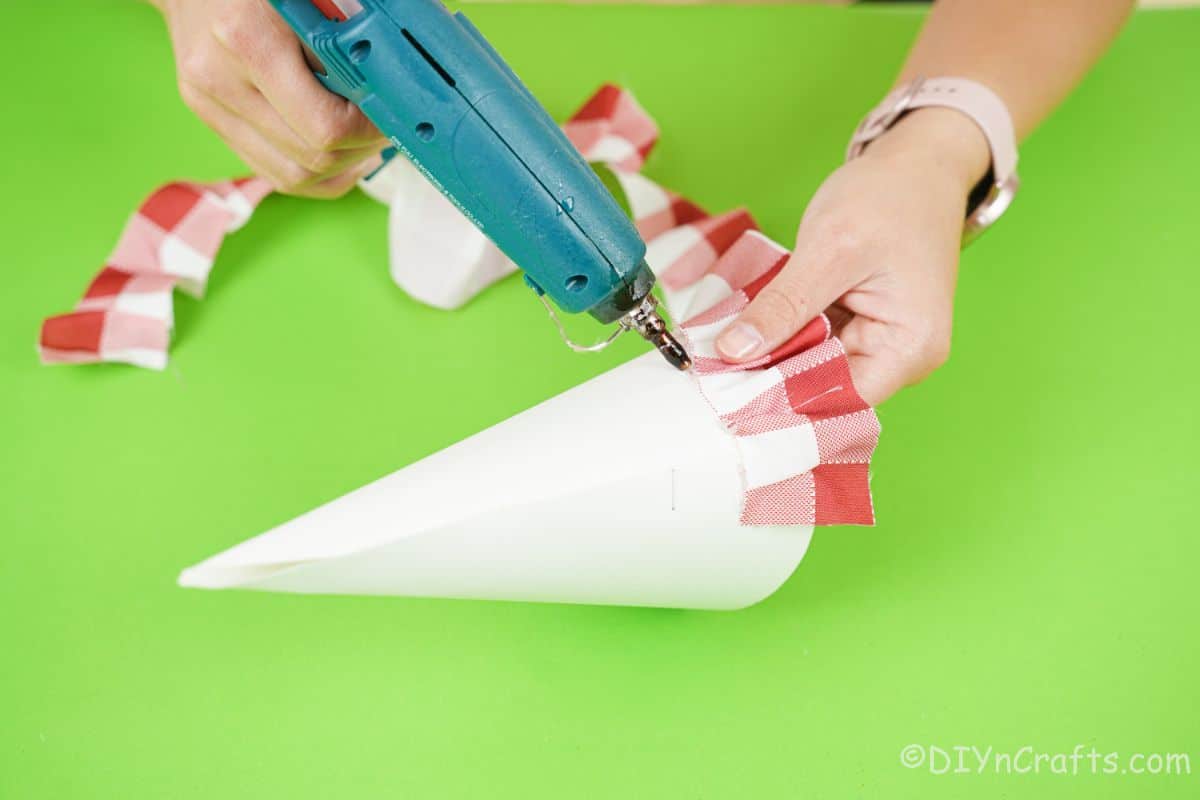
Once the ribbon has been glued into ruffles, begin on the base of the cone and glue in place, wrapping around it and gluing every few inches as you move upward.
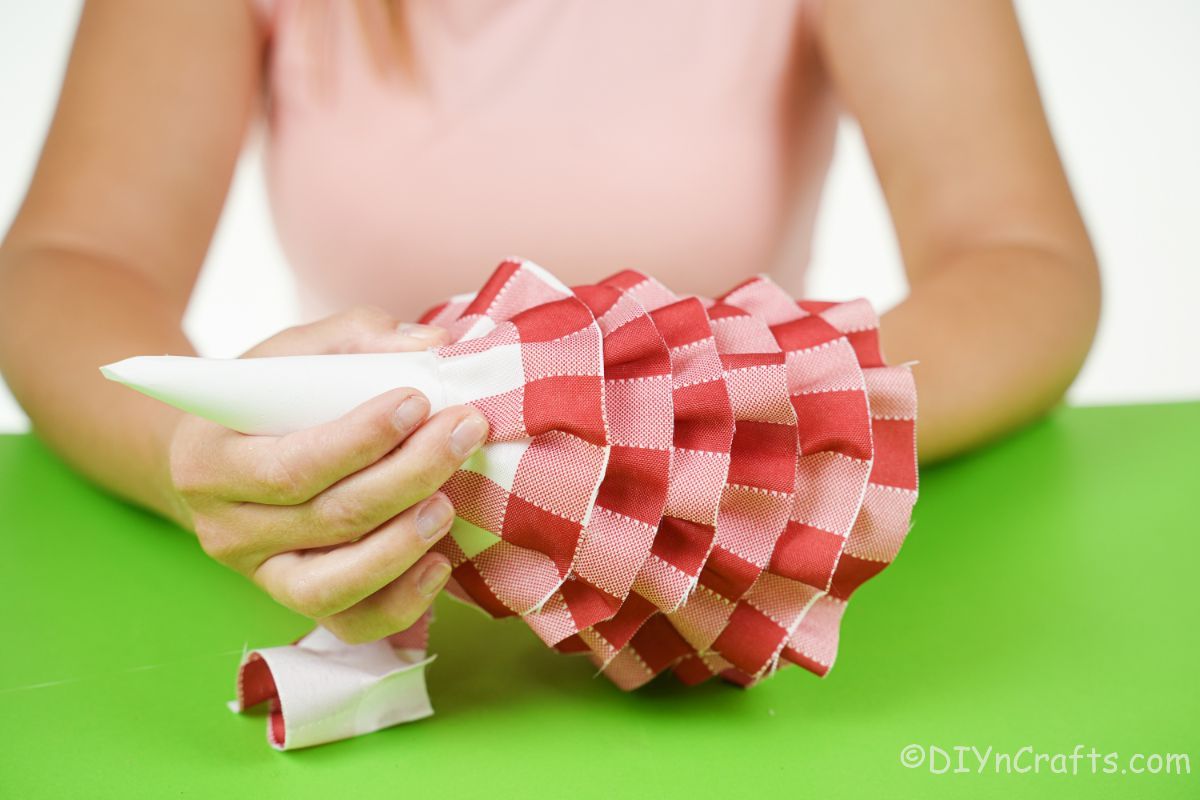
Continue until the entire cone of paper is covered in ruffles of fabric or ribbon. Trim the end and glue so all of the paper is covered.
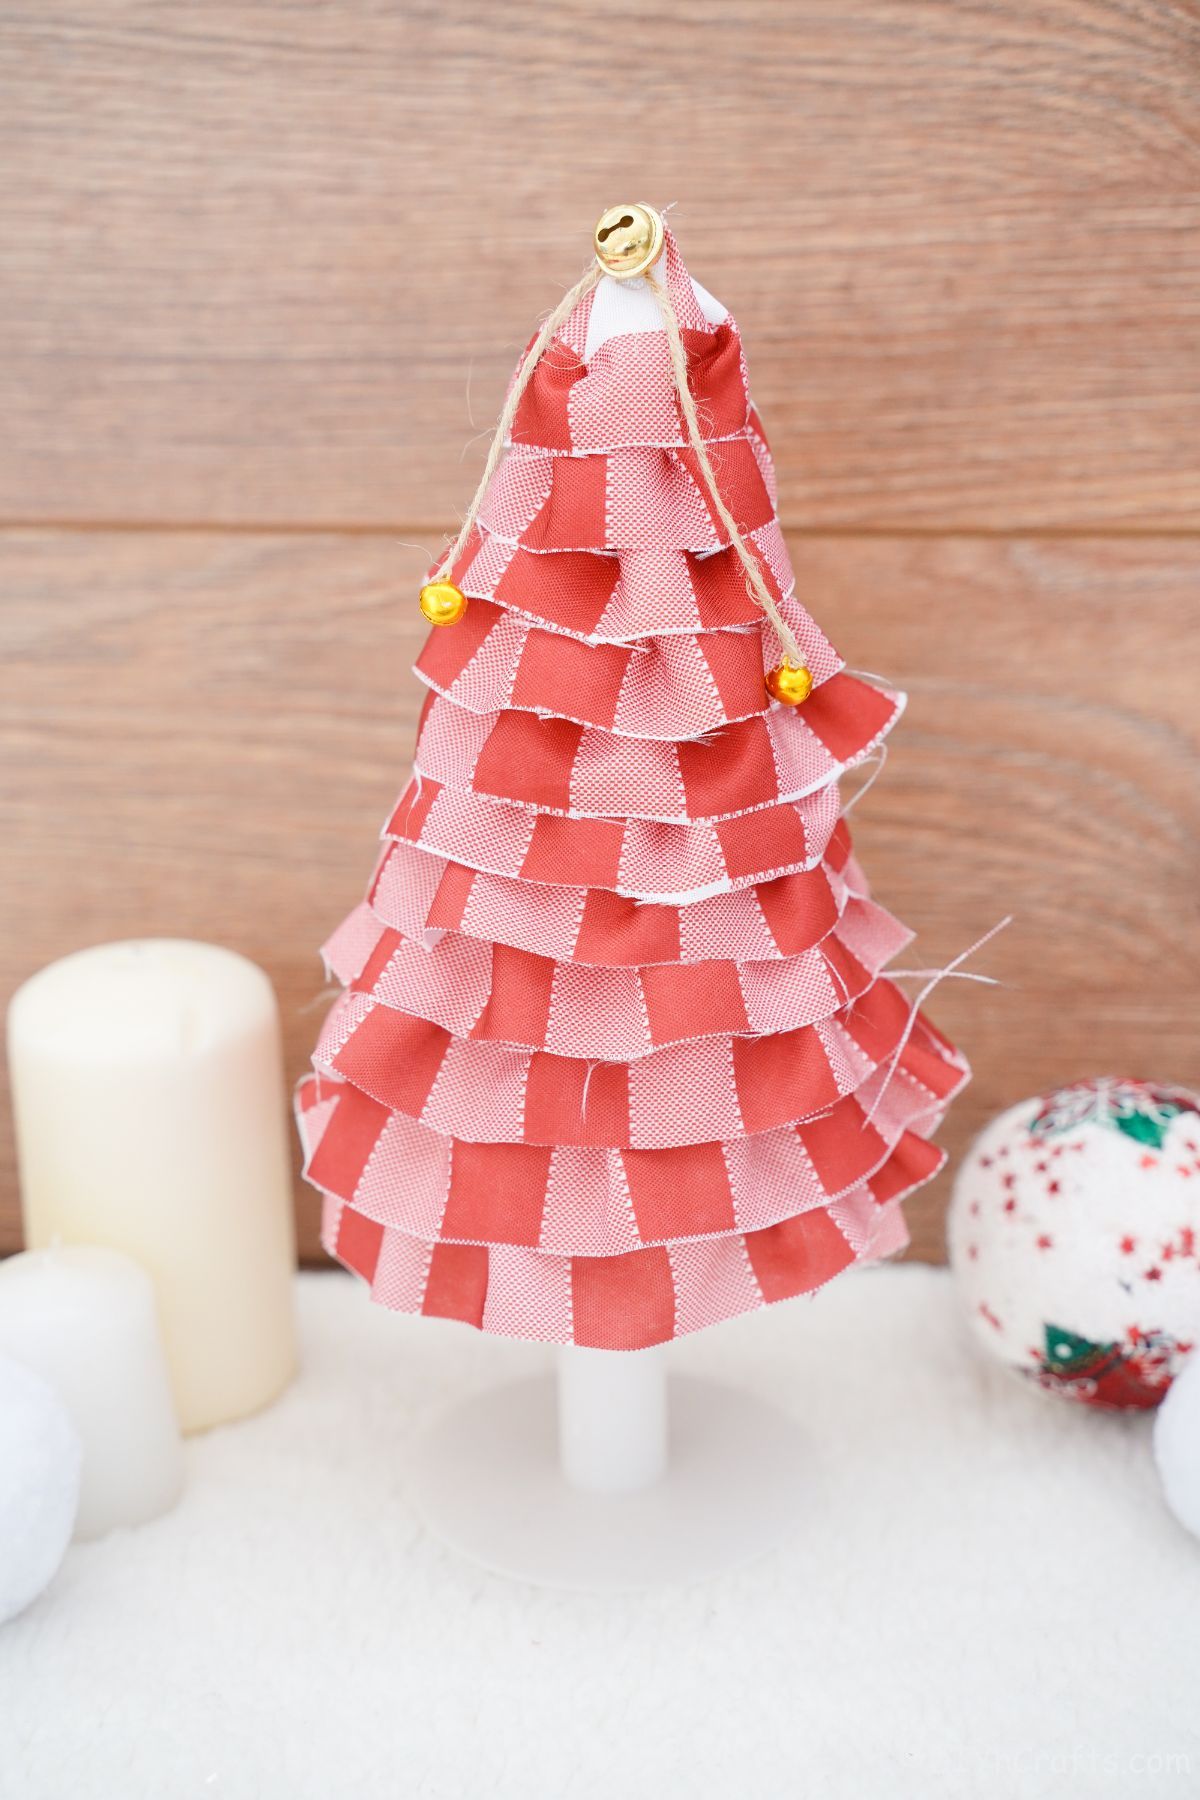
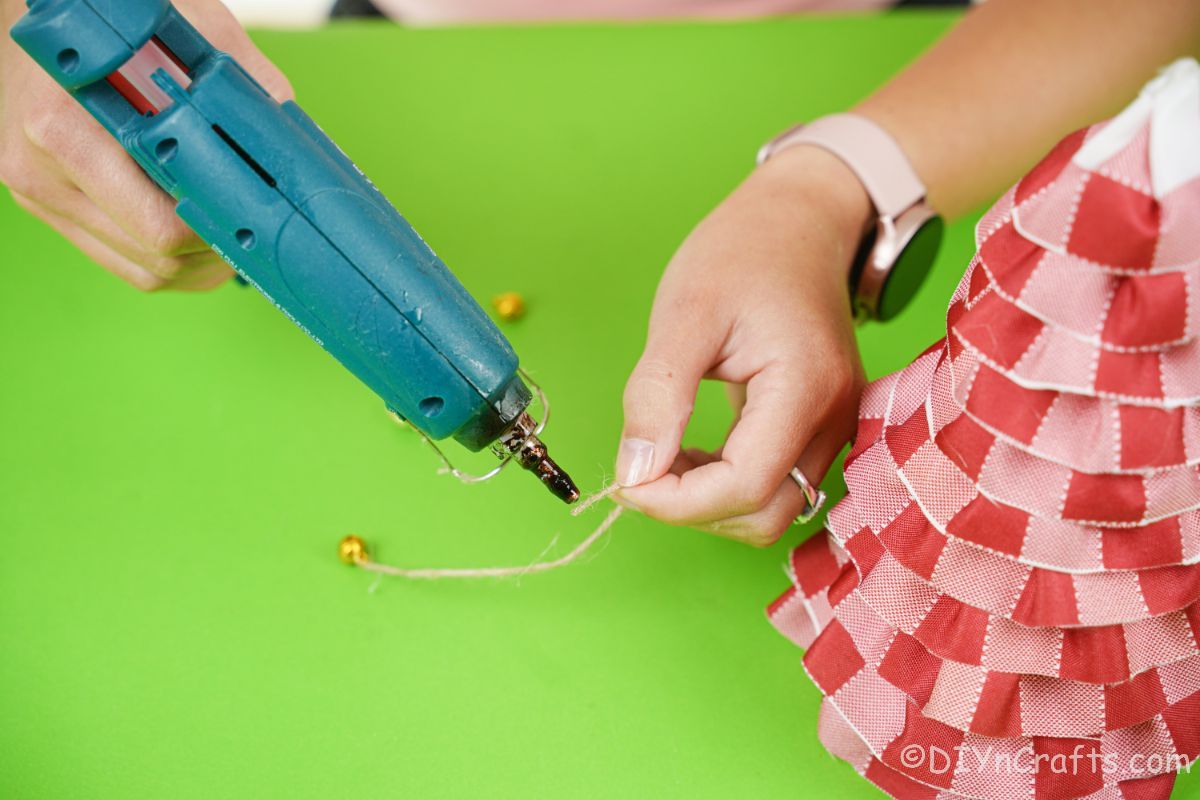
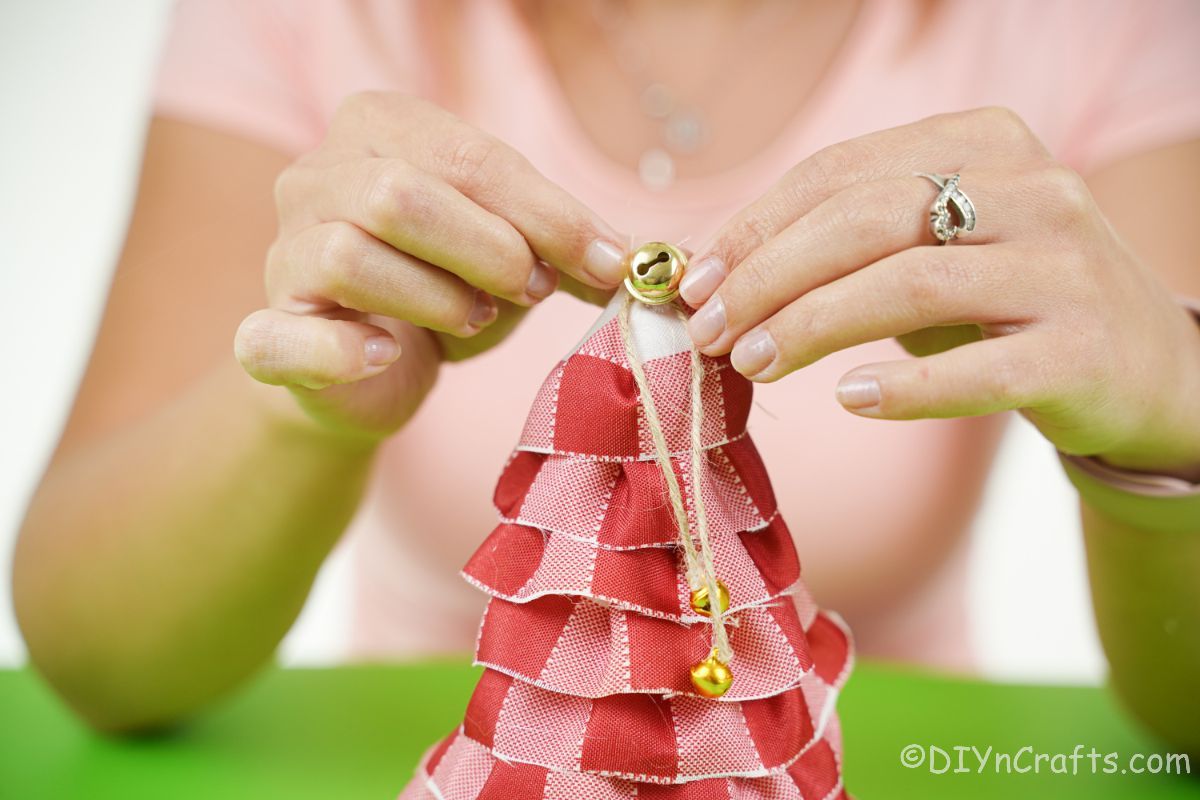
Cut a length of twine and attach a small bell to each end.
Glue this to the top of the tree with another bell on top to secure.
Add additional decorations if you prefer with mini ornaments, fake, snow, etc. to finish the tree.
More Miniature Christmas Trees
If you are looking for more ideas to decorate with for your holiday season, below are some of my favorite mini Christmas tree ideas. They are such a great way to add charm to your home without going all out with big trees and ornaments. Bookmark these ideas, pin them to Pinterest, or print the tutorials to make soon!
- 40+ Festive Mini Christmas Tree Decorations
- DIY Mini Christmas Tree From Pistachio Shells
- Easy 3D Paper Mini Christmas Tree
- Festive Paper Strip Mini Christmas Tree
- Decorative Twine-Wrapped Mini Christmas Tree
Easy Plaid Fabric Miniature Christmas Tree
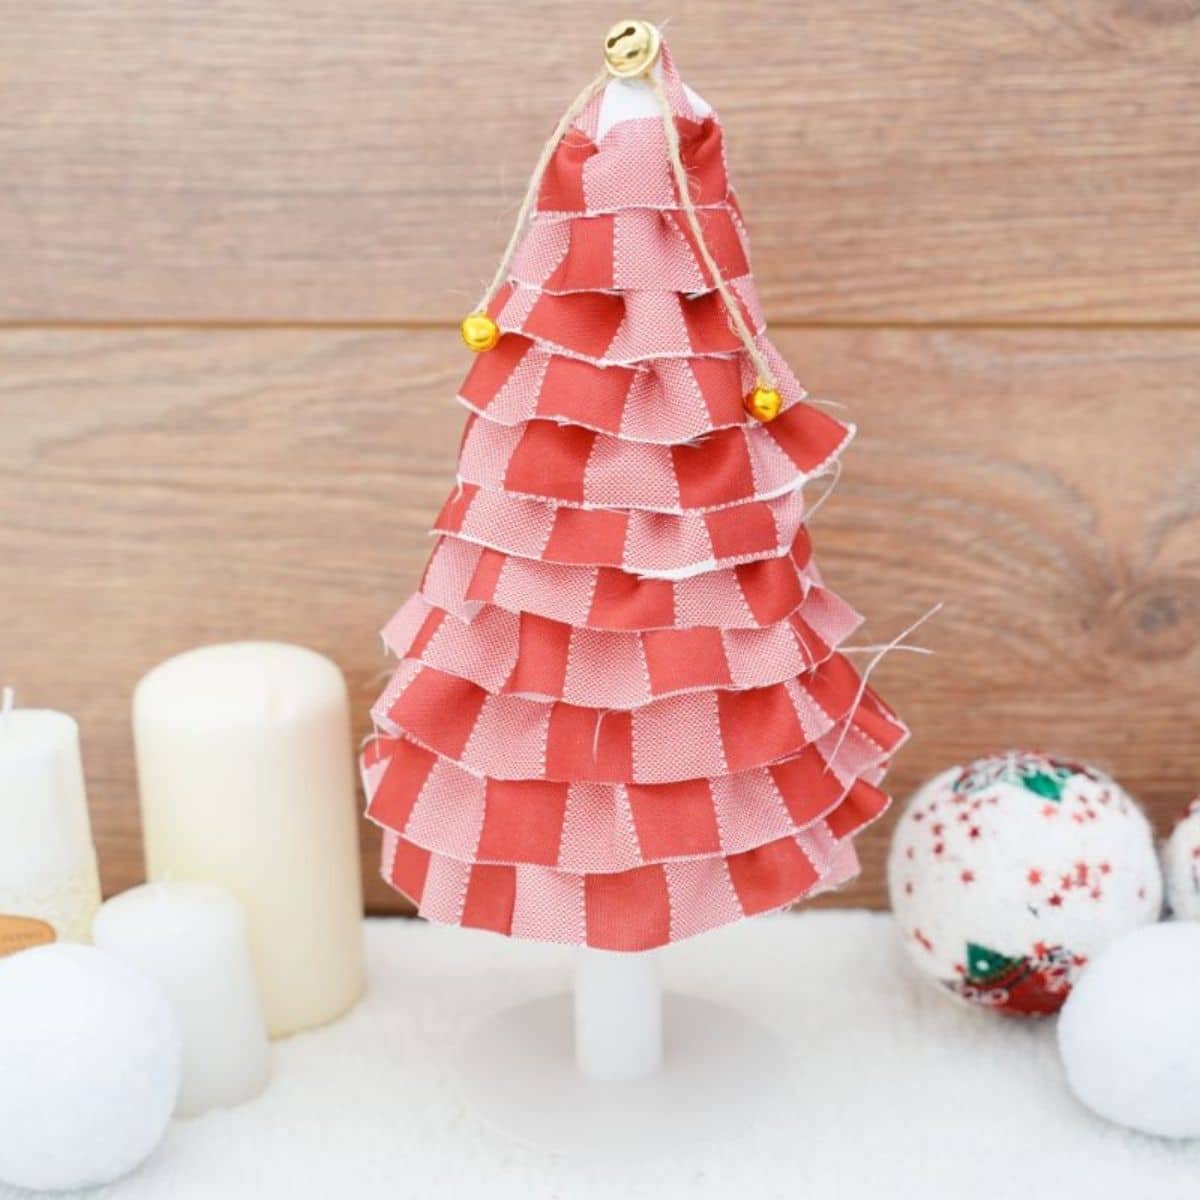
Use a simple scrap fabric or ribbon to create a gorgeous fabric miniature Christmas tree to decorate your holiday table!
Materials
Instructions
- If using fabric, cut so you have 1 ½ to 2 yards of 3" wide fabric or ribbon.
- Measure and cut out a triangle of paper with a rounded base, and then roll it into a cone shape then glue the edge closed.
- Starting at one end of the fabric or ribbon, fold every 1 ½ inches and glue at the top to create a ruffle look.
- Once the ribbon has been glued into ruffles, begin on the base of the cone and glue in place, wrapping around it and gluing every few inches as you move upward.
- Continue until the entire cone of paper is covered in ruffles of fabric or ribbon. Trim the end and glue so all of the paper is covered.
- Cut a length of twine and attach a small bell to each end.
- Glue this to the top of the tree with another bell on top to secure.
- Add additional decorations if you prefer with mini ornaments, fake, snow, etc. to finish the tree.
Notes
Customize your tree with your preferred color of fabric or ribbon.
Recommended Products
As an Amazon Associate and member of other affiliate programs, I earn from qualifying purchases.
-
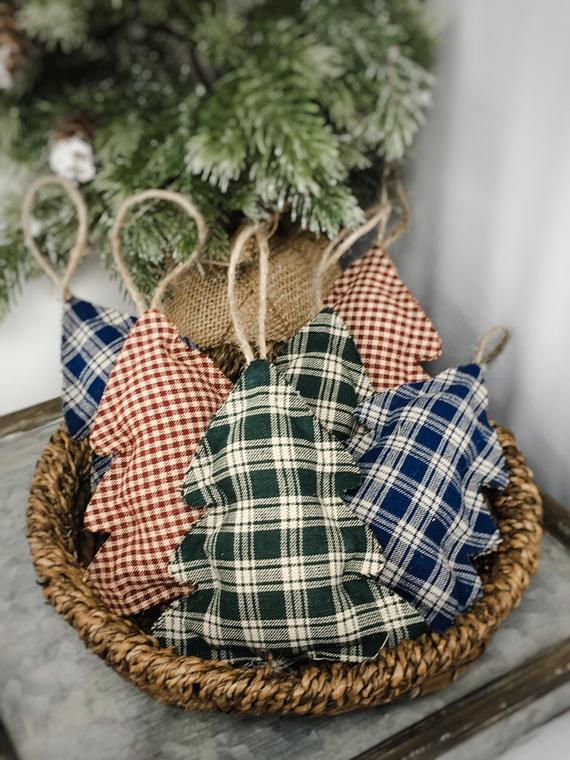 Fabric Christmas Trees Farmhouse Decor Rustic Christmas | Etsy
 -
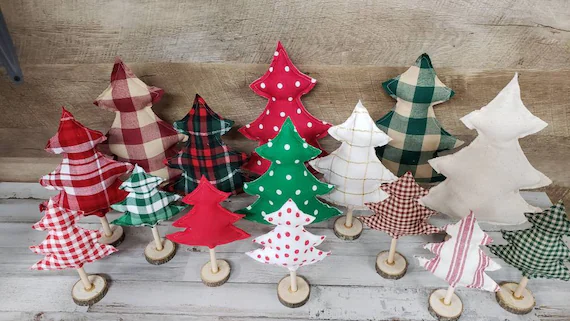 Farmhouse Fabric Christmas Trees Farmhouse Christmas Decor | Etsy
 -
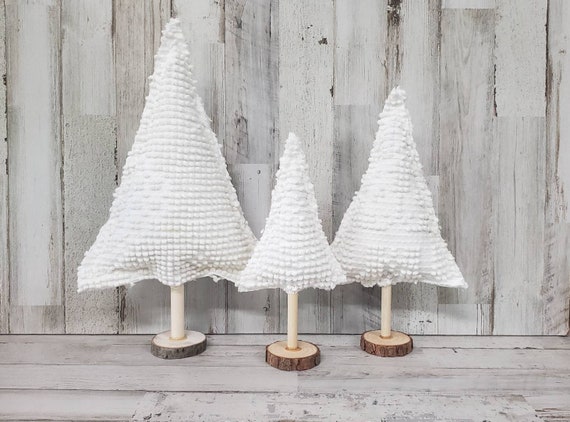 Chenille Fabric Christmas Trees Chenille Decor Farmhouse | Etsy
 -
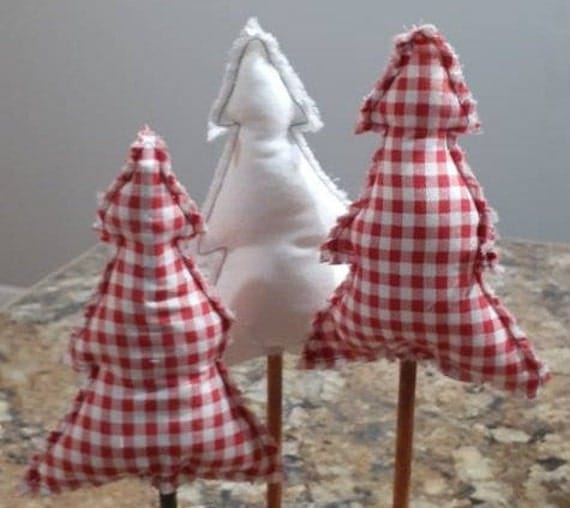 Farmhouse Christmas Trees Fabric Christmas Tree Decor | Etsy
 -
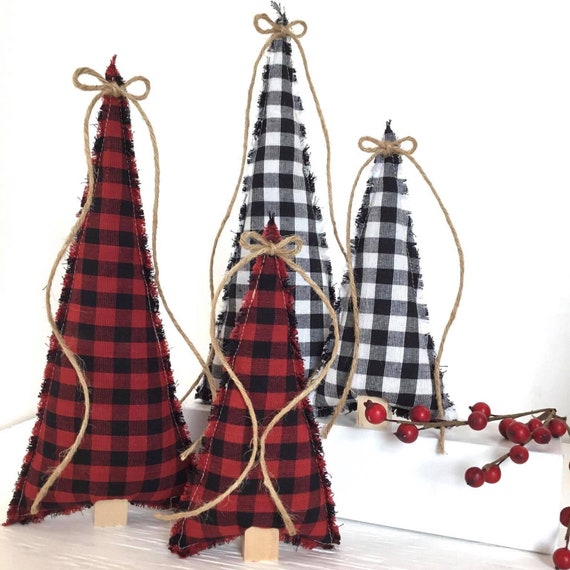 Farmhouse Mini Christmas Tree on Stand Mounted Fabric Mini | Etsy
 -
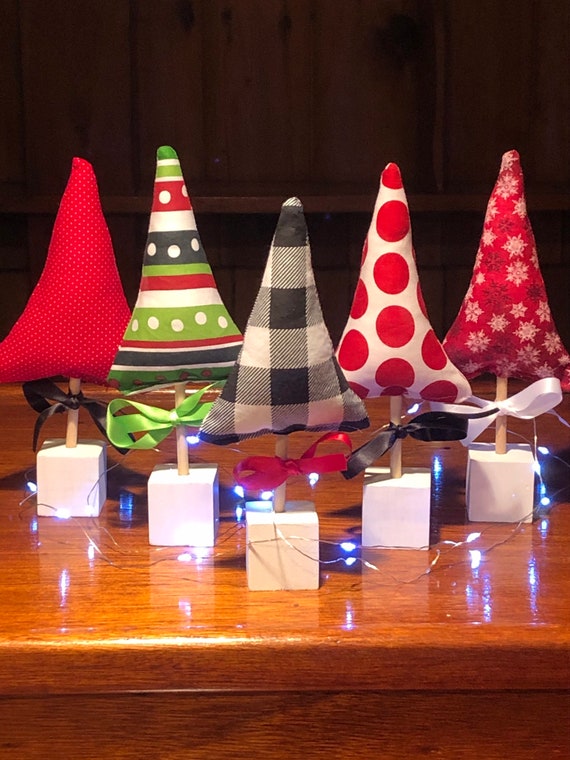 Fabric Christmas Tree on Stand | Etsy
Finished Project Gallery
Add finishing touches like a bit of fake snow or even some greenery around the base of your tree if desired.
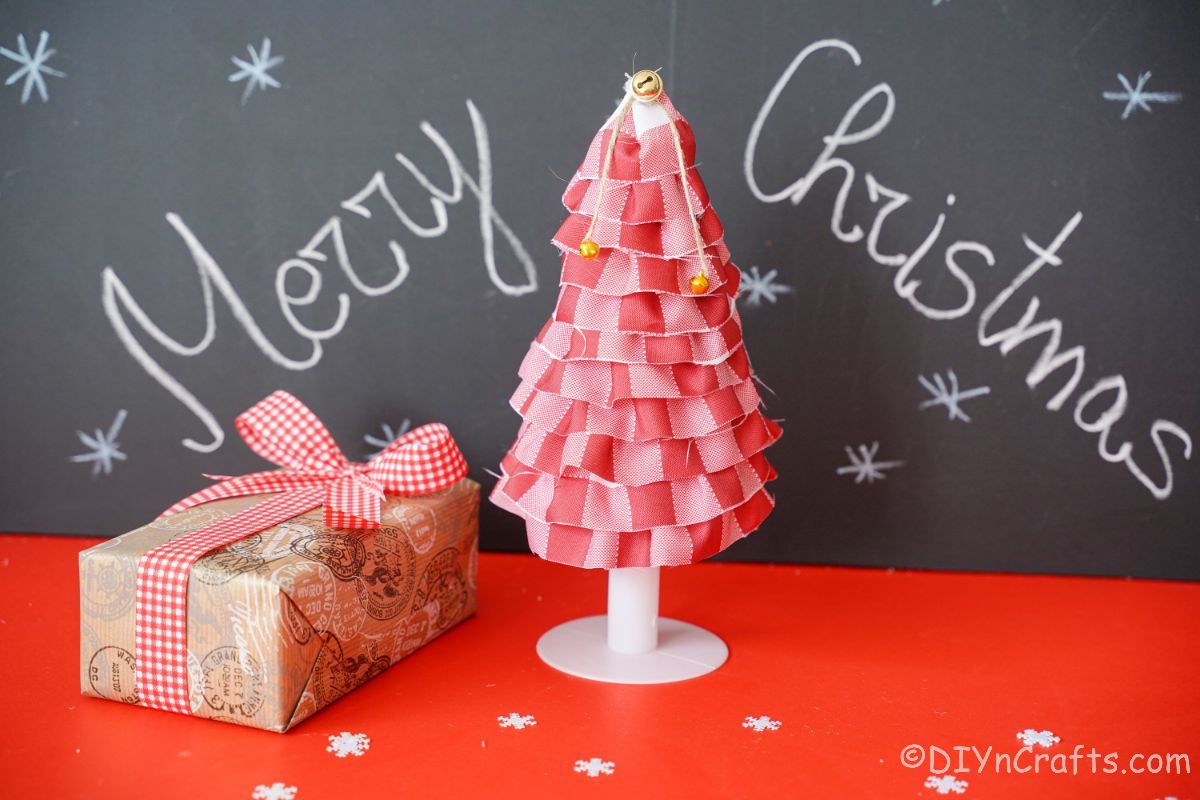
These are a perfect addition to your holiday centerpieces and mantle!











Leave a Reply