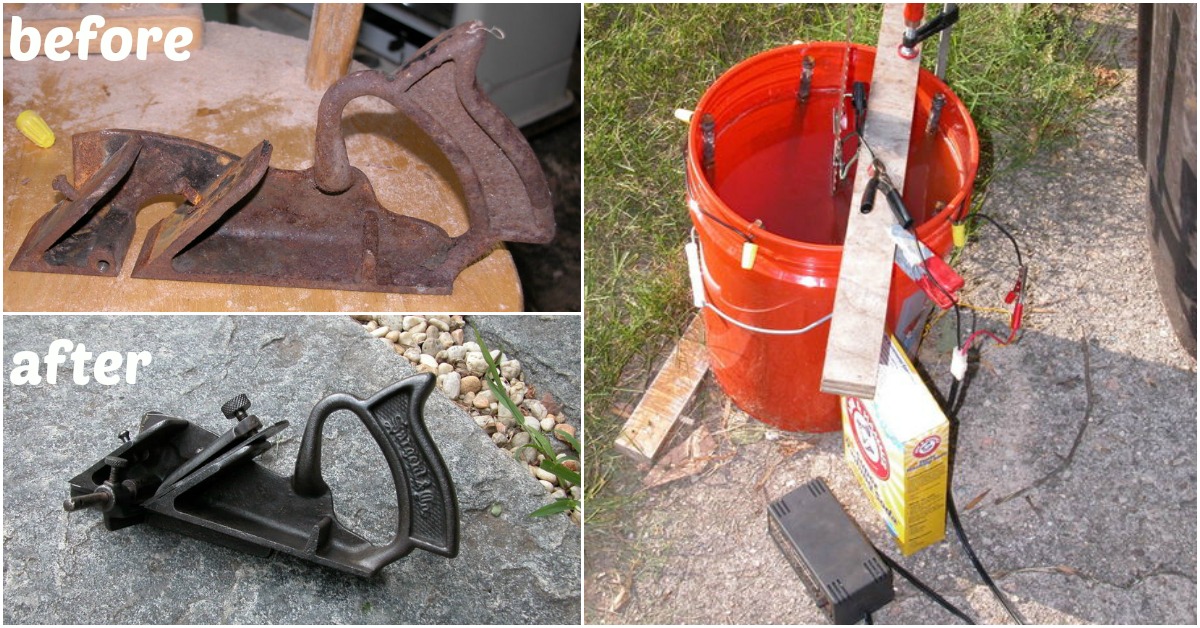
Don’t let all the supplies and steps deter you – this is actually a very easy thing to do, and you’ll be seriously happy about the end result!
You will need:
- Clean 5 gallon plastic bucket or container
- 5 x 18in.x ½in. steel rebar to act as electrodes (NB: not stainless steel)
- 12 AWG insulated copper wire in 2 colors
- 5 x yellow wire nuts
- Several red wire nuts
- pliable tie wire, non-insulated
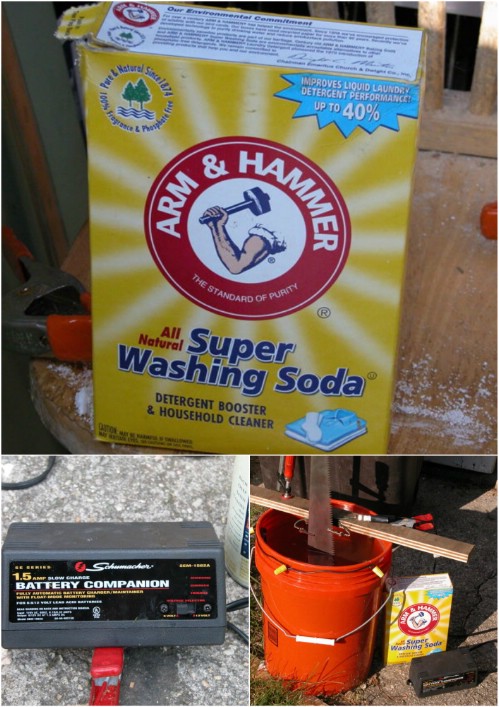
- Washing soda (sodium carbonate)
- Anti-oxidant goo, e.g. Noalox
- Small battery charger or power supply, e.g. 1.5amp 6 volt
- Variety pack of alligator clips
- Outside outlet / extension cord
- GFCI protected outlet
- Miscellaneous clamps / small boards
- Drill with ¼ bit
- Wire cutting and twisting pliers
- Wire brush
- Anti-rust spray / oil
Step 1: Get Ready
Gather all your supplies. You shouldn’t have to spend too much since you’re likely to have a lot of these items lying around (or hubby might); the rest can probably be found at Home Depot.Step 2: Assemble Container
You want to place the rebar around the inside of the bucket in even intervals, so mark off the areas and drill two small holes about ½in. apart for each rebar. Then loop 5in. of the tie wire through the holes and around the rebar, lubricate the bar with the anti-oxidant goo, twist the wire and cut off the rest so that 1in. remains.Next, you’ll need to make four sections of copper wire with stripped ends to connect to each tie wire, but don’t connect the first and last.
Fill the bucket with water nearly to the top and mix in five tablespoons of the washing soda.
Step 3: Set the Hanging Clips
Lay a non-conductive board across the top of the bucket. Attach a lead of copper wire to the board with an alligator clip on the bottom end – this should be long enough to just hit the water.Step 4: Attach Charger
Before going ahead with this step, make sure that the charger is off. Attach the positive (red +) end of the charger to the rebar wire, and the negative (black -) end to the hanging alligator clip.Step 5: Attach Rusty Item
Clean a small area on the rusty item where you can attach the clip and hang the tool in the water – make sure that it isn’t touching any of the rebar.Step 6: Give it Power
If possible, set your battery to a low setting and turn on the charger to get the show on the road! You’ll eventually see the rust flake off and the water will turn murky and foamy.Step 7: Remove Tool and Clean
The length of the whole process will depend on a few factors, namely, the size of the tool and the amount of power and rust, so it can take anywhere from one hour to two days to rid it of all the rust. Once it’s done the tool will turn black and you’ll be able to wipe off the rust with your wire brush.Step 8: Rust-Proof the Tool
To ensure that your newly de-rusted tool stays de-rusted, rust-proof it immediately with T-9 spray or camellia oil, for example.Important safety tips:
- Do not do this indoors as bubbles that form contain hydrogen which is highly flammable.
- Wear eye protection and rubber gloves when working with the solution.
- Make sure that the battery is completely sheltered from the solution so that you can’t have any accidental spills.
Project Via Instructables - Download PDF Instructions here.


Chris Meyer
Would a 12 volt 2 amp power supply work. ..or 6 volt 10 amp supply.
Also if I had a long object could I use a section of 6 inch diameter pipe that was long and used steel rods that were not rebar?