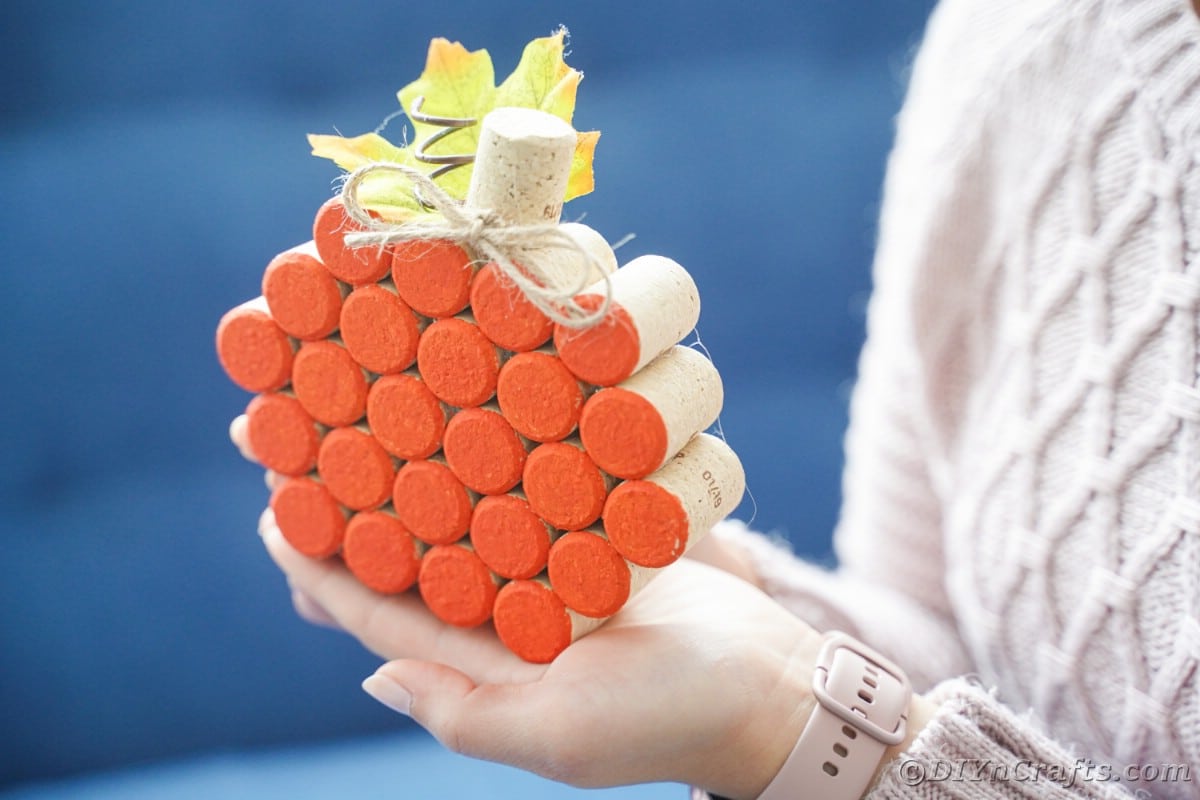
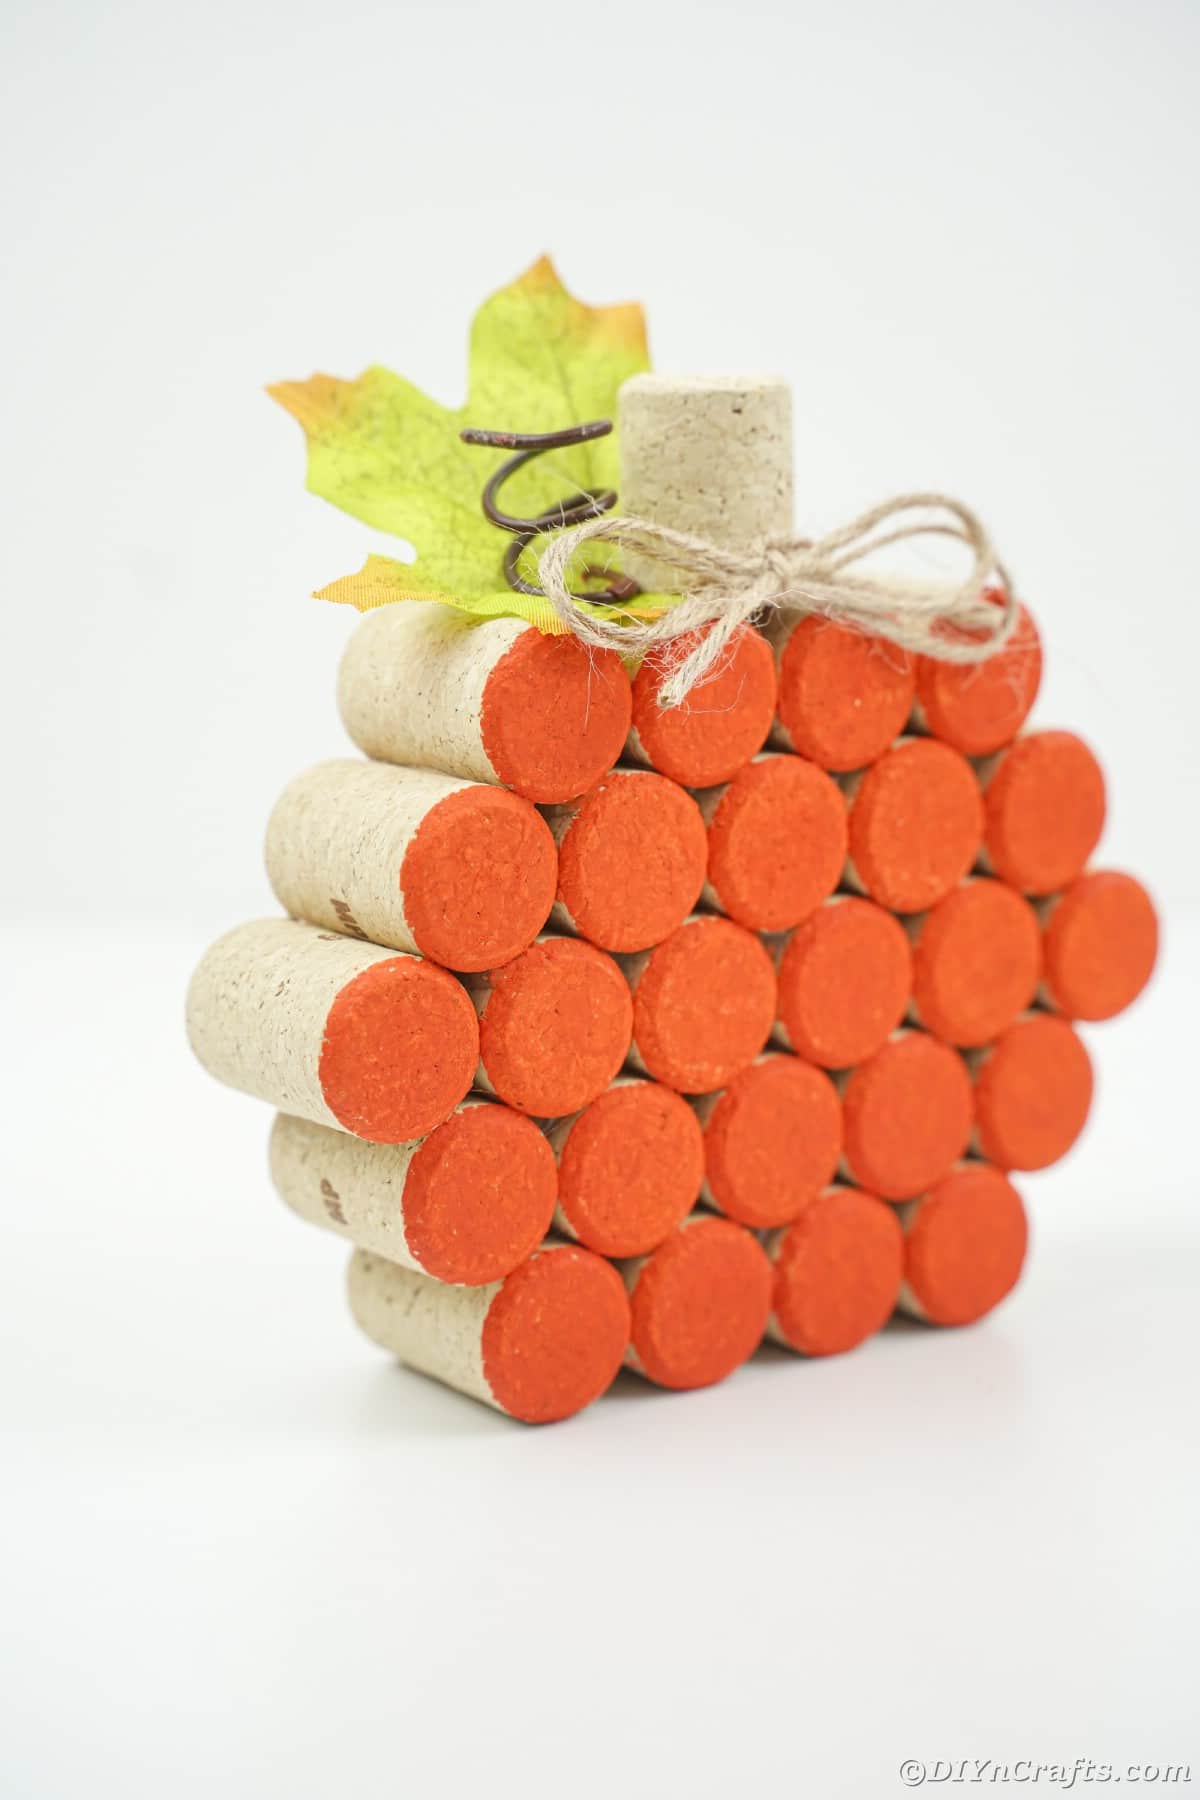
Do you drink wine but never know what to do with those leftover corks? Now is your time to shine! This wine cork pumpkin is super easy to make, a great upcycling project, and ideal for decorating throughout the autumn season. All you need are the corks, some glue, paint, and a few other small craft supplies to turn trash into treasure in a matter of minutes!
Wine Cork Pumpkin
Pumpkins are everywhere from early August through November, but sometimes you need a fake pumpkin for decor that won't rot or go bad before the end of the season. I love adding pumpkins on mantles, on tables, wreaths, and more. This little wine cork pumpkin is not only a fun craft but a beautiful one that is easy to customize for your home and style.
If you have extra corks left after you make your pumpkin(s), then check out this huge list of crafts to make with leftover corks. Tons of ideas from birdhouses to signs and everything in between!
Where Can I Find Wine Corks if I Don't Drink?
You are in luck if you are like me and don't actually drink alcohol. There are tons of ways and places to get used or even brand new corks.
First and foremost, I go to friends and family because some of them will have corks that they are willing to save and give to me when crafting. Secondly, I have asked local restaurants and wineries in my area if I can buy or have corks instead of them being thrown away. You will be surprised at how often they are willing to hold a box of them for you to take off their hands.
Lastly, you may not realize it, but corks are often sold in your local craft store. Since they have become popular in crafting, it's easy to find them at stores that sell craft supplies. Of course, you can also buy them on Amazon in bulk, or even used corks from individuals on Etsy. There is no lack of places to pick some up for your crafting projects.
What Paint is Best for Wine Corks?
I always reach for basic acrylic craft paint for projects using cork. It will stick to the surface and won't soak into the cork too much. Avoid using watercolor or any water-based paint as you won't get as nice of a color and too much of the cork will shine through. If you want a more rustic look, watercolor might be preferred.
Remember though, if you are making this project with children, that whatever paint you choose is non-toxic for safety. Most generic acrylic craft paints are already non-toxic and safe for kids but I always say to double-check for safety.
Should I Paint the Whole Cork?
This is entirely up to you and how you plan to use the pumpkins. If you are going to place them on a shelf or mantle where only the front of the pumpkin shows, then there is no need to paint all of the cork. Just brush the paint over the front of the cork, or perhaps on the top if you think it will show.
If you plan to display this as part of a centerpiece where all sides might be visible, then after you glue the cork together, you may want to go ahead and paint both sides ends, and around the top and sides of the pumpkin shape. That will make it easier for you to display any way you prefer. Just know that this will increase your drying time before you can move on to the next step.
Can I Hang My Wine Cork Pumpkin?
You sure can! Just secure a piece of ribbon, lace, twine, or rope at the top of the pumpkin. You can hot glue this in place, or I like the idea of having it between the cork and hanging over the top so it is even more secure. Then just hang that loop over a nail or hook on the wall or ceiling.
You can also very likely push the cork on the back against a nail or similar hanging hook and it will stay in place without the ribbon, but I prefer the ribbon to prevent the cork from cracking and falling apart too easily.
Supplies Needed
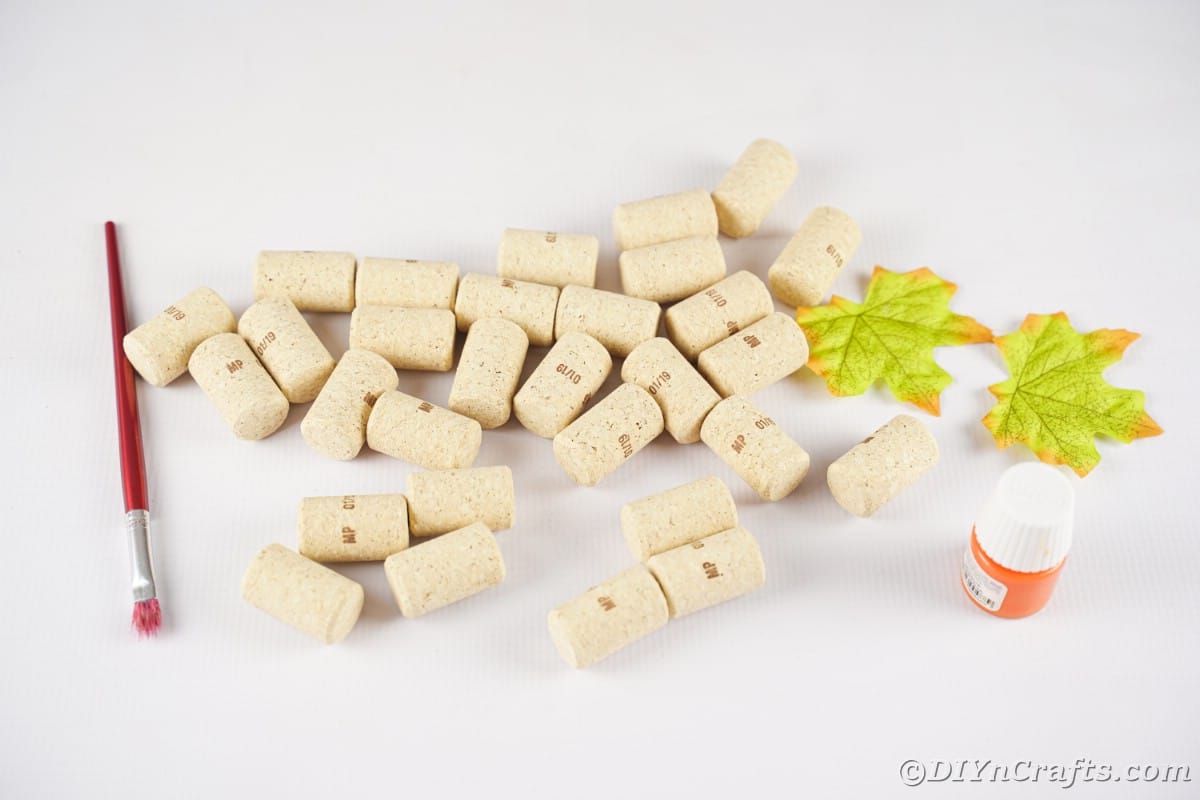
- Wine corks
- Orange craft paint
- Brown moldable wire or pipe cleaners
- Green fake leaf
- Raffia
- Paintbrush
- Scissors
- Hot glue gun
- Hot glue stick
How to Make a Wine Cork Pumpkin
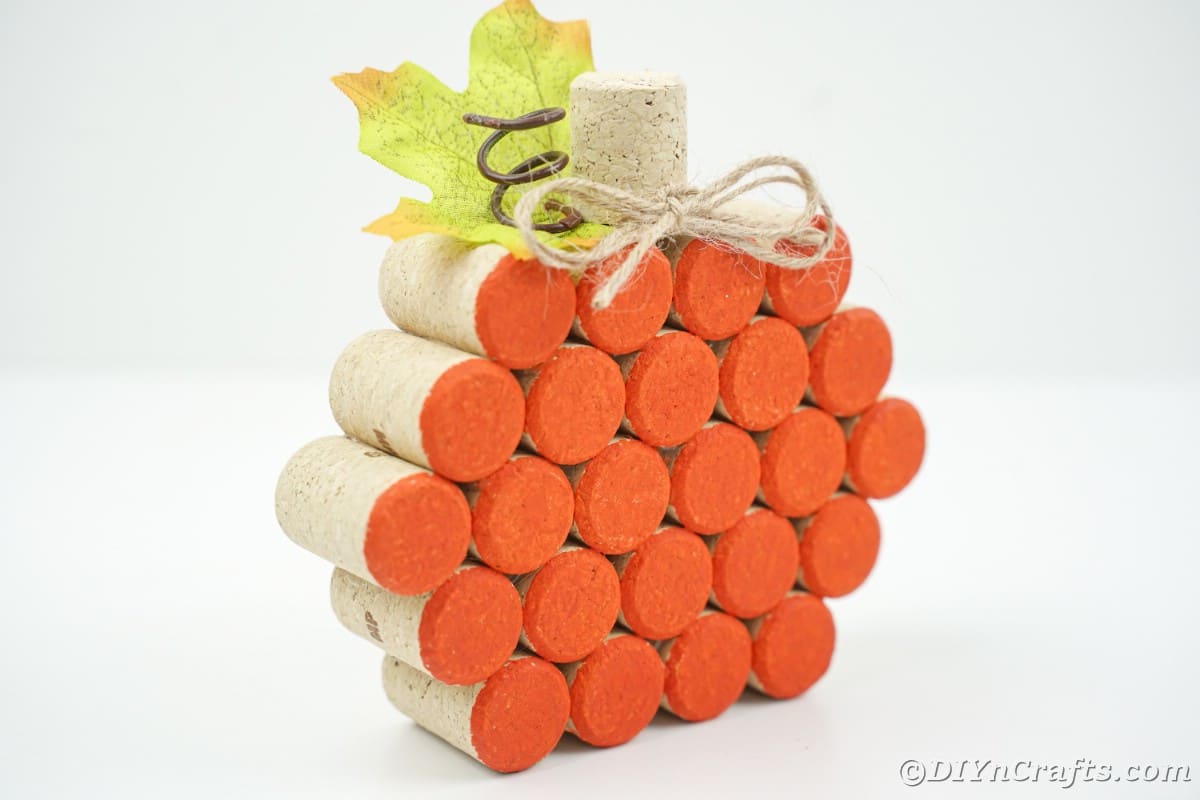
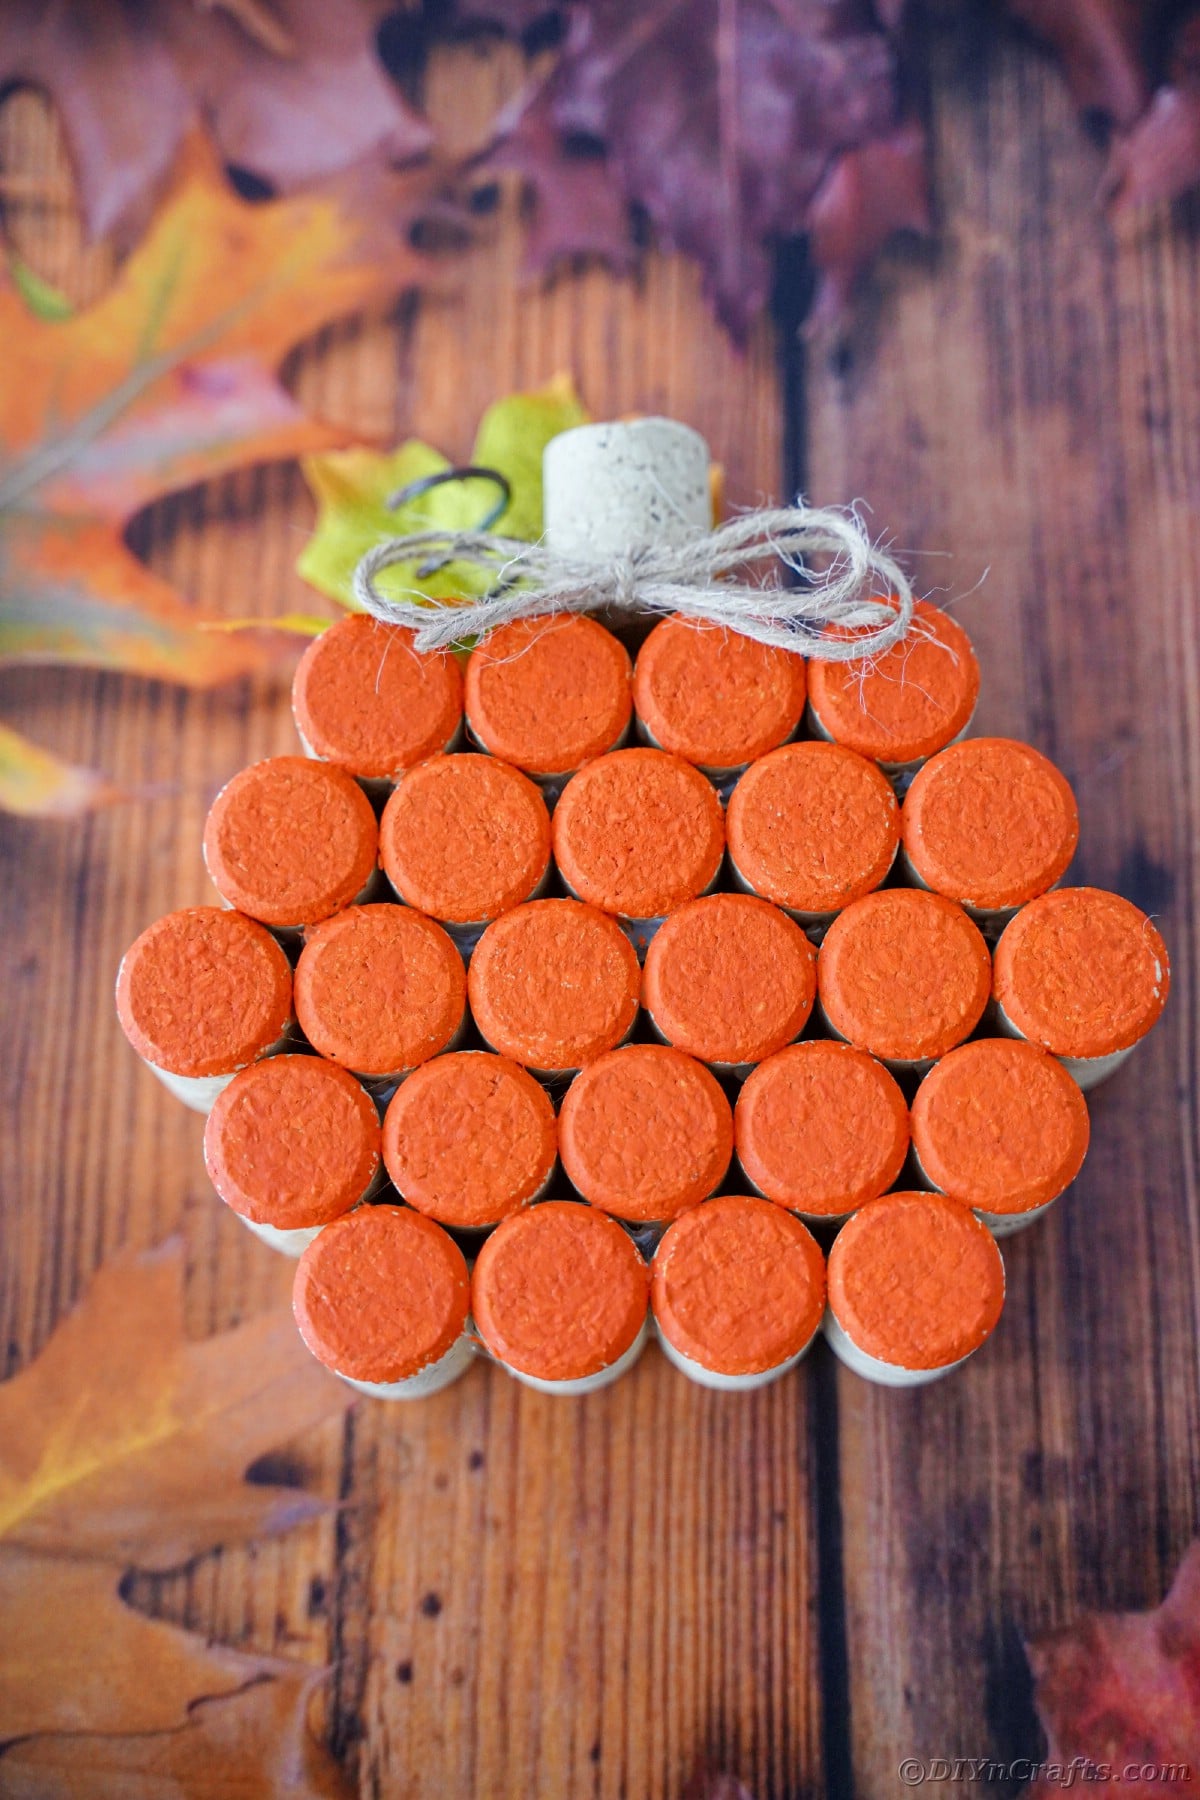
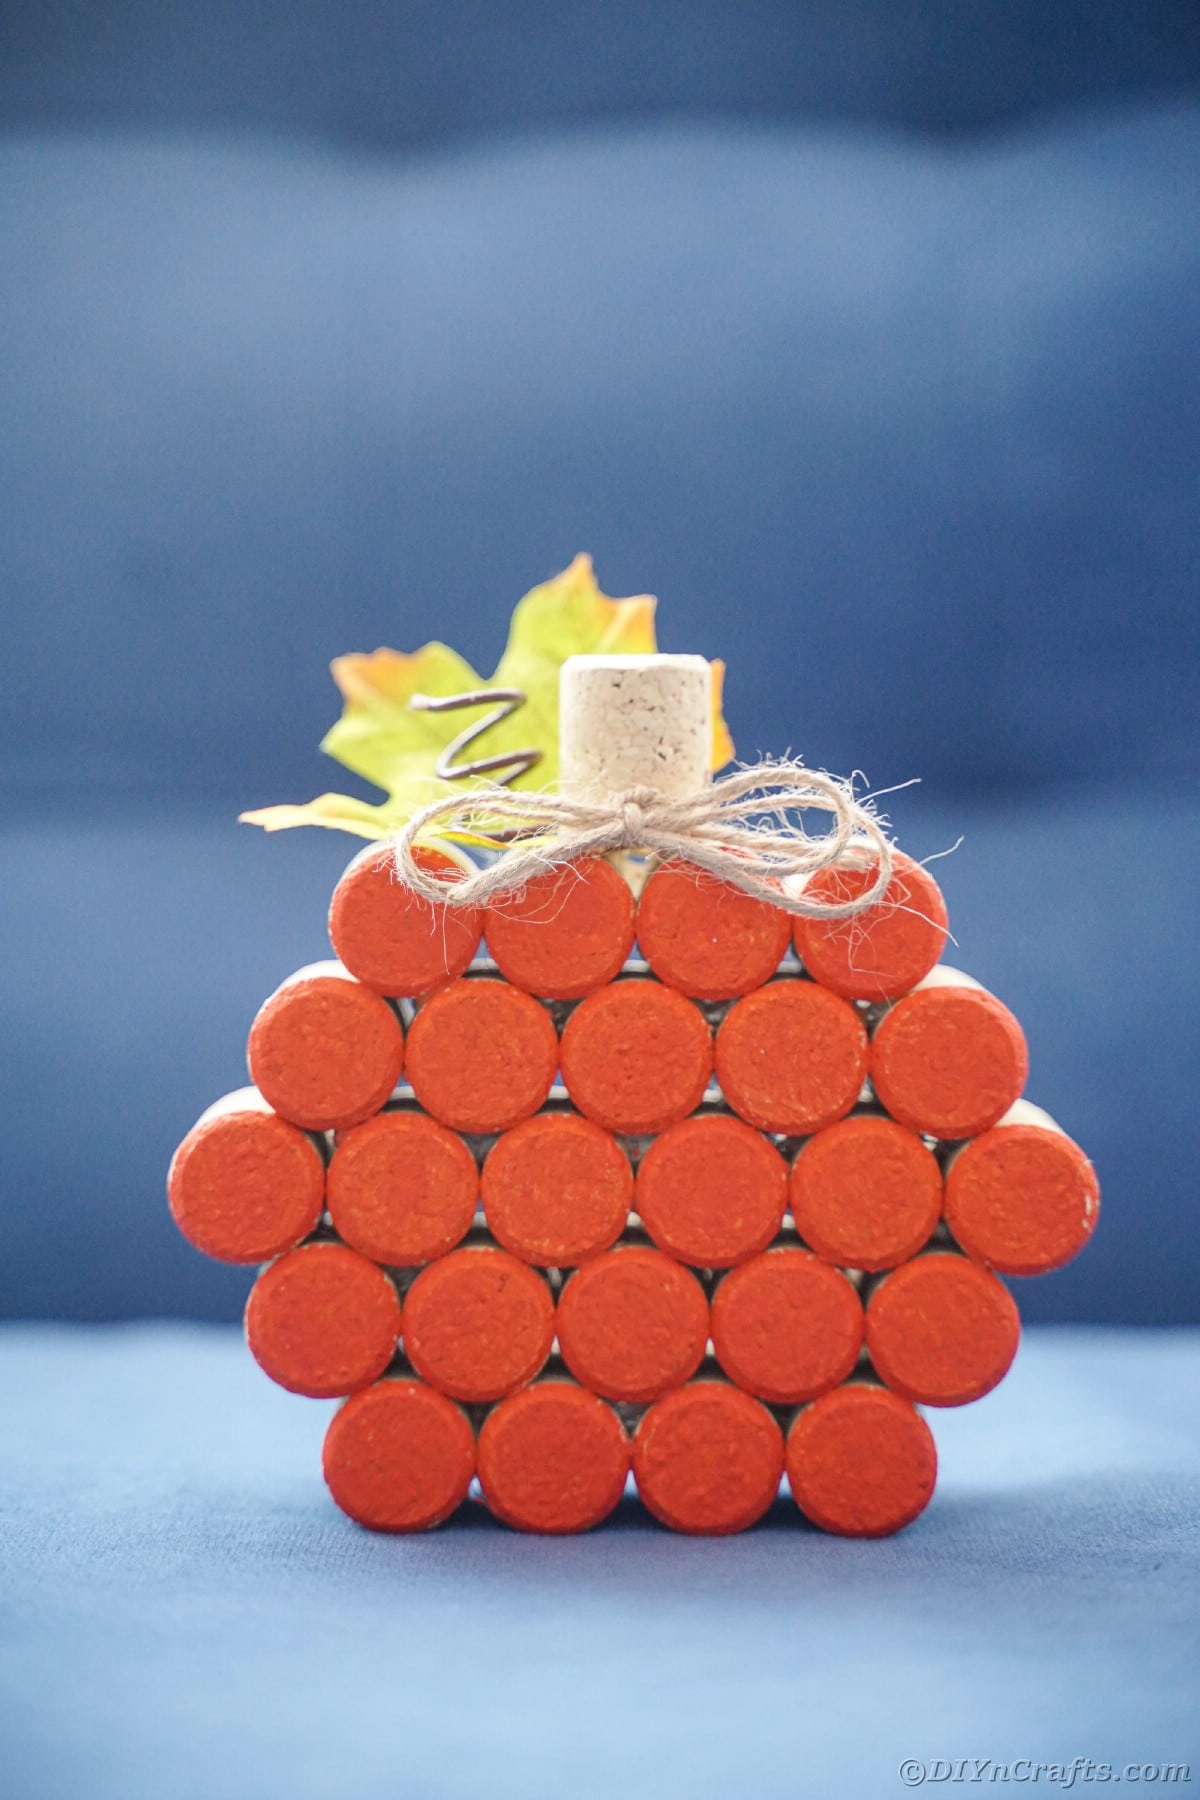
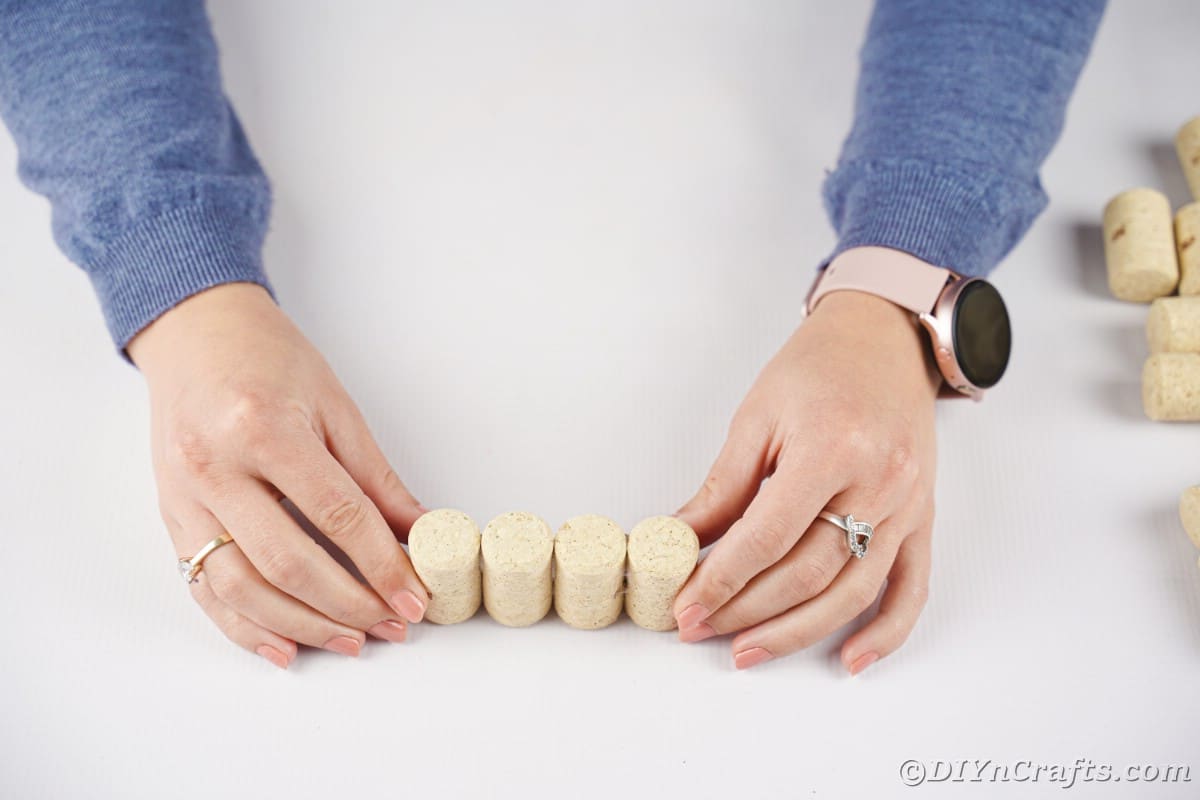
Glue four wine corks together side by side.
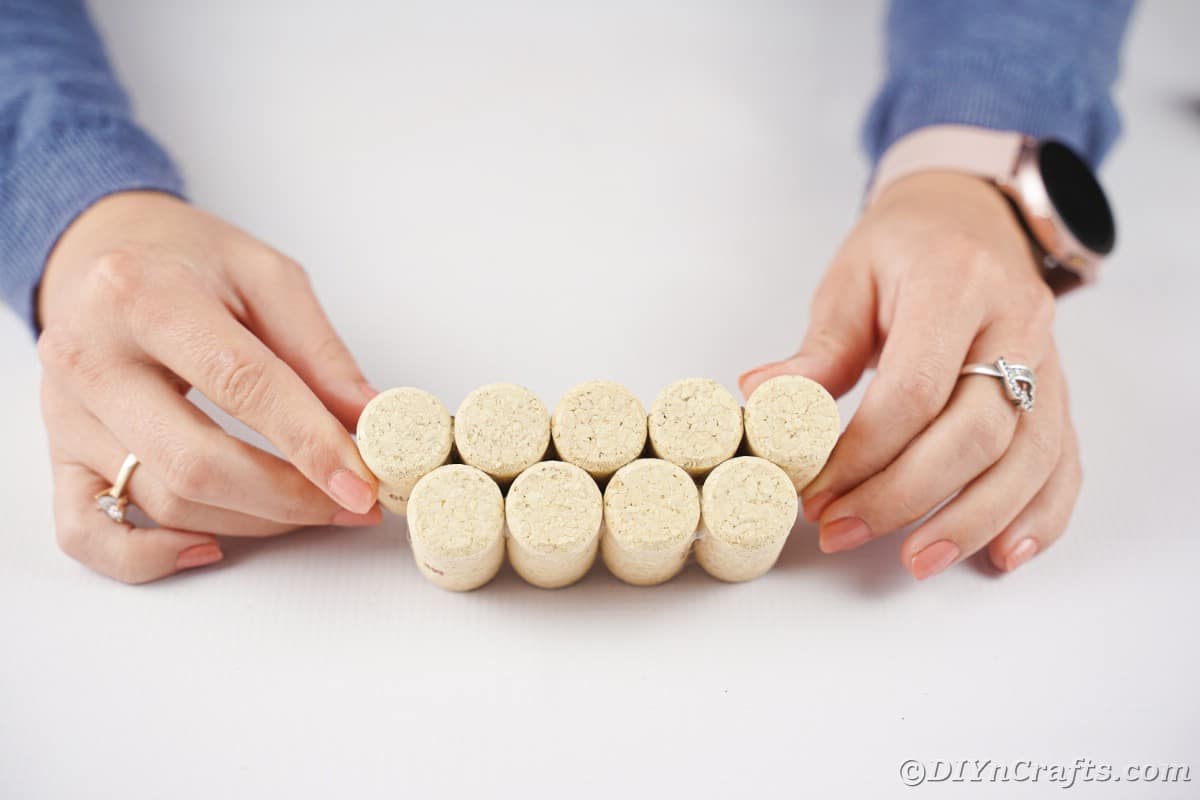
On top of those, glue five wine corks together and to the top of the bottom layer. They will overlap each other slightly.
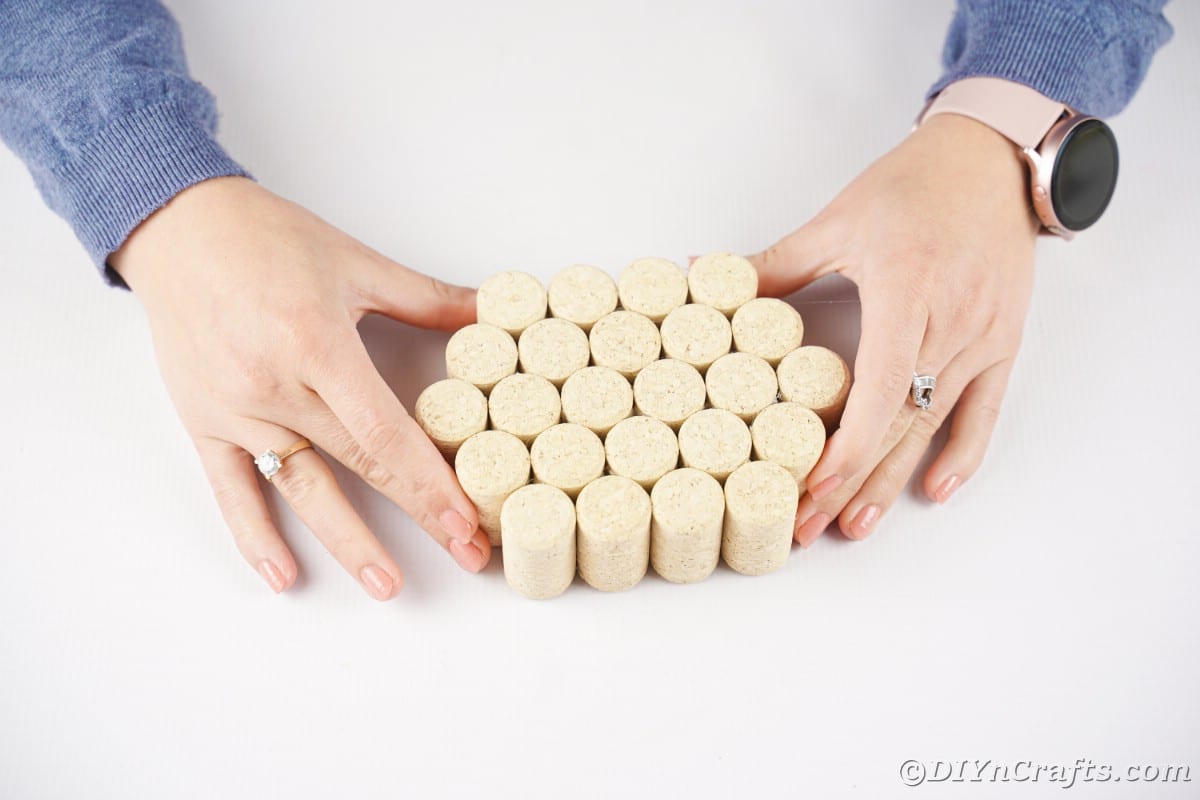
On the third row, glue six wine corks.
For the fourth row, glue five wine corks, and the final fifth row four wine corks. You want to create a smaller bottom with the wider middle of a traditional pumpkin.
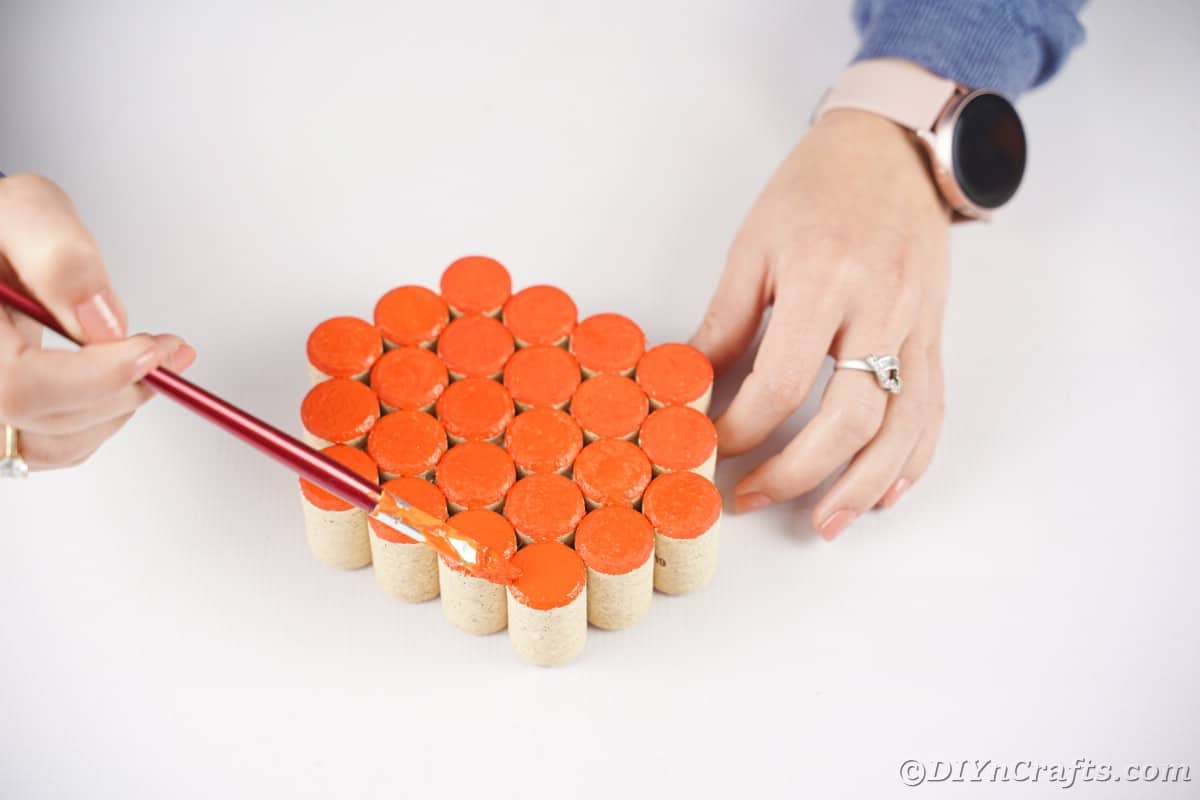
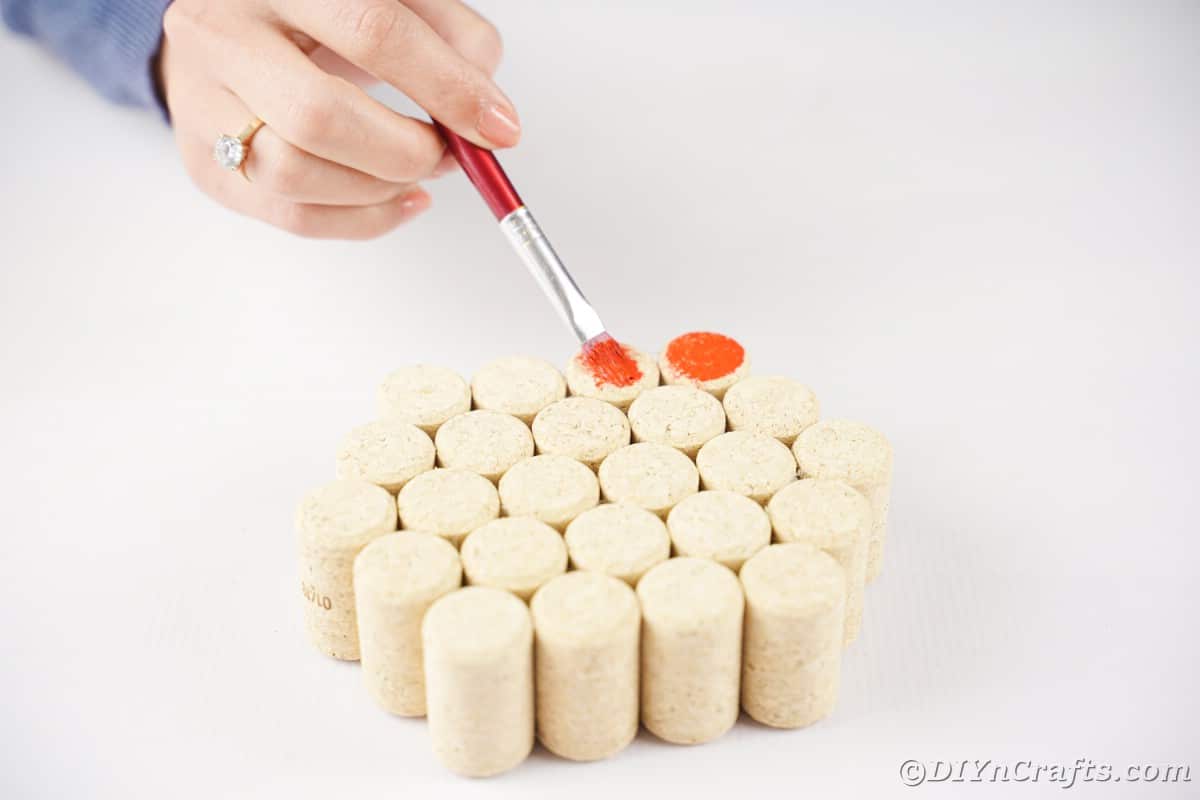
Using a paintbrush, dab the orange paint onto the front of the corks. If you want to paint both sides, allow the first to dry completely before flipping over to paint the back.
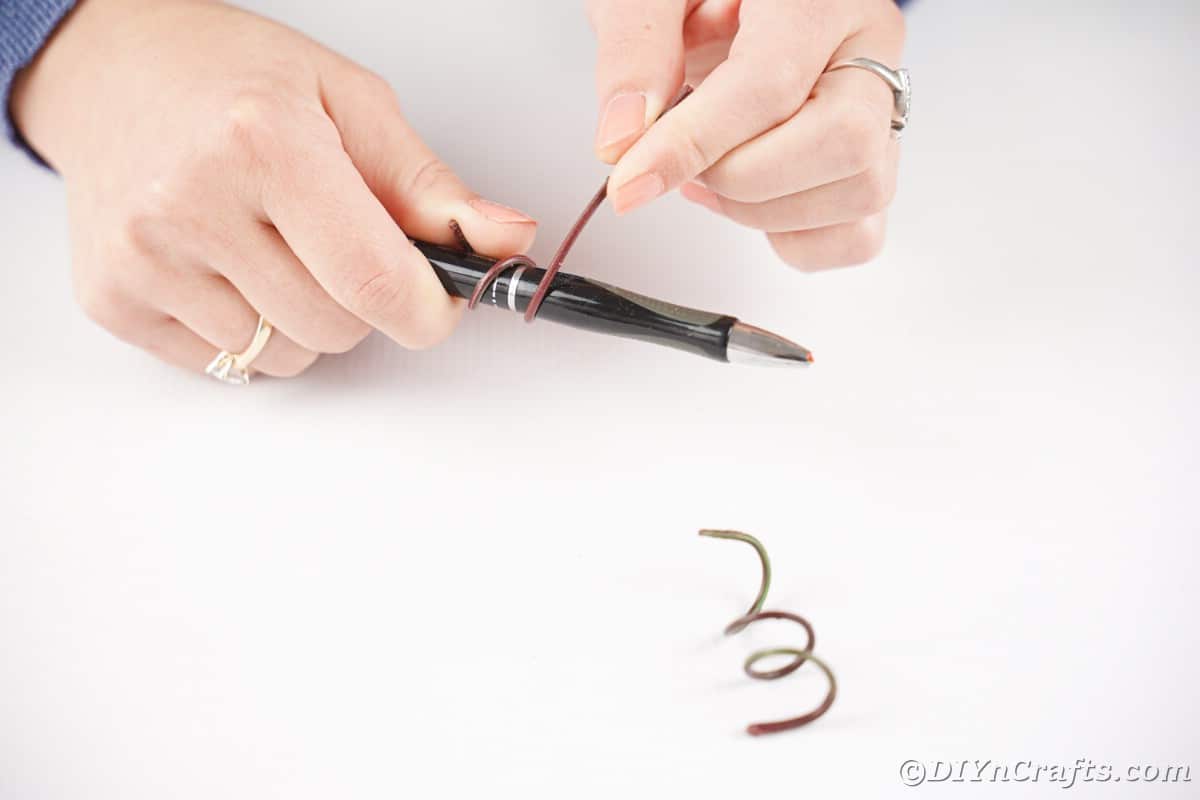
Wrap the wire or pipe cleaner around a pen to create a spring shape.
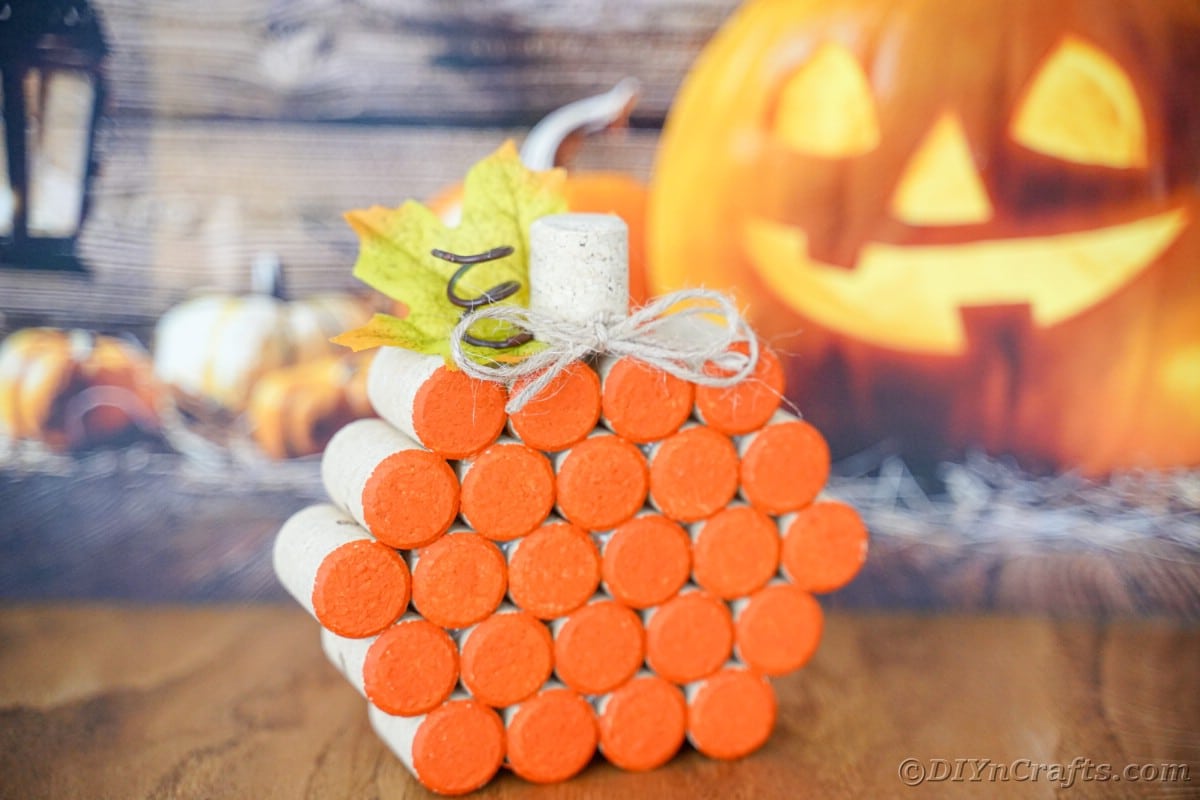
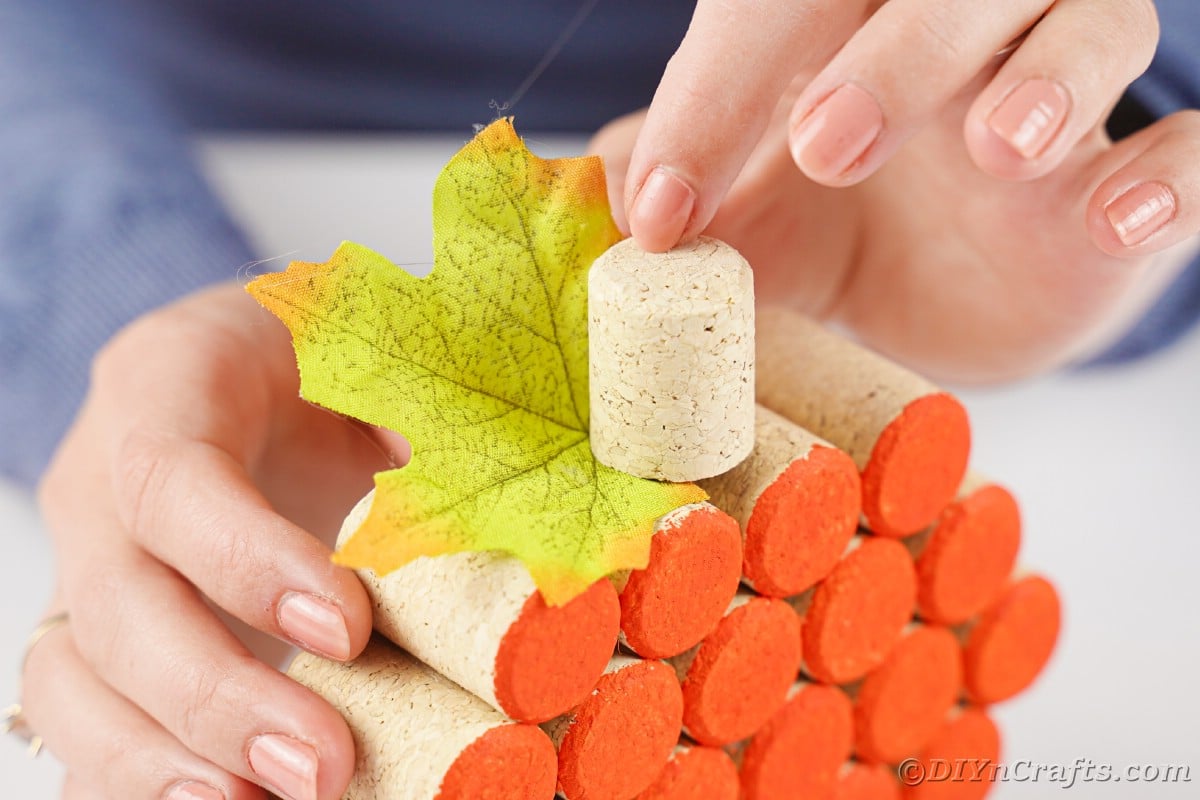
On top of the pumpkin, glue one green leaf.
Then add a single cork standing upright
Next, add the spring.
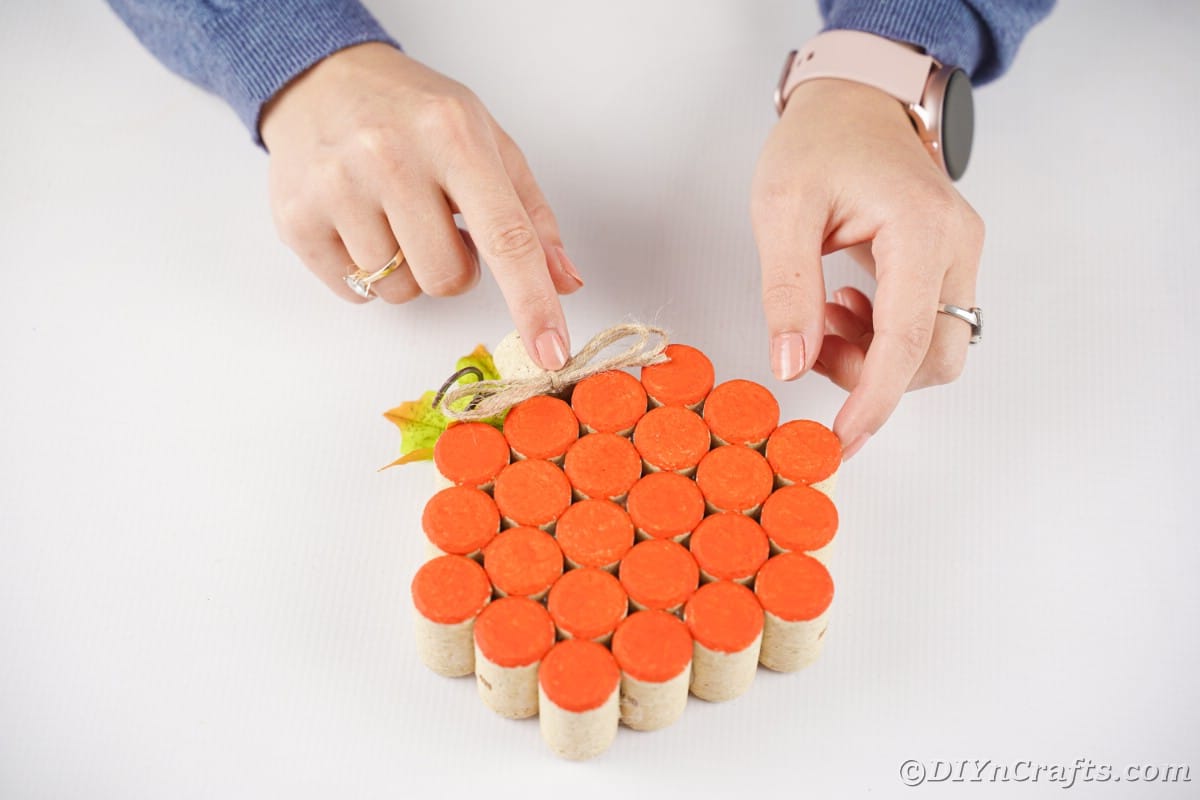
Finally, use a small piece of raffia to create a bow to glue just below the "stem" cork.
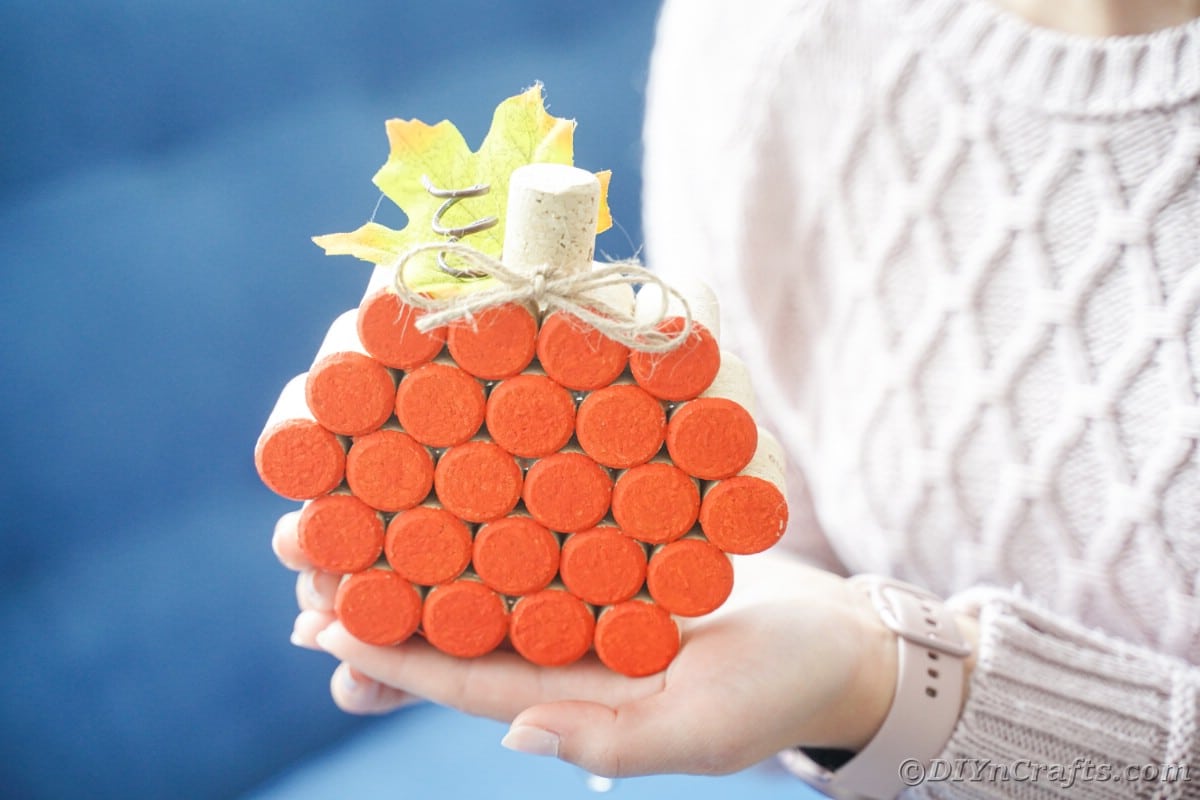
Now you can hang or display your pumpkin!
More Fun Pumpkin Crafts
Since pumpkins are the most iconic image of the fall season, it's a must to have a few of them in your home decor. This year you can add pumpkins throughout your decor with a few of the projects below. Whether it is a simple craft, wreath, or elaborate centerpiece, we have tons of great ideas to add to your fall crafting list. Make sure to bookmark, pin, or print these ideas to make soon!
- Cute Stuffed Sock Pumpkin Fall Decoration
- Painted Fishbowl Pumpkin Fall Decoration
- DIY Dryer Vent Pumpkin Decoration
- 55 Unique Pumpkin Crafts for Fall
- Shabby Chic Old Book Page Pumpkin
Upcycled Wine Cork Pumpkin Decoration
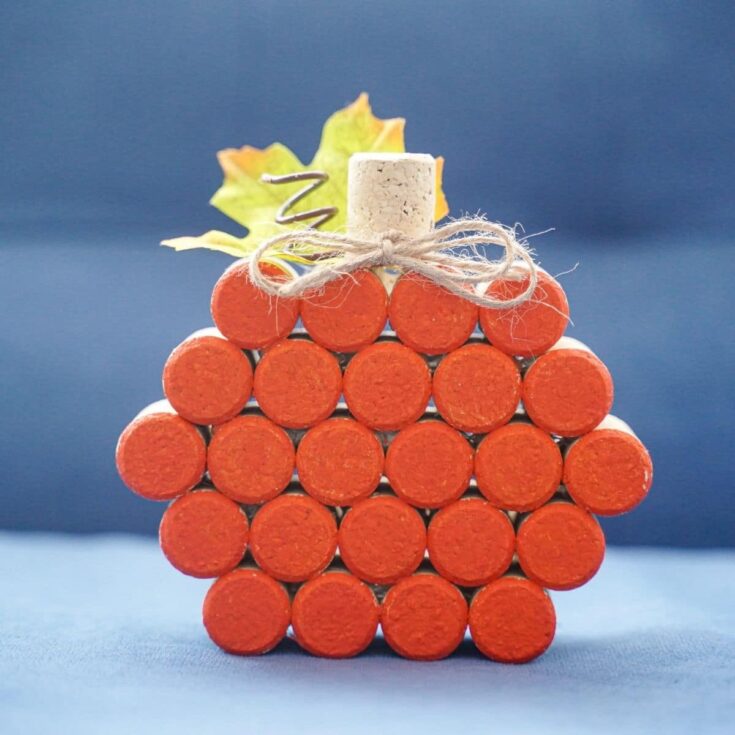
Grab those old wine corks and turn them into an adorable upcycled wine cork pumpkin decoration that is ideal for all of your fall seasonal decorating!
Instructions
- Glue four wine corks together side by side.
- On top of those, glue five wine corks together and to the top of the bottom layer. They will overlap each other slightly.
- On the third row, glue six wine corks.
- For the fourth row, glue five wine corks, and the final fifth row four wine corks. You want to create a smaller bottom with the wider middle of a traditional pumpkin.
- Using a paintbrush, dab the orange paint onto the front of the corks. If you want to paint both sides, allow the first to dry completely before flipping over to paint the back.
- Wrap the wire or pipe cleaner around a pen to create a spring shape.
- On top of the pumpkin, glue one green leaf.
- Then add a single cork standing upright
- Next, add the spring.
- Finally, use a small piece of raffia to create a bow to glue just below the "stem" cork.
- Now you can hang or display your pumpkin!
Notes
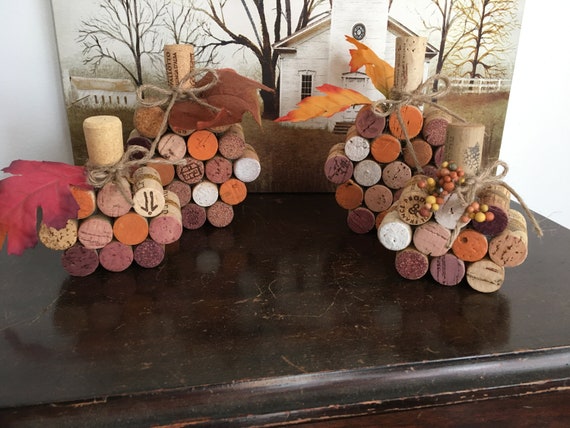
Paint with orange, dark red, brown, gold, or yellow for more natural looking pumpkins.
Recommended Products
As an Amazon Associate and member of other affiliate programs, I earn from qualifying purchases.
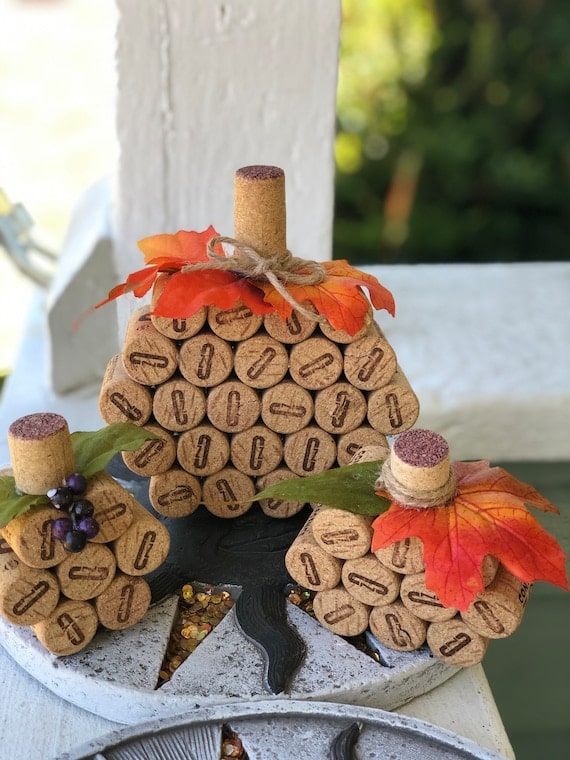
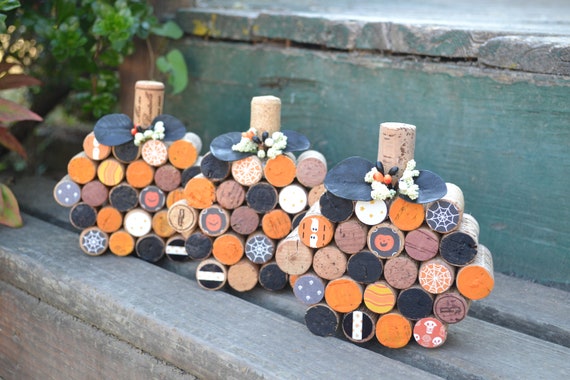
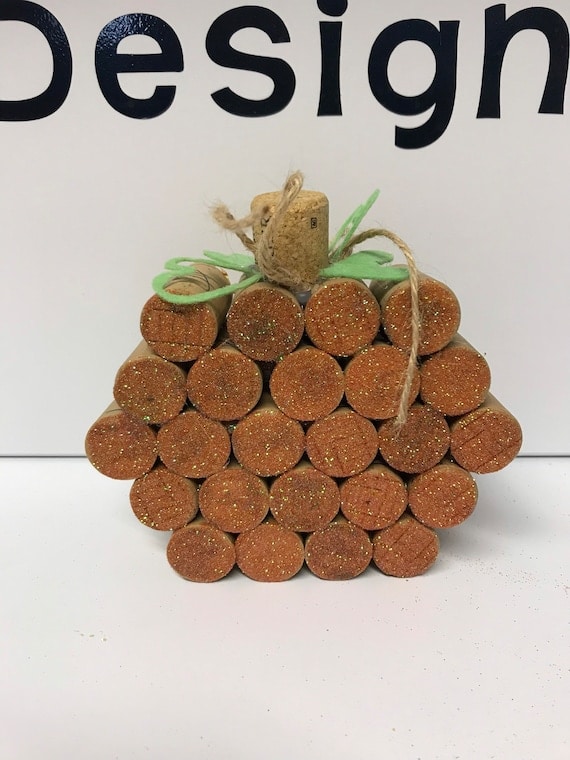
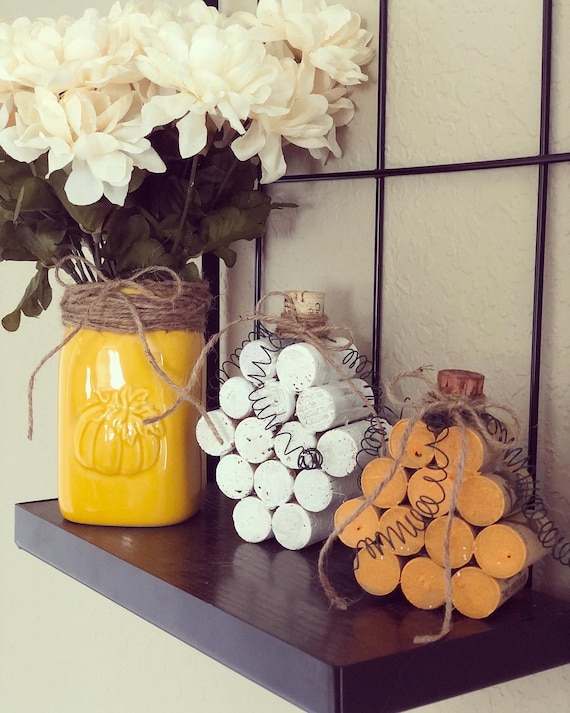
Finished Project Gallery
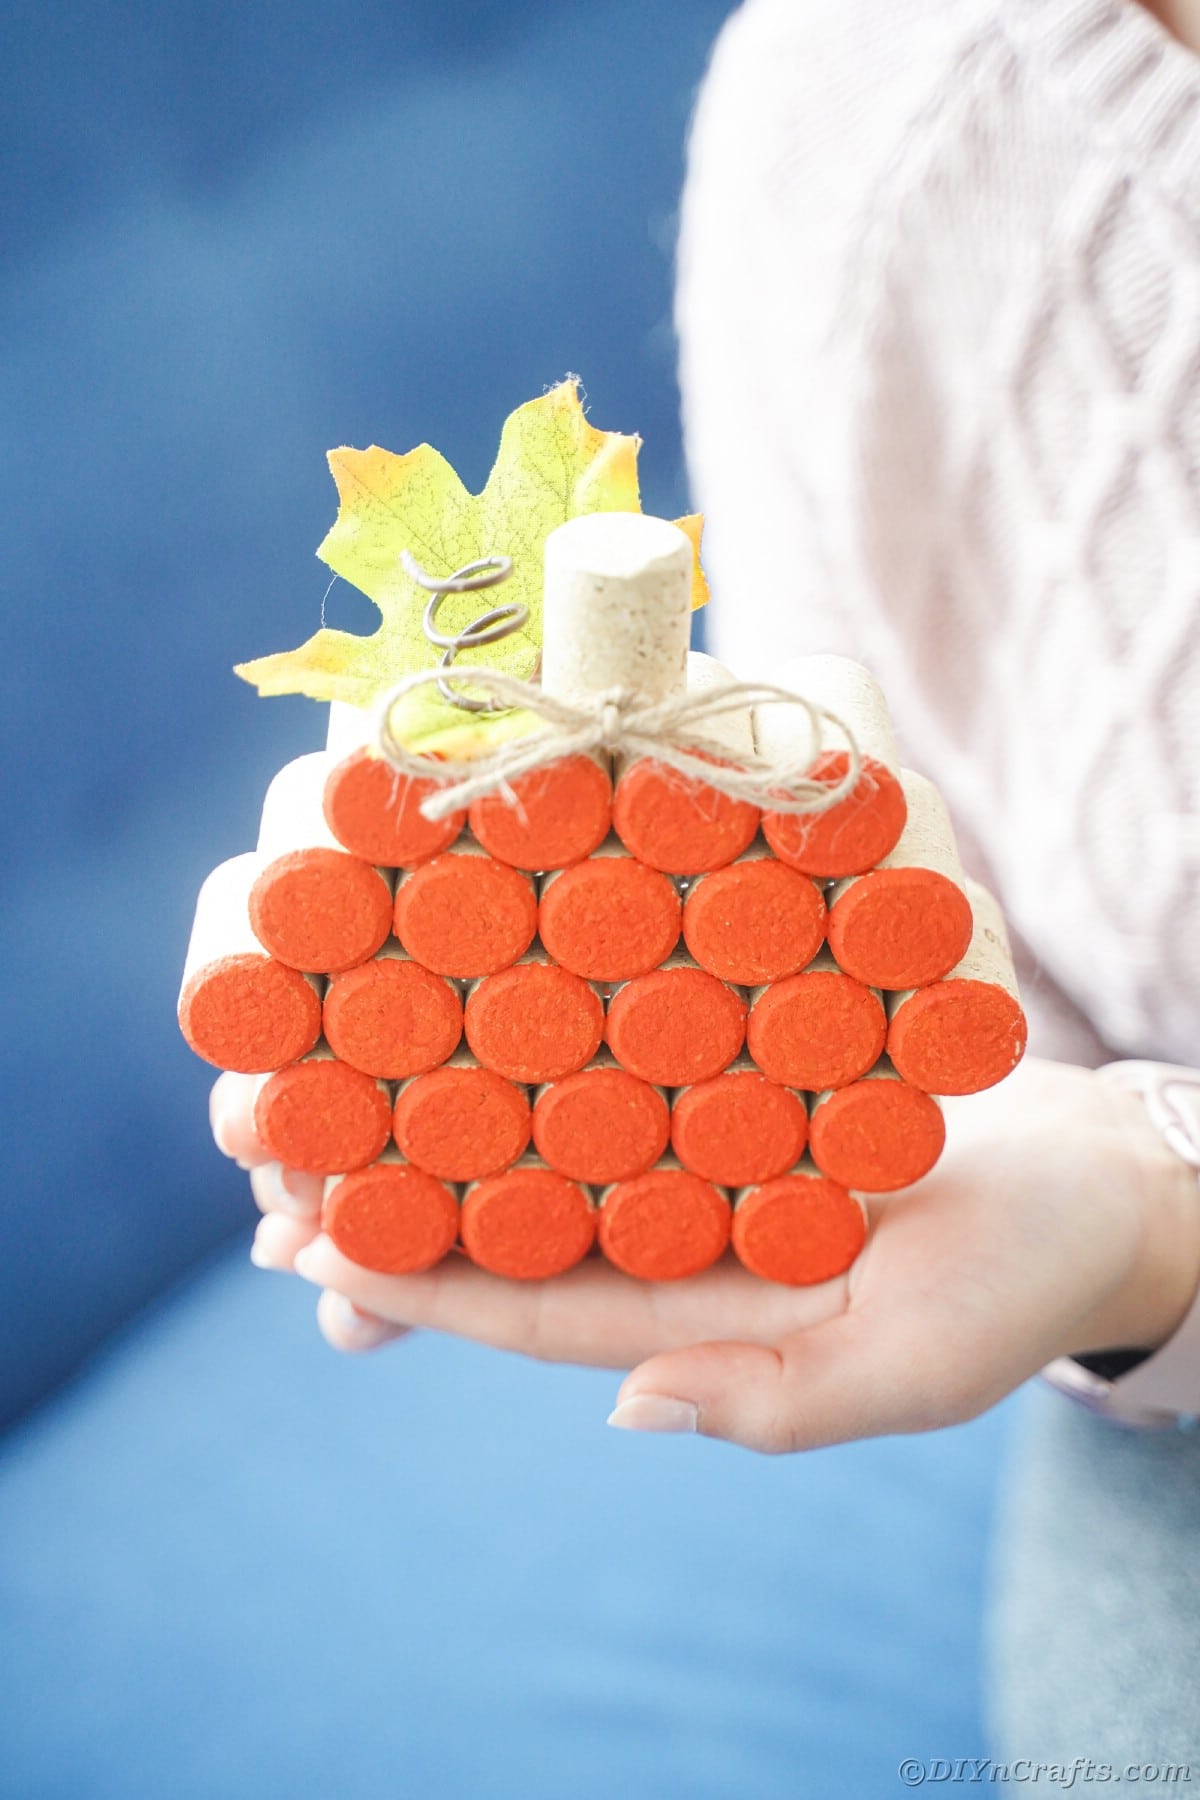
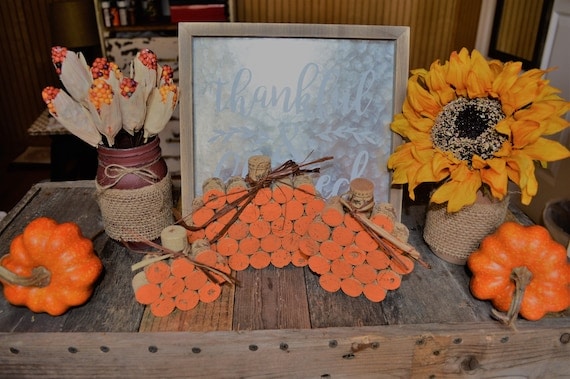
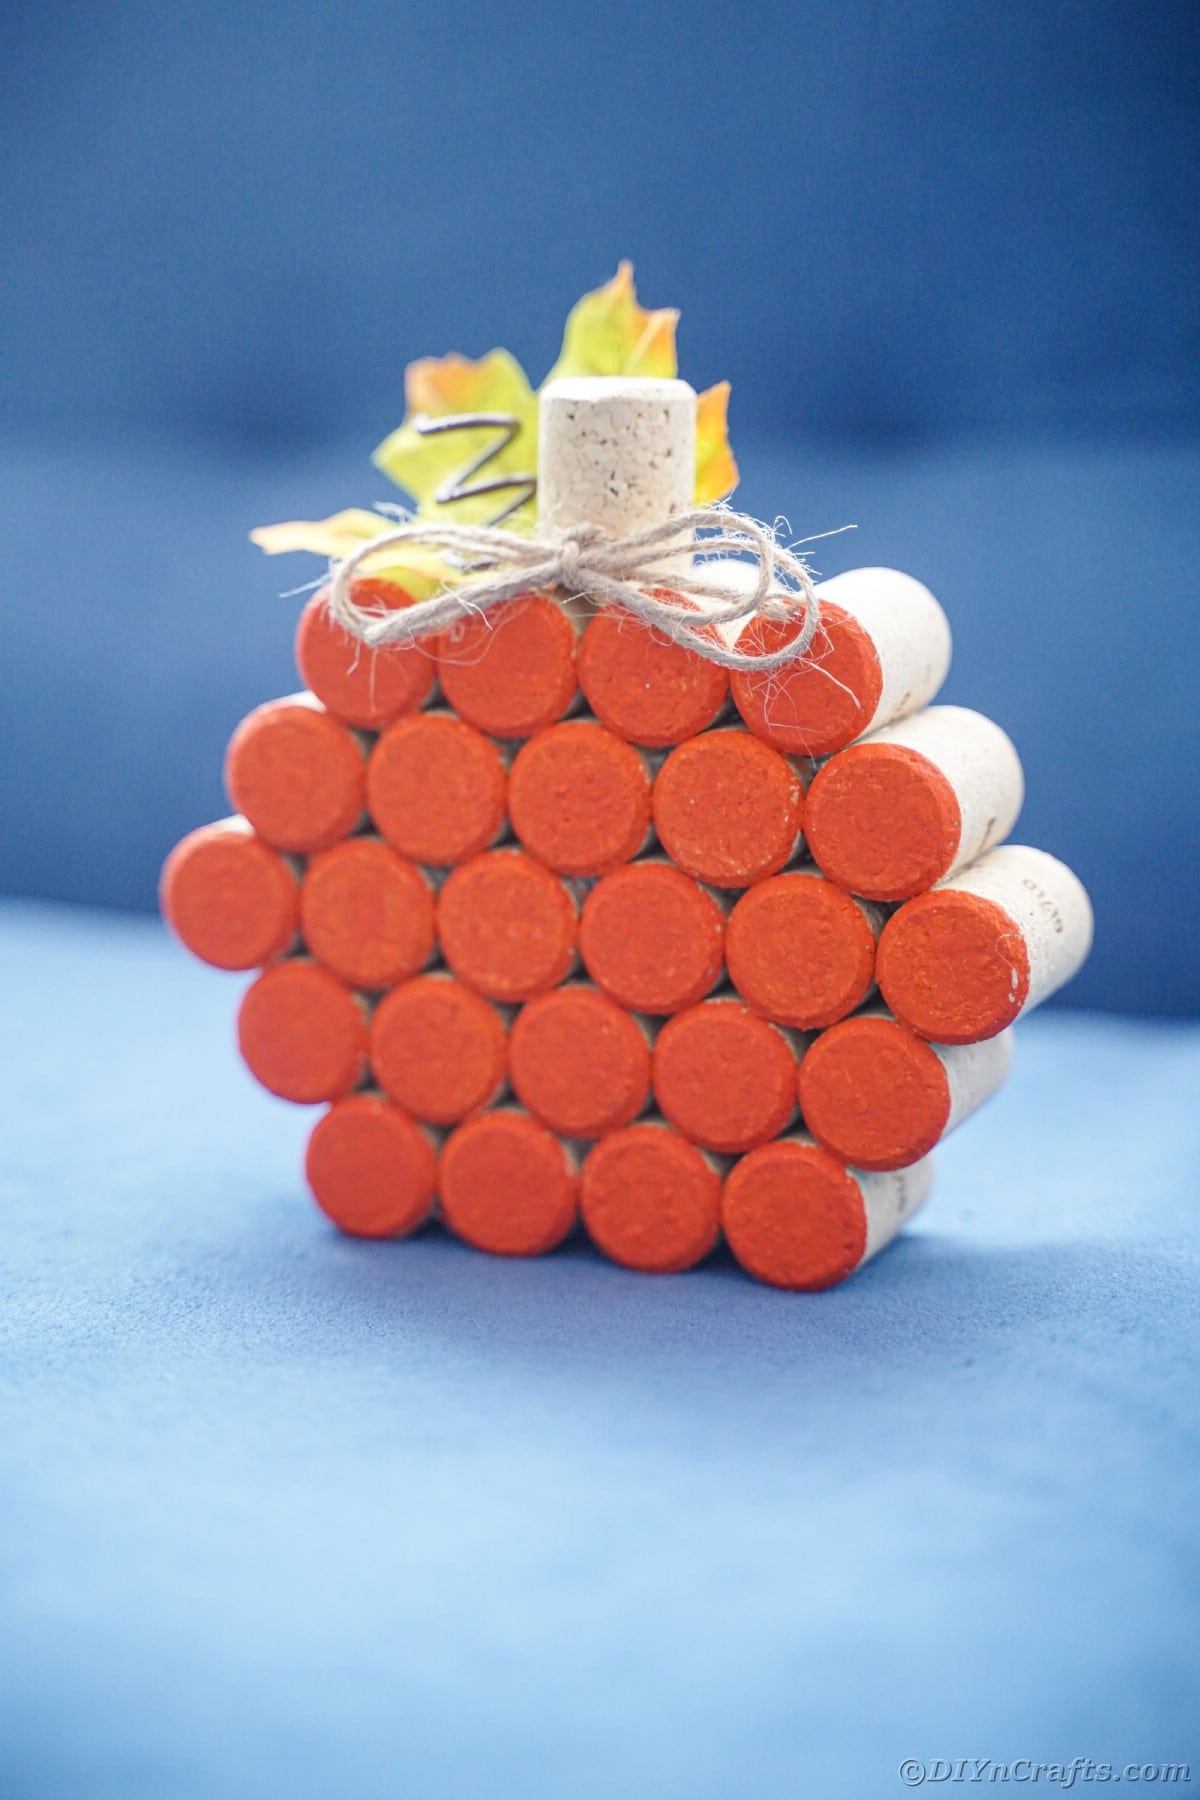
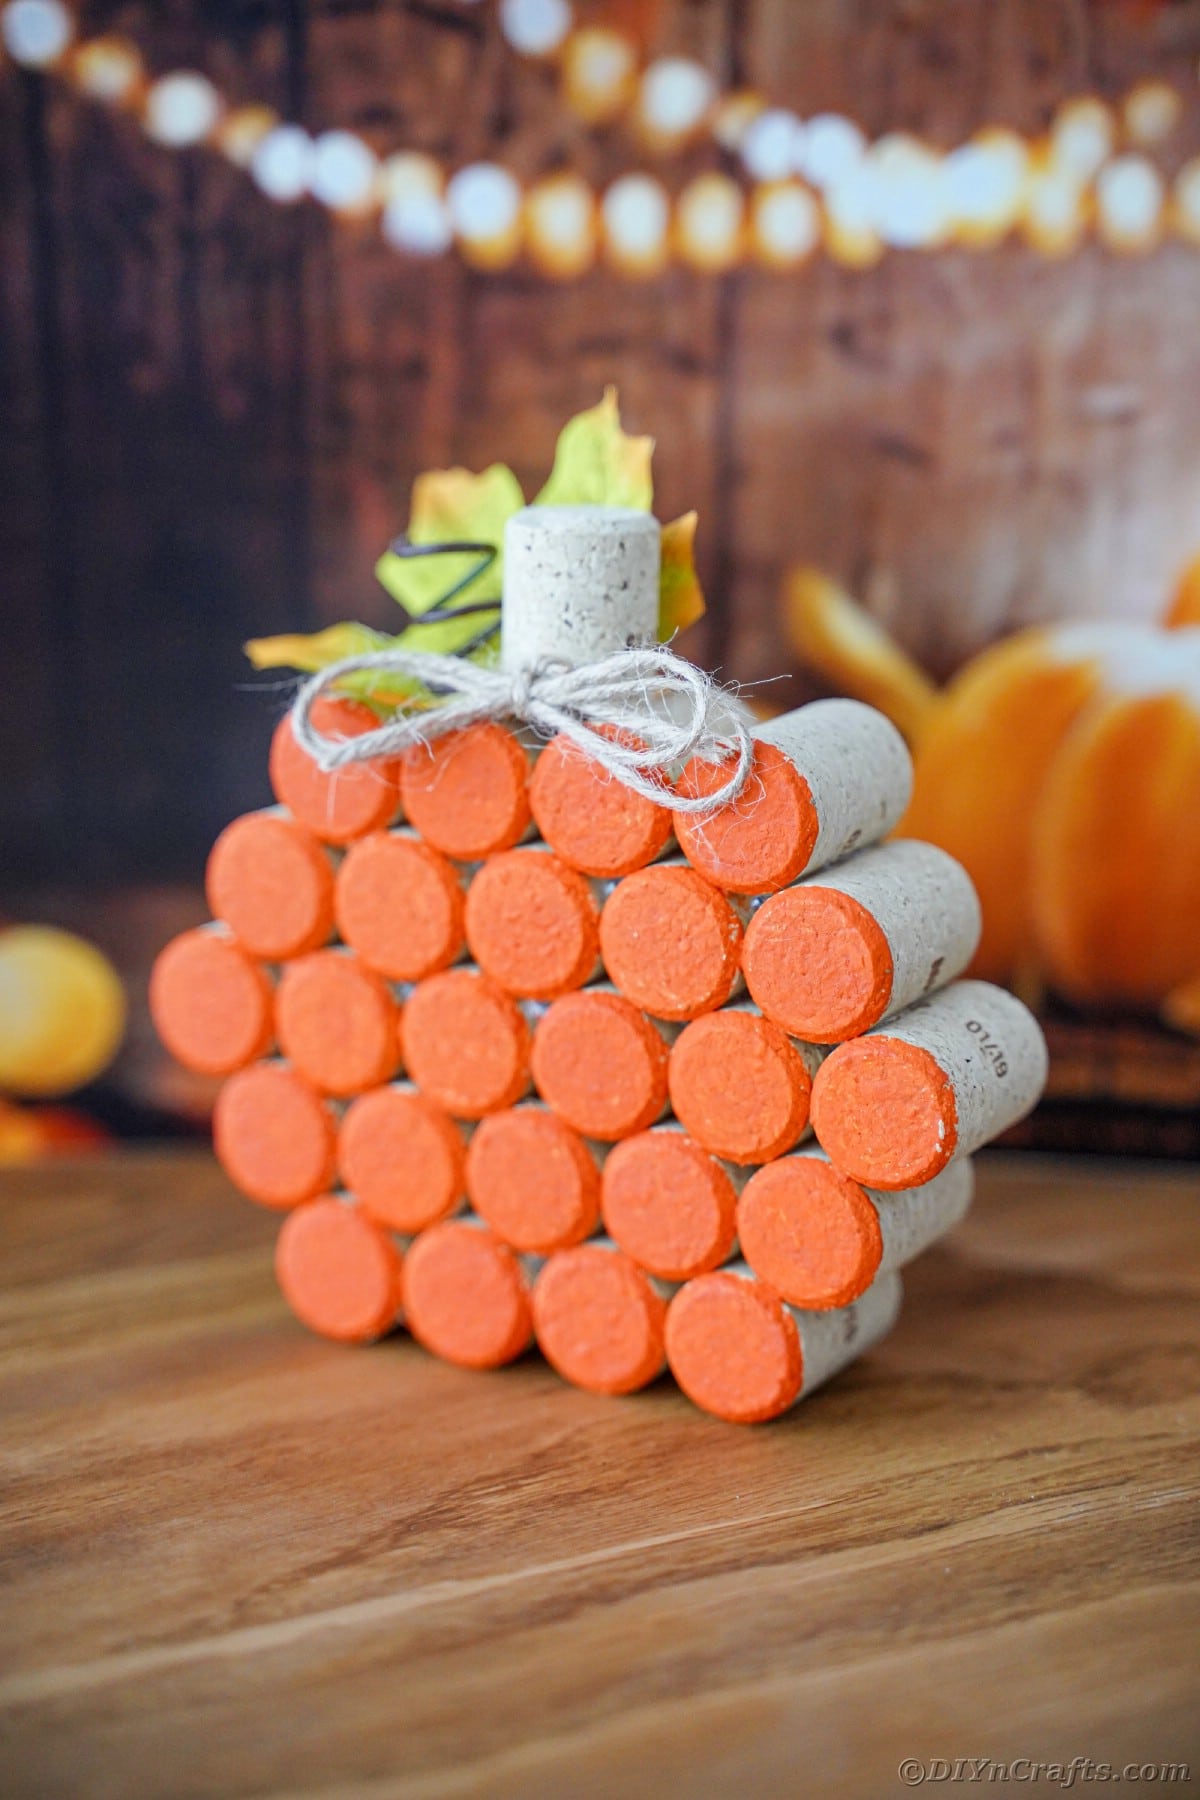
Add spray glitter to make your pumpkin sparkle.
You can paint these any shade of orange, red, yellow, brown, or green for fall warm colors.







Leave a Reply