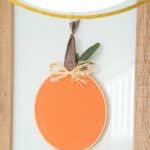
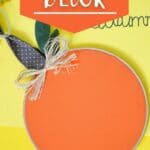
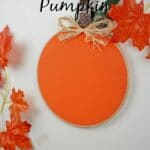
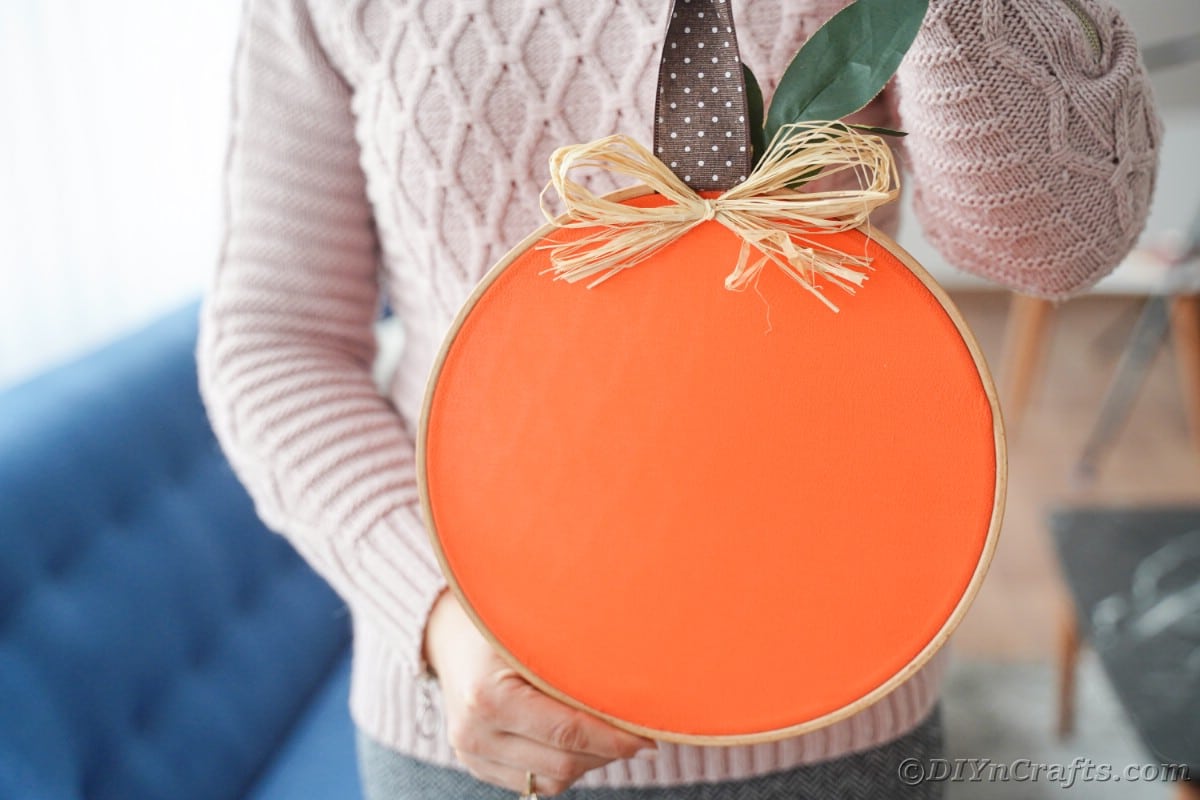
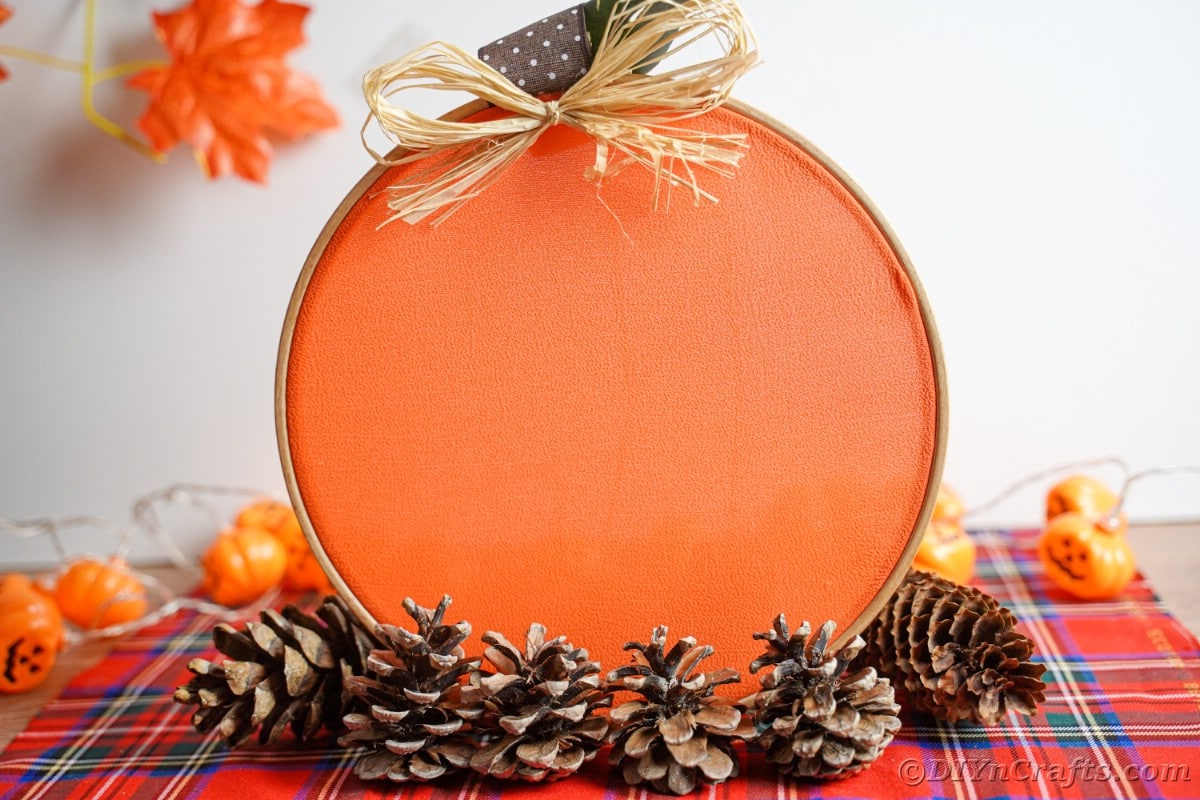
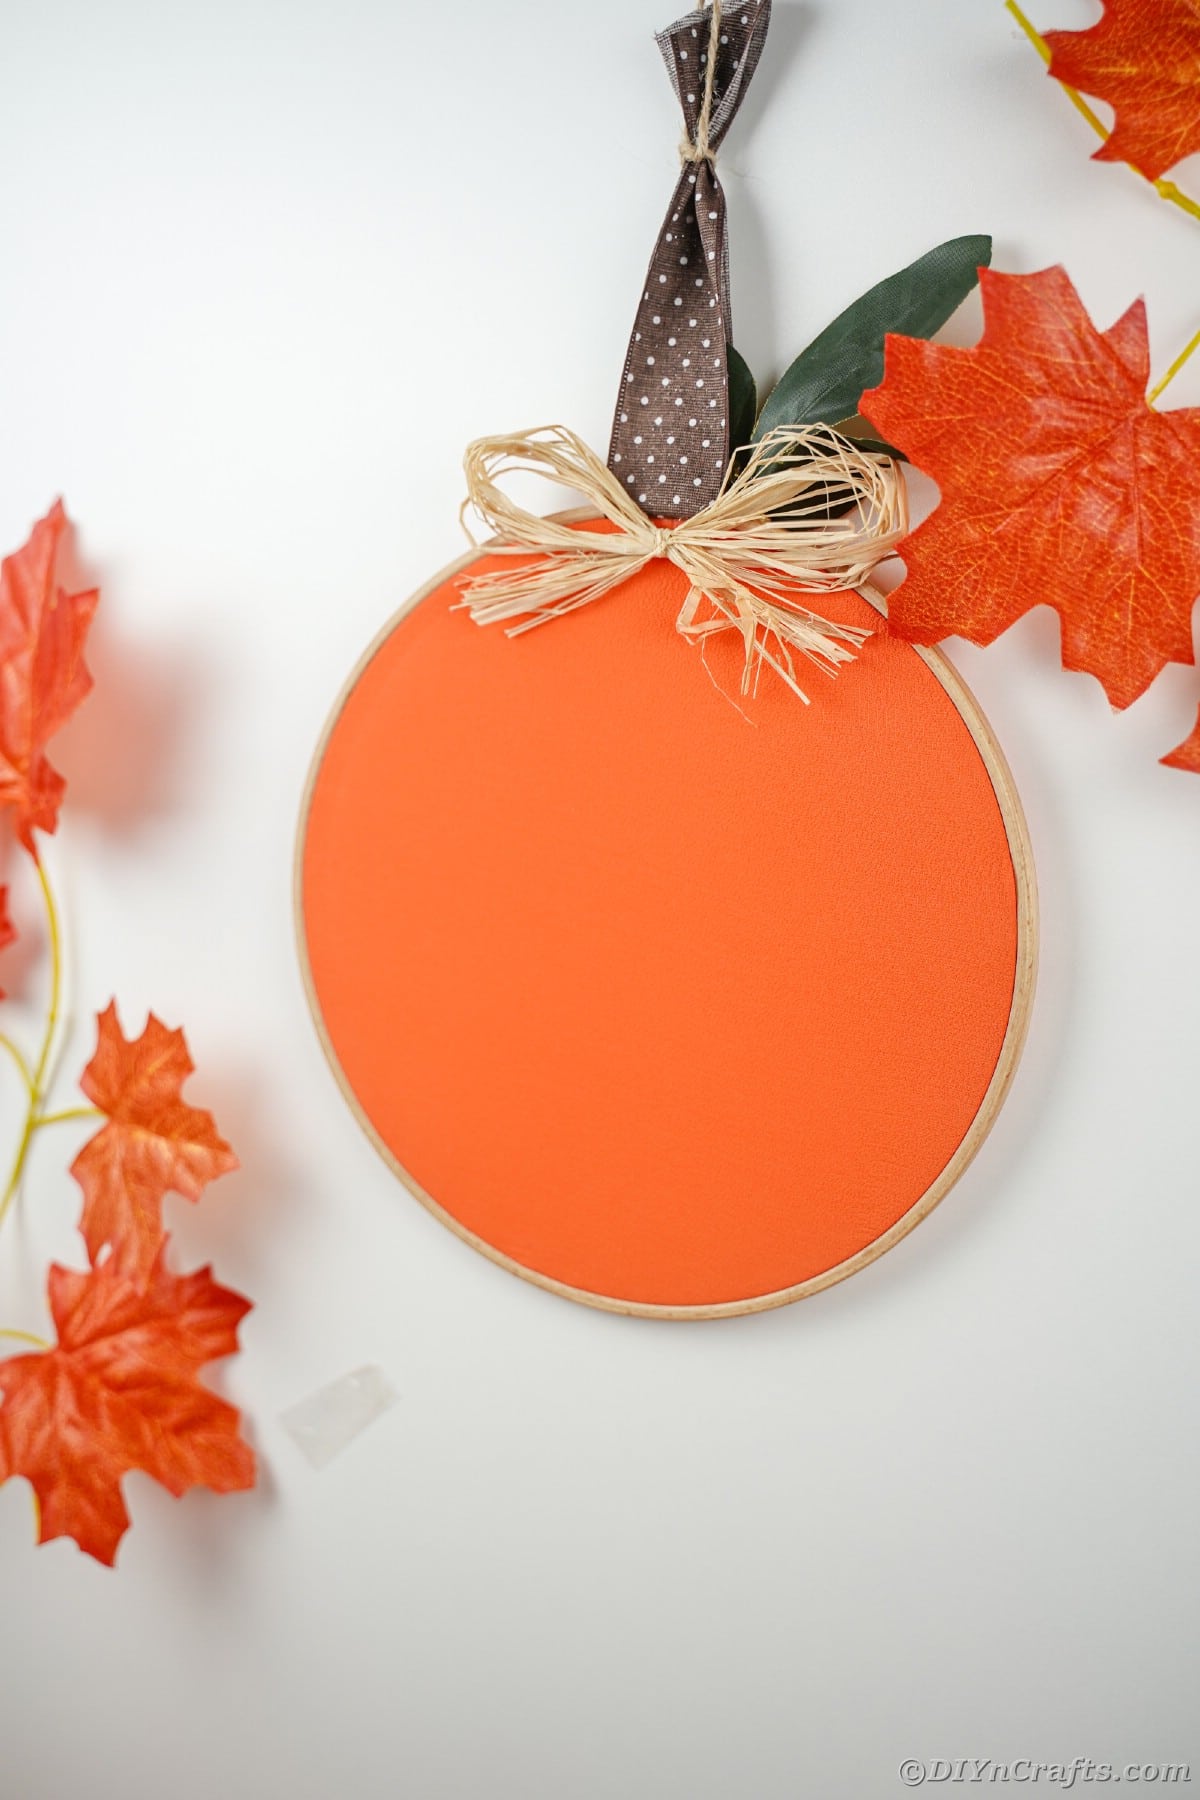
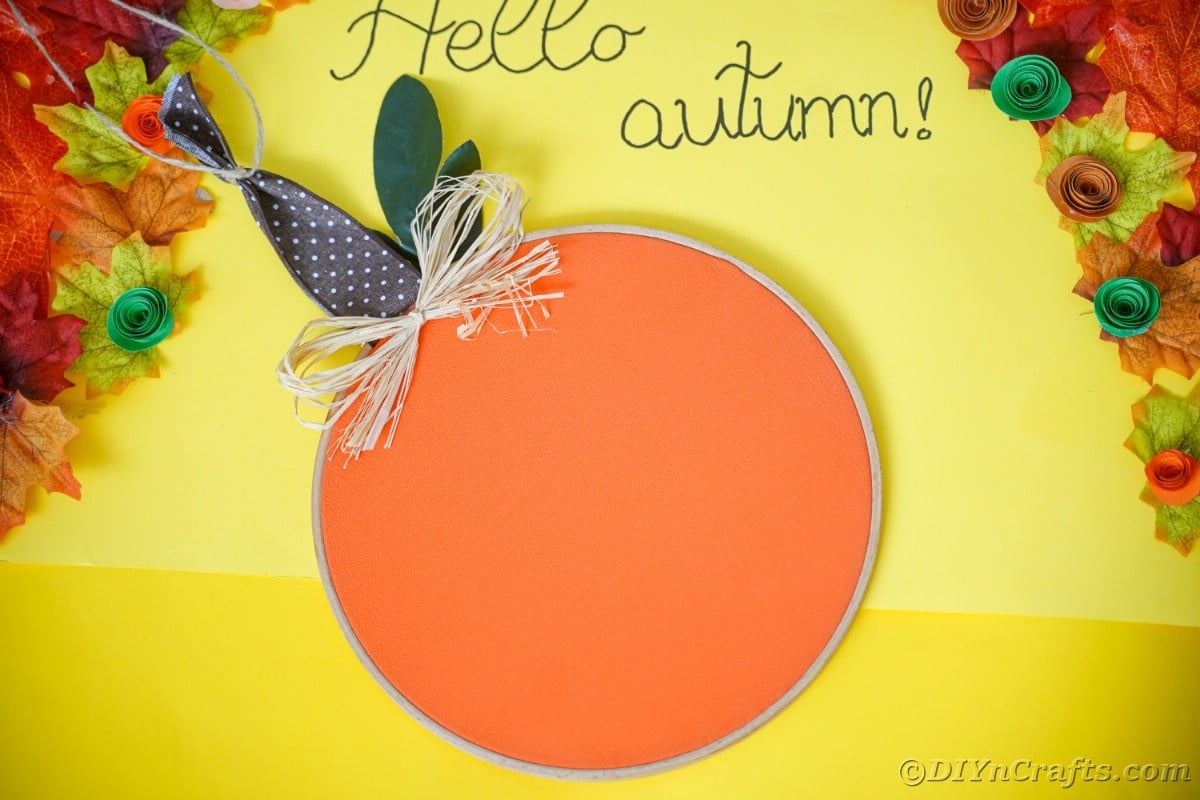
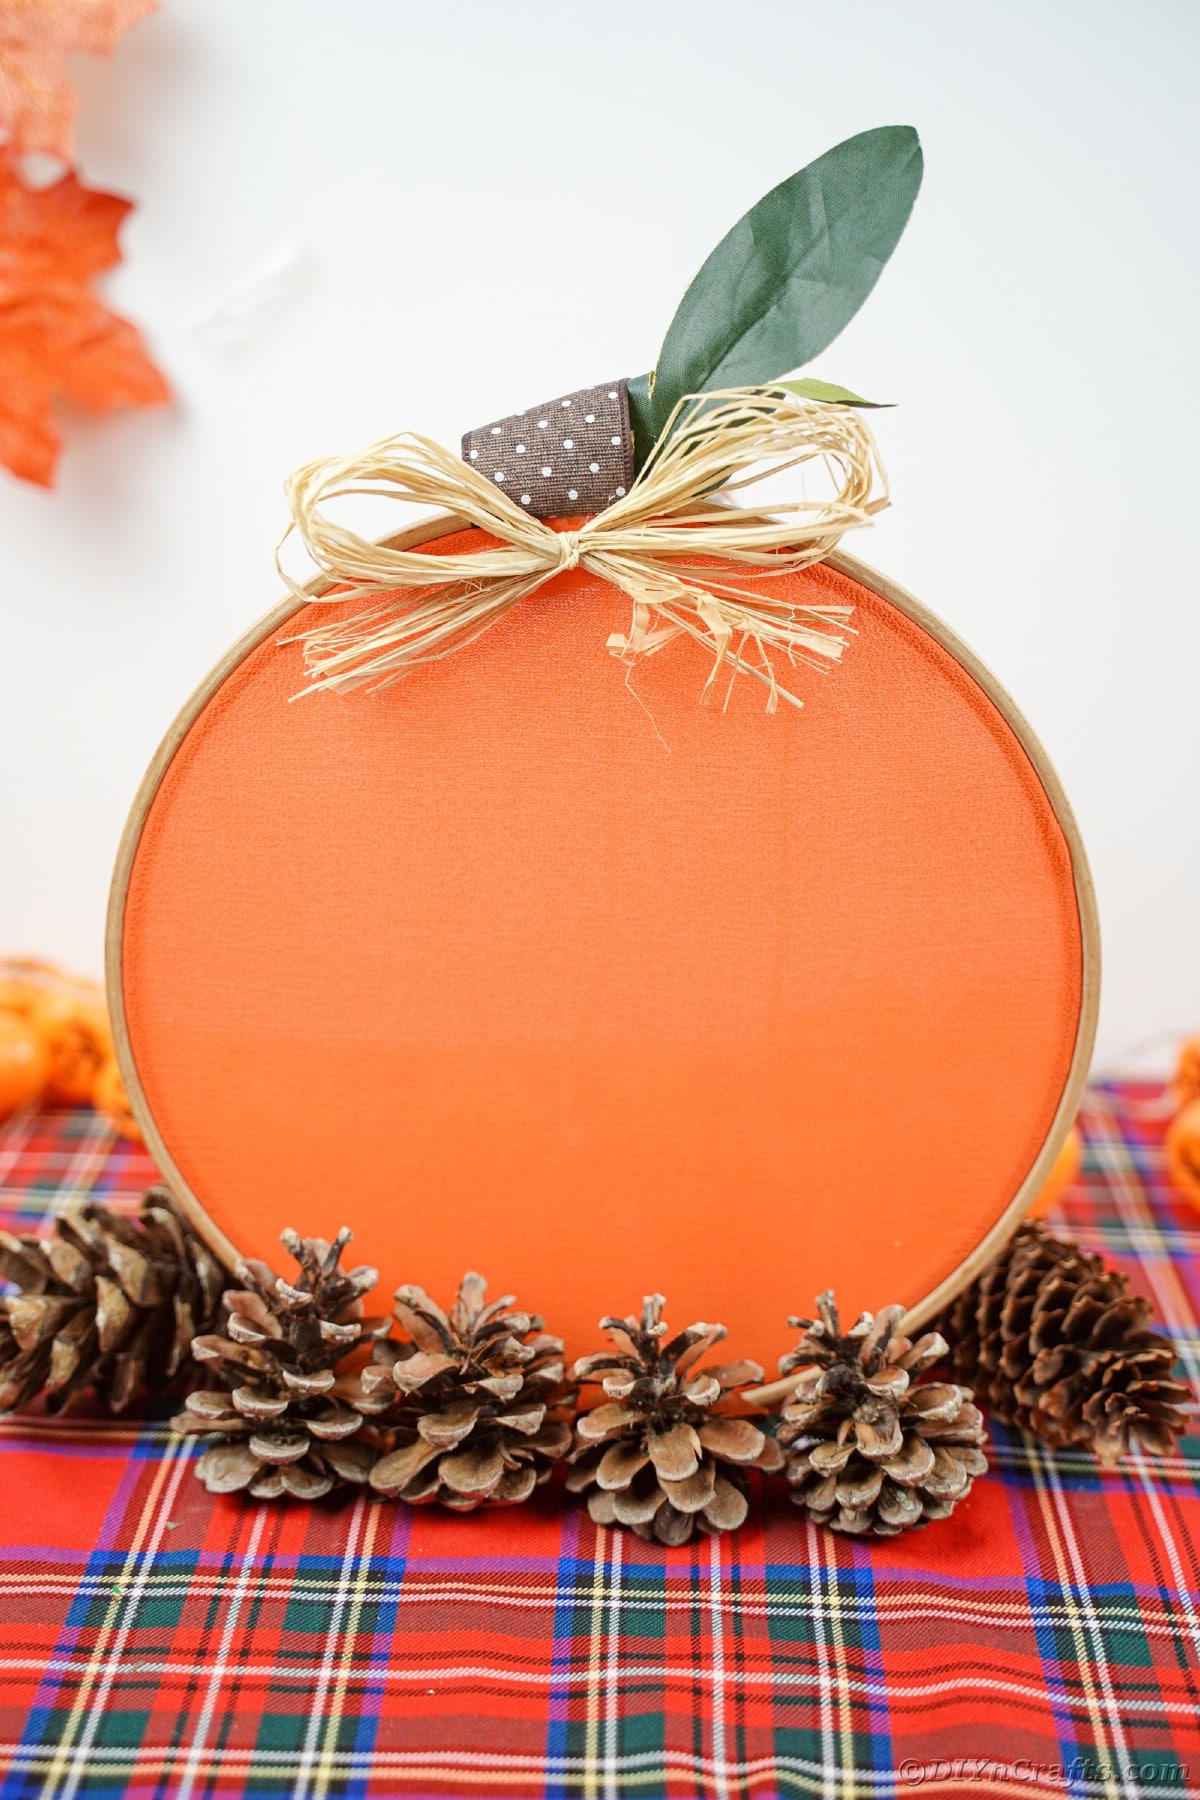
I am loving this cute little embroidery hoop pumpkin idea! It's a great dollar store craft with just a few dollars in supplies needed. Many of the supplies, you most likely already have on hand! Create your own beautiful pumpkin to hang on the wall from August to November for Thanksgiving, fall, and Halloween!
Embroidery Hoop Pumpkin
Pumpkins are truly one of my favorite things about the autumn season. Not just the yummy foods (check out these pumpkin recipes), but mostly about how the colors are warm and soothing. Plus, I love the cold weather! So, using them in decor is a must, and sometimes you want one that isn't going to go bad after a few weeks on your porch. This embroidery hoop pumpkin is the one you are going to love!
If you have a few extra embroidery hoops laying around, you might like to make other crafts. I have some favorites like this Easter bunny wall art, a base for this origami old book page wreath, or even this fall leaf windcatcher. So many ways to put these to use to create something neat to hang, even Valentine's heart mobile has an embroidery hoop base!
What Can I Use for the Orange Part of the Pumpkin?
Fabric of course! I used scrap orange fabric and cut it to fit this. You can use any number of other items that would also work here. Below are some ideas I had that could easily be used inside the hoop to look like a pumpkin.
- Old shirts or sweaters that no longer fit in orange, dark red, or rich yellows.
- Felt sheets or lengths of felt cut from a roll.
- Scrap fabric from other sewing projects.
- Orange burlap.
- Wide ribbon or lace dyed orange.
- Wrapping paper in pumpkin colors or prints.
- Sequin fabric.
- Shiny gold fabric or fabric with shimmery thread.
Can I Add More Decoration to the Pumpkin?
Of course! I like the simplicity of using just a solid color of fabric, ribbon, and a bit of raffia, but you can update it with all kinds of other items. The goal is to use this as a base idea and then add to it as you prefer. Below are some more ideas that can really make your pumpkin unique and fun!
- Add larger bows on the top by the ribbon hanger.
- Spray with glitter for a shiny look.
- Glue ribbon around the edge of the embroidery hoop.
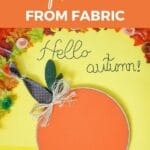
- Sew or embroider a message or beads onto the front of the pumpkin for fall.
- Use twine or rope instead of ribbon for the hanger.
- Add dark green felt, ribbon, or pipe cleaners to the top to create a fine look around the ribbon "stem".
- Paint the embroidery hoop orange, yellow, red, or brown before adding the fabric to it to create the pumpkin.
What's the Best Way to Hang this Pumpkin?
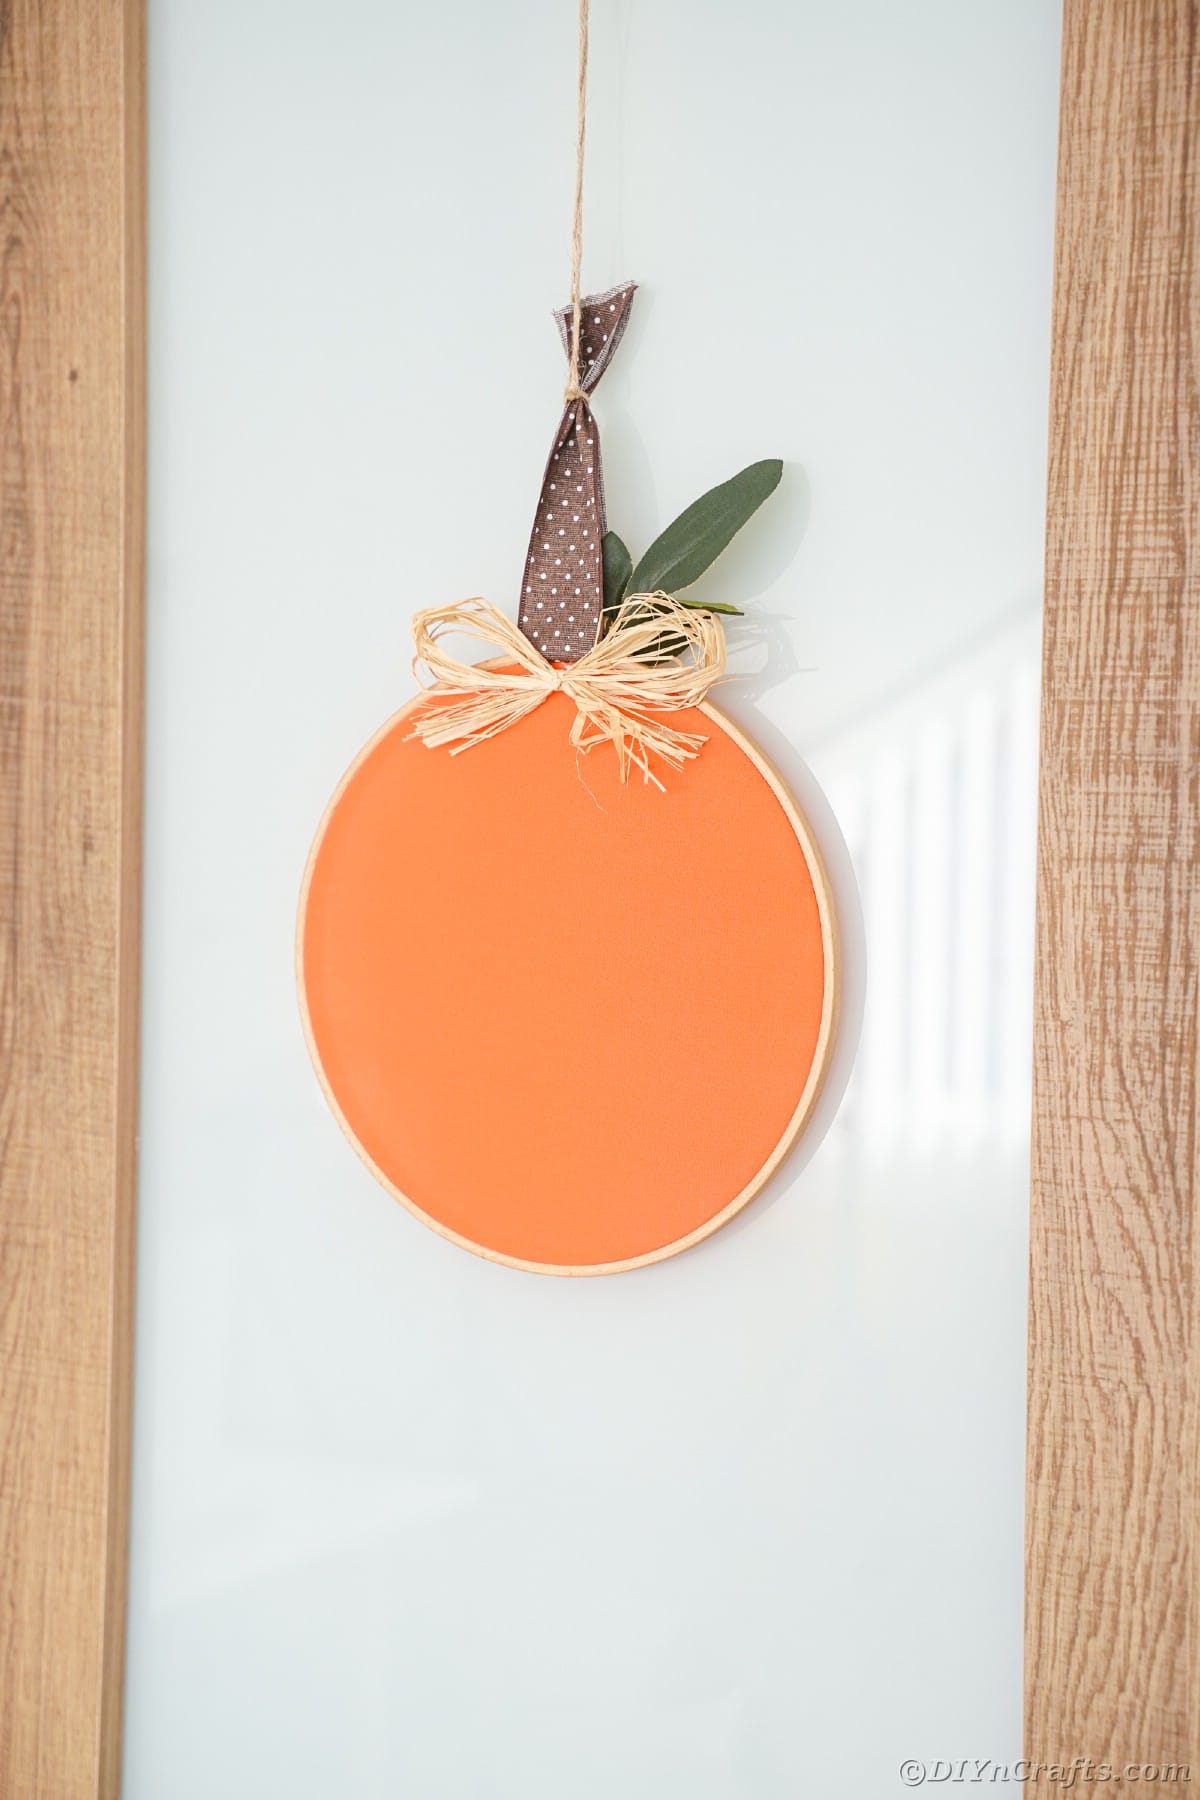
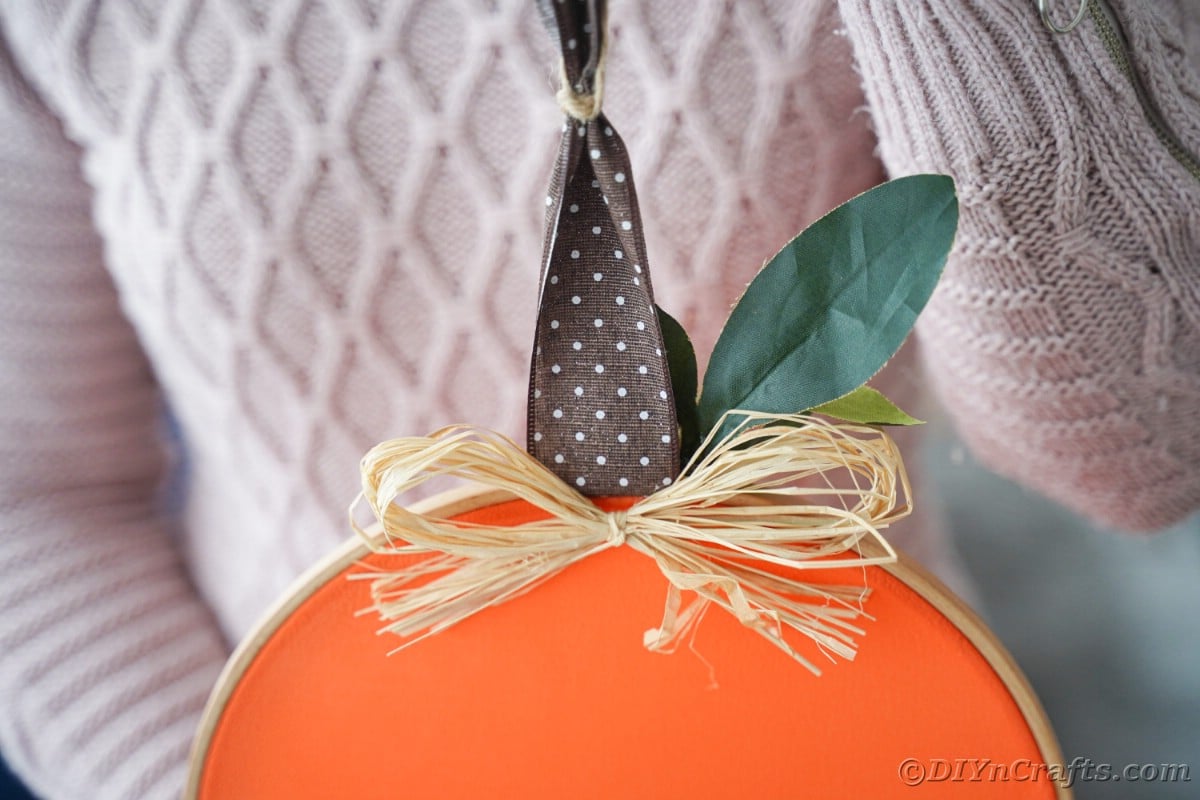
The best thing about this craft is it comes in with a built-in hanging ribbon. By adding the length of ribbon inside the embroidery hoop before you secure it, you don't have to add ribbon or a nail to the back of the pumpkin.
However, to attach it to the wall you will want to use something like a nail or a wreath hook. Pushpins, thumbtacks, nails, screws, or wreath hooks are all affordable and work well for hanging this.
Plus, this works as a door wreath, on a wall, above a mantle, or even hanging in a doorway. I've even seen pumpkins like this hooked over the top of a kitchen cabinet to add something fun to your kitchen during autumn.
How Should I Store This For Next Year?
One of the common problems I see with homemade decor is durability. This is most often a problem in the storing process. When decorations or tossed into a tub and forgotten, they can be damaged. Even if you lay this onto a shelf, you will deal with dust and debris or other items falling on top of it. That's why I have a specific way I like to store wreaths or hanging items year after year.
My method is to put hooks along the walls in my storage area (I have a separate part of my basement but you may use an attack or closet). Then, I hook the wreath, or in this case pumpkin, over the top of a wire hanger. Next, I slide a trash bag over the entire thing letting the hanger poke through the bottom and tying off the open area underneath or tying it together over the top of the neck of the hanger. Then I can just hang it on a hook until next year. It stays clean and doesn't get crushed.
Supplies Needed
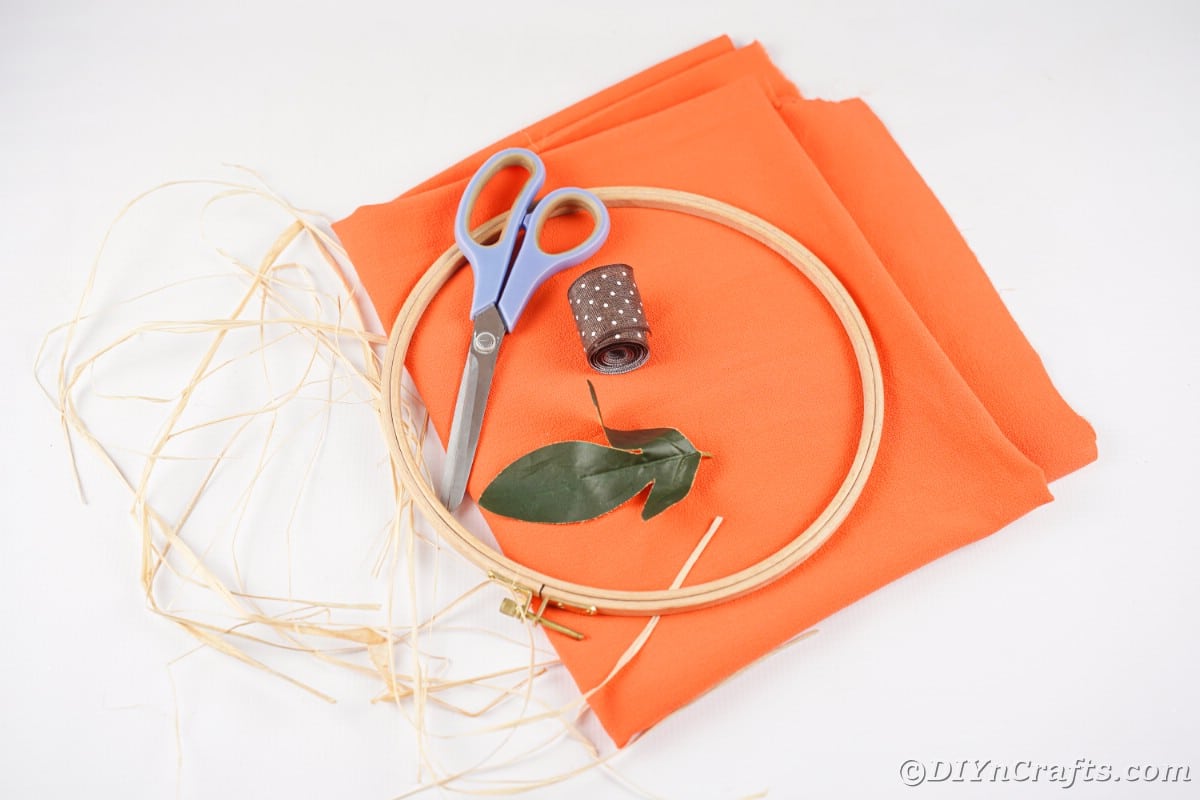
- Embroidery hoop
- Orange fabric
- Brown thick ribbon
- Raffia
- Fake green leaf
- Scissors
- Hot glue gun
- Hot glue stick
How to Make an Embroidery Hoop Pumpkin
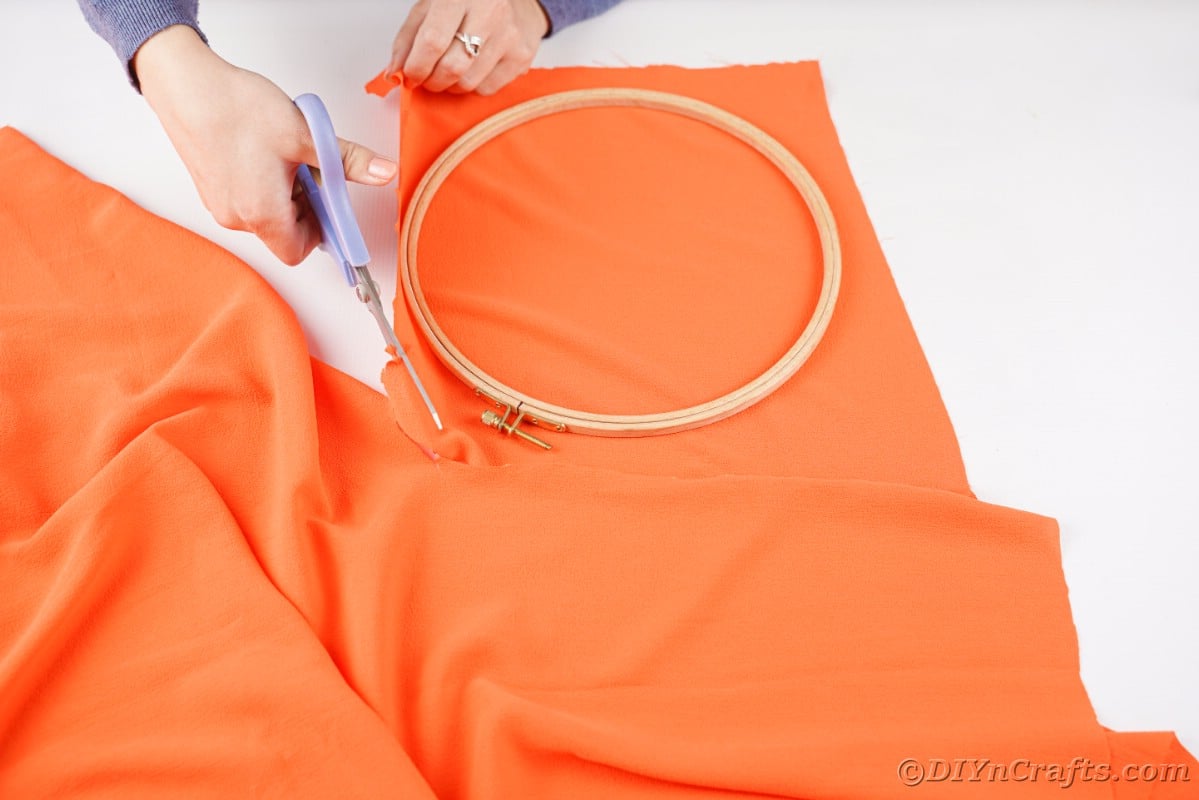
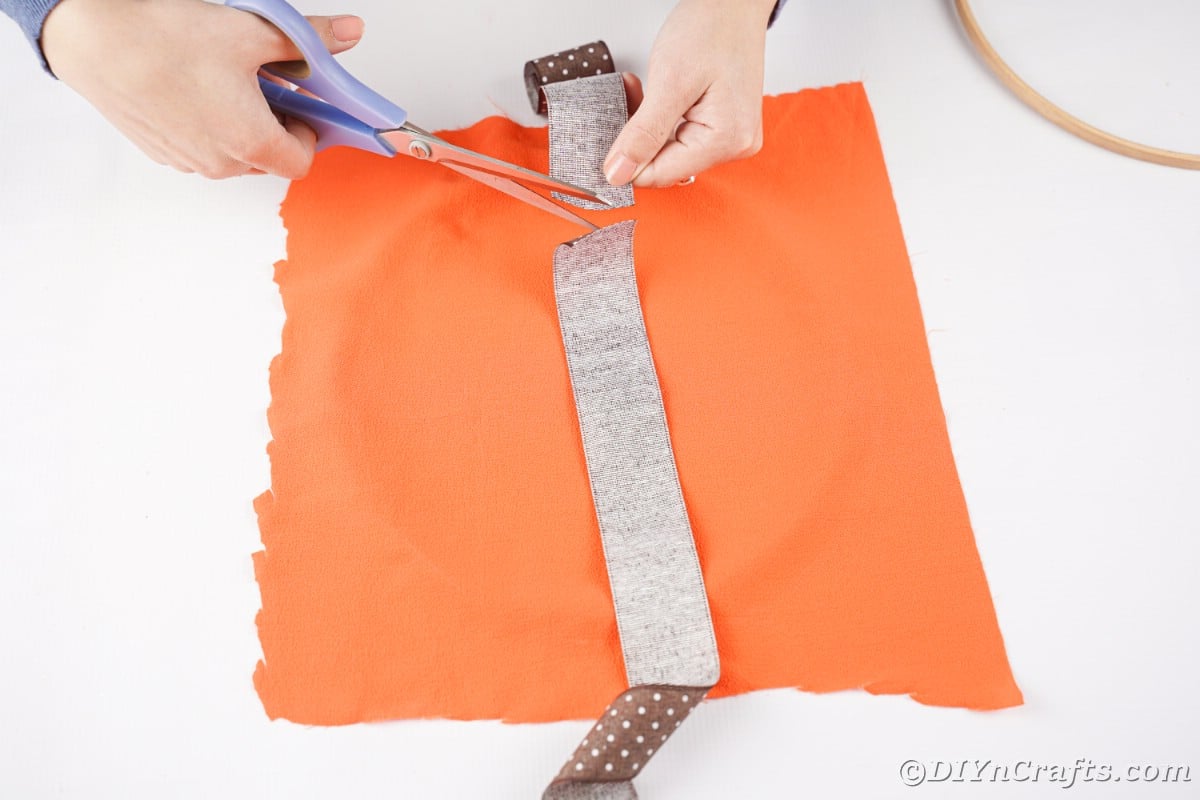
Place the embroidery hoop onto the fabric. Cut around the outside in a square or circle a few inches wider than the hoop.
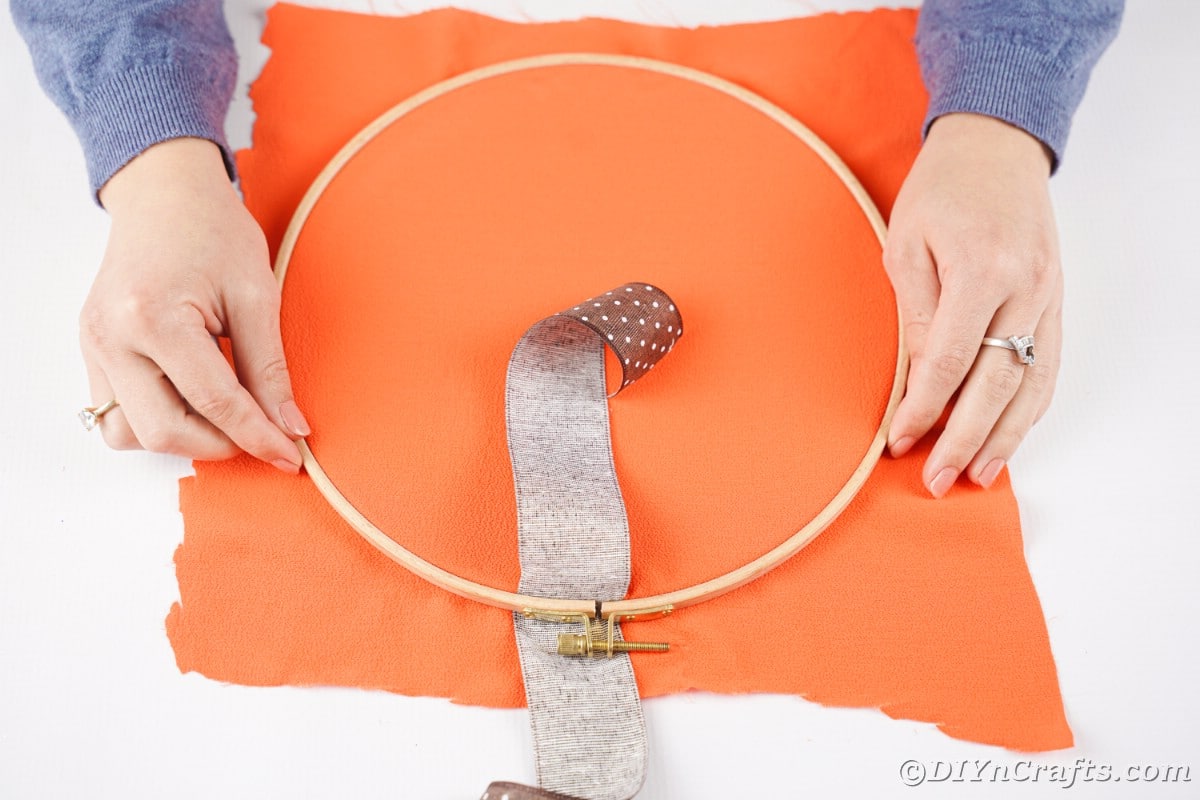
Place the ribbon onto the back of the hoop over the fabric. Trim, the ribbon to twice as long as the hoop is "wide".
Then place the second piece in place to seal both the fabric and ribbon inside the hoop.
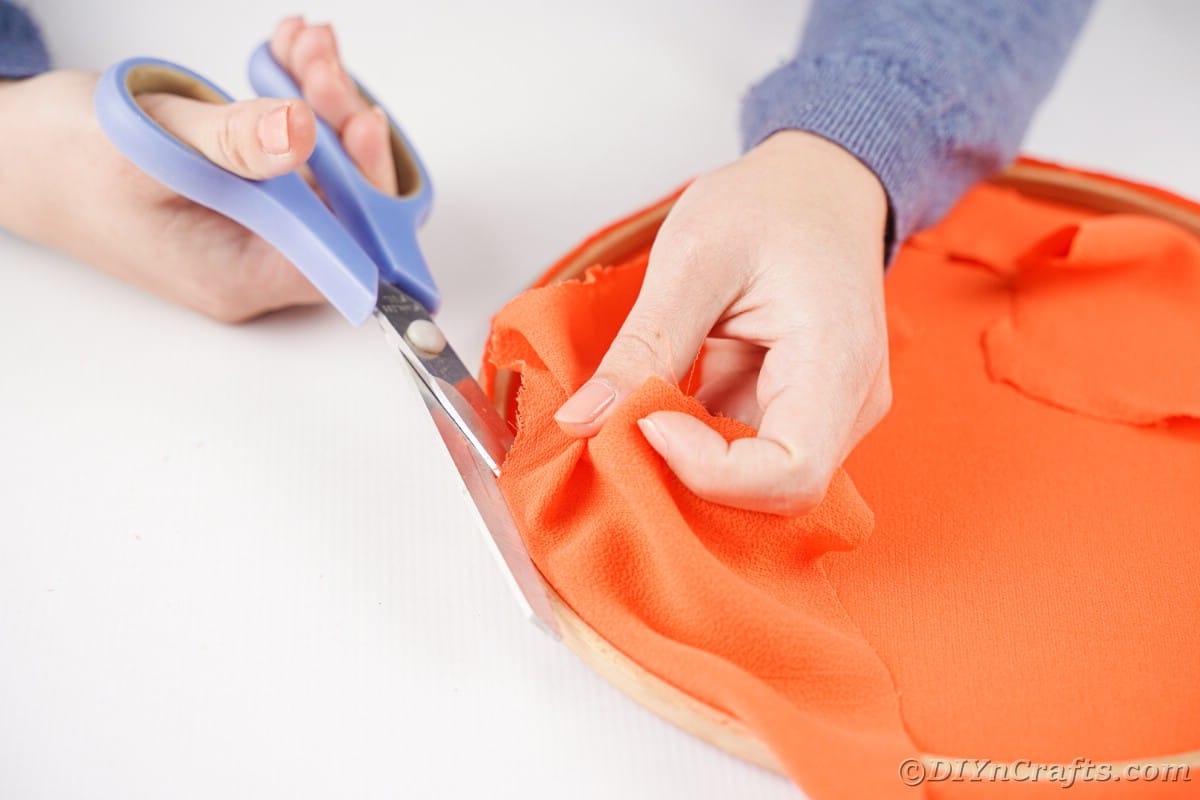
Trim off the excess fabric around the edges and flip over the pumpkin.
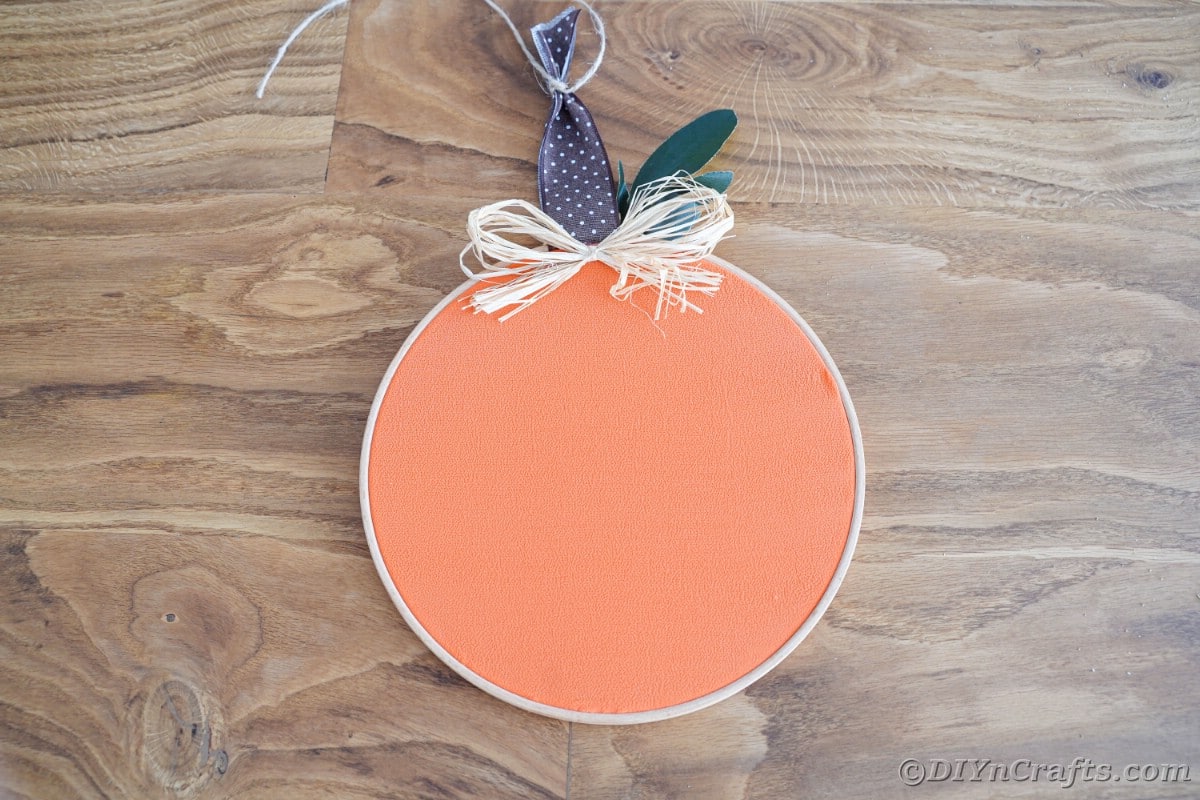
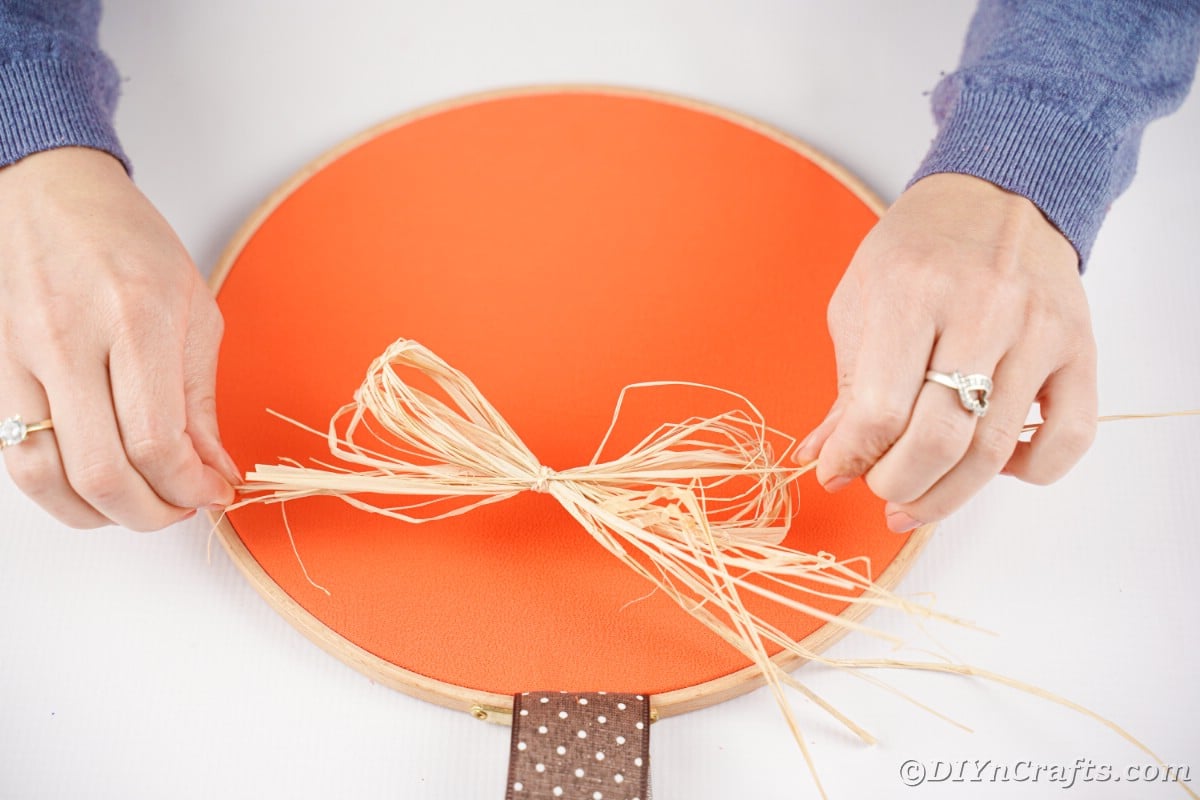
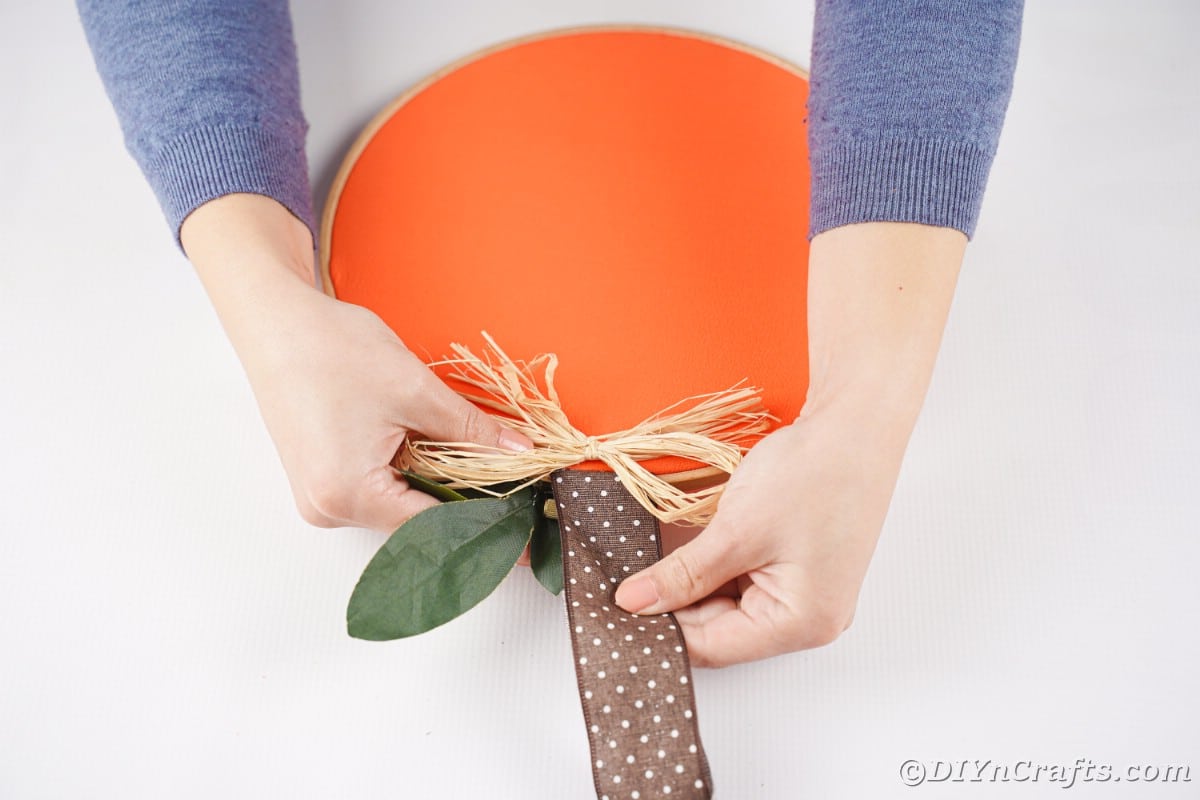
Make a bow from raffia and glue at the top of the pumpkin, just below the ribbon.
Glue a small green fake leaf behind the raffia.
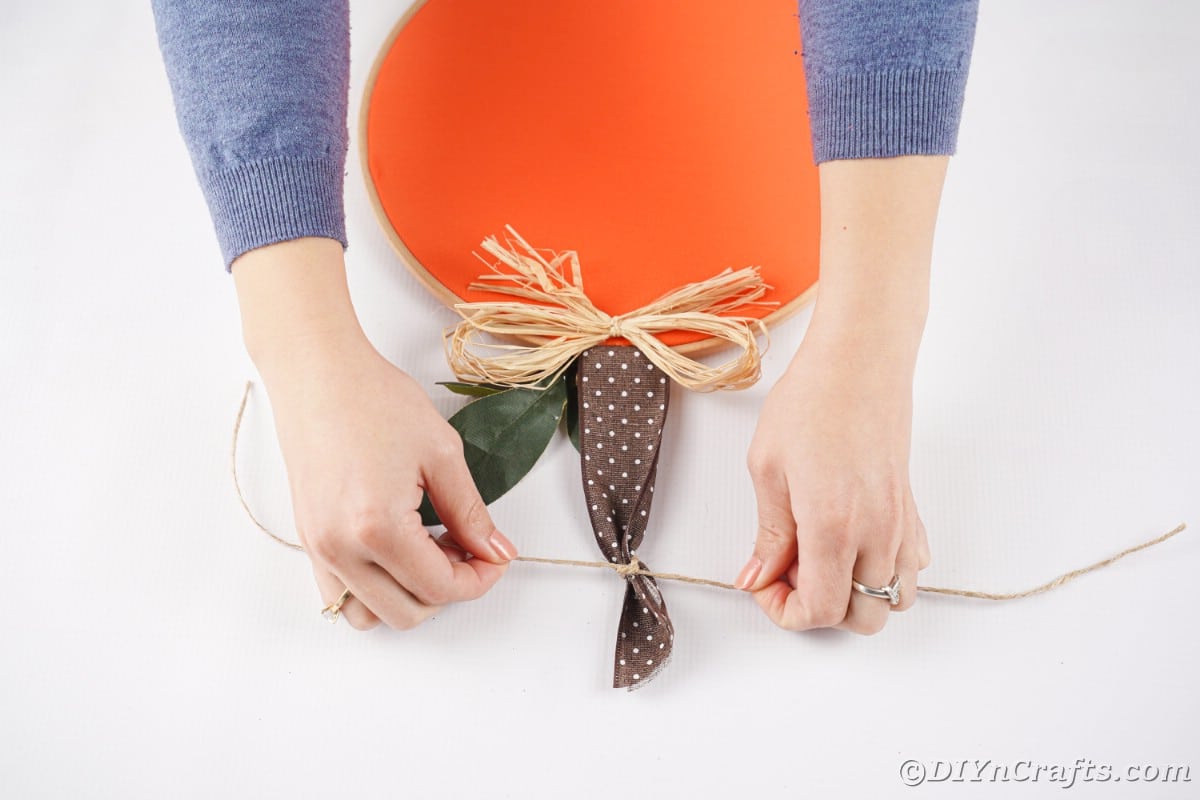
Tie off the end of the brown ribbon or secure with an additional rope so it is sturdy for hanging.
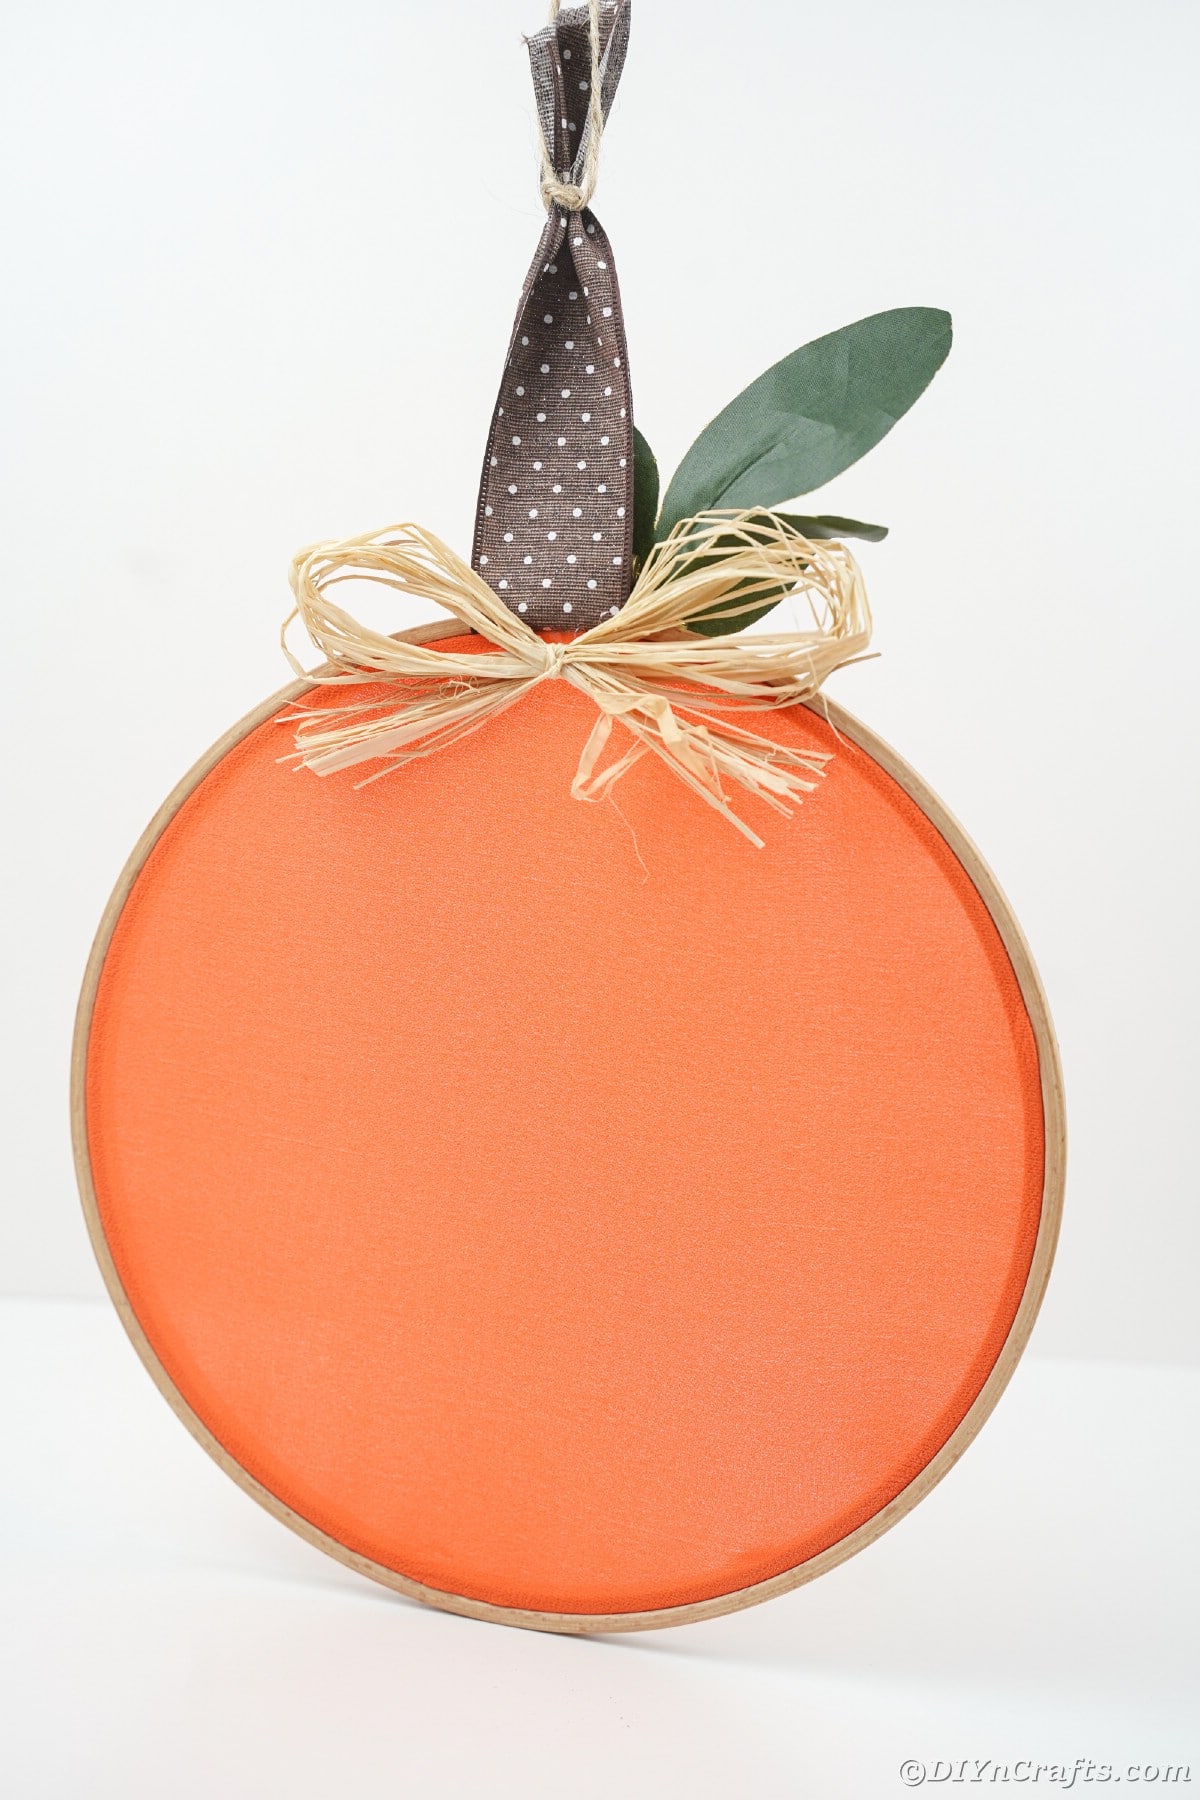
Now you can display your pumpkin!
More Pumpkin Craft Ideas
Pumpkins are the most iconic of all fall items, and of course, they are fun to make. Whether you are using them as part of your basic fall decor, for Halloween decorating, or a Thanksgiving centerpiece, these ideas are perfect to try! There are so many different ways you can create a pumpkin for decorating, and below are a few of my favorites in particular. Make sure you bookmark, pin or print these to use create soon!
- Cute Stuffed Sock Pumpkin Fall Decor
- DIY Dryer Vent Pumpkin Decoration
- Recycled Toilet Paper Roll Pumpkin
- Cute Painted Glass Fishbowl Pumpkin Decoration
- Shabby Chic Book Page Paper Pumpkin
Easy Embroidery Hoop Pumpkin Dollar Store Craft
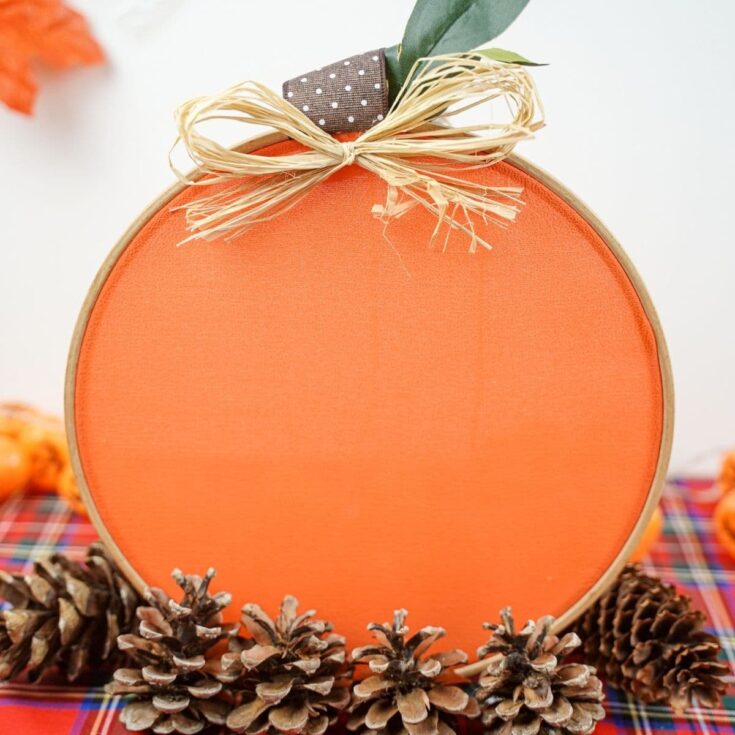
Use up scrap fabric and an old embroidery hoop to create an adorable embroidery hoop pumpkin dollar store craft to hang throughout the autumn season!
Instructions
- Place the embroidery hoop onto the fabric and cut a square or circle around the hoop that is a few inches wider than the hoop.
- Place the ribbon onto the back of the hoop over the fabric, then place the second piece in place to seal both the fabric and ribbon inside the hoop.
- Trim off the excess fabric around the edges and flip over the pumpkin.
- Make a bow from raffia and glue at the top of the pumpkin, just below the ribbon.
- Glue a small green fake leaf behind the raffia.
- Now you can display your pumpkin!
Notes
Hang on the front door from August to November.
Recommended Products
As an Amazon Associate and member of other affiliate programs, I earn from qualifying purchases.
-
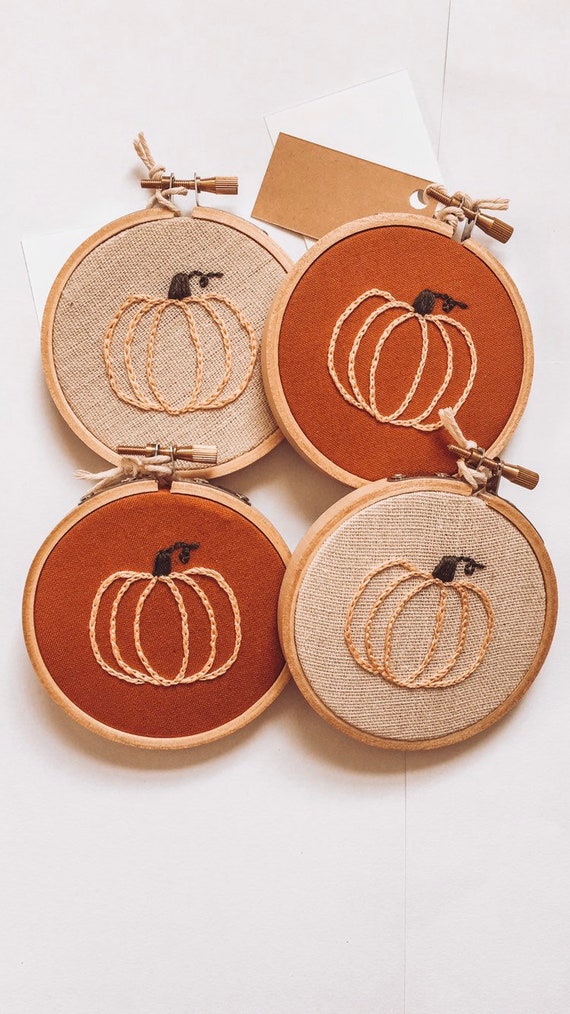 Mini embroidery hoop / Pumpkin embroidery / Seasonal decor | Etsy
 -
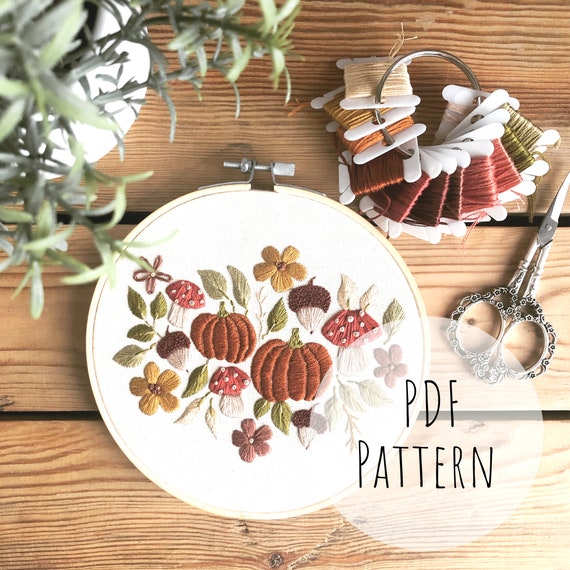 Pumpkin Falls || Embroidery Hoop Art PDF Pattern with Instructions || Digital Download
 -
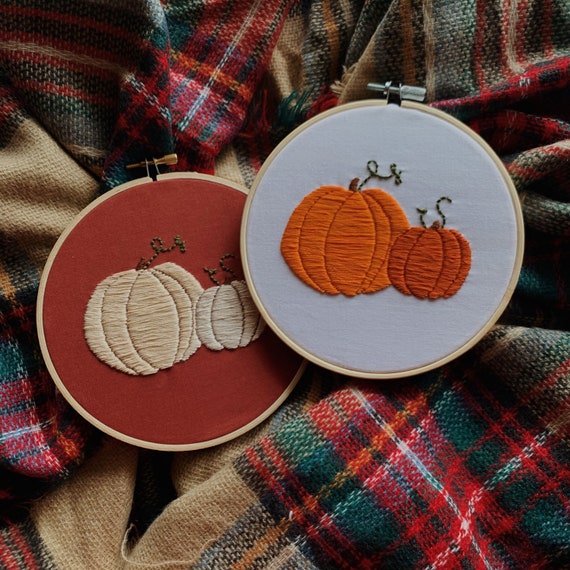 Autumn Pumpkin Hand Embroidery 6 Hoop - made to order
 -
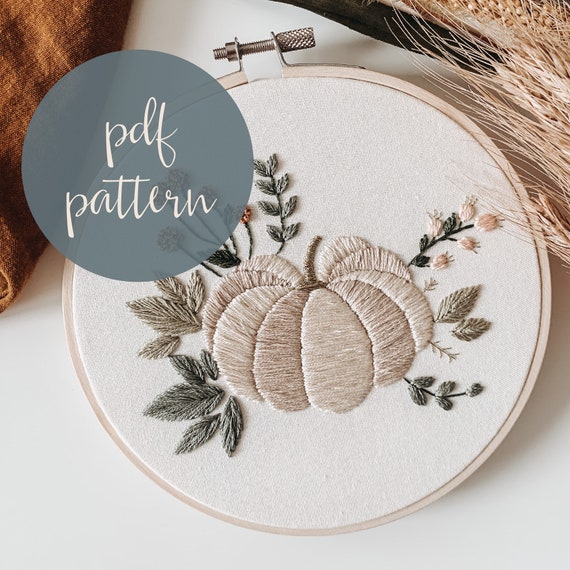 White Pumpkin Embroidery Pattern
 -
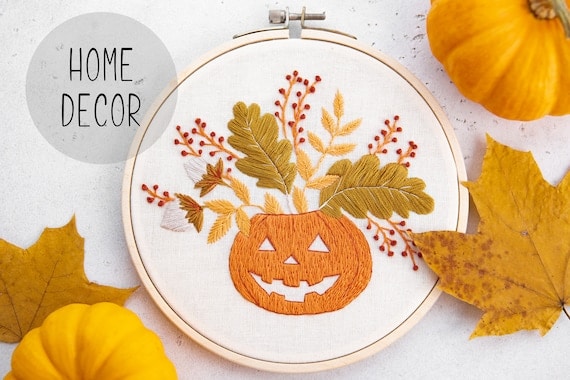 Halloween home decor, pumpkin hand embroidered hoop, spooky gift idea, jack-o-lantern, Halloween gift, pumpkin decor, fall decor
 -
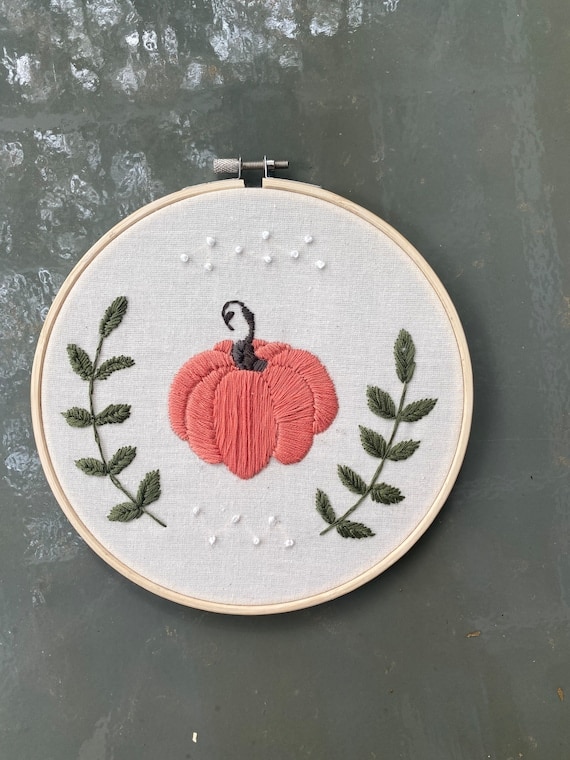 Pumpkin Embroidery Hoop Art, Fall Embroidery, Embroidery Hoop Art
Finished Project Gallery
Add a bit of glitter spray and this will sparkle against your front door!
Make sure to remove it from the door if you are expecting rain as it will get wet and make the fabric look ugly while it dries.
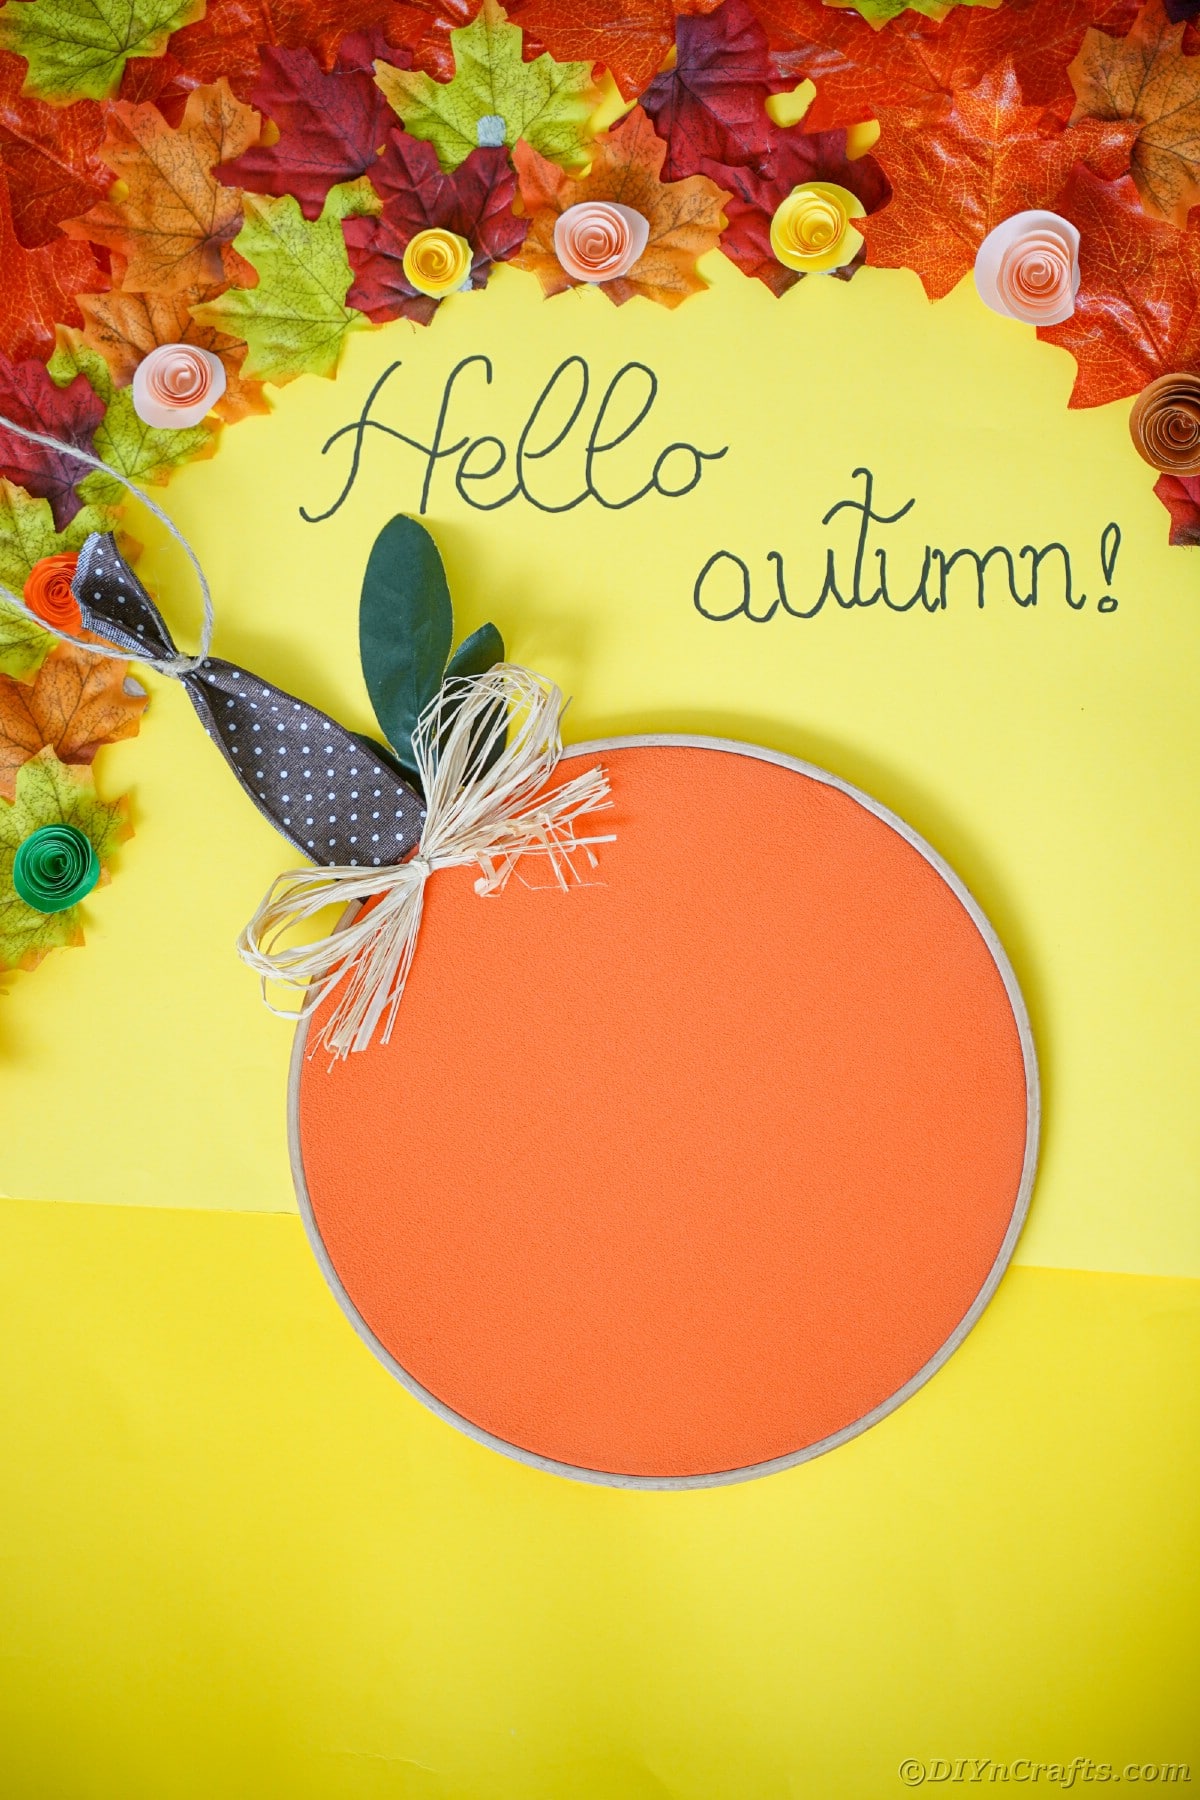
Use any color ribbon for the stem and hanger!






Colette Kuznicki
I like the crafts to make, and the recipes. Have more craft ideas!!!!