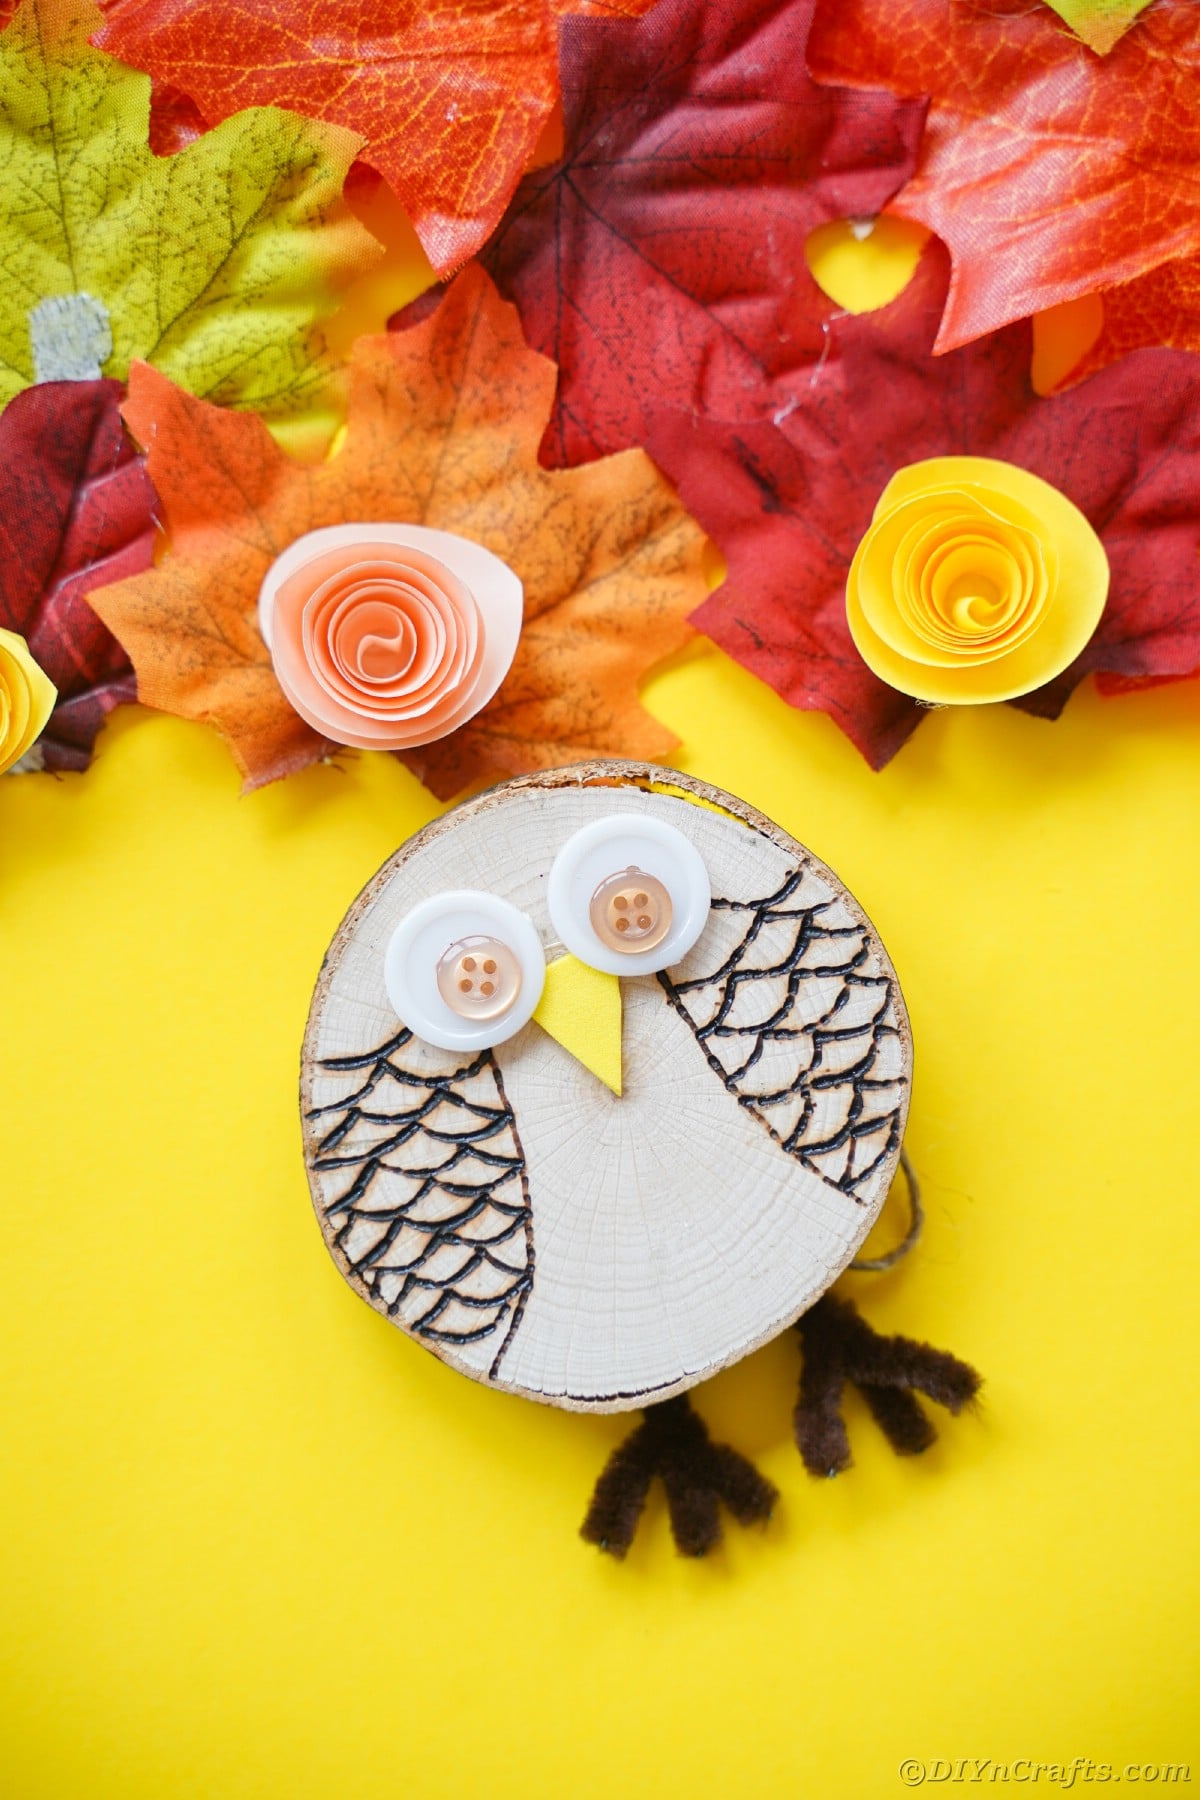
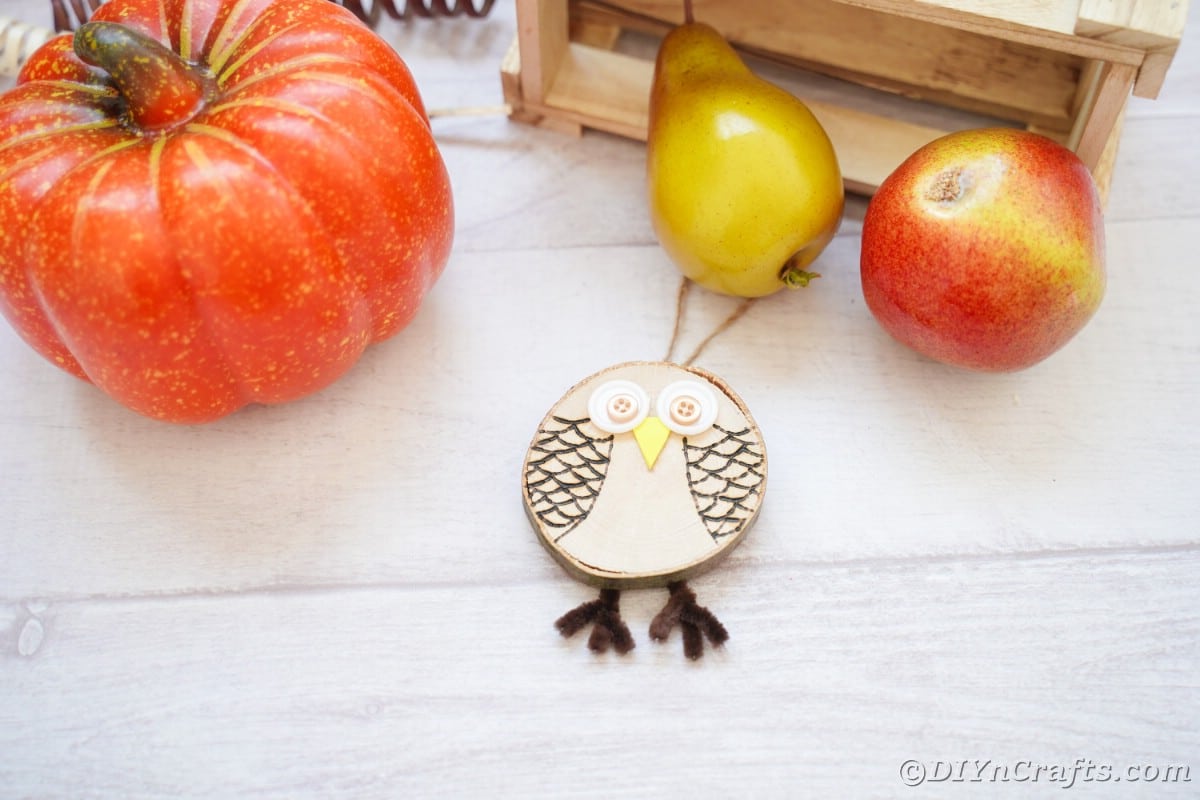
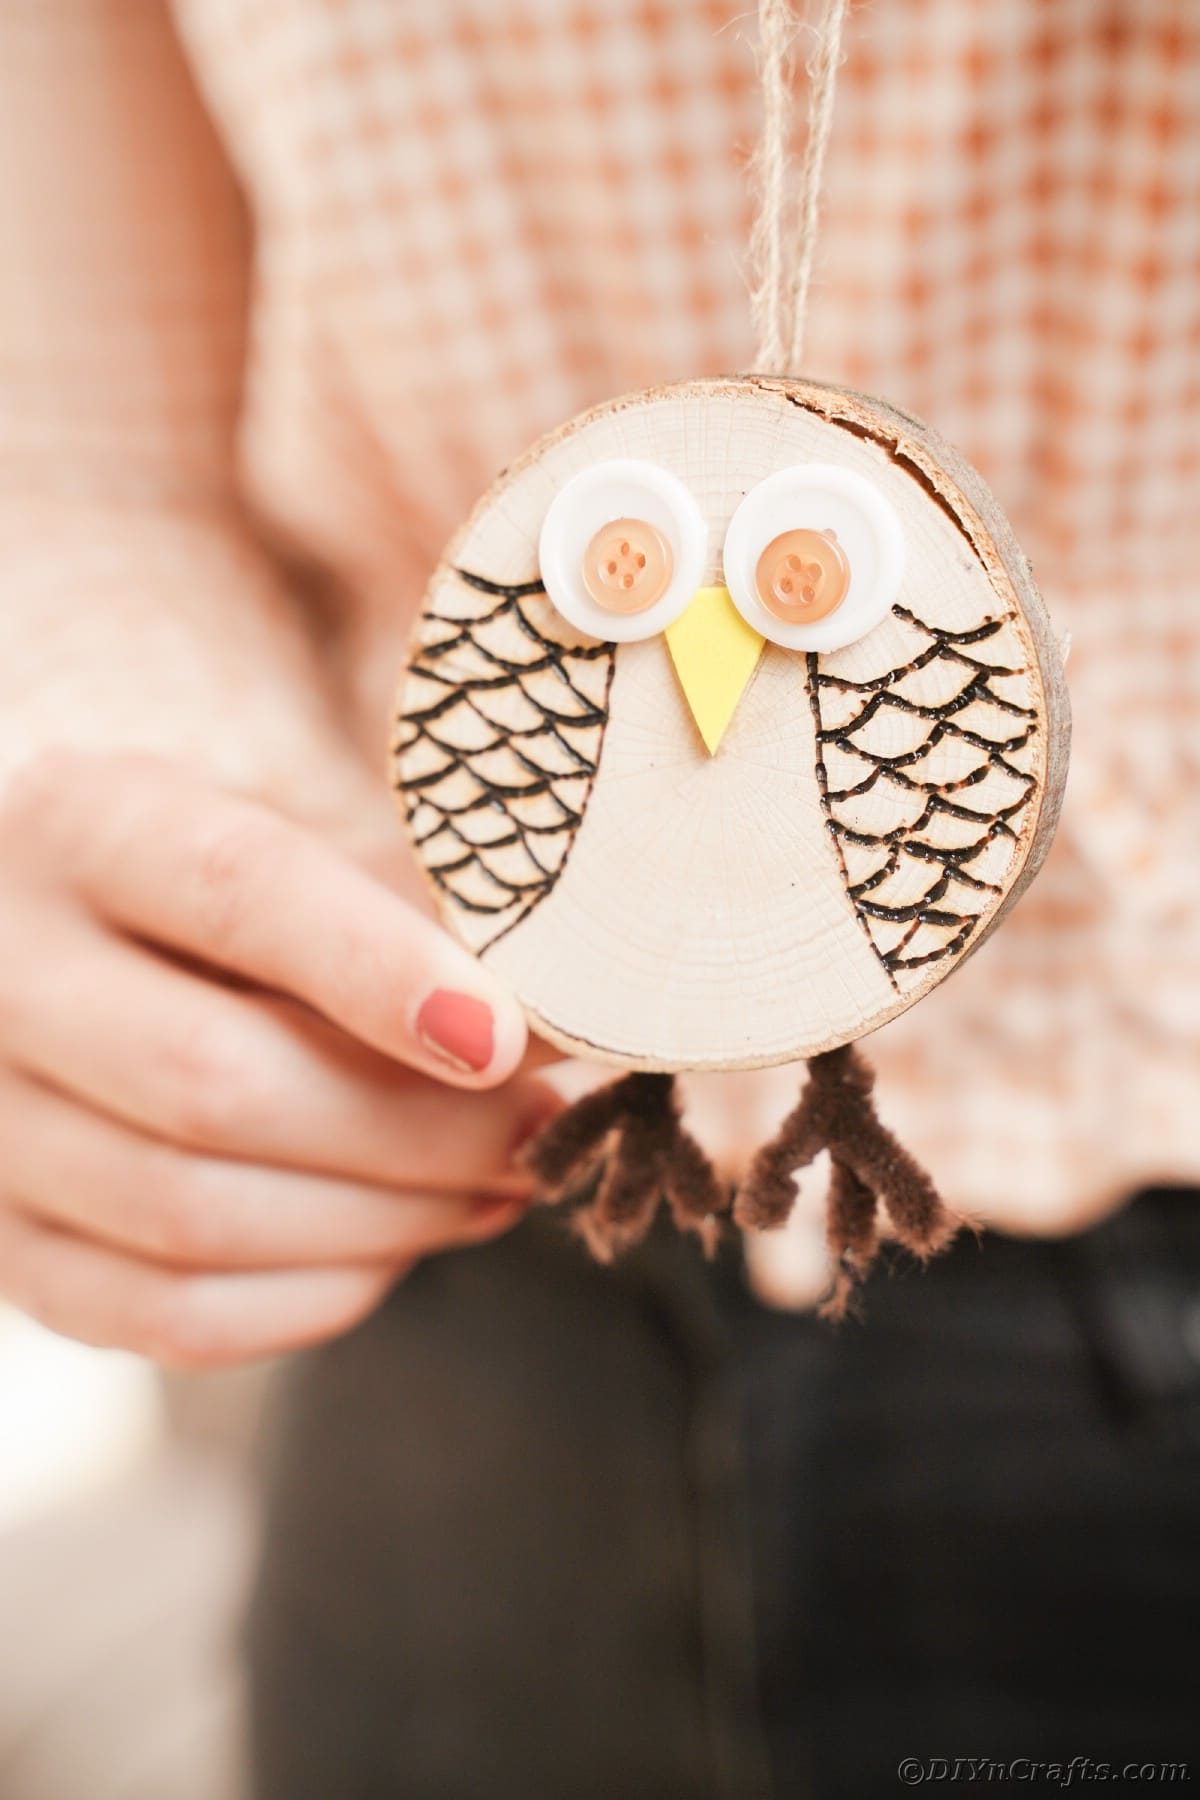
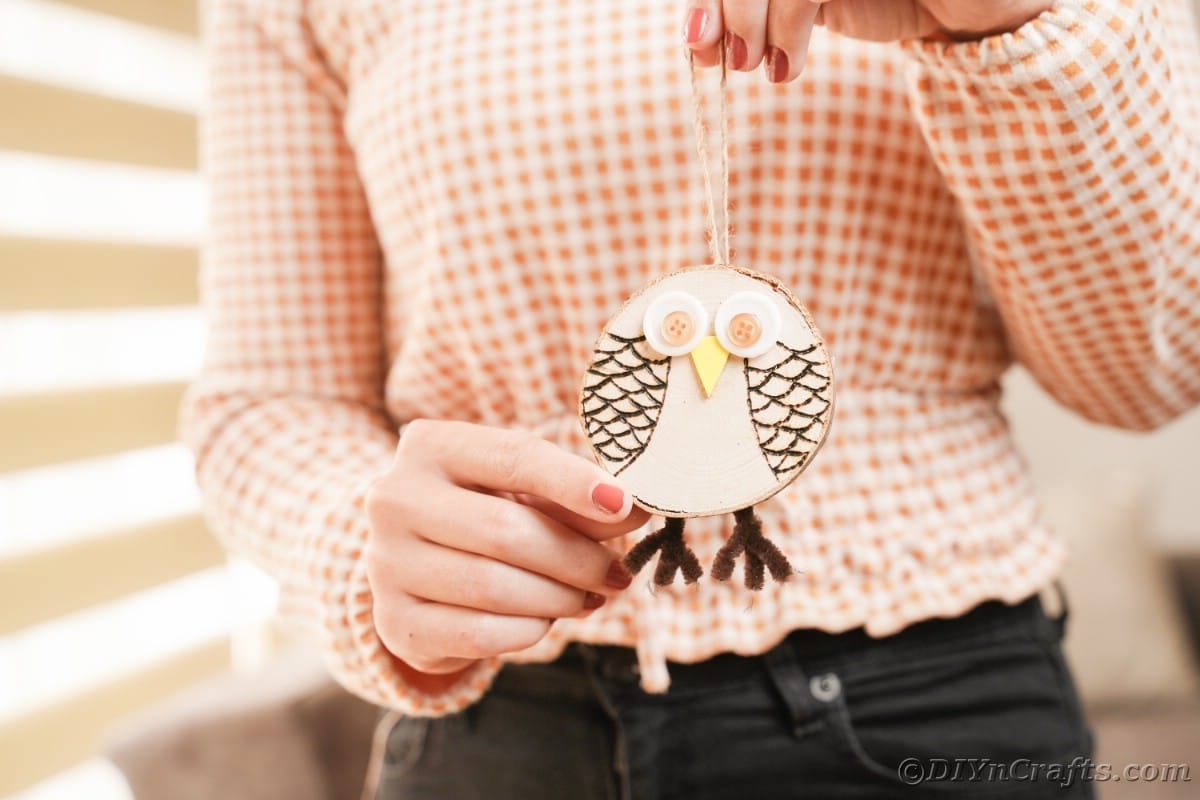
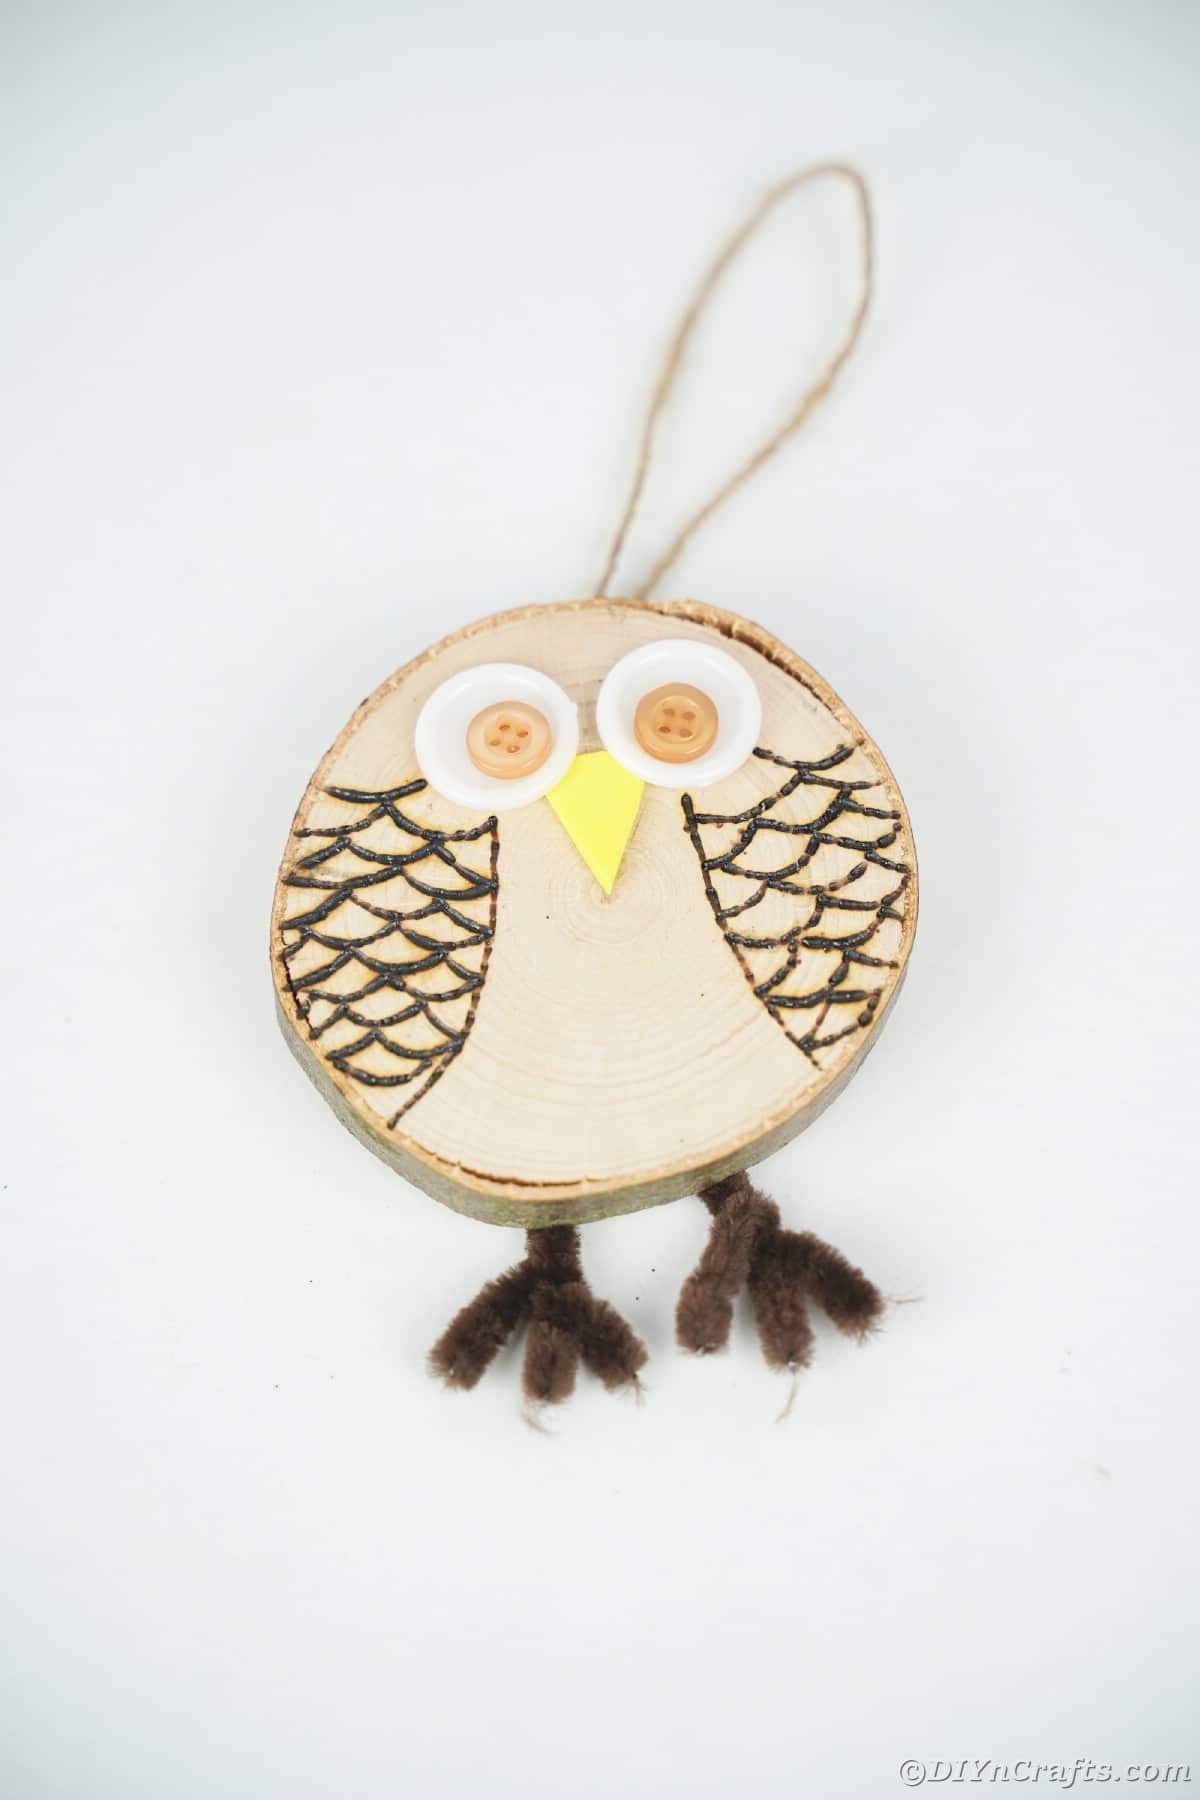
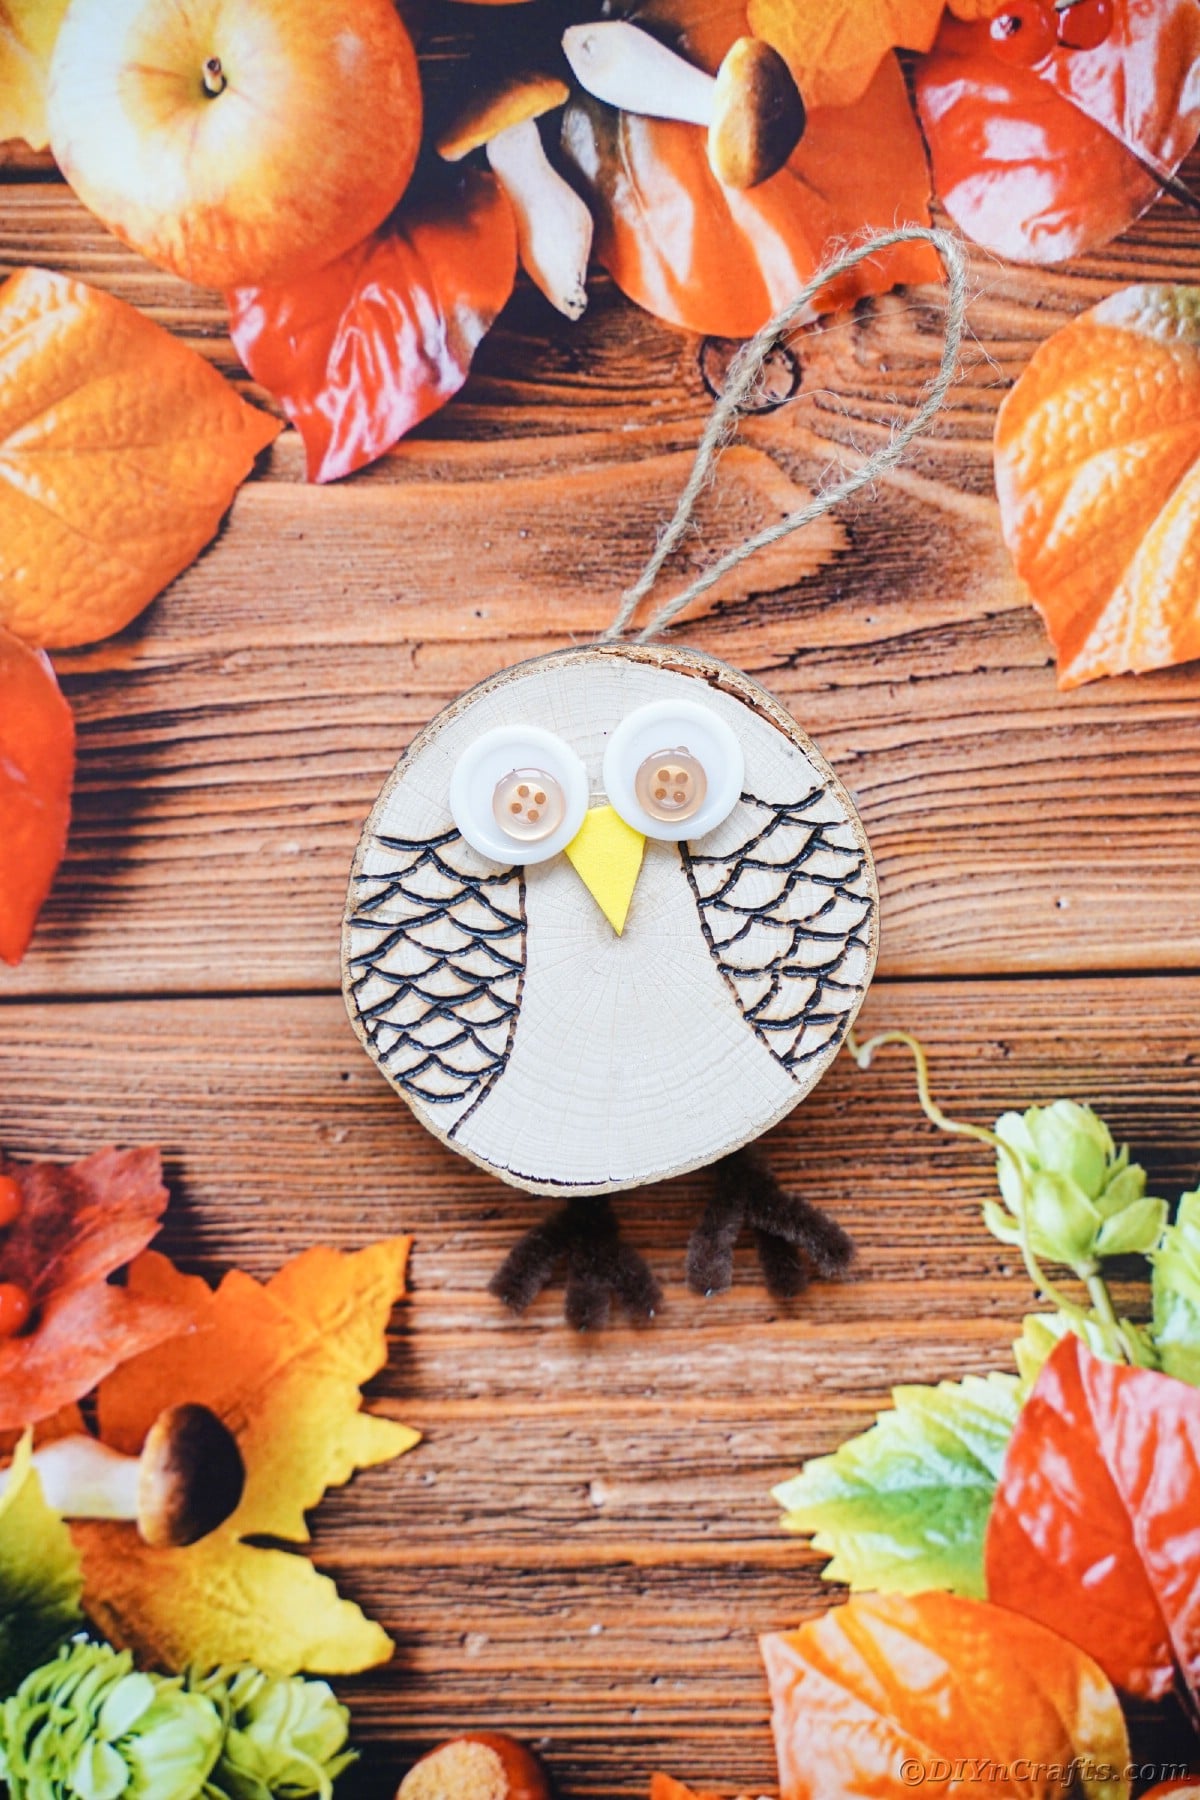
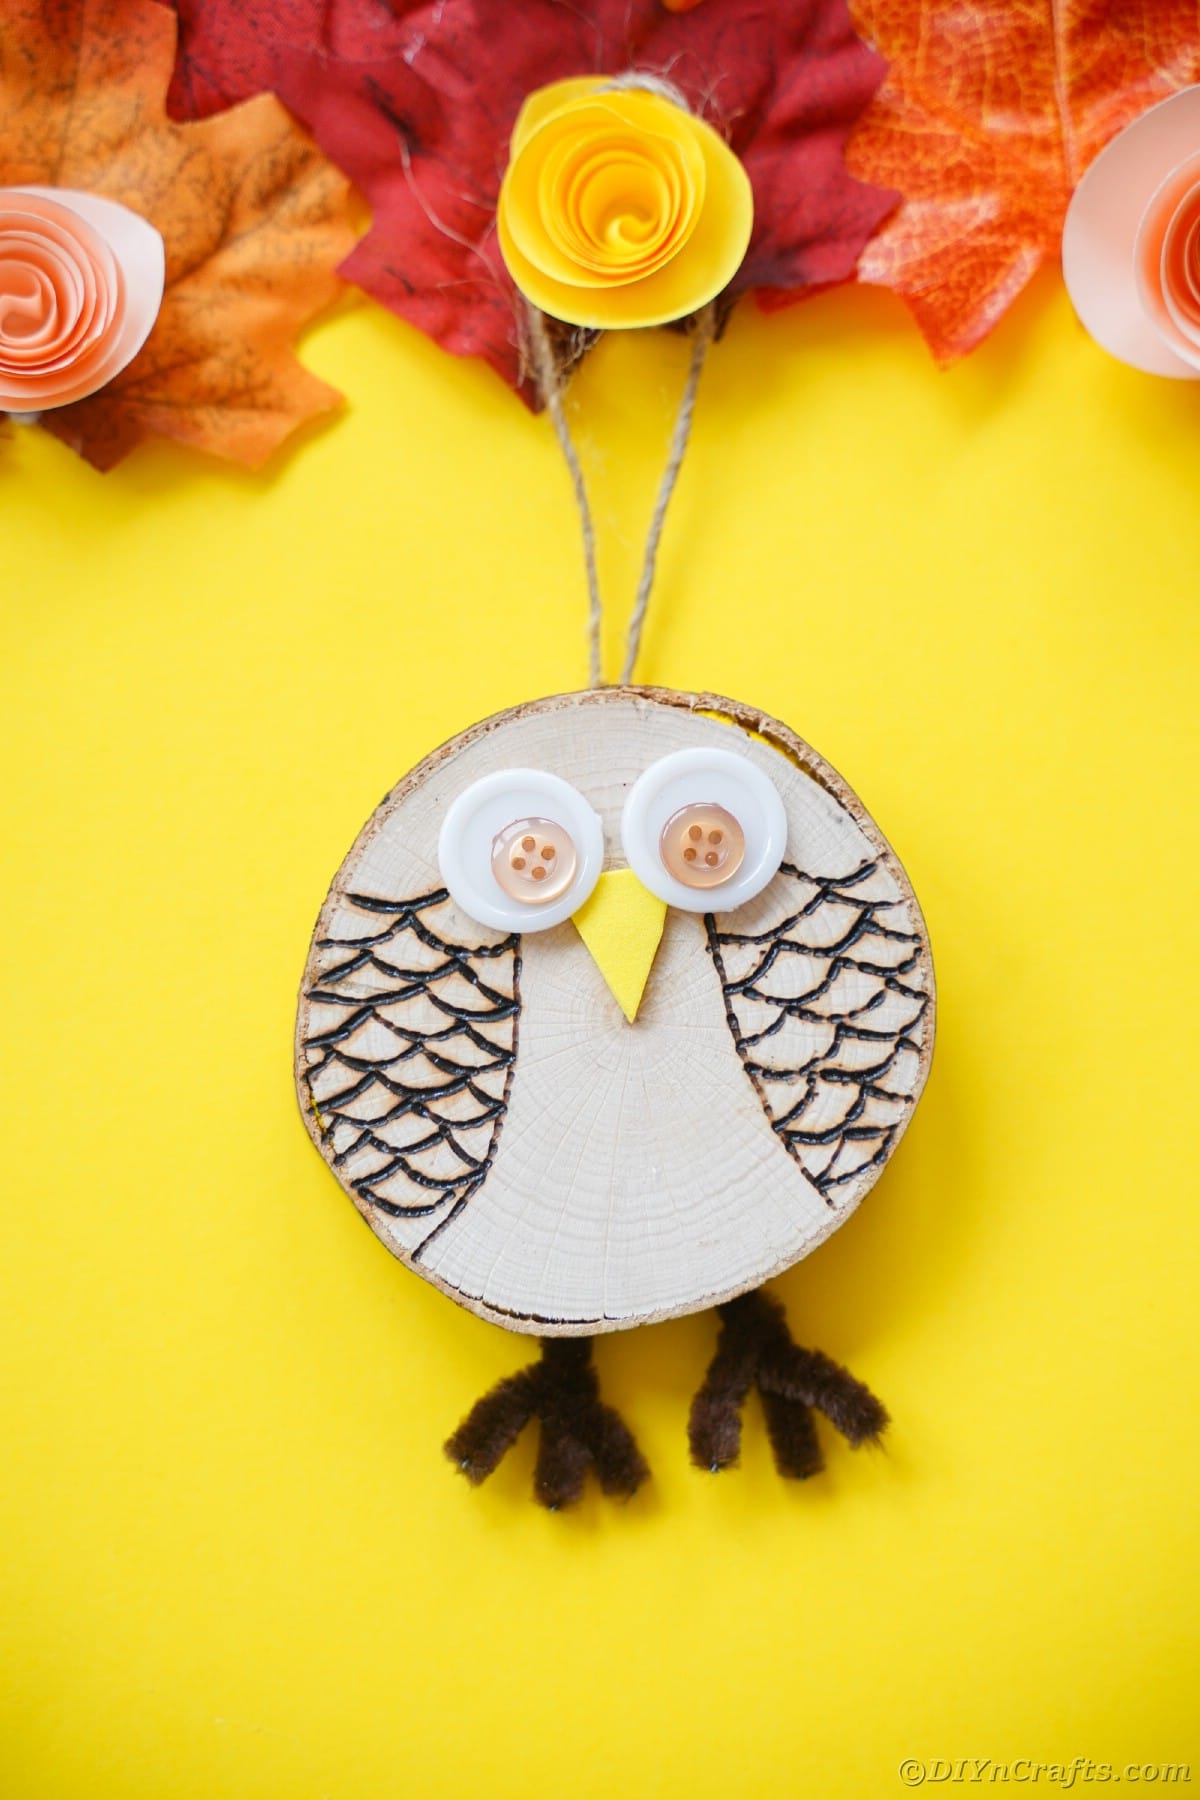
If you haven't jumped onto the wood slice crafting train, now is the time. They are such a fun little rustic item to work with, and this hanging wood slice owl is a great example of inexpensive and beautiful decor. This is a wood-burning project, so is not intended for children to create, but is a great starter project if you are new to wood burning.
Hanging Wood Slice Owl
If you've been looking for a simple wood-burning project as a first option, this one is a great option. The design is simple and easy to follow. It shows detail but isn't so intricate you can't manage it if you are new to wood burning.
I've made these decorative owls from upcycled wood slices before, and they are adorable, but if you want something a bit fancier, then this wood-burning project is definitely a great one to start.
If you have kids who want to craft with you but you know this isn't safe, you can set them up with this cute pine cone owl decor idea instead. It's a lot easier to make and they can use basic craft glue or even school glue to add the wings and eyes to this project.
What Can I Use to Make the Eyes on My Owl?
One of my favorite things about crafting is that I can use so many different objects to make faces on my animal crafts. This owl is no different, and in fact, is a great choice for using a variety of leftover items in your craft bin. Below are some fun ideas that would work great for this project to make eyes and/or a face from.
- Bottle caps or lids.
- Buttons.
- Beads.
- Play money (I had leftover fake coins from when my kids are little, spray paint and use them).
- Foam paper felt, or construction paper circles cut and glued in place.
- Yarn or ribbon.
- Stickers.
For the nose, you can use scrap fabric, felt, craft paper, foam paper, construction paper, or cardboard. Just cut into the classic triangle beak shape and glue just below or between the eyes.
What is the Best Way to Hang This Owl?
Since this is a heavier item, the usual string or twine may not work well for hanging. You also have to consider how you would attach the hook or item for hanging. While it is a bit of an extra step, I find it is best to use a picture hanger and screw it into place on the back of the wood slice. This gives the most secure option.
Then, you can attach to a wall with a hook, or loop heavier string, twine, rope, or ribbon around it to hang from a door or even the ceiling. Just make sure whatever you use for the actual hanging is strong enough to hold the weight of the owl.
What Glue Works Best with Wood Projects?
If you are doing this on your own without children involved, then reach for the basic wood glue from the craft department. It works great and is designed just for this purpose. Other options include hot glue (as shown), E6000, craft glue, or various heavy-duty adhesives you find in hardware stores.
The main consideration with this particular project is getting the eyes and nose in place to stay secure. Hot glue works fine for this, but in time it may fall off as it doesn't "grip" the wood like other glues might. For everyday decor, it works dandy and is a good option that is affordable.
Where Can I Get Wood Slices?
The easiest and cheapest way to get these is to go outside and cut them yourself from your own trees. However, that isn't ideal or easy for everyone, plus you may not want to deal with the potential of bugs or similar in the bark. So, buying packages of wood slices in your local craft store, on Etsy, or on Amazon are all good ideas.
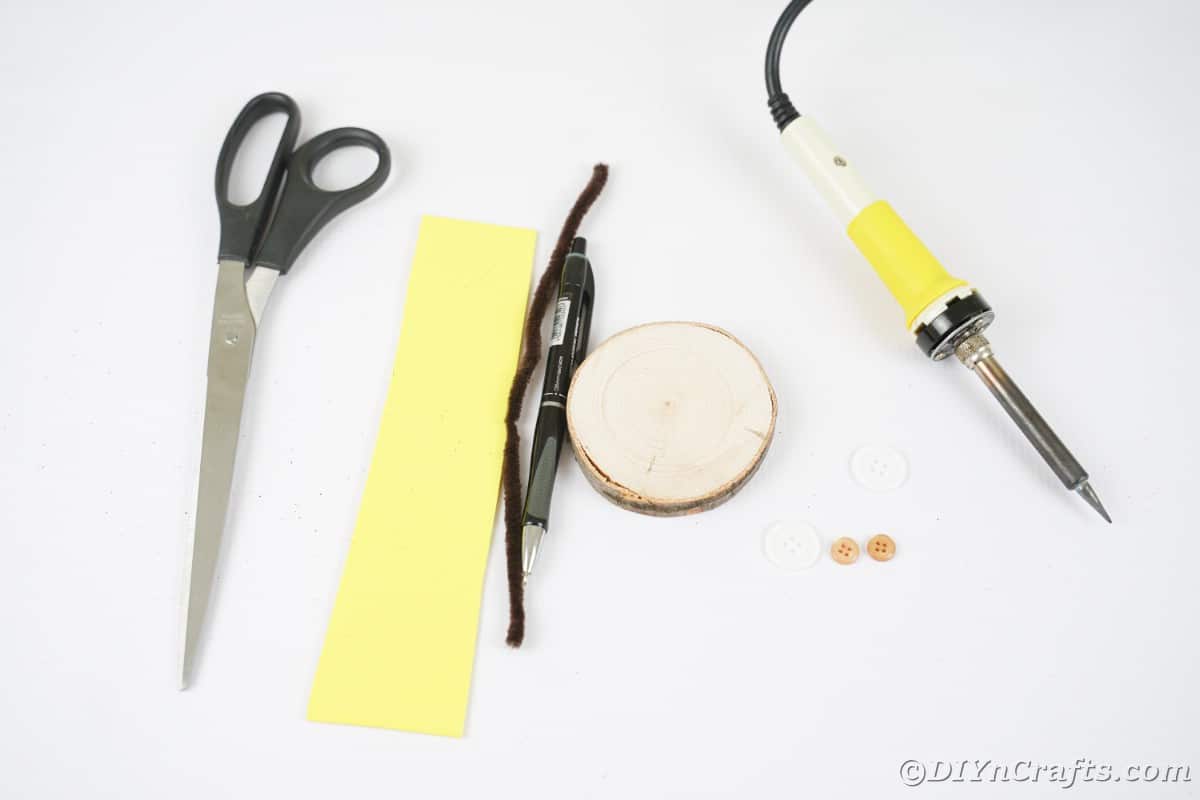
Supplies Needed
- Wood slice
- Large buttons
- Small buttons
- Yellow foam paper
- Brown pipe cleaners
- Hot glue gun
- Hot glue stick
- Pencil
- Wood burning tool
Note: you do not need an expensive wood-burning kit for this project. This single Walnut Hollow woodburning kit has just what you need, the burner and tips. If you want to do more, you can invest in a 72 piece woodburning kit instead.
How to Make a Hanging Wood Slice Owl
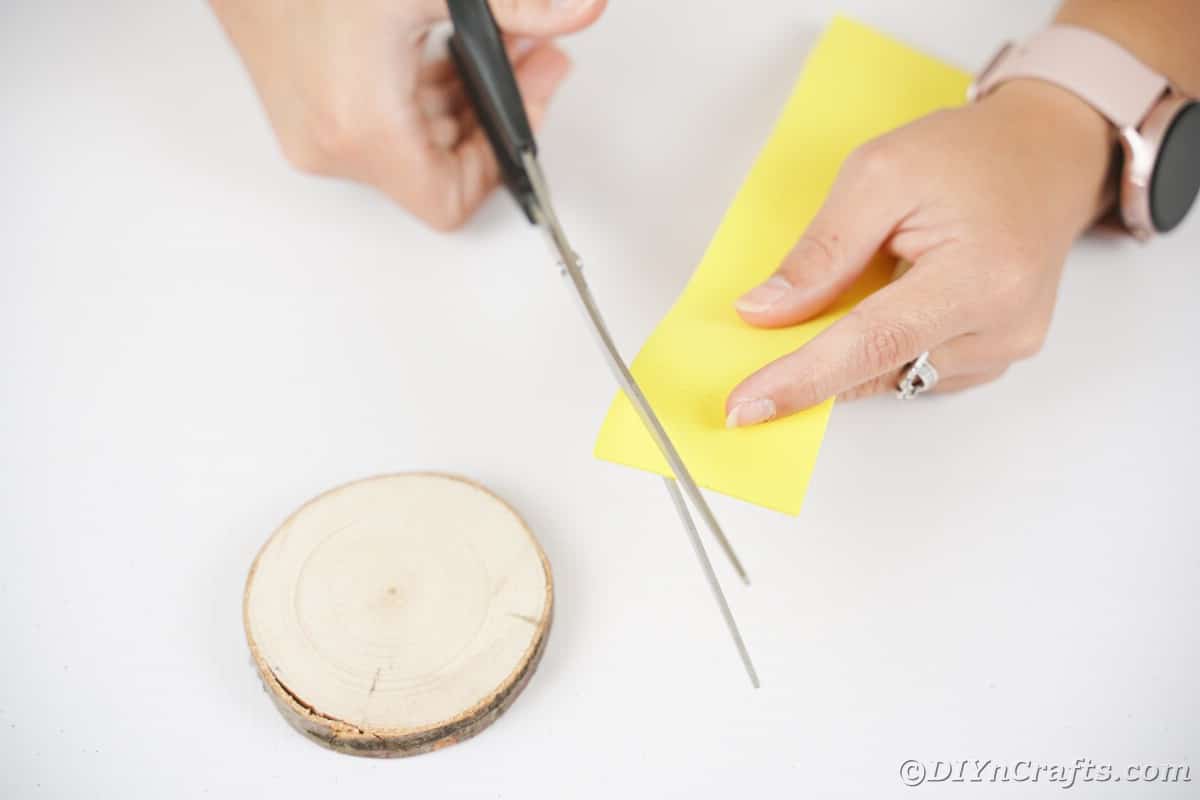
Cut a small triangle from the yellow foam paper.
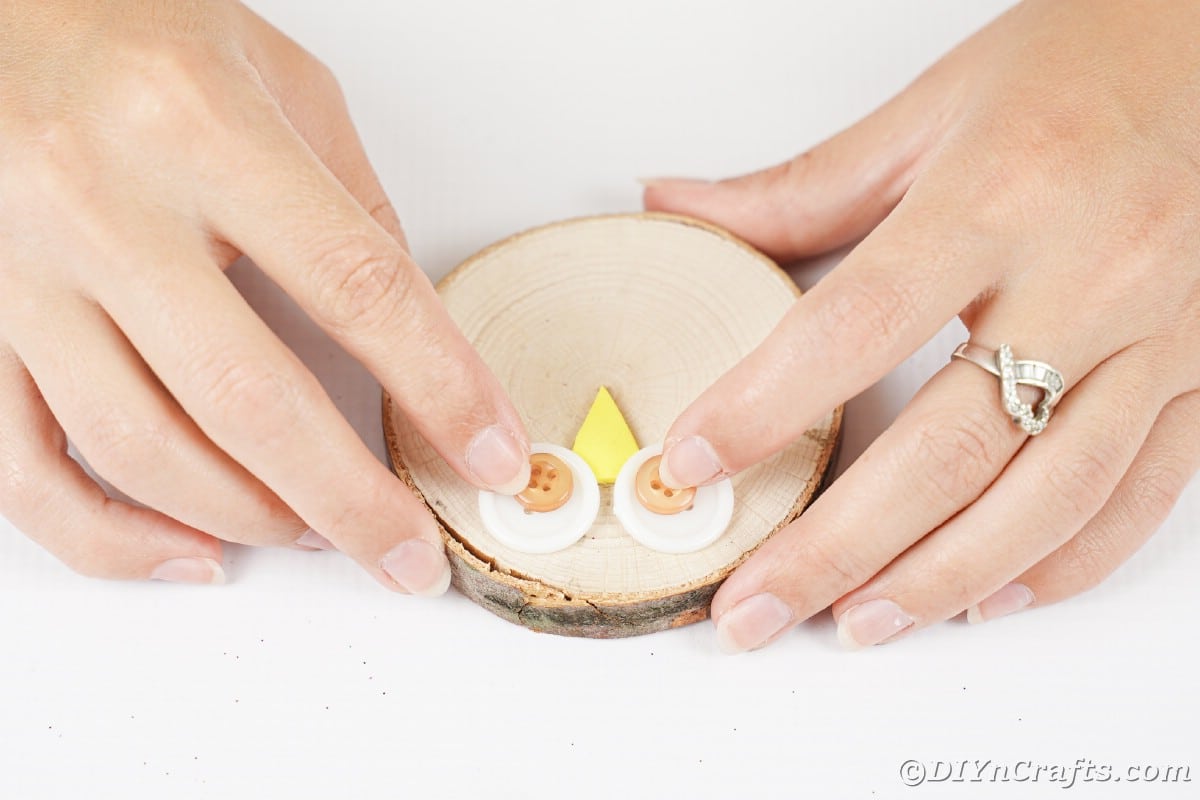
Glue it in place about 1 ½" from the top of the wood slice.
Glue the larger buttons just above the peak.
Then glue the smaller buttons on top of the larger ones.
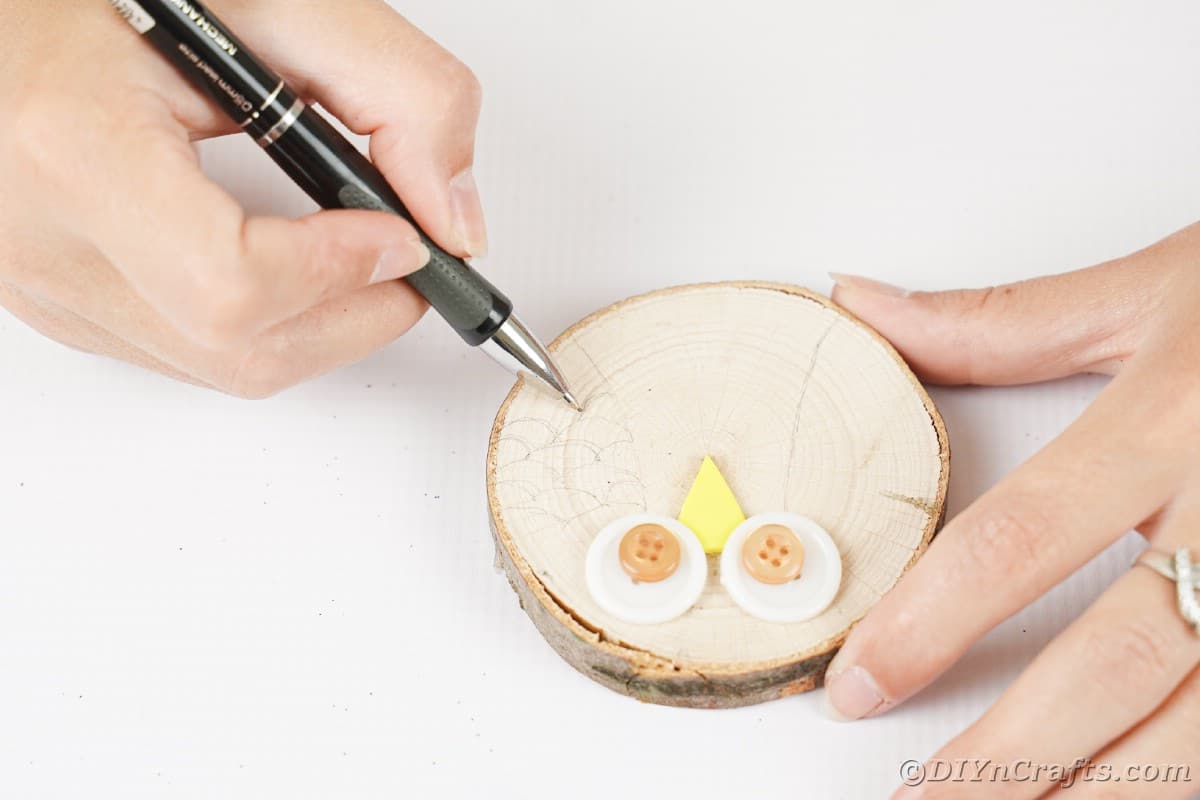
Using a pencil, sketch the wing shapes onto the wood slice. Start at the center of each eye, and curve downward and to the sides. Then sketch individual feather curves inside this field for the wing.
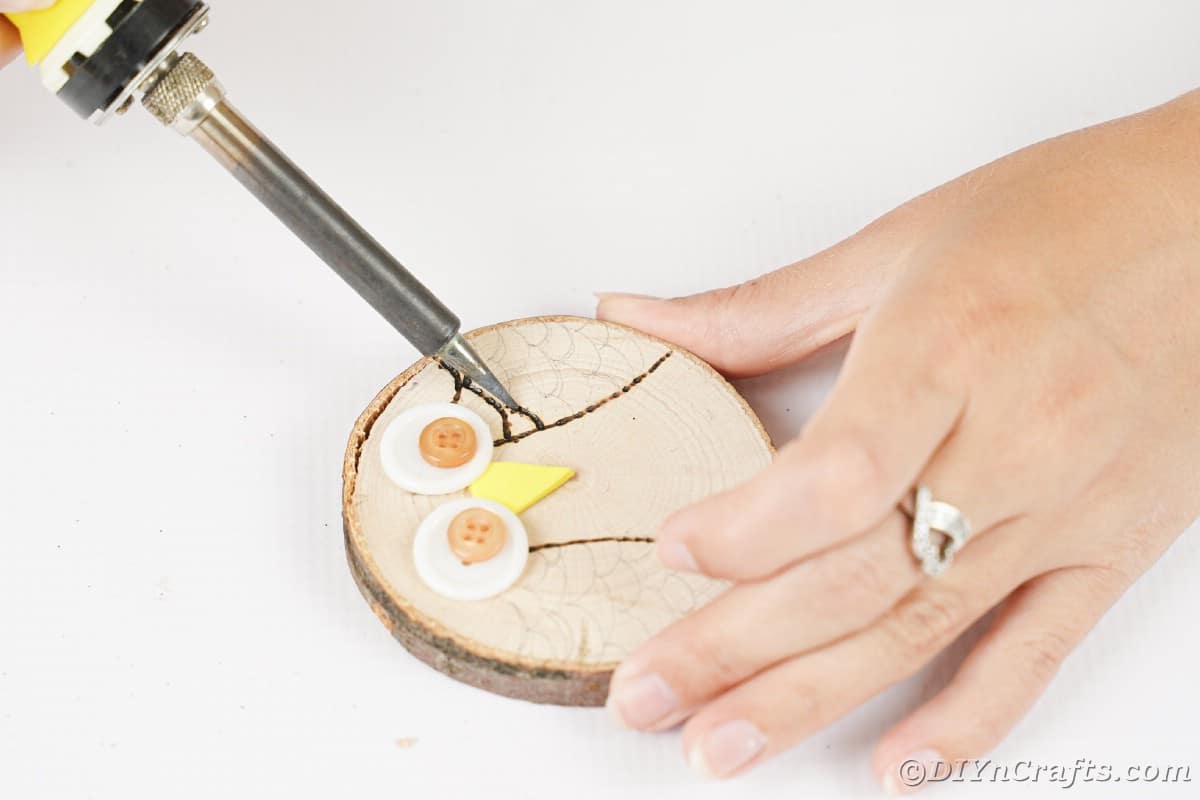
Using a wood-burning tool, carefully burn the wood, following the sketches you added to the wood slice.
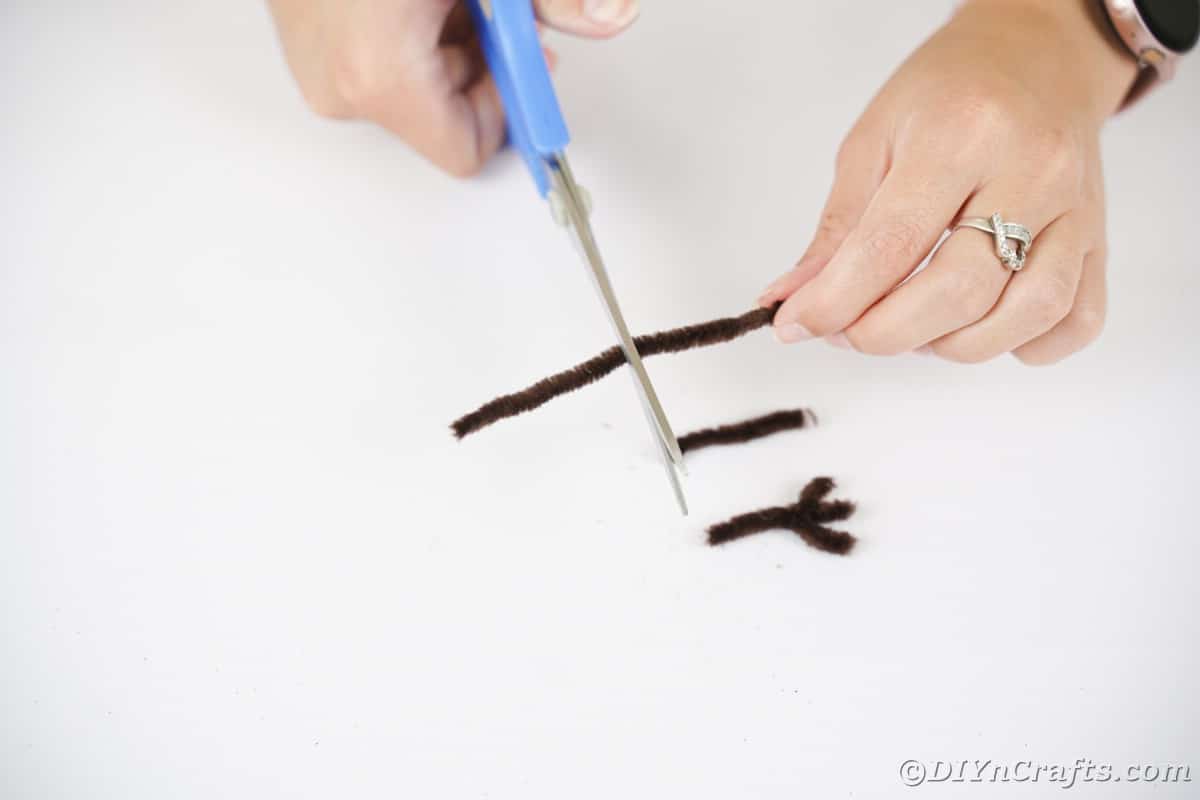
Cut four, 2" pieces of pipe cleaner. Wrap one around the bottom of another and curve to create feet.
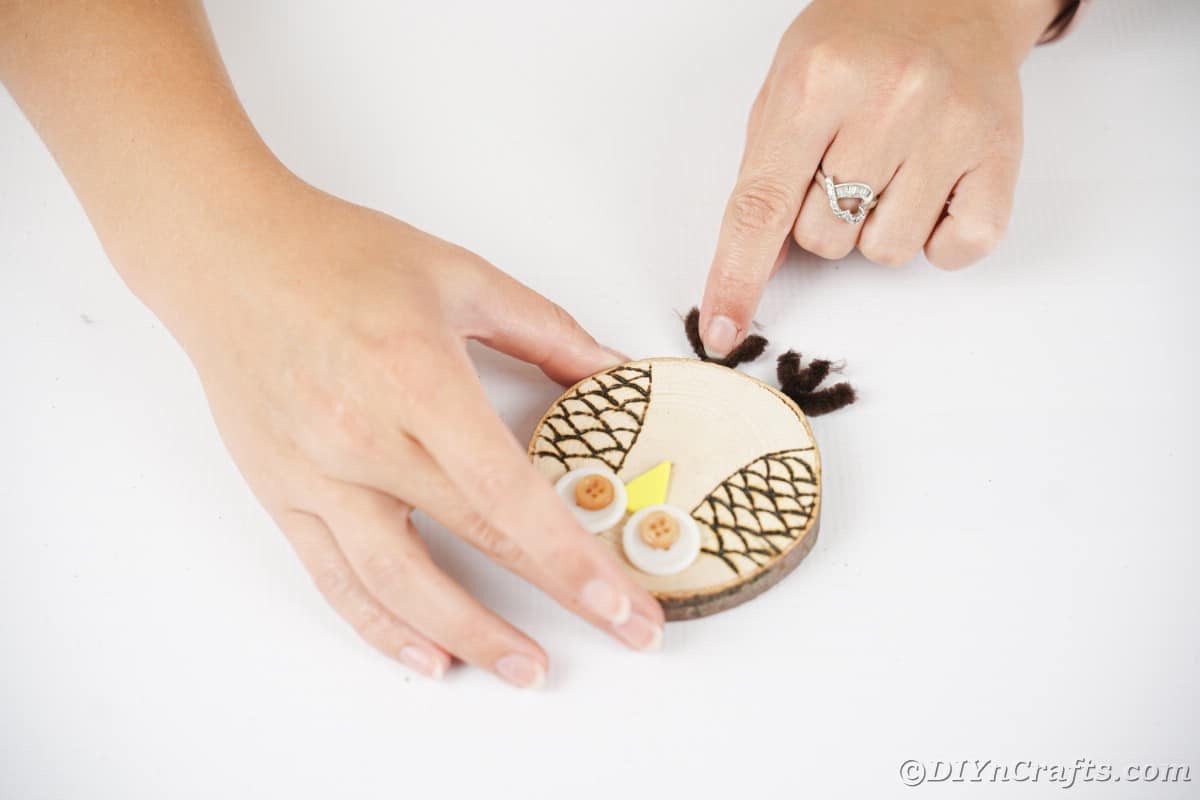
Glue these onto the bottom back of the owl.
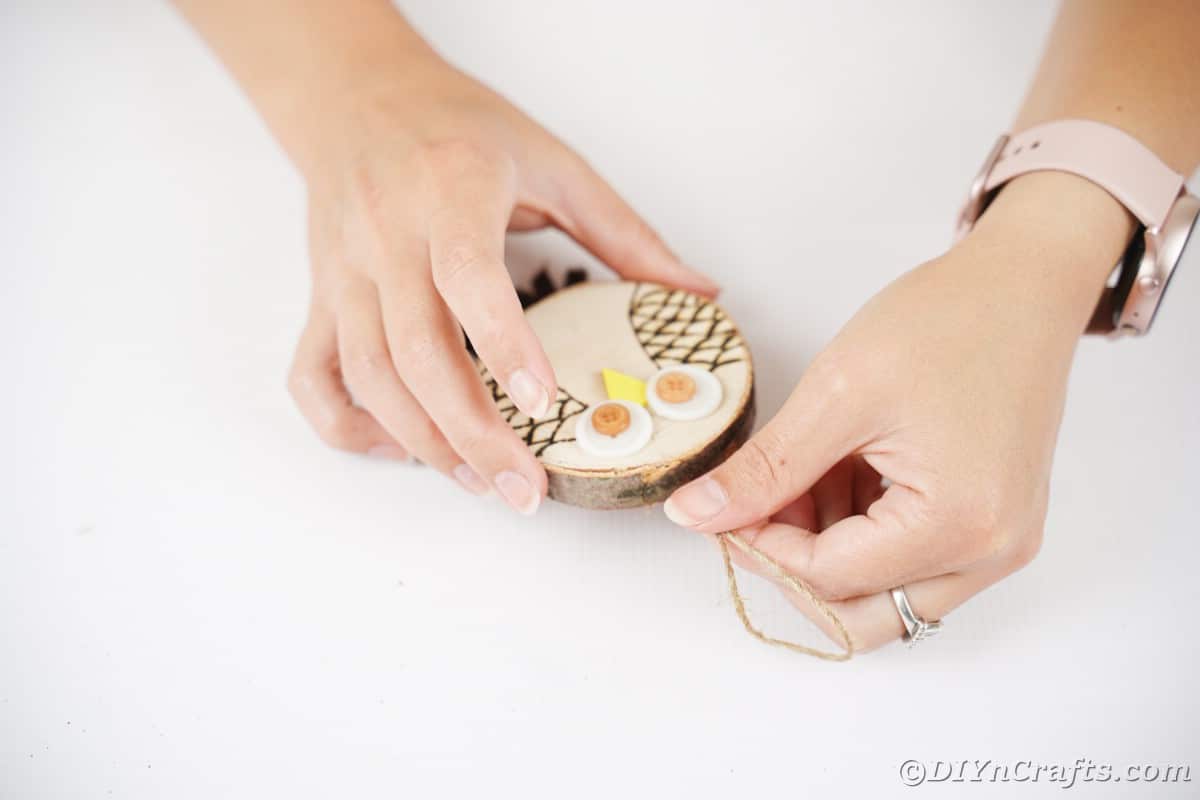
Once done, attach a length of twine or a hanger to the back of the wood slice for hanging.
What if I Don't Have a Wood Burner?
If you do not have or are not comfortable with using a wood burner, that is okay. You can achieve a similar look simply by using a dark brown marker or paint and covering the sketched wing outline instead of burning the wood. Just start with the usual pencil sketch that can be erased easily to make it exact. Then, follow the pencil sketch with your paint, pen, marker, or wood burner.
More Fun Owl Crafts
Whether you want to decorate your home with a cute owl theme, need something to keep the kids busy crafting, or even need a baby shower gift, I have some great ideas below for you to consider. Owls are always adorable, and there are many ways you can make them come to life with crafting tools. Make sure you bookmark, pin, or print the projects below to create soon!
- Whimsical Upcycled CD Owl Garden Decoration
- Rustic Burlap Wrapped Owl Wreath Decoration
- Adorable Owl Diaper Cake Baby Shower Gift
- Upcycled Plastic Cup Owl Craft
- Cute WIne Glass Owl Craft
- Adorable Upcycled Tin Can Pencil Holder
- DIY CD Owl Wall Messenger Craft
Adorable Hanging Wood Slice Owl Wood Burning Project
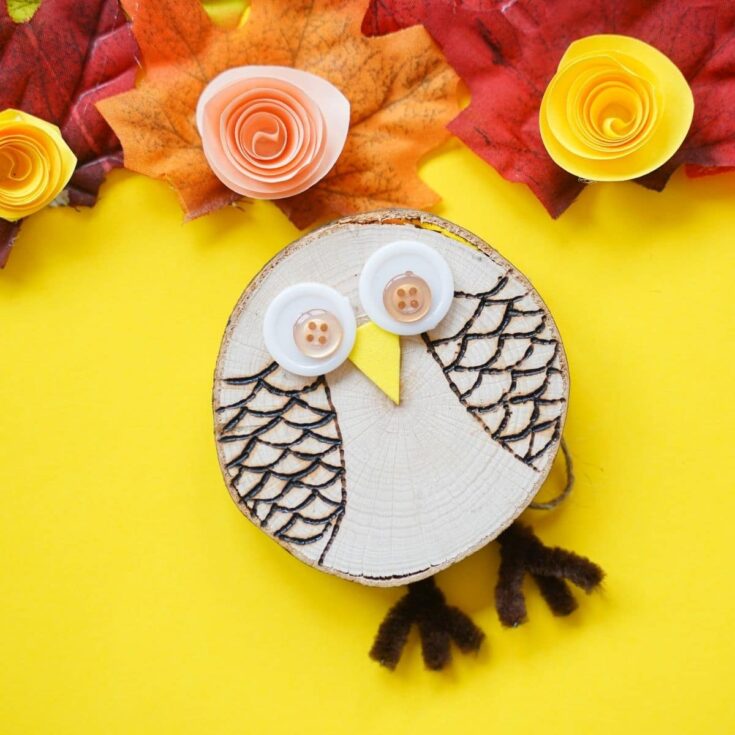
Follow a simple tutorial to create your own beautiful hanging wood slice owl. This easy wood burning project is great for beginner wood crafters!
Instructions
- Cut a small triangle from the yellow foam paper.
- Glue it in place about 1 ½" from the top of the wood slice.
- Glue the larger buttons just above the peak.
- Then glue the smaller buttons on top of the larger ones.
- Using a pencil, sketch the wing shapes onto the wood slice. Start at the center of each eye, and curve downward and to the sides. Then sketch individual feather curves inside this field for the wing.
- Using a wood-burning tool, carefully burn the wood, following the sketches you added to the wood slice.
- Cut four, 2" pieces of pipe cleaner. Wrap one around the bottom of another and curve to create feet.
- Glue these onto the bottom back of the owl.
- Once done, attach a length of twine or a hanger to the back of the wood slice for hanging.
Notes
If you don't want to use a wood-burning tool, a pen, marker, or paint can be used to make the owls feathers.
Recommended Products
As an Amazon Associate and member of other affiliate programs, I earn from qualifying purchases.
Finished Project Gallery
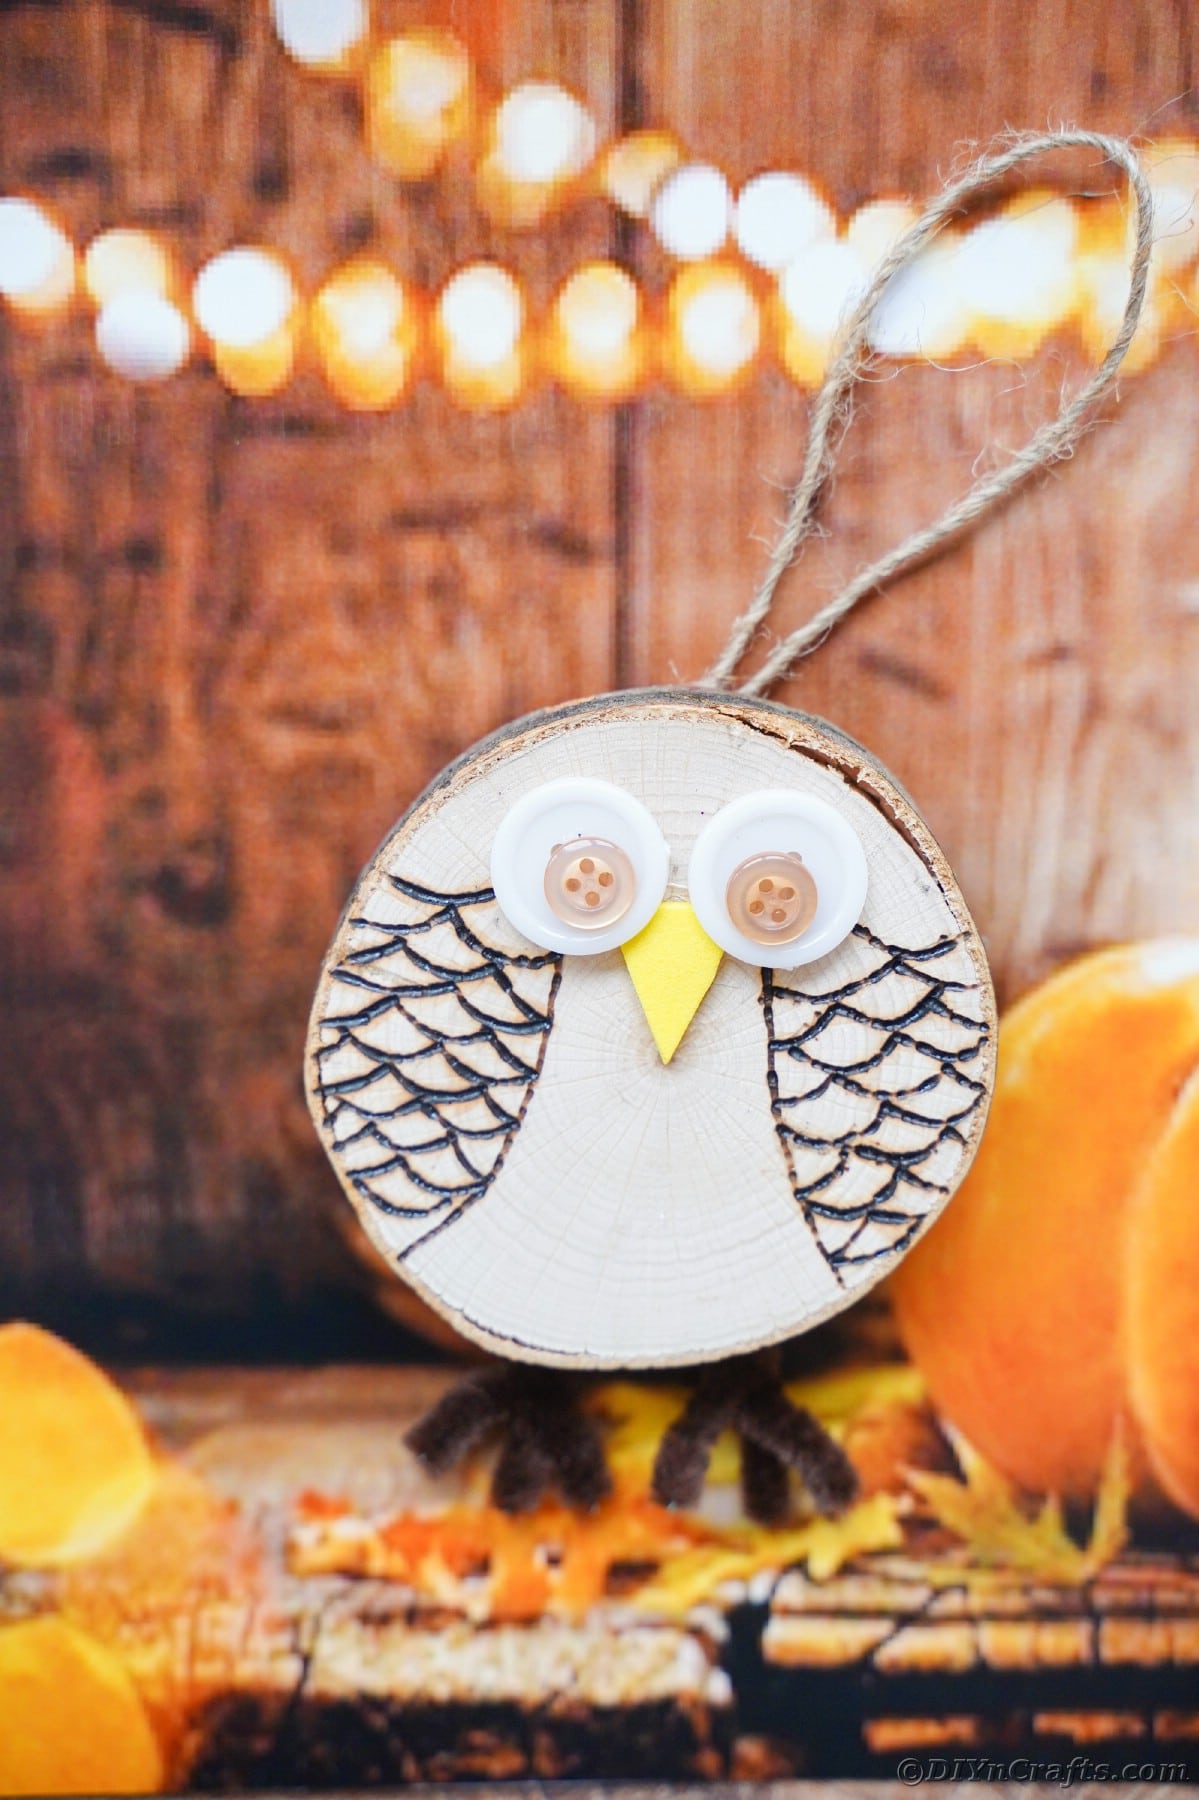
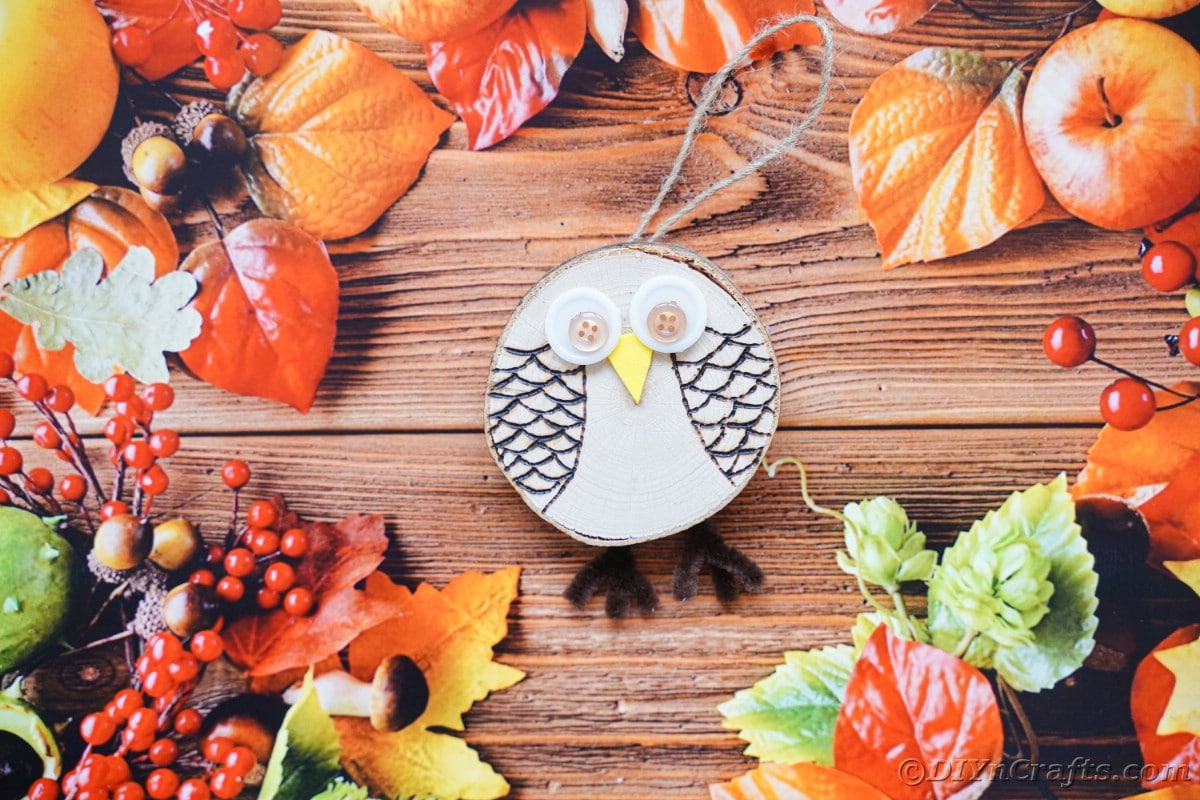
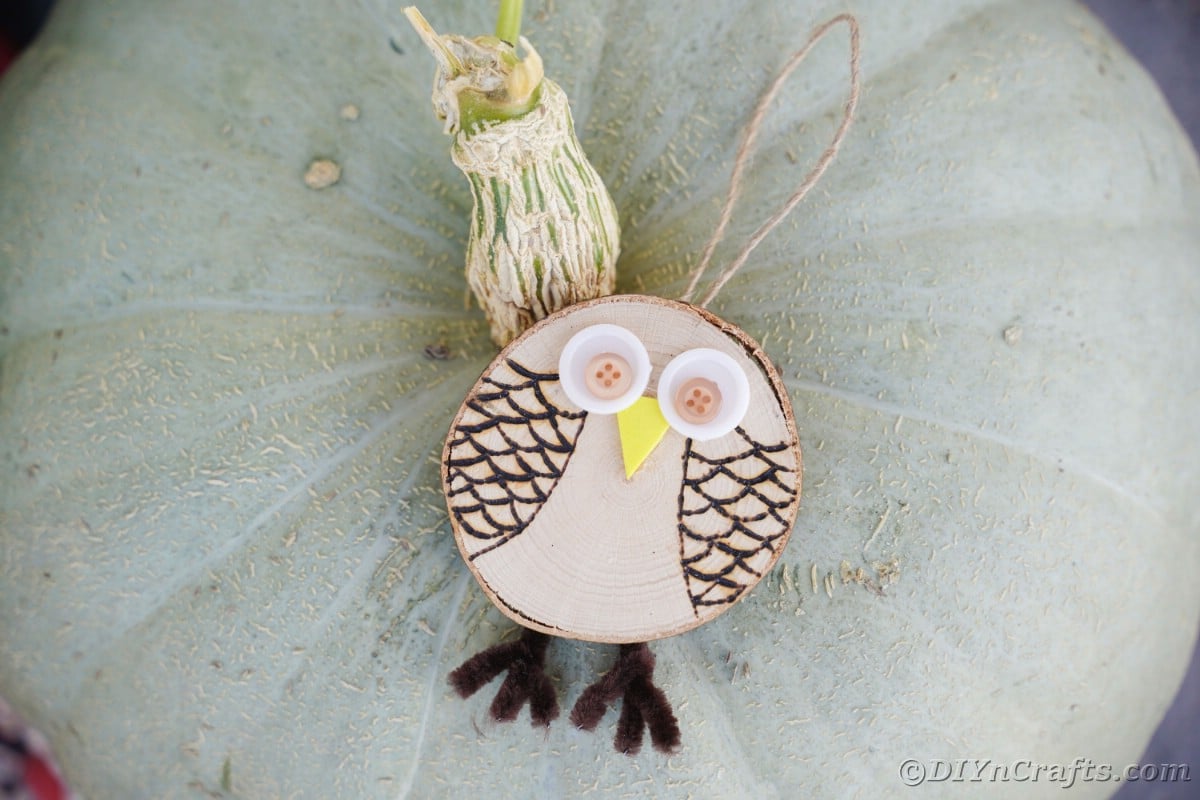
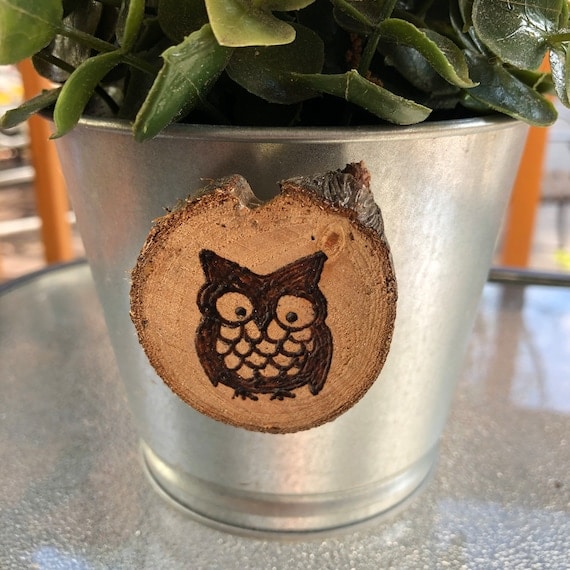
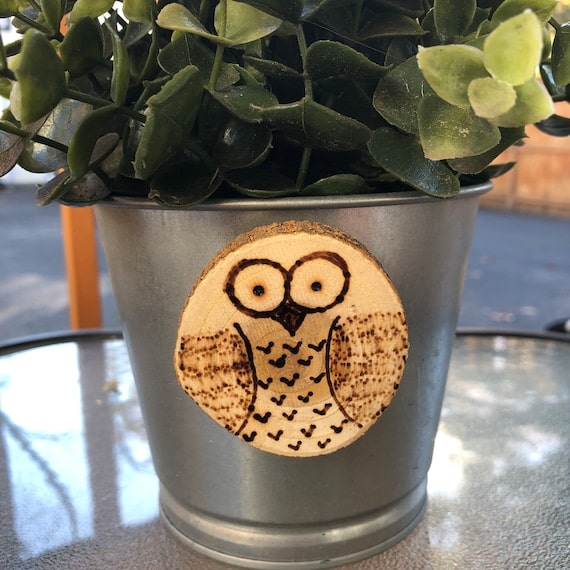
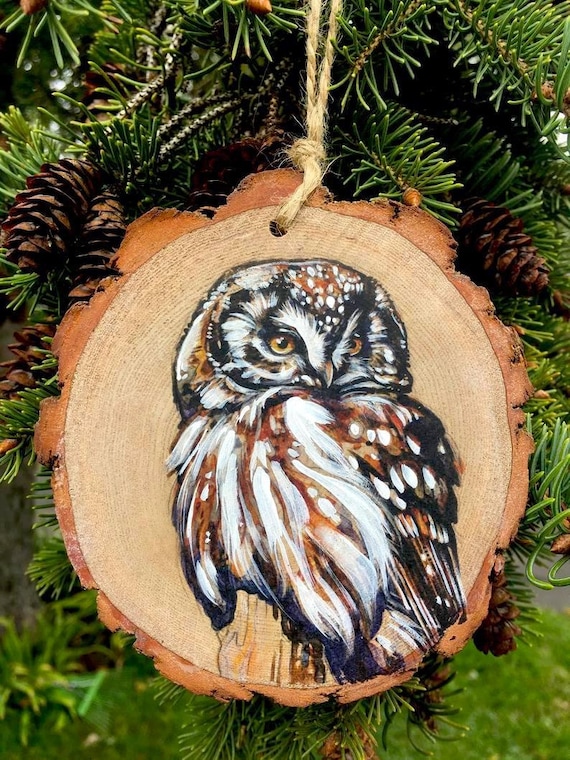
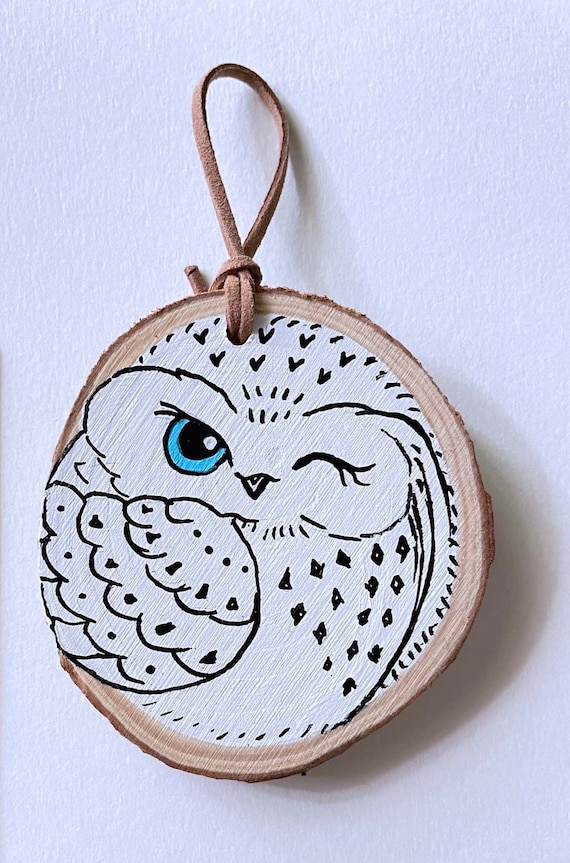
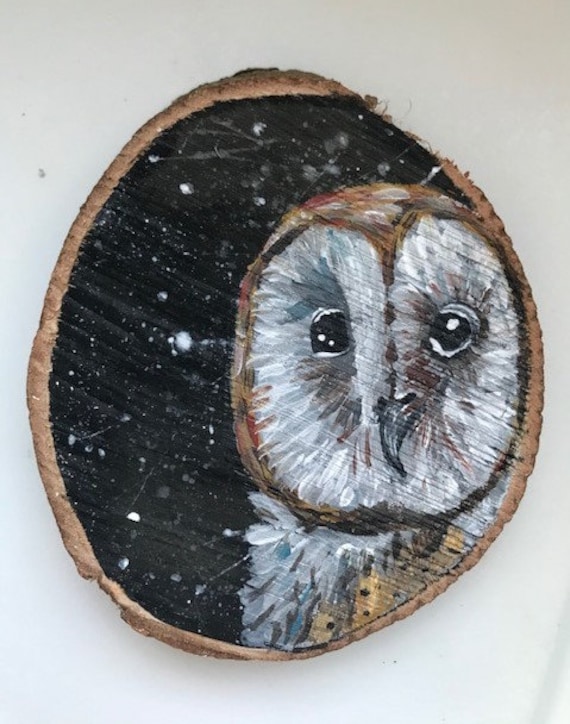
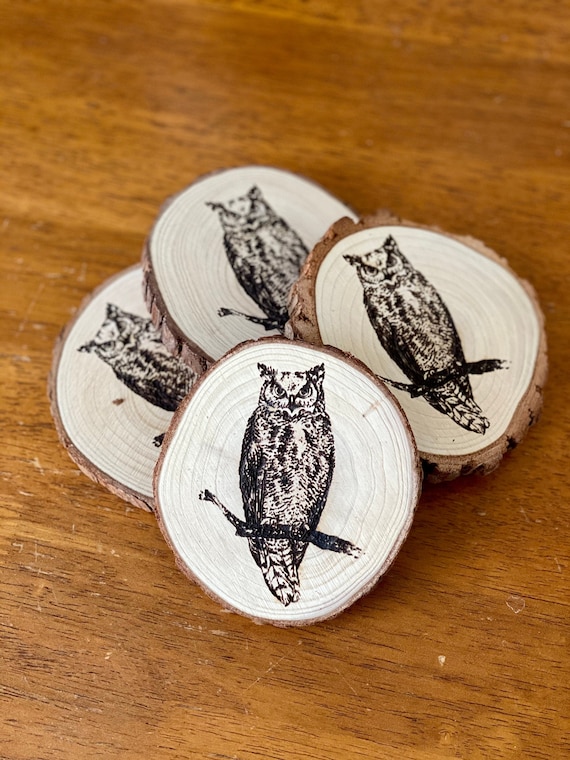
These can be made with any size wood slice, but I love the idea of using a 2" wood slice to turn these into holiday tree ornaments or gifts!






Leave a Reply