Video:

You will need:
- 9 x discs, 700mm diameterx12mm plywood
- 24 x standard dividers, 250x150x12mm plywood
- 5 x tall dividers, 250x500x12mm plywood
- 2 x base length A, 460x50x12mm plywood
- 3 x base length B, 436x50x12mm plywood
- Plywood offcuts
- 6mm nails
- PVA glue
- 3 x turntable swivel mechanisms
- 2-part epoxy glue
- Black and white paint (or colors of your choice)
- Long nap mini roller
- Foam mini roller
- Router (optional)
- Jigsaw
- Drill
- Hammer
- Protractor
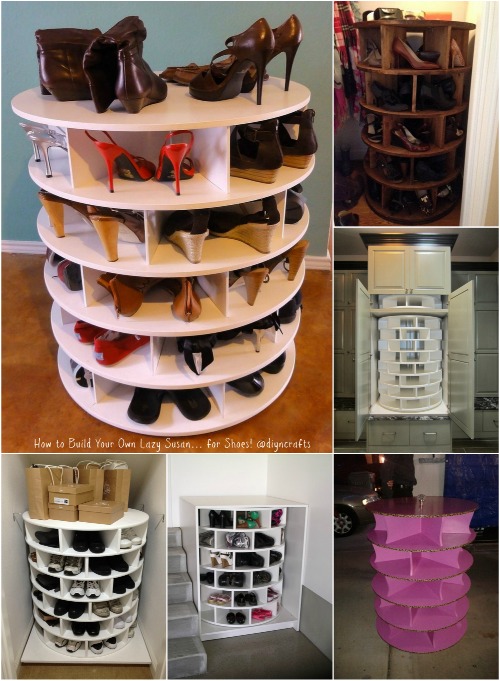
This project will be a great testament to your carpentry skills, but the result is a fantastically sturdy and useful rotating shoe rack with space for everything from sneakers to flats, heels and boots. If you’re a shoe-o-phile then feel free to keep it all to yourself, otherwise you’ll definitely have enough room to share.
If you’re not completely sold on this specific solution, have a look at some of our other clever and easy shoe storage options.
Shoe-lovers, take note! For a full step-by-step tutorial, head over to BetterHomesAndGarden.


Landon Pickles
I blog often and I seriously appreciate your content. This article has truly peaked my interest. I'm going to bookmark your site and keep checking for new information about once a week. I subscribed to your RSS feed too.
lvwnezfclf@gmail.com
Hurrah! At last I got a weblog from where I be capable of in fact take valuable information regarding my study and knowledge.