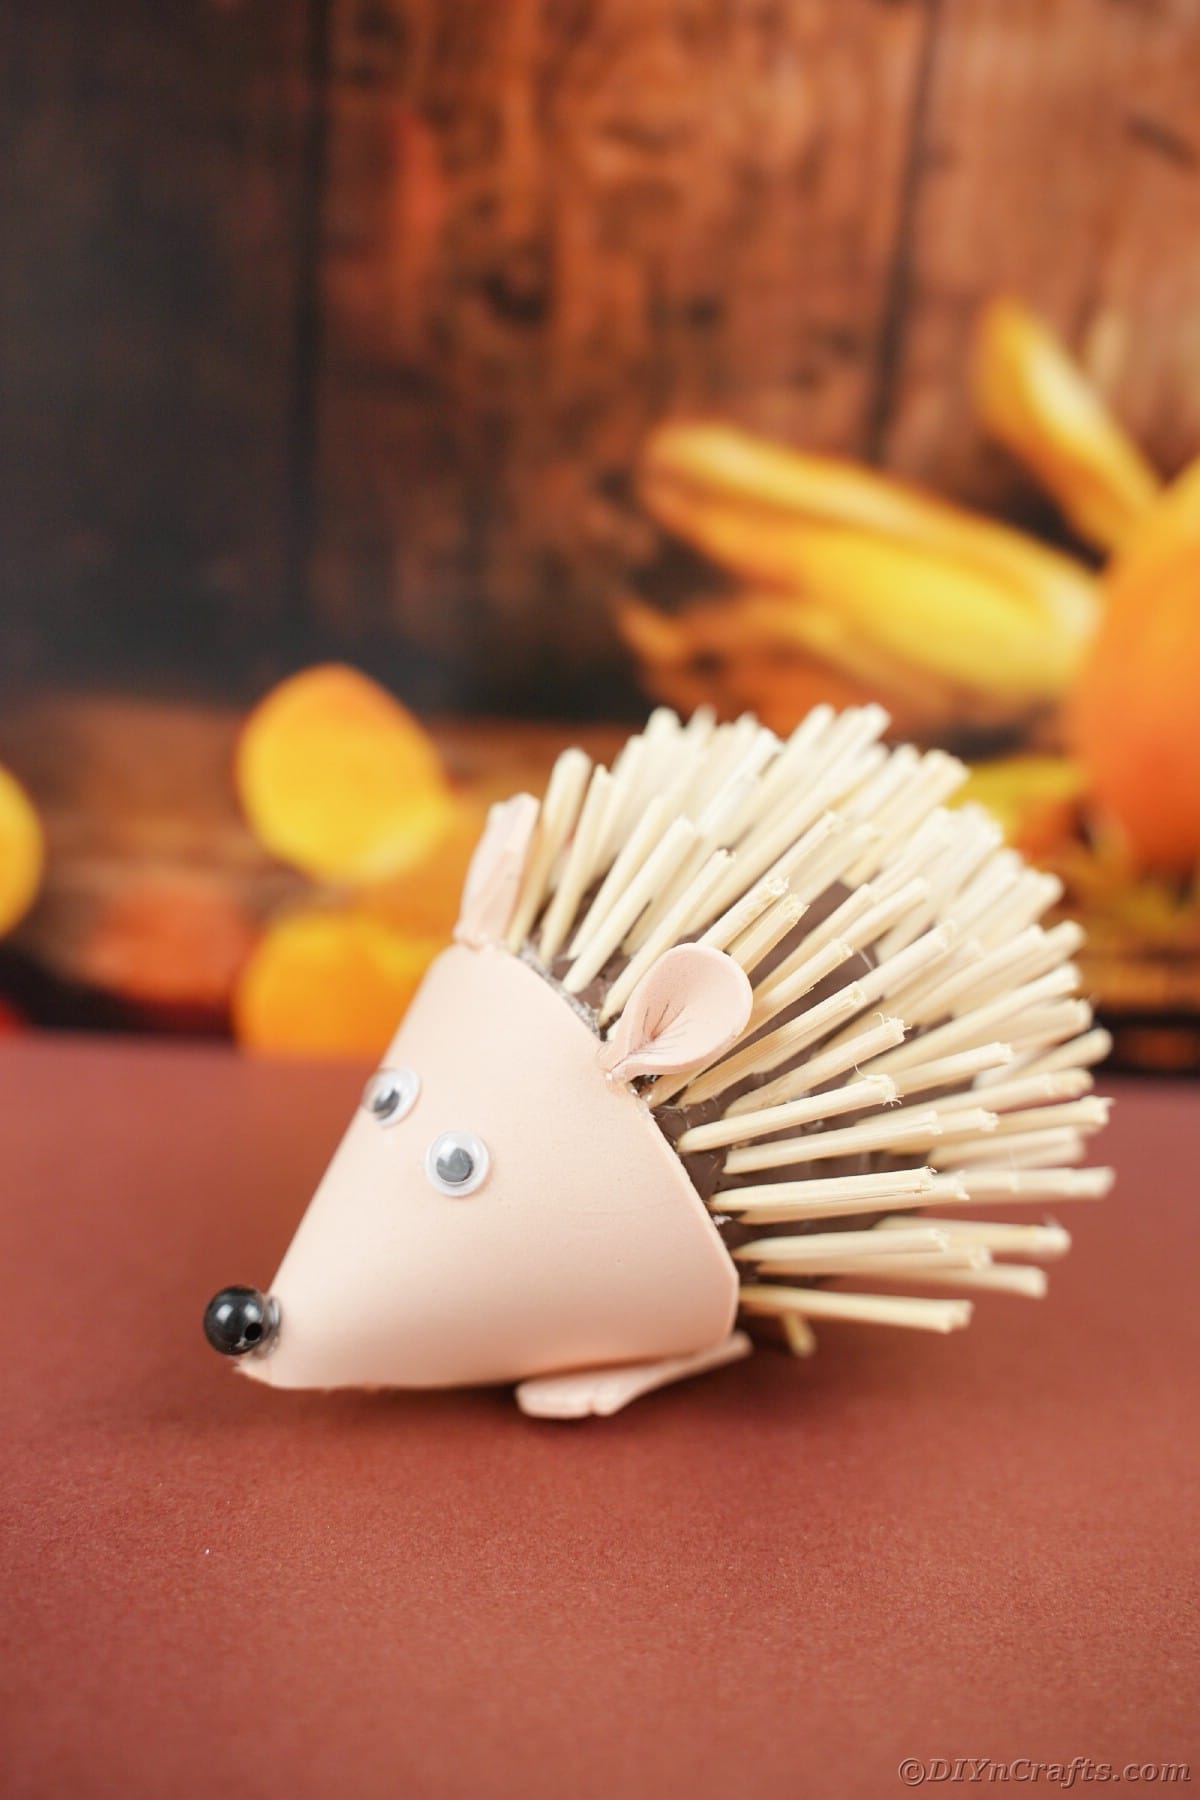
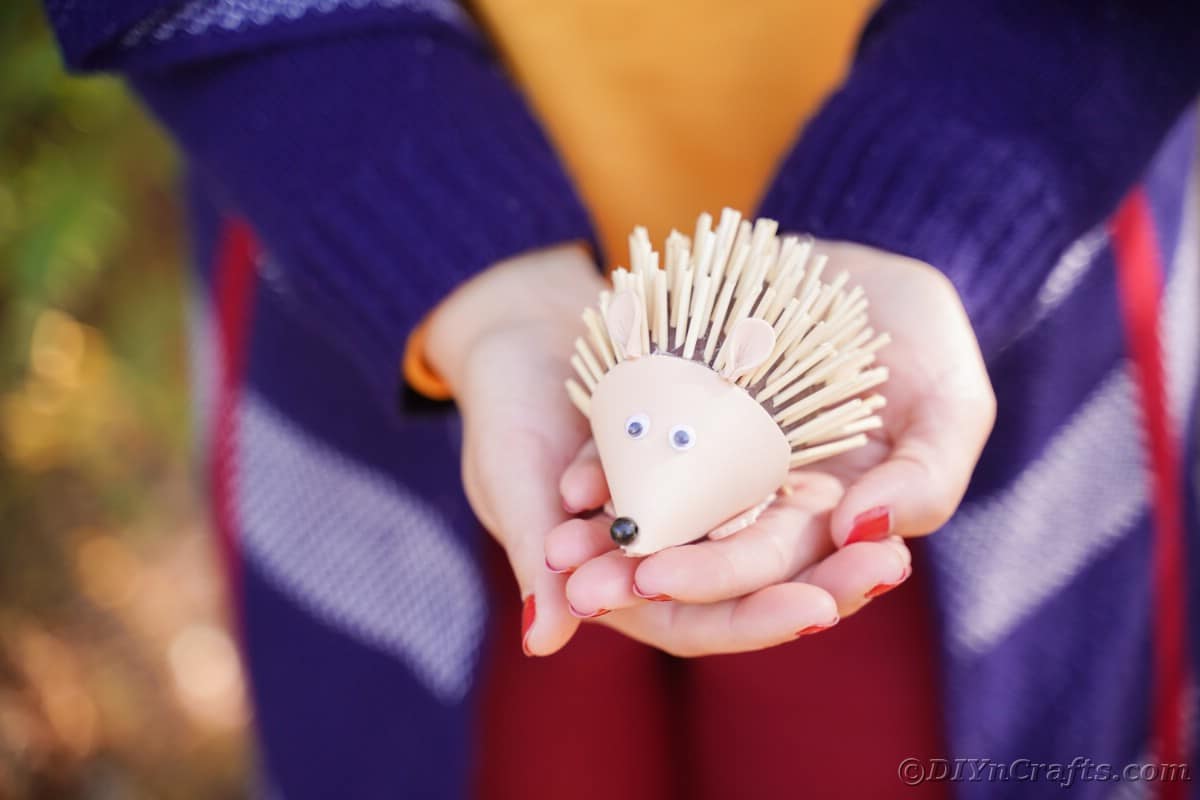
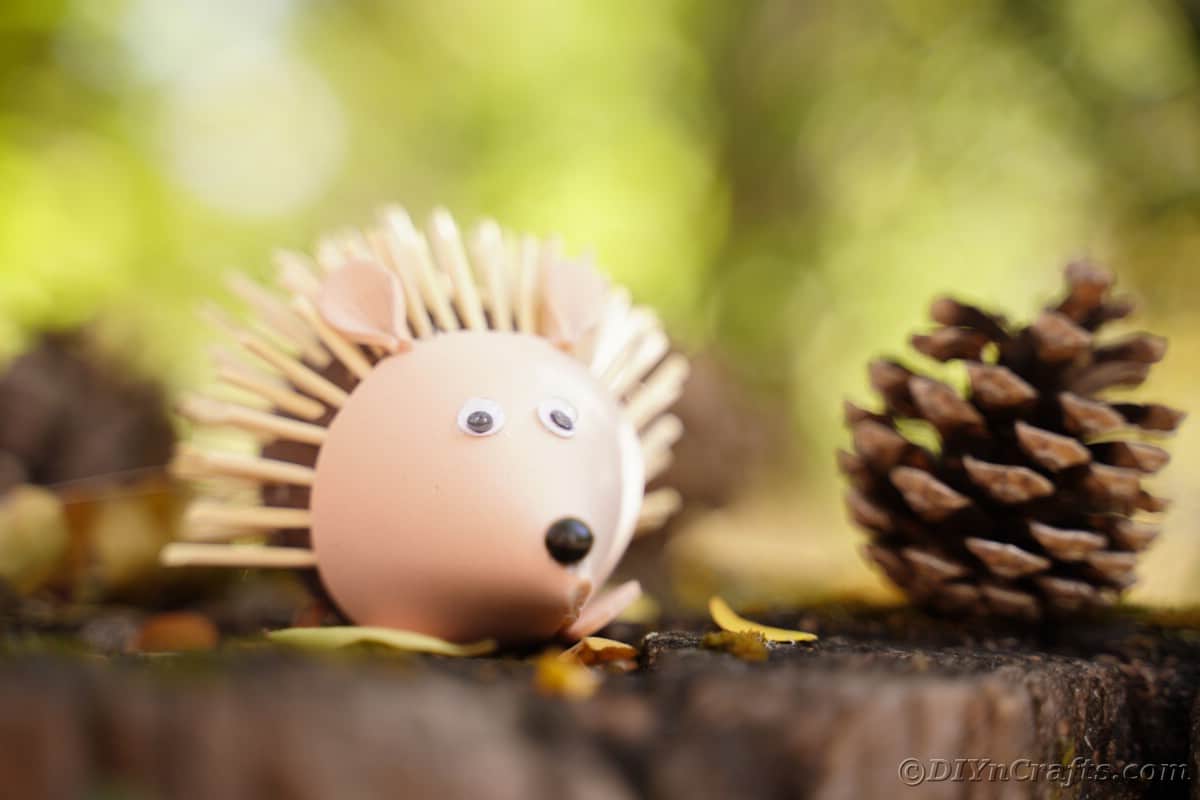
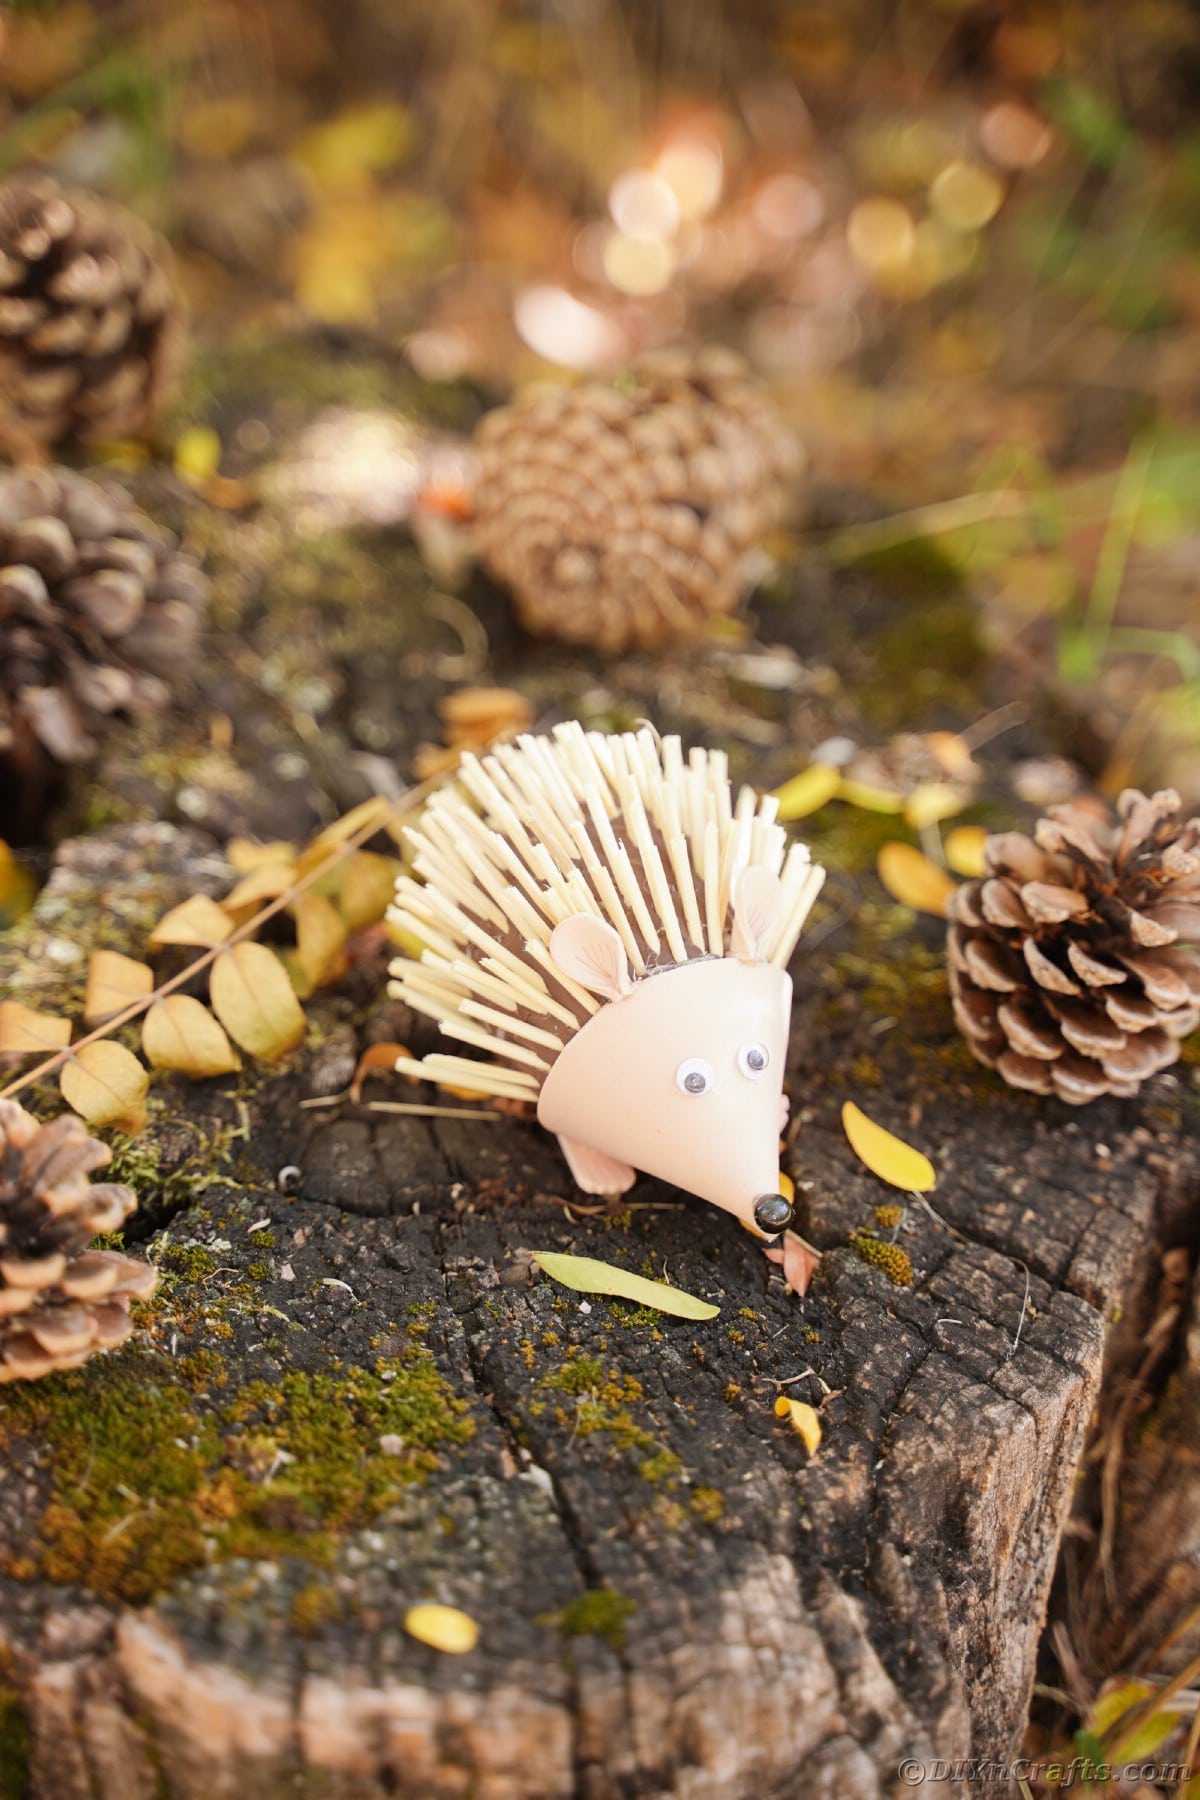
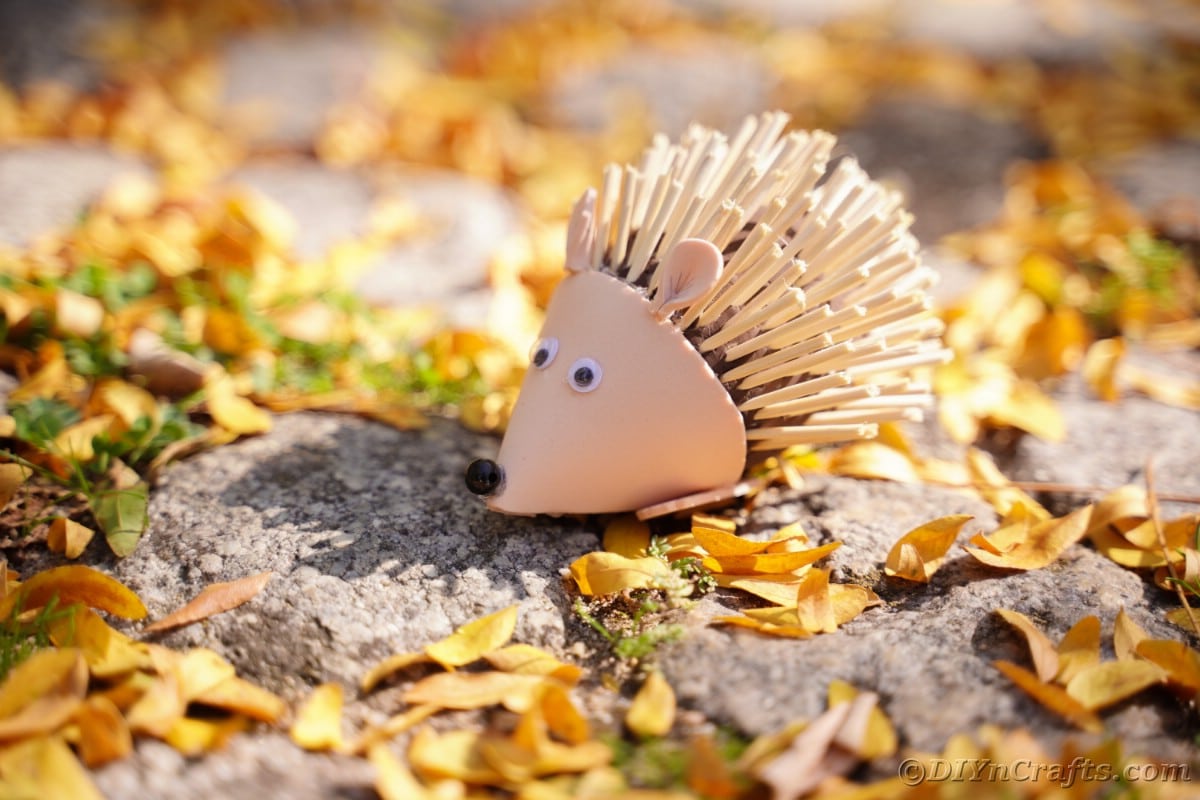
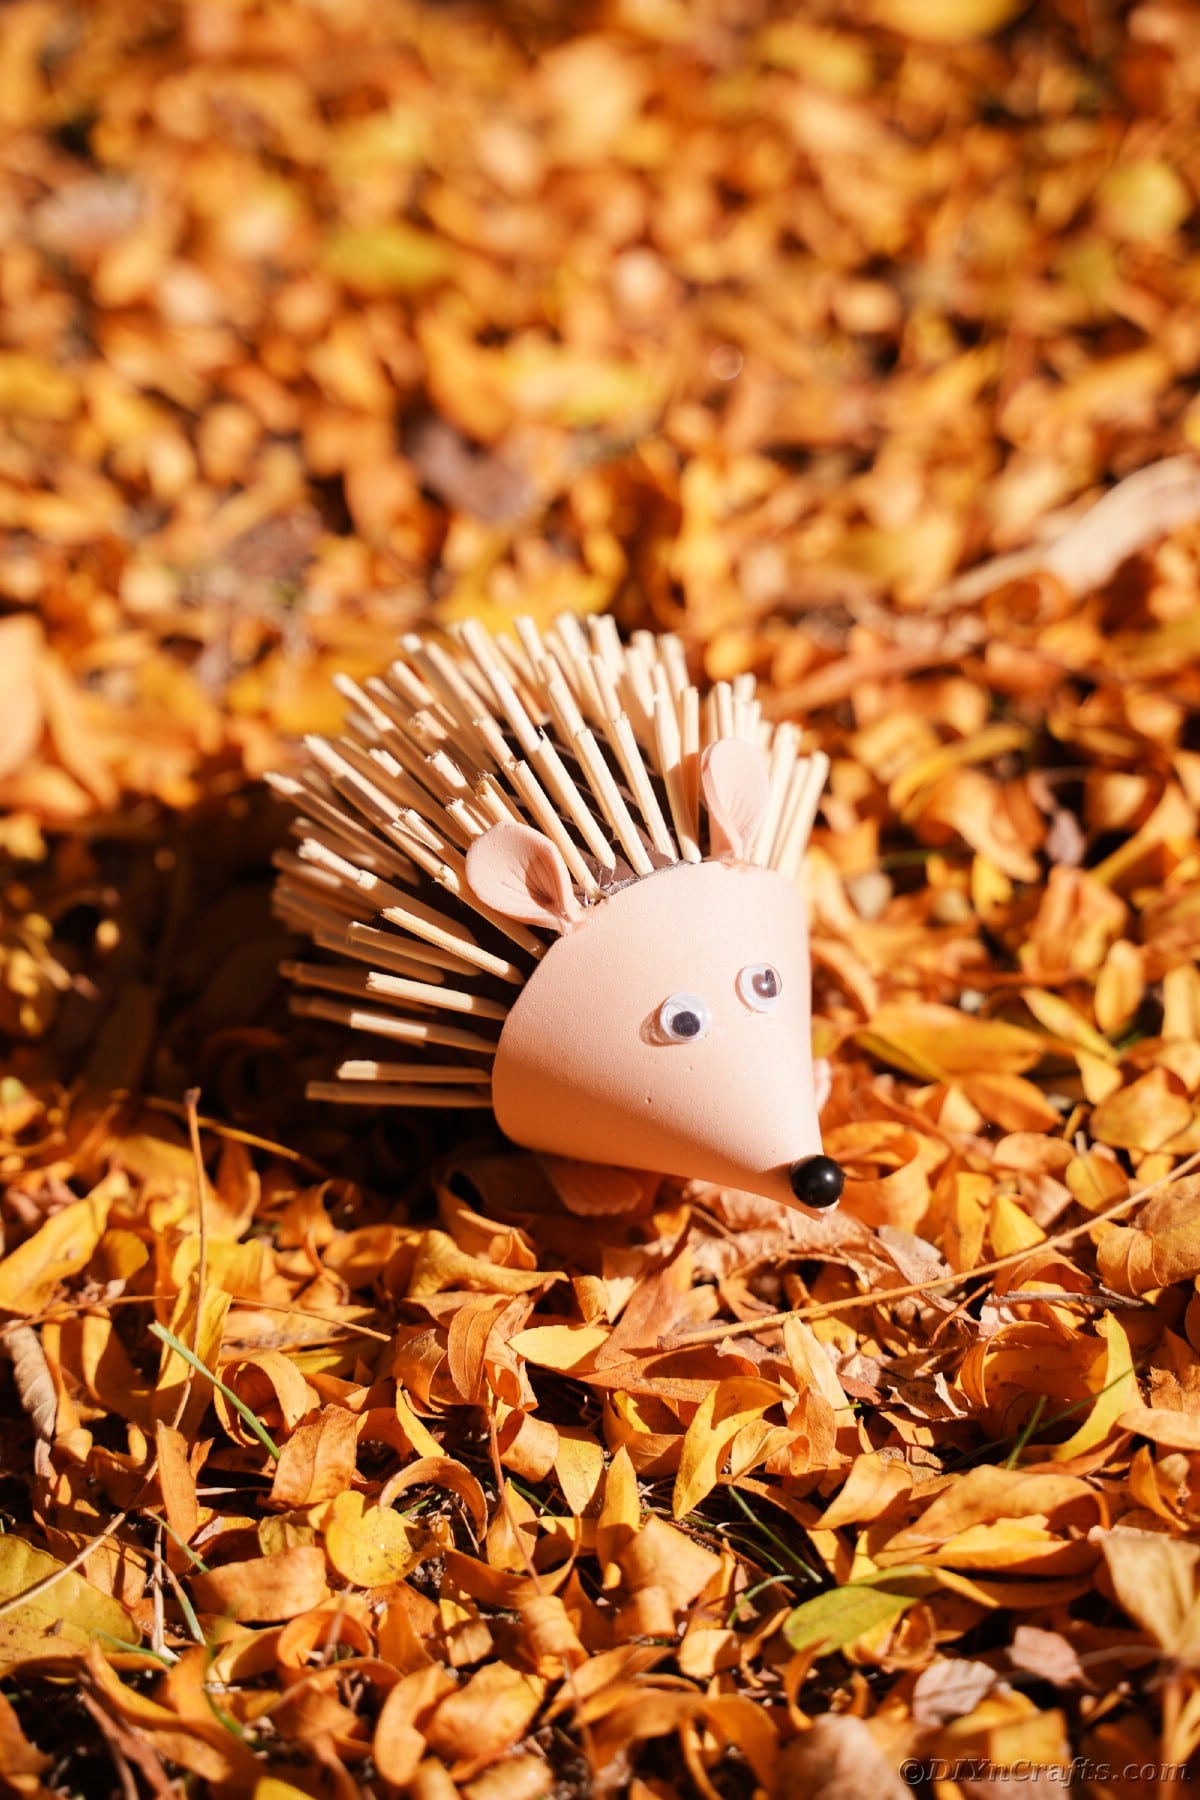
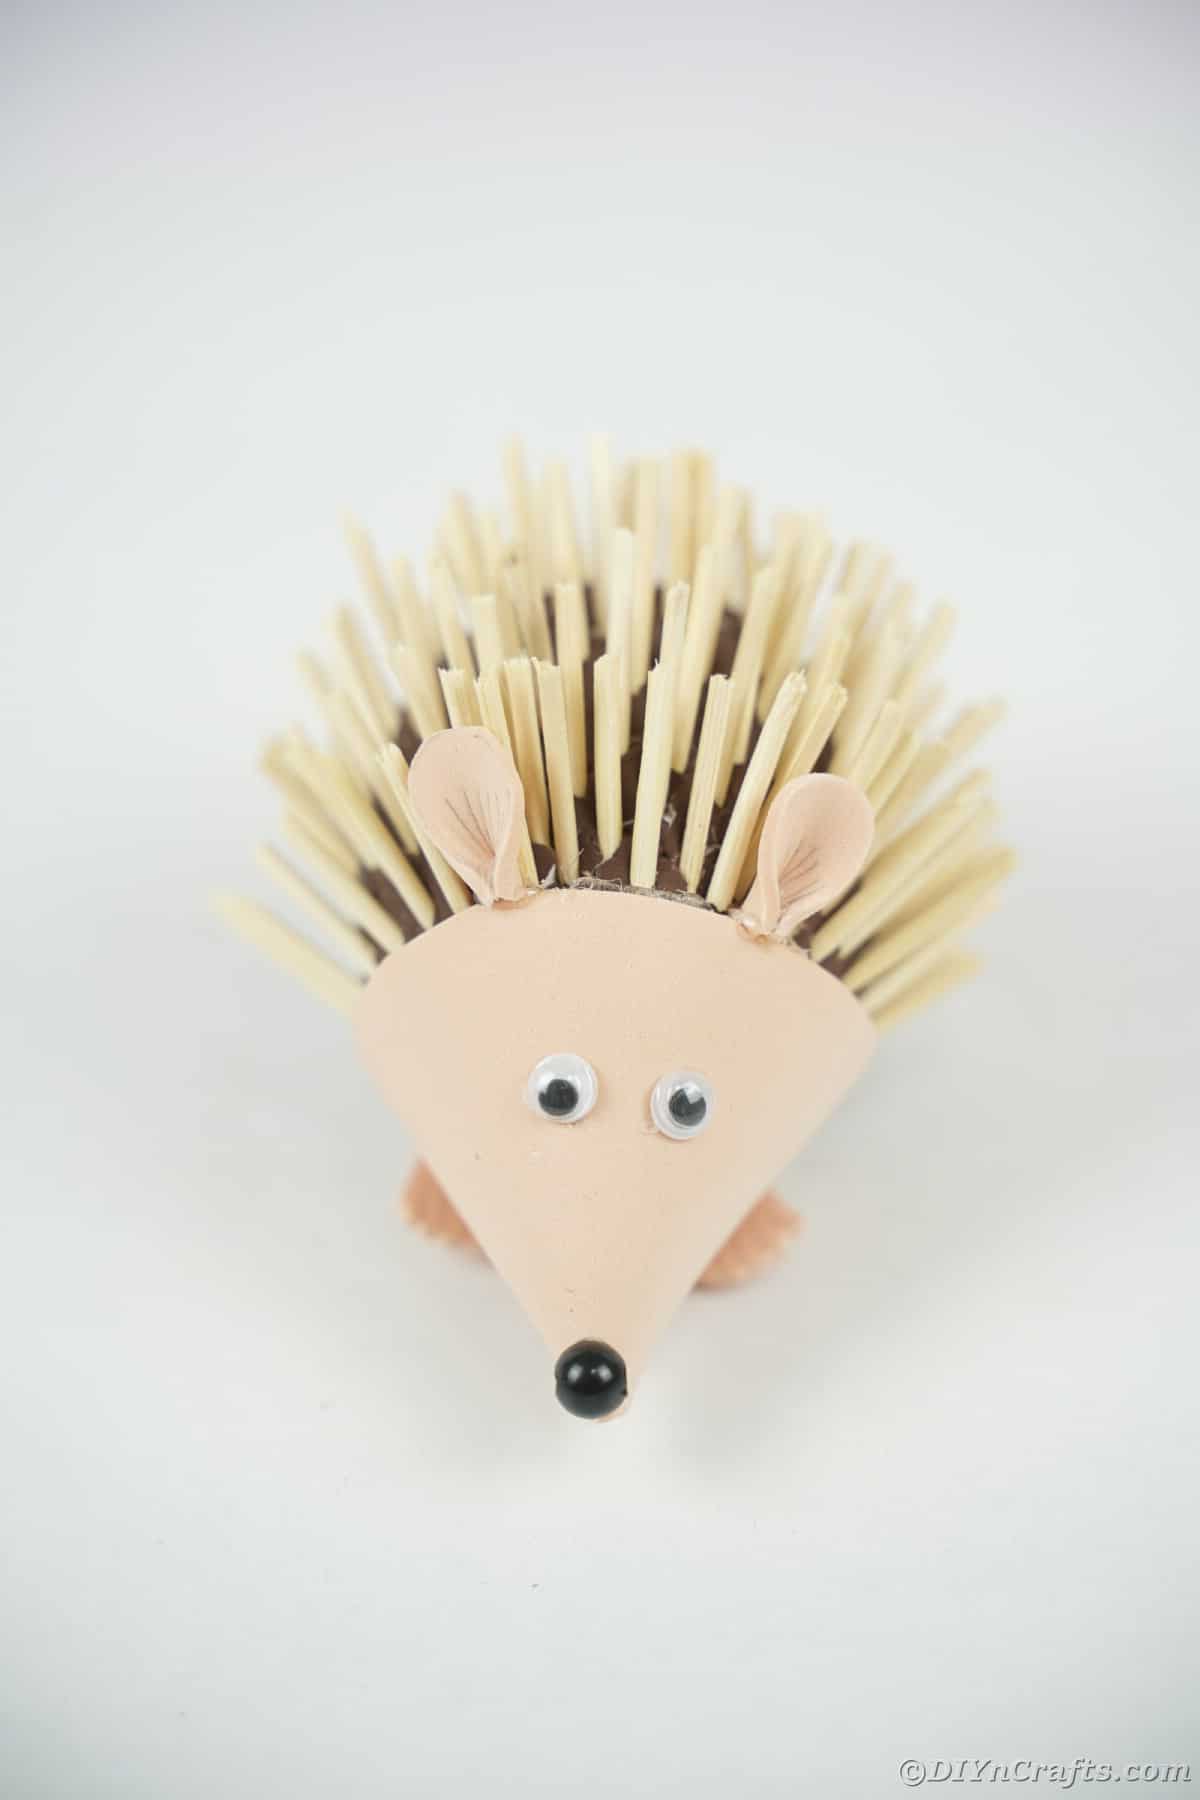
Do you have a baby's nursery in a woodland creature theme? If so, this rustic foam hedgehog is the perfect easy kids fall craft idea to make. Using simple supplies like a piece of styrofoam, some paint, and toothpicks, you can create an adorable little rustic and somewhat realistic hedgehog. This is ideal for kids to help make, and perfect for decorating!
Foam Hedgehog Kids Craft
Sometimes, I just need a little project that is easy but will keep the kids occupied. While it only takes about 30-minutes to make this, with the paint drying, and kids being kids, it easily takes an hour of time that will result in a happy parent and happy children.
If you like rustic things like this foam hedgehog idea, then you might also want to check out some of my favorite projects that have that natural or outdoors theme. These rustic tree bark lanterns are simple and easy for kids to help make while this rustic fall wreath may be one the older kids and teens would need to help with. It's so fun to bring something outside into our crafting!
What Can I Use for the Hedgehog Body?
Since this project requires you to stick the toothpicks into the body for spikes, it's best to use something styrofoam. However, if you wanted to glue the sticks in place instead, you could use any round or oval object. Just make sure what you choose can be painted brown or already is brown, and that what you choose for spikes will stay in place.
Some ideas include using plastic eggs, foam pieces cut into the oval shape, rice-filled socks, or a bean bag that has been shaped and secured into the oval shape.
Can I Use Felt In Place of Foam Paper for the Head?
The head of the hedgehog is made by attaching a piece of foam paper into a cone shape on one end of the egg. When considering options to use in place of foam paper, make sure it is something that will be stiff and stay in place. While fabric and felt are great for many projects, they may not be best for this.
Cardstock or foam are the two best choices for creating the head on this hedgehog body. They will hold the shape and stay that way when displayed. If felt has to be used, then make sure it is very snugly attached. You may also want to spray the felt with spray starch to help stiffen before attaching.
What Can I Use for the Wooden Spikes?
For this project, something with a sharp point is best since it will easily stick down into the foam. I found that toothpicks are by far the easiest and most affordable option. If that isn't available or you prefer something blunter on the end sticking out, there are a few other options to consider.
- Wooden skewers, chopsticks, or dowels cut into 2" pieces.
- Bits of plastic straws cut into strips.
- Cardstock or cardboard cut into thin strips.
How Can I Display This Hedgehog?
Don't worry if you are wondering what to do with this cute idea after you or the kids make it. It's a cute addition to your home and is ideal for a few unique decor ideas. Below are my thoughts on how to use this or display it once completed.
- Use as decor in a child's bedroom on a shelf or hung from the ceiling using a fishing line.
- Add to a fall mantle display or diorama.
- Top a baby gift with this instead of a bow.
- Use as decoration for a birthday party, baby shower, or other celebration where woodland creatures would be suitable.
- Let kids use it as a puppet for pretend playtime.
What Glue Can I Use with Kids to Make This?
I typically reach for hot glue since it is easy and affordable. If you are worried about kids getting hurt while using hot glue, you can definitely swap it out. Other great options include E600, tacky glue, or even wood glue. Just make sure that the kids are careful not to glue their fingers together!
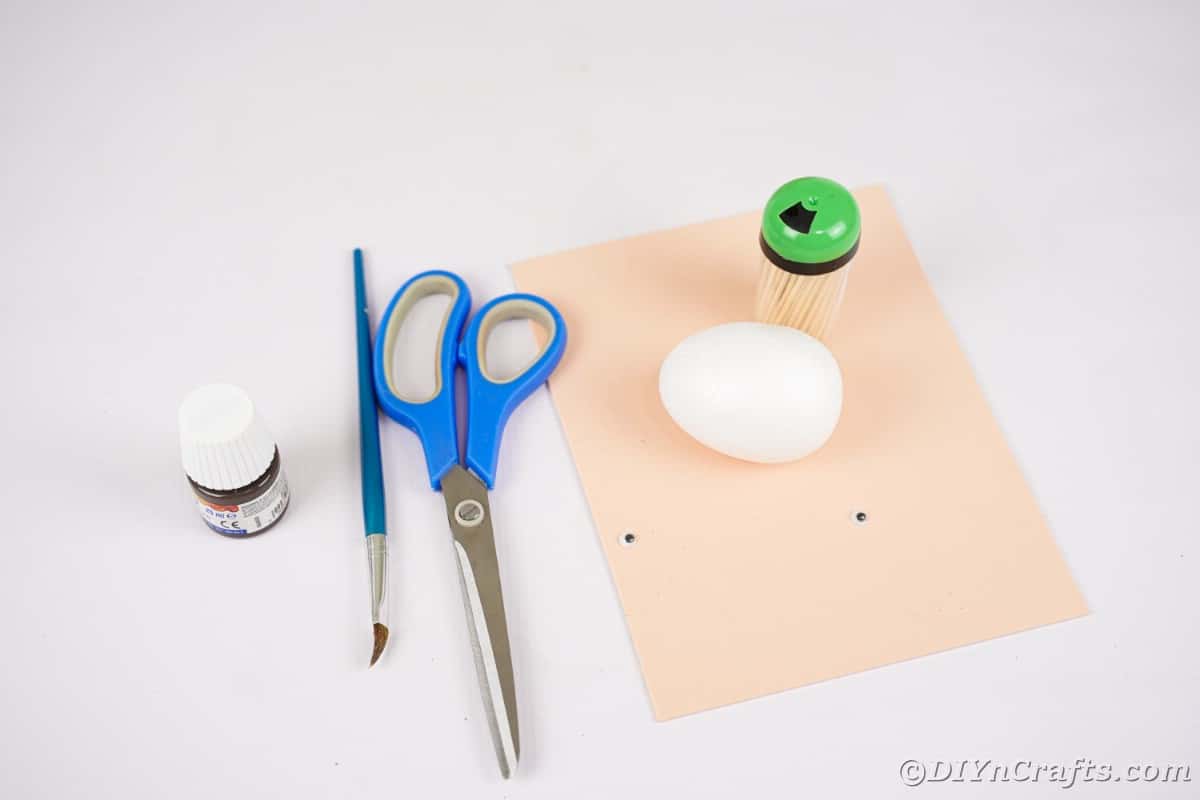
Supplies Needed
- Styrofoam egg
- Brown craft paint
- Light brown foam paper
- Black or brown beads
- Toothpicks
- Paintbrush
- Scissors
- Pen
- Hot glue gun
- Hot glue sticks
How to Make a Foam Hedgehog Craft
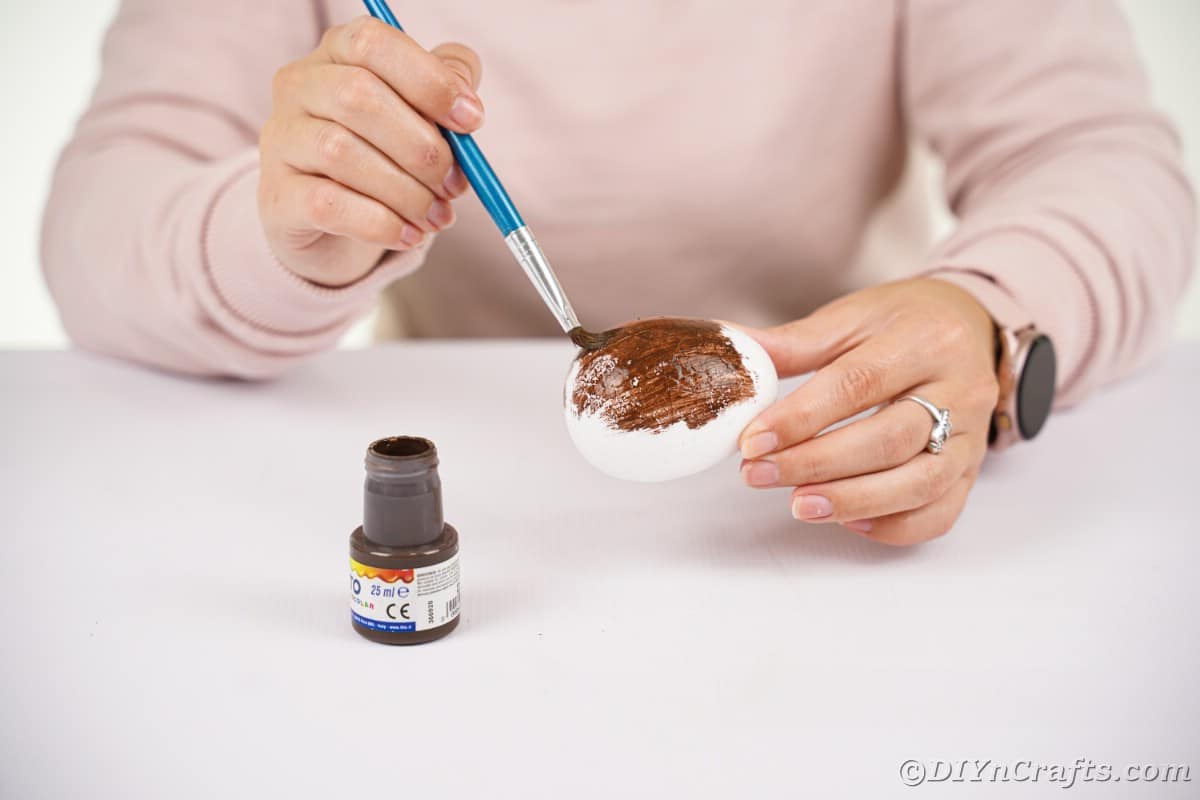
Paint a styrofoam egg dark brown on all sides then set aside to dry.
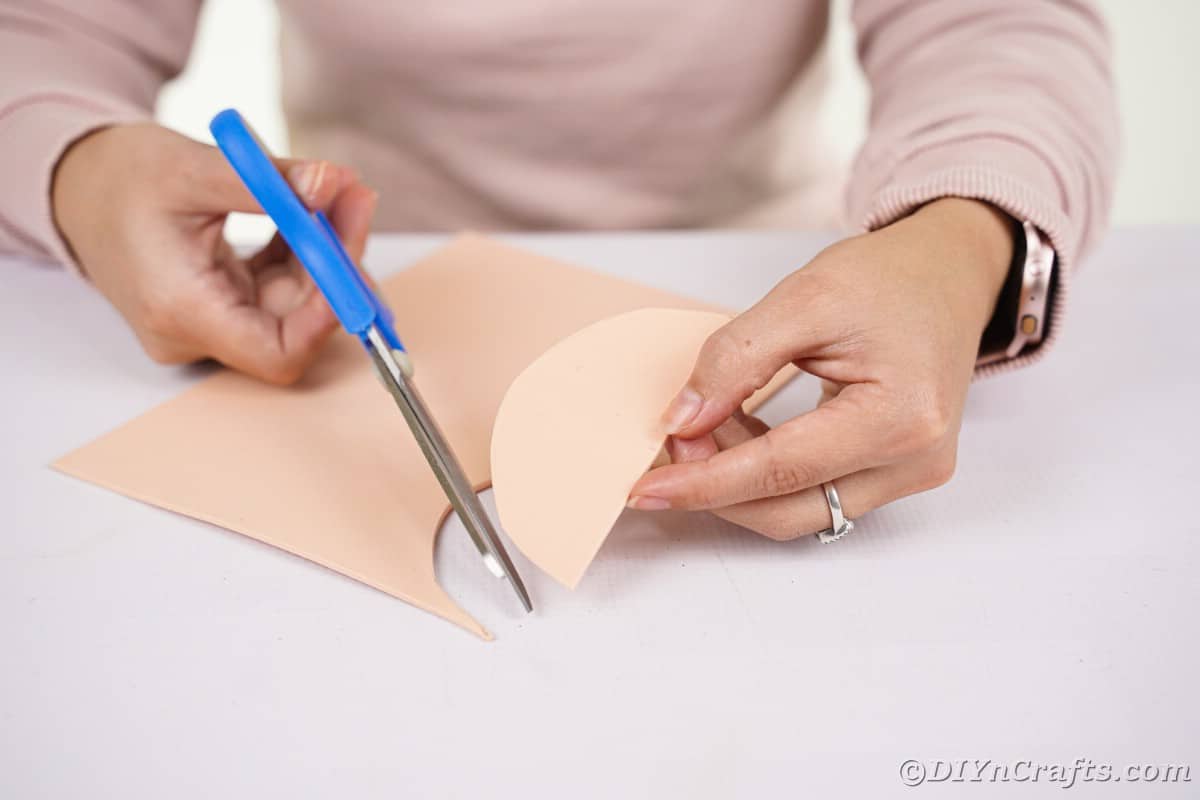
While the egg dries, use a ruler to trace a half-circle onto light tan foam paper. This should be about 5" wide at the base.
Cut out the foam piece.
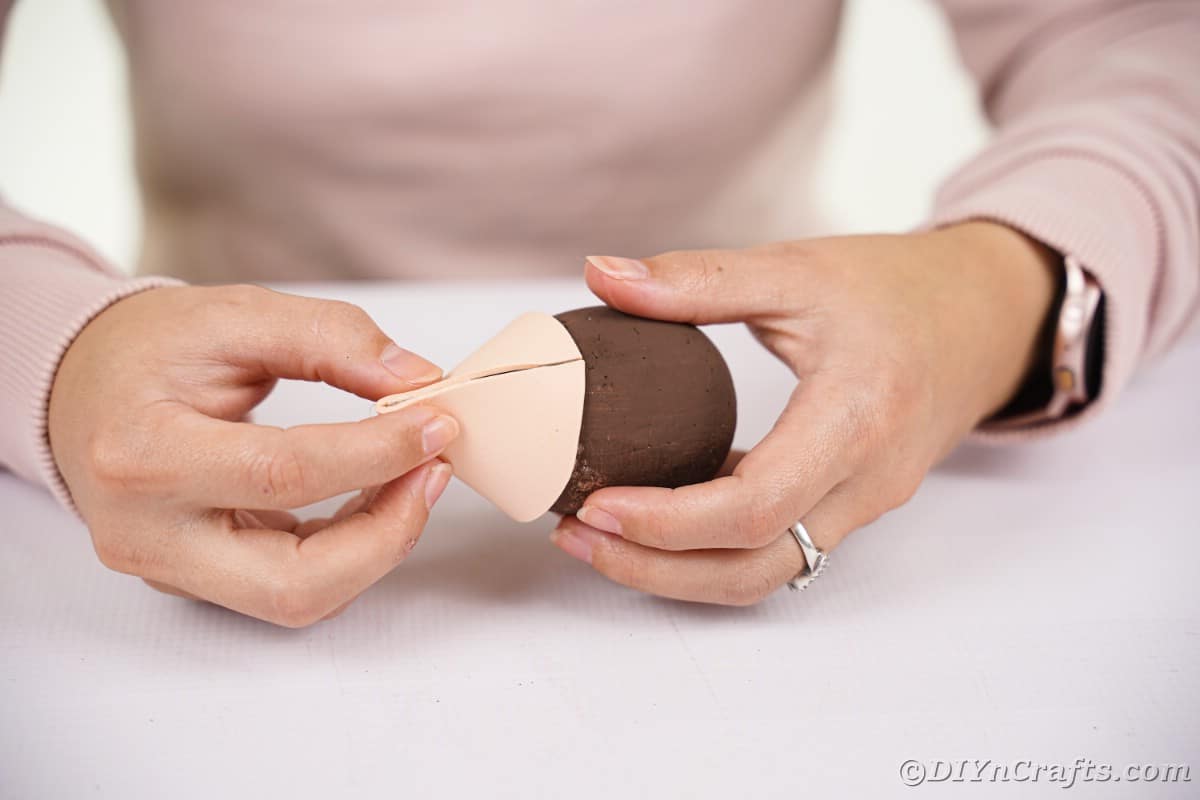
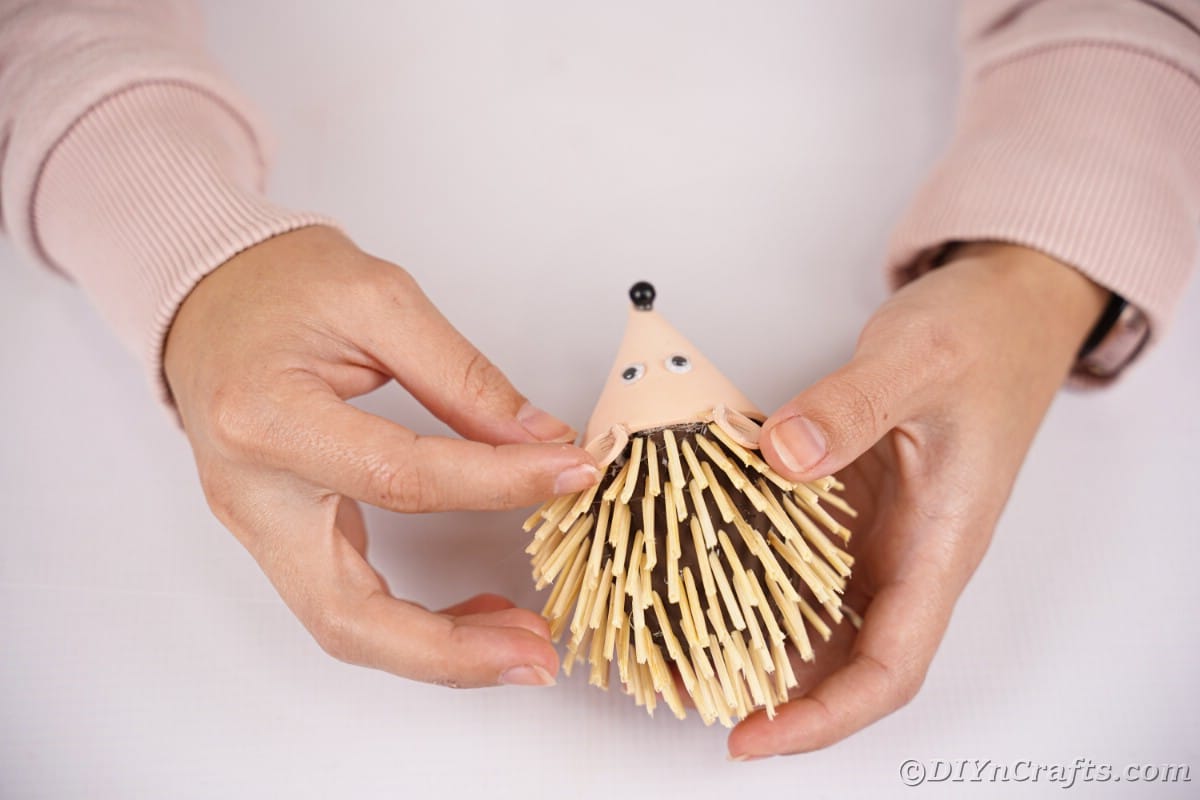
On the pointed end of the painted egg, wrap the foam piece so the longer end is on the egg and the pointed cone is at the front. Glue in place to create the hedgehog "head".
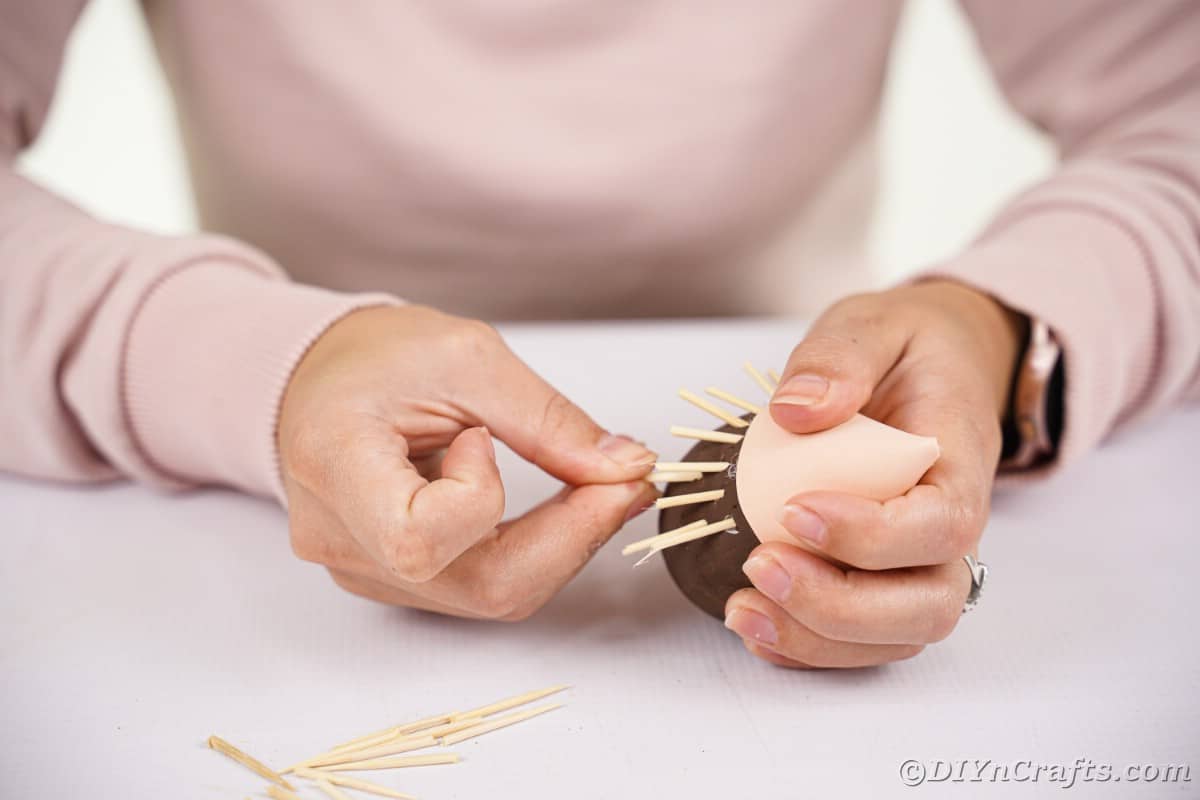
Starting just behind the light foam piece, begin sticking toothpicks into the foam egg every ¼-1/2".
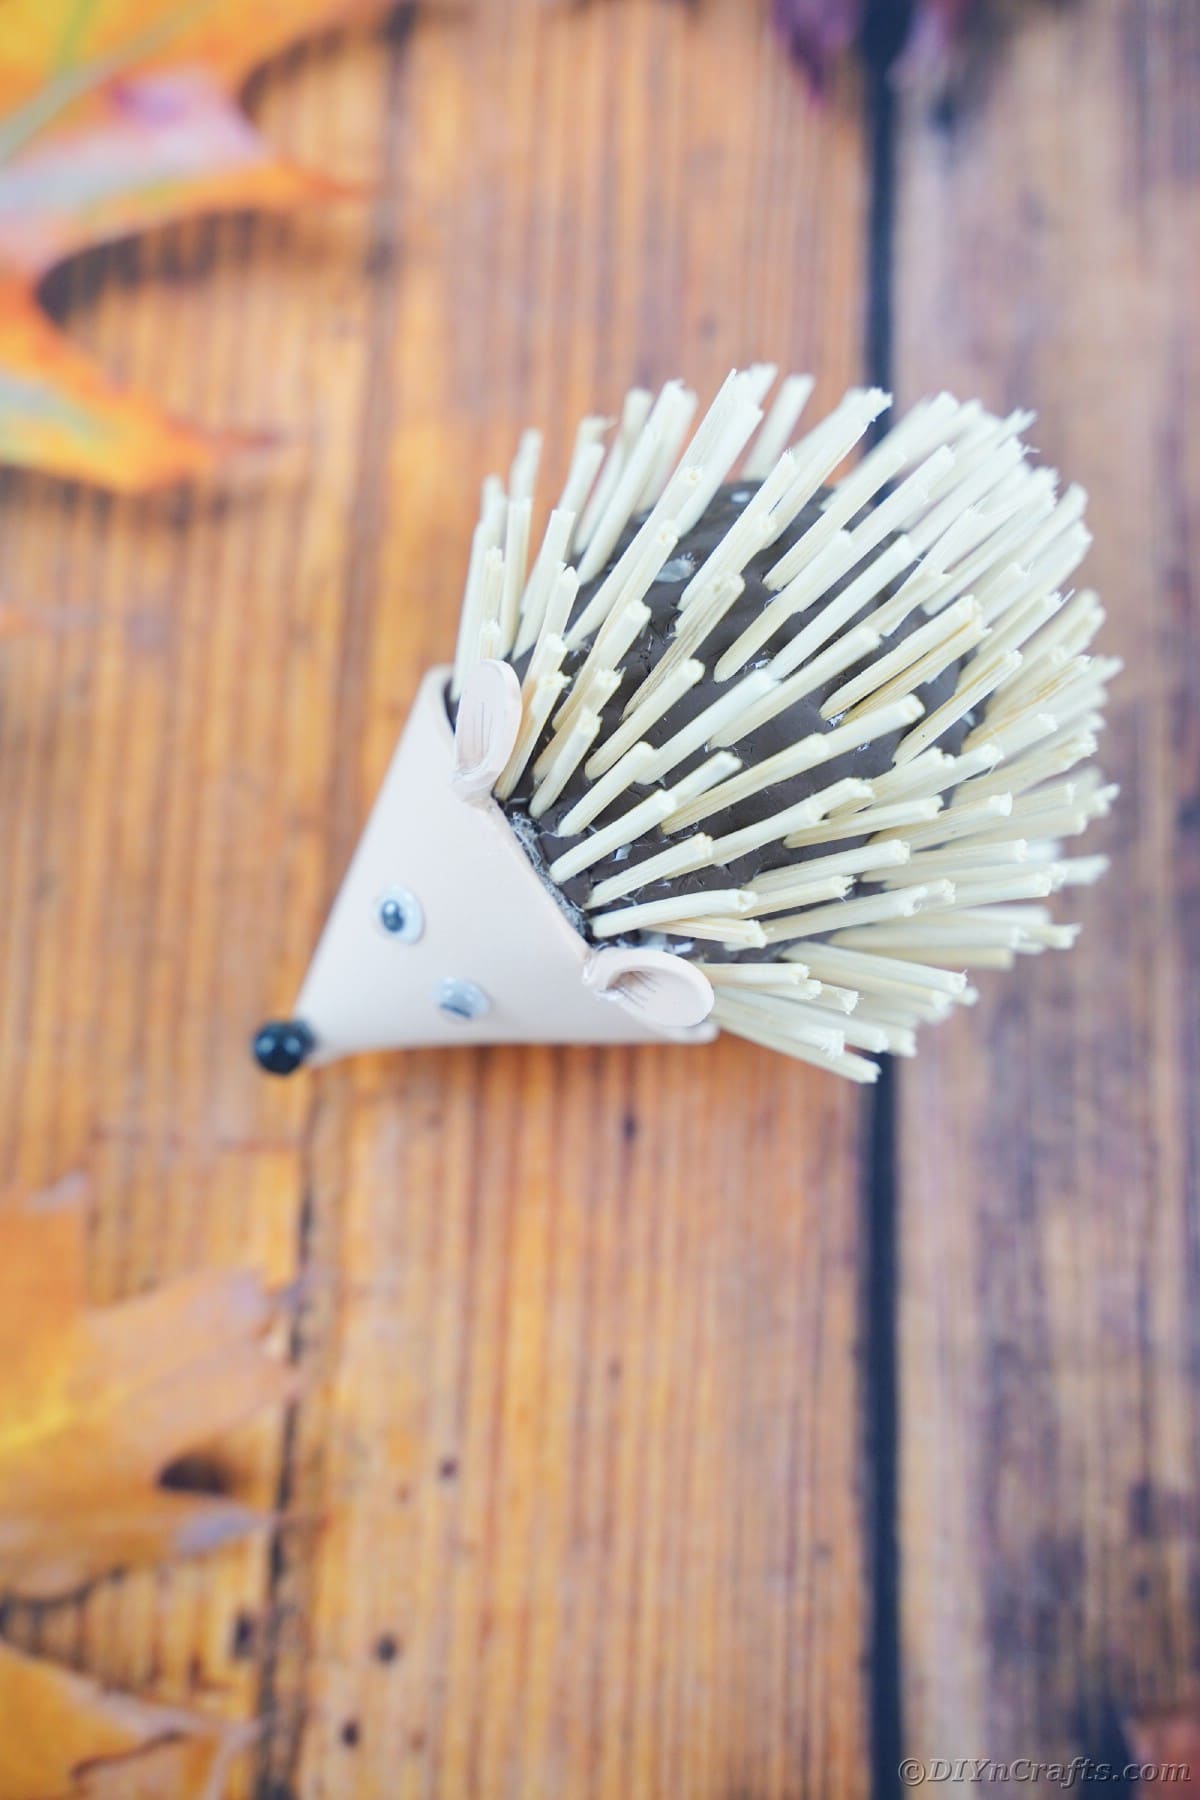
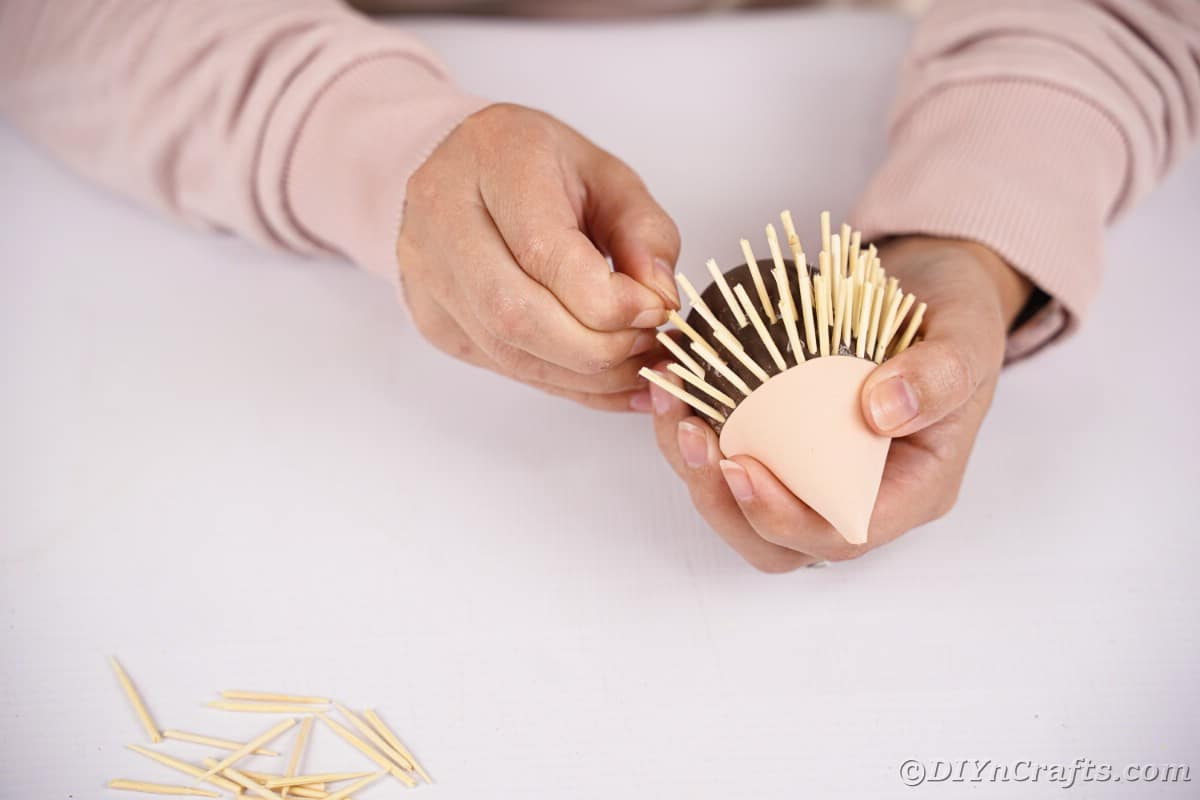
continue placing the "spikes" into the egg in lines until the top half of the egg is completely covered.
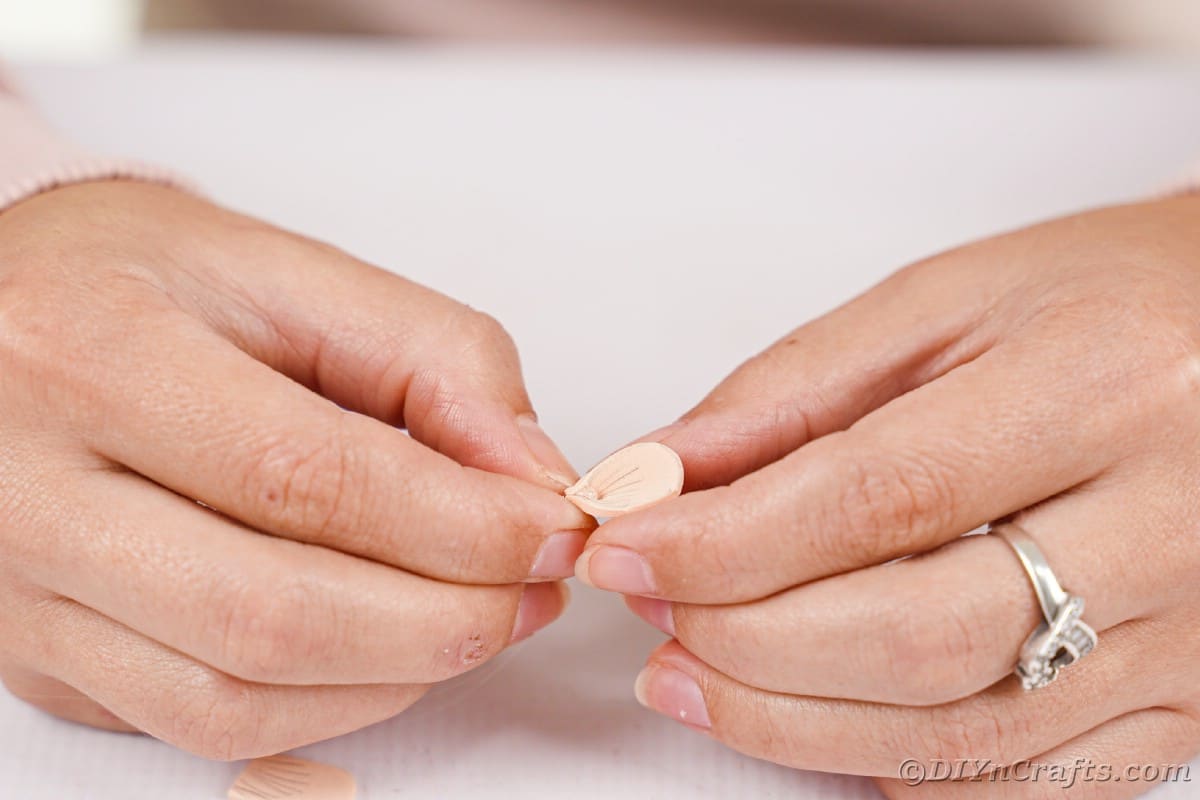
Trace two small ear shapes onto the light brown foam paper and cut them out.
Pinch them at the bottom and glue them together so they are open at the top but pointed at the bottom.
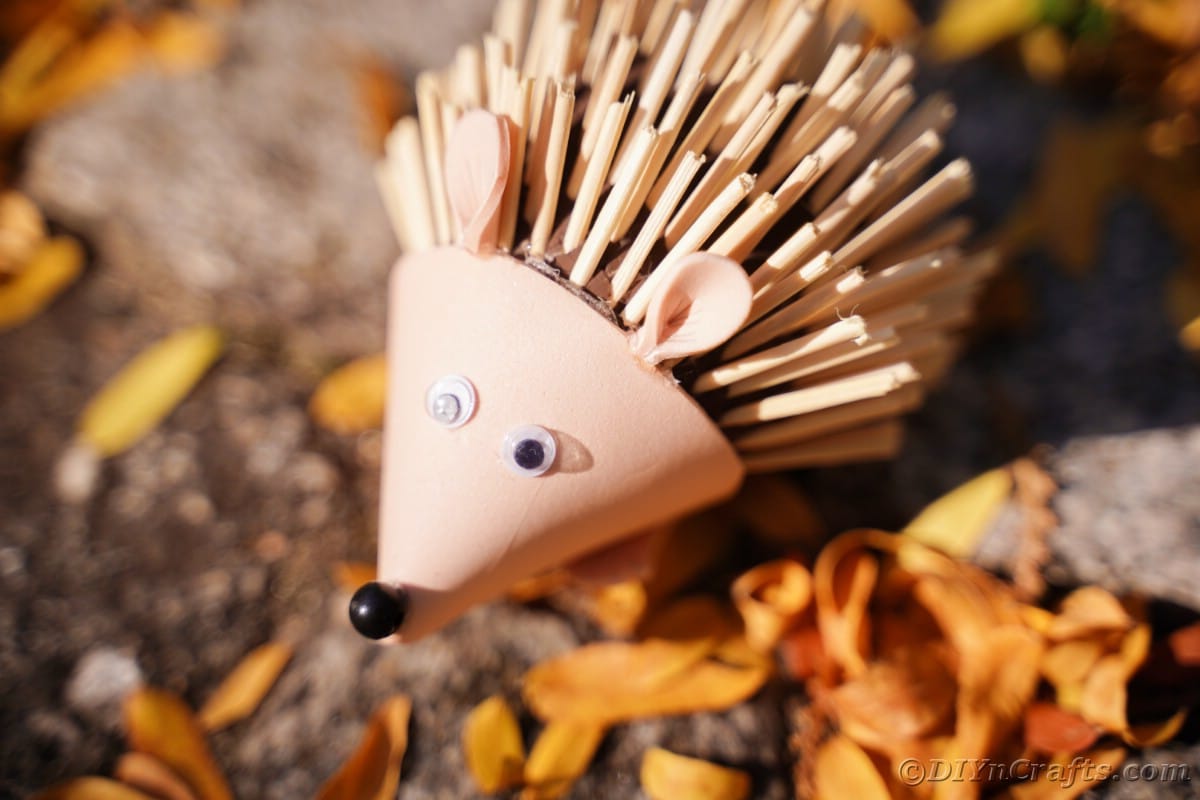
Glue two googly eyes on the top of the foam head.
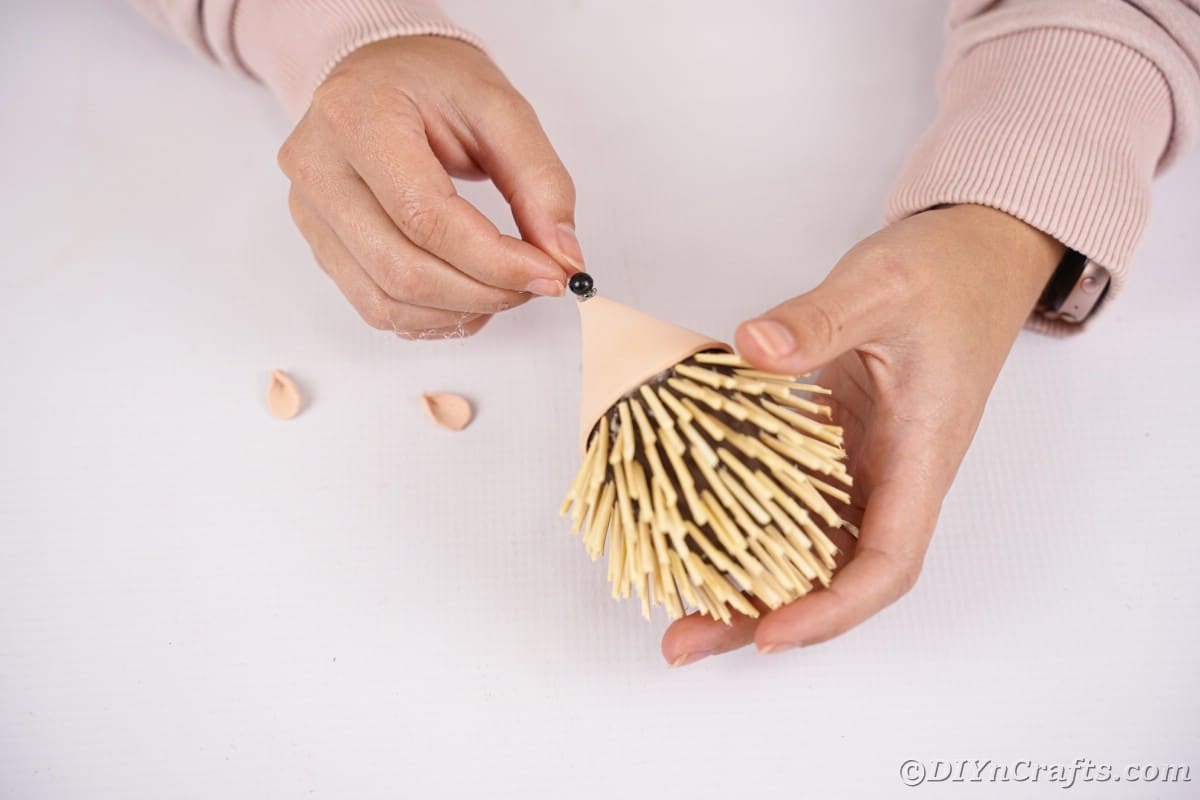
Add a black bead to the point of the foam head for the nose.
Glue the ears in place on top of the head just in front of the wooden spikes.
Now you can display your hedgehog!
More Easy Hedgehog Craft Ideas
I just love how cute and cuddly a hedgehog is. While they may be a bit on the spikey side, they are still precious and make a perfect animal to create for craft projects and decor. Below are a few more of my favorite ideas that are ideal for making with the kids! Get busy crafting and add more of this woodland creature to your home!
- Adorable Old Book Paper Hedgehog Craft
- Easy DIY Pom Pom Hedgehog Kid's Fall Craft
- Upcycled Plastic Bottle Pinecone Hedgehog
- Easy No-Sew Fabric Hedgehog Craft
- Adorable Paper Fan Hedgehog Kids Craft
Rustic Foam Hedgehog Easy Kids Fall Craft
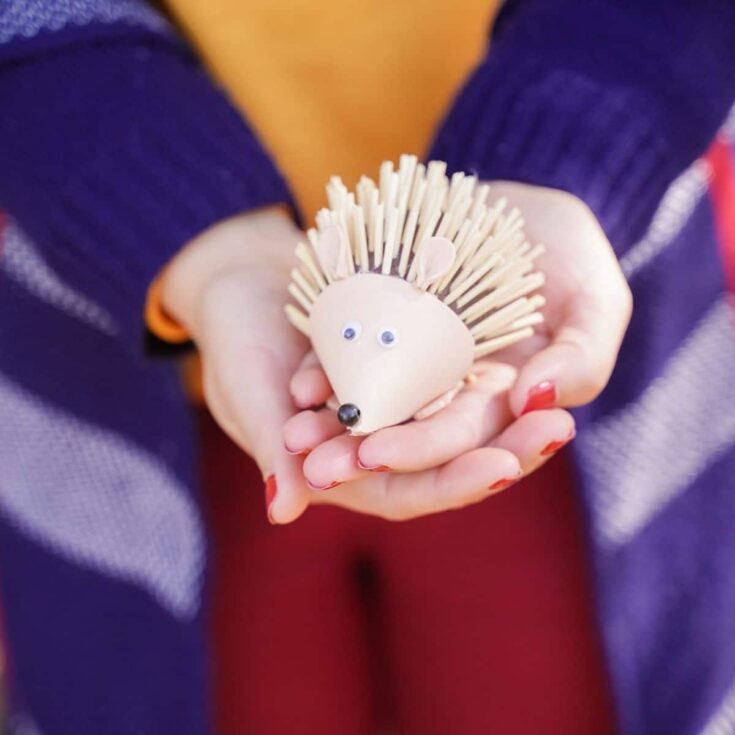
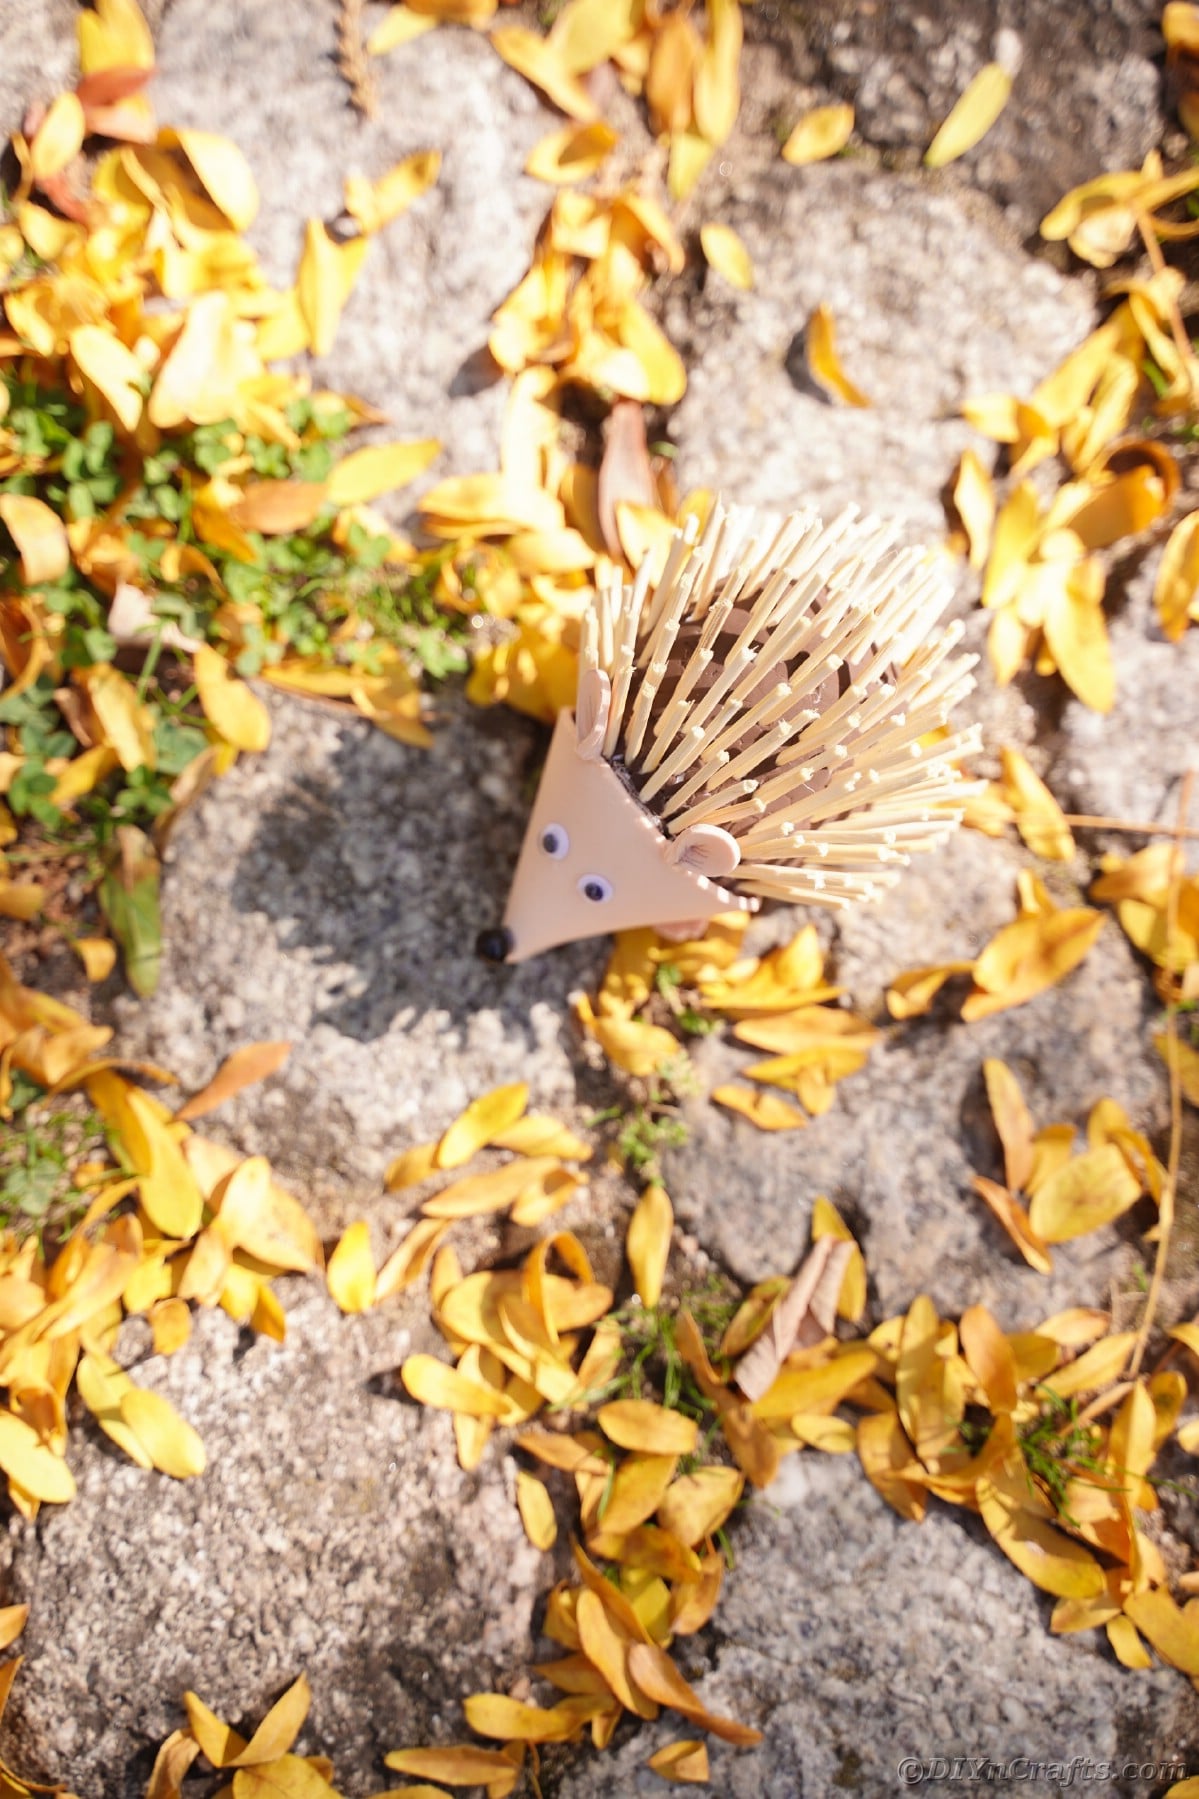
This fun but rustic foam hedgehog with wooden spikes is a cute little project perfect for kids this fall!
Tools
Instructions
- Paint a styrofoam egg dark brown on all sides then set aside to dry.
- While the egg dries, use a ruler to trace a half-circle onto light tan foam paper. This should be about 5" wide at the base.
- Cut out the foam piece.
- On the pointed end of the painted egg, wrap the foam piece so the longer end is on the egg and the pointed cone is at the front. Glue in place to create the hedgehog "head".
- Starting just behind the light foam piece, begin sticking toothpicks into the foam egg every ¼-1/2".
- continue placing the "spikes" into the egg in lines until the top half of the egg is completely covered.
- Trace two small ear shapes onto the light brown foam paper and cut them out.
- Pinch them at the bottom and glue them together so they are open at the top but pointed at the bottom.
- Glue two googly eyes on the top of the foam head.
- Add a black bead to the point of the foam head for the nose.
- Glue the ears in place on top of the head just in front of the wooden spikes.
Notes
Replace toothpicks with small pieces of skewer, chopstick, or dowel.
Recommended Products
As an Amazon Associate and member of other affiliate programs, I earn from qualifying purchases.
-
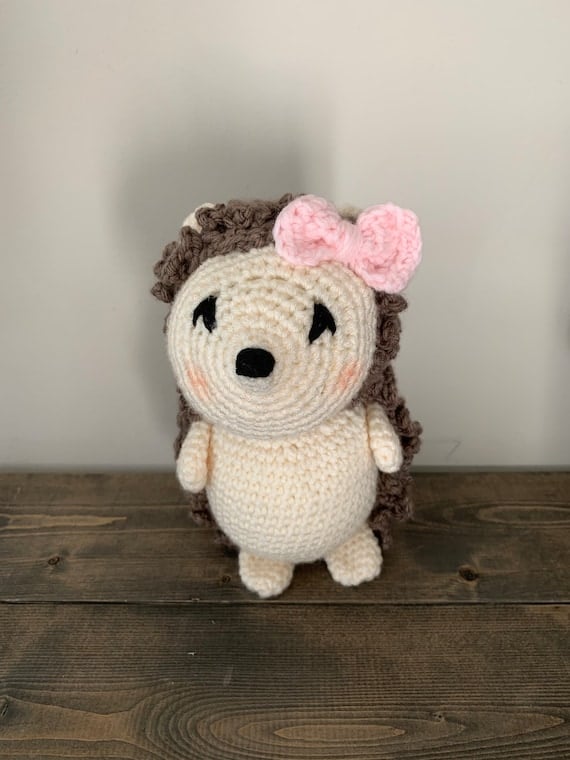 Crochet hedgehog plush toy handmade doll cute hedgehog gift | Etsy
 -
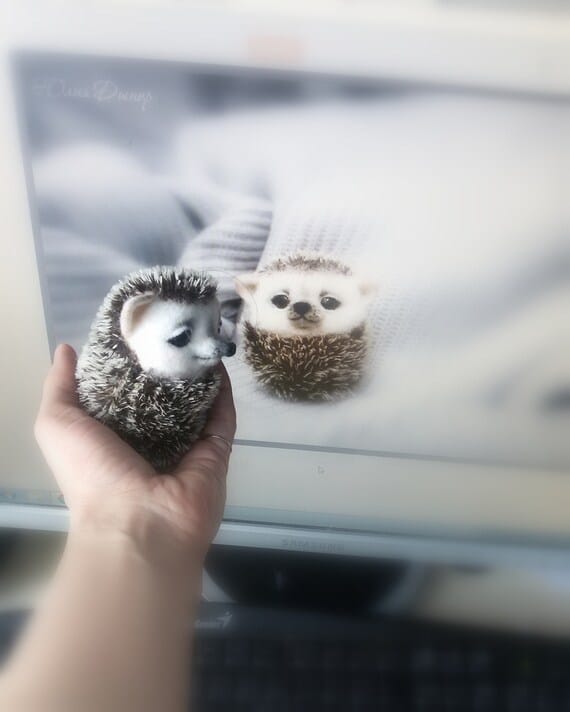 Needle felted hedgehog. Baby hedgehog woodland animal. Felted | Etsy
 -
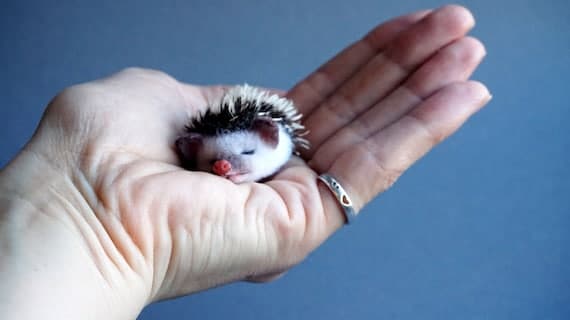 Tiny needle felted hedgehog Miniature hedgehog Felted | Etsy
 -
 Stuffed Hedgehog Stuffed Animal Sebastian the Plush Toy Brown | Etsy
 -
 Miniature hedgehog Felted Hedgehog Cute hedgehog | Etsy
 -
 PATTERN Hedgehog with the heart Wedding for mom gift | Etsy
Or, let your kids play with it while teaching them more about this cute little woodland creature!
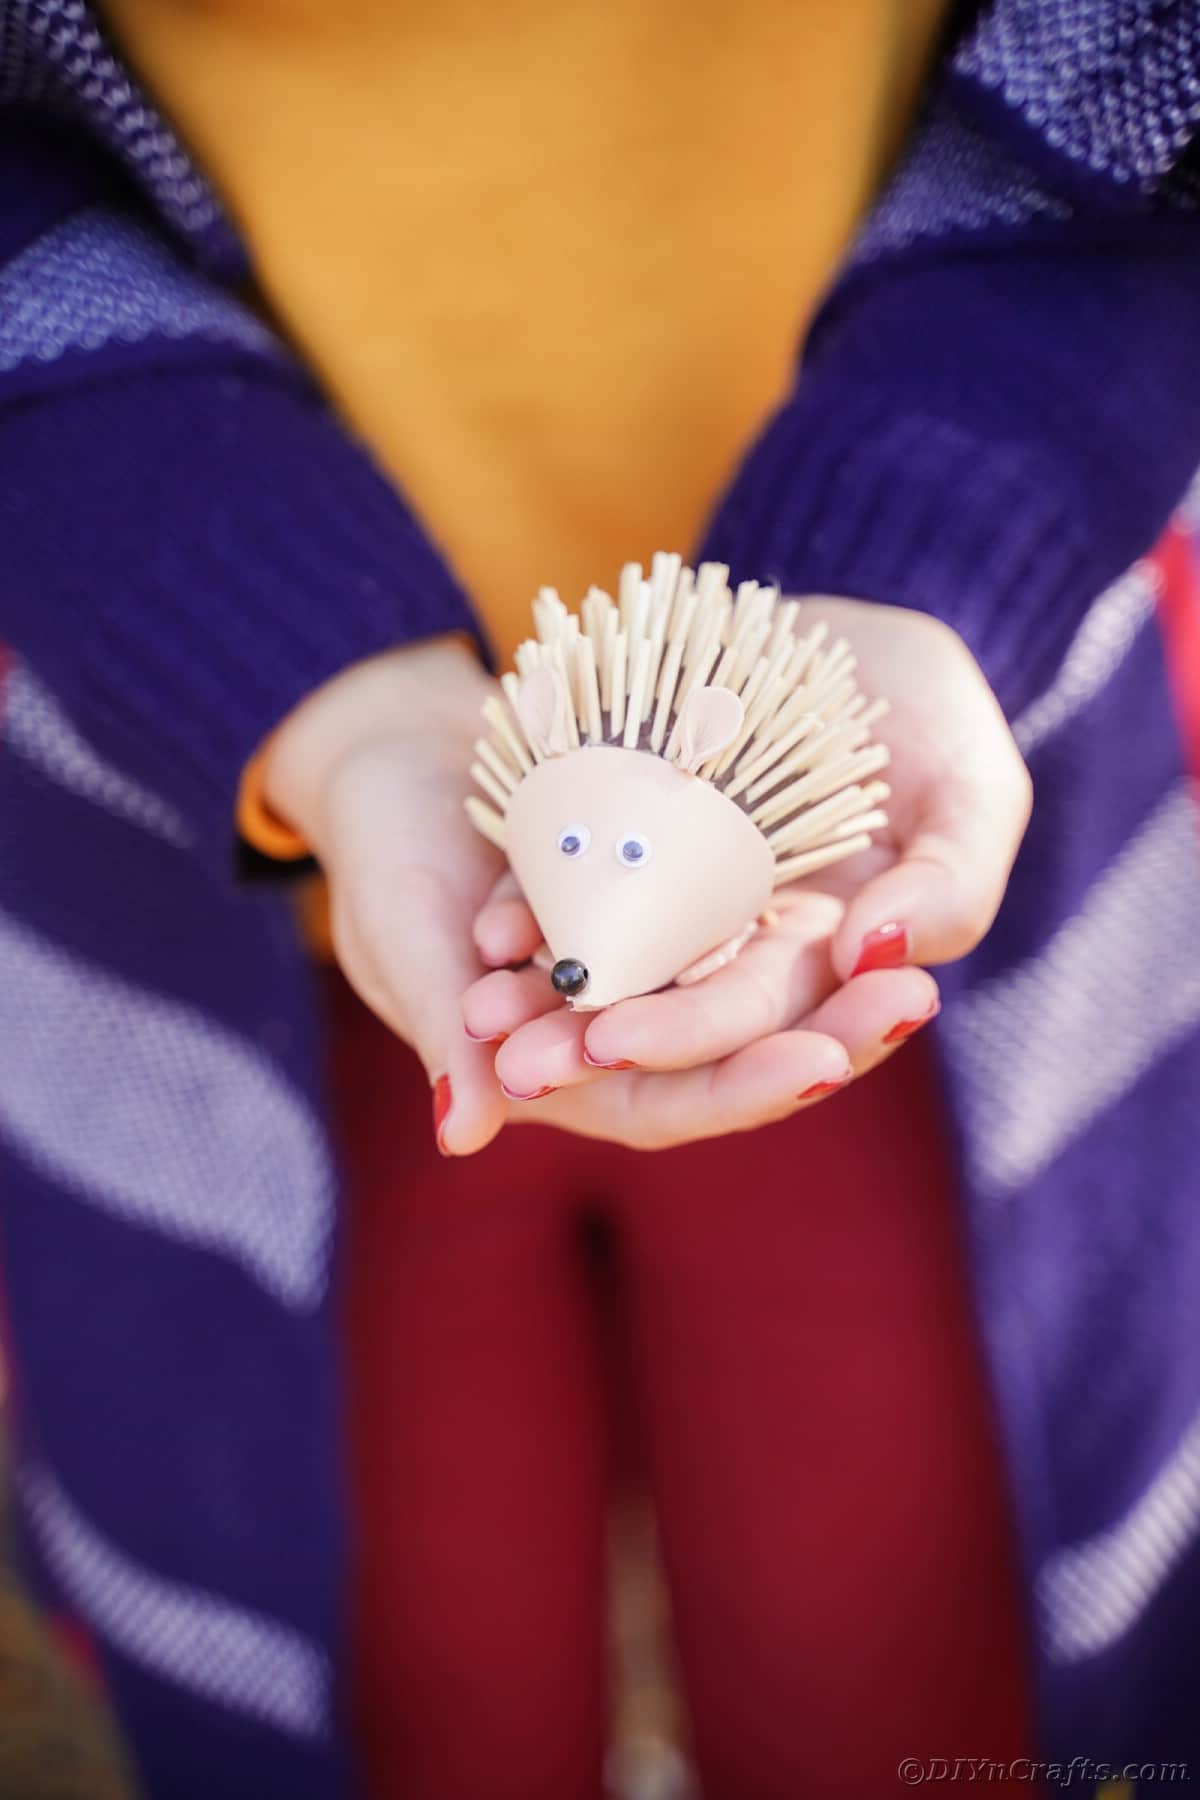
This is a great project for kids of all ages to make and use for fall decorations, party decor, or a special addition to a baby nursery bookshelf!








Leave a Reply