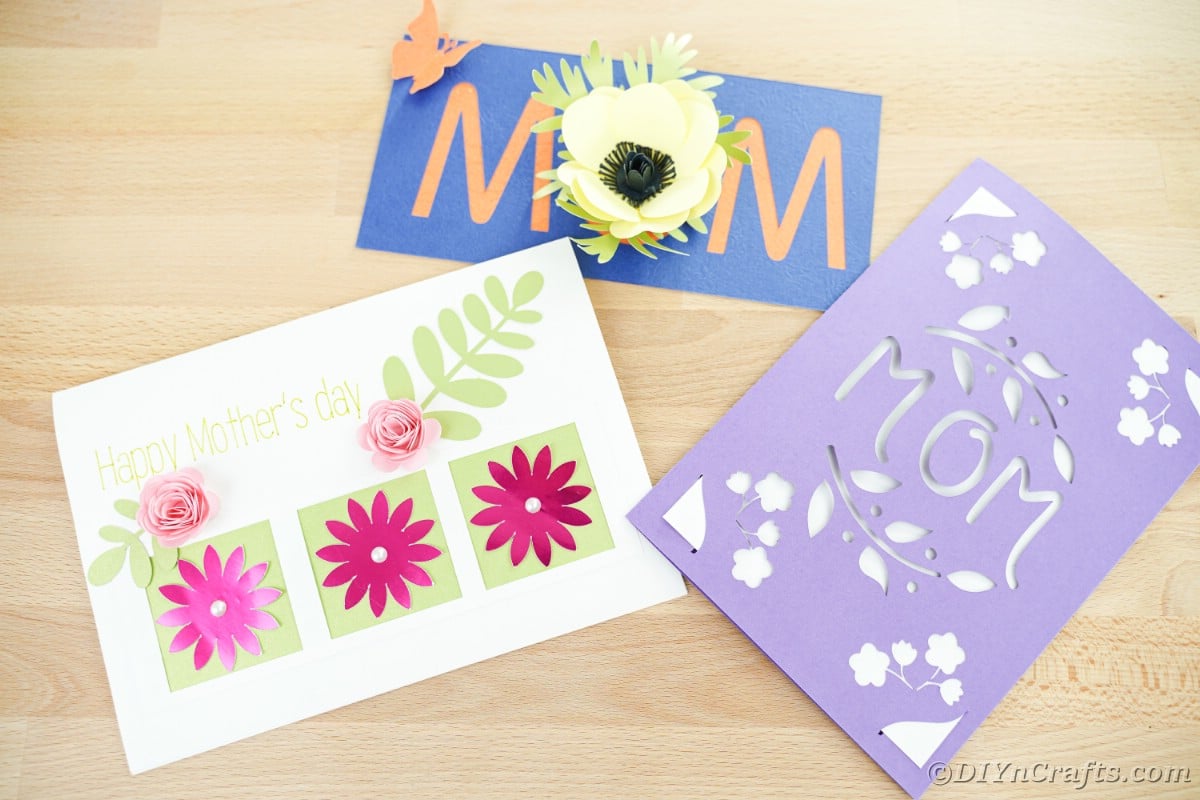
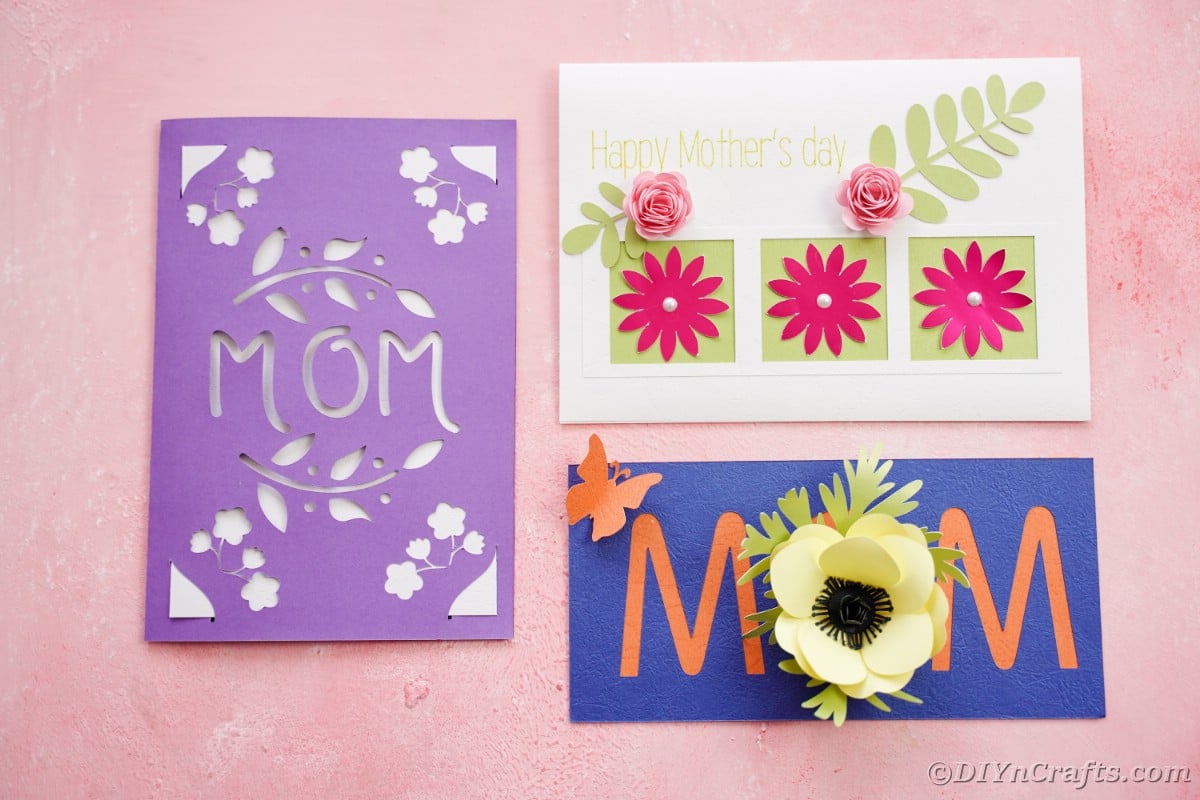
Are you tired of the cheesy cards at the local store? This year, you can make your own using these DIY Mother's Day cards Cricut tutorials! Below you will find three unique designs that are ideal for customizing to send to the mom(s) in your life. Pick the design you want and turn it into a customized card that will make any mom feel special.
Mother's Day Cards Cricut Tutorial
I've bought the cards many times before. You probably have purchased more than your share and they are all fairly generic and boring. This year, you can customize one with these with your favorite colors, messages, and special additions. I love that these are super easy for the kids to help you make too!
If you want more ideas for using your Cricut machine for Mother's Day, then check out these easy DIY Mother's Day journals. You might also like the idea of making a cute little Mother's Day coffee mug or even a customized Mother's Day apron. Of course, nothing beats these super cute little Mother's Day floral shadowboxes.
What Paper Should I Use for Making Cards?
The best choice, in my opinion, is a nice cardstock paper. While kids usually grab construction paper or craft paper, it can tear very easily, especially when used with a Cricut to cut out shapes and messages.
For this, you can buy any cardstock, or stick with the Cricut card inserts. Cricut cardstock is excellent as well, but you can buy any number of brands, colors, and textures of cardstock at your local hobby store or even a place like the local dollar store.
What Markers Work with the Cricut Machines?
There is some controversy in various groups about what markers can work with your Cricut. There is an accessory adapter that is used for working with pens and markers on your Cricut machines. However, it is designed specifically for the branded products.
In many groups and on many websites, there are homemade adapters or workaround that makes it possible to use any pen, marker, or pencil. I, however, will suggest just making the investment and using only the ones designed for the Cricut. It's better safe than sorry, in my opinion.
Some of the popular options for makers are below.
- Gel Pen Set
- Glitter Gel Pen Set
- Extra Fine Point Pen Set
Can These Be Mailed in Regular Envelopes?
Yes. You can mail these in a regular envelope that is the right size for a card. If you buy blank cards and envelopes, you can use them for this project as well. Of course, as some of these are a bit heavier than a traditional card, you might need to add a few extra stamps or have it weighed at the post office before mailing, just in case.
I picked up a huge set of cards and envelopes in multiple colors on Amazon for use in projects like this one. They are great because you have so much variety to choose from for a low price.
Supplies Needed
- Cricut Explore Air 2,Cricut Maker, orCricut Joy
- Light mat or standard grip mat
- Transfer tape
- Deep tip bladeandhousing
- Weeding tool
- Scraper tool
For Design #1
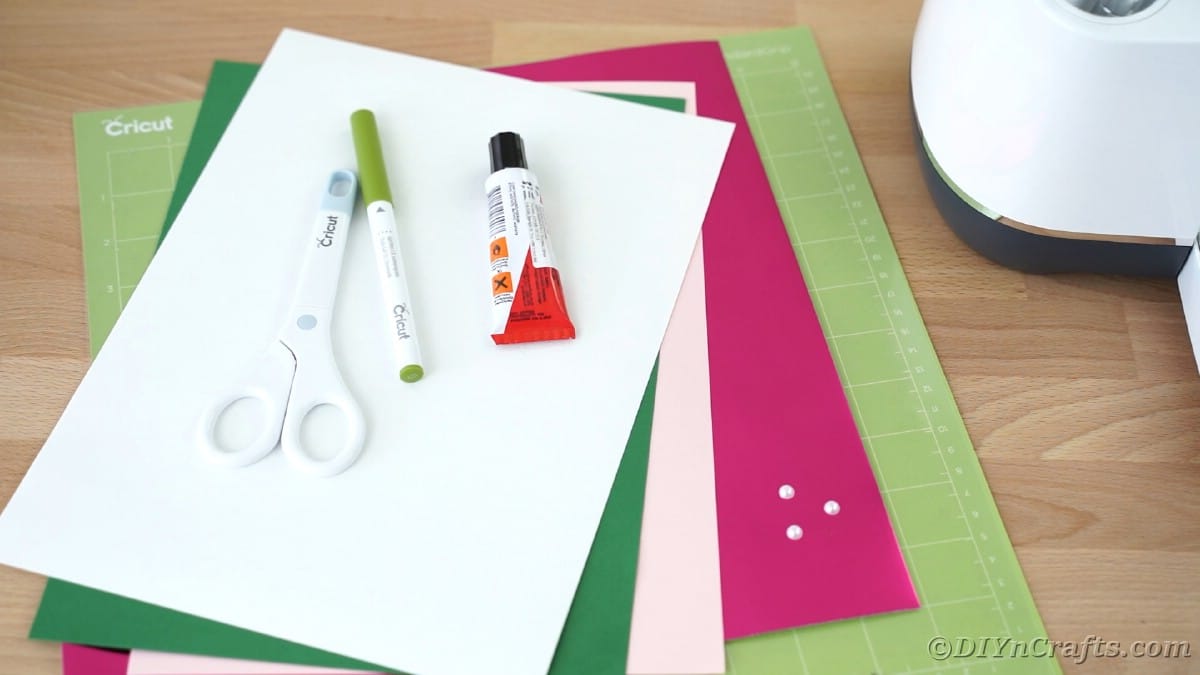
- White card stock
- Green card stock
- Light pink cardstock
- Glitter magenta cardstock
- Green Cricut fine point marker
- Mini pearls or beads
- Craft glue
- Cricut Explore One Accessory Adapter
- SVG Cricut Design Space files
For Design #2
For Design #3
- Blue card stock
- Orange card stock
- Yellow card stock
- Green card stock
- Black card stock
- SVG Cricut Design Space files
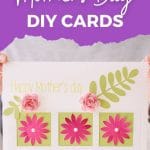
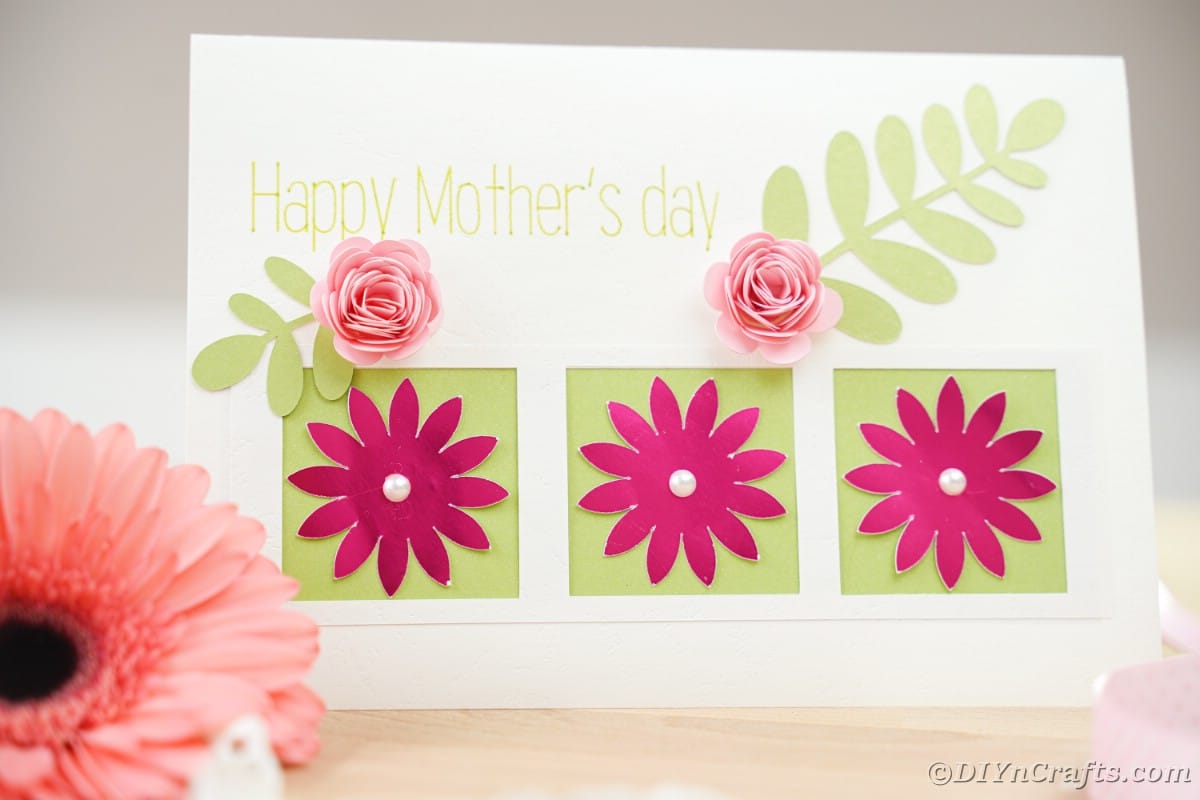
How to Make a Floral Mother's Day Card With a Cricut
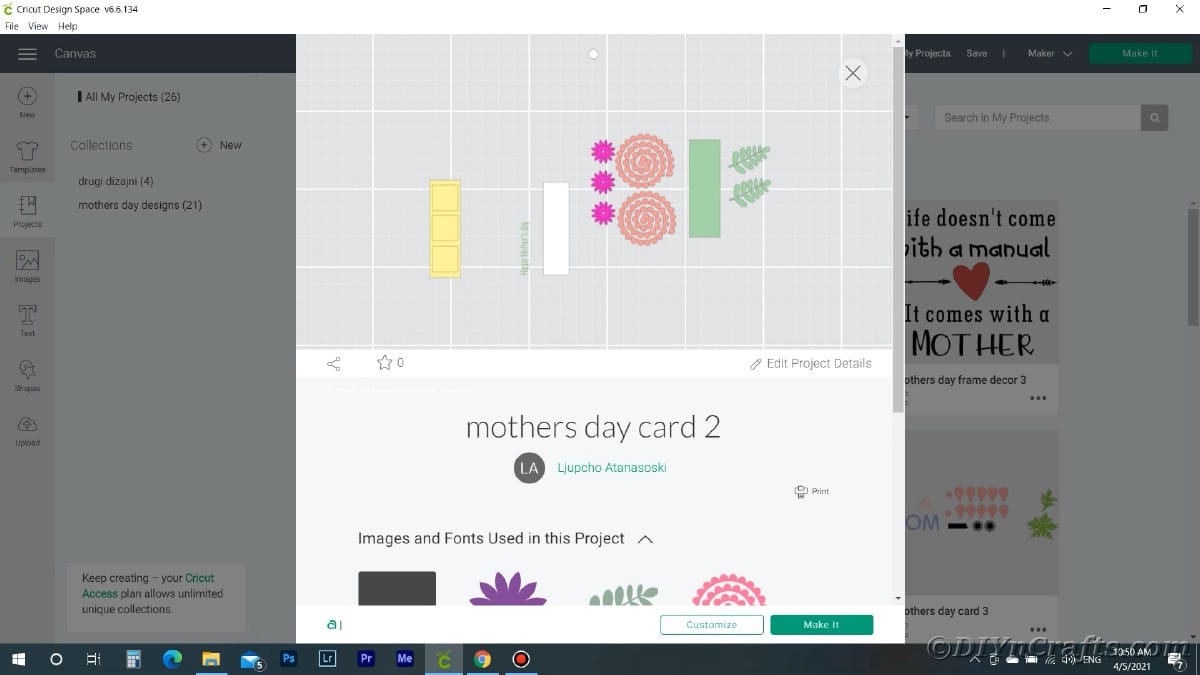
Load the SVG files into the Cricut Design Space.
Choose the file for the first part of the card - the white pages with a printed message and a single cutout.
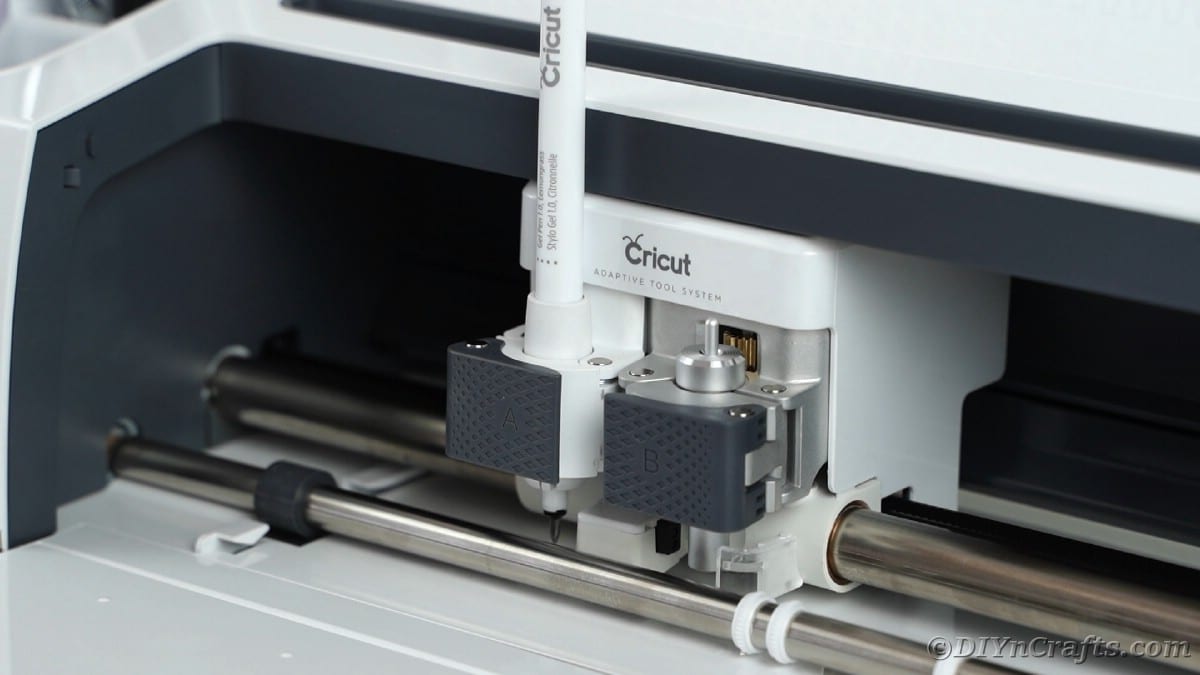
Place the blade and accessory housing in place on the machine, and insert the pen of choice (we used green).
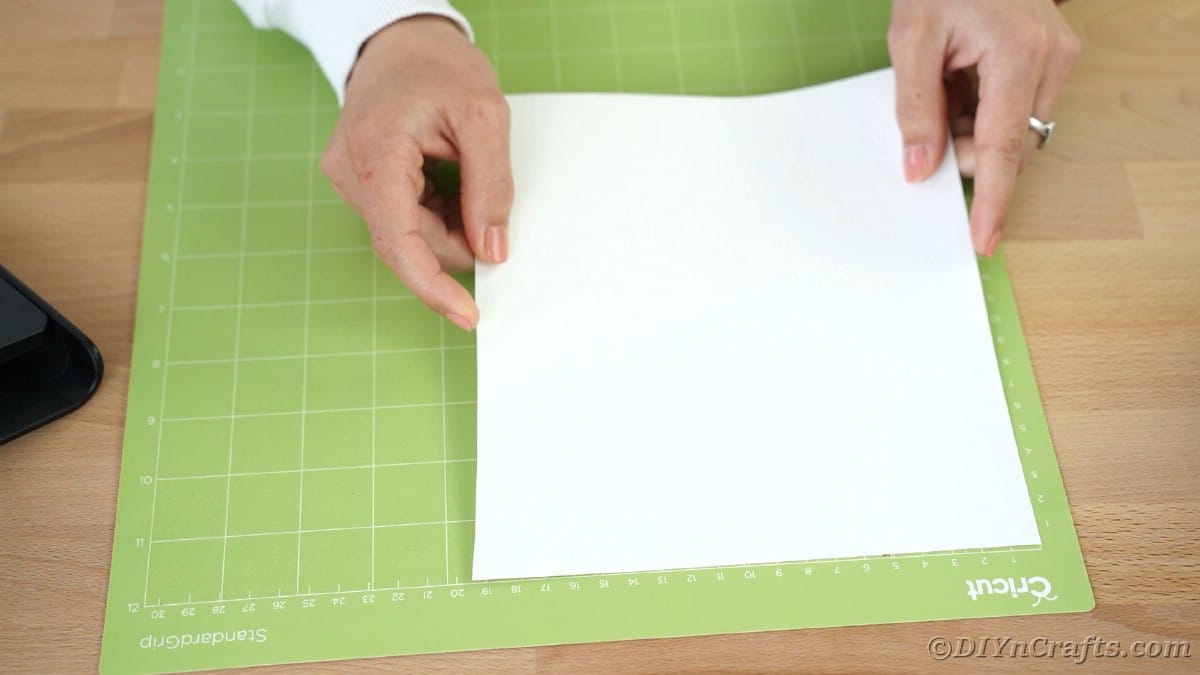
.Load the mat with the white cardstock first.
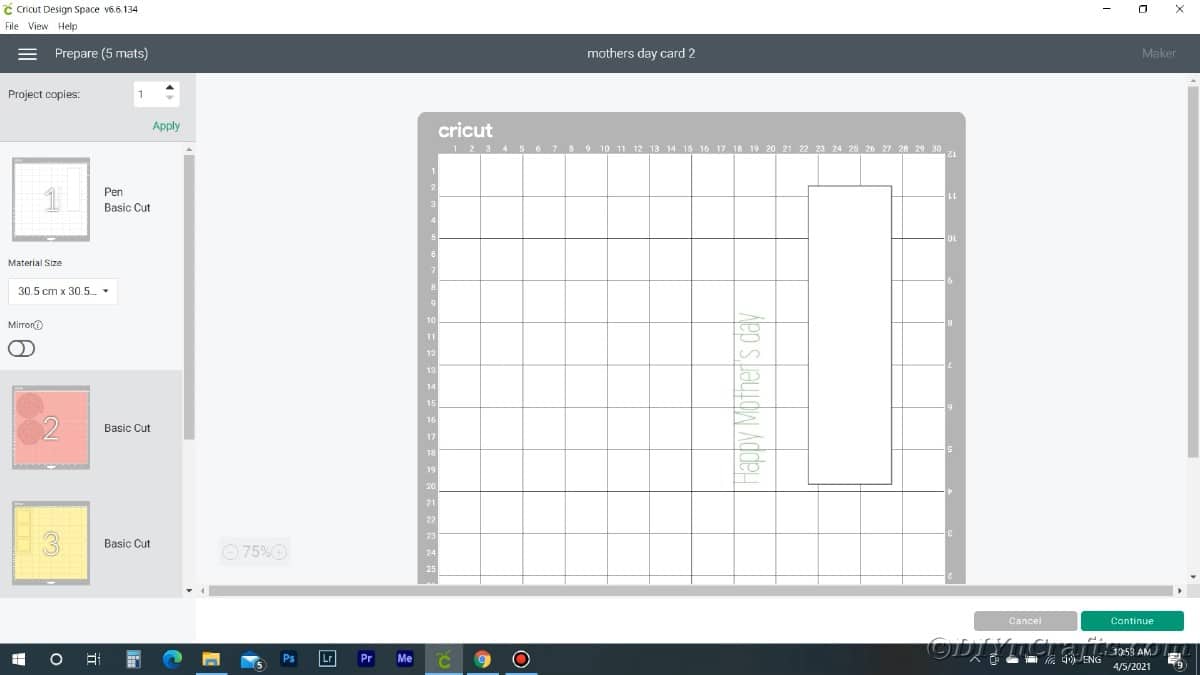
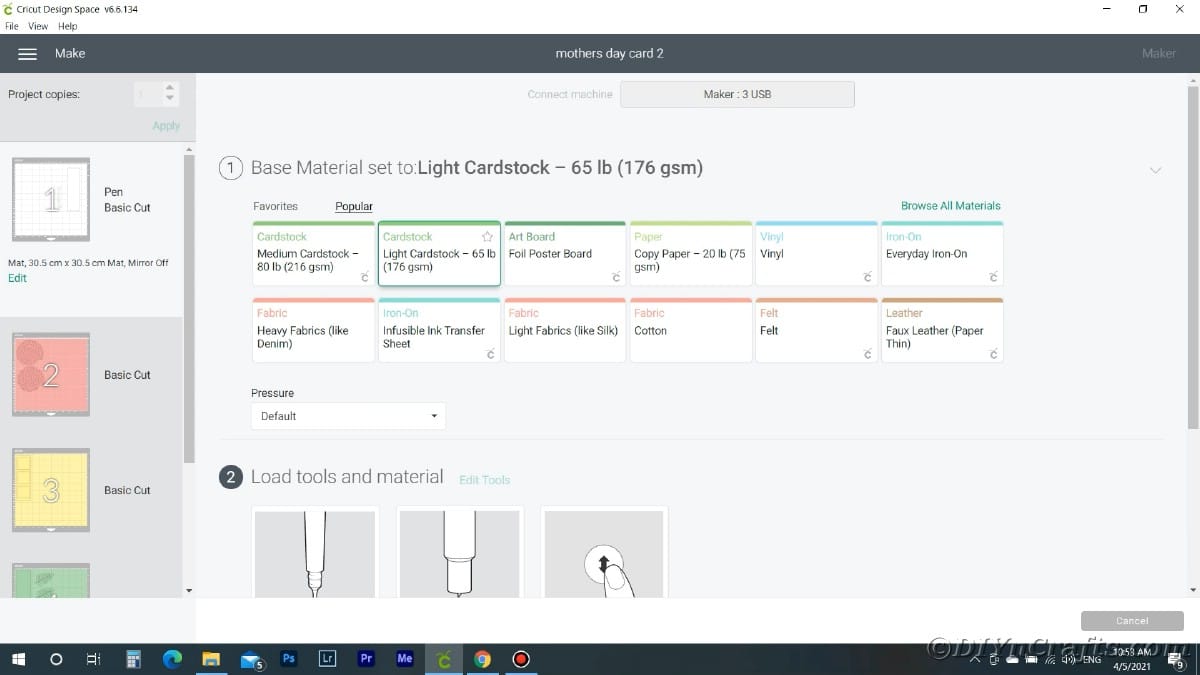
Choose the appropriate material and follow the prompts to cut out the rectangle of paper from the white piece.
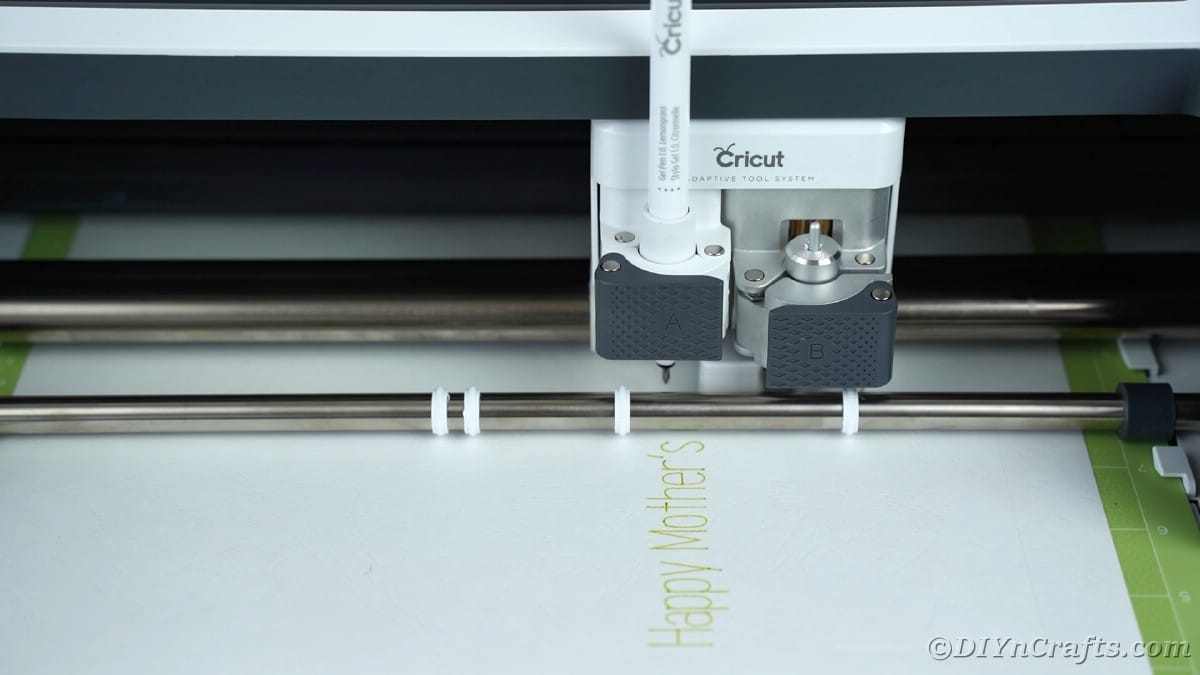
Follow the prompts on the screen to then print the phrase onto the paper.
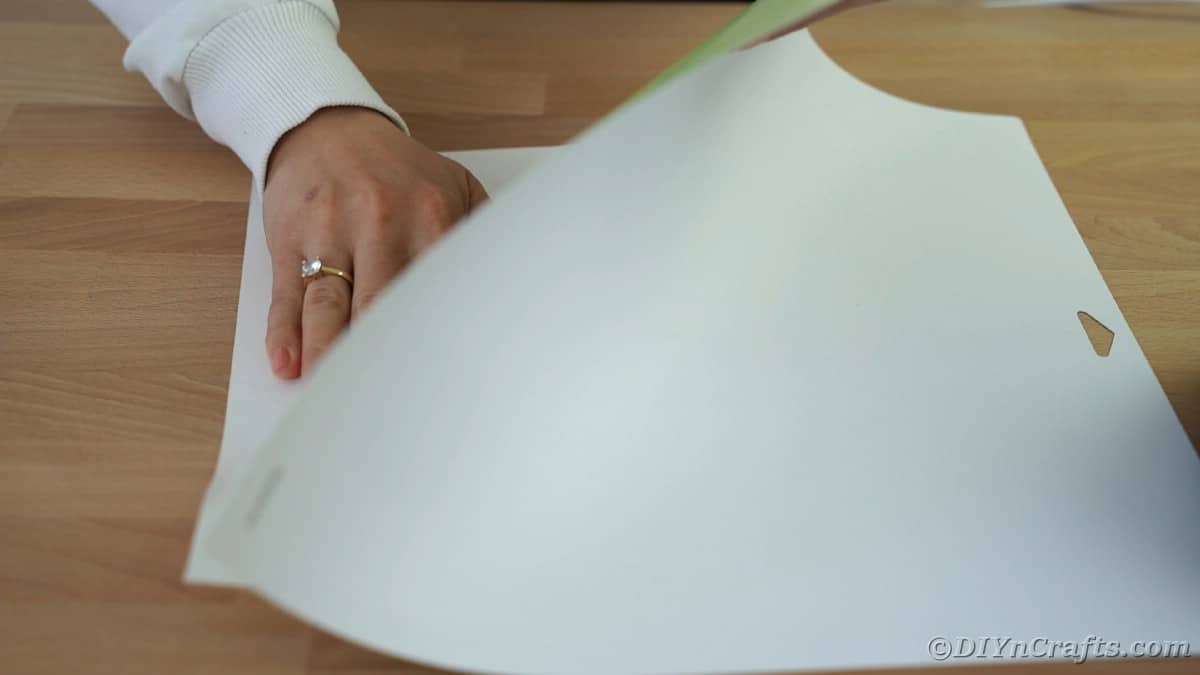
Remove the white card from the mat and set it aside.
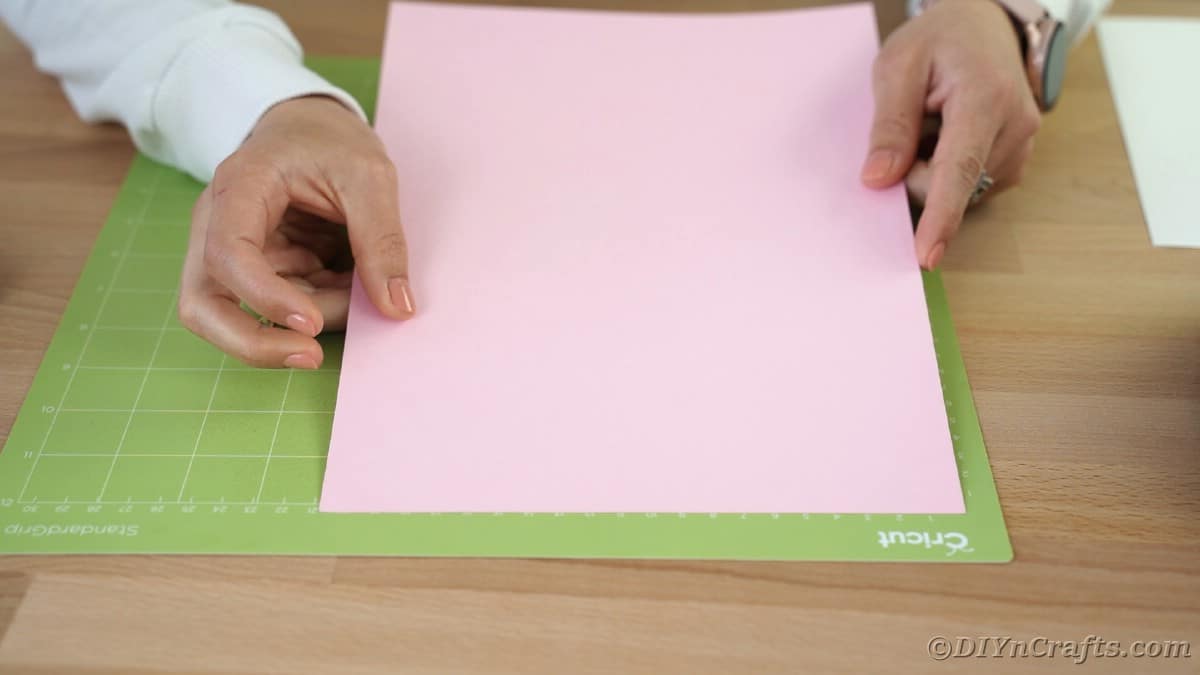
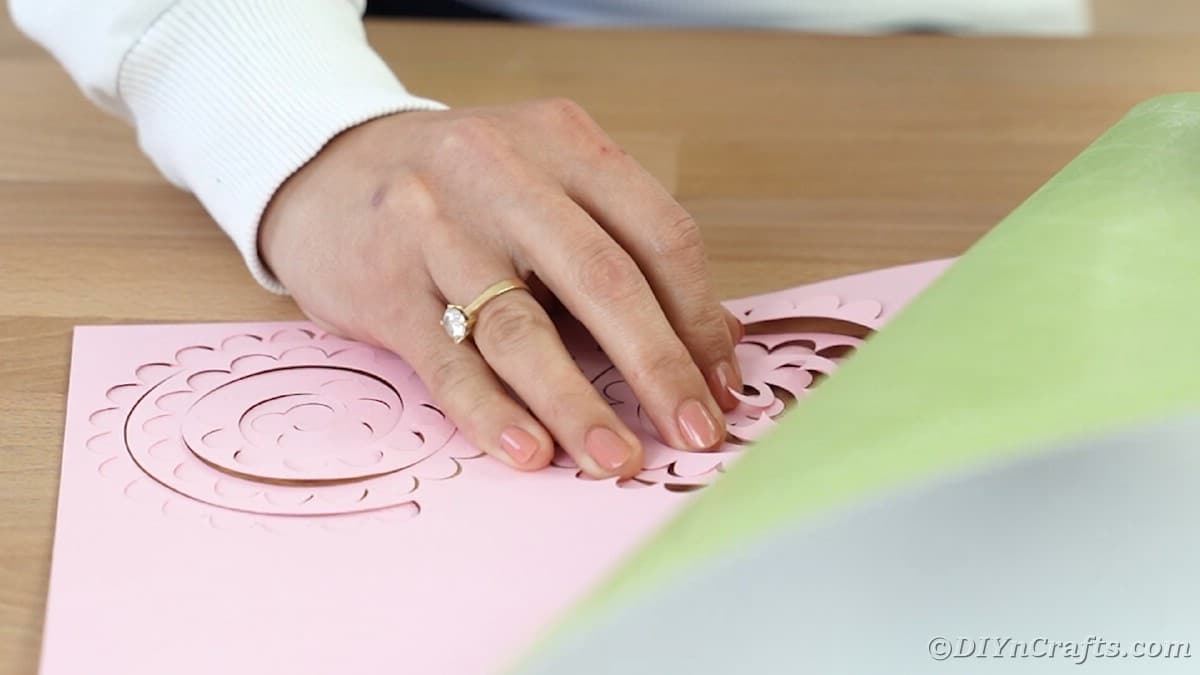
Load the light pink paper onto the Cricut mat, then follow the prompts on the screen to load and cut the flower shapes.
Remove the flowers from the mat and set it aside.
Load the second piece of white paper onto the mat and then follow the prompts on the screen to cut out the three windowed rectangular shapes.
Remove it from the mat and set it aside for later.
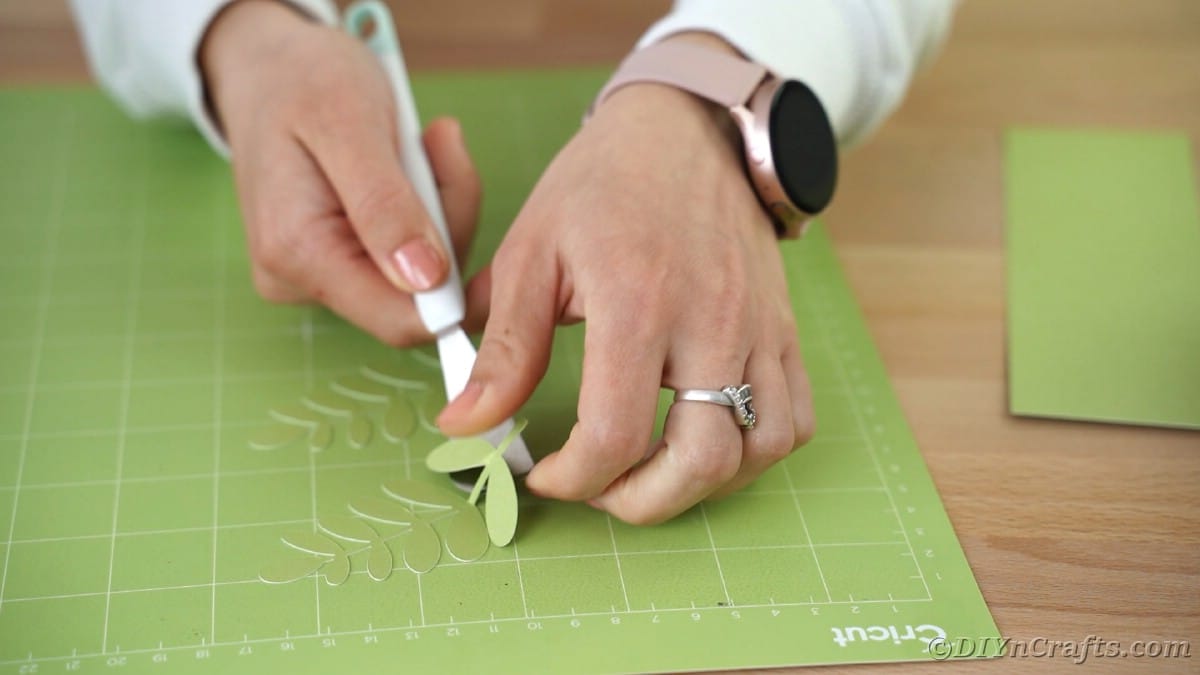
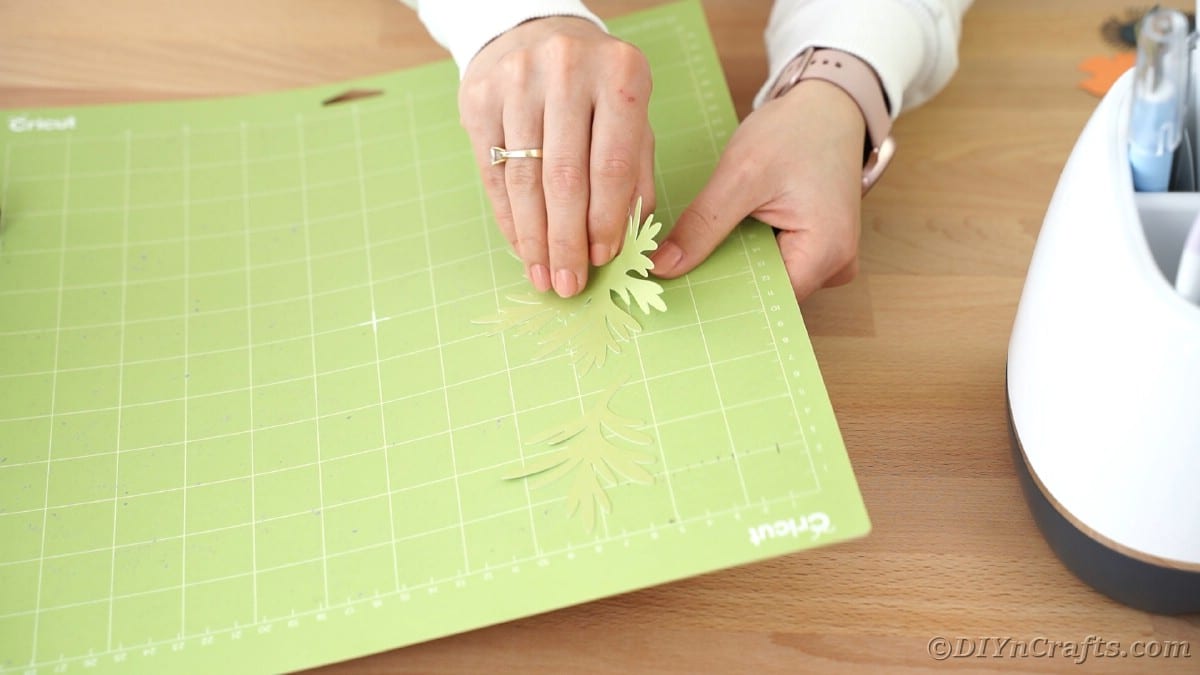
Load the light green paper onto the mat, then follow prompts on the screen to cut out the flowers and the green rectangle of paper.
Remove the flowers and the rectangle from the mat and set them aside.
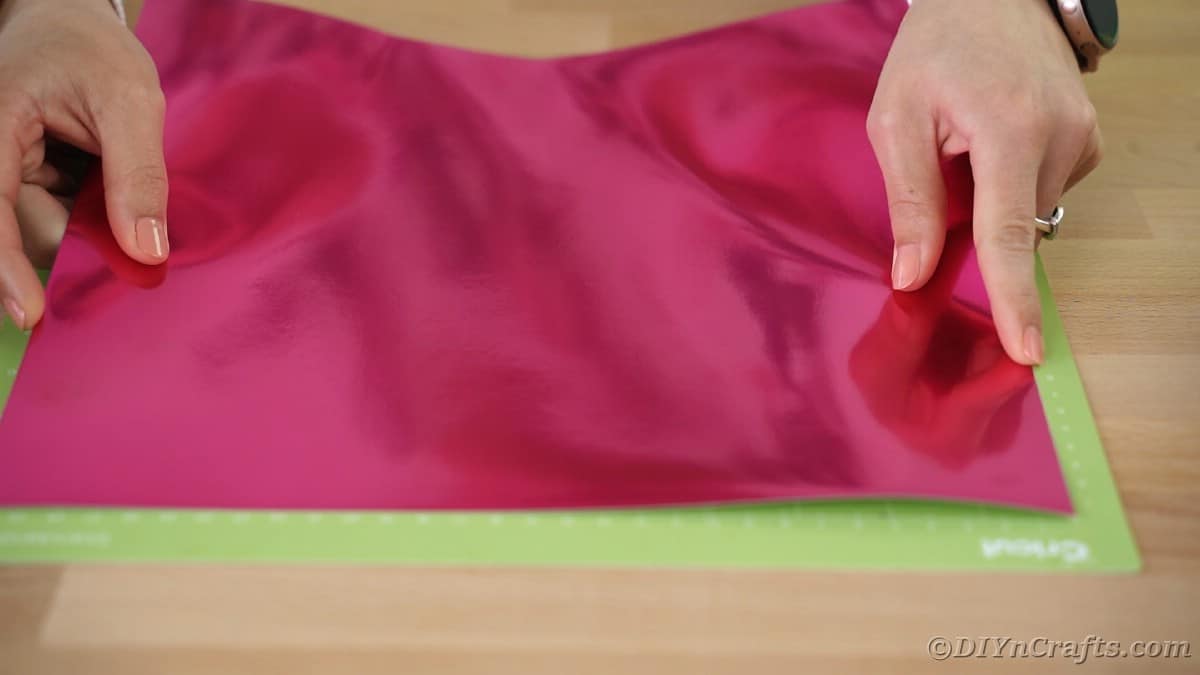
Load the dark pink or magenta paper onto the Cricut mat, then follow the prompts on the screen to cut out the flowers.
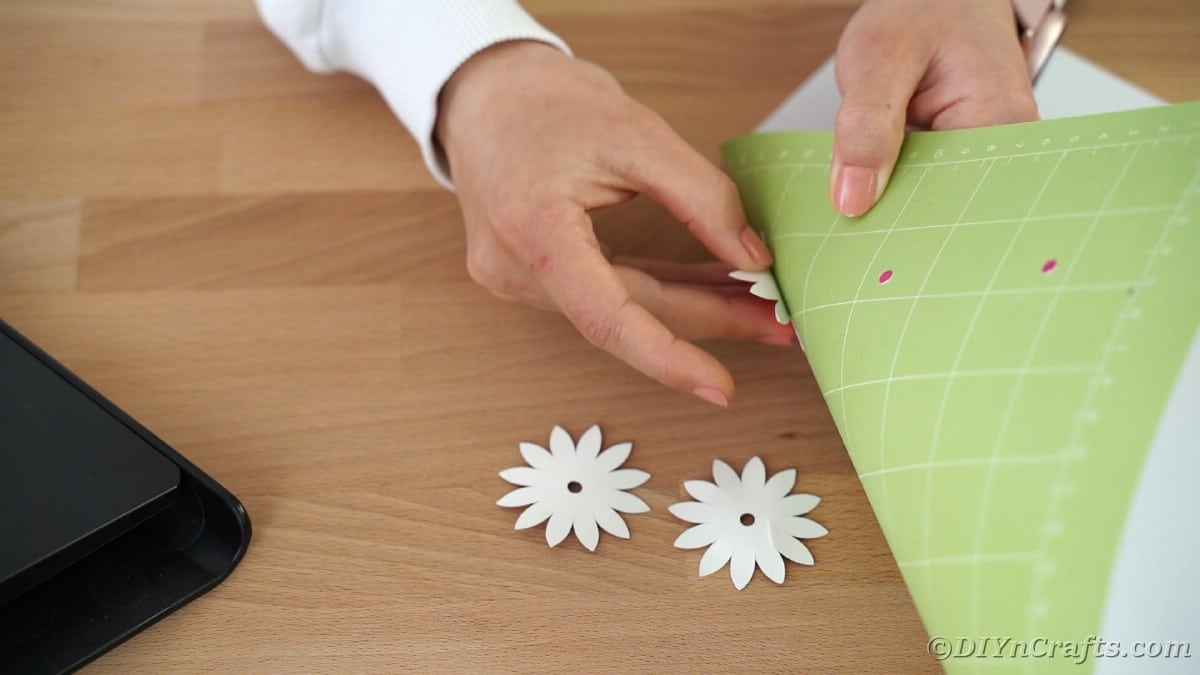
Remove the flowers from the mat and carefully remove the center hole and discard them from each flower.
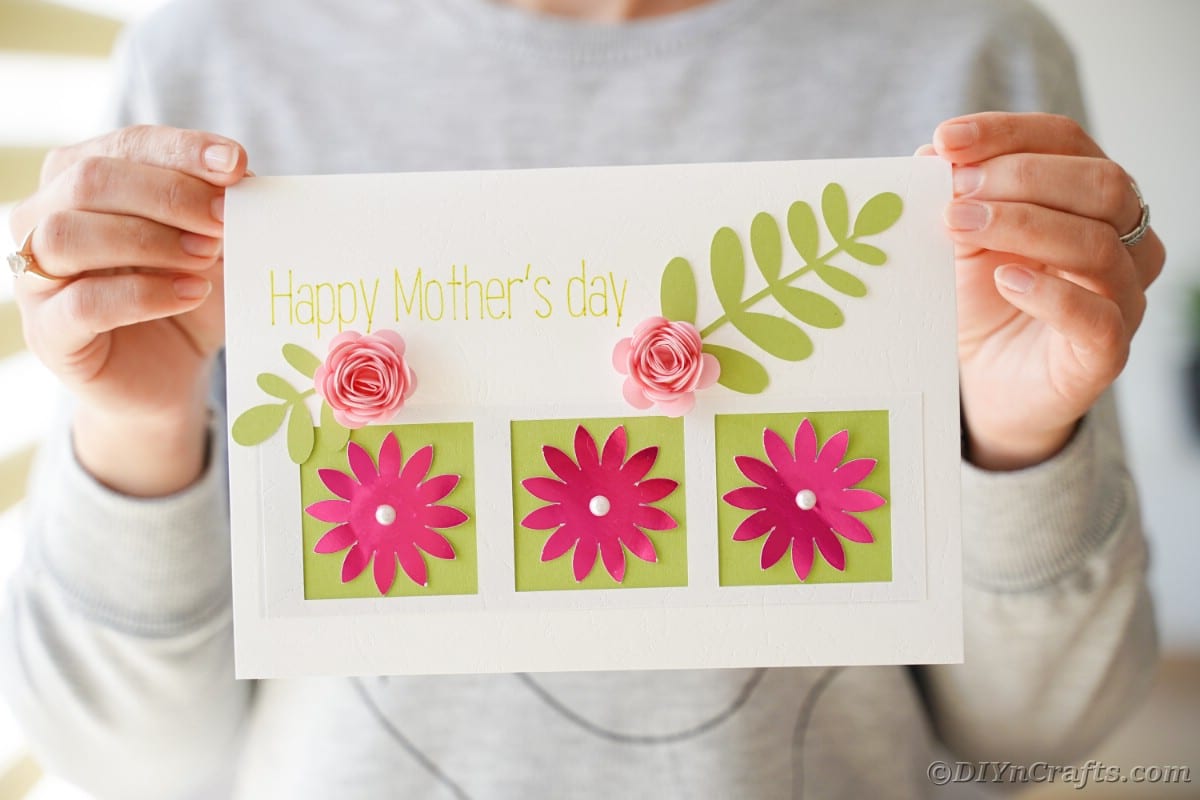
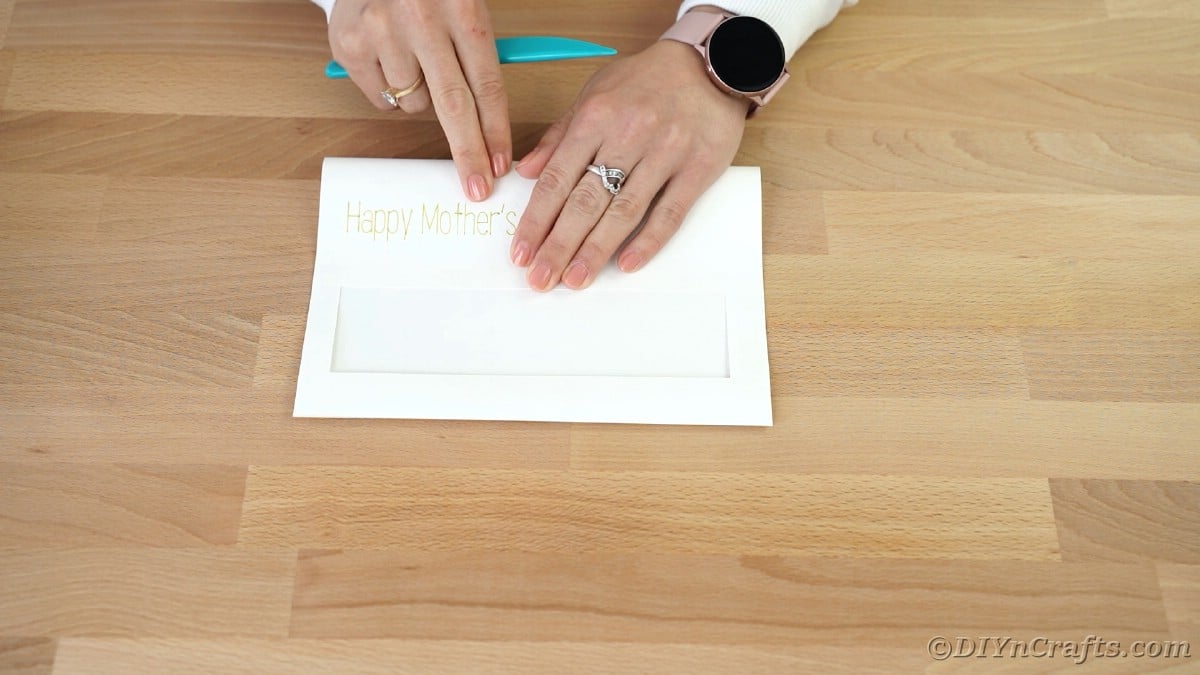
Fold the first piece of white cardstock in half creasing carefully at the middle. The open rectangle should be at the bottom of the card.
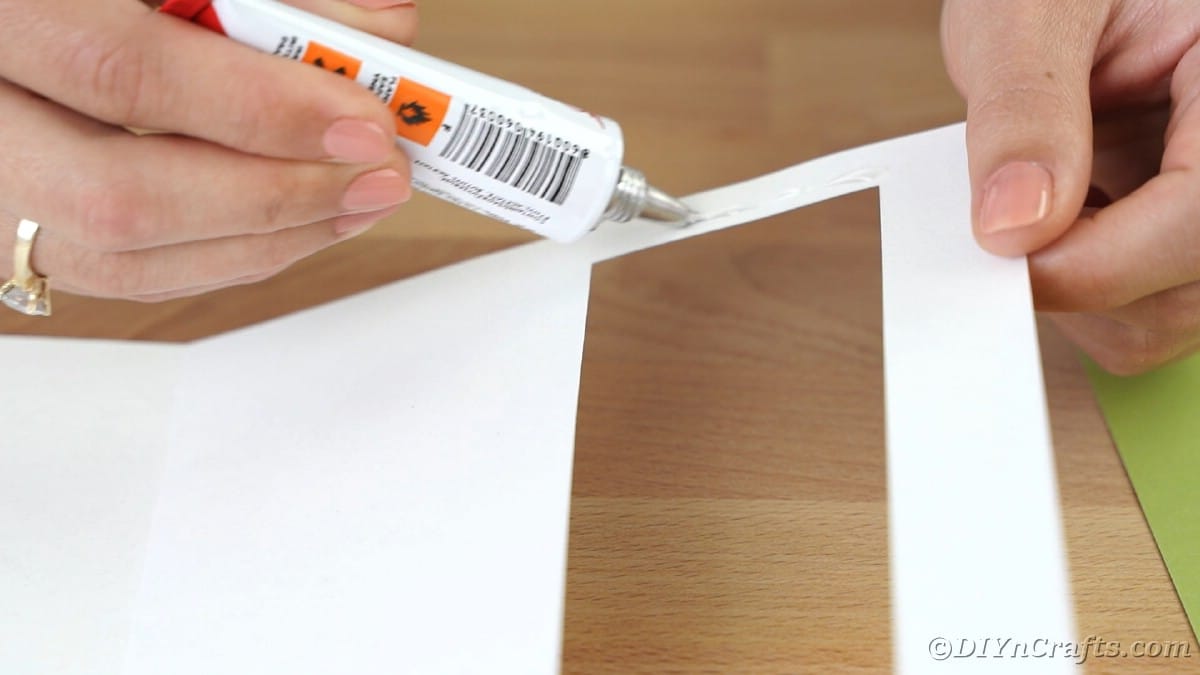
Add glue around the inside of the opening on the card.
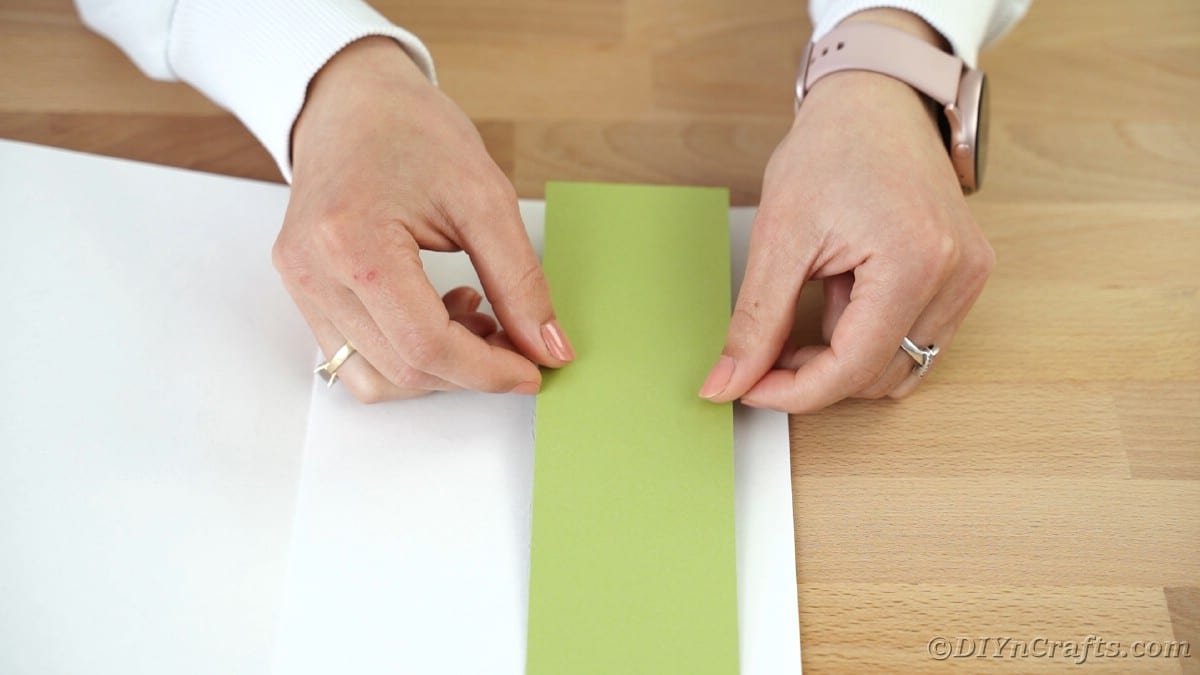
Attach the green rectangle of card paper onto the inside of the card where the glue is to create a background to the opening on the front.
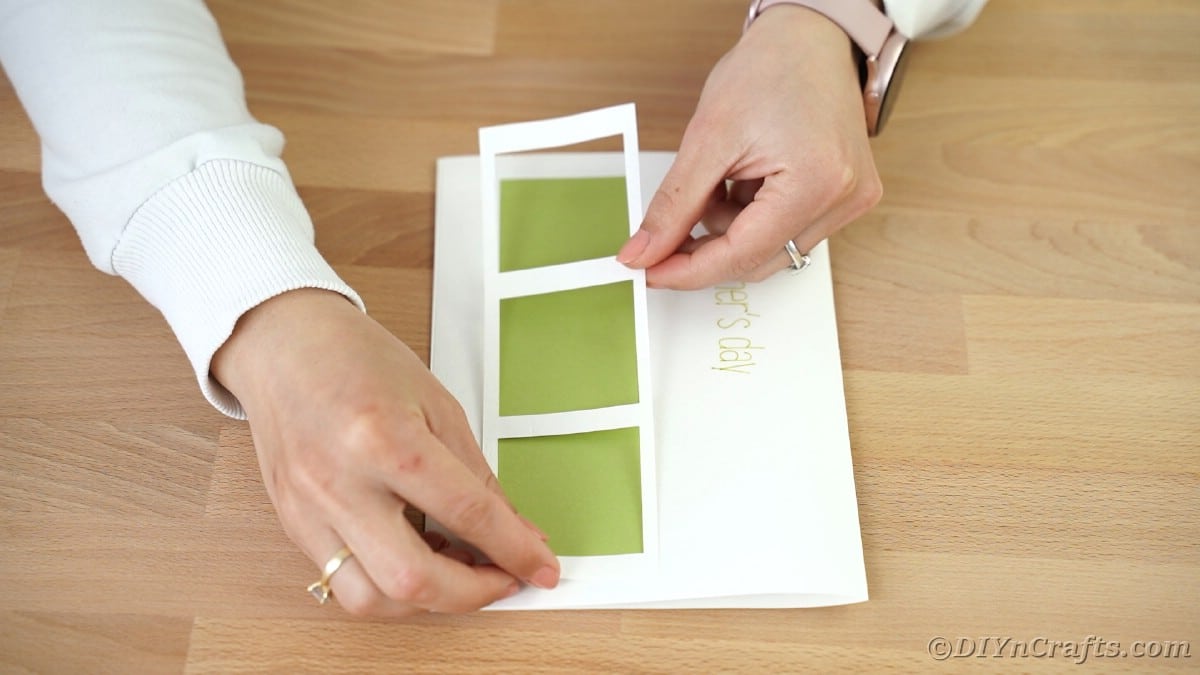
On the front of the card add glue around the window then attach the white rectangle with three window holes so that it is centered over the opening.
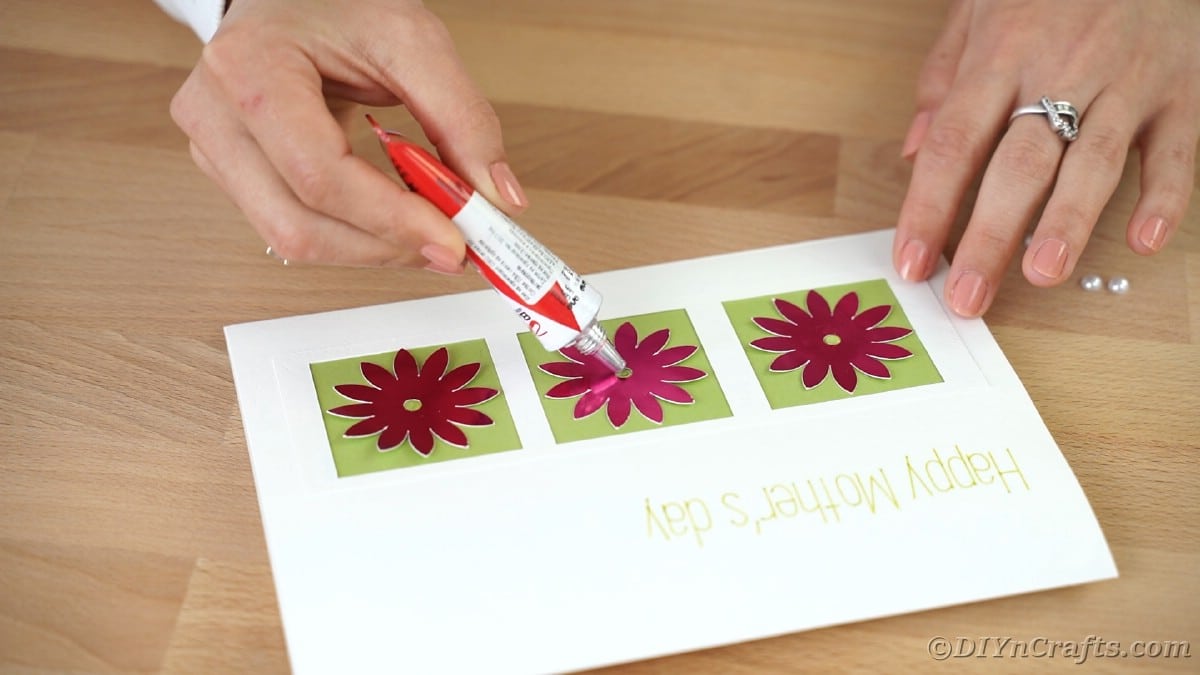
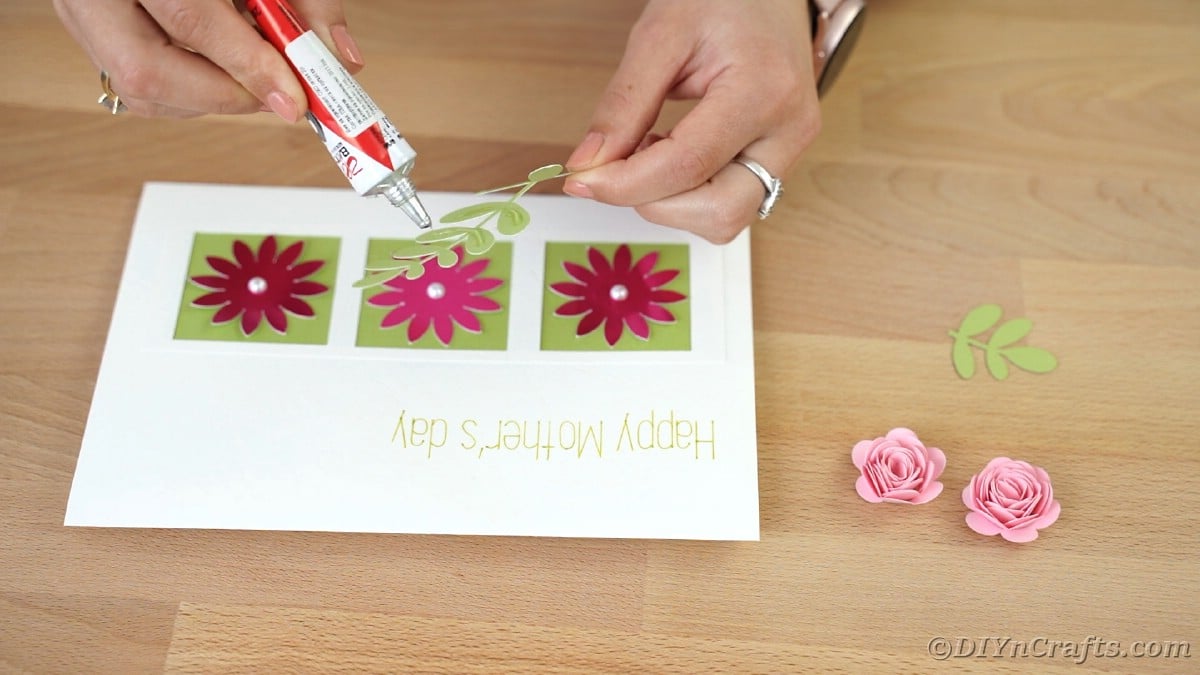
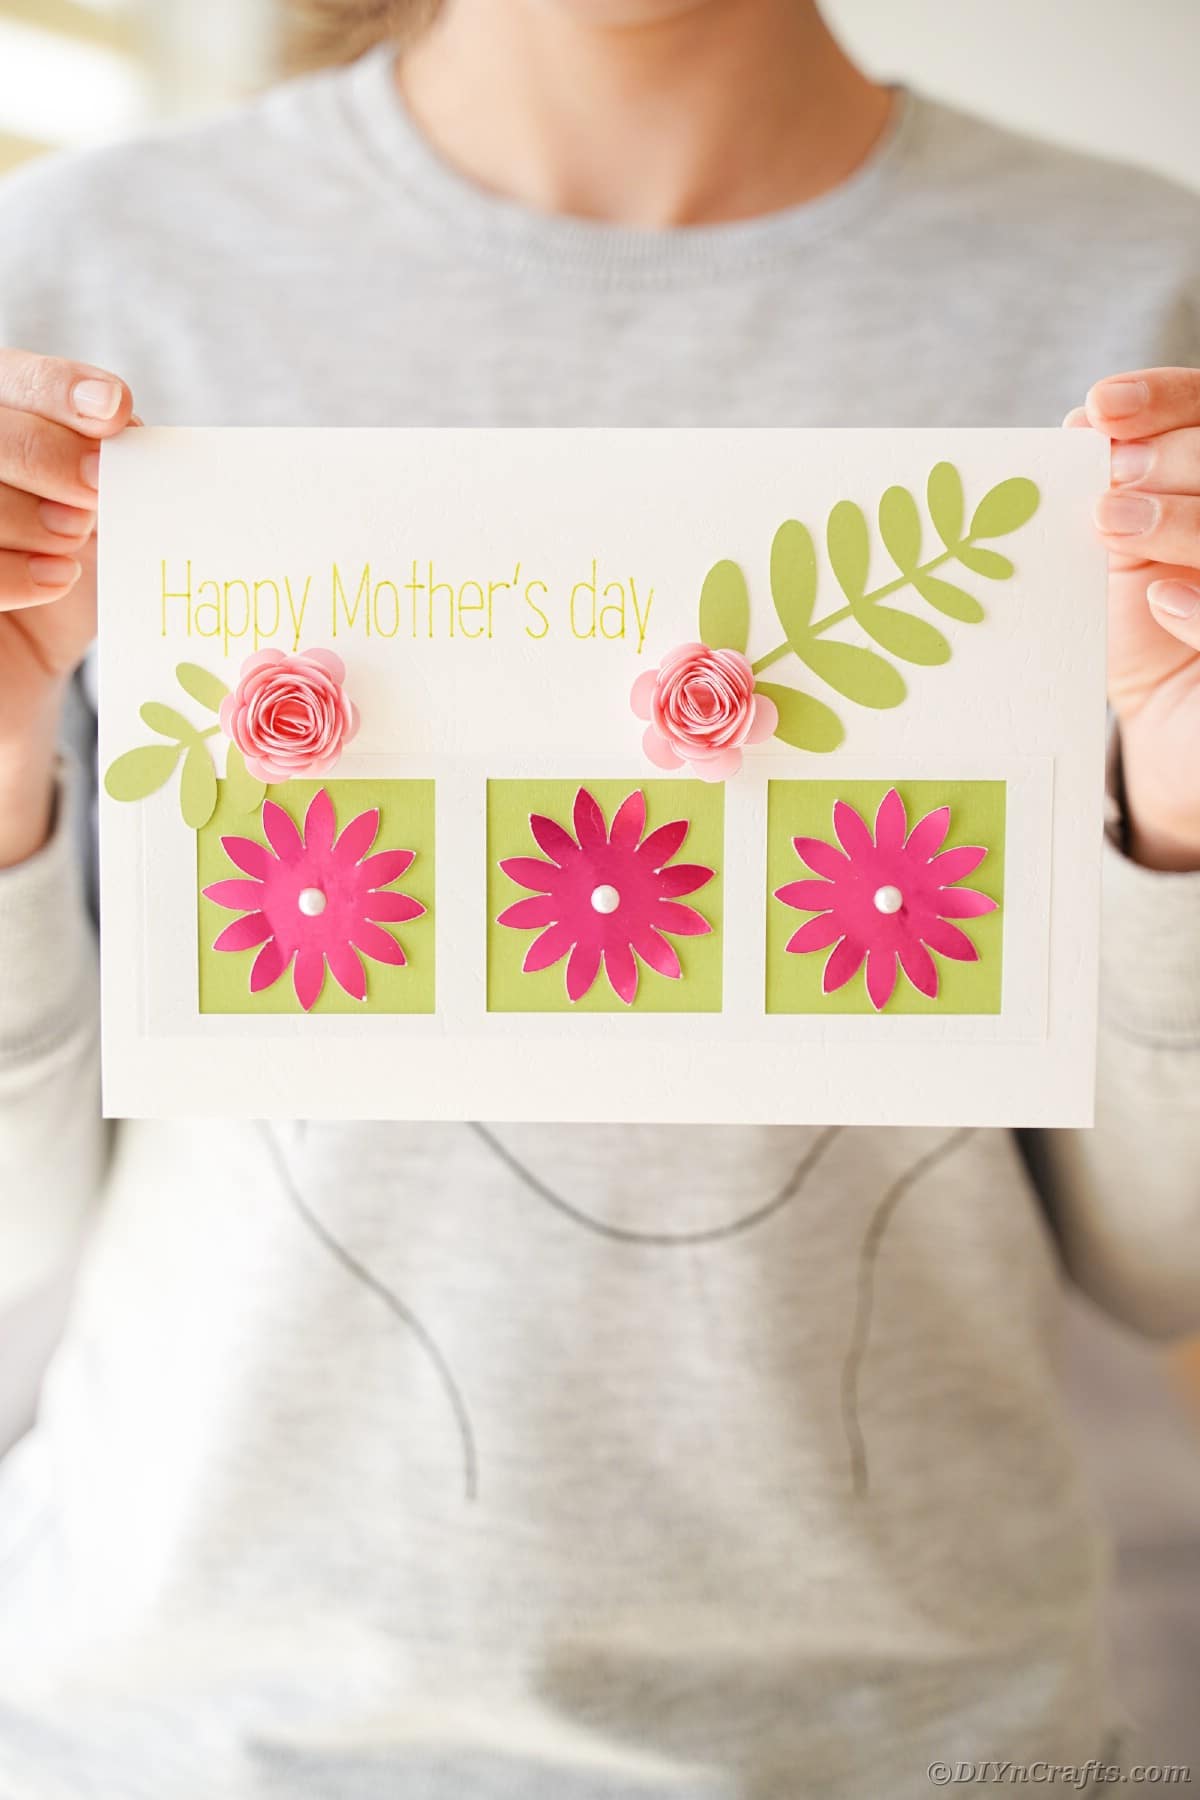
Glue the dark pink flowers onto the card, one per box on the front of the card.
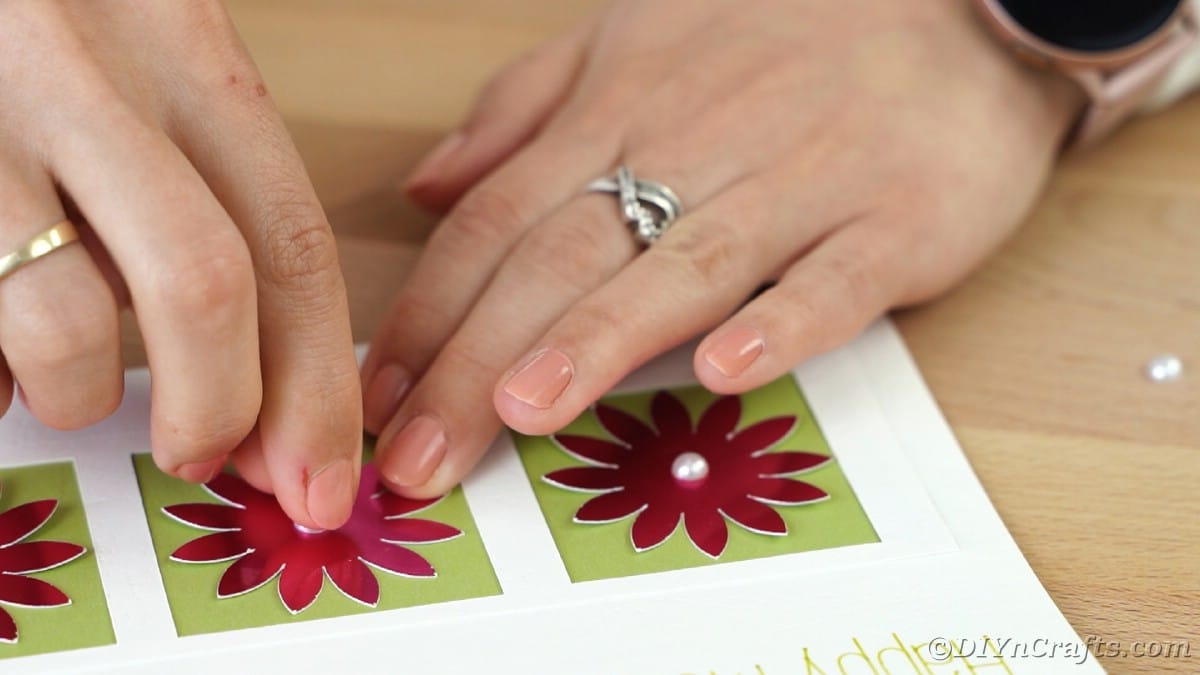
Use glue to attach a small pearl bead or sequin to the center of each of the pink flowers.
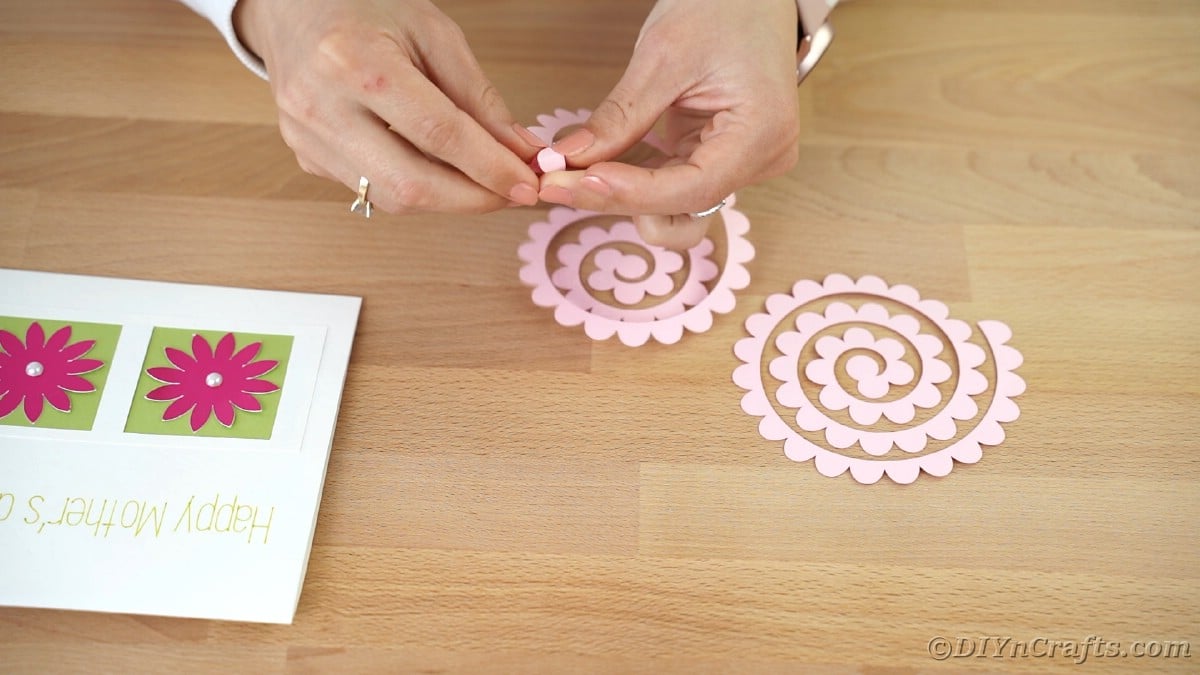
Roll the light pink flower cut-outs starting at the end and rolling inward then gluing the ends in place to create two small flowers.
Trim the green leaves so one is whole and the second is just the top half.
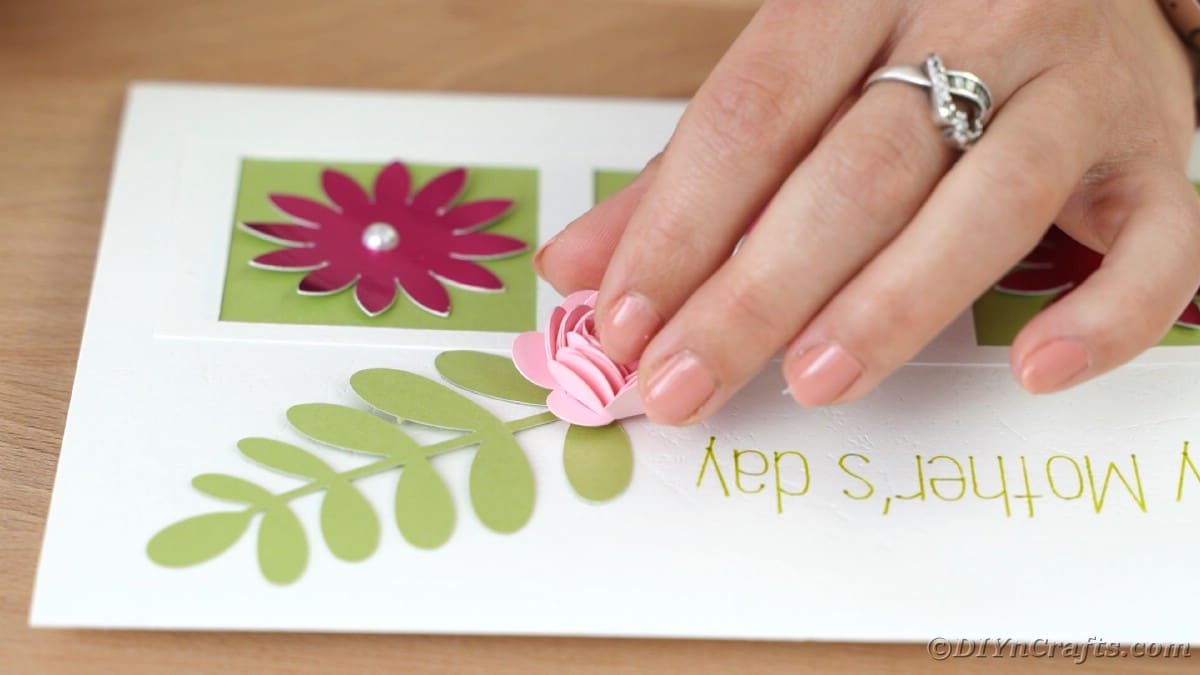
Attach the whole leaf on the open side of the card, by the message, with glue.
Then attach the smaller piece just below the message.
Glue the pink rolled flowers onto the leaves as desired.
Add a message on the inside and gift to a special mom.
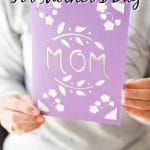
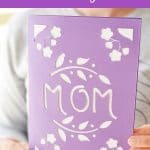
How to Make a Stenciled Mother's Day Card
Load the SVG files into Cricut Design Space and choose the file you will use.
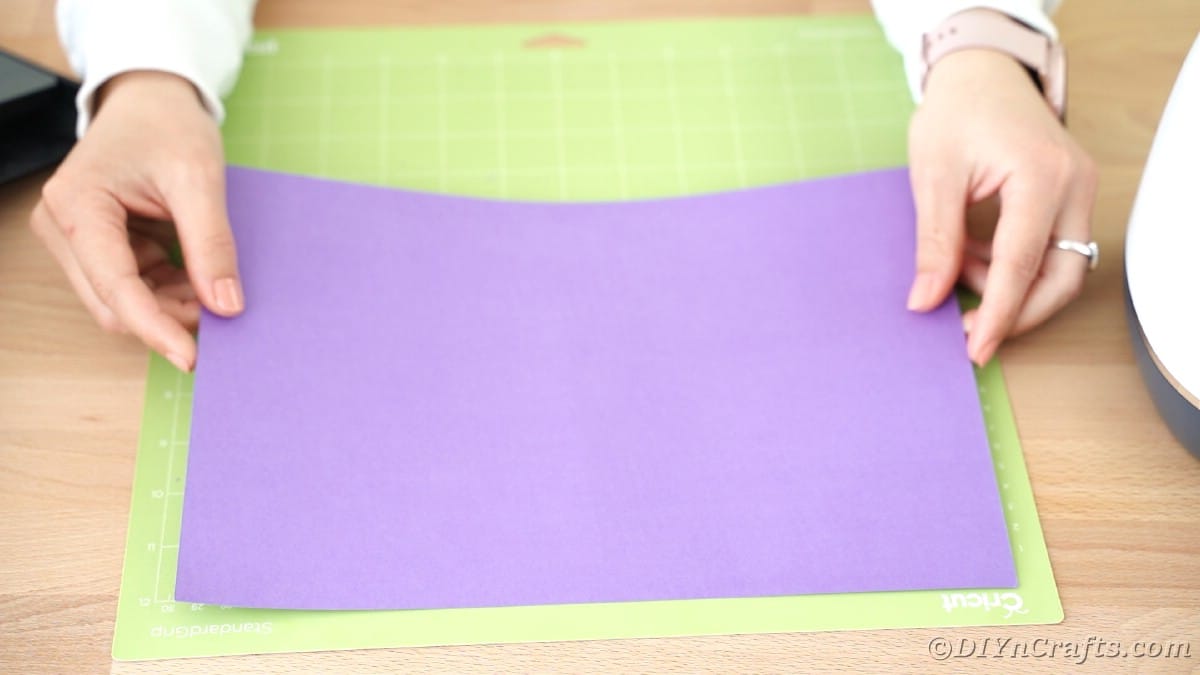
Place the purple cardstock onto the mat.
Follow the prompts on the screen to choose the correct material, and follow to load the mat into the machine and cut out the paper.
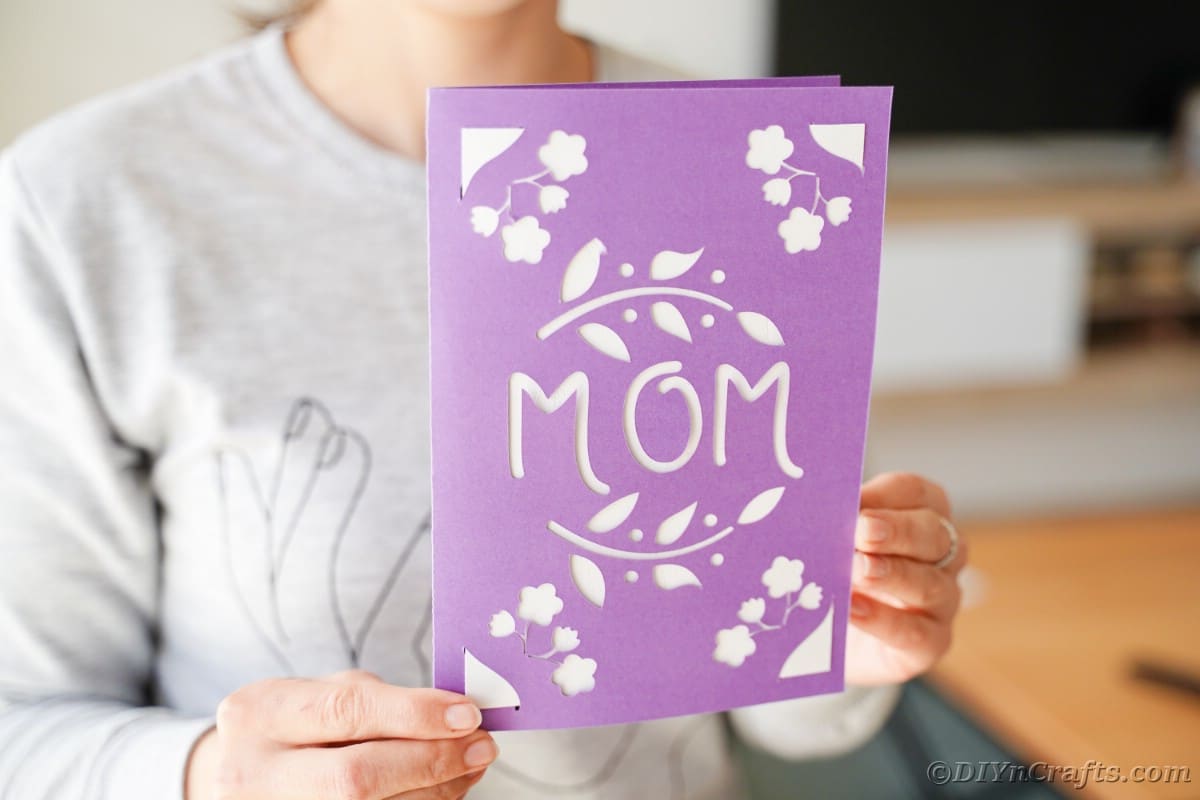
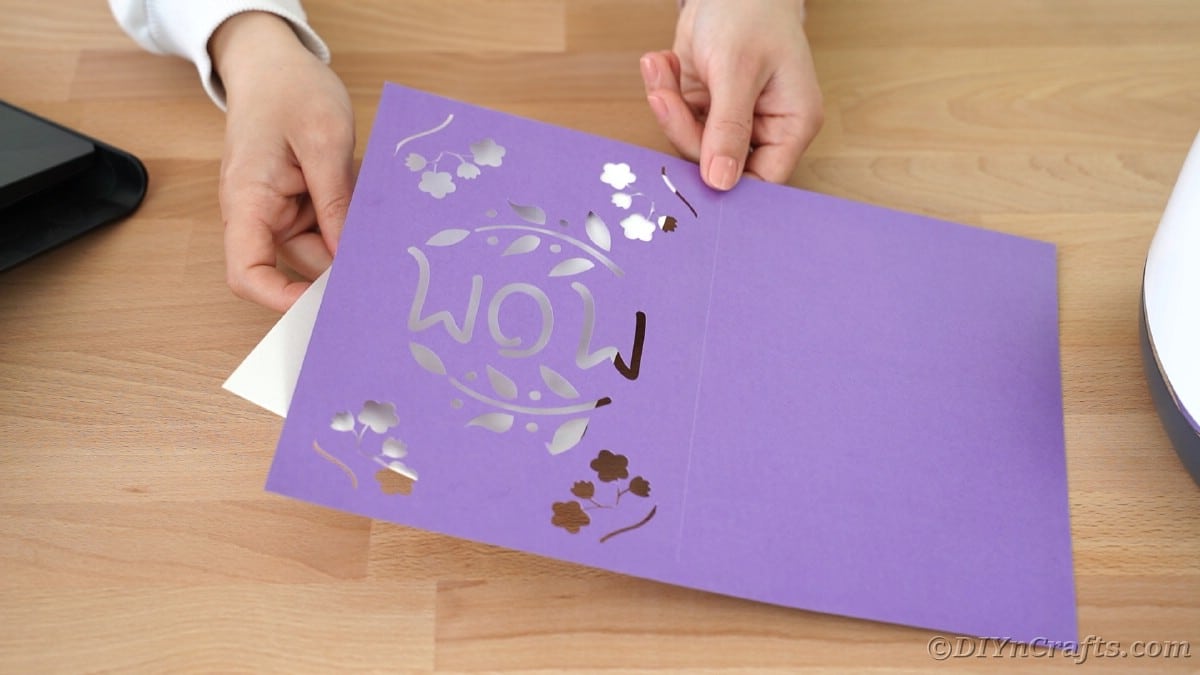
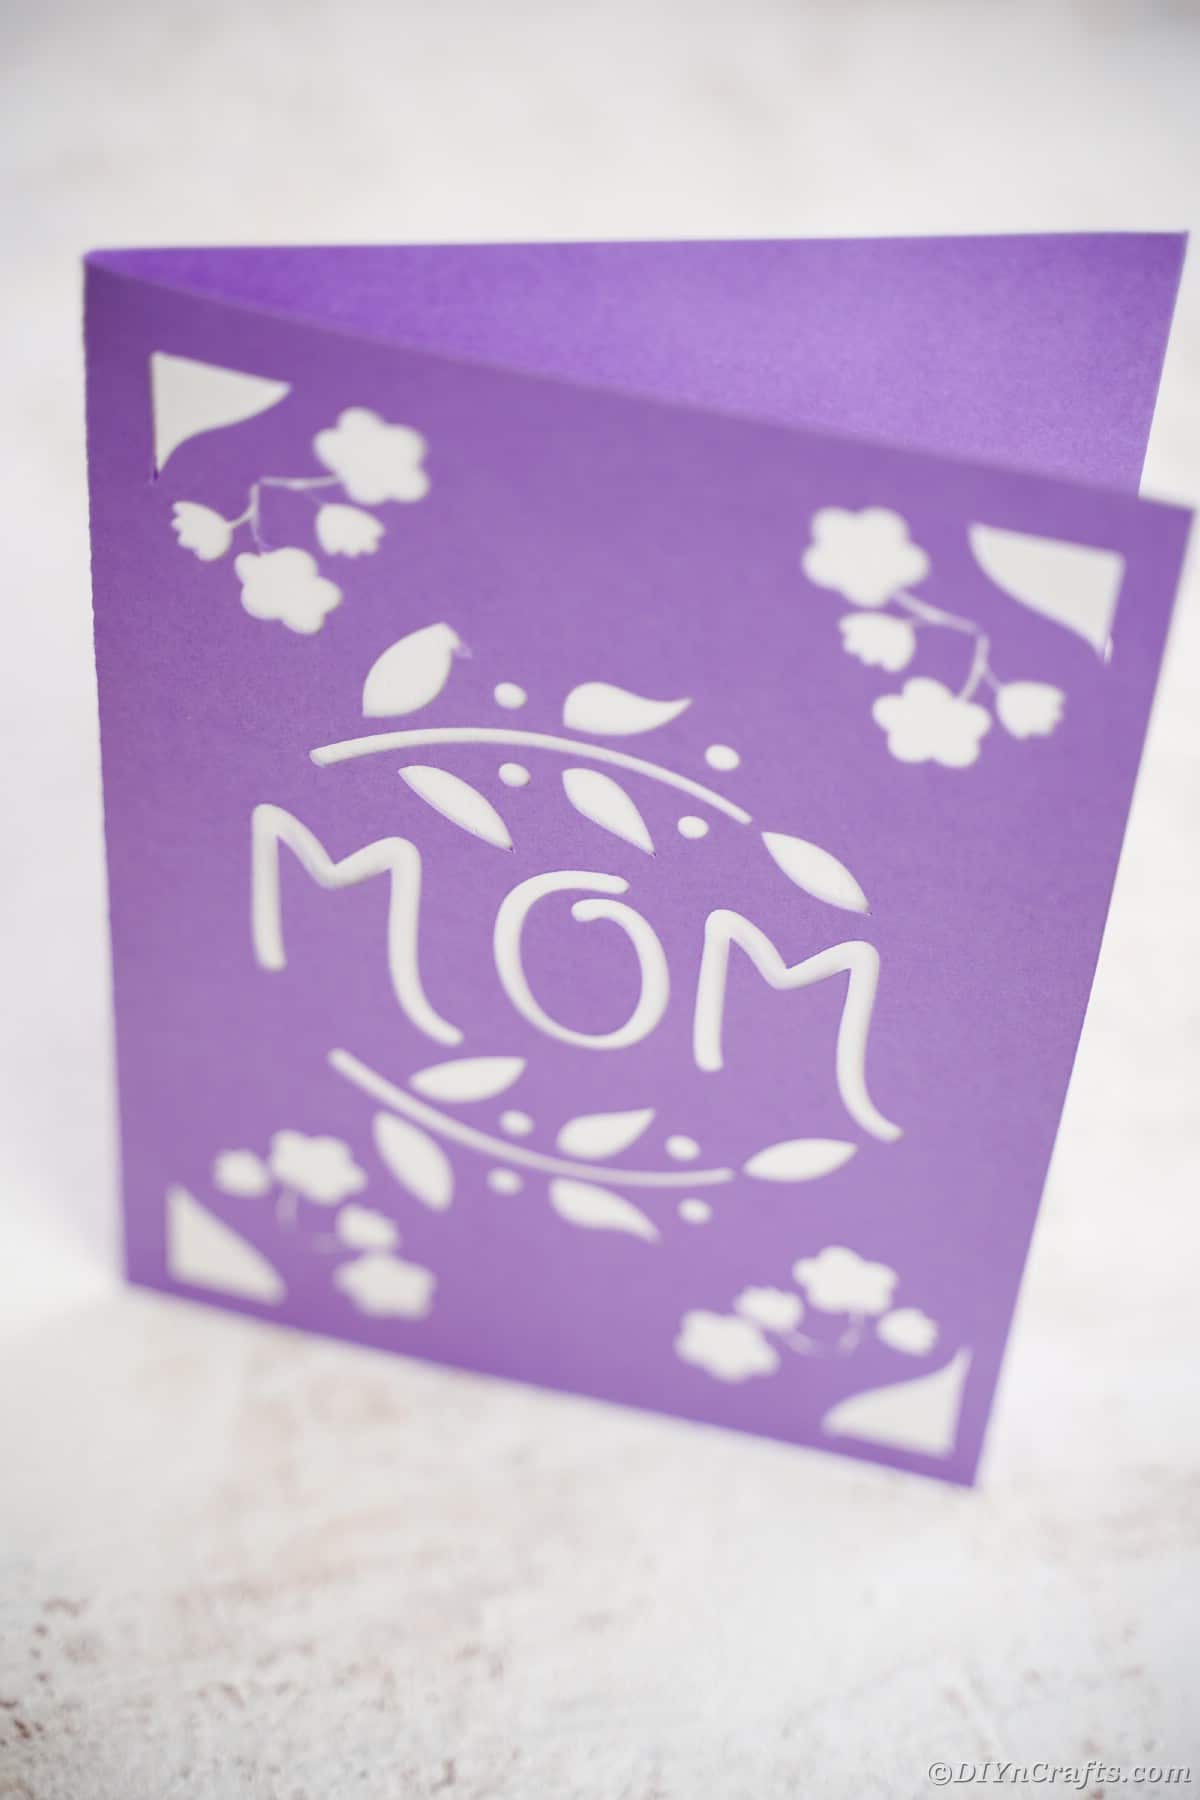
Carefully remove the paper from the mat weeding out the excess paper from the words and design. (Hint: Use those to glue onto a blank card for another option)
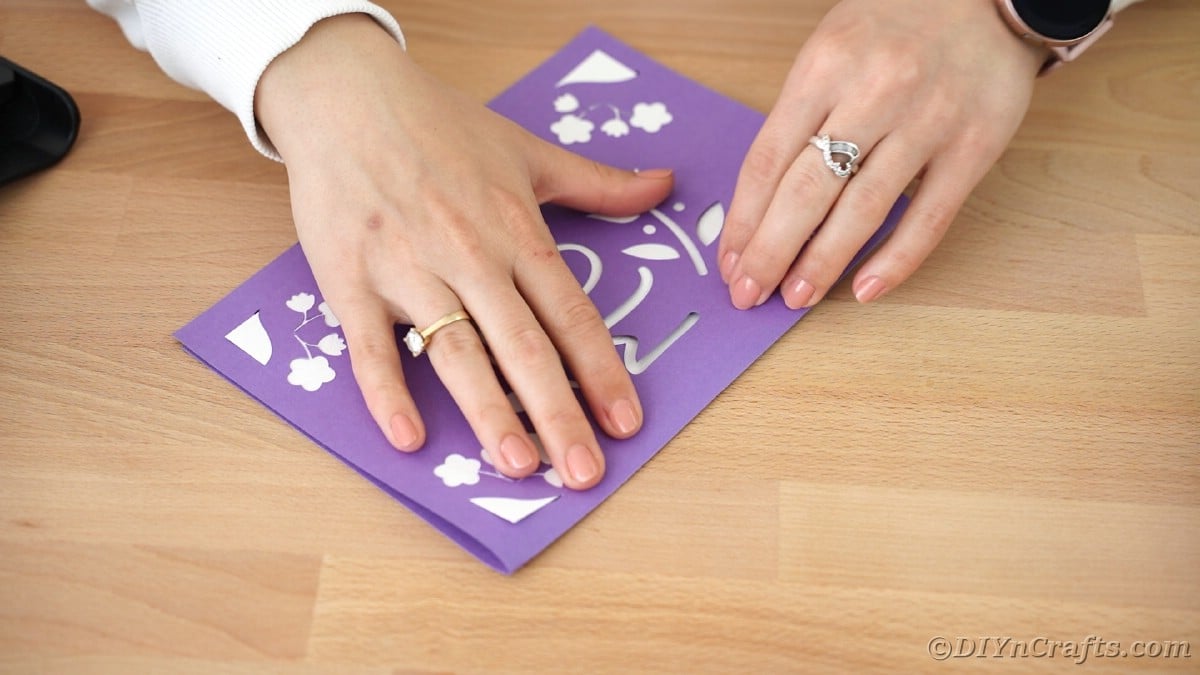
Measure and cut out a piece of white cardstock that fits into the back of the card so that it slides into the openings at each corner as shown.
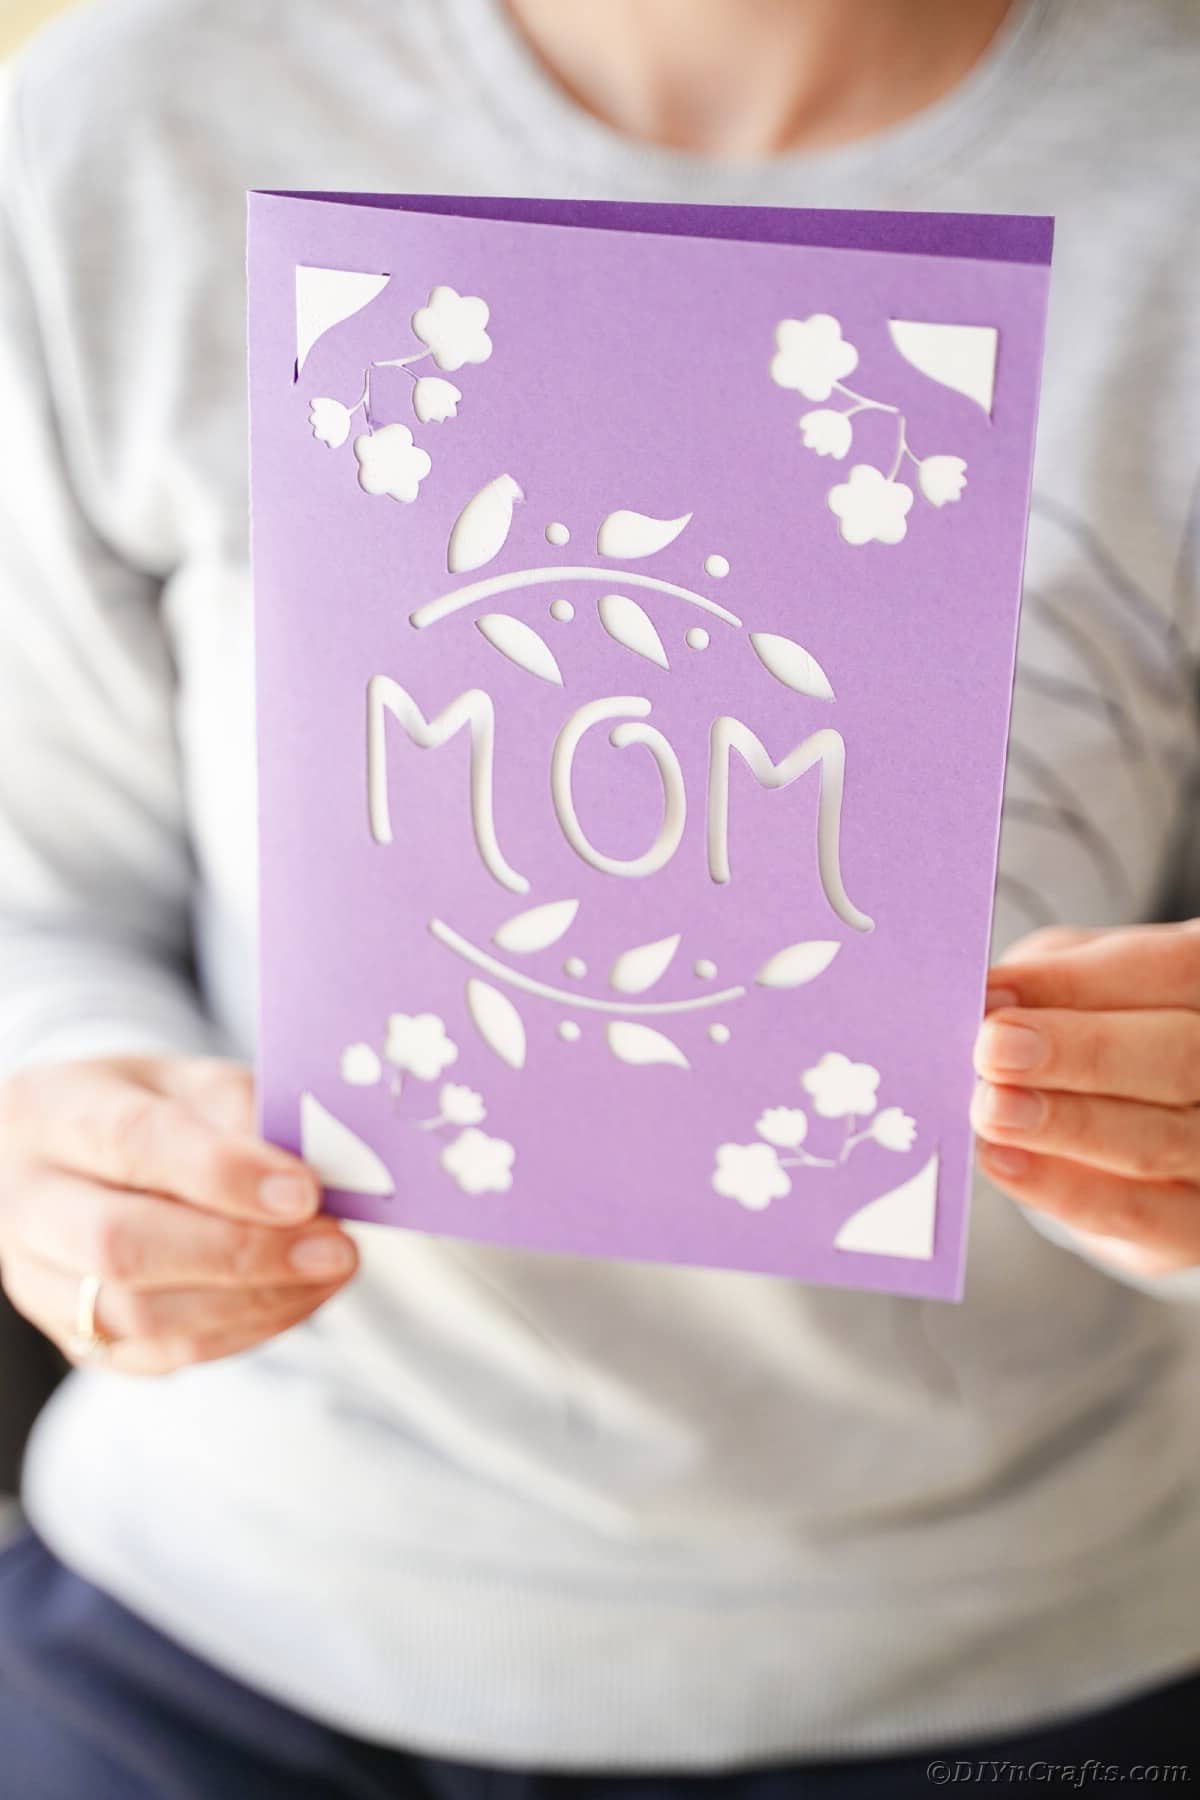
Slide the white paper in place behind the cutout message.
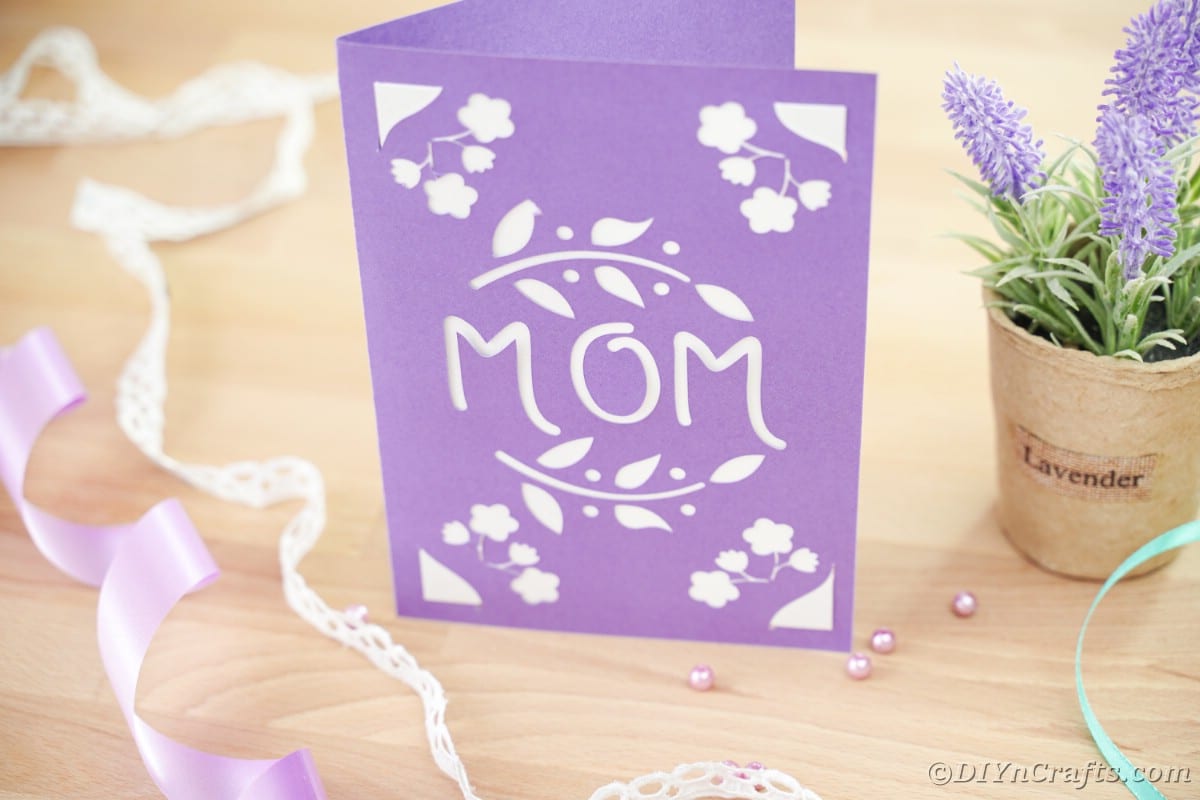
Fold the card over and crease it carefully.
Add a message inside the card before gifting.
How to Make a MOM Card Using Your Cricut
Load the SVG files into Cricut Design Space and choose the file you are using, then create.
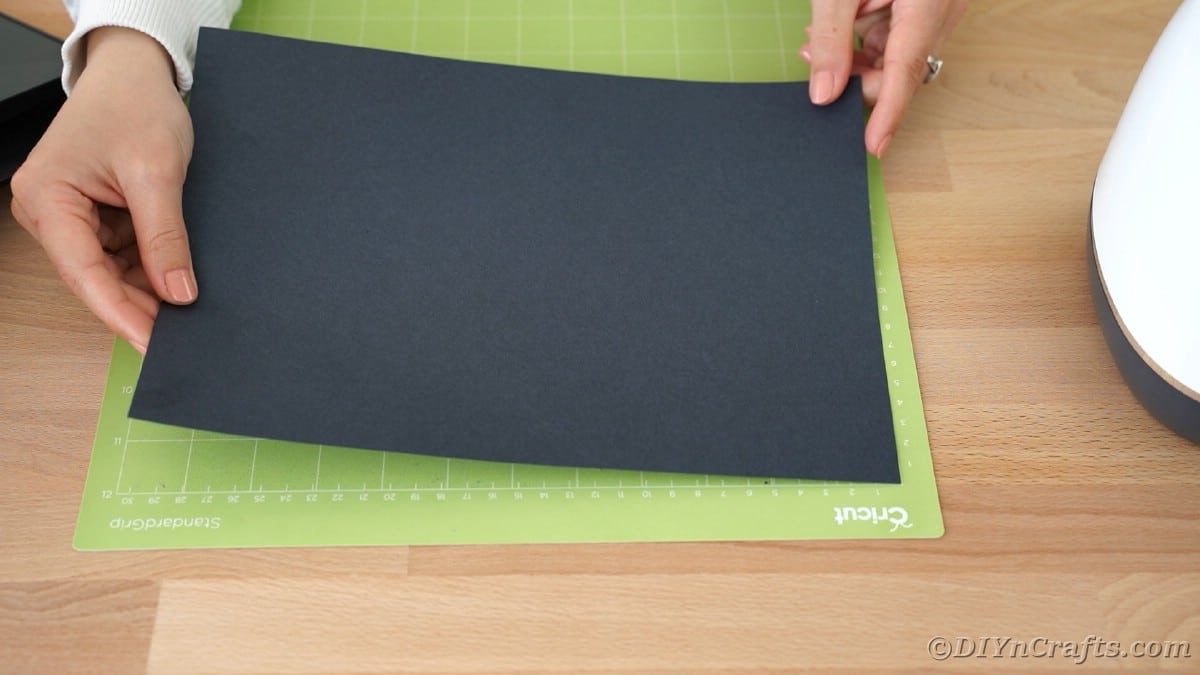
Place the black cardstock onto the mat and follow the prompts to load it into the machine and cut.
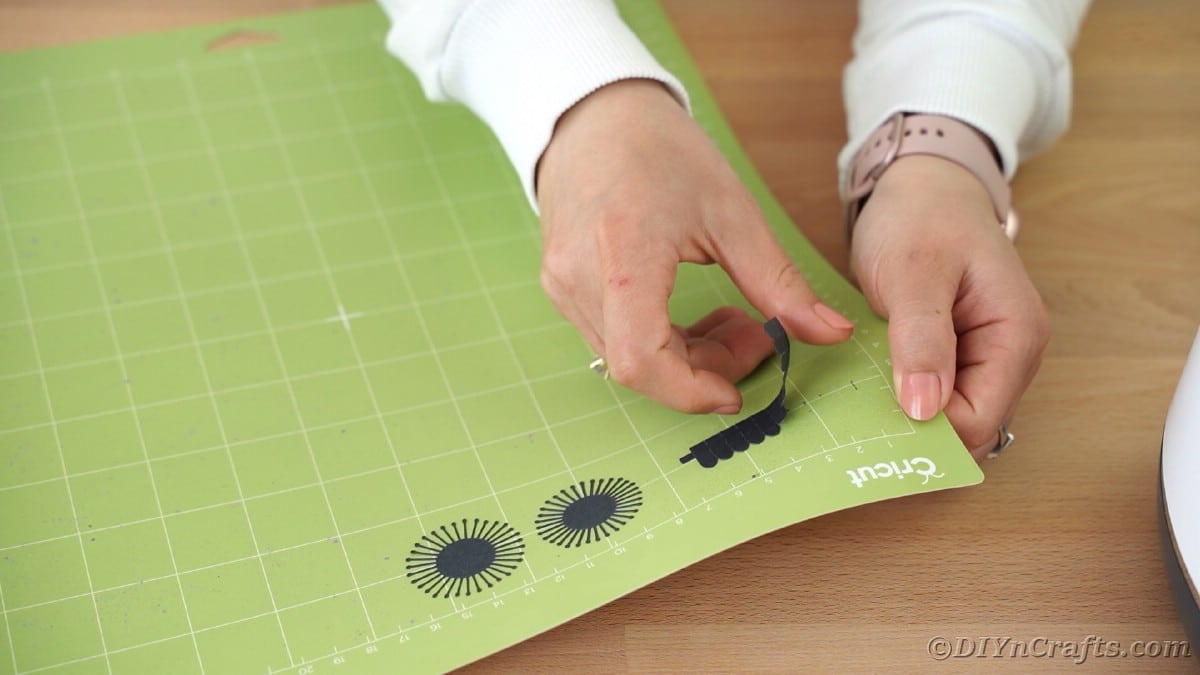
Remove the excess paper and carefully remove the flowers and strip of black paper with edging from the mat. Since the individual pieces of the flower are very small, this is best done with tweezers or the Cricut tools for weeding. Set these aside.
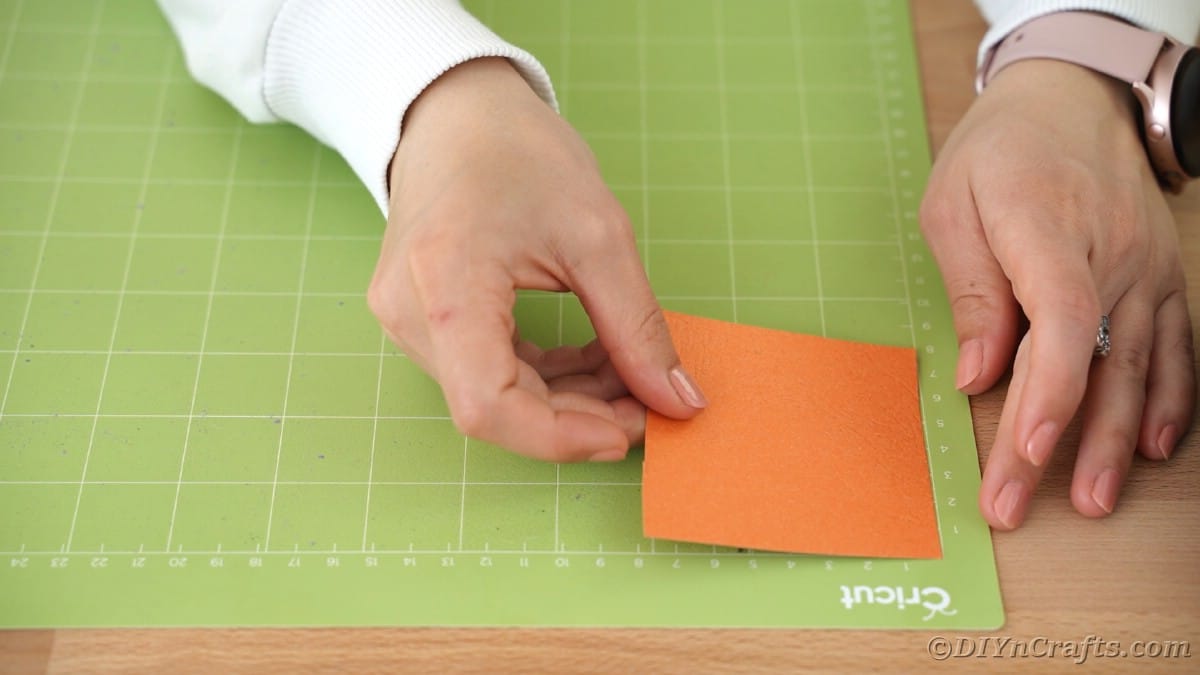
Load a small orange piece of paper on the mat and follow the prompts to load and cut.
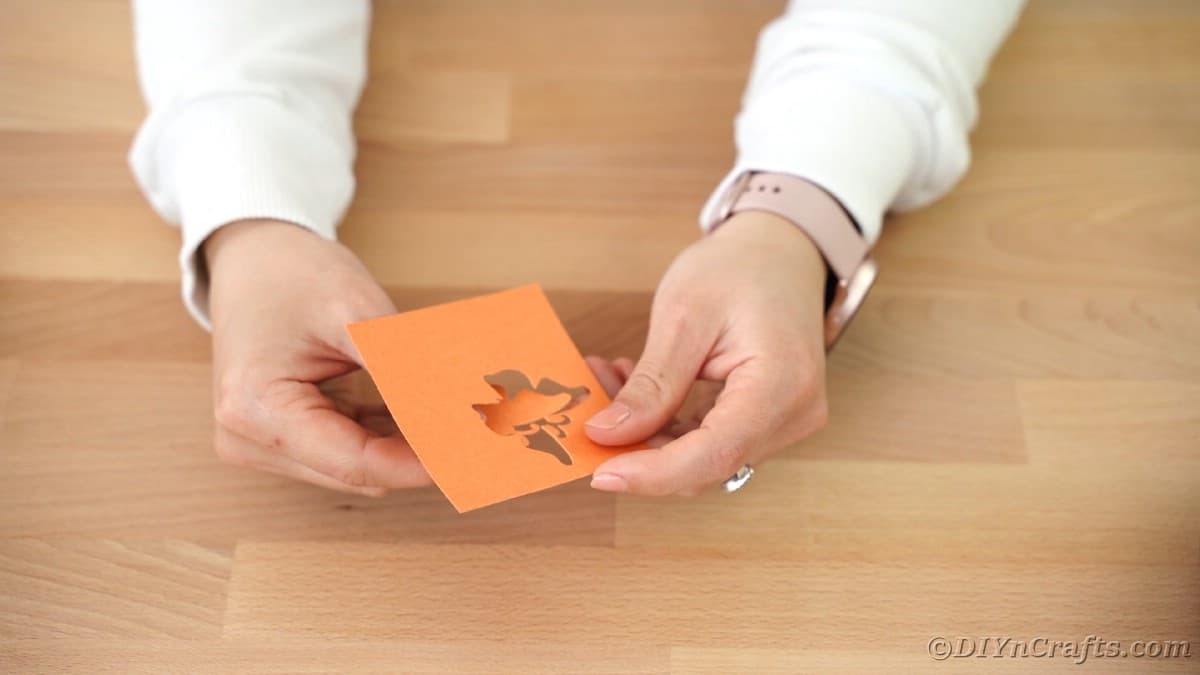
Remove the excess paper and use tools to remove the butterfly from the mat then place it aside.
Load the green cardstock onto the mat and follow the prompts for loading into the machine and cutting.
Carefully remove the green cardstock from the mat setting aside the leaves.
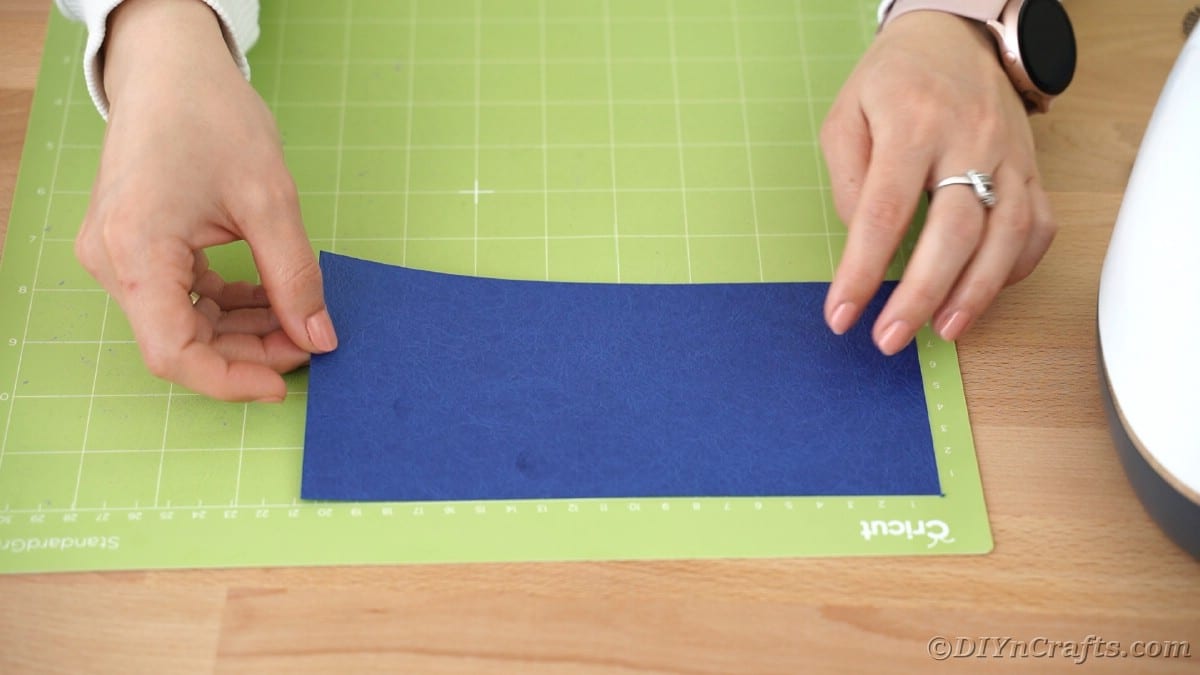
Place the blue cardstock onto the mat.
Follow the prompts on the screen to choose the correct material, then follow the prompts to load the mat and cut the paper.
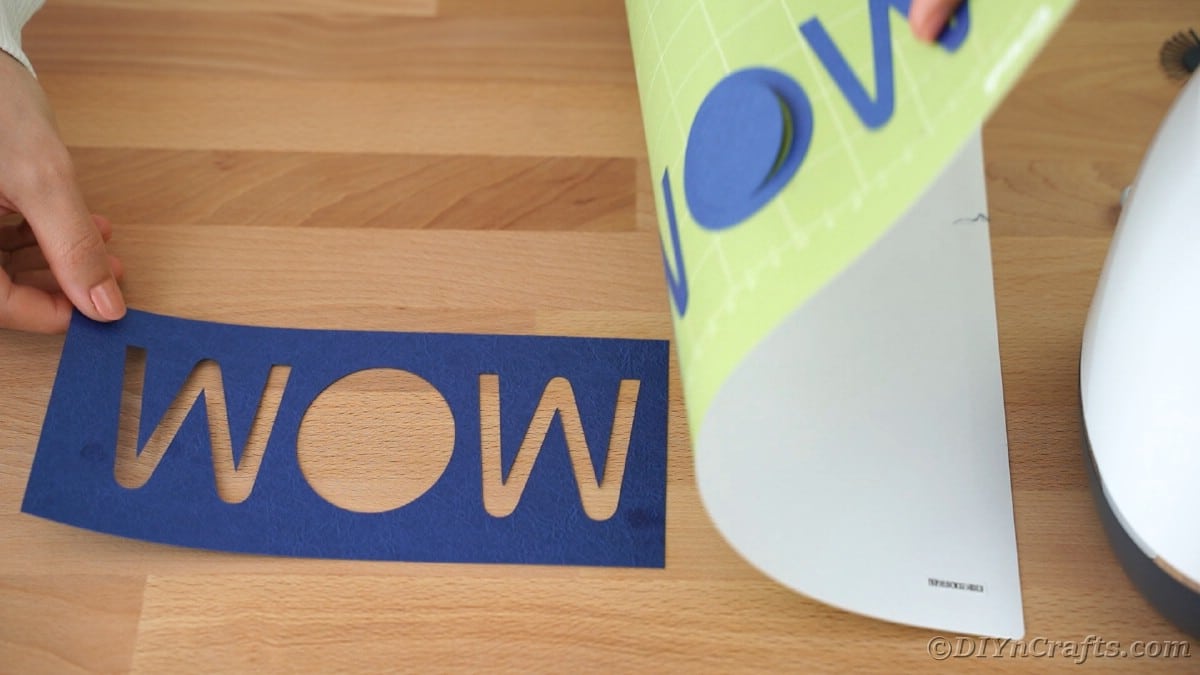
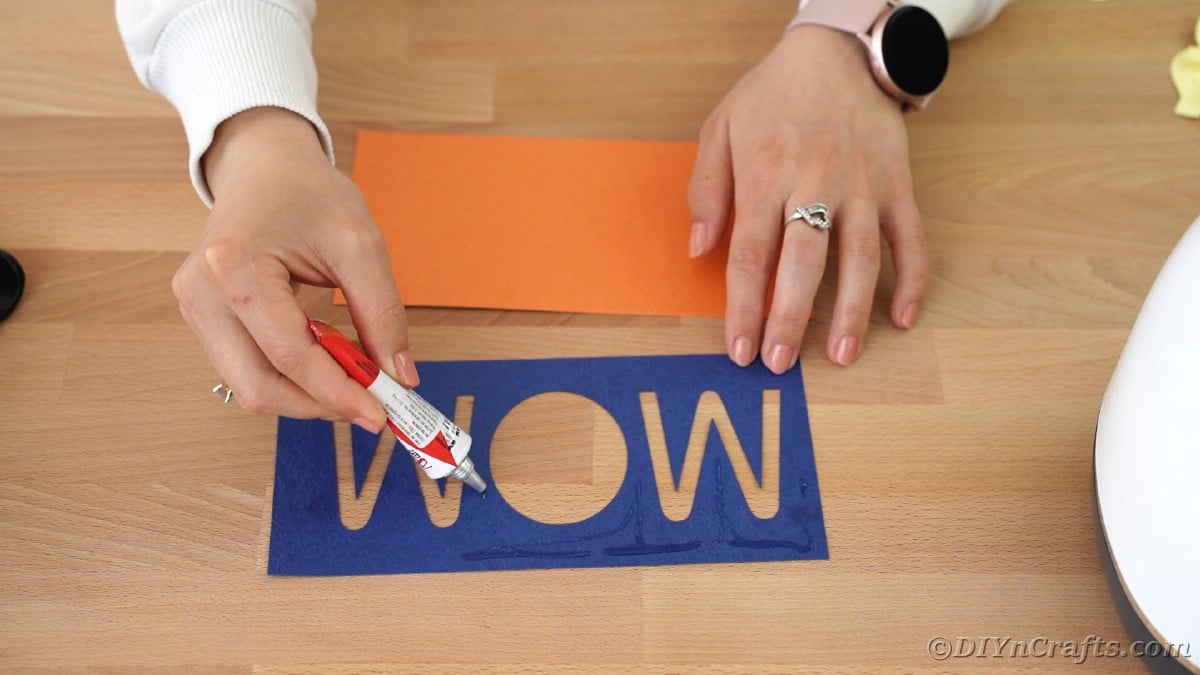
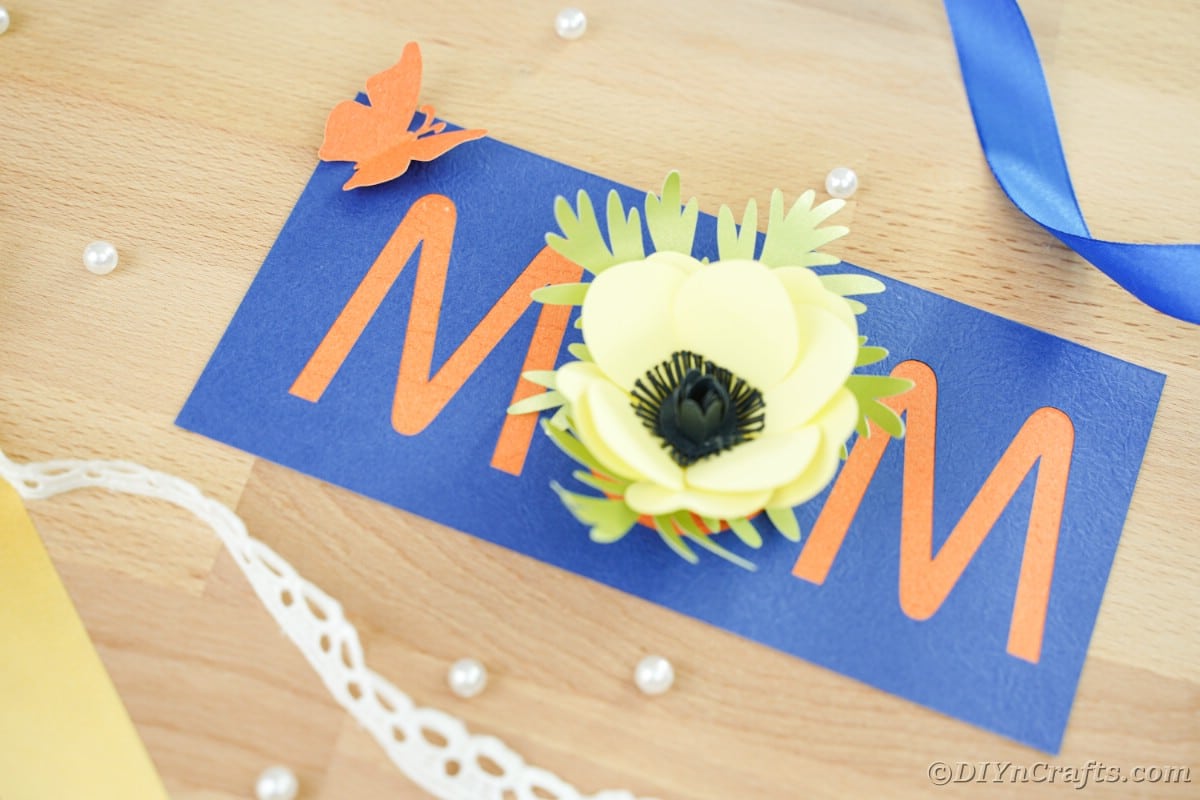
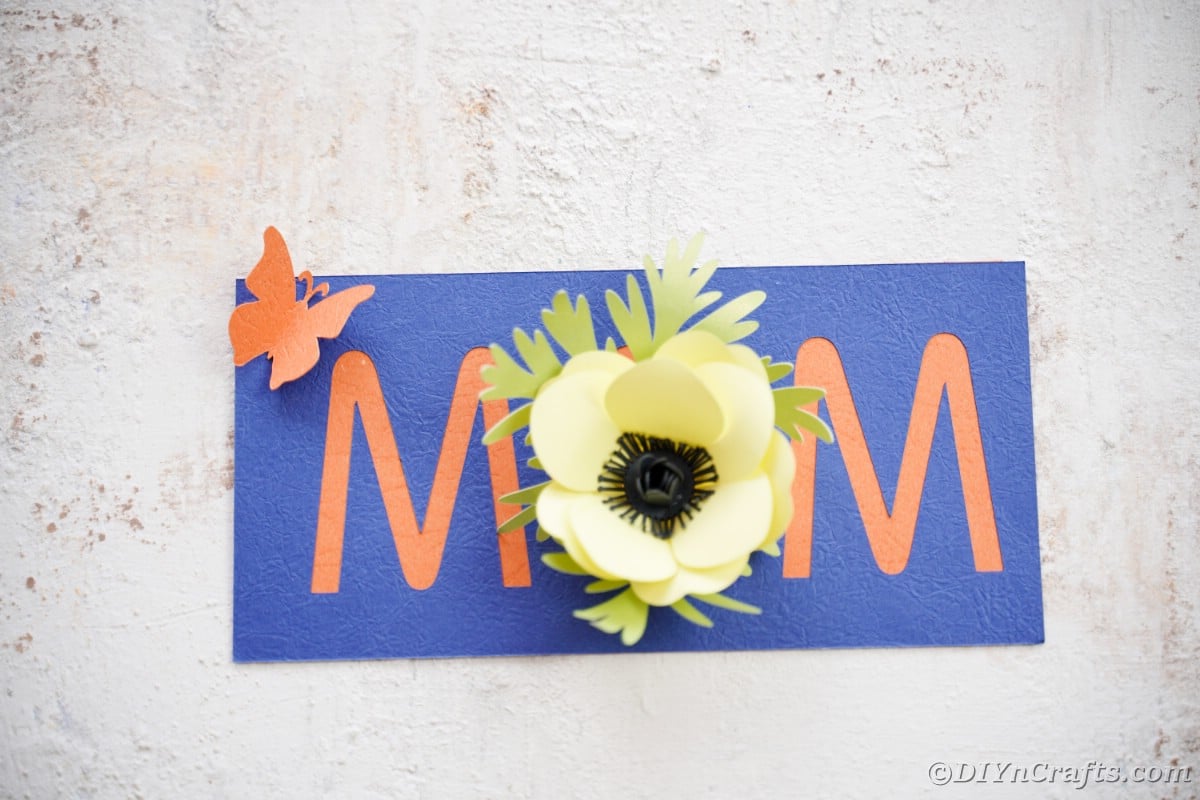
Remove the blue paper from the mat discarding the letters from the mat and creating just the opening that says "MOM".
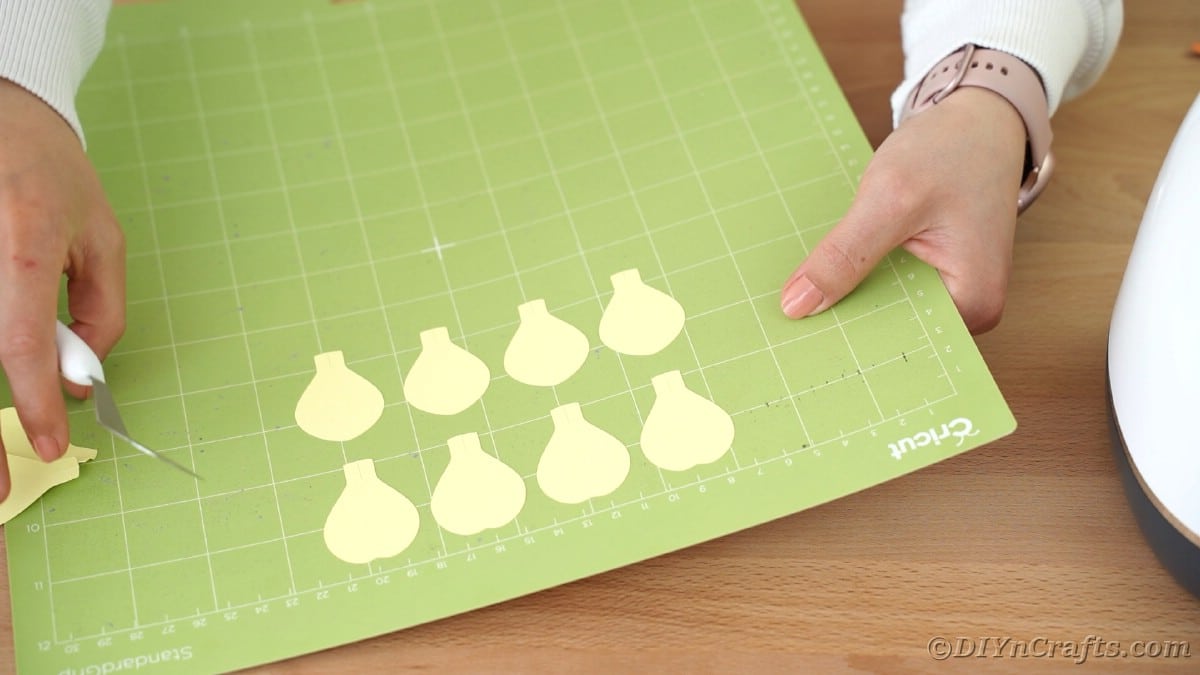
Load the yellow paper onto the mat and follow the directions on the screen to load into the machine and cut.
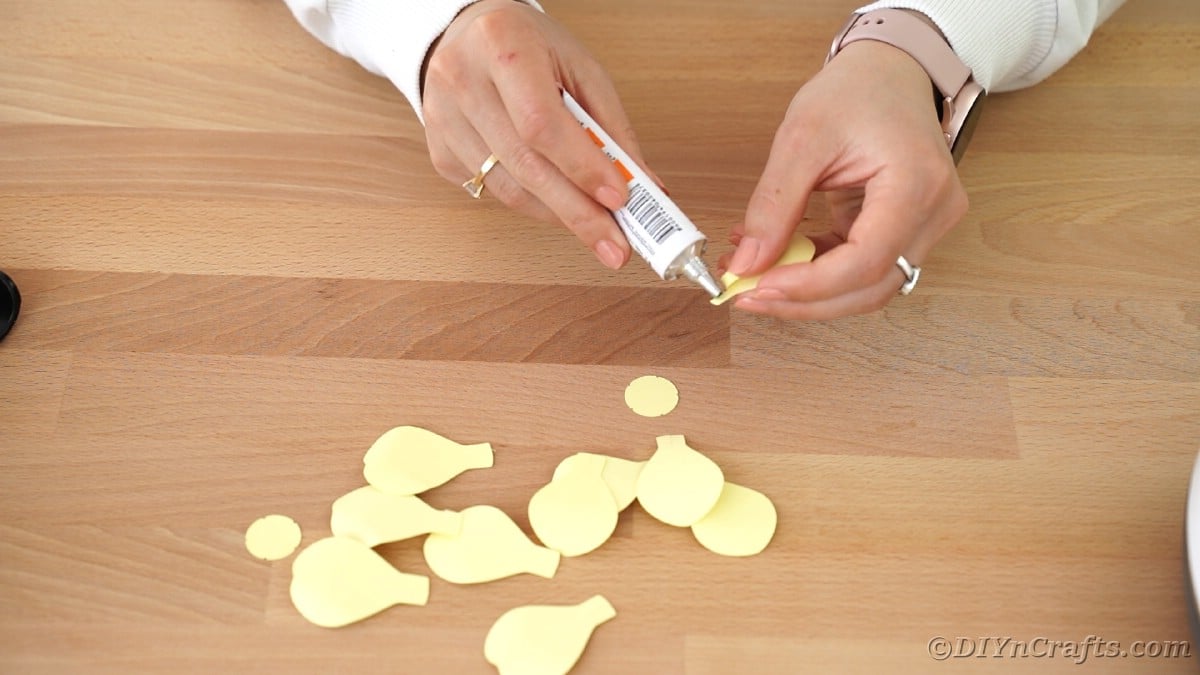
Remove the excess paper from the mat, then carefully remove each petal. There is a split on the bottom of each petal, so be careful to not tear as you remove it.
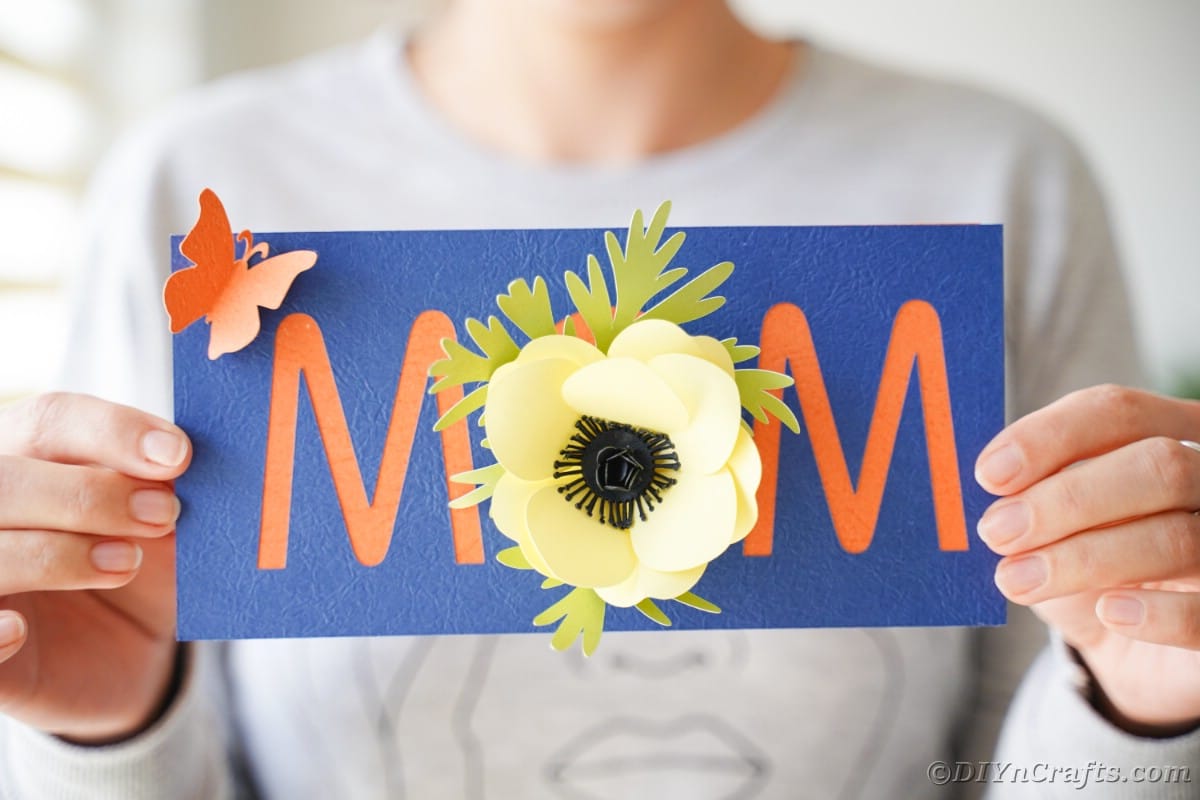
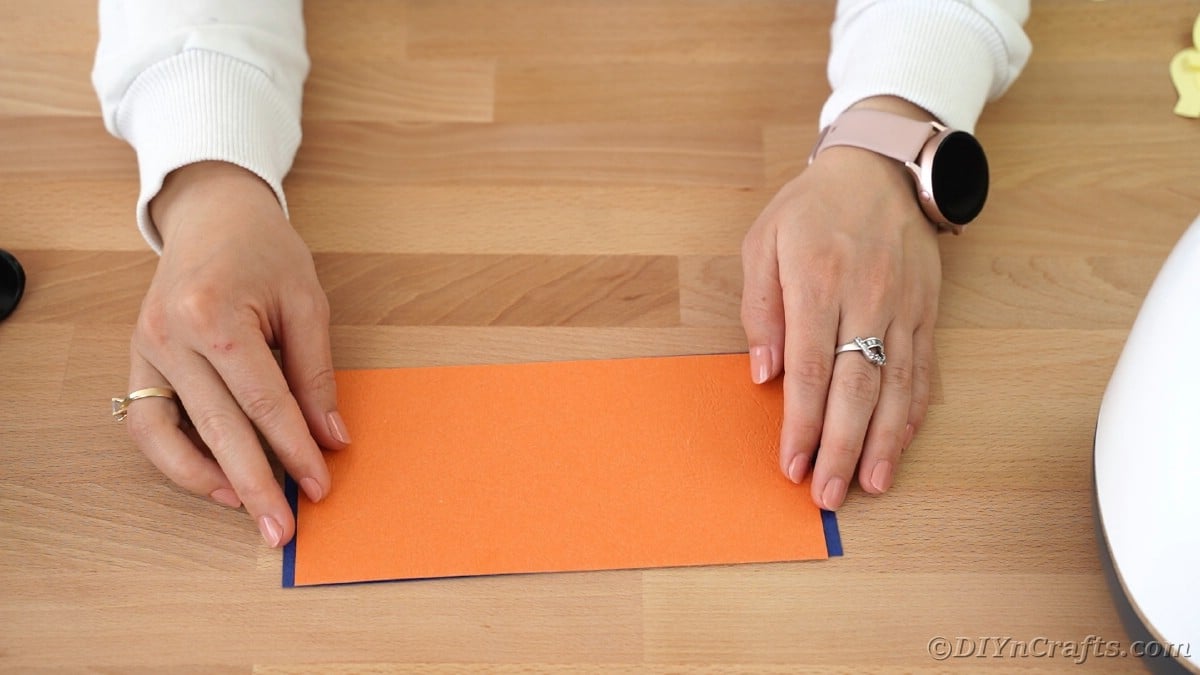
Cut a piece of orange paper the size of the blue paper with "mom" cut out.
Add glue around the opening on the blue paper.
Glue the orange paper in place so it covers the blue paper creating an orange word poking out from the blue paper.
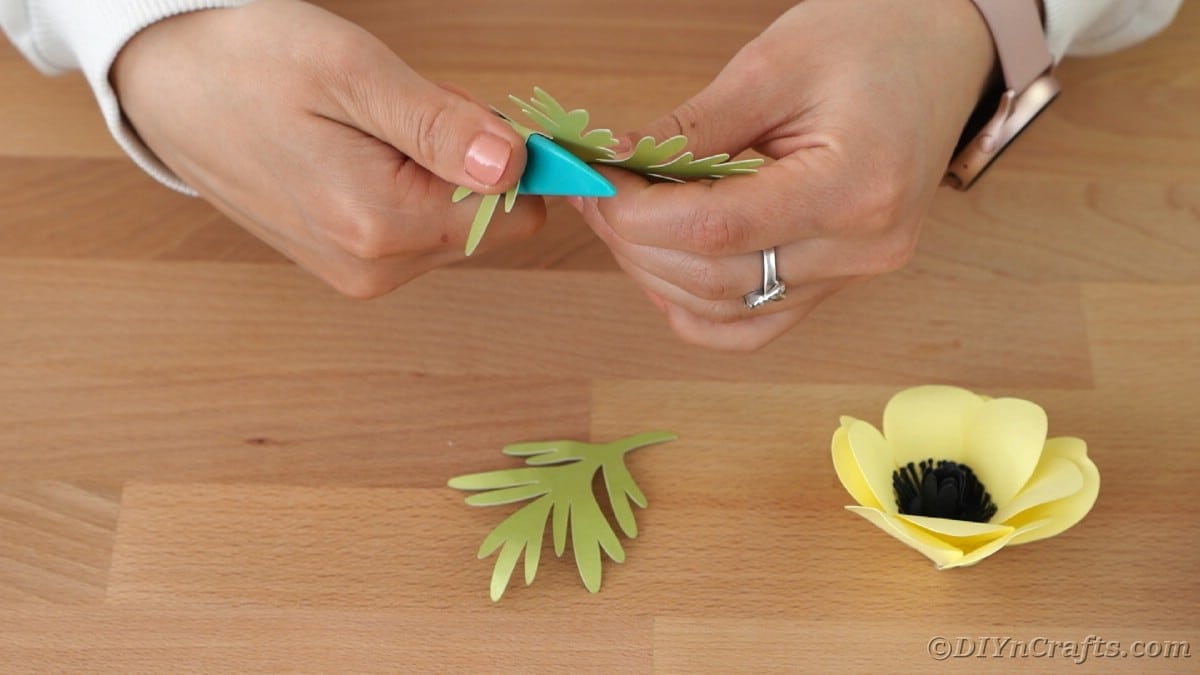
Shape each of the yellow petals so they are curled outward slightly.
Use glue to attach the two split ends of each petal together creating a flat end base.
Next, attach the petals to the round yellow piece as shown. There will be two flowers created.
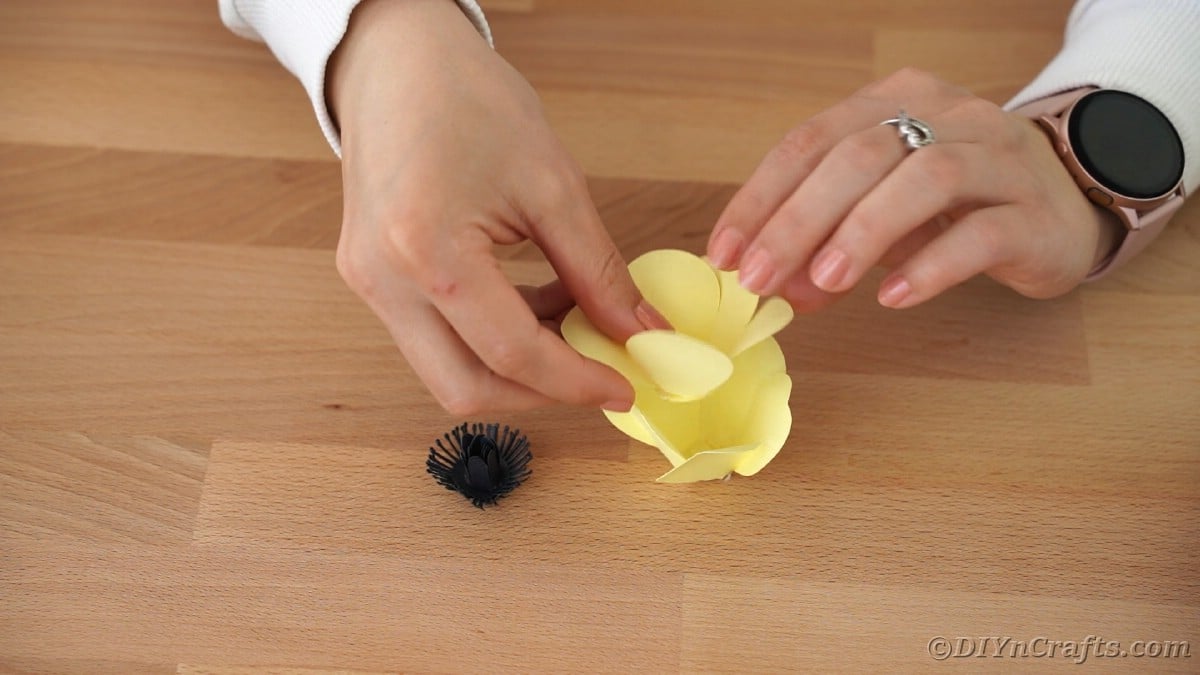
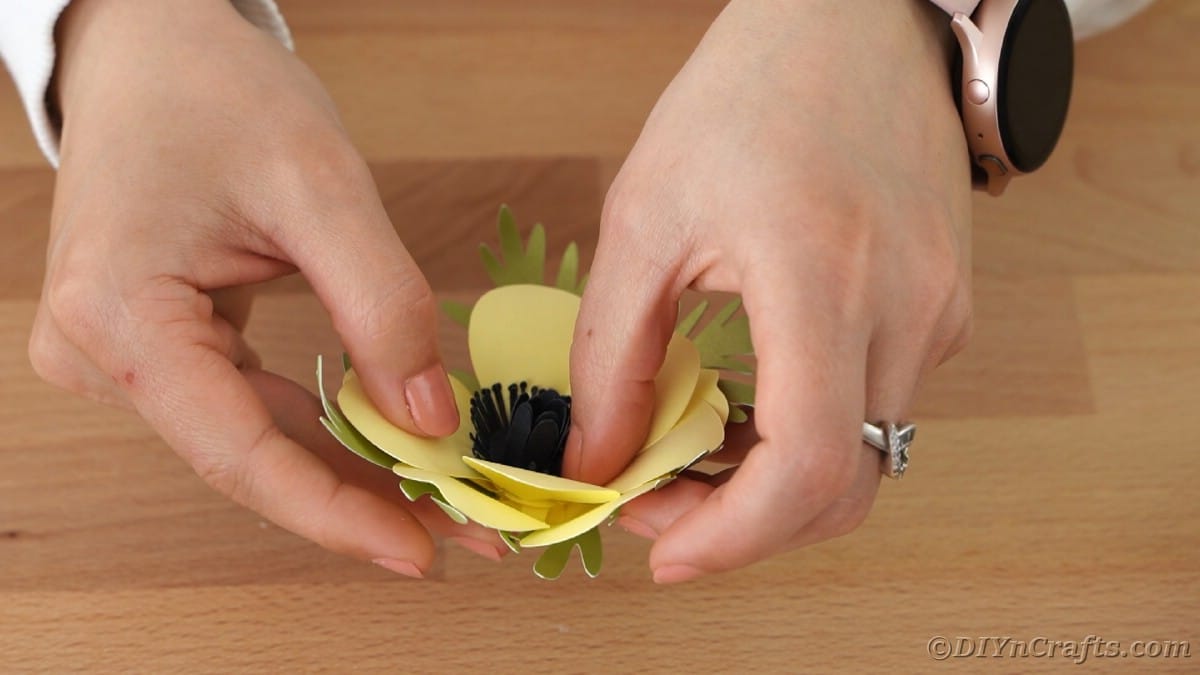
Place the smaller of the two flowers inside the larger and glue to secure.
Stack the black flowers together and glue them together in the center.
Roll the small strip of black round-edged paper into a roll, then glue it into the middle of the two black flowers.
Glue the black flower to the center of the yellow flower.
Shape the edges of the green leaves so they stand up some.
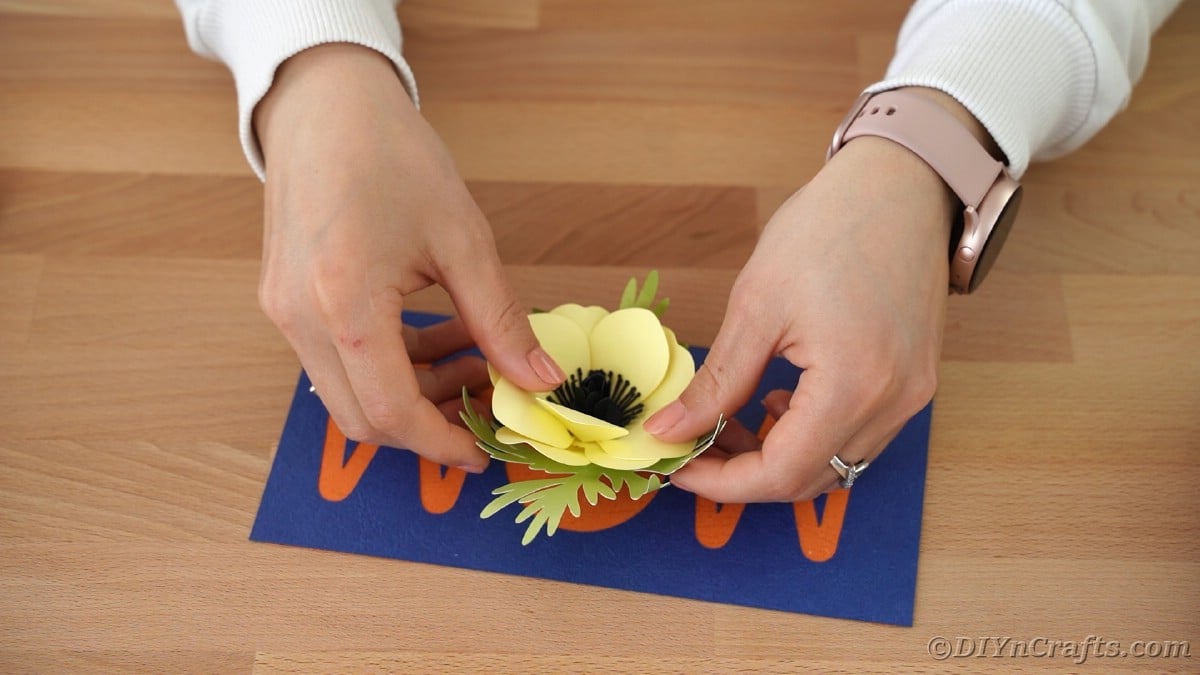
Glue the yellow flower onto the leaves so they are centered on top with leaves surrounding.
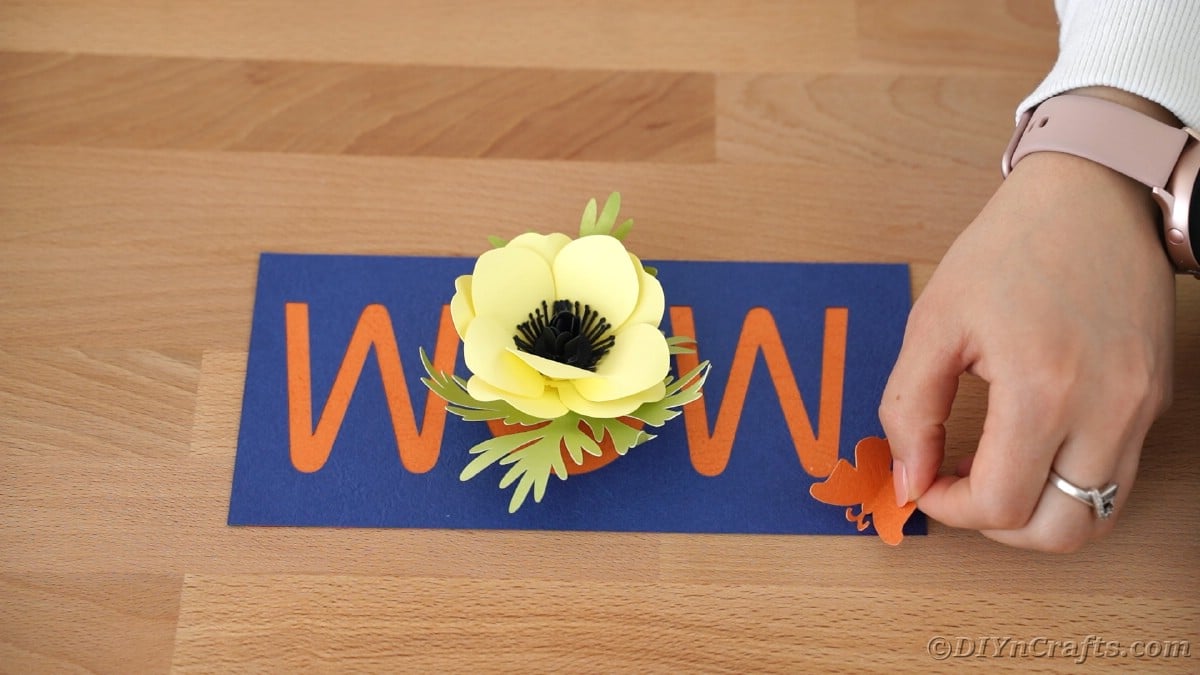
Attach the yellow flower and leaves inside the "o" of the word mom.
Fold the butterfly in half, then shape the wings and glue it onto the corner of the card.
Write a special message on the back before sending or gifting.
More Mother's Day Gift Ideas
Do you still need ideas? Check out these other great choices for Mother's Day! Great DIY projects that the moms in your life will love to receive!
- 25 Adorable Mother’s Day Cards That Kids Can Make
- 35 Super Easy DIY Mother’s Day Gifts for Kids and Toddlers
- 50 Fabulous Mother’s Day Gifts You Can Make For Under $20
- 45 DIY Gifts for Women Sure to Please
DIY Mother's Day Cards Cricut Tutorial with 3 Unique Designs
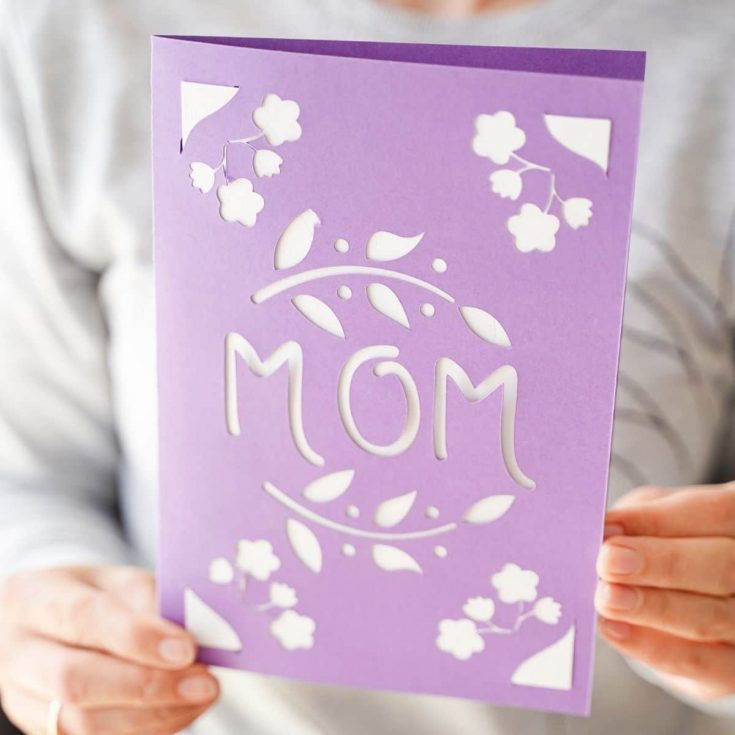
Follow these easy tutorials to create your own beautiful DIY Mother's Day card with your Cricut machine! Easy to make with a Cricut Maker, Cricut Explore Air 2, or a Cricut Joy!
Materials
For Design #1
- White card stock
- Green card stock
- Light pink cardstock
- Glitter magenta cardstock
- Green Cricut fine point marker
- Mini pearls or beads
- Craft glue
- Cricut Explore One Accessory Adapter
- SVG Cricut Design Space files
For Design #2
For Design $3
Tools
- Cricut Explore Air 2, Cricut Maker, or Cricut Joy
- Light mat or standard grip mat
- Transfer tape
- Deep tip blade and housing
- Scraper tool
- Weeding tool
Instructions
How to Make a Floral Mother's Day Card With a Cricut
- Load the SVG files into the Cricut Design Space. Place the blade and accessory housing in place on the machine, and insert the pen of choice (we used green).
- .Load the mat with the white cardstock first.
- Choose the appropriate material and follow the prompts to cut out the rectangle of paper from the white piece.
- Follow the prompts on the screen to then print the phrase onto the paper.
- Remove the white card from the mat and set it aside.
- Load the light pink paper onto the Cricut mat, then follow the prompts on the screen to load and cut the flower shapes.
- Remove the flowers from the mat and set them aside.
- Load the second piece of white paper onto the mat and then follow the prompts on the screen to cut out the three windowed rectangular shapes.
- Remove it from the mat and set it aside for later.
- Load the light green paper onto the mat, then follow prompts on the screen to cut out the flowers and the green rectangle of paper.
- Remove the flowers and the rectangle from the mat and set them aside.
- Load the dark pink or magenta paper onto the Cricut mat, then follow the prompts on the screen to cut out the flowers.
- Remove the flowers from the mat and carefully remove the center hole and discard them from each flower.
- Fold the first piece of white cardstock in half creasing carefully at the middle. The open rectangle should be at the bottom of the card.
- Add glue around the inside of the opening on the card.
- Attach the green rectangle of card paper onto the inside of the card where the glue is to create a background to the opening on the front.
- On the front of the card add glue around the window then attach the white rectangle with three window holes so that it is centered over the opening.
- Glue the dark pink flowers onto the card, one per box on the front of the card.
- Use glue to attach a small pearl bead or sequin to the center of each of the pink flowers.
- Roll the light pink flower cut-outs starting at the end and rolling inward then gluing the ends in place to create two small flowers.
- Trim the green leaves so one is whole and the second is just the top half.
- Attach the whole leaf on the open side of the card, by the message, with glue. Then attach the smaller piece just below the message.
- Glue the pink rolled flowers onto the leaves as desired.
How to Make a Stenciled Mother's Day Card
- Load the SVG files into Cricut Design Space and choose the file you will use.
- Place the purple cardstock onto the mat.
- Follow the prompts on the screen to choose the correct material, and follow to load the mat into the machine and cut out the paper.
- Carefully remove the paper from the mat weeding out the excess paper from the words and design. (Hint: Use those to glue onto a blank card for another option)
- Measure and cut out a piece of white cardstock that fits into the back of the card so that it slides into the openings at each corner as shown.
- Slide the white paper in place behind the cutout message.
- Fold the card over and crease it carefully.
How to Make a MOM Card Using Your Cricut
- Load the SVG files into Cricut Design Space and choose the file you are using, then create.
- Place the black cardstock onto the mat and follow the prompts to load it into the machine and cut.
- Remove the excess paper and carefully remove the flowers and strip of black paper with edging from the mat. Since the individual pieces of the flower are very small, this is best done with tweezers or the Cricut tools for weeding. Set these aside.
- Load a small orange piece of paper on the mat and follow the prompts to load and cut.
- Remove the excess paper and use tools to remove the butterfly from the mat then place it aside.
- Load the green cardstock onto the mat and follow the prompts for loading into the machine and cutting.
- Carefully remove the green cardstock from the mat setting aside the leaves.
- Place the blue cardstock onto the mat.
- Follow the prompts on the screen to choose the correct material, then follow the prompts to load the mat and cut the paper.
- Remove the blue paper from the mat discarding the letters from the mat and creating just the opening that says "MOM".
- Load the yellow paper onto the mat and follow the directions on the screen to load into the machine and cut.
- Remove the excess paper from the mat, then carefully remove each petal. There is a split on the bottom of each petal, so be careful to not tear as you remove it.
- Cut a piece of orange paper the size of the blue paper with "mom" cut out.
- Glue the orange paper in place so it covers the blue paper creating an orange word poking out from the blue paper.
- Shape each of the yellow petals so they are curled outward slightly.
- Use glue to attach the two split ends of each petal together creating a flat end base.
- Next, attach the petals to the round yellow piece as shown. There will be two flowers created.
- Place the smaller of the two flowers inside the larger and glue to secure.
- Stack the black flowers together and glue them together in the center.
- Roll the small strip of black round-edged paper into a roll, then glue it into the middle of the two black flowers.
- Glue the black flower to the center of the yellow flower.
- Shape the edges of the green leaves so they stand up some.
- Glue the yellow flower onto the leaves so they are centered on top with leaves surrounding.
- Attach the yellow flower and leaves inside the "o" of the word mom.
- Fold the butterfly in half, then shape the wings and glue it onto the corner of the card.
Recommended Products
As an Amazon Associate and member of other affiliate programs, I earn from qualifying purchases.
-
 Cats Cat Fluffy Cat Pop Up Card Mothers Day 3D Card Pop up | Etsy
 -
 Mother's Day Card Happy Mothers Day Card Mothers Day | Etsy
 -
 Delightful Mother's Day Card For Plant Mom Orchid | Etsy
 -
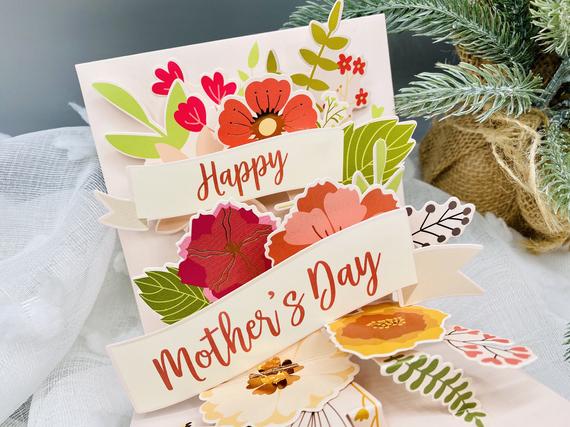 Bouquet for Mom Flower Card Pop Up Card 3D Card Greeting | Etsy
 -
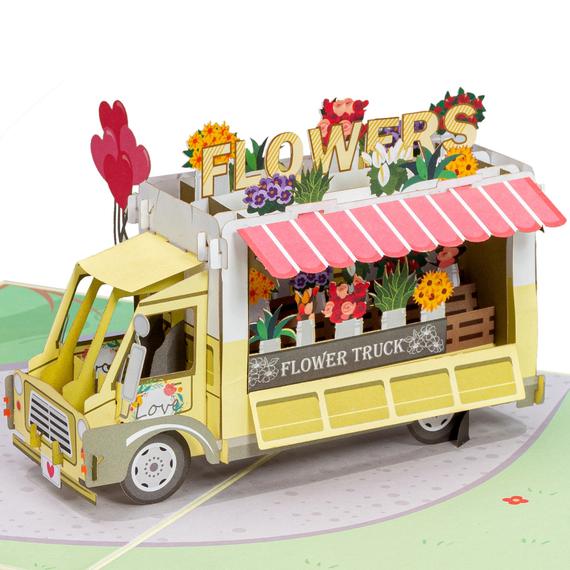 Paper Love Flower Truck Premium Pop Up Card Handmade 3D Popup | Etsy
 -
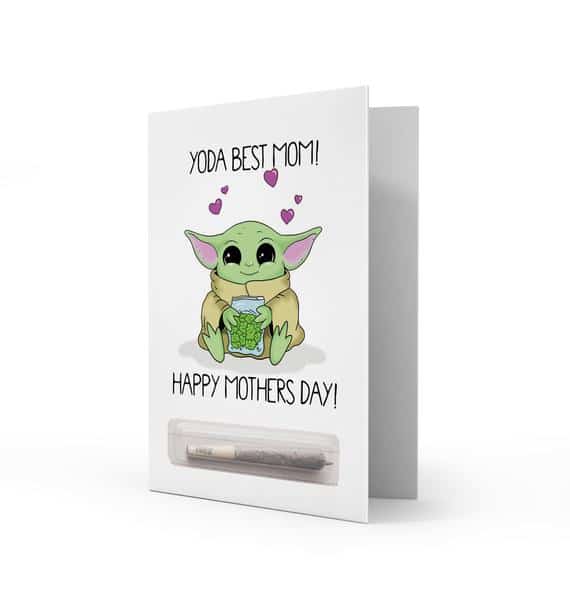 Yoda Best Mom Happy Mother's Day Card Love Funny Humor | Etsy
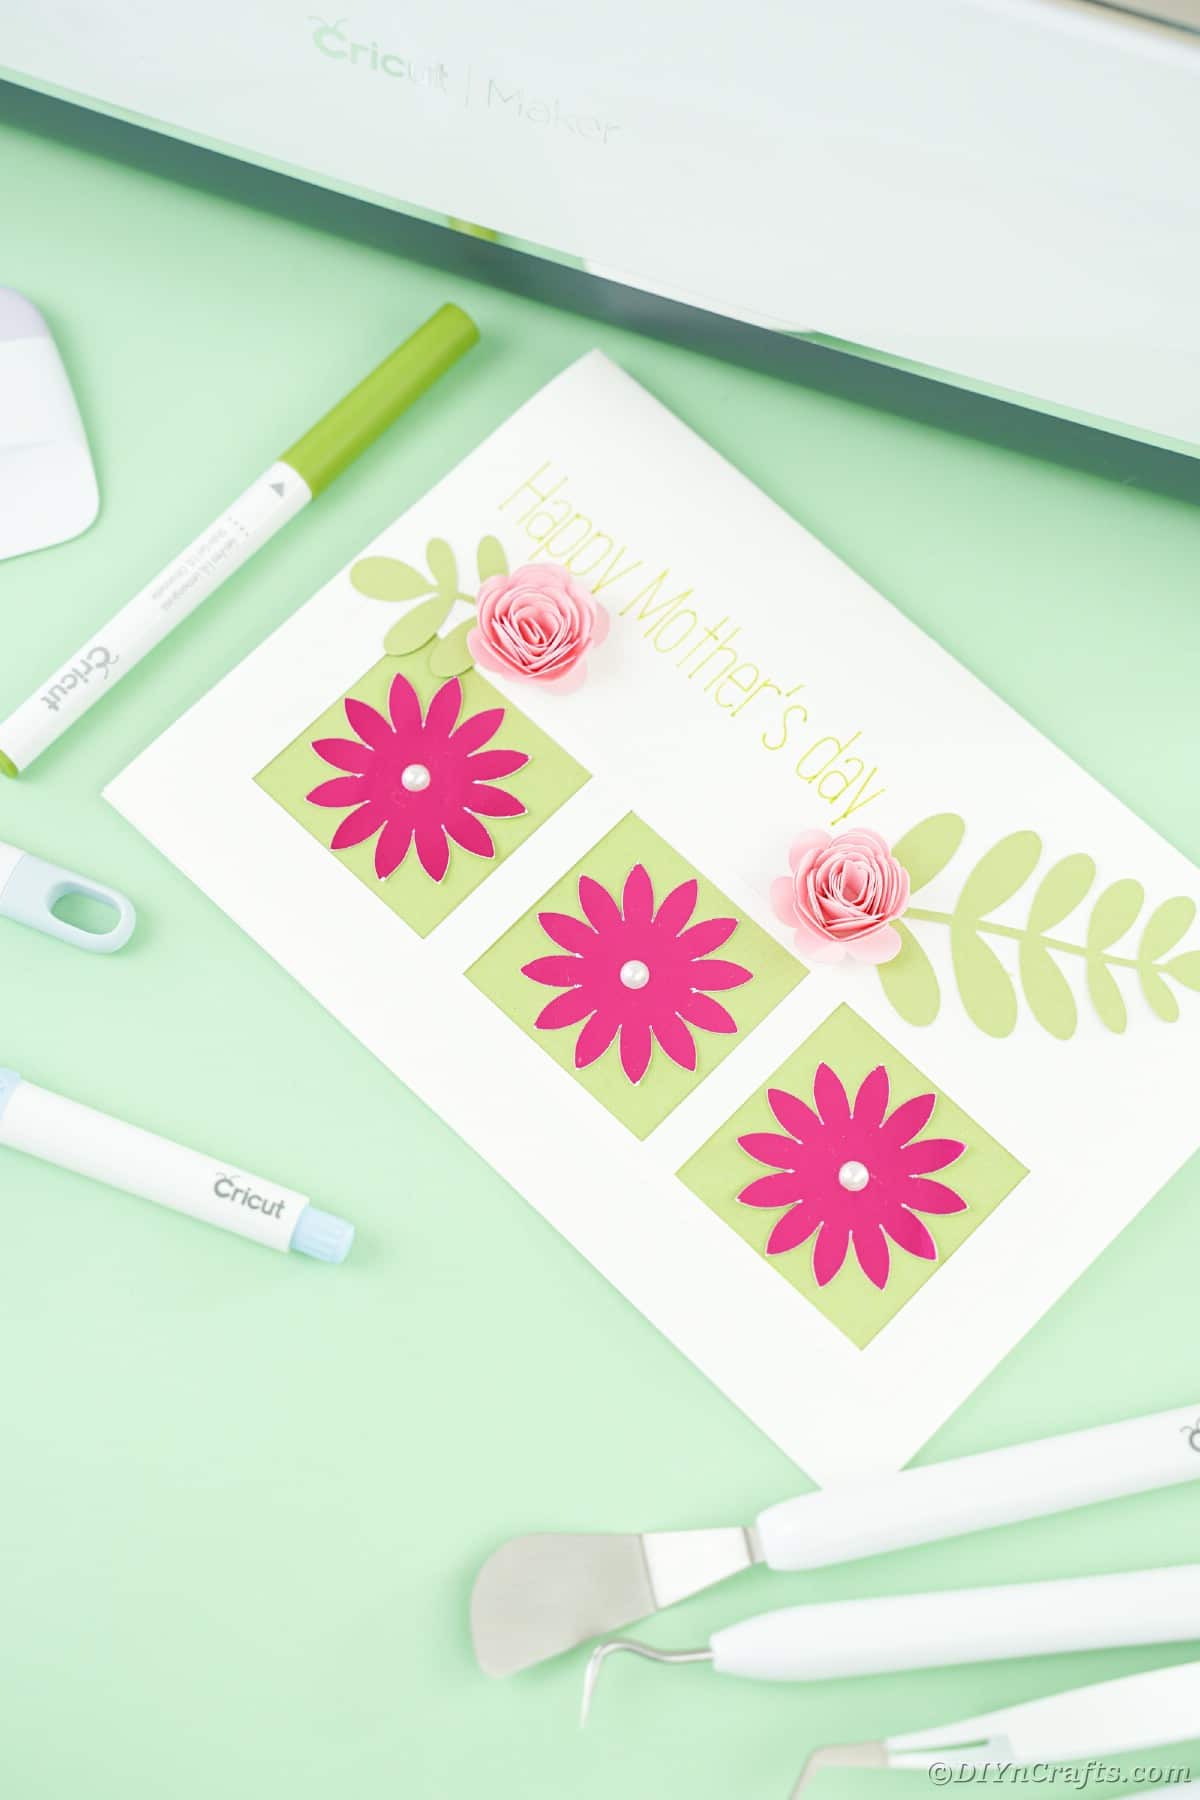
I love the addition of extra glitter or beads to make them sparkle.
Make sure if mailing that you send them in a padded envelope so they won't get crushed. They are best gifted on top of a present in person though!
What is your favorite? I think this is mine!





Leave a Reply