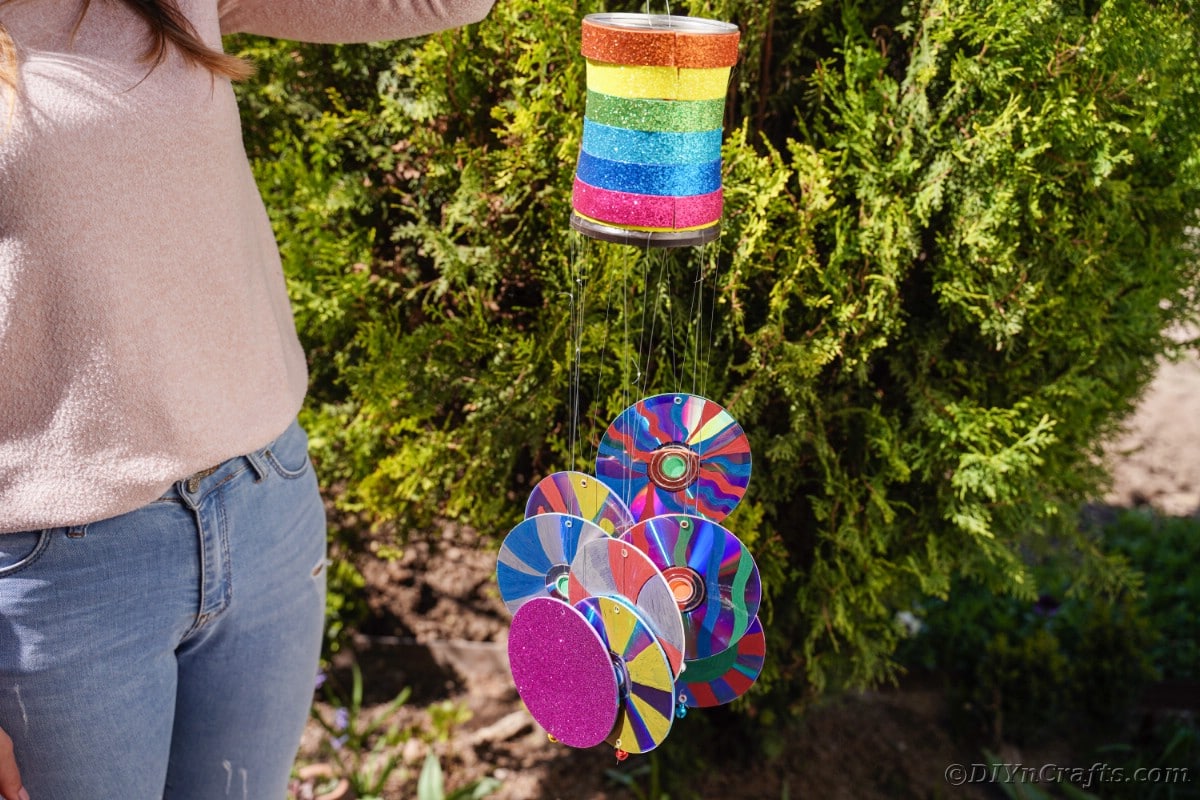
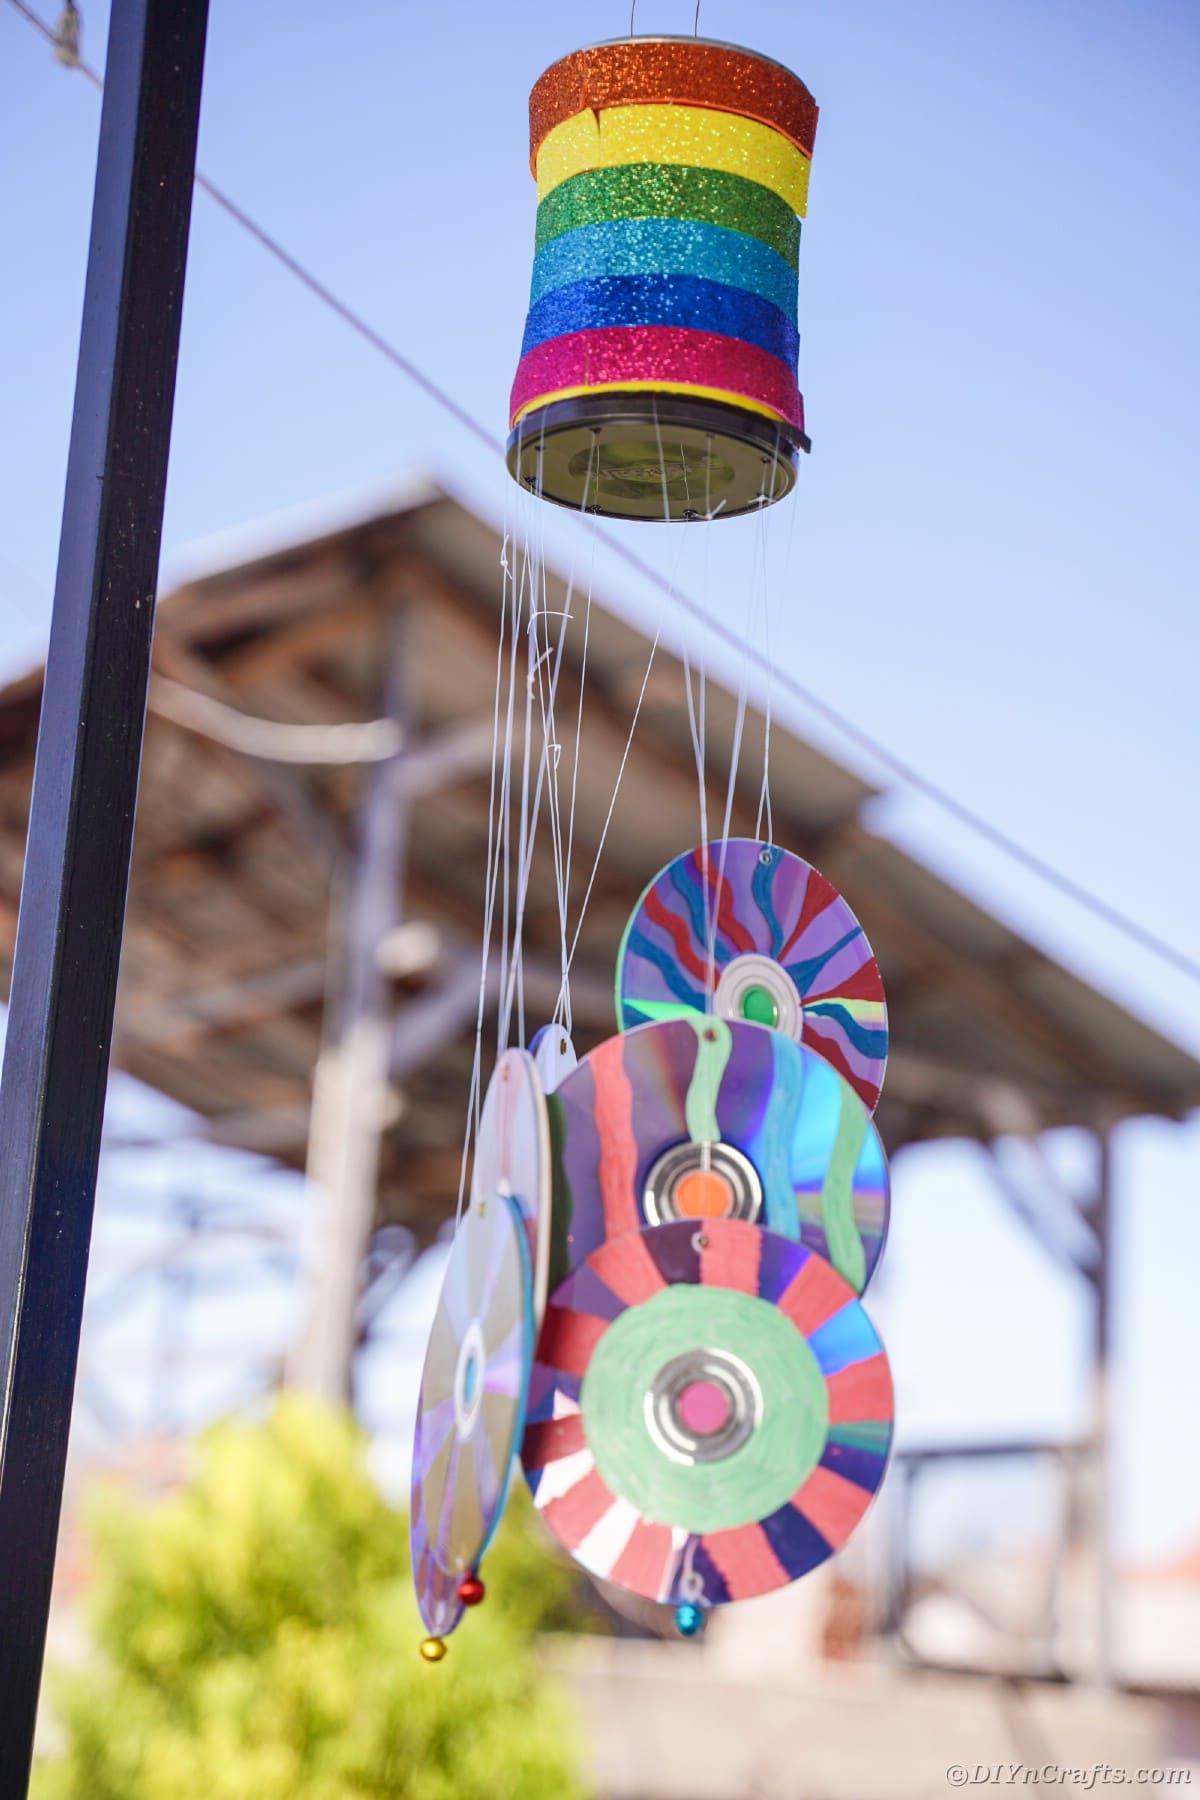
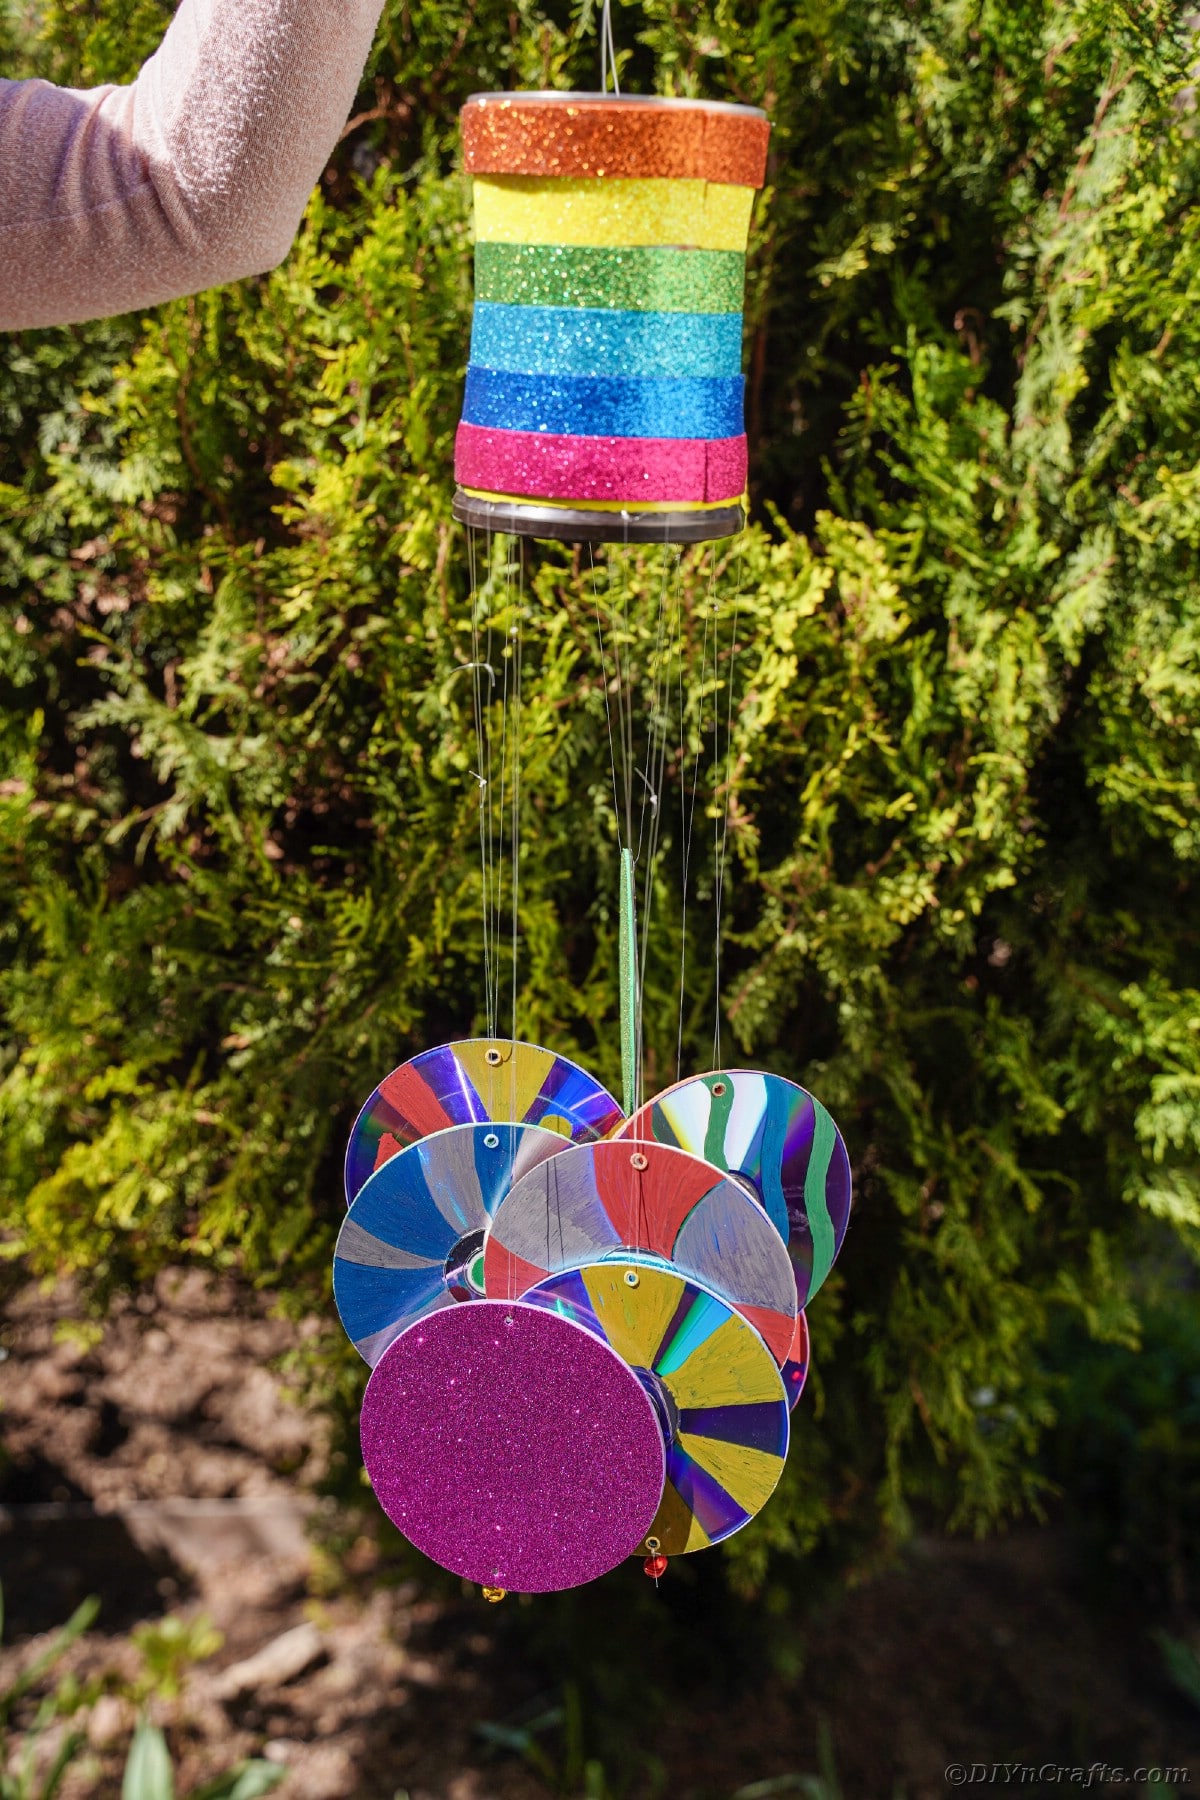
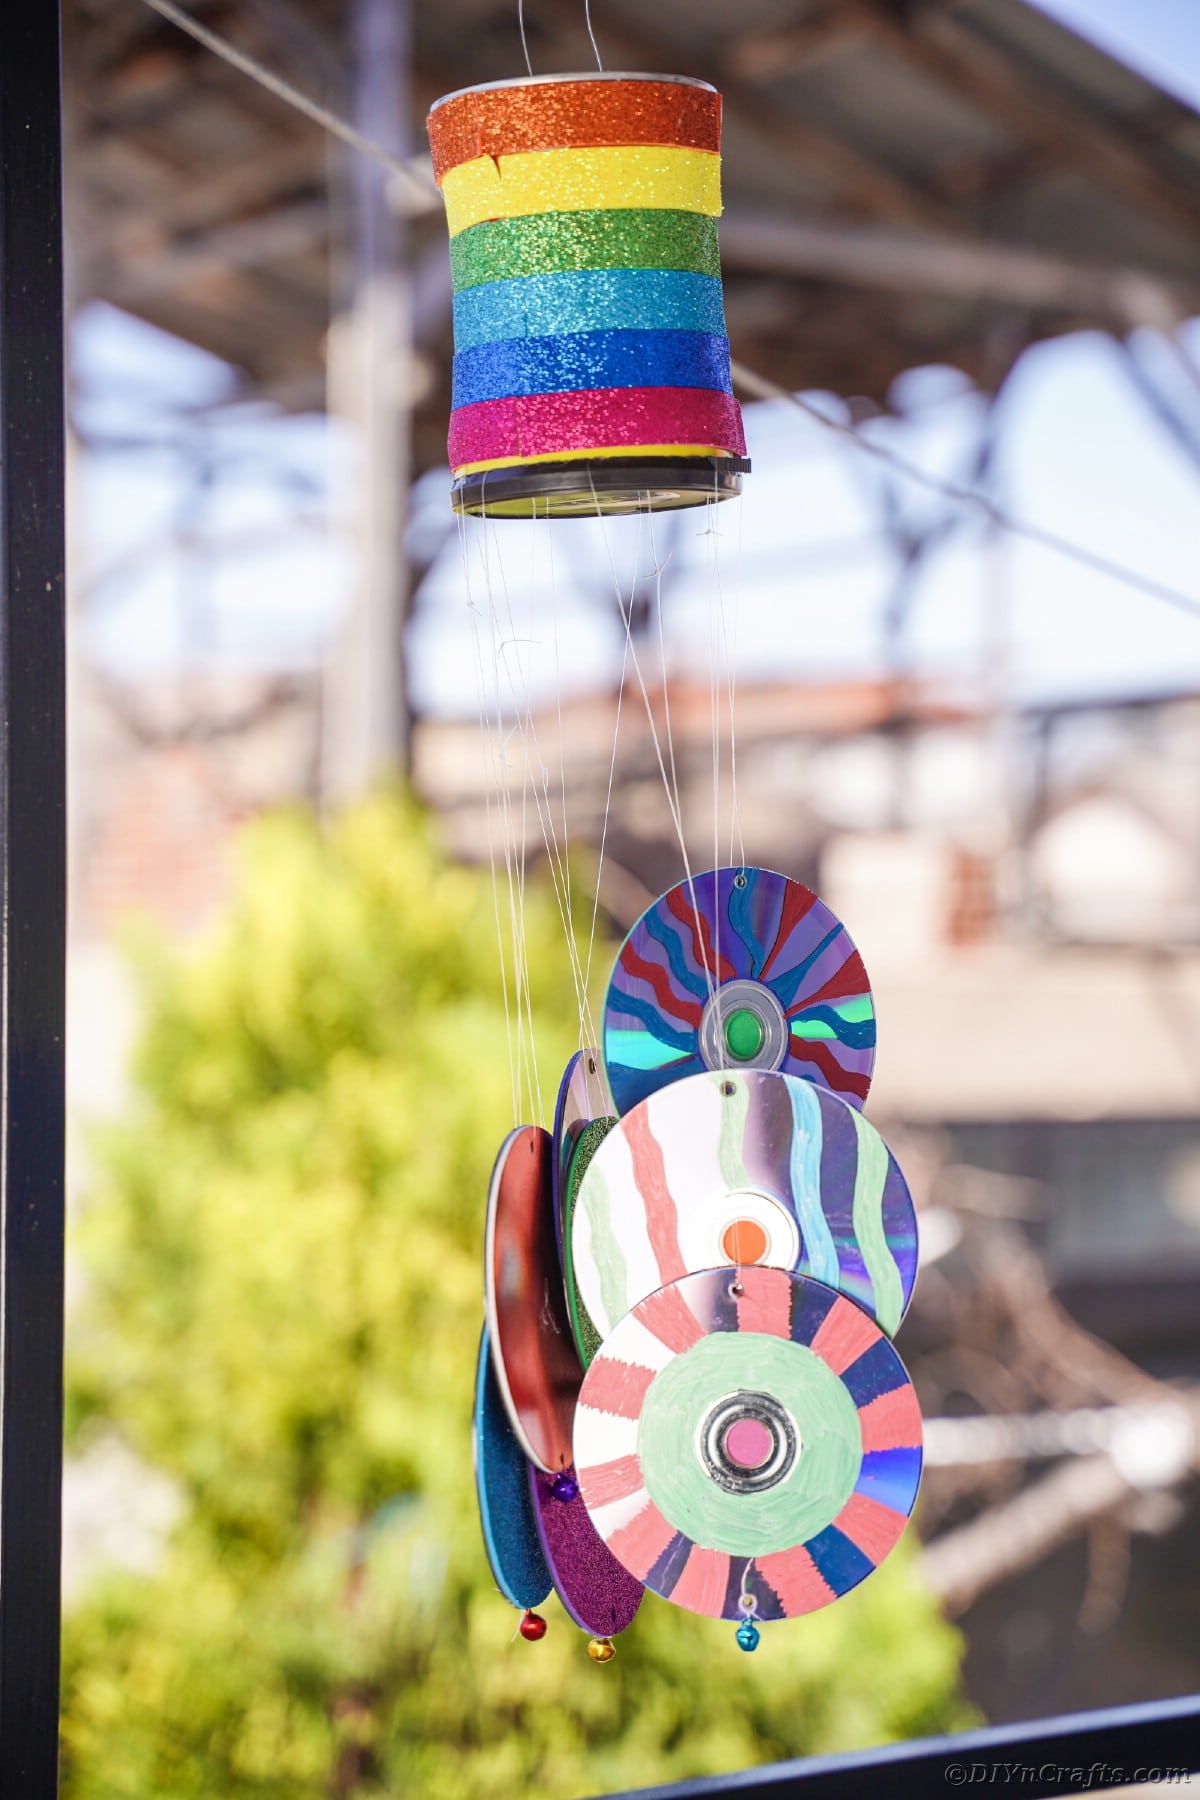
If you love wind chimes as much as I do, then you are going to adore this upcycled CD and tin can windchime! It's a gorgeous addition to any porch, garden, or outdoor space and couldn't be easier to make. This upcycled craft can be fun for kids and adults alike. Use the easy step-by-step tutorial below to make your chimes and create a beautiful display and lovely sound!
Upcycled CD and Tin Can Wind Chime
Wind chimes are a favorite decoration for so many people. They love the sound and the look. With this simple craft-making homemade wind chimes using old CDs or DVDs, you can create a custom version to display around your yard.
Not only can they be customized to your style, but they are inexpensive and use almost exclusively upcycled items. A brilliant way to put that trash to work creating a treasure for your yard! If you prefer a bit more rustic look, you might like this rustic wind chime tutorial. Of course, there are also tons of great ideas on this list of DIY wind chime ideas.
What can I cover my CDs with?
There are many things that you can cover the CDs with when making these DIY wind chimes. In this tutorial, we used craft foam and permanent markers. Below are some more ideas that work great for this idea.
- Washi tape
- Colorful duct tape
- Craft paper or card stock
- Construction paper
- Acrylic craft paint or paint pens
- Fabric or ribbon strips
- Sequins, beads, or rhinestones
You can choose anything you have on hand to decorate your CDs or DVDs. Sparkly or colorful items will catch the light the best and be bright in the sunshine, but you can make it more subdued with lighter or pastel colors that cover the CD completely. Use what you have on hand to make these fit your style.
Where should you hang wind chimes?
Wind chimes can be hung from just about anywhere as long as they have enough room to blow in the breeze. Some people like to hang the wind chimes on branches of trees or off of the eaves or gutters on the roof. You can also hand the chimes from anywhere you would hang a plant. I like to add plant hook hangers with chimes off the house.
Add them to your garden, on a deck, on the porch, or even along your driveway on trees! There are tons of ways to display these to make beautiful sound and color in your yard.
You can hang these indoors if you prefer, but I like the idea of keeping them outside so you get the tinkling sound of them blowing in the wind.
What should I use to hang it?
Hanging these cd wind chimes is extremely easy. You do not anything fancy. You can use yarn, twine, or finishing line to hang it, which is something many people have on hand. You can also use something like nylon rope or even a mini-chain if you have a heavier base of the wind chime.
Depending upon where you are hanging these, you may need a single length of twine or it may be better to add three different pieces that come together at the top for a more steady and even hanging method.
Will a Wind Chime Keep Birds Away?
While any type of sudden noise will make birds leave, it doesn’t keep them away. If you are concerned that the wind chimes will scare away the birds, you will notice that the birds will return after a short time. If you are trying to keep the birds out of your yard, this is not an effective long-term solution.
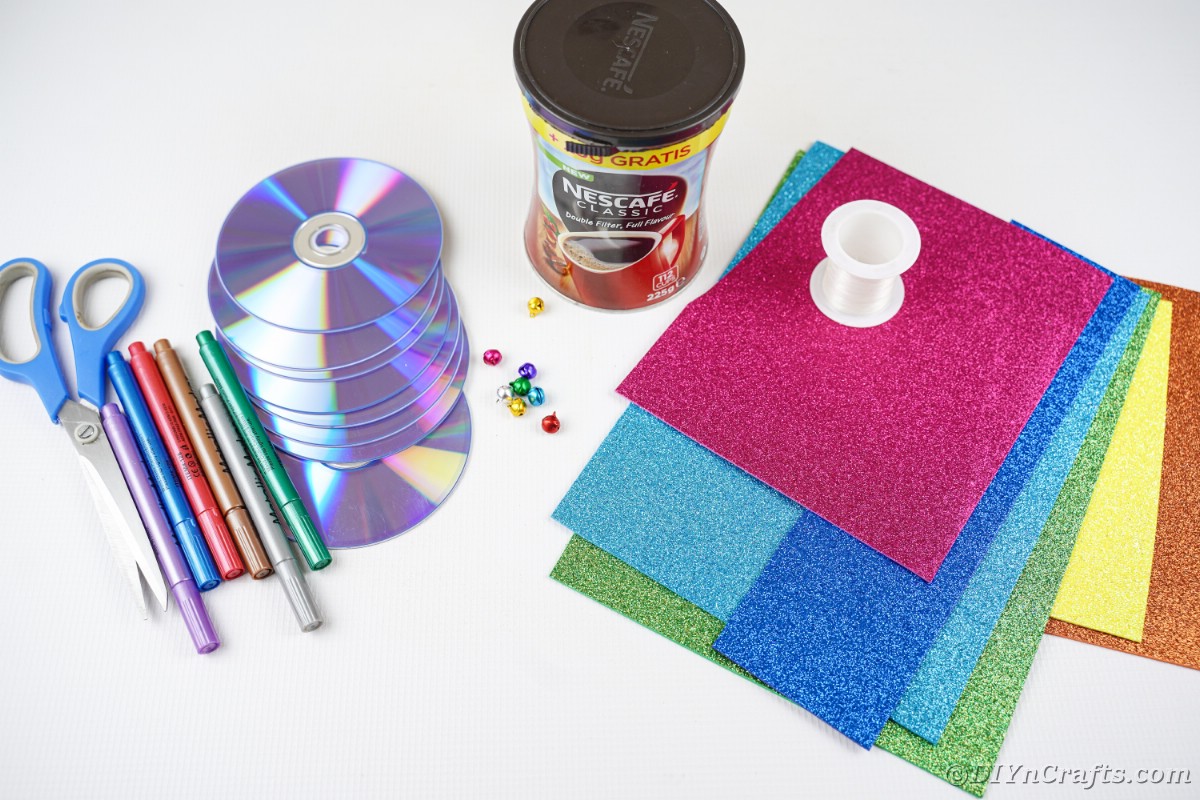
Supplies Needed
- Old CDs or DVDs
- Medium to large coffee can with plastic lid
- Foam paper in multiple colors
- Permanent markers or paint pens
- Small bells
- Fishing line
- Scissors
- Hot glue gun
- Hot glue sticks
- Soldering iron
- Nail
- Hammer
How to make it:
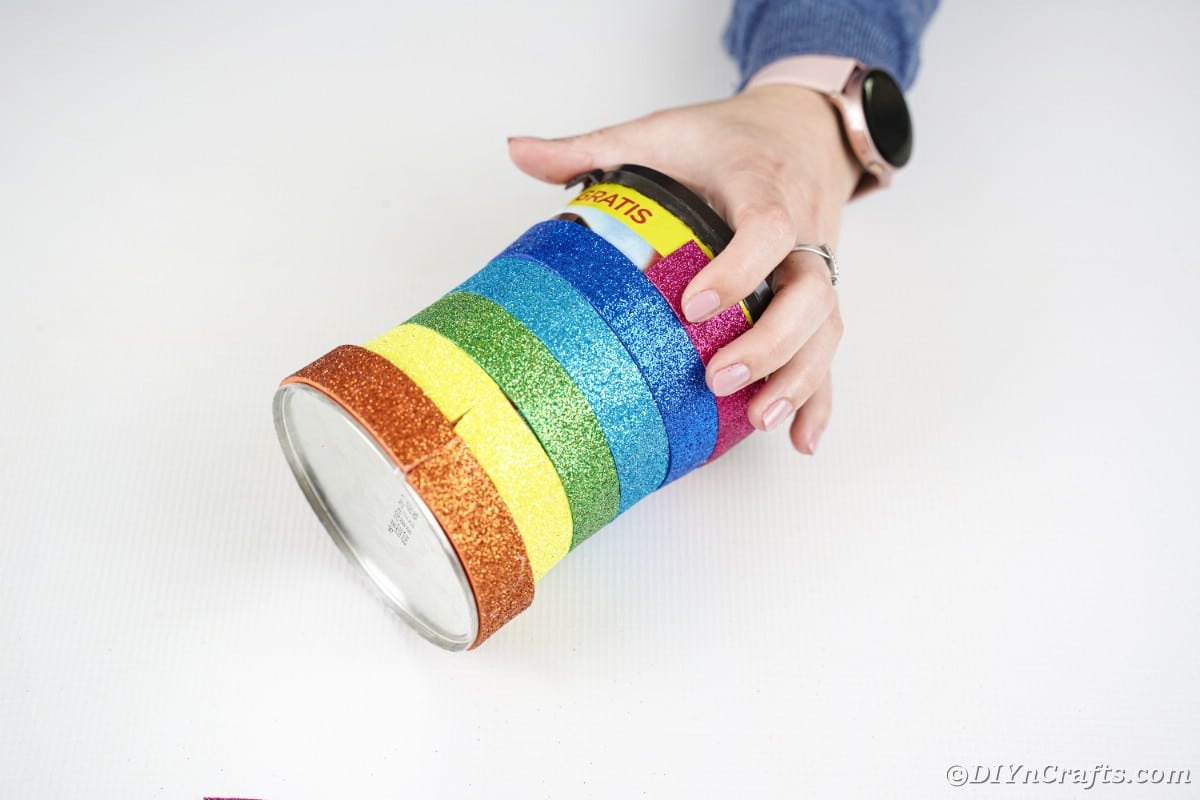
Cut 1" wide strips of glitter foam paper in each color. Use a bit of hot glue to attach the end of the strip to the tin can and wrap it around creating a stripe. Trim the end, then hot glue in place so it wraps all the way around the can. Some foam paper has a sticky backing - those do not require additional glue.
Continue this process until the entire can is covered with colorful stripes of paper.
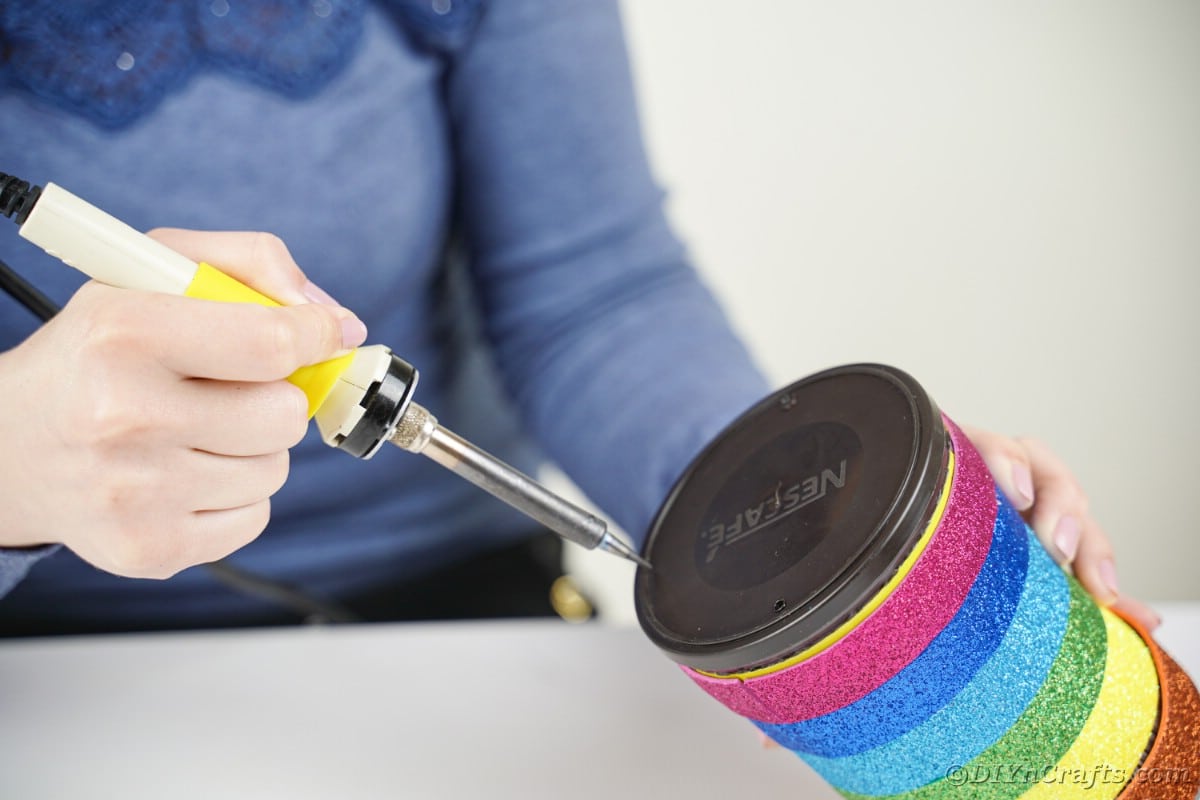
Use a soldering gun to punch holes through the lid or top of the can. Add a hole for each CD you will be hanging from the wind chime. Ours had 8 different holes.
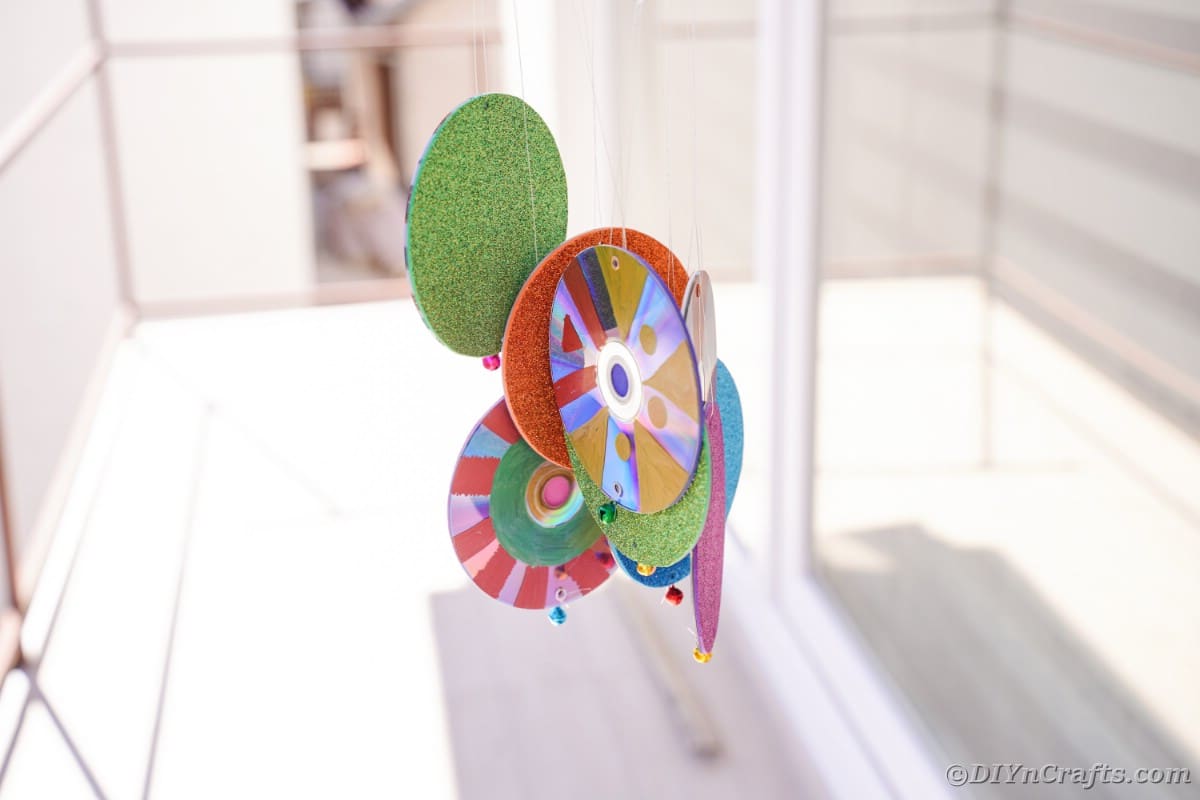
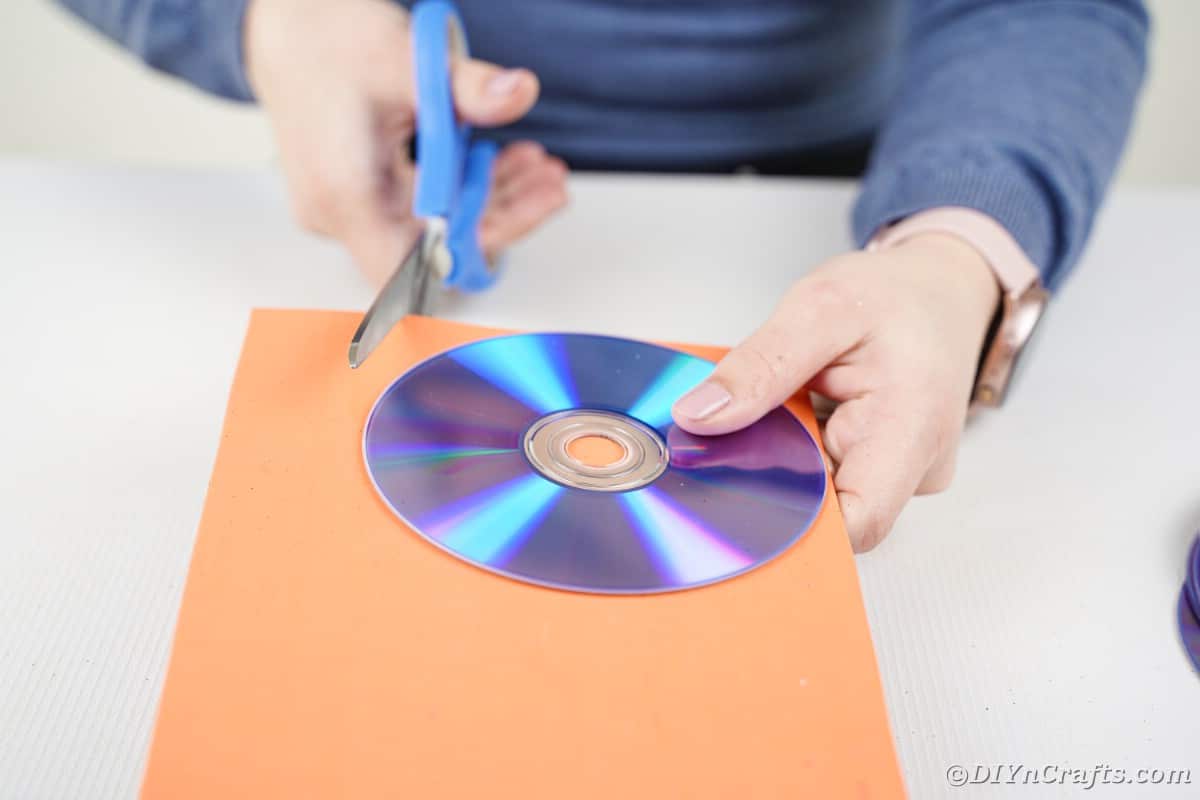
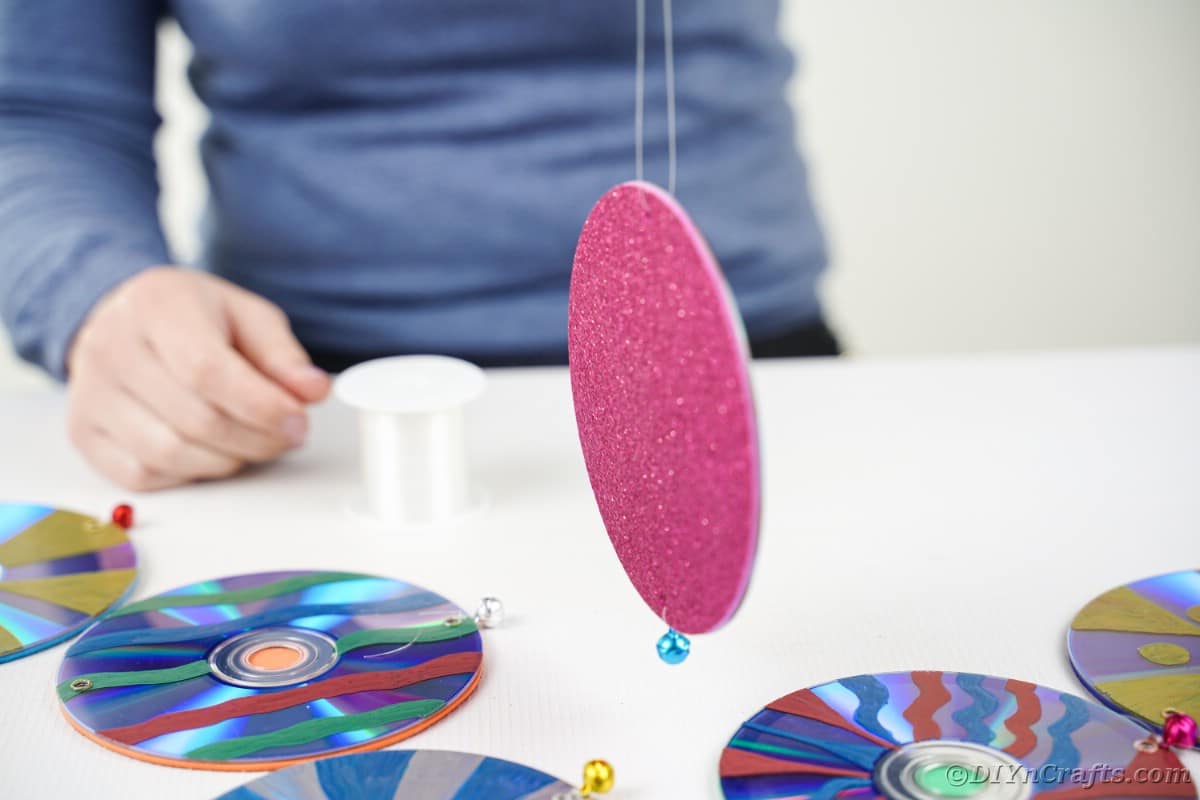
Hot glue CDs to different colors of foam paper then trim off the edges. You may also be able to simply trace and cut out the circle then stick with sticky backing depending upon the paper used. Use a different color for each CD, or at least a wide variety of colors.
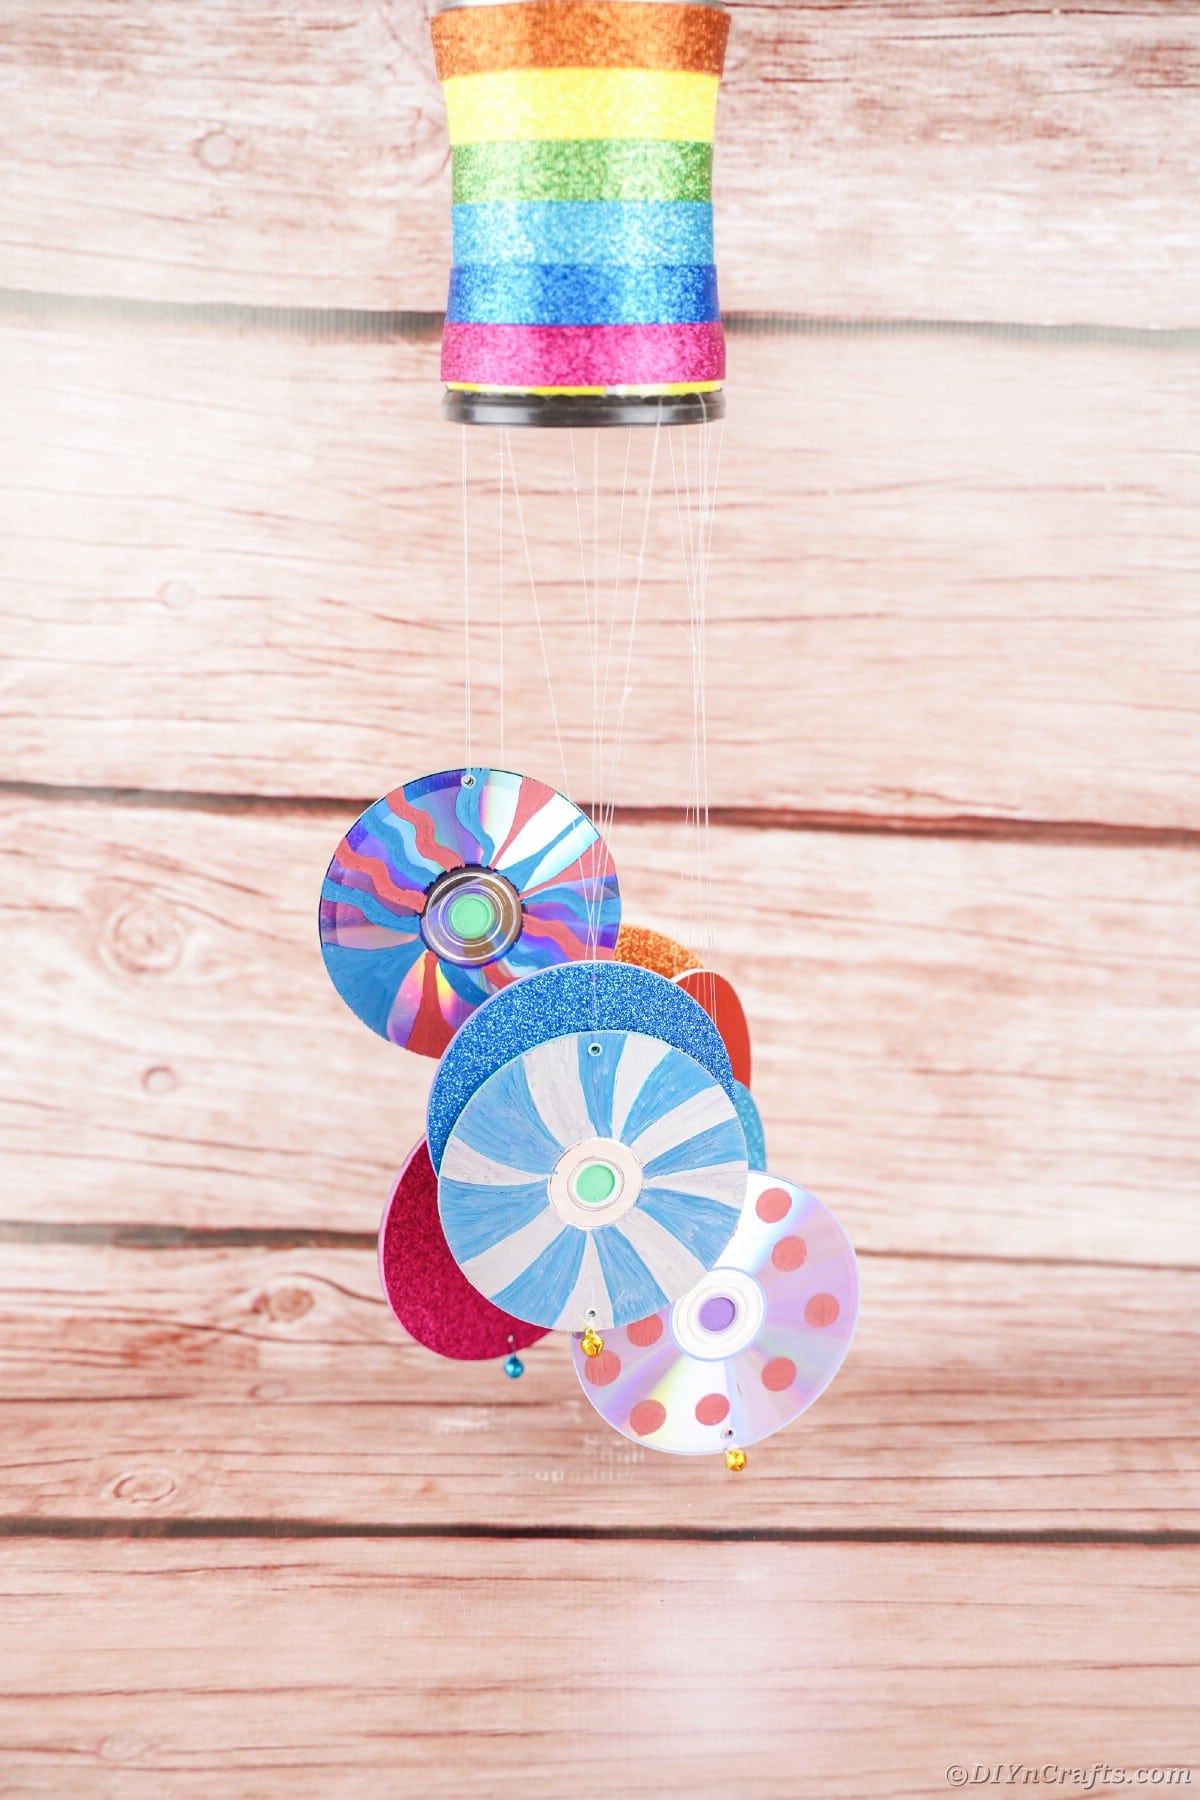
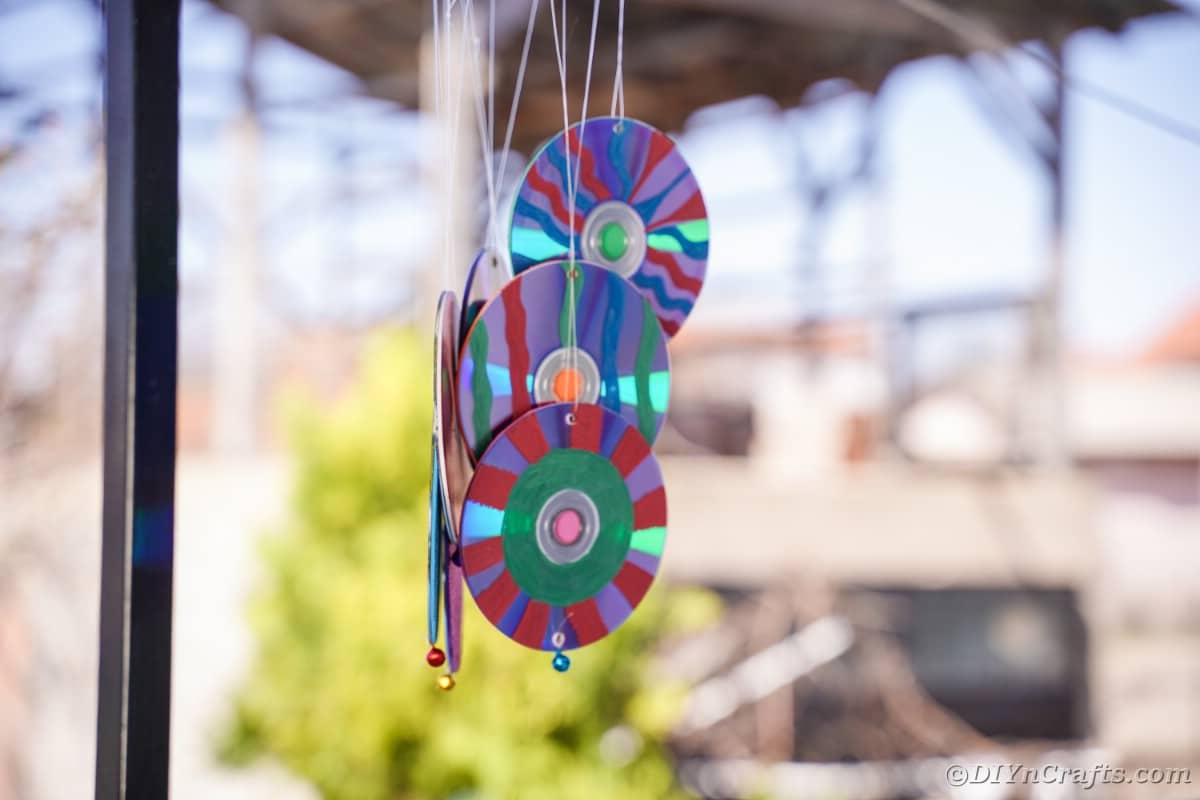
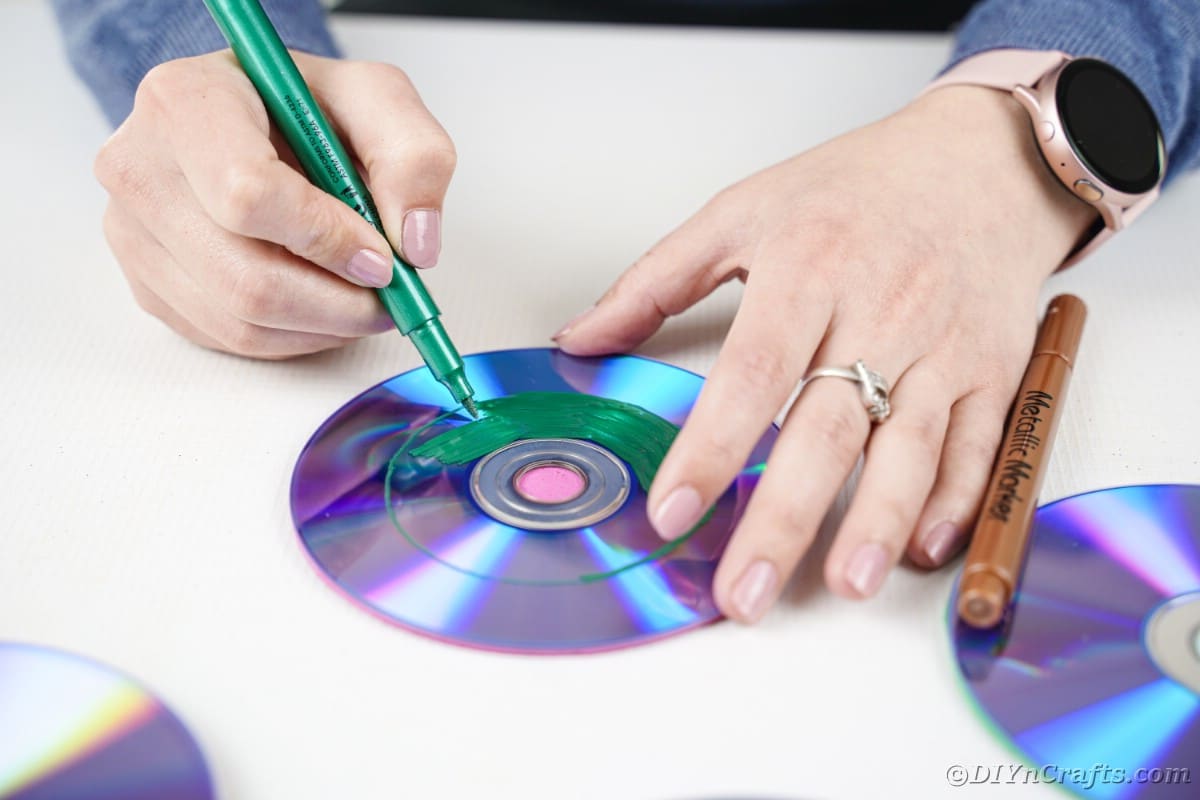
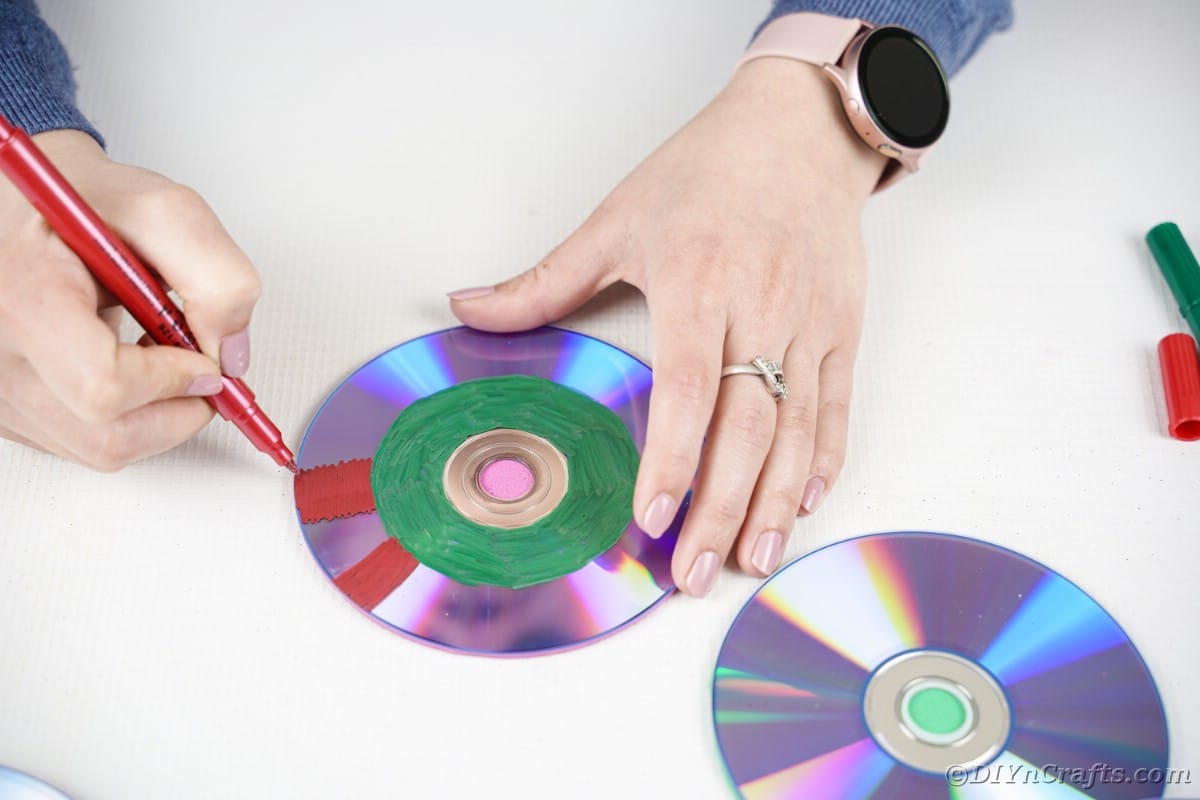
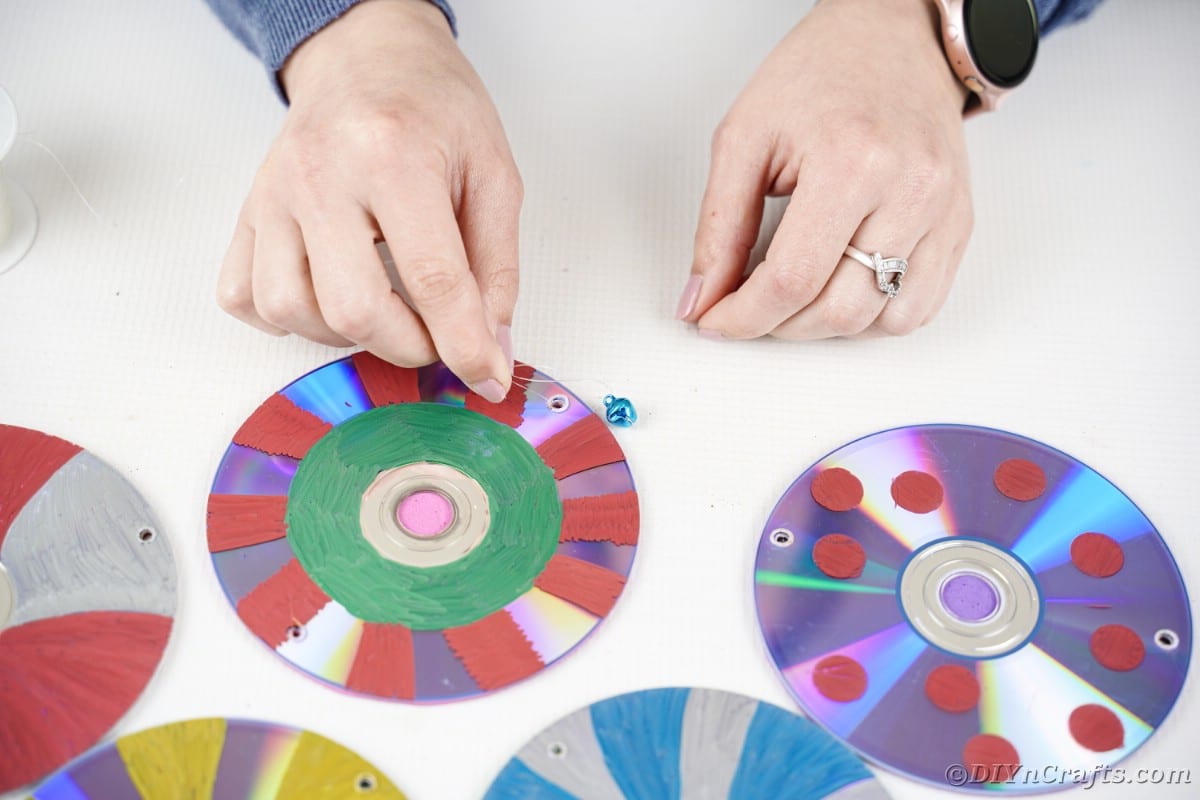
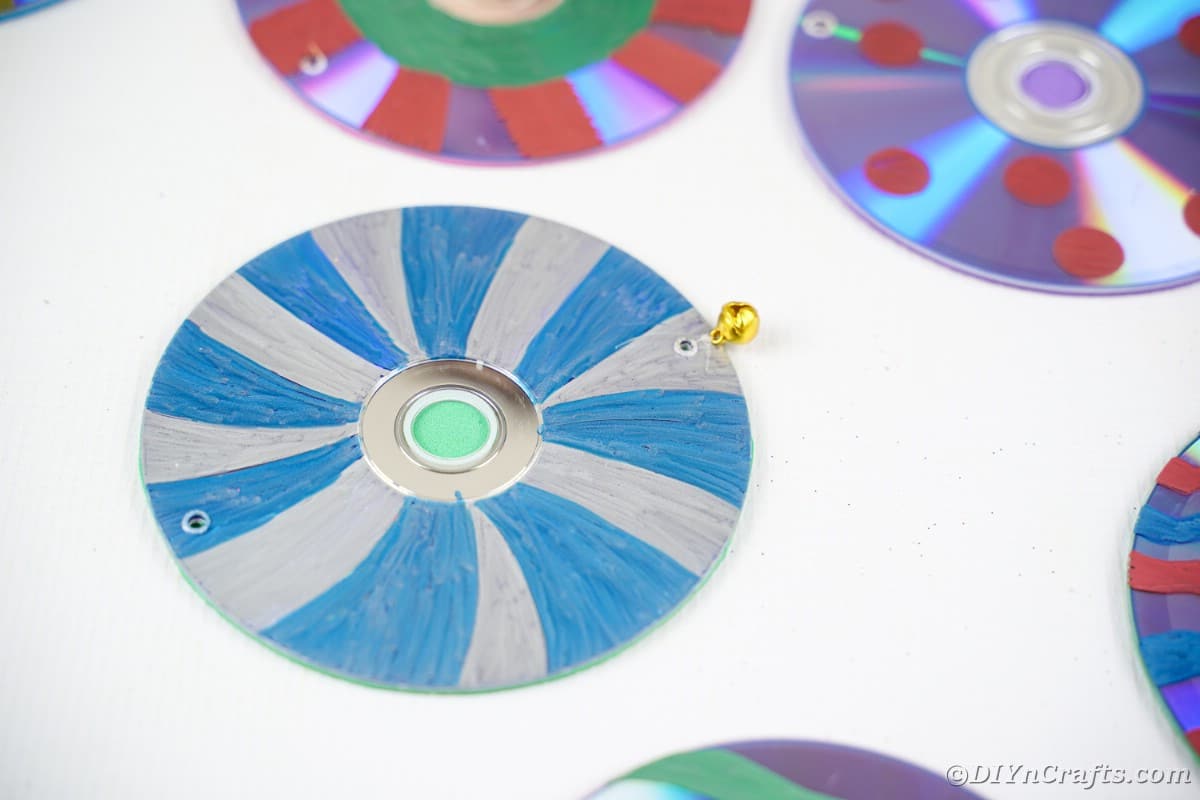
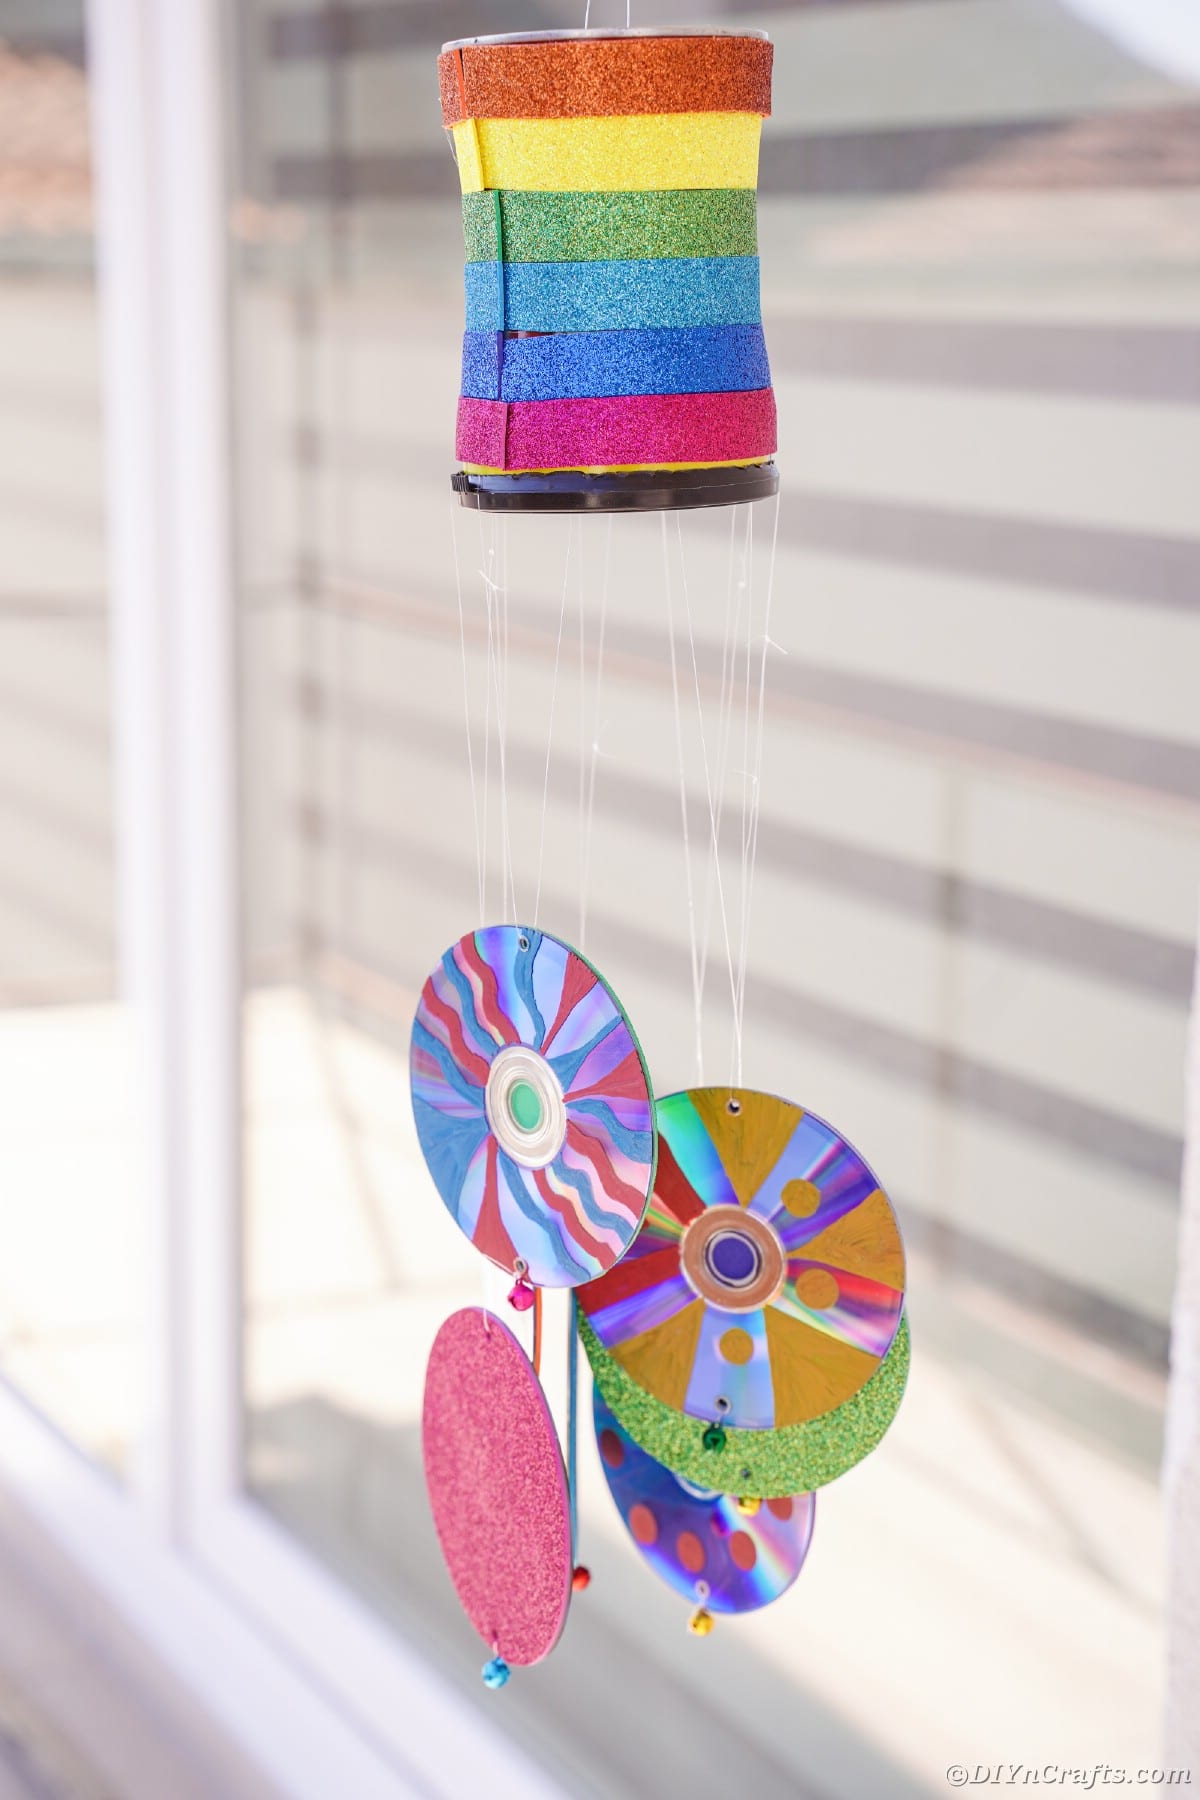
Once the backing is on all of the CDs, turn each one over and use paint, a marker, or a paint pen to draw different decorations.
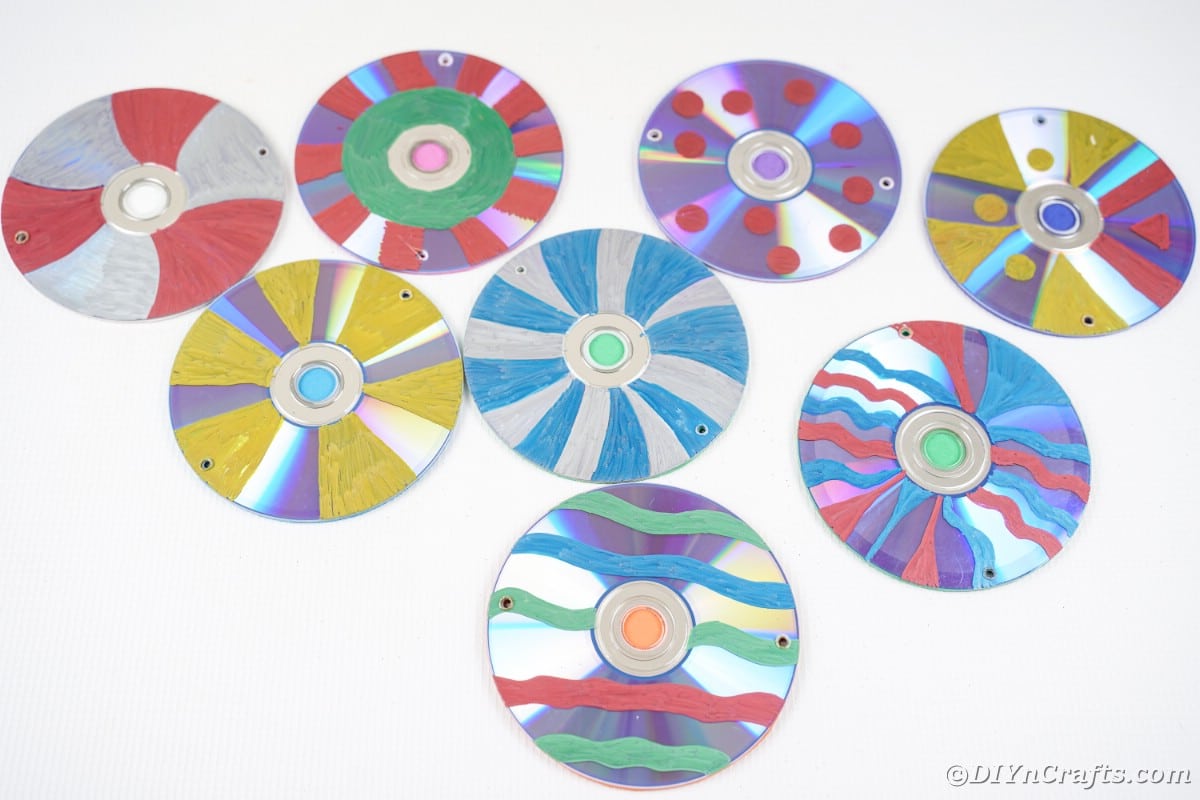
Create rings of different colors, zig-zags, polka dots, squares, or random geometric shapes. Make these colorful and unique.
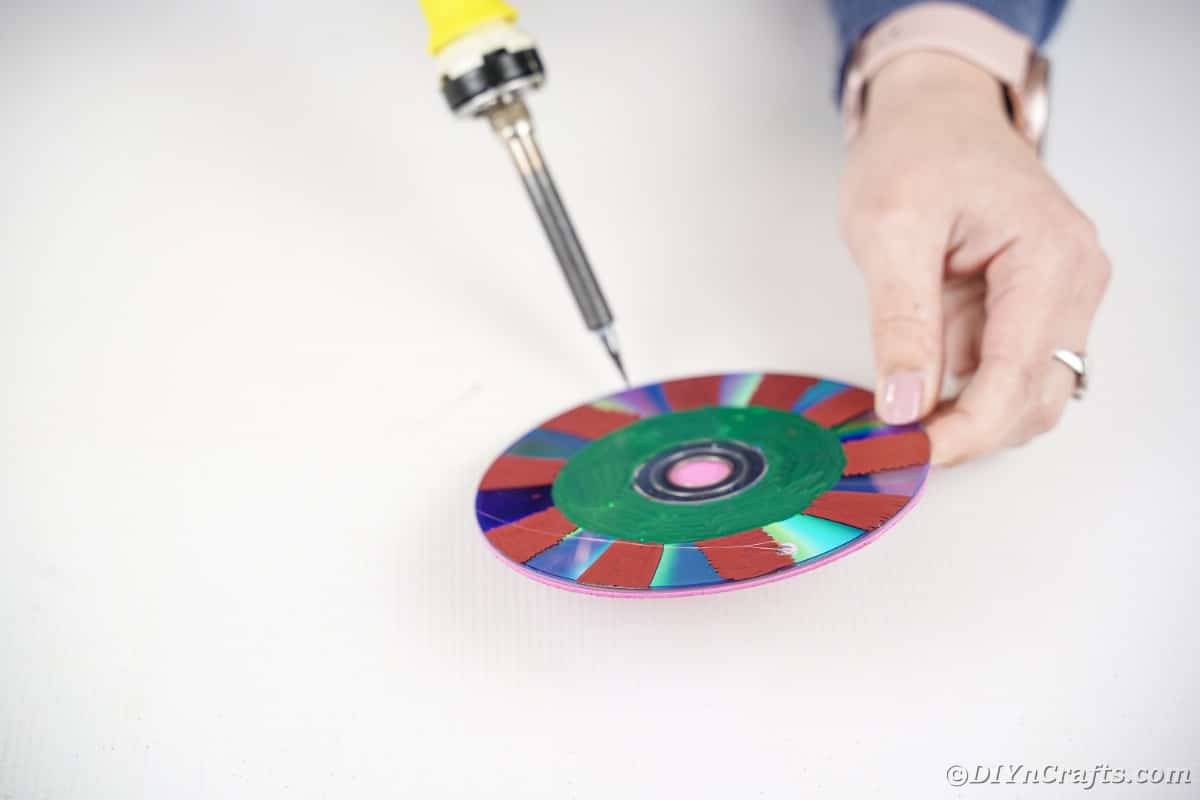
Use the soldering iron to create a small hole on the top and bottom of the CDs. They need to be on opposite ends.
Do this on all of the prepared CDs or DVDs.
String a bead or bell onto the end of a length of fishing line, and then string the twine through one of the holes on the CD.
Tie in place and trim any excess line.
Repeat this so every CD or DVD has a bell through one of the holes.
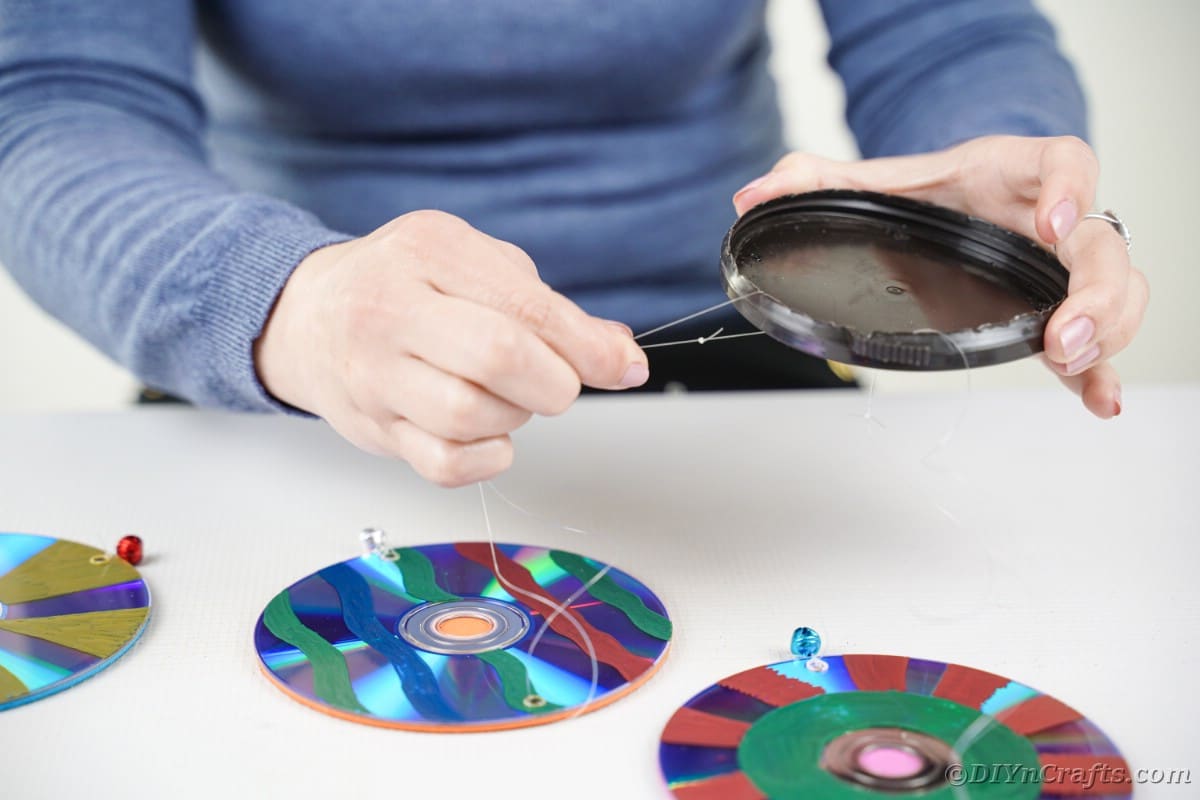
String the fishing line through one of the holes on the lid and one of the holes in a CD and tie to secure.
Add one CD per line and make them at varying lengths. If using a tin can without a plastic lid, you will need to string these through holes on the sides or bottom of the can.
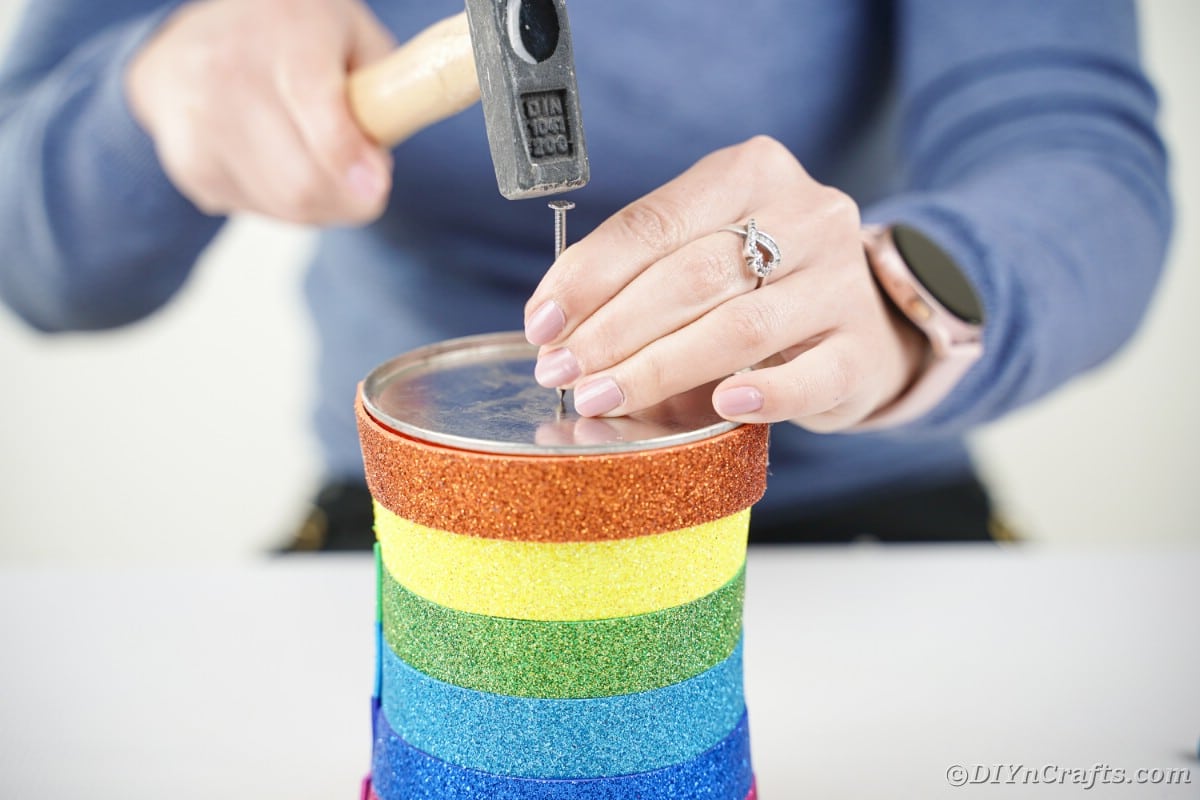
Use a nail and hammer to create a hole in the opposite end of the can. Make 2 holes in a line on the center of the base of the can.
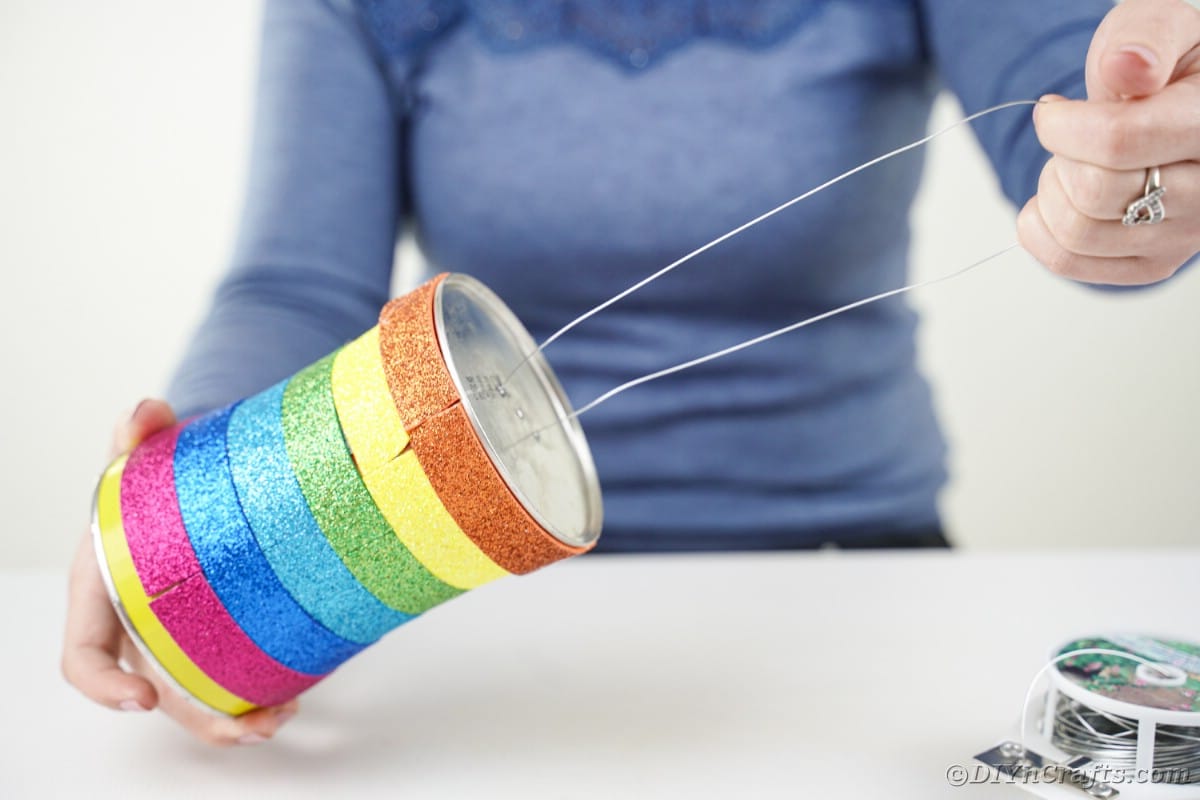
String the jewelry wire through one of the holes, over the top, and through the hole furthest away from it and back down through the can. Twist the end of the wire to secure then pull the loose ends back through and up out of the can creating a handle.
Put the lid back onto the bottom of the can to secure the dangling CDs.
Hang from a hook on your porch, in the garden, or on a tree.
You can use any ribbon, yarn, or twine in place of the fishing line if needed.
More Upcycled CD and DVD Crafts
If you enjoy making great upcycled crafts, you'll love the ones below. More fun ideas to put a CD to use in your crafting! Great ways to really turn trash into treasure!
- Upcycled Old CD Pincushion Basket
- Unique Upcycled CD Coffee Bean Coaster
- Decorative Old CD or DVD Curtain Holder
- DIY CD Owl Messenger Craft
Upcycled CD and Tin Can Wind Chime Garden Decoration
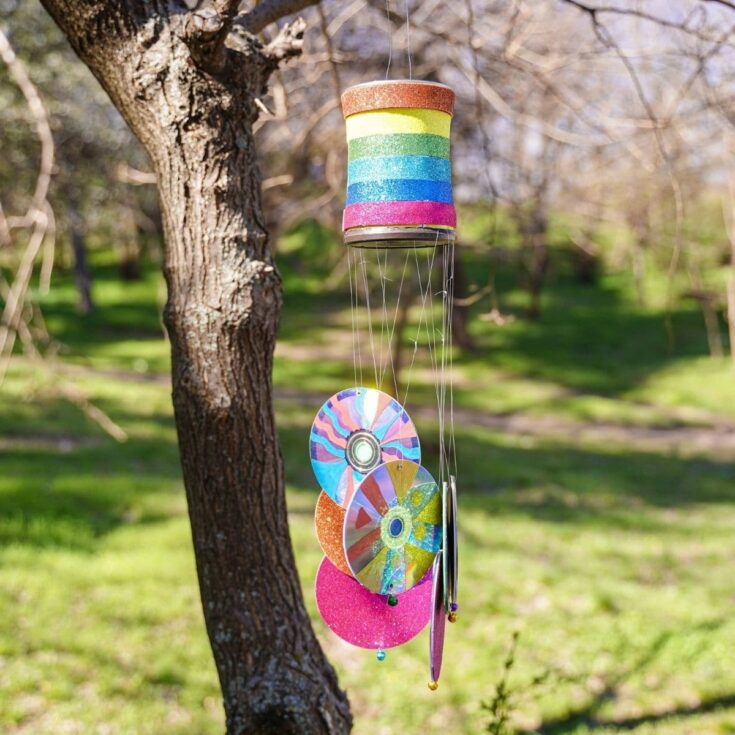
Turn an old CD or DVD and empty coffee can into a gorgeous tinkling wind chime! This decoration is perfect for hanging in your yard or garden!
Materials
Instructions
- Cut 1" wide strips of glitter foam paper in each color. Use a bit of hot glue to attach the end of the strip to the tin can and wrap it around creating a stripe. Trim the end, then hot glue in place so it wraps all the way around the can. Some foam paper has a sticky backing - those do not require additional glue.
- Continue this process until the entire can is covered with colorful stripes of paper.
- Use a soldering gun to punch holes through the lid or top of the can. Add a hole for each CD you will be hanging from the wind chime. Ours had 8 different holes.
- Hot glue CDs to different colors of foam paper then trim off the edges. You may also be able to simply trace and cut out the circle then stick with sticky backing depending upon the paper used. Use a different color for each CD, or at least a wide variety of colors.
- Once the backing is on all of the CDs, turn each one over and use paint, a marker, or a paint pen to draw different decorations.
- Create rings of different colors, zig-zags, polka dots, squares, or random geometric shapes. Make these colorful and unique.
- Use the soldering iron to create a small hole on the top and bottom of the CDs. They need to be on opposite ends.
- String a bead or bell onto the end of a length of fishing line, and then string the twine through one of the holes on the CD. Tie in place and trim any excess line.
- Repeat this so every CD or DVD has a bell through one of the holes.
- String the fishing line through one of the holes on the lid and one of the holes in a CD and tie to secure.
- Add one CD per line and make them at varying lengths. If using a tin can without a plastic lid, you will need to string these through holes on the sides or bottom of the can.
- Use a nail and hammer to create a hole in the opposite end of the can. Make 2 holes in a line on the center of the base of the can.
- String the jewelry wire through one of the holes, over the top, and through the hole furthest away from it and back down through the can. Twist the end of the wire to secure then pull the loose ends back through and up out of the can creating a handle.
- Put the lid back onto the bottom of the can to secure the dangling CDs.
- Hang from a hook on your porch, in the garden, or on a tree.
Notes
Use paint, fabric, or tape to color the can or CDs if preferred.
Recommended Products
As an Amazon Associate and member of other affiliate programs, I earn from qualifying purchases.
-
Shimmering Bells with Butterflies Mobile Wind Chimes Copper | Etsy
-
 School Of Silver Spoon Fish Wind Chime Amazing Eco Chic | Etsy
 -
 Copper Bronze 30 Wind Chime Chimes Windchime Windchimes | Etsy
 -
 Wind Chimes Made From Glass Wine Bottles with Copper Trim | Etsy
 -
 Copper Bronze 36 Wind Chime Chimes Windchime Windchimes | Etsy
 -
 2 pieces JAPANESE Traditional Glass Furin wind Bell wind Chime | Etsy





Leave a Reply