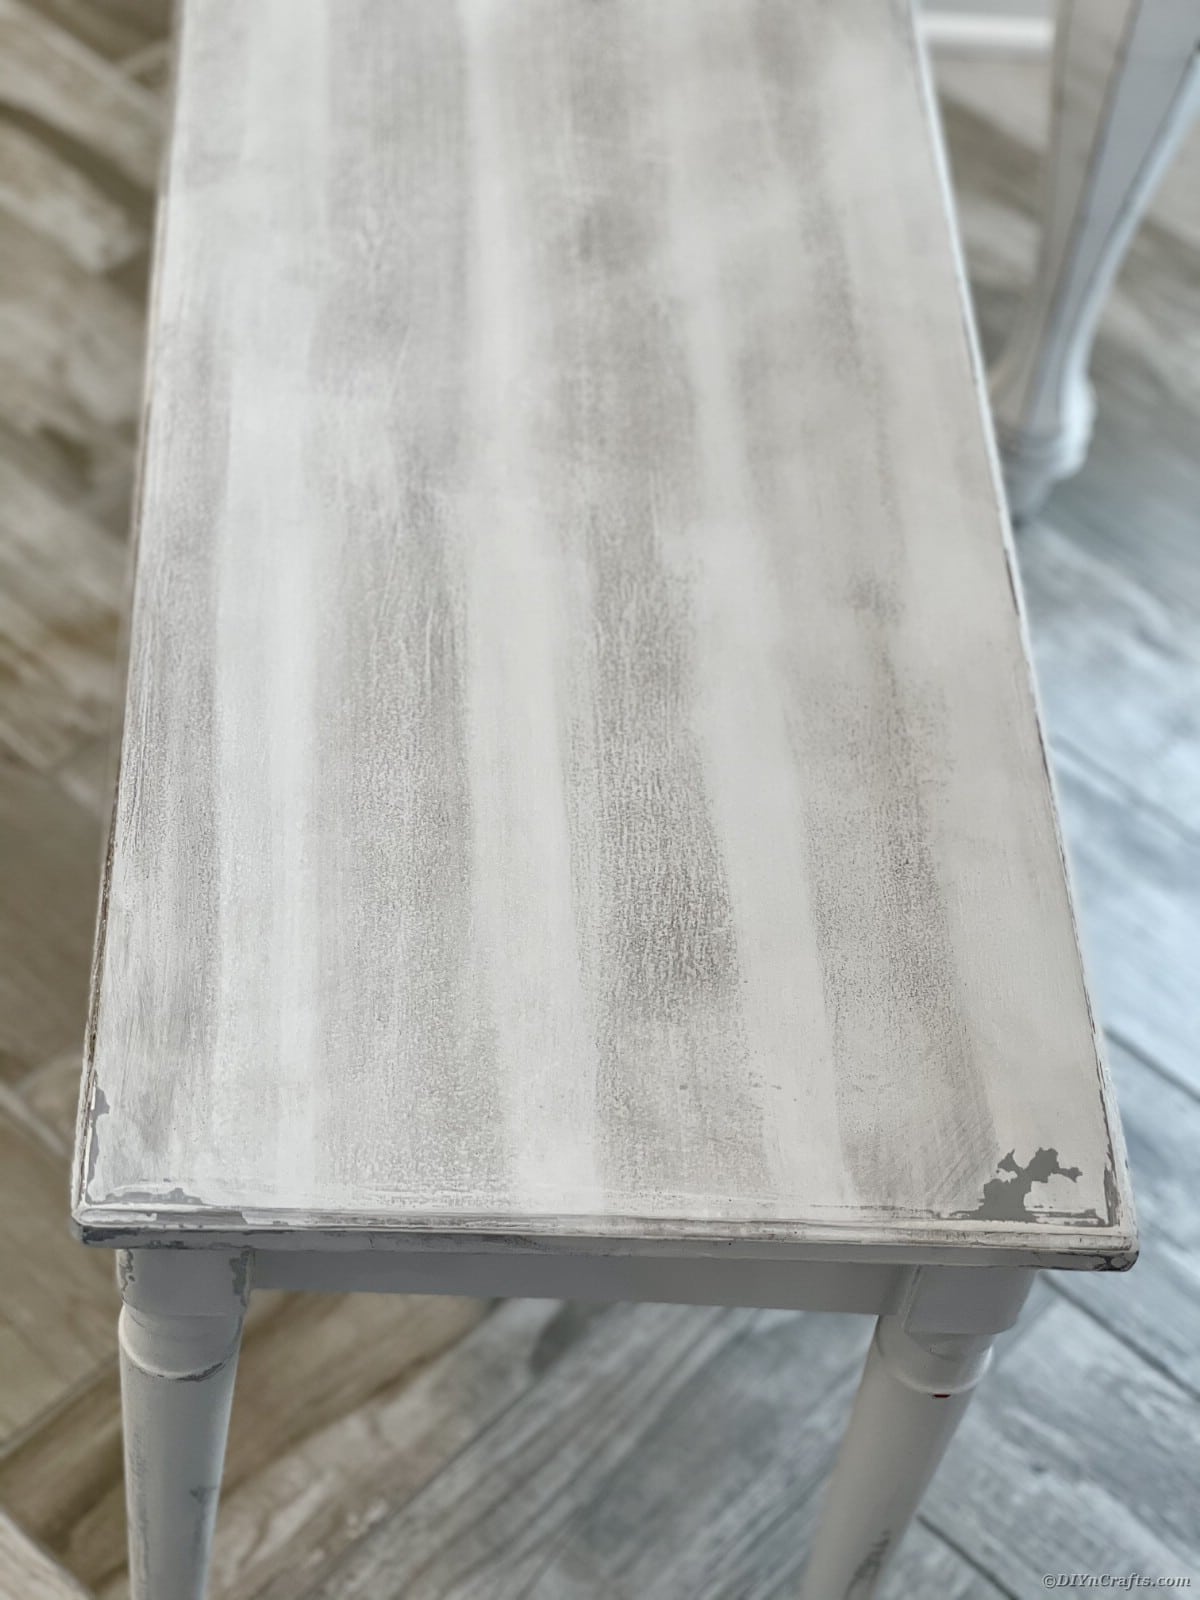
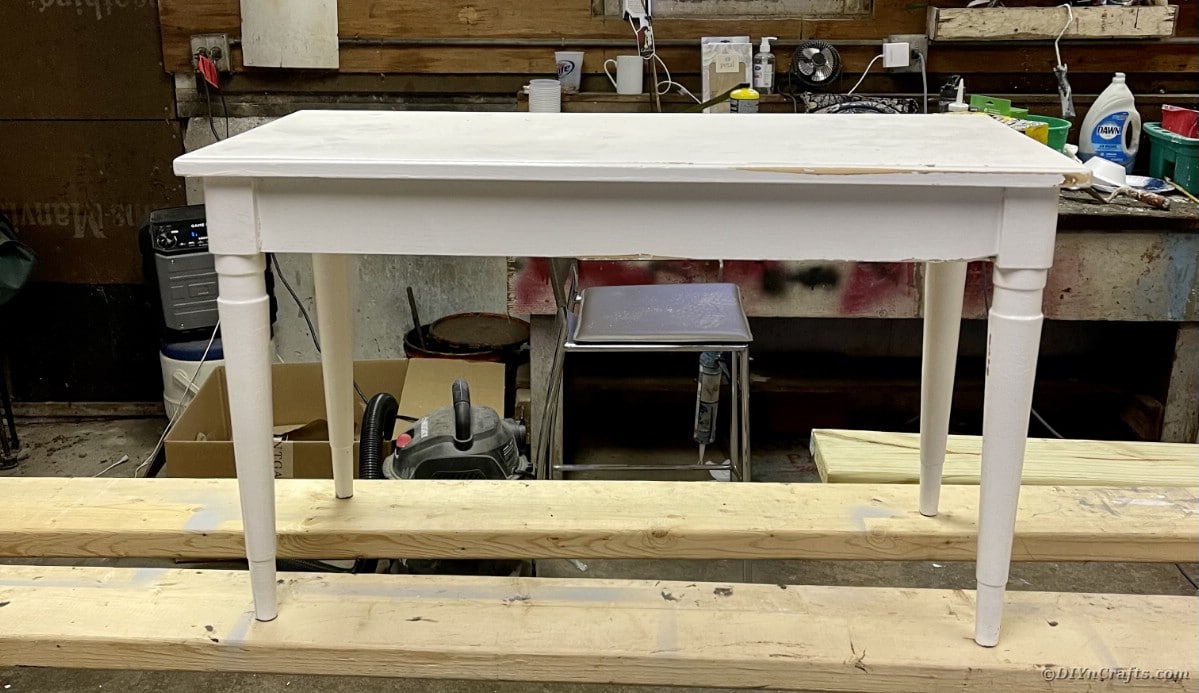
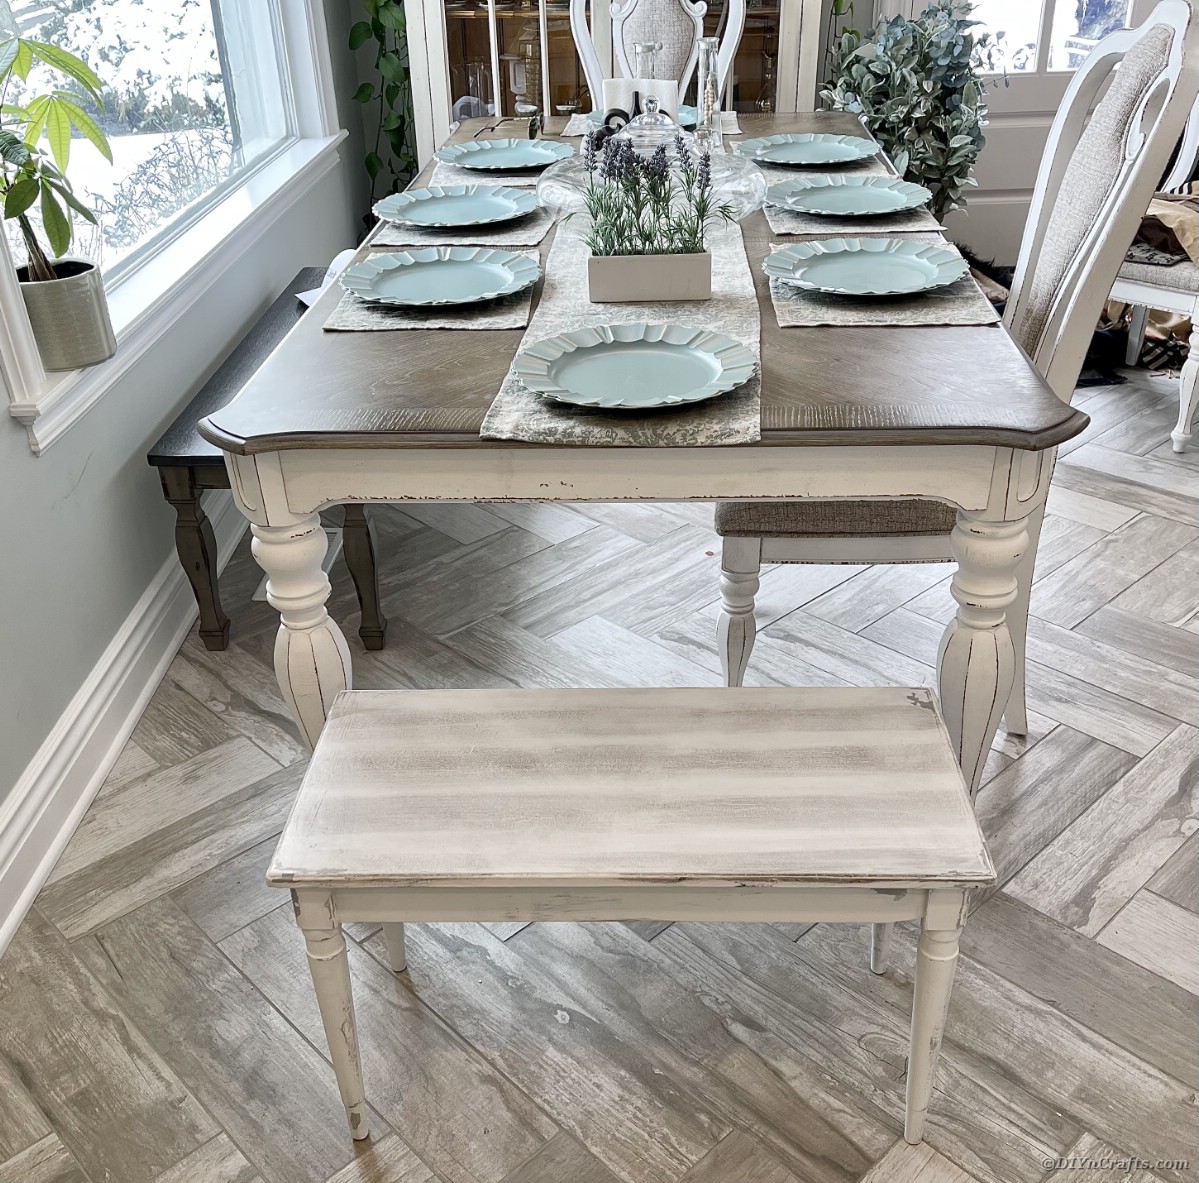
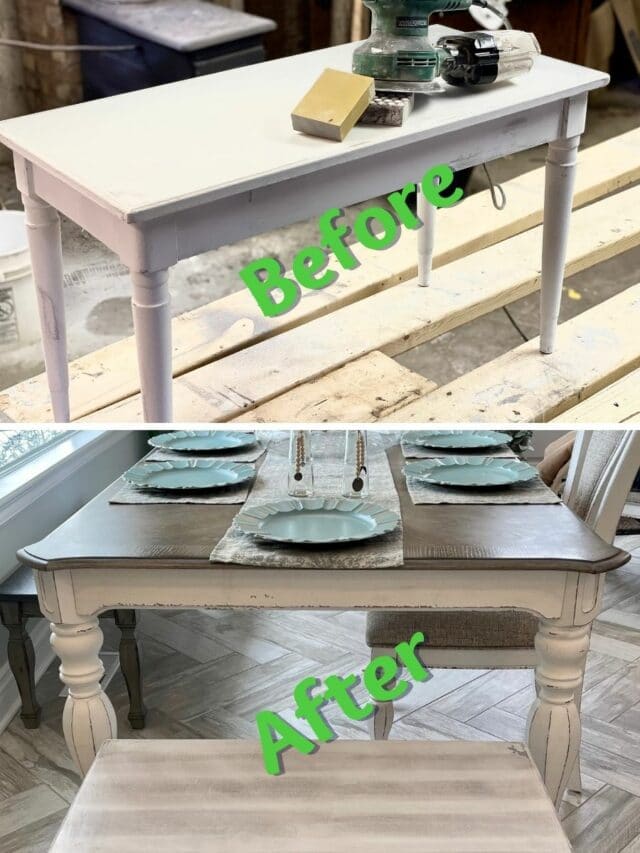
Do you have an old table, dresser, or chest of drawers that is already painted, but you want to make it just a bit unique? You can easily update an already painted piece of furniture with a simple distressing technique. This gives those ordinary pieces of furniture a unique farmhouse look. A bit of change makes it look more rustic and worn, while still allowing the original color to shine through.
How to Distress a Painted Piece of Furniture
If you admire that weathered or rustic look that is popular in modern farmhouse-style furniture, then this is a great way to make it appear in your home while keeping on budget. A new dining table and chairs would cost you upwards of $5000 in some locations when you find them with this weathered look, but here you can spend less than $100 and a bit of your time to turn what you already have into the gorgeous style you love.
More Updated Furniture Ideas
If you are wanting more ideas to inspire your decor, you will find we have tons to share. Below are some unique hand restored items, or even a few collections of ideas that can really update your home in that fresh look you are wanting. Don't spend a fortune at furniture stores or antique malls. Make your own instead!
- Distressed Wood Desk Furniture Makeover Step by Step Tutorial
- Curio Cabinet Restoration in Distressed Farmhouse Style
- Farmhouse Style Chipped Finish Side Table Restoration Tutorial
- Step by Step Mid Century Table Restoration Tutorial
- 55 Gorgeous DIY Farmhouse Furniture and Decor Ideas for a Rustic Country Home
Do I Need Experience in Distressing Furniture to Do This?
No! The best part of this easy little tutorial is that you don't have to have any experience at all to make this come out gorgeous. The detailed tutorial and images help you see its progress and will make it super easy for anyone to manage, even if you've never done any restoration projects. Just make sure you read over the steps carefully and set up your workplace so it comes together easily!
Supplies Needed
- Sandpaper or sanding block
- Foam brush
- Wood paint stick
- Natural bristle chalk paintbrush and wax brush
- Fine paintbrush
- Lint-free cloths
- Drop cloths
- Mineral spirits
- White linen and aged gray paint
- Petroleum jelly
- Dixie Bell wax in clear and gray
Prepare Your Work Space
Place furniture in a clean workspace. If working in a garage be sure to sweep or blow all dirt and debris out of the area you will be working in. Lay a drop cloth down to ensure the paint does not drip and ruin your flooring.
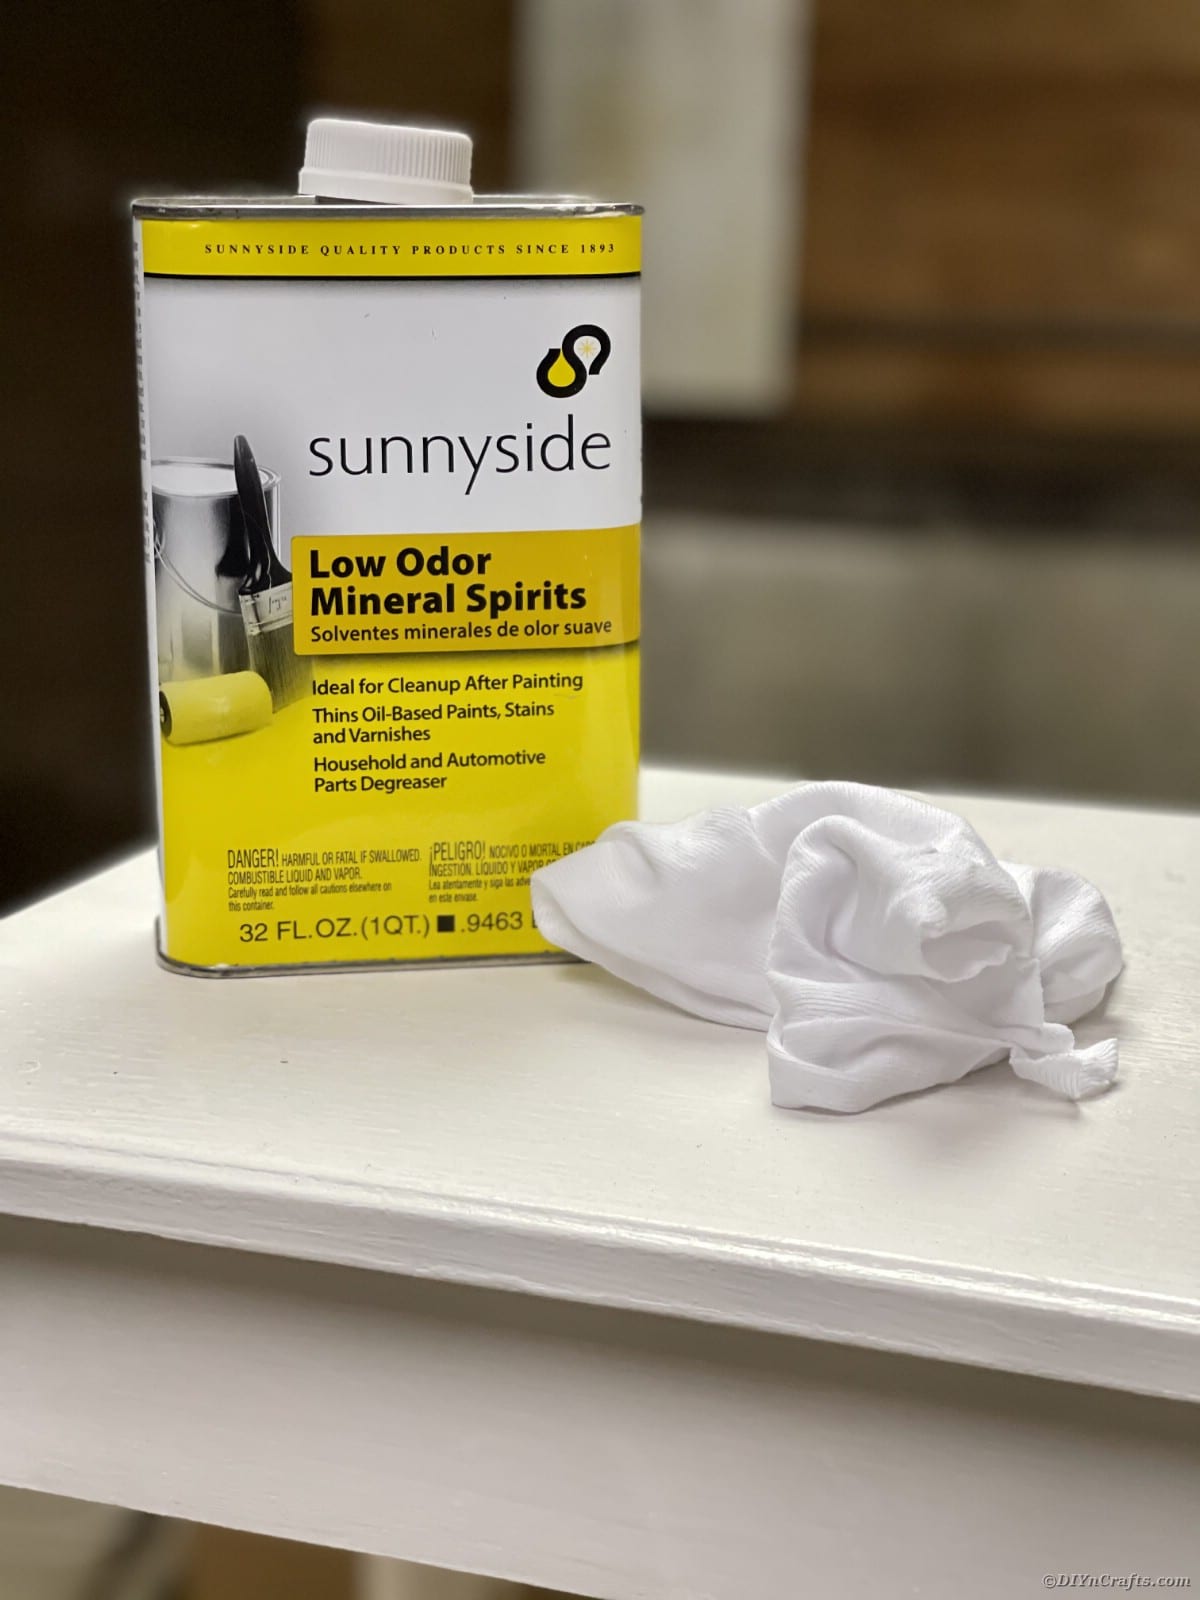
Take one lint-free cloth and dampen it with mineral spirits. Clean the entire piece of furniture with the spirits to remove any and all debris or oils that may be on the surface. Be sure to wipe down anywhere you will be painting, including the inside of drawers and/or doors. It is advised to wear a mask or be sure you are in a well-ventilated area.
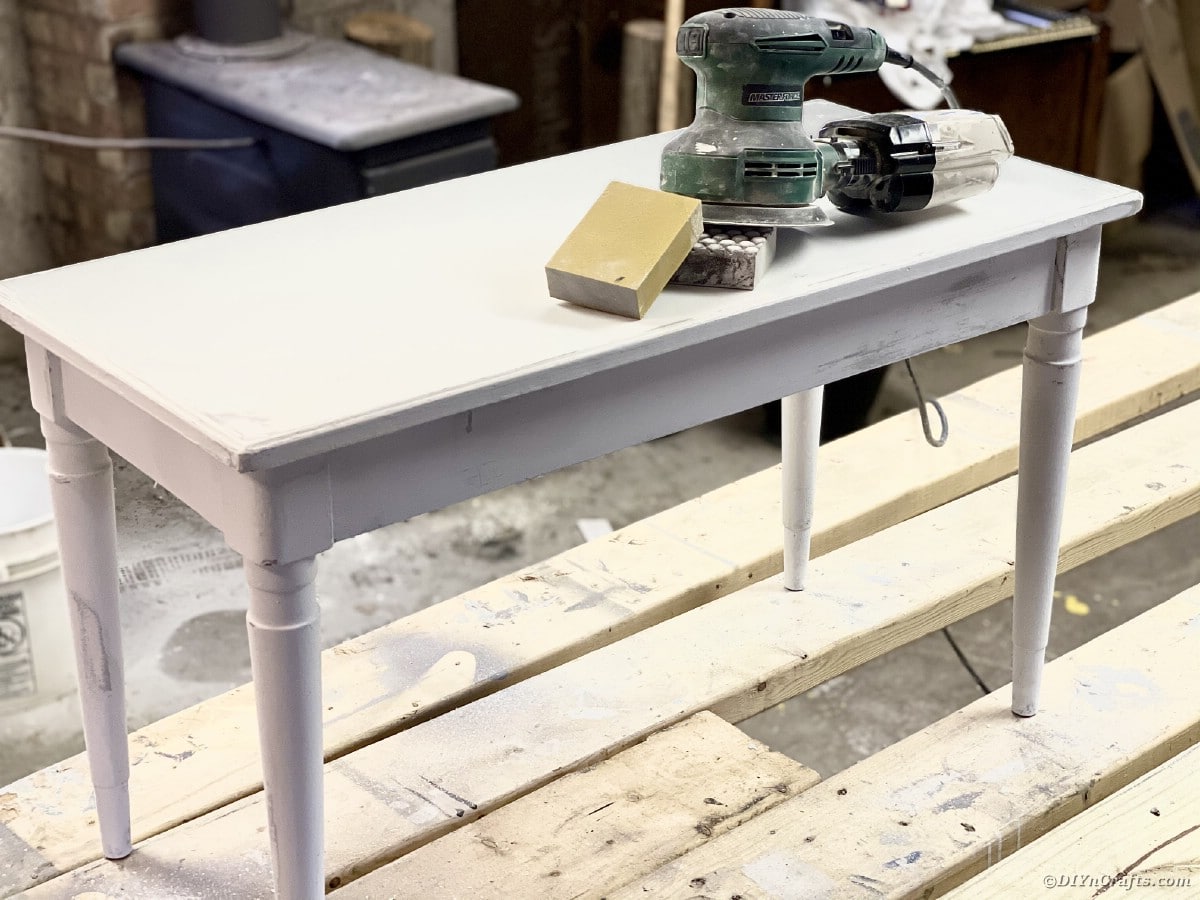
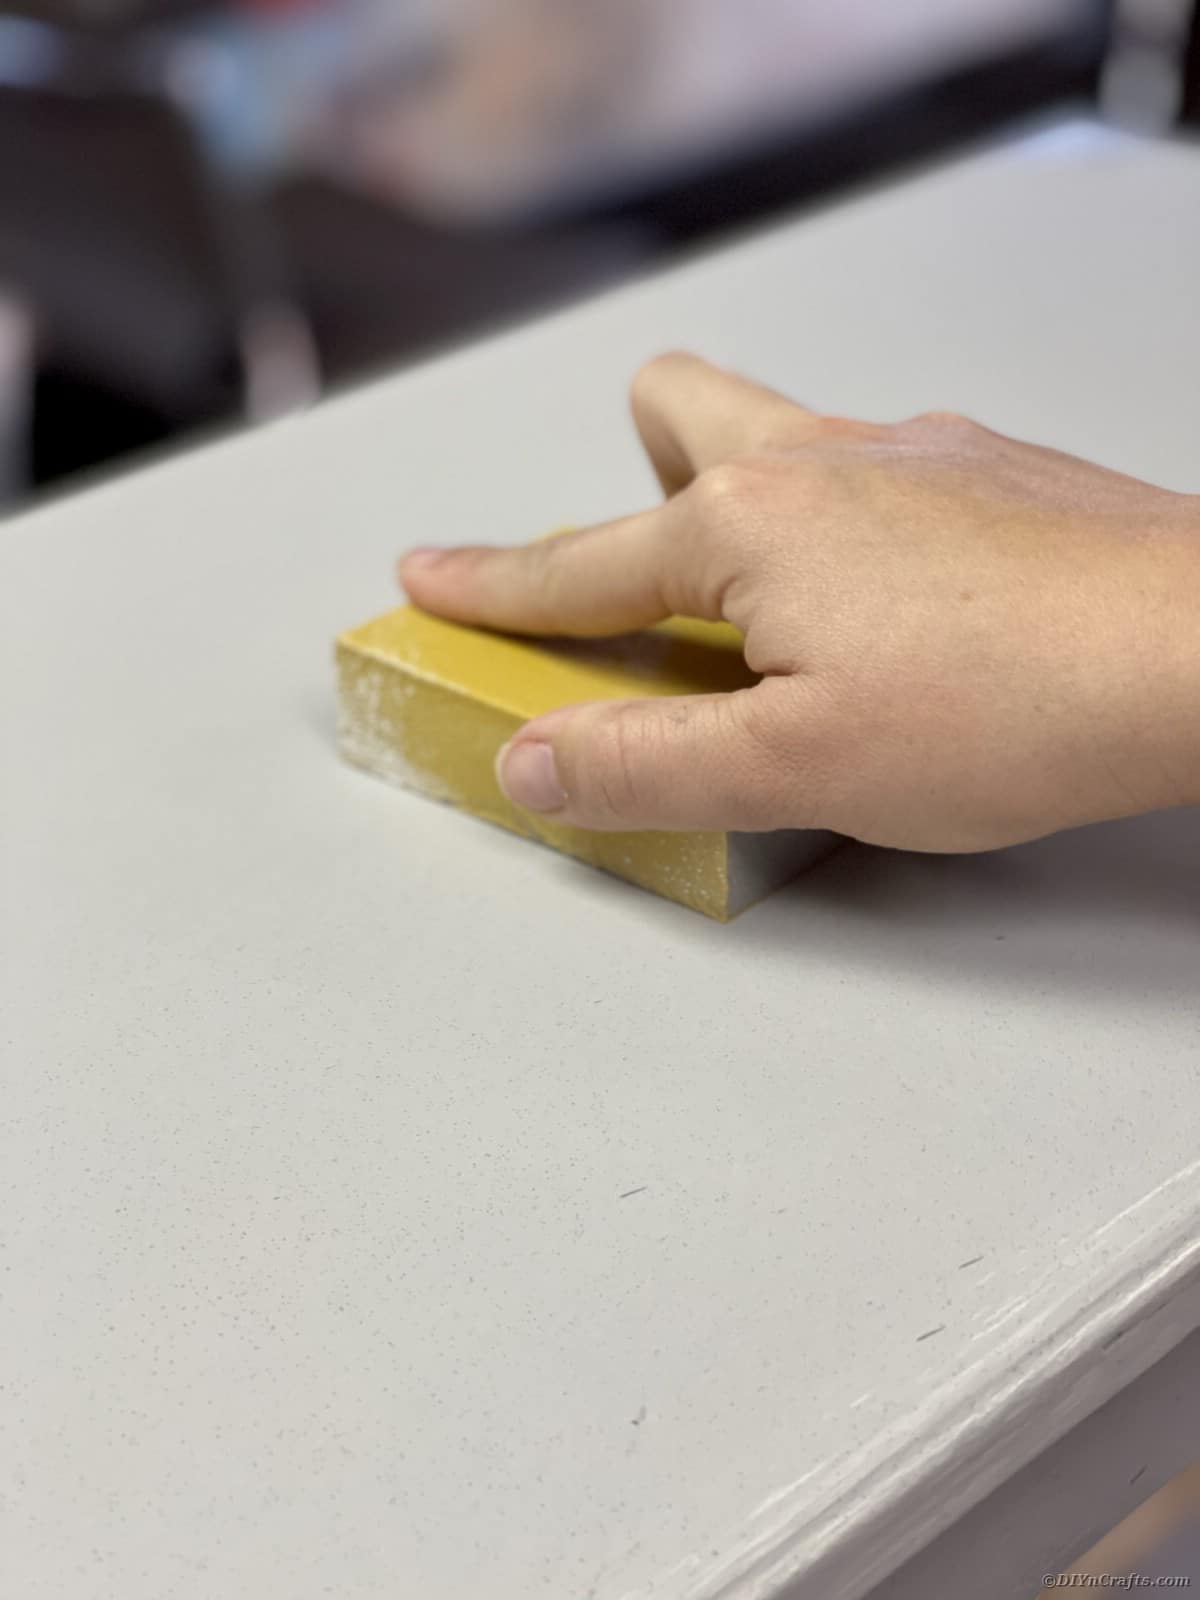
Using an 80 grit sanding block or orbital sander sand the entire piece. Be sure to smooth any rough surfaces or areas where existing paint has built up. Sanding the piece as much as you can, removing prior paint as much as possible. This takes elbow grease. Make sure to apply strong pressure to leave your painting surface as smooth as possible.
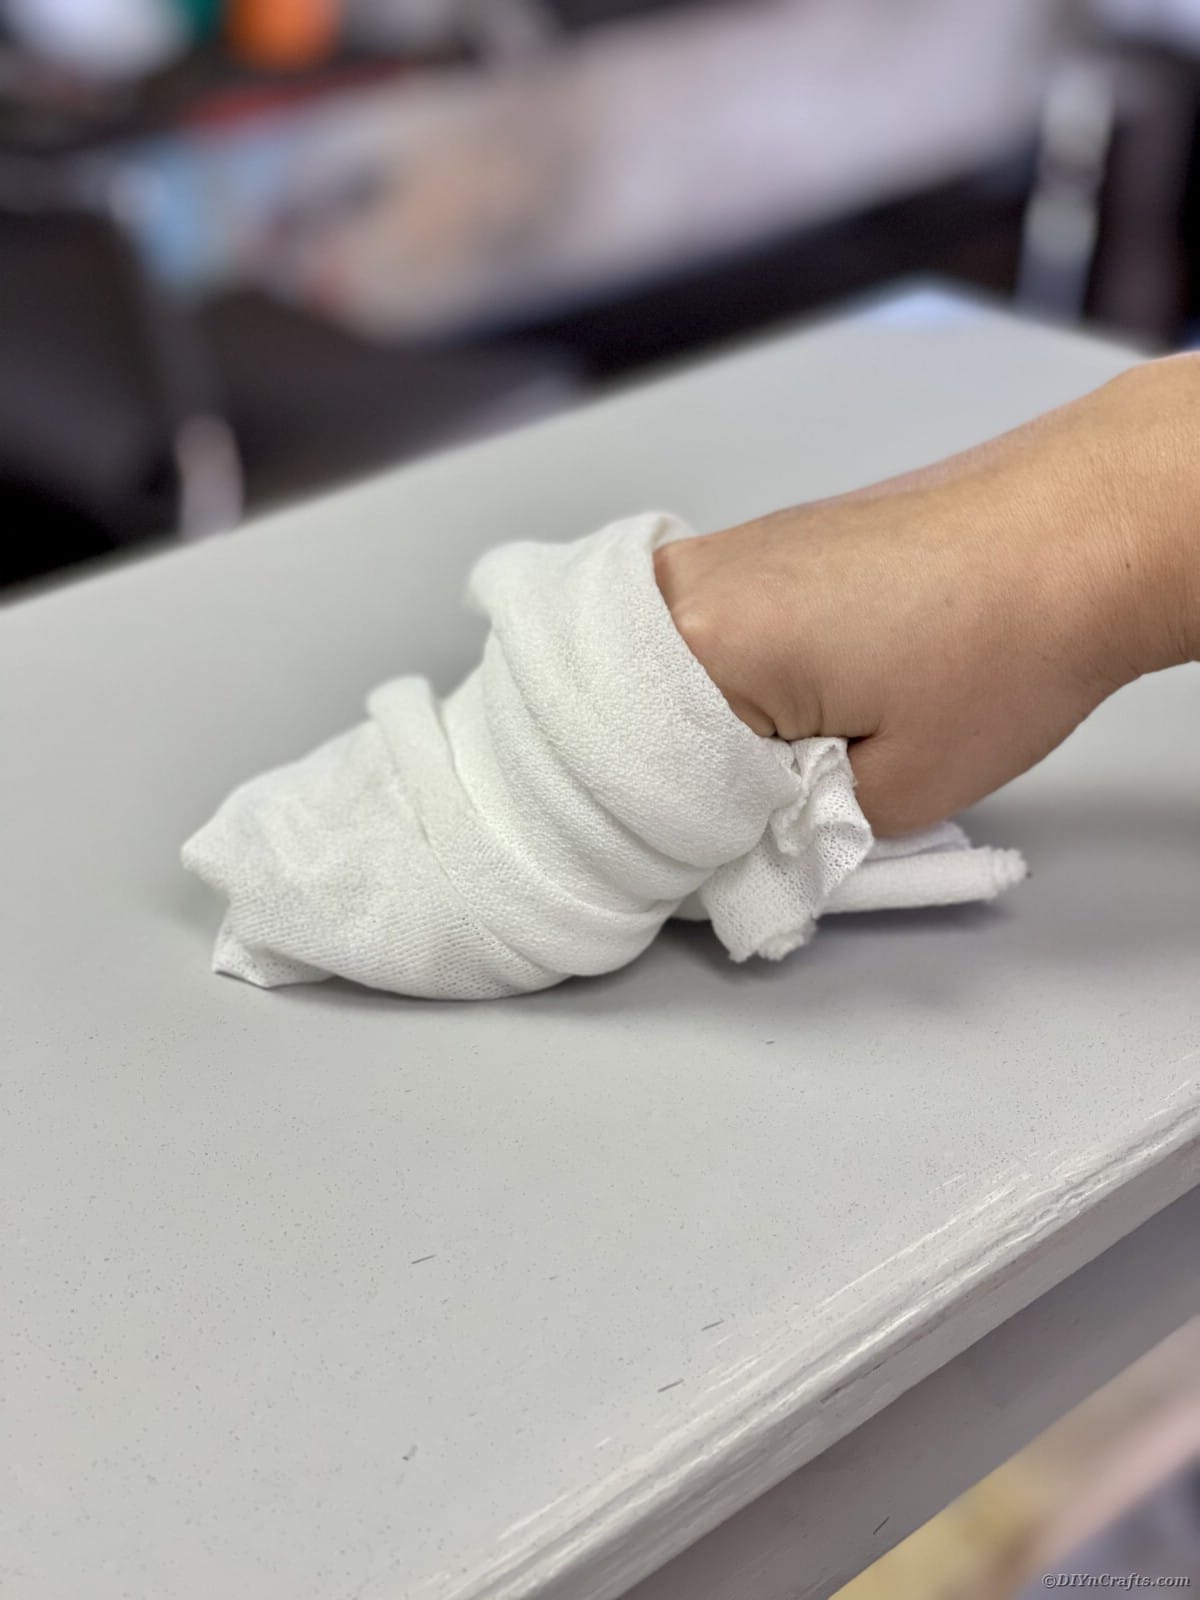
Using a lint-free rag remove all dust and debris from the entire piece. This will ensure a clean surface before applying paint.
Begin Painting the Furniture Piece to Distress
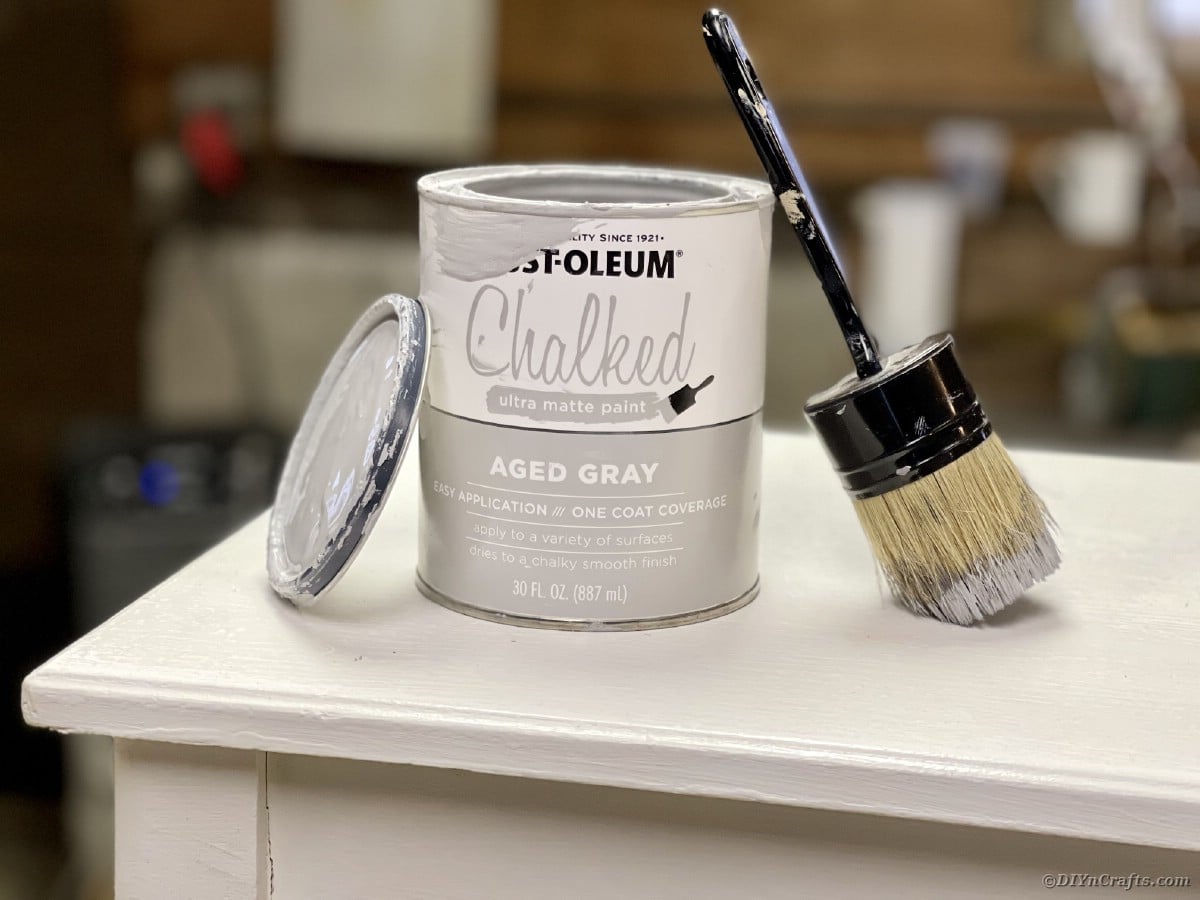
Stir your Rust-Oleum Aged Gray Chalked Paint for 30 seconds with a wooden paint stick.
Pour Aged Gray onto a paper plate. A little goes a long way. Best to add more to your plate as you go to ensure you do not waste.
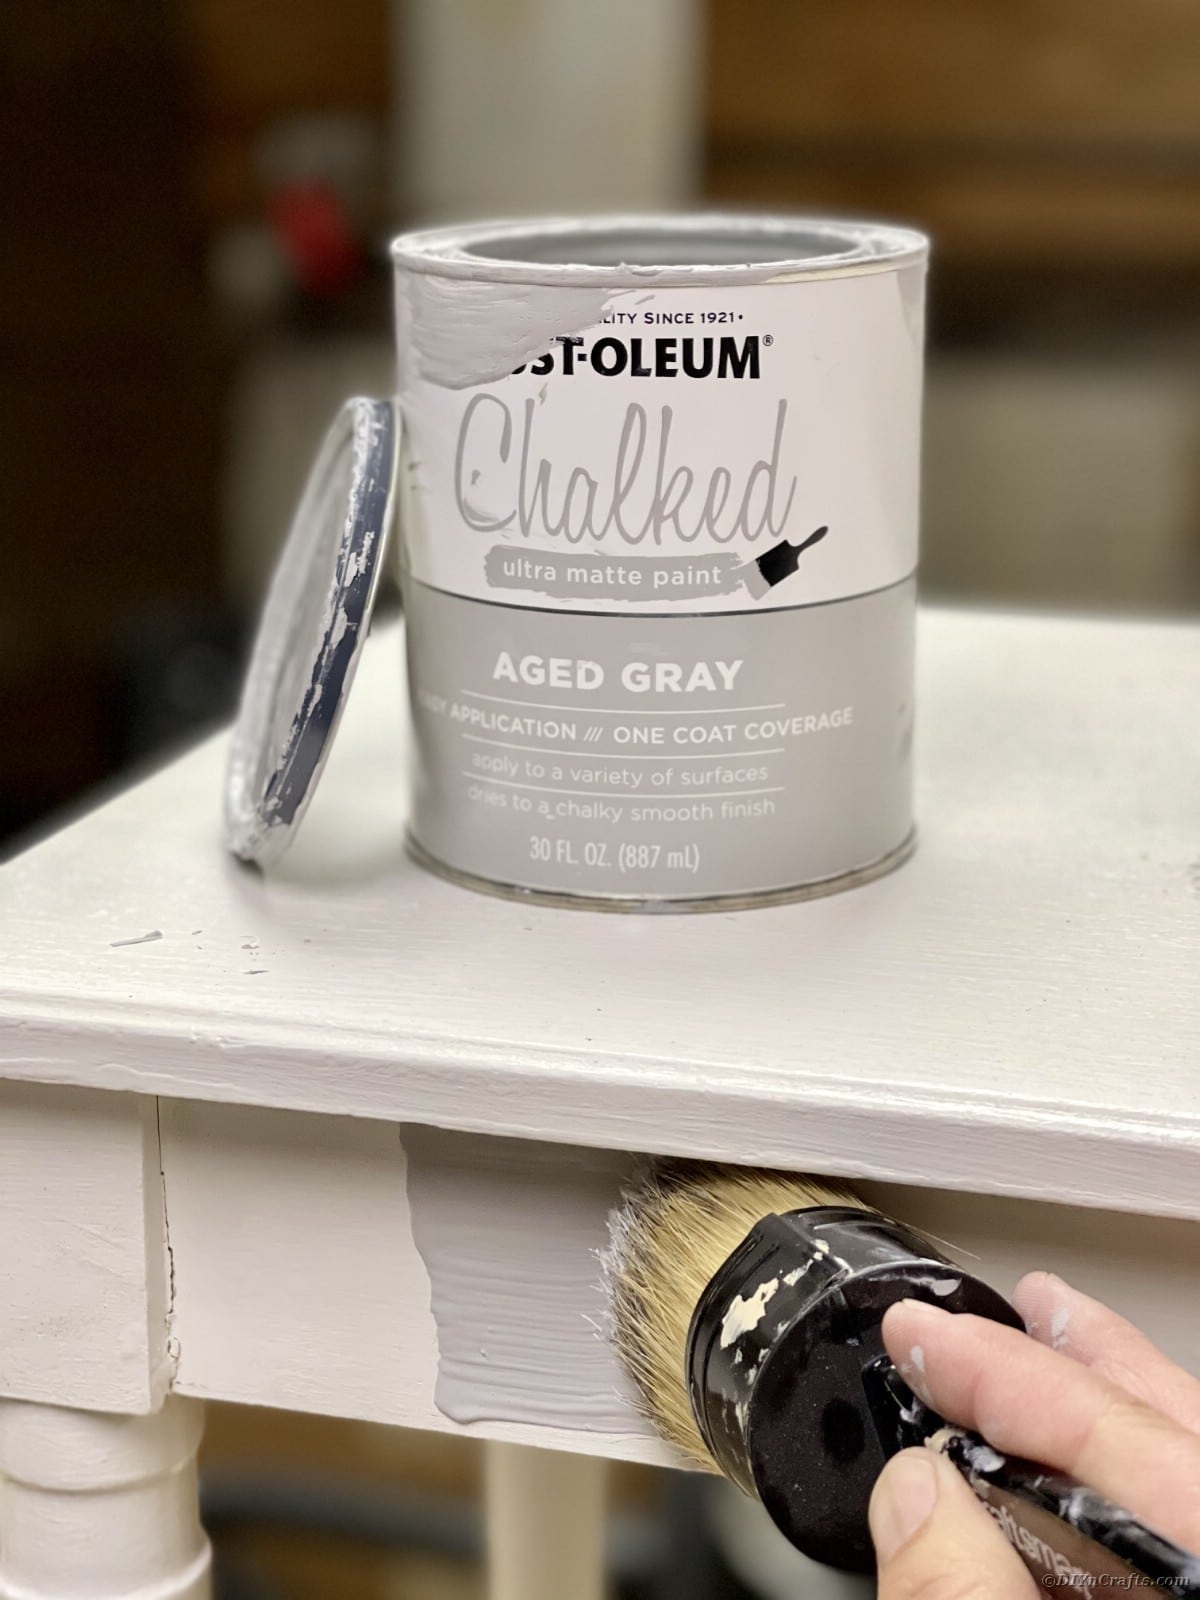
Using your Natural Bristle Chalk Paint Brush, coat the bottom of your brush and start painting the top of your piece. Be sure to work the paint in the same direction as the wood grain. Working from top to bottom will help minimize drips. Coat the entire piece. Don’t worry if the paint looks streaky it will all flatten out.
Let dry for 30 minutes.
If necessary flip piece and paint underneath with Aged Gray Chalk Paint. Be sure to focus on any edges or areas that might be visible to ensure full coverage.
Let dry for 30 minutes.
Flip piece to have top of piece parallel with the ceiling.
Let cure for 24 hours (depending on weather and humidity)
If necessary, using 220 grit sandpaper lightly sand any areas of paint drips or build up.
Using your lint-free dust cloth, remove any debris and dust.
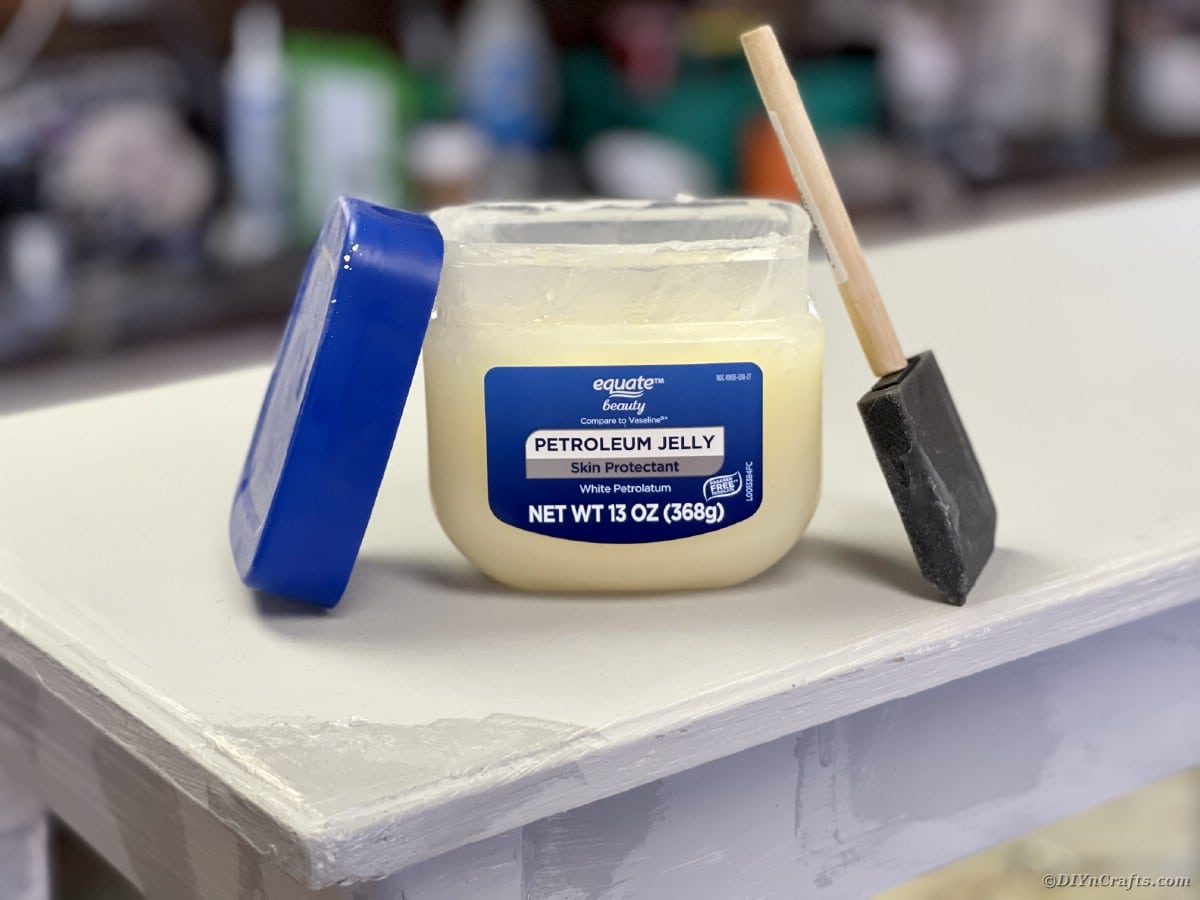
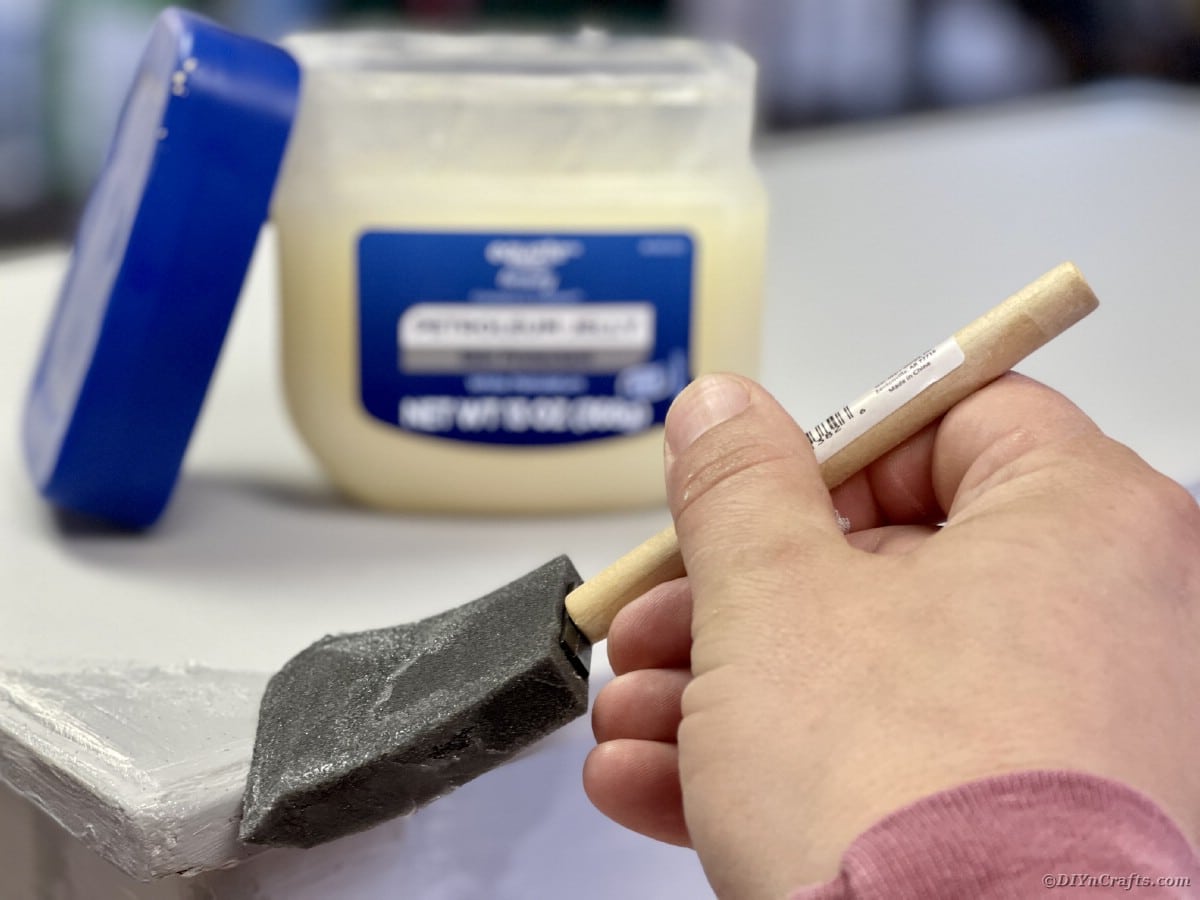
Apply generous coats of petroleum jelly with a foam brush on any areas you want your Aged Gray Chalk Paint to chip through.
Focus on corners, areas of detail, and areas that will show natural distress.
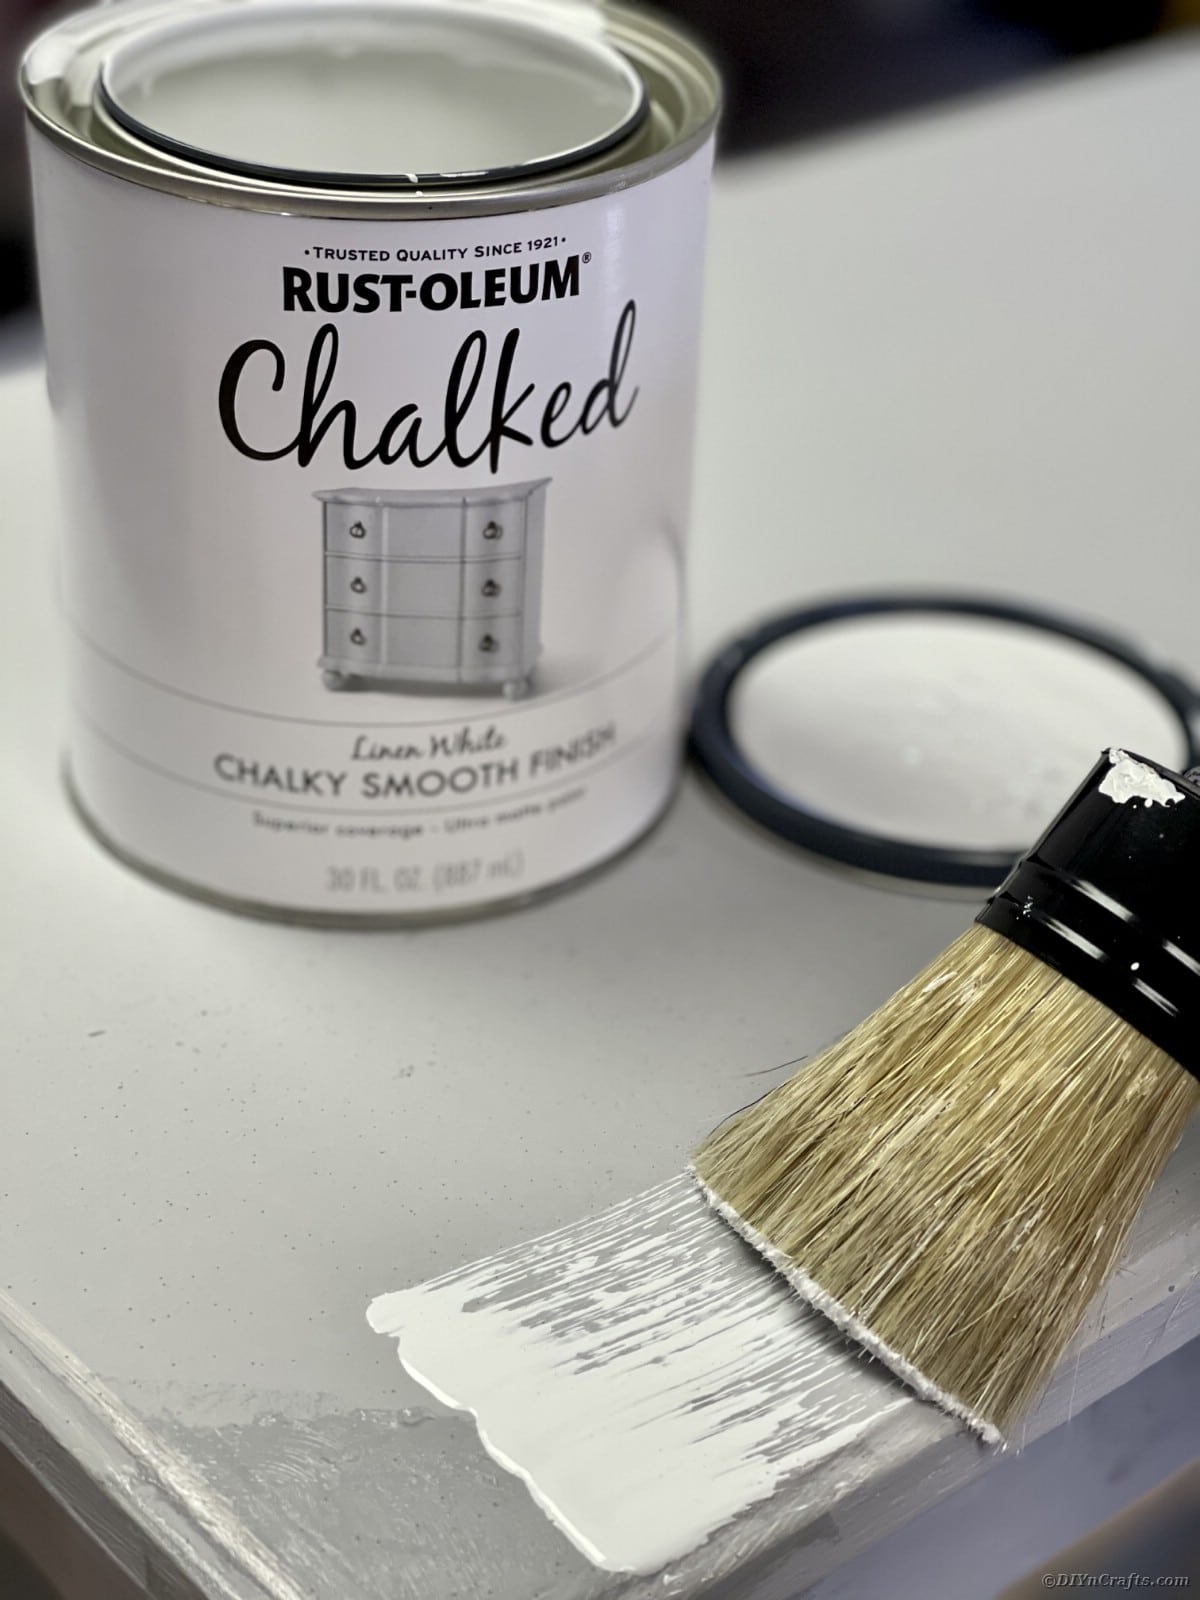
Stir your Rust-Oleum White Linen Chalked for 30 seconds.
Pour White Linen onto a paper plate. Remember a little goes a long way.
Using your natural bristle chalk paintbrush, coat the bottom of your brush and start painting the top of your piece. Paint in the same direction as the wood grain. Work from top to bottom. Be sure to paint over the petroleum jelly.
Let dry for 30 minutes.
Flip piece and paint underneath with Rust-Oleum Chalked Linen White. Be sure to focus on any edges or areas that might be visible to ensure full coverage.
Let Cure for 24 hours.
Finalize The Project
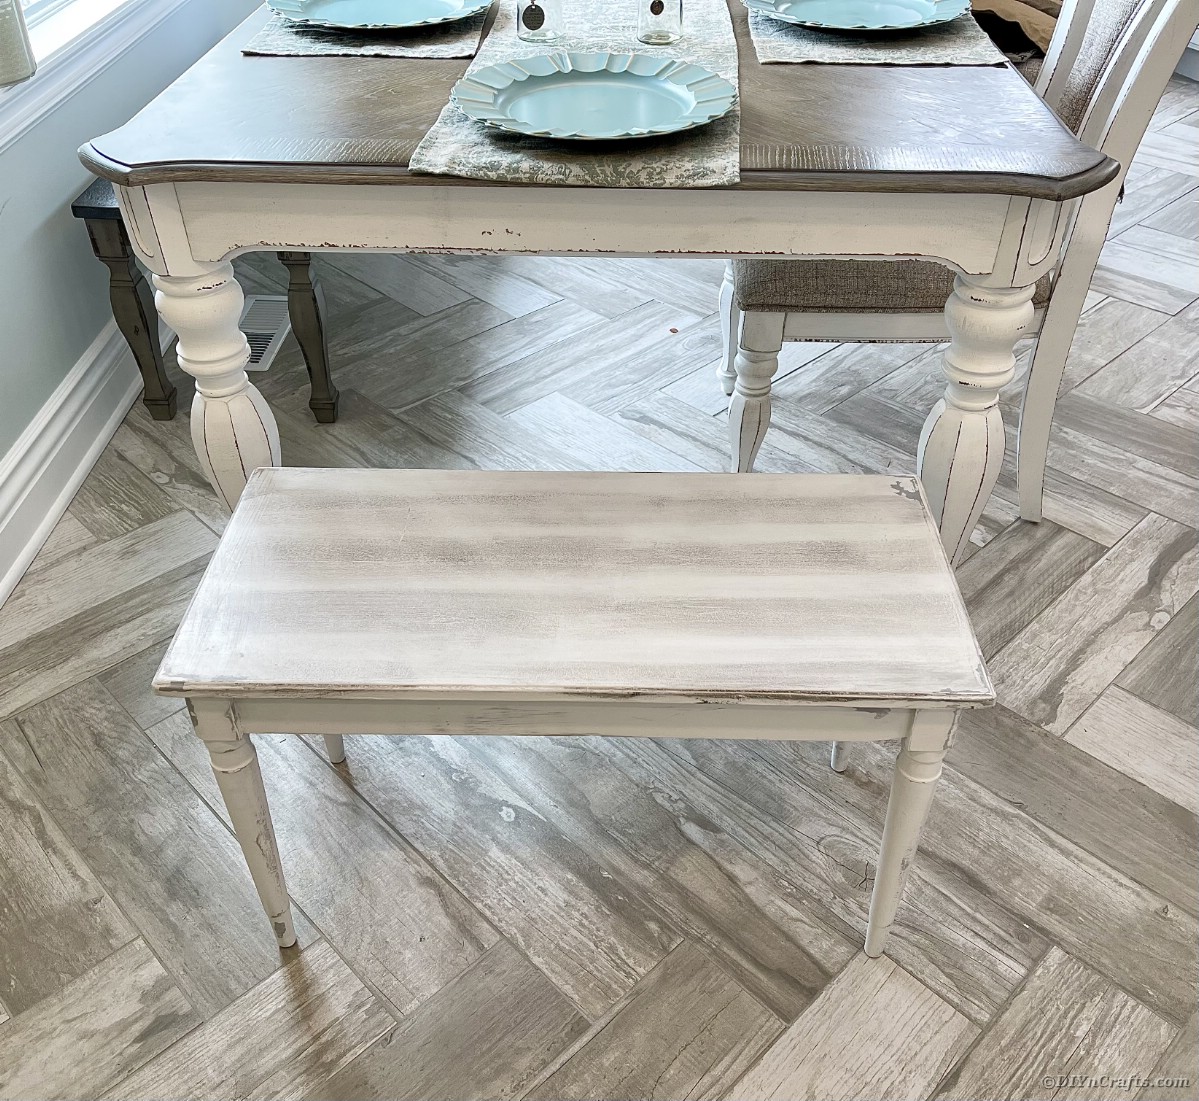
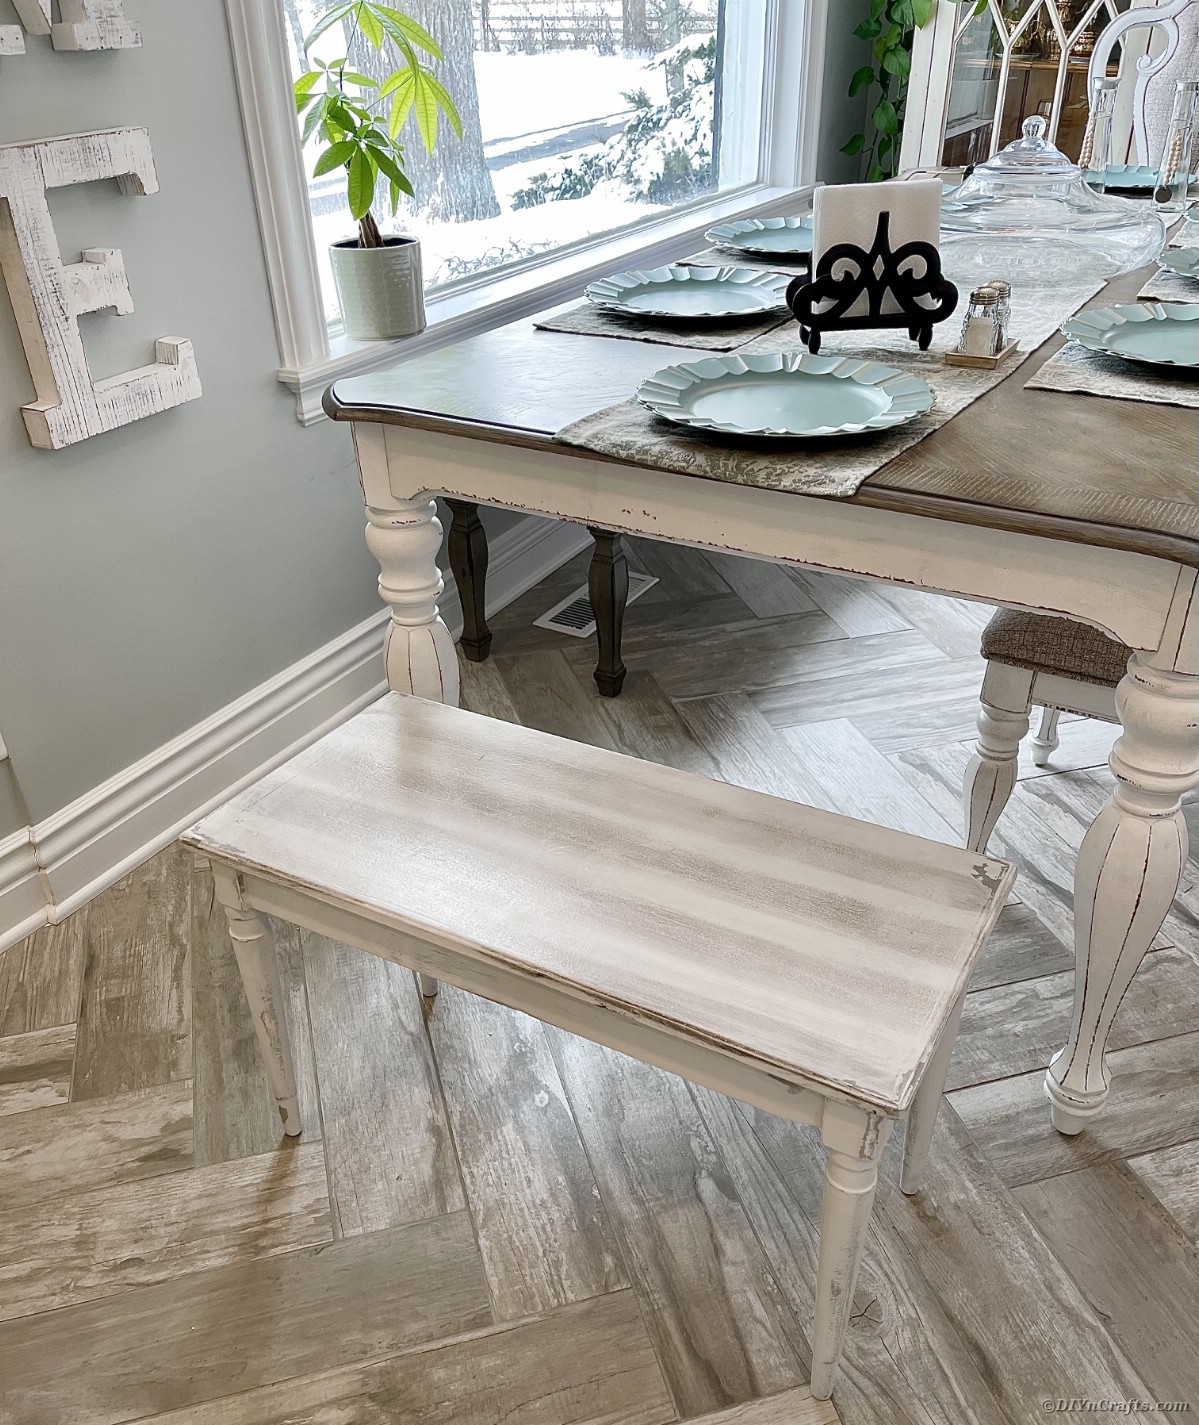
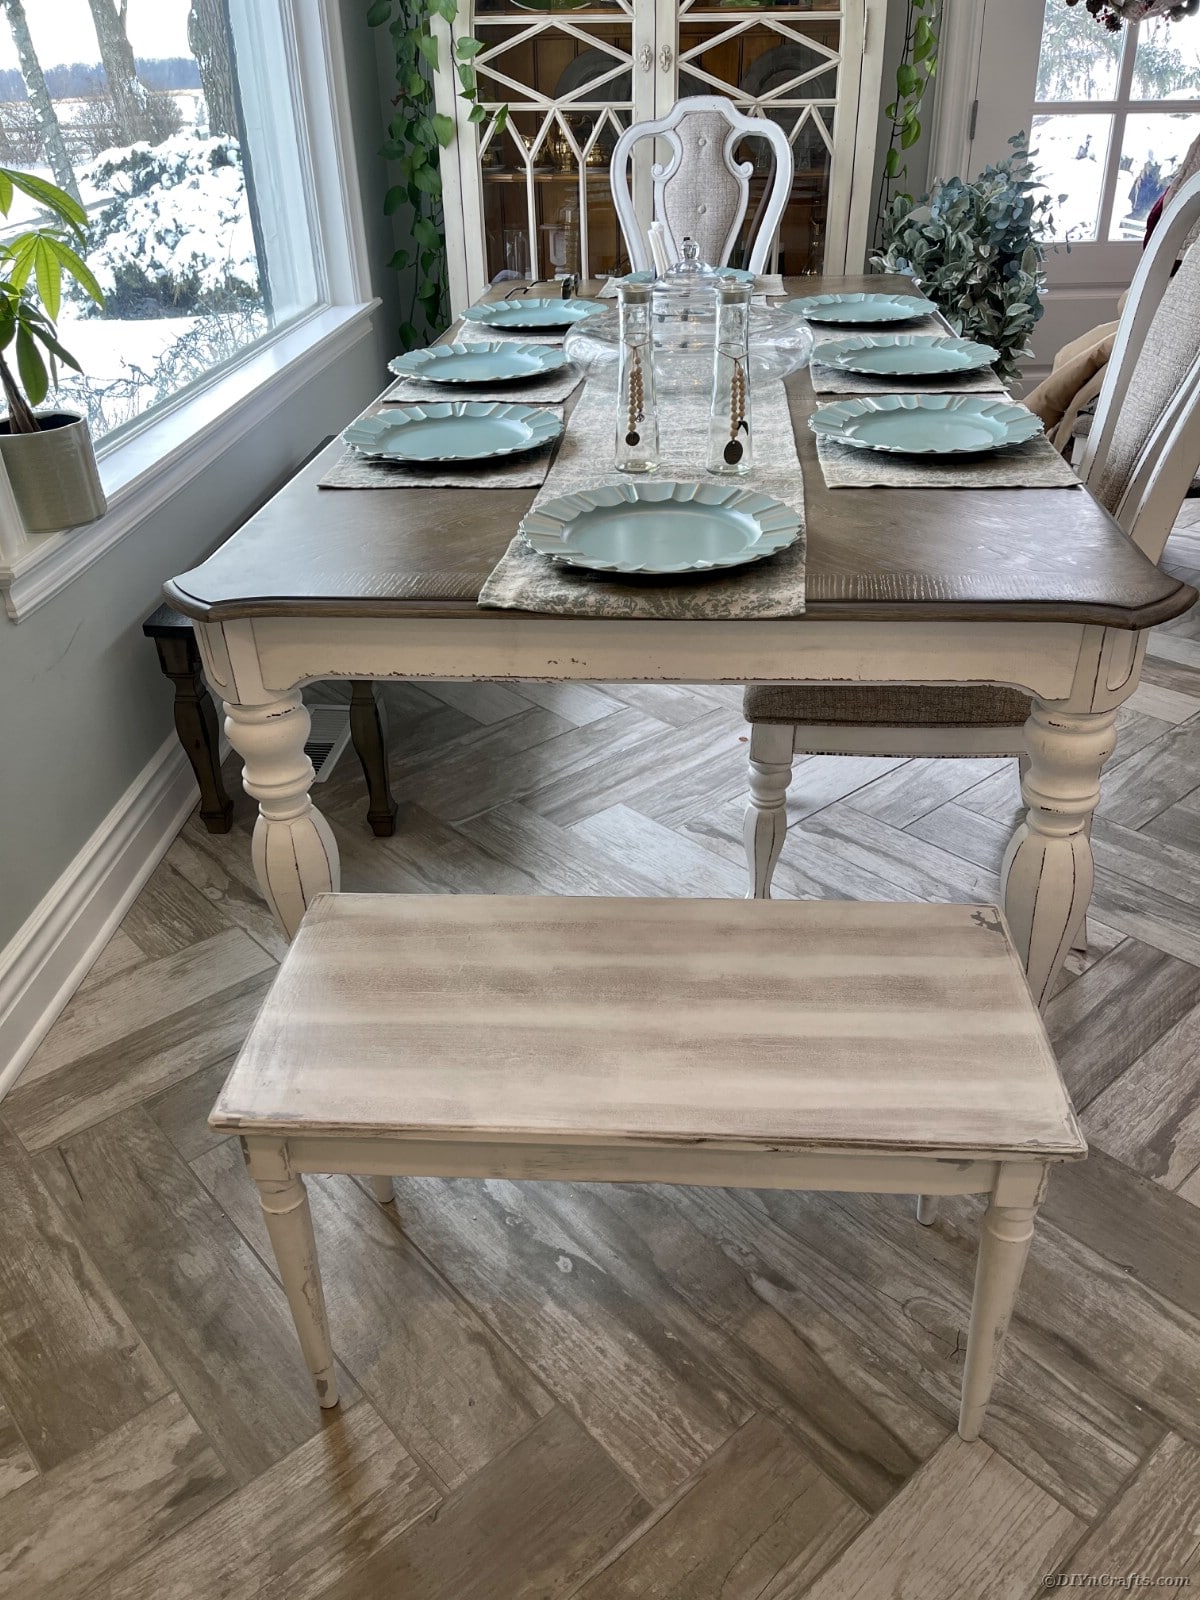
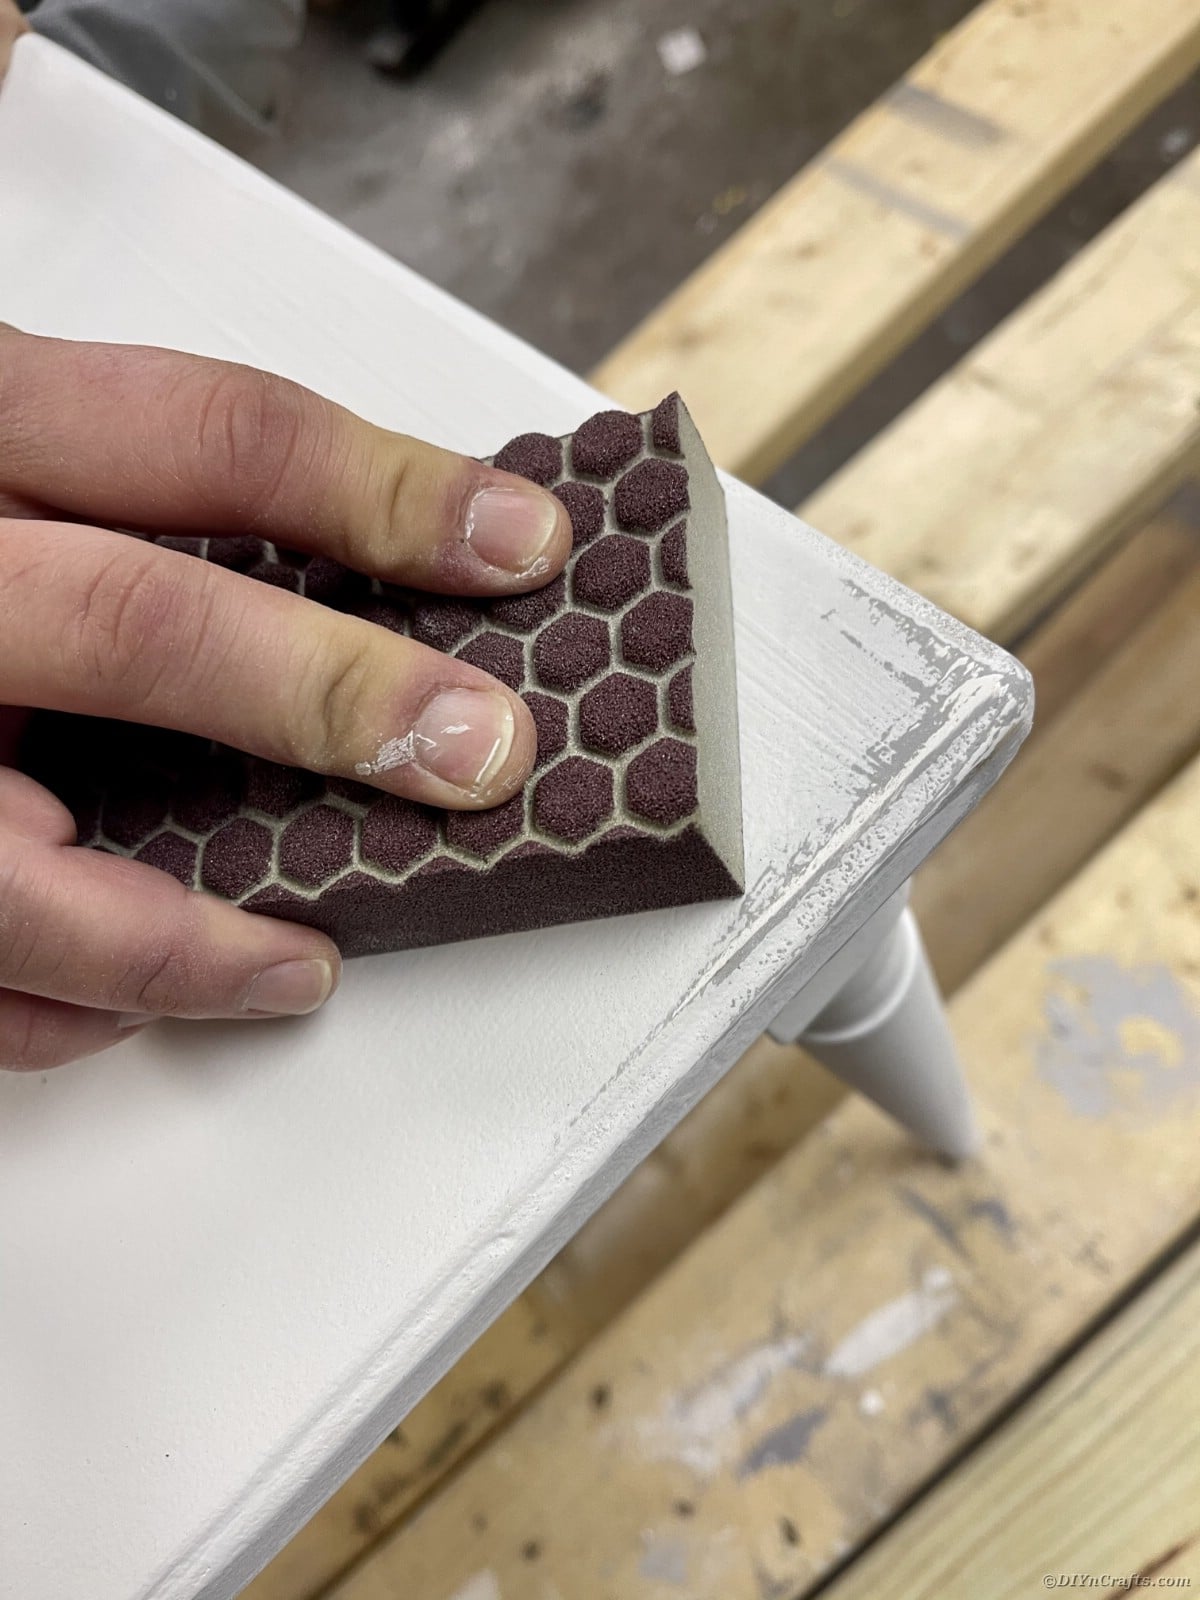
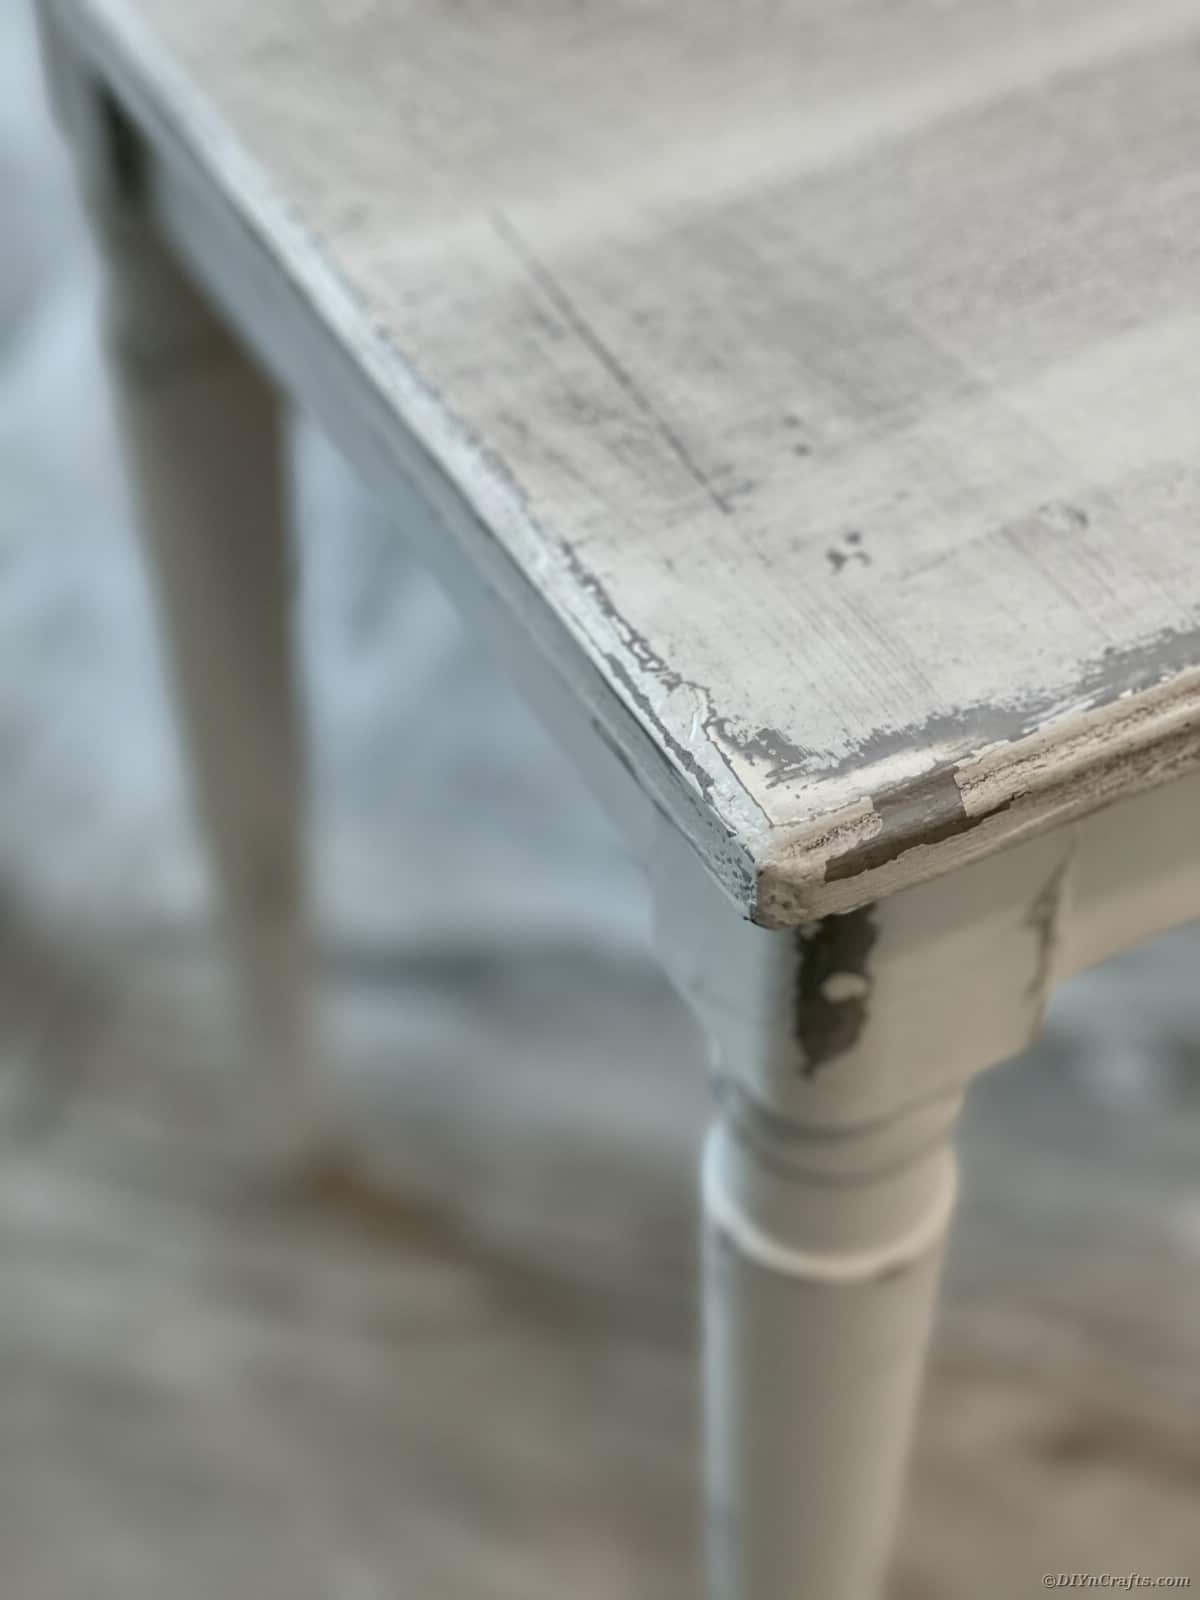
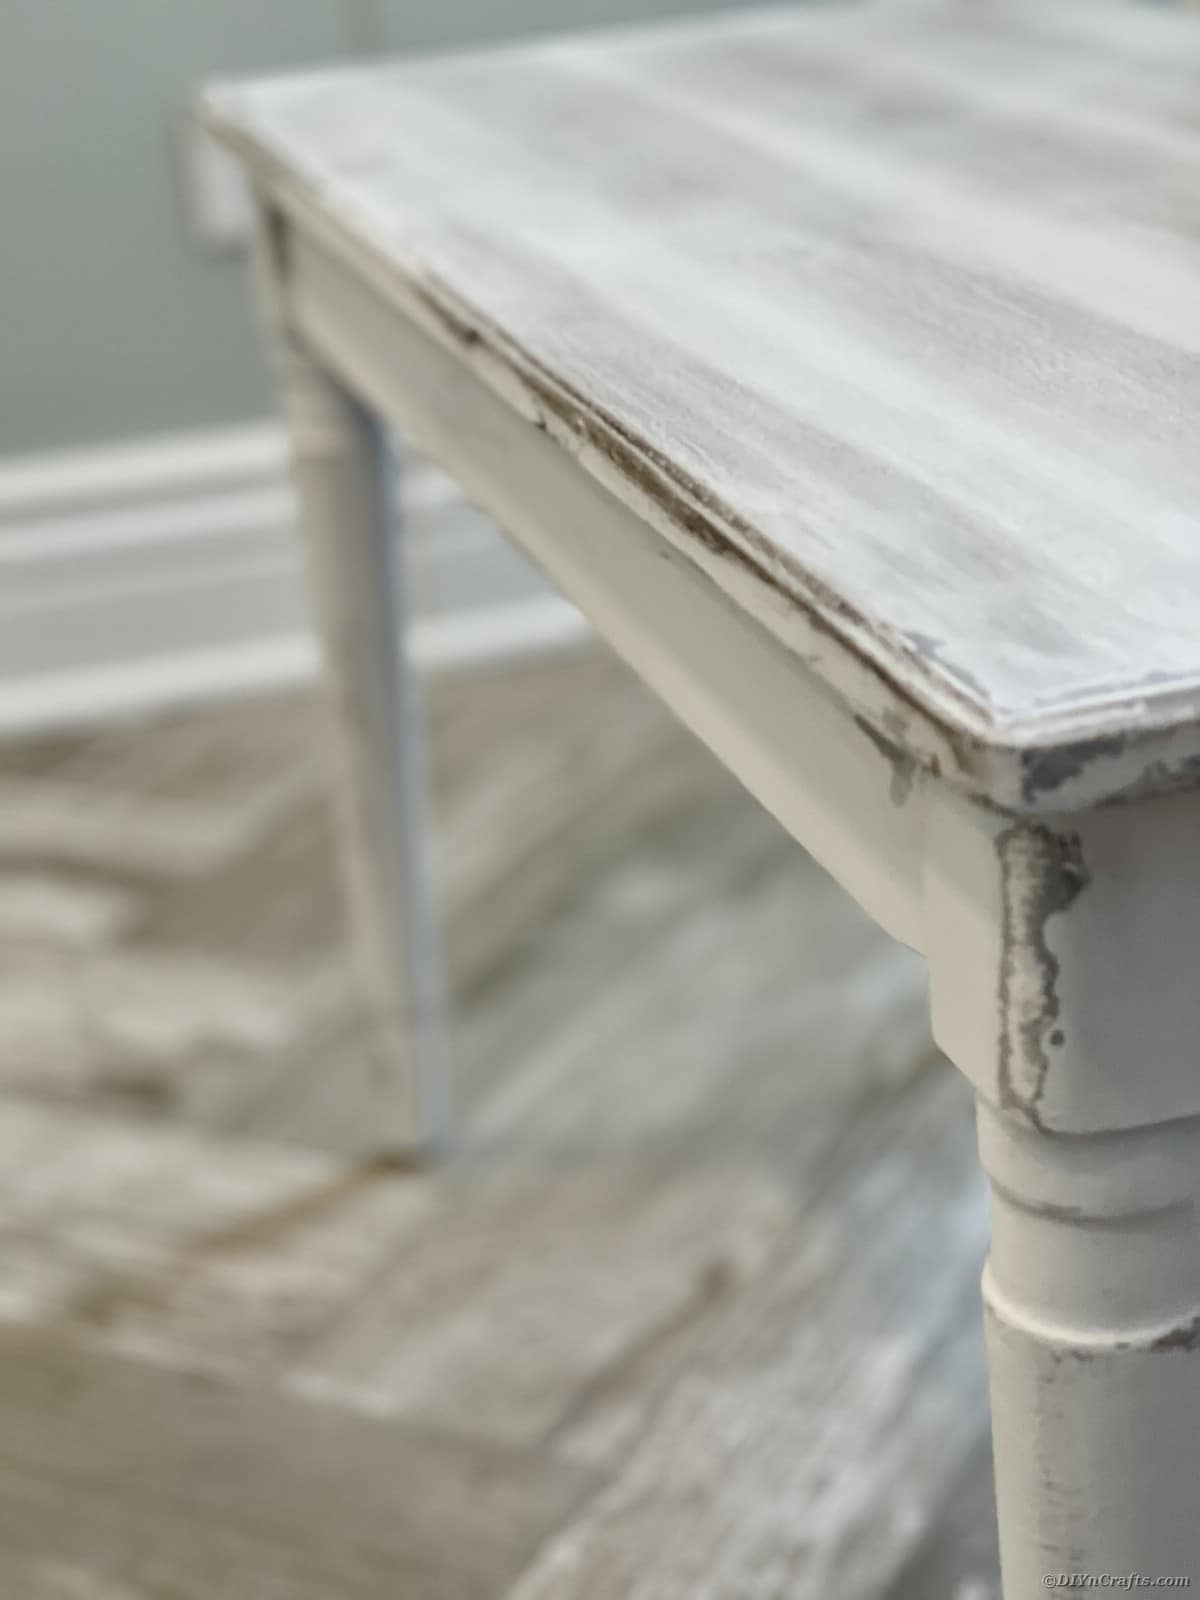
Using 220 grit sandpaper or Orbital Sander sand the entire piece. Areas, where the petroleum jelly was, will chip off exposing that beautiful Aged Gray. Any areas you would like additional distressing for a naturally aged look, sand away. Corners, legs, and top surfaces are great places to distress.
Set a timer for 15 minutes. Start the timer when you begin waxing.
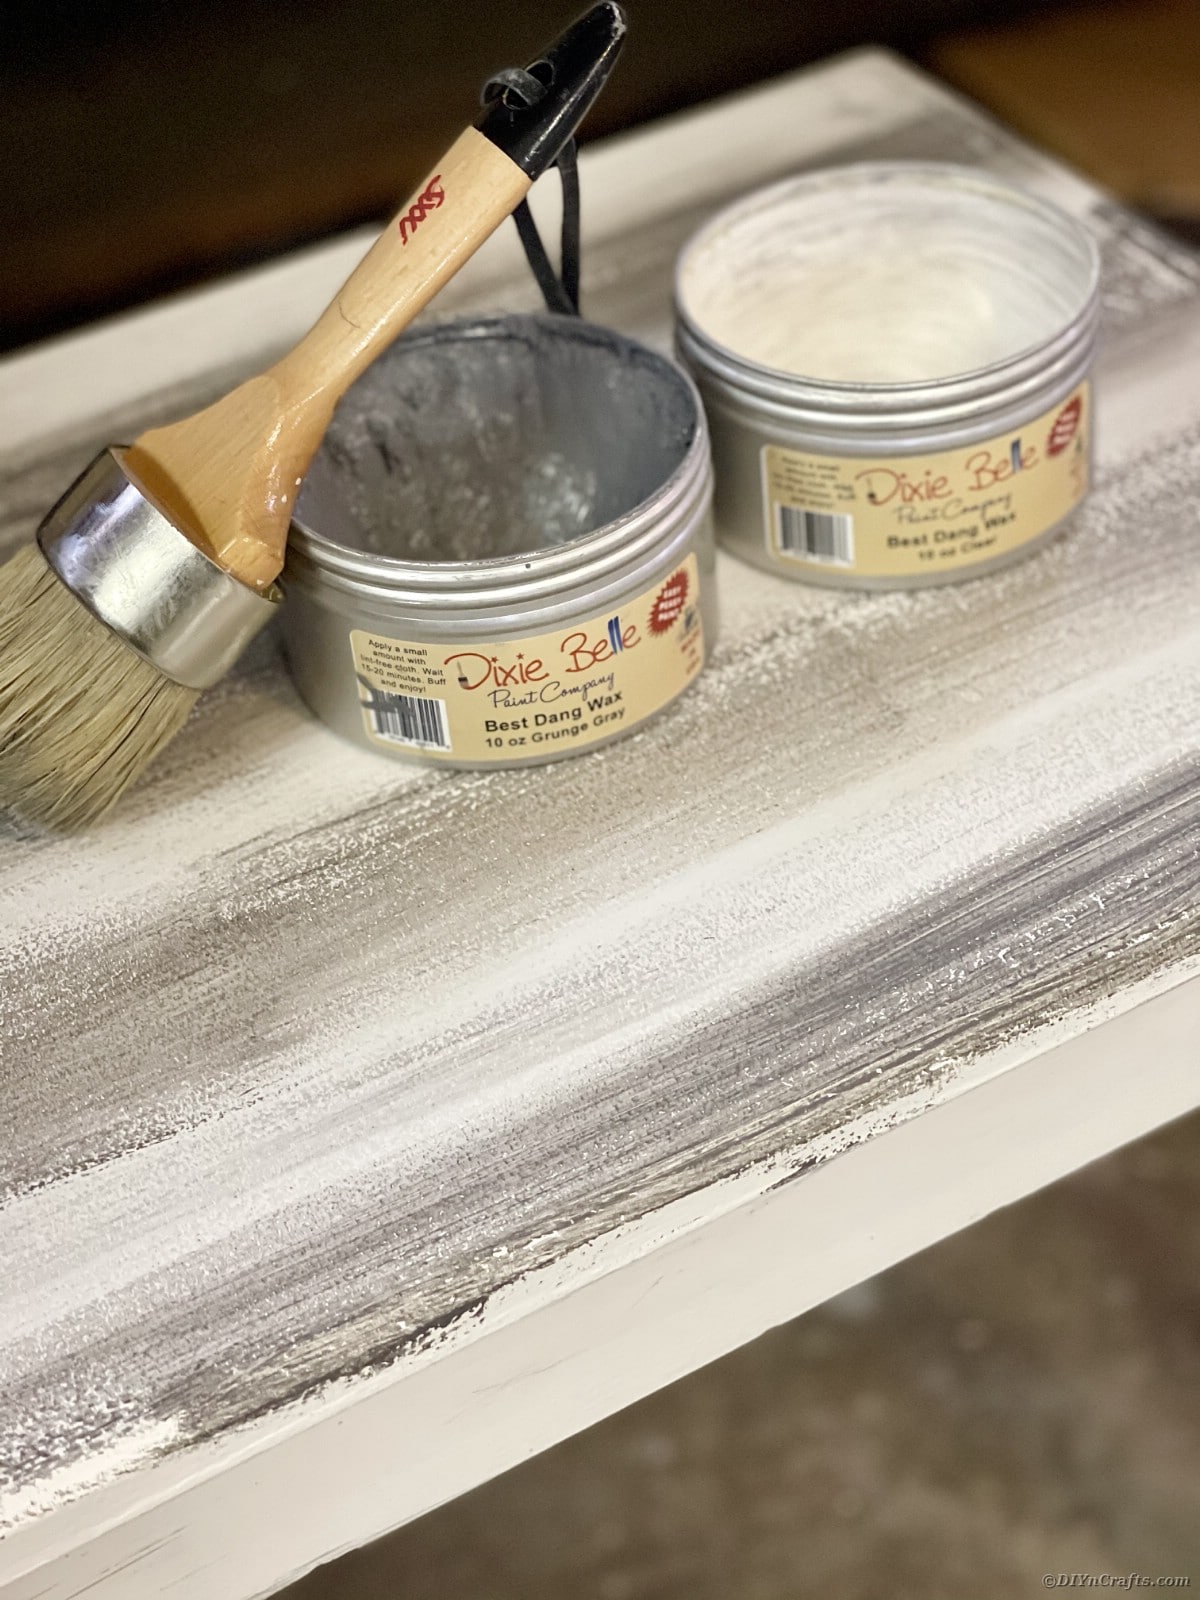
Using your natural bristle wax brush and Dixie Belle Best Dang Clear Wax and Best Dang Gray wax apply a thin coat to the top. For this look, we alternated wax color between gray and clear. Start with the clear wax, on the edge and work from one end to the other. One solid line. Then using another natural bristle wax brush repeat the same process with the gray wax. You can dip your brush right into the tin. Remember to apply a thin coat. Wax can overlap a little to ensure full coverage.
Work quickly and remember to alternate between the clear and the gray wax.
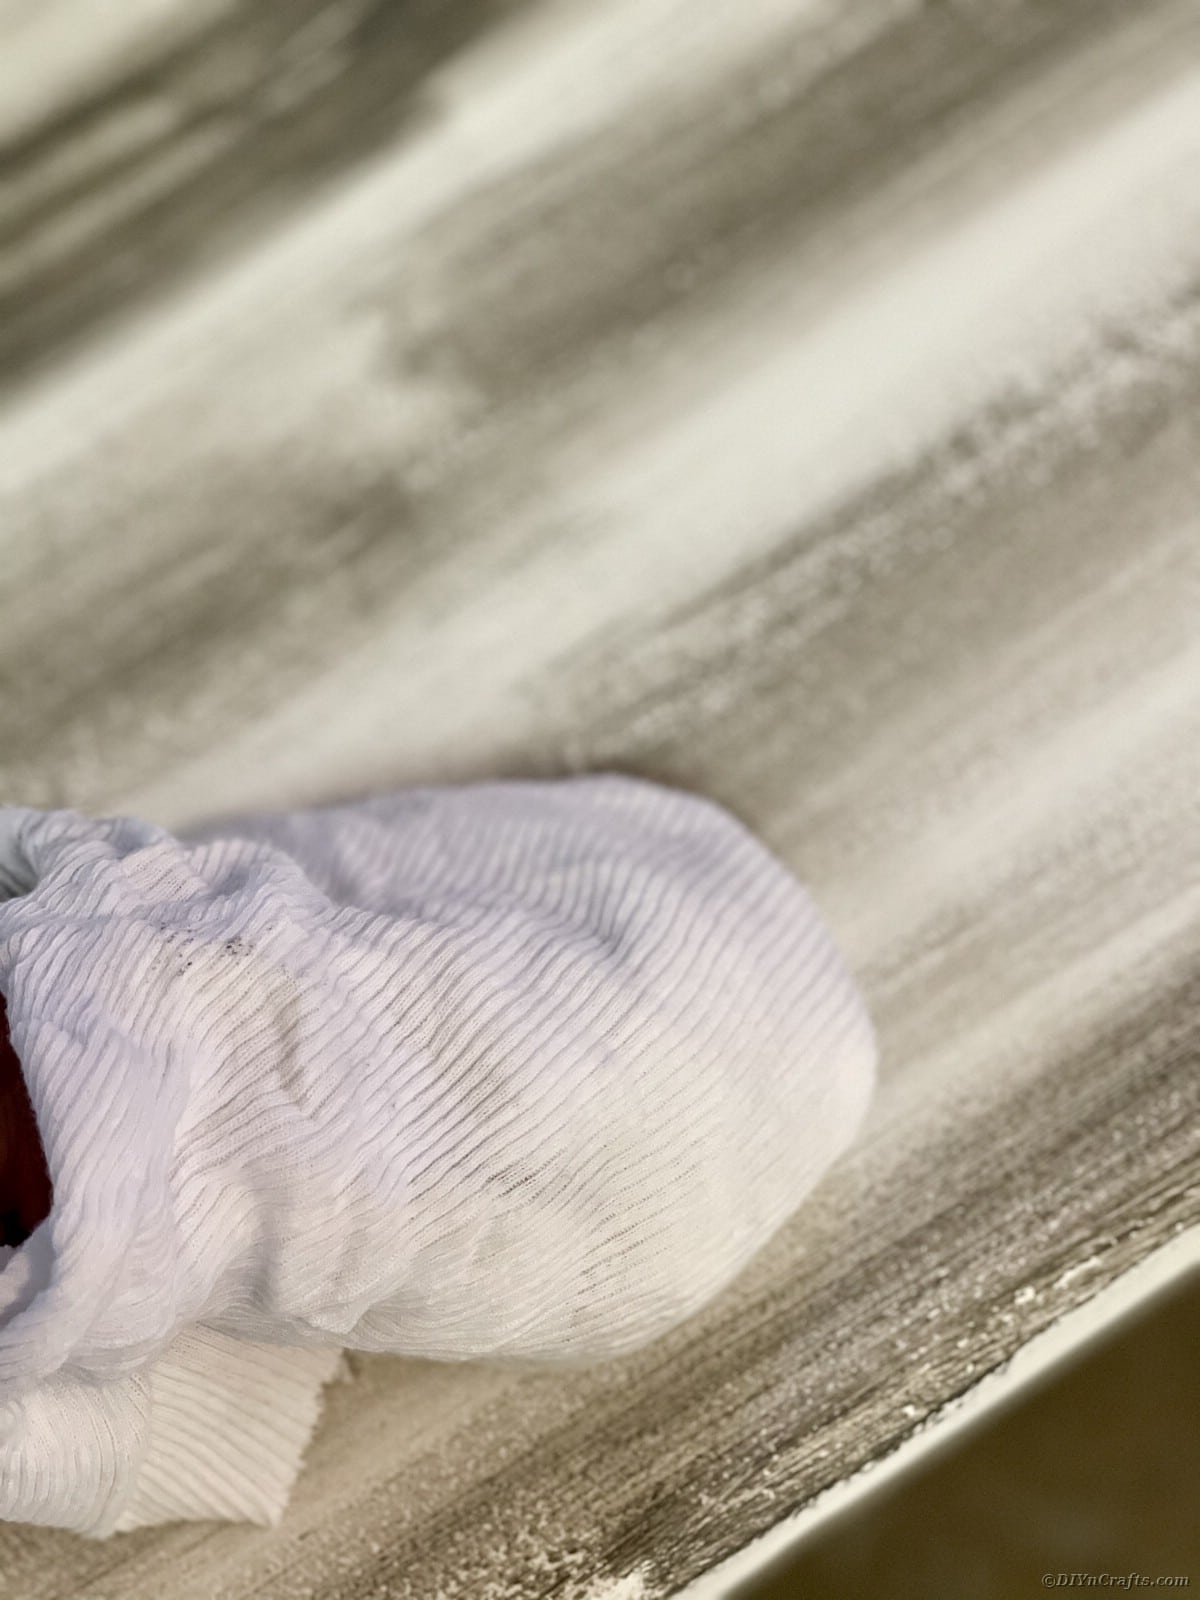
Once the timer goes off you can start to rub in your wax. Work in the area that you applied first. Using your lint-free cloth rub your wax into your piece. Be sure to rub in the same direction you applied, do not mix the gray and clear together, and press the wax into the wood. If you're not sweating you're not doing it right. This takes elbow grease.
Let Cure for two hours.
Set a timer for 15 mins. Start the timer when you start step 24.
Using your natural bristle wax brush and Dixie Belle Best Dang Clear Wax apply a thin coat to the rest of the piece. You can dip your brush right into the tin.
Remember to apply a thin coat. Work quickly.
Once the timer goes off you can start to rub in your wax. Work in the area that you applied first. Using your lint free cloth rub your wax into your piece. Be sure to rub in all directions and press the wax into the wood. If you're not sweating you’re not doing it right. This takes elbow grease.
Let cure for two hours.
The full cure time is 30 days. (You can gently use your furniture after the first 48 hours) Be sure not to clean or drag anything across your beautiful creation before your 30 days are up.
Clean Your Workspace
Clean all chalk paint brushes immediately after use with water. If buildup occurs you can gently clean with mineral spirits.
Place wax brushes in a ziplock bag. No need to clean your brush as long as you only use the same color wax with the same brush. Place in a ziplock bag immediately when you're done using.
Place your new item in your home and use it with pride!
How to Distress and Update Painted Furniture
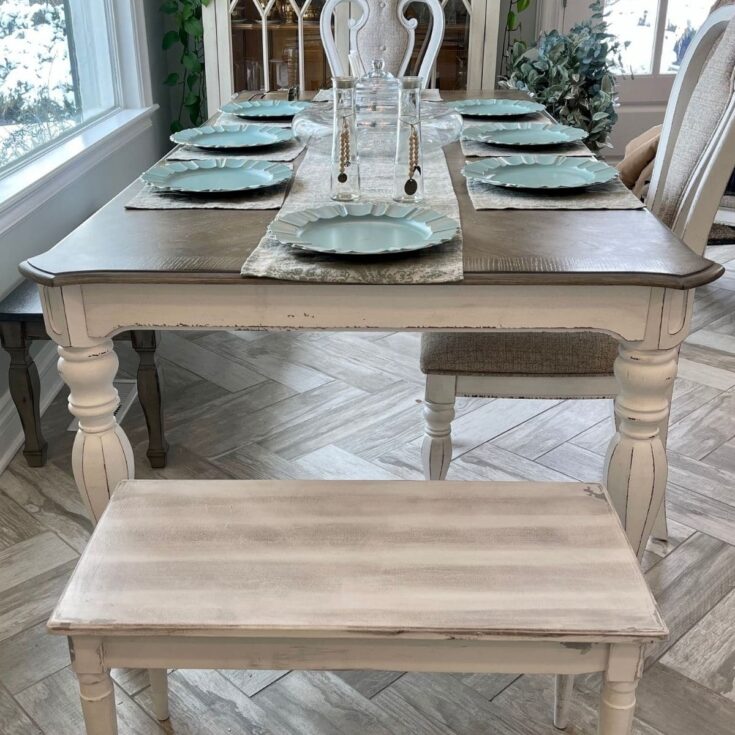
Follow this step-by-step tutorial to learn how to restore or weather any piece of furniture!
Materials
- 220 grit sand paper or sanding block
- 80 grit sandpaper or sanding block
- Foam Brush
- Wood Paint Stick for Stirring
- Natural Bristle Chalkpaint Brush
- Two Natural Bristle Wax Brushes
- Fine Paint Brush
- Four Lint Free Cloths
- Drop Cloth
- Mineral Spirits
- Rust-Oleum Chalked White Linen
- Rust-Oleum Chalked Aged Gray
- Petroleum Jelly
- Dixie Belle Best Dang Wax Clear
- Dixie Belle Best Dang Gray Wax
Instructions
Prepare Your Work Space
- Place furniture in a clean workspace. If working in a garage be sure to sweep or blow all dirt and debris out of the area you will be working in. Lay a drop cloth down to ensure the paint does not drip and ruin your flooring.
- Take one lint-free cloth and dampen it with mineral spirits. Clean the entire piece of furniture with the spirits to remove any and all debris or oils that may be on the surface. Be sure to wipe down anywhere you will be painting, including the inside of drawers and/or doors. It is advised to wear a mask or be sure you are in a well-ventilated area.
- Using an 80 grit sanding block or orbital sander sand the entire piece. Be sure to smooth any rough surfaces or areas where existing paint has built up. Sanding the piece as much as you can, removing prior paint as much as possible. This takes elbow grease. Make sure to apply strong pressure to leave your painting surface as smooth as possible.
- Using a lint-free rag remove all dust and debris from the entire piece. This will ensure a clean surface before applying paint.
Begin Painting the Furniture Piece to Distress
- Stir your Rust-Oleum Aged Gray Chalked Paint for 30 seconds with a wooden paint stick.
- Pour Aged Gray onto a paper plate. A little goes a long way. Best to add more to your plate as you go to ensure you do not waste.
- Using your Natural Bristle Chalk Paint Brush, coat the bottom of your brush and start painting the top of your piece. Be sure to work the paint in the same direction as the wood grain. Working from top to bottom will help minimize drips. Coat the entire piece. Don’t worry if the paint looks streaky it will all flatten out.
- Let dry for 30 minutes.
- If Necessary Flip piece and paint underneath with Aged Gray Chalk Paint. Be sure to focus on any edges or areas that might be visible to ensure full coverage. Let dry for 30 minutes.
- Flip piece to have top of piece parallel with the ceiling.
- Let cure for 24 hours (depending on weather and humidity)
- If necessary, using 220 grit sandpaper lightly sand any areas of paint drips or build up.
- Using your lint-free dust cloth, remove any debris and dust.
- Apply generous coats of petroleum jelly with a foam brush on any areas you want your Aged Gray Chalk Paint to chip through. Focus on corners, areas of detail, and areas that will show natural distress.
- Stir your Rust-Oleum White Linen Chalked for 30 seconds.
- Pour White Linen onto a paper plate. Remember a little goes a long way.
- Pour White Linen onto a paper plate. Remember a little goes a long way.
- Using your natural bristle chalk paintbrush, coat the bottom of your brush and start painting the top of your piece. Paint in the same direction as the wood grain. Work from top to bottom. Be sure to paint over the petroleum jelly.
- Let dry for 30 minutes.
- Flip piece and paint underneath with Rust-Oleum Chalked Linen White. Be sure to focus on any edges or areas that might be visible to ensure full coverage. Let Cure for 24 hours.
Finalize The Project
- Using 220 grit sandpaper or Orbital Sander sand the entire piece. Areas, where the petroleum jelly was, will chip off exposing that beautiful Aged Gray. Any areas you would like additional distressing for a naturally aged look, sand away. Corners, legs, and top surfaces are great places to distress.
- Set a timer for 15 minutes. Start the timer when you begin step 20.
- Using your natural bristle wax brush and Dixie Belle Best Dang Clear Wax and Best Dang Gray wax apply a thin coat to the top. For this look, we alternated wax color between gray and clear. Start with the clear wax, on the edge and work from one end to the other. One solid line. Then using another natural bristle wax brush repeat the same process with the gray wax. You can dip your brush right into the tin. Remember to apply a thin coat. Wax can overlap a little to ensure full coverage.
- Work quickly and remember to alternate between the clear and the gray wax.
- Once the timer goes off you can start to rub in your wax. Work in the area that you applied first. Using your lint-free cloth rub your wax into your piece. Be sure to rub in the same direction you applied, do not mix the gray and clear together, and press the wax into the wood. If you're not sweating you're not doing it right. This takes elbow grease.
- Let Cure for two hours.
- Set a timer for 15 mins. Start the timer when you start step 24.
- Using your natural bristle wax brush and Dixie Belle Best Dang Clear Wax apply a thin coat to the rest of the piece. You can dip your brush right into the tin.
- Remember to apply a thin coat. Work quickly.
- Once the timer goes off you can start to rub in your wax. Work in the area that you applied first. Using your lint free cloth rub your wax into your piece. Be sure to rub in all directions and press the wax into the wood. If you're not sweating you’re not doing it right. This takes elbow grease.
- Let cure for two hours.
- The full cure time is 30 days. (You can gently use your furniture after the first 48 hours) Be sure not to clean or drag anything across your beautiful creation before your 30 days are up.
Clean Your Workspace
- Clean all chalk paint brushes immediately after use with water. If buildup occurs you can gently clean with mineral spirits.
- Place wax brushes in a ziplock bag. No need to clean your brush as long as you only use the same color wax with the same brush. Place in a ziplock bag immediately when you're done using.




Leave a Reply