Looking for inspiration for your next project? Why not consider a garden project using sticks and twigs - things you likely have in abundance at certain times of the year?
When fall comes around, it's not uncommon for a lot of twigs to fall all over the place as trees shed their leaves and autumn windstorms knock the bare branches to the ground. At times, these twigs can seem to take over your yard!However, there are so many crafts that you can do with these twigs that will help keep them in place and add something beautiful to your home. Rather than throwing all of those twigs out and hoping they do not fill up your trash can too much (or even composting them, the organic gardener’s solution to lawn debris) why not try to turn them into something fun and new instead?
There are so many things that you can do with the sticks and twigs around your home or even the ones that you find in the park or on your walk.
With a few crafting supplies and a little bit of creativity, you're sure to find some great things that you can do with these sticks that liven up your home and put them to good use.
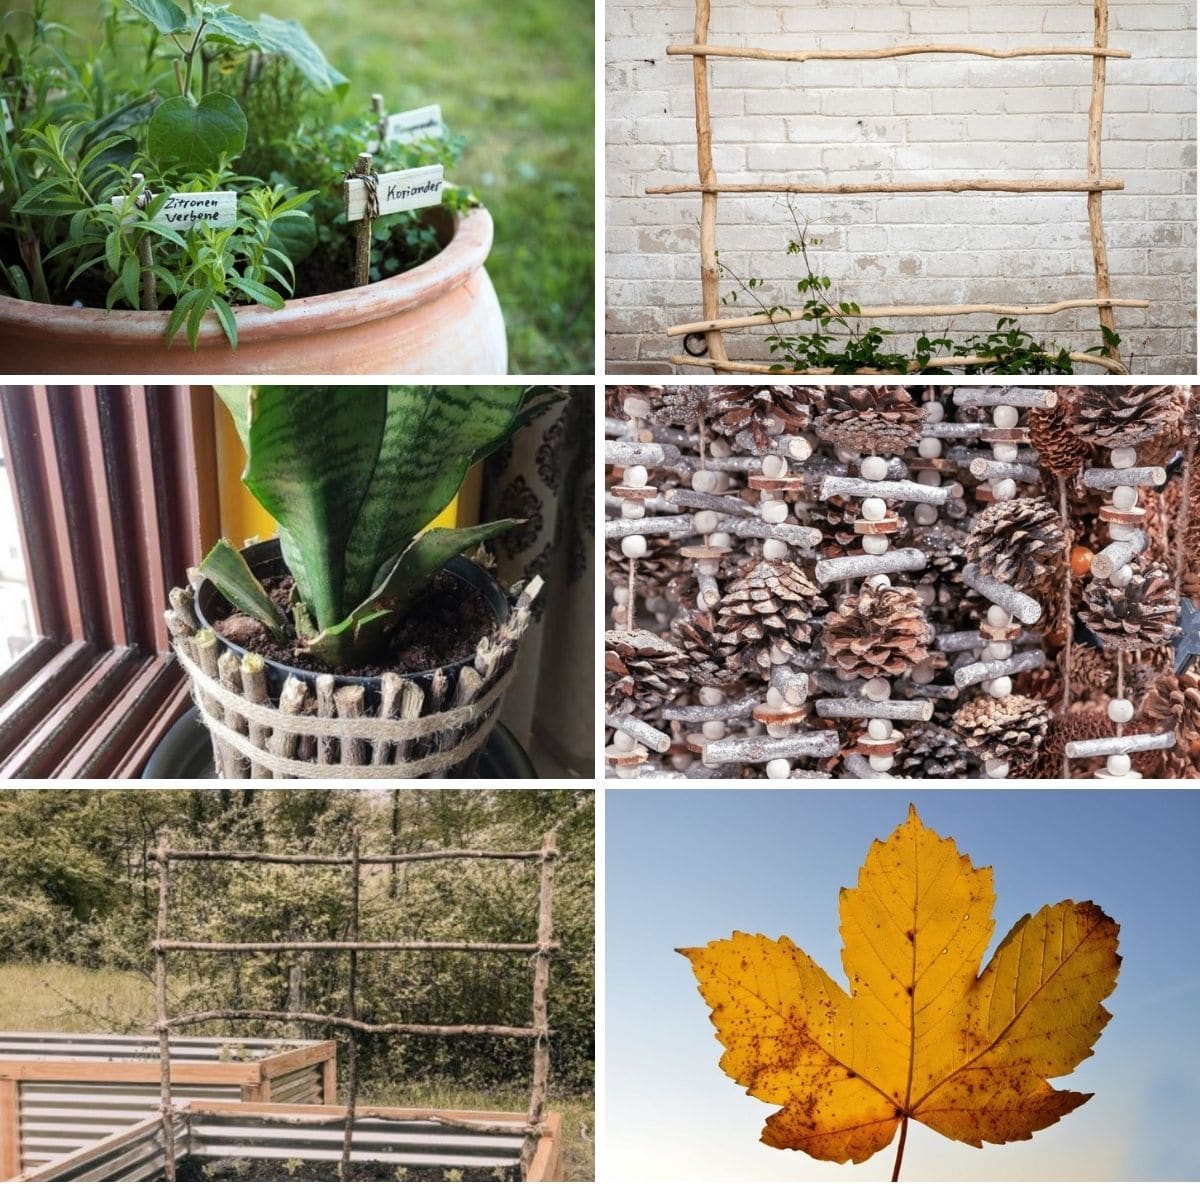
Here are six of the best gardening projects using sticks and twigs. And once you're done with these, there is 25 more right here.
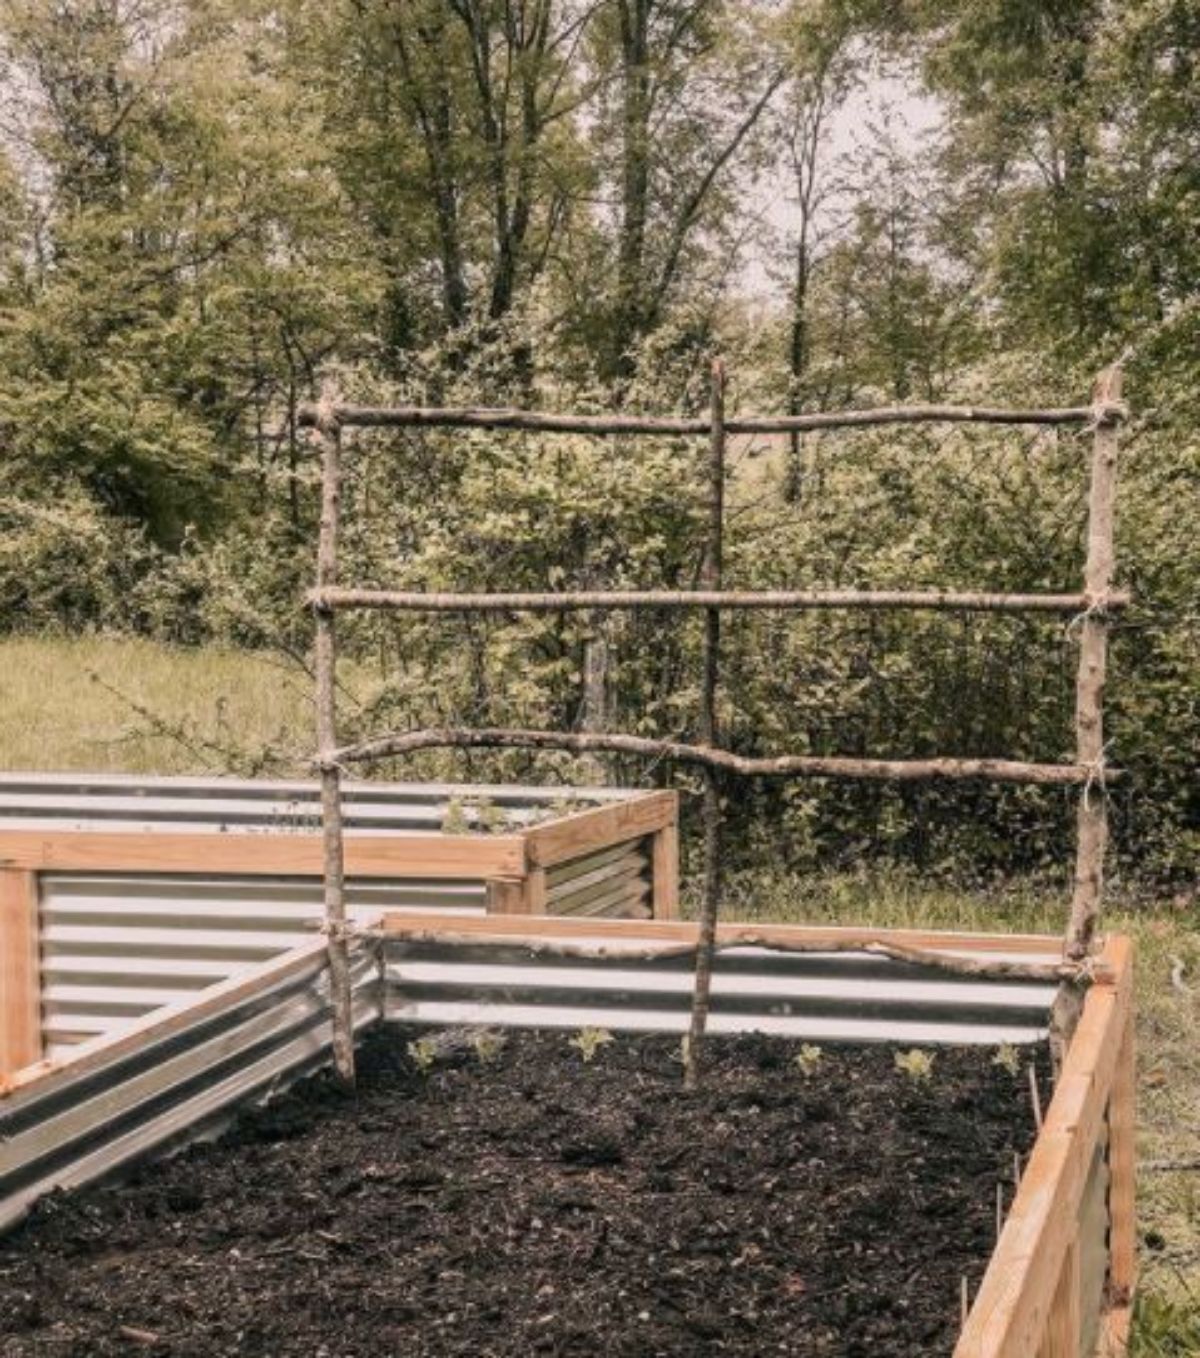
1. Make a Twig Trellis
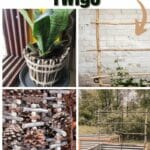
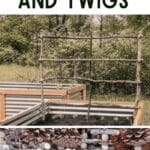
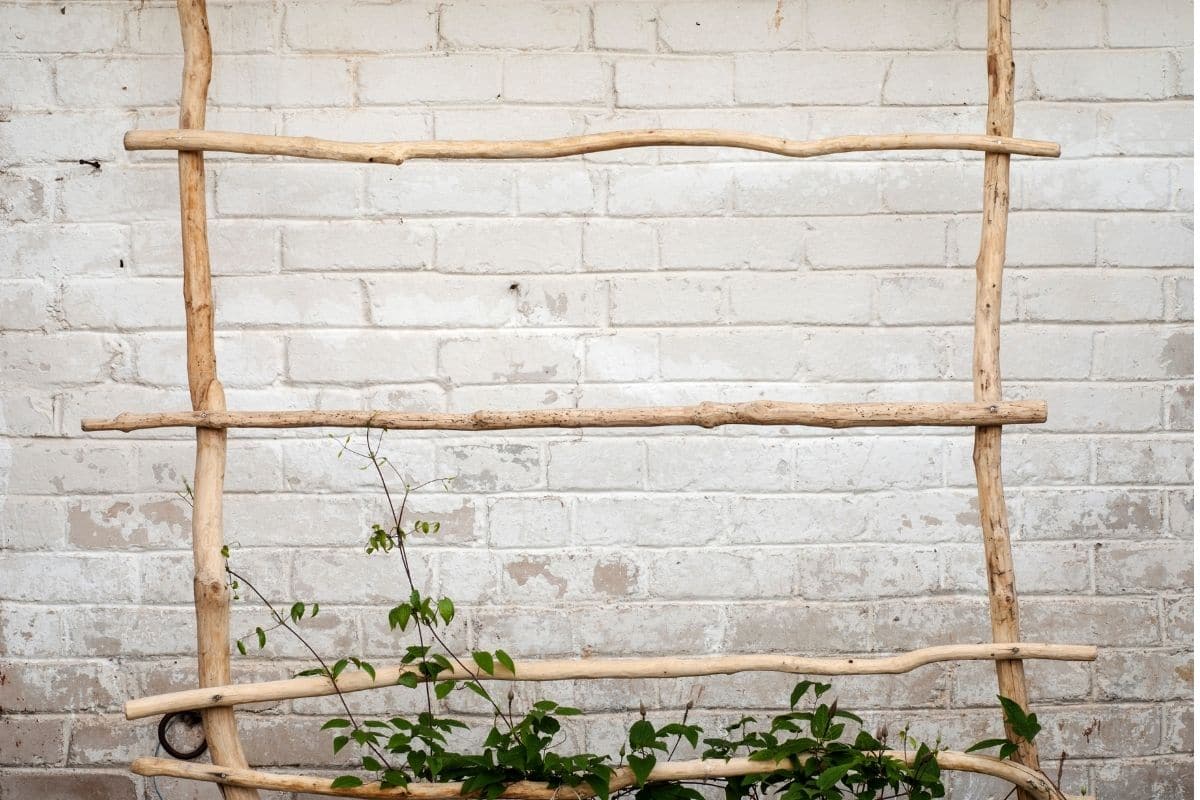
The first project you should try is a twig trellis. This will help you to create something beautiful that you can use in your home or outdoors as a decoration. You can make this as easy or as complicated as you would like. You can follow the steps below to get started.
Prepare the Materials
Start by making a diamond-patterned twig trellis, making it about half an inch in diameter. Flexible shoots are the easiest ones to do here but you can use different types of twigs like maple, dogwood, or shrub willow.
For a trellis that is three feet high by ten feet long, you will need about 60 sticks that are three to four feet long and then a few longer ones or some garden stakes to get started.
Lay the Framework
Now you need to sort out the sticks by length. Use the longest ones first. You can take some twine into some five to six-inch lengths and set them to the side. Push the support sticks so they go six inches into the soil, one on each end of the trellis and one in the middle.
You can then fasten twine to the support at both ends, putting it right above the ground, as a guide for keeping a straight line. Then it's time to cut the measuring sticks, one five inches for the spacing and another as the height check at three feet.
Set the First Diagonals
From here, you can center the five-inch spacing guide right in the middle support stick and at the base. At each end of your guide, you need to take a stick and insert it diagonally into the ground.
Put it in about three inches deep and have it go 60-degrees. Keep these diagonals parallel to one another. When done, at the base of the first sticks, insert these in opposite directions, making sure the crossing happens in front of the support stick.
Weave More Sticks
Alternate sides while also using the five-inch spacer, adding in three more diagonals going in the first direction, then three in the other direction. You can weave them in and out of one another, doing so at every intersection.
Then, tie cross the sticks together at the top, middle, and bottom of the trellis. You should work from the center out, adding weaving and tying in the sticks. Finish by tying the crossing sticks at both ends of this.
Trim the Ends
Take a step back from the trellis and look it over to see if there are areas that need to be adjusted, fixed, or removed.
Adjust some of the sticks and retire them when necessary. Then you can trim all of the twigs along the top to help you get a clean line that looks nice. This is the end of the trellis. You can then add in any kind of flower or plant that you would like. You may need to add a little extra support for some of the heavier plants, like tomatoes if you plan to use those (you can find our tips on how to grow tomatoes here).
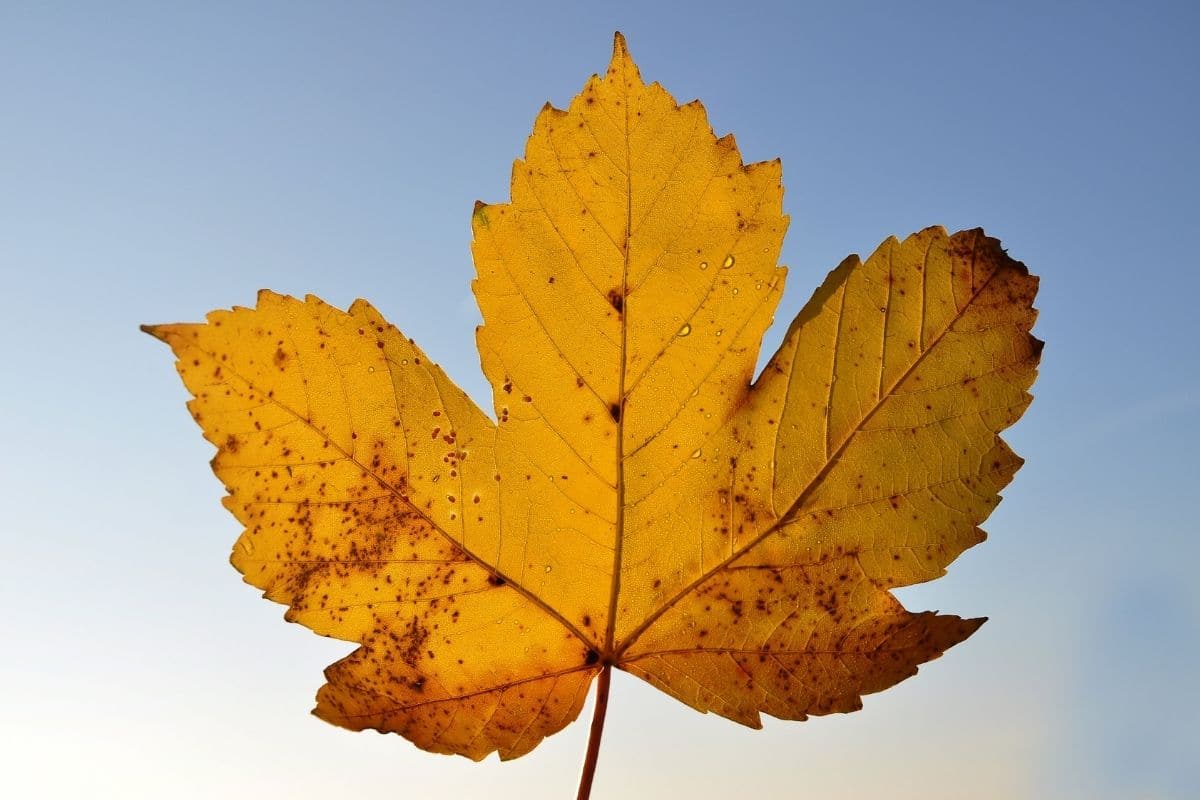
2. Rustic Twig Leaf
This is another twig decoration that will look outstanding in your home. It’s also incredibly easy to make.
First, you need to gather the twigs that you want. You do need them to be pretty straight for this one, but it's fine if they have some branches and knobs on them to make them look more unique as you make your leaf
When you're ready, you can get some newsprint and draw an outline of a maple leaf the way that you would like the final project to look. You can then place your sticks right around the outline. Use your pruning shears after lining them up on the paper. Once the outline is done, you can glue it together using your glue gun. Then use the rest of the sticks to backfill the leaf and make it look even more unique.
Be as creative with this one as you would like. You can make a simple leaf or turn this into any kind of product that you like, with the same kind of idea. If you have any little strings left from the glue, just use a blow dryer over it for a few minutes and everything will clean up and leave you with a beautiful leaf that you will love.
3. Twig Garland
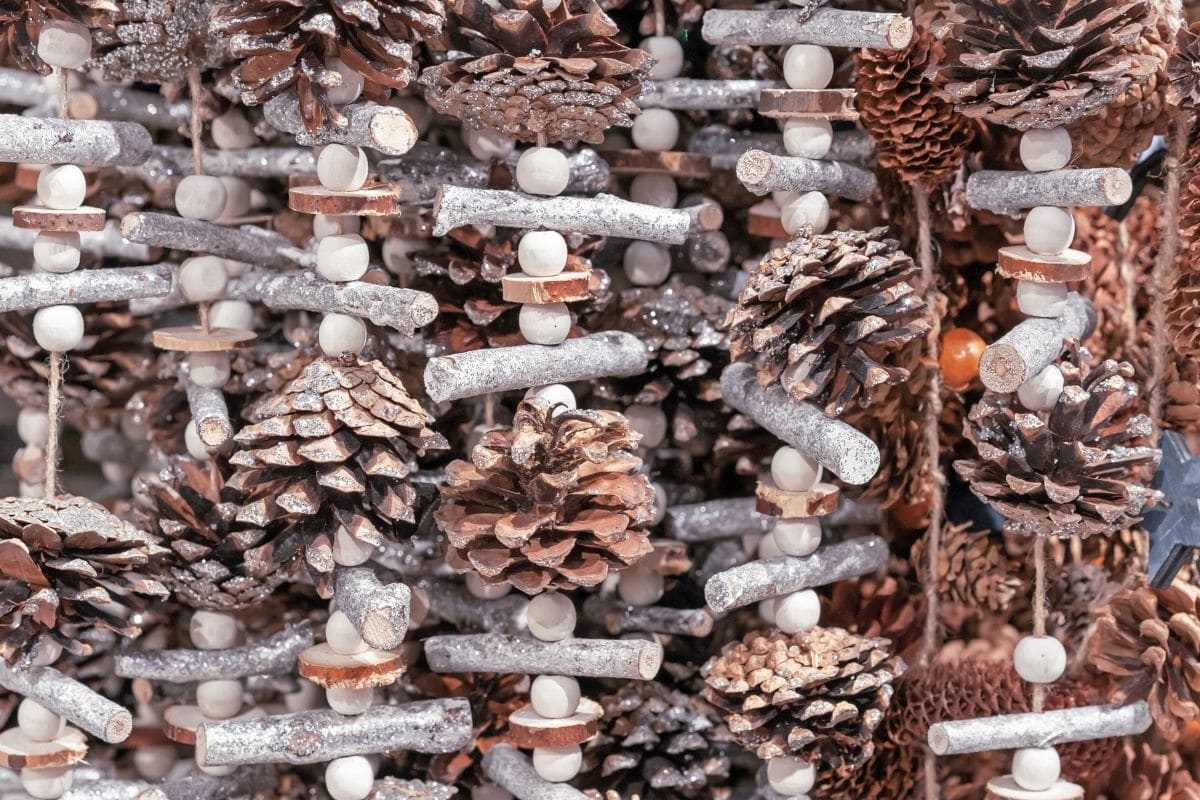
You can even make a garland out of some of the twigs in your yard or that you find around. This can be a great Christmas decoration that no one else is going to find around their home.
Here are the steps to follow.
Gather the twigs and branches: You can go out to your yard to find some or find a bunch of fake ones at your local thrift store for cheap. Decide on the thickness: This will help you to figure out how long you should cut the twigs for this project.
Measure the string. The right length will be about two arms’ lengths. If you do it longer than this, you will find that tying the knots is harder than you'd like.
Then find the center of the string and tie one of the twigs tightly under one or two knots. You may want to use a little hot glue here to make sure the twigs are going to stay in place.
Now you can create a loop, slip the twig in place, and make sure to tighten the string to get it in place. Continue with adding in more twigs, making sure you knot them tightly until the string is all gone.
Do this a few times to make the garland as long as you would like. Tie all the pieces together and then trim the string so it's not sticking out everywhere. Decorate as designed and put the garland all around the home when you're done.
This can be turned into a very festive piece to enjoy around the home. Add a little bit of greenery or some red to make it pop - without a doubt, you will create something that is completely unique going for your home. For something a little less rustic, you can try this Christmas wreath.
4. Plant Markers
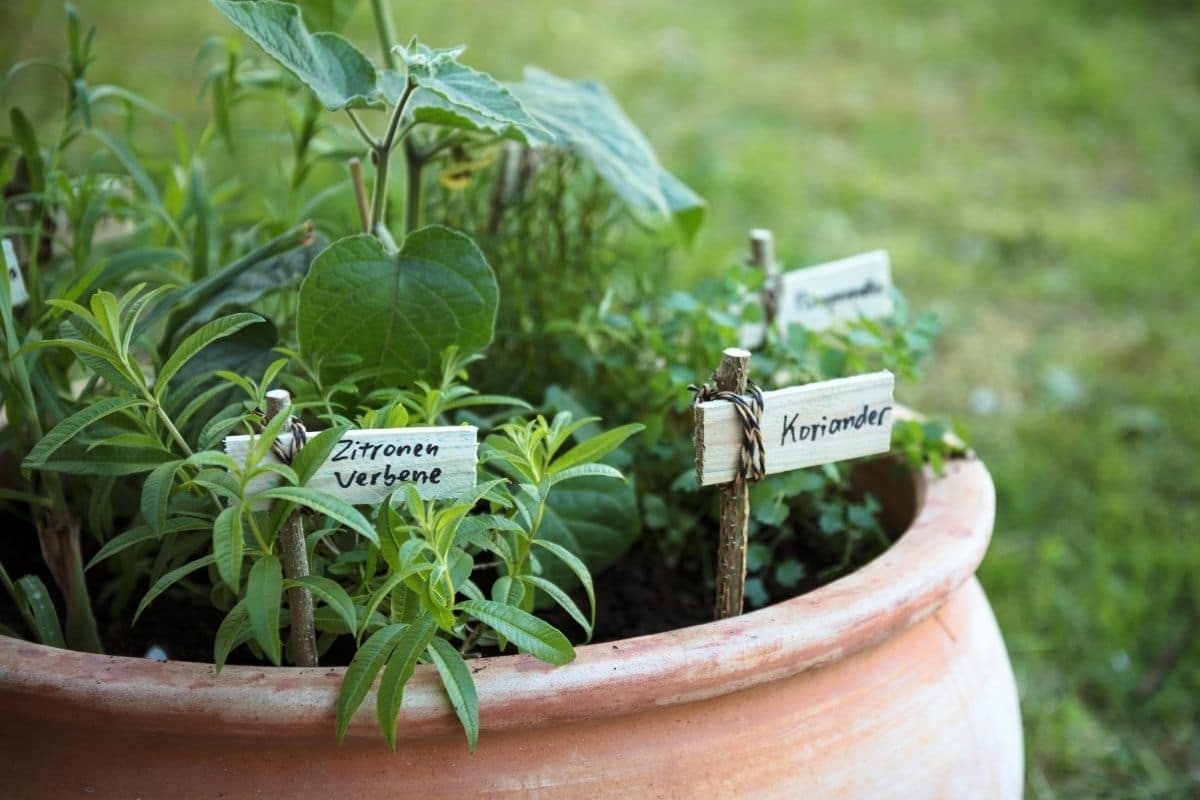
You can even use twigs to make some plant markers in your garden. These are simple to make and as long as you're able to find some good twigs along the way, you can get it done in no time at all. Plus, you won’t have to worry about spending money on expensive, non-biodegradable plastic plant markers at the nursery or gardening store. It’s a win-win!
Some of the steps that you can use to make your own plant markers are as follows.
Collect the twigs you need: You can use some twigs that fall on the ground or you can cut back some off the trees in your yard.
Whittle off a little bit of the end of one of the twigs. You need it to be flat to work. A peeler will not work as well as a sharp knife in good working order. Always whittle the twig so it goes away from yourself.
Use the pointy tip of a wood-burning tool, you can write out the names of the plants and herbs on the whittled area of the twig. The more times you go over the words, the darker the whole thing will turn out.
5. Hanging Ladder
A hanging ladder made out of twigs can look really nice as décor in your home and does not need to cost an arm and a leg to complete. You will only need a few things to get this completed.
For a ladder, you need to go with twigs that are a little thicker so this shows up. Since this won’t be a ladder that you’re climbing on, you don’t need massive twigs - about an inch in diameter is going to work well for this. The strength that you want out of the item is going to help you figure out the right thickness of your twigs.
Then it's time to go outside and collect the twigs that you need for your project. Fallen twigs are the best for this rather than live, green ones - the drier the twigs are, the better. And you need the pieces that are hard, dry, and stiff. If you want to bend the ladder steps a little bit to change up the shape of the whole thing, then you should go with some twigs that are a little green.
Choose the size that you would like the ladder to be. You can use your pruning snips to help.
You will also need to choose the height and step pacing of the ladder before you cut it. For example, if you would like to make a ladder that is three feet and six inches wide with the steps that are six inches apart, you will need two twigs that are three feet and six twigs that are eight inches. This gives you a little extra space to help you too. Secure the steps with the side pieces.
When ready, you need to unroll ten inches of the wire to the first two twigs that you plan to use. You can then wrap the wire in an X to make the perpendicular joints and finish off with a figure-eight around your parallel twigs. You need to keep the wire tight. It's fine for it to dig or cut into the wood a little bit. This helps the twigs stay in the wire later. Nip the wire as close to the twigs as possible after wrapping up each connection so you do not waste any wire as you make the ladder.
6. Pot Holder
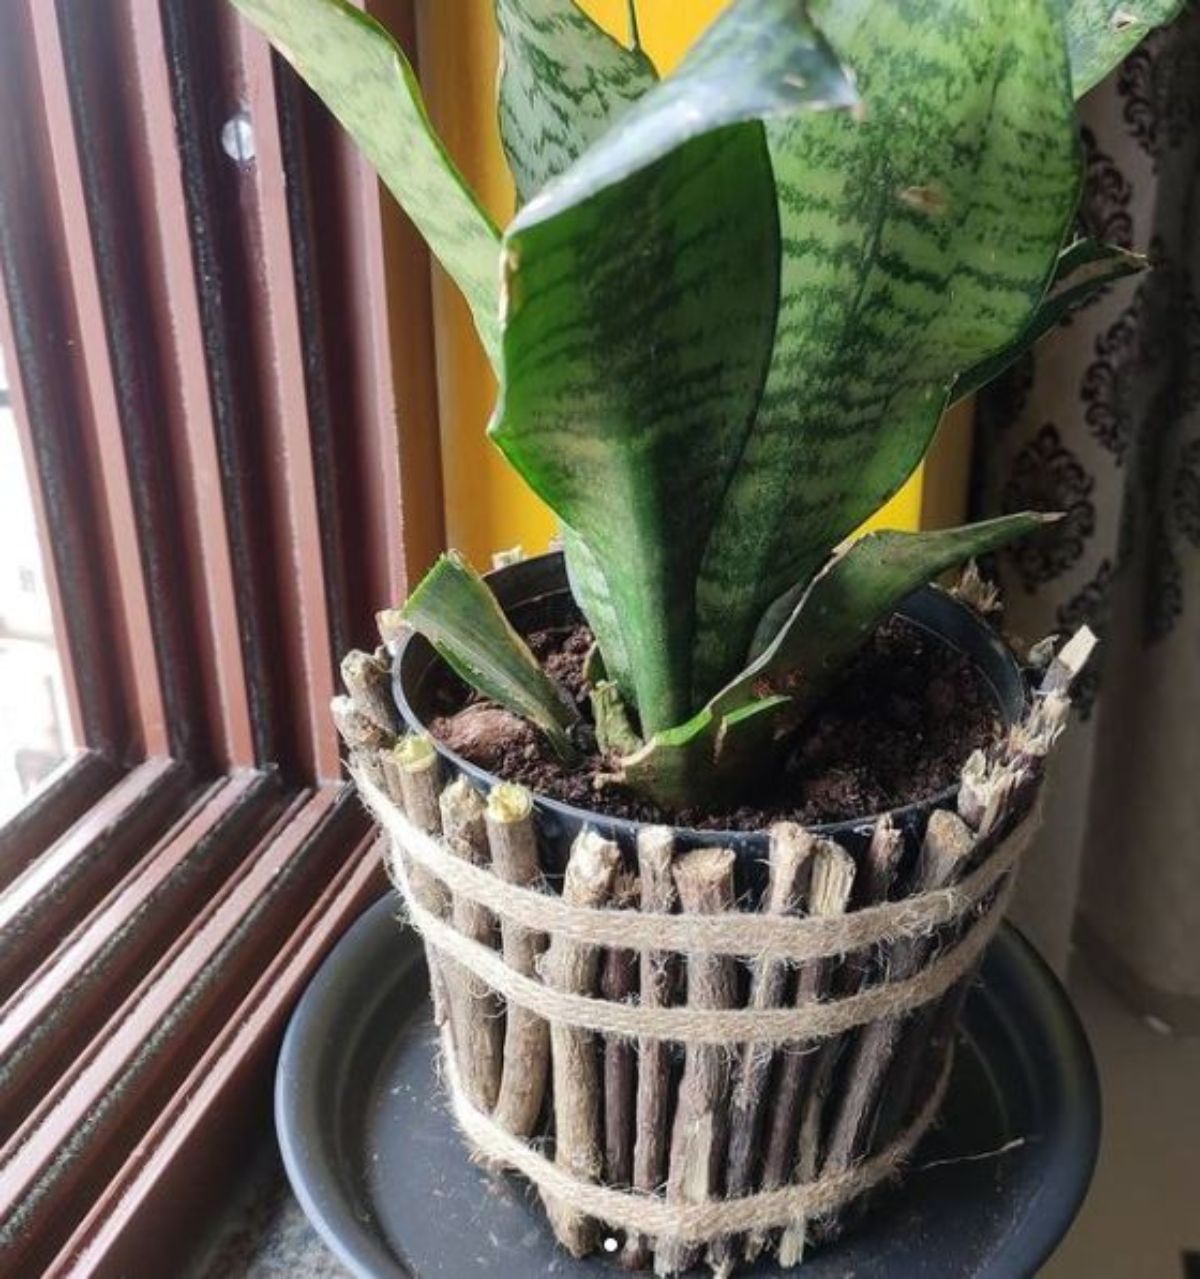
Not the kind of pot holder you might use to take pans out of the oven - instead, this project will be used to hold containers for planting your favorite herbs, vegetables, and ornamentals. It’s a fun project that you can do to use up all of the fallen twigs and sticks on your lawn - and it won’t take long at all. Here’s how to do it.
Measure the twigs against the size of your flower pot. Use the garden pliers to cut them down to the size you would like. Cut a piece of twine. You should make this long and then fold the piece of twine in half. Take the loop at the middle and have it wrap over one twice. This needs to be done at one end and then tied once.
Repeat this process with all of your twigs.
You should then check the length of all these against the pot to see if additional twigs are necessary. The twigs need to meet without overlapping. Tie the twigs on the other side in a similar way. Fold a strip of burlap to hide the edges and to help wrap around the flower pot. You can keep this together with some twine.
Wrap the twigs around the pot and tie the ends together. Trim off the ends or tie it into a bow to finish the look.
Repurpose Your Garden Debris With Fun Sticks and Twigs Garden Projects!
Instead of just throwing out the twigs that are in your home, consider using them to help make something truly beautiful. There are so many things that you can do with the twigs in your home, you just need to learn how to do them properly.
Check out some of these gardening projects using sticks and twigs to help you get started. They’re great for kids and families, too!
Have we whetted your appetite for garden DIY projects? You can try out our DIY lighting projects here.



Rebecca Payne
Clever Ideas.