Whether you want to move that plant outside or to a bigger pot, you need to do it in the right way. Knowing and understanding the best transplanting tips is essential if you want to consider yourself a master gardener - or heck, even just keep a few plants alive! Here are some of the best plants to grow indoors from seedlings.
How you take care of the plant as you do the moving is just as important as the care it receives afterward. The process of transplanting a plant is simple, but there are some tricks you should follow to get this done.Here are 15 of the best tips for transplanting your plants.
Ready to transplant your plant? Here are some tips and basic guidelines you should follow, regardless of the type of plant you decide to grow.
1. Know Best Practices When Transplanting
Water the plant a few hours before you plan to begin. Since you are keeping it inside your home here, the time of year that you do the work is not as important. The soil around the plant is important. You need to water it well and then wait for an hour. This helps make the soil damp and helps you remove it from the root ball. You can check out our guide to avoiding leggy seedlings here.
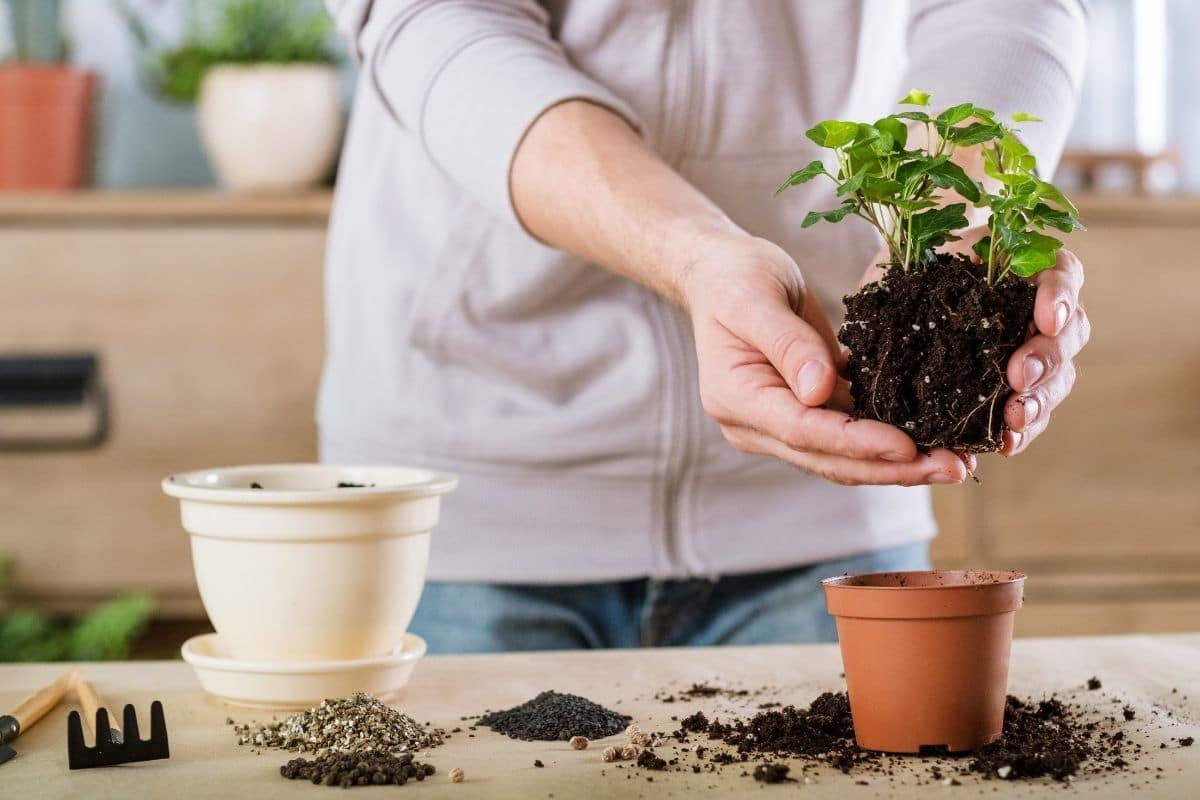
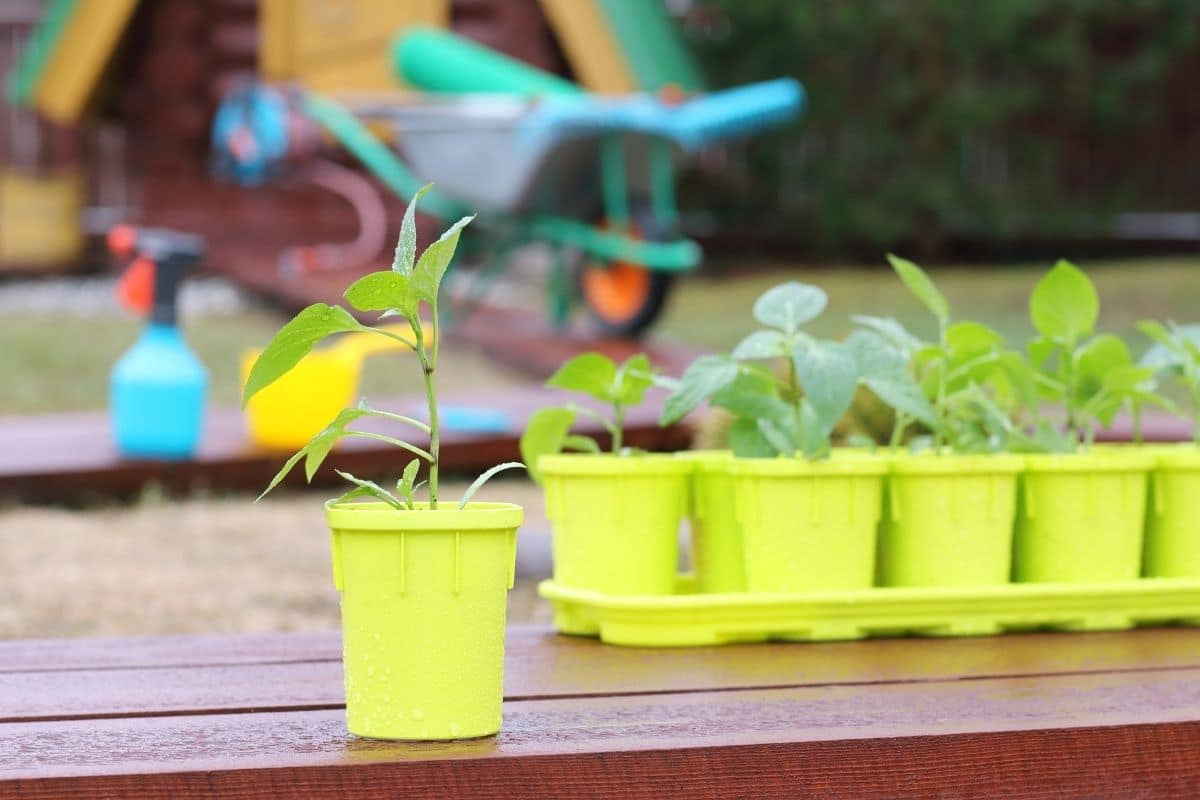
When transplanting, you need to choose a pot that is about one size bigger than the old one. Do not make the pot way bigger or it may overwhelm the plant and make it harder to grow well later. One size bigger is about perfect. Make sure to cover the drainage hole in the new pot with the help of a coffee filter or some mesh. This keeps the soil in place while still allowing any water to drain. Add some gravel to the bottom of the pot does not come with a drainage hole.
Then it's time to add in the potting soil. You need enough so that the root if it were placed inside, would sit one inch from the rim of the pot. it's best to avoid gardening soil. Some tips to consider when doing this include:
Avoid gardening soil because it's more likely to contain fungi, diseases, and insects. Since your plant has been inside and is not used to this, it may cause the plant to die.
To get the healthiest plants possible, choose a plant that has equal parts of organic matter, sand and perlite, and rich loam.
If you are transplanting with a seedling, you need to fill the pot to an inch of the rim. Dampen the soil with some warm water and then wait an hour before continuing.
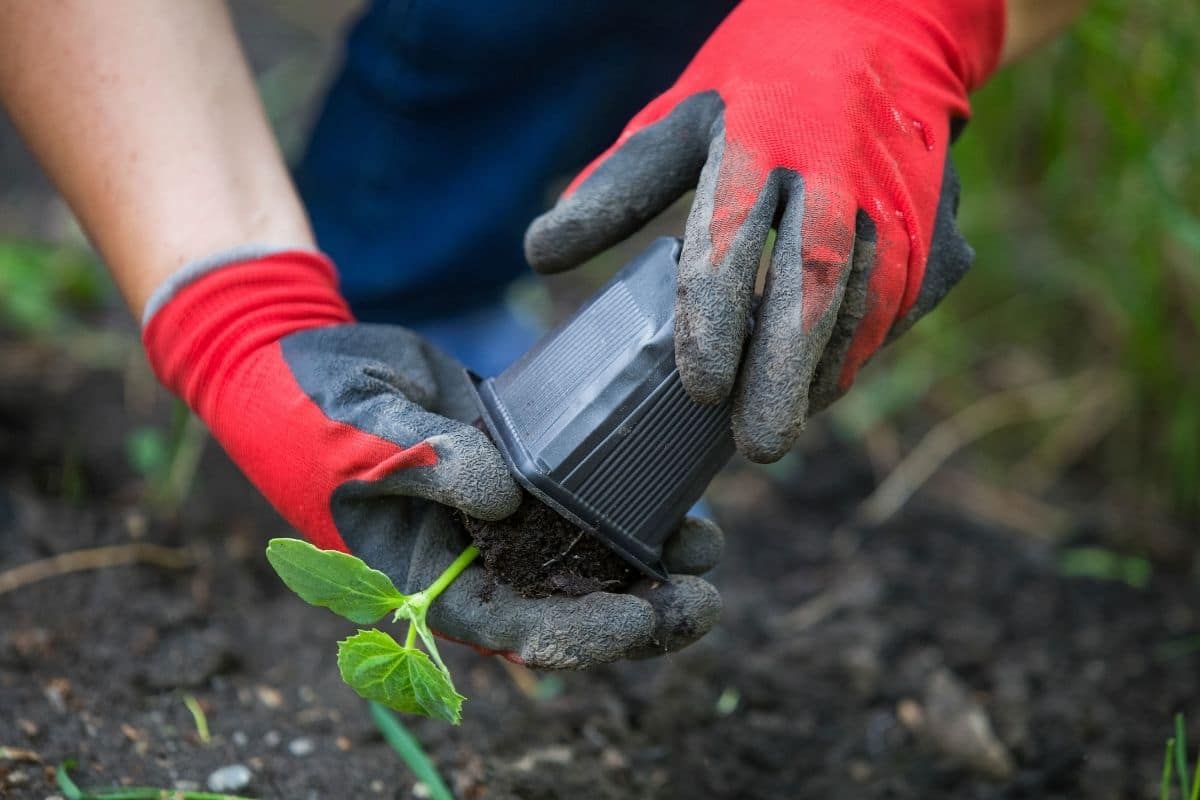
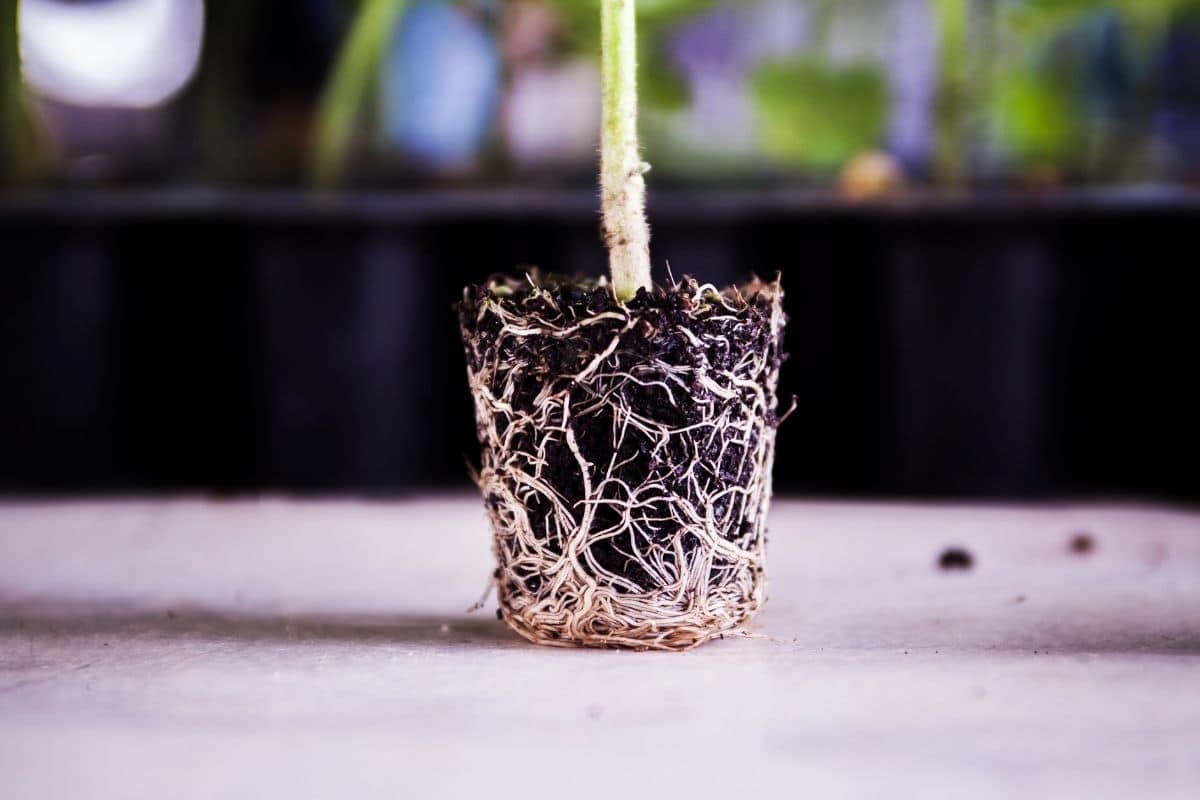
When ready, turn the pot with the plant upside down and tap the rim against a table. Use your hand so you can catch the plant with your fingers. Loosen the root ball. so it will all slide out. Never grab the plant by the stem and pull it out or you risk harming the plant. As you pull, slide the root ball out and untangle the roots if necessary. The root balls naturally clump together but separate it out a little before moving.
Next, set the root ball into your new pot and add some more soil to cover the top of your root ball a little bit. Do not overfill the pot at this time. Take some time to water the plant. If there is a hole in the pot, water until you see that there is some water draining out of the bottom. Over the next few days, your plant will need a lot of sunlight. It should not be right in the sun the whole time, but keep it in brighter areas with plenty of water to help them get used to the change and keep on growing.
2. Research the Weather When Transplanting Outside
There are a few different things that you should consider when transplanting a plant outside rather than using a pot inside. For example, you should always research the weather.
Most plants should only be taken outside and transplanted during specific times of the year. The date is going to depend on what gardening zone you live in and the specific plant you are growing. The USDA website is a good resource to use here because you can check the temperate zones where you live to decide when to plant.
3. Harden Off the Plant
This is a simple process that prepares the plant for being outside. You need to stop adding fertilizer two weeks before you plan to transplant. Reduce the watering to only when the plant needs it, usually every few days or so, but this varies depending on the type of plant and the conditions.
About a week before you plan to transplant, take the plant outside, doing so in slow increments and starting with just an hour or two each day. Gradually work your way up, keeping your plant in indirect light and out of the wind, typically in a sheltered location such as up against the side of your house.
After a few weeks, you should have worked your way up to keep the plant outside for several hours a day. This will allow your plant to build up the defenses it needs for life outdoors!
4. Look for the Cool Time of Day
Your plan for transplanting should include doing so at the right time of day, too. Ideally, this should be when the weather is coolest. It would be best if you can do this during weather that is drizzling or overcast, too. Early in the morning or early evening can work as well because then your plant can get used to the area without dealing with the high temperatures along the way.
When transplanting outside, pick the coolest time of the day. Nighttime is great, but pick the time that is the coolest that works for your schedule. A rainy or drizzling day may be a good option so the plant will get some water while you are doing the work outside.
5. Add Gardening Soil
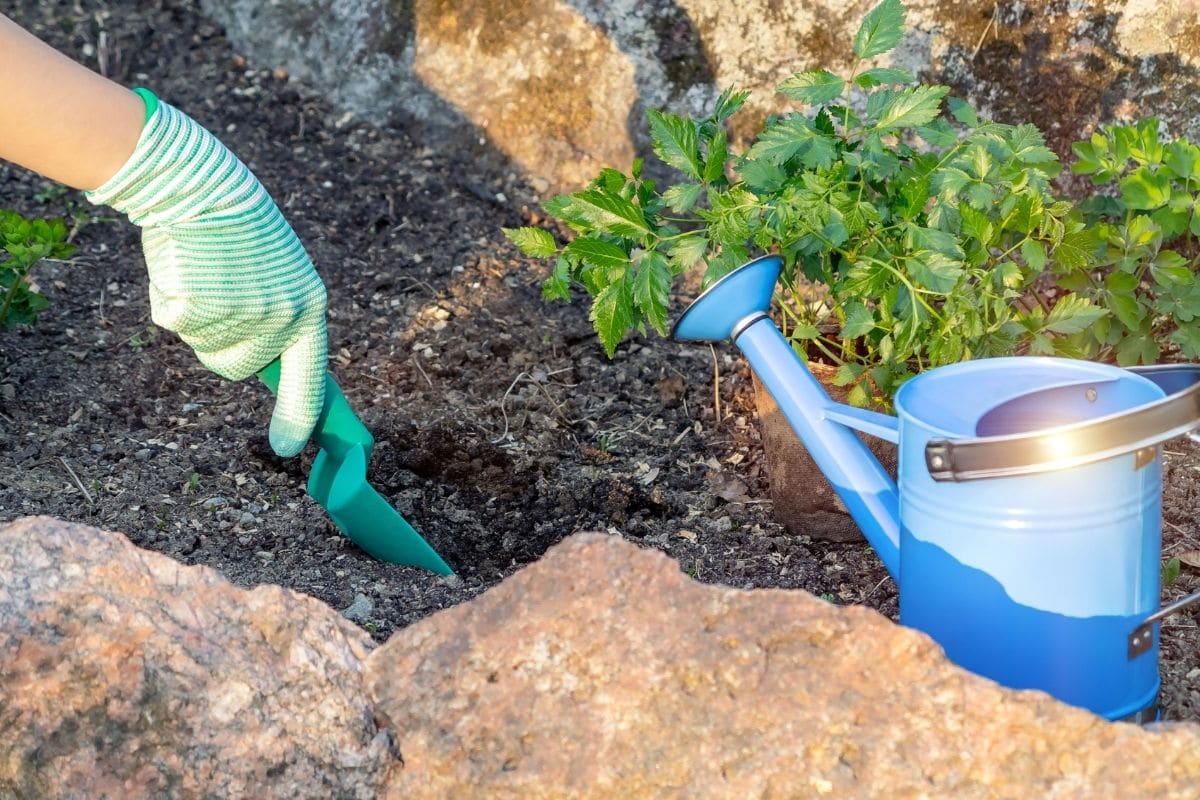
Now you can pick out the area where you plan to make it the planting bed and add in some gardening soil. Make sure that the area you choose has the right amount of shade and sunlight for the plant you are using. Dig up any of the untilled soil and add in gardening soil. You can even consider mixing some compost to that soil to add more nutrients.
6. Dig the Hole
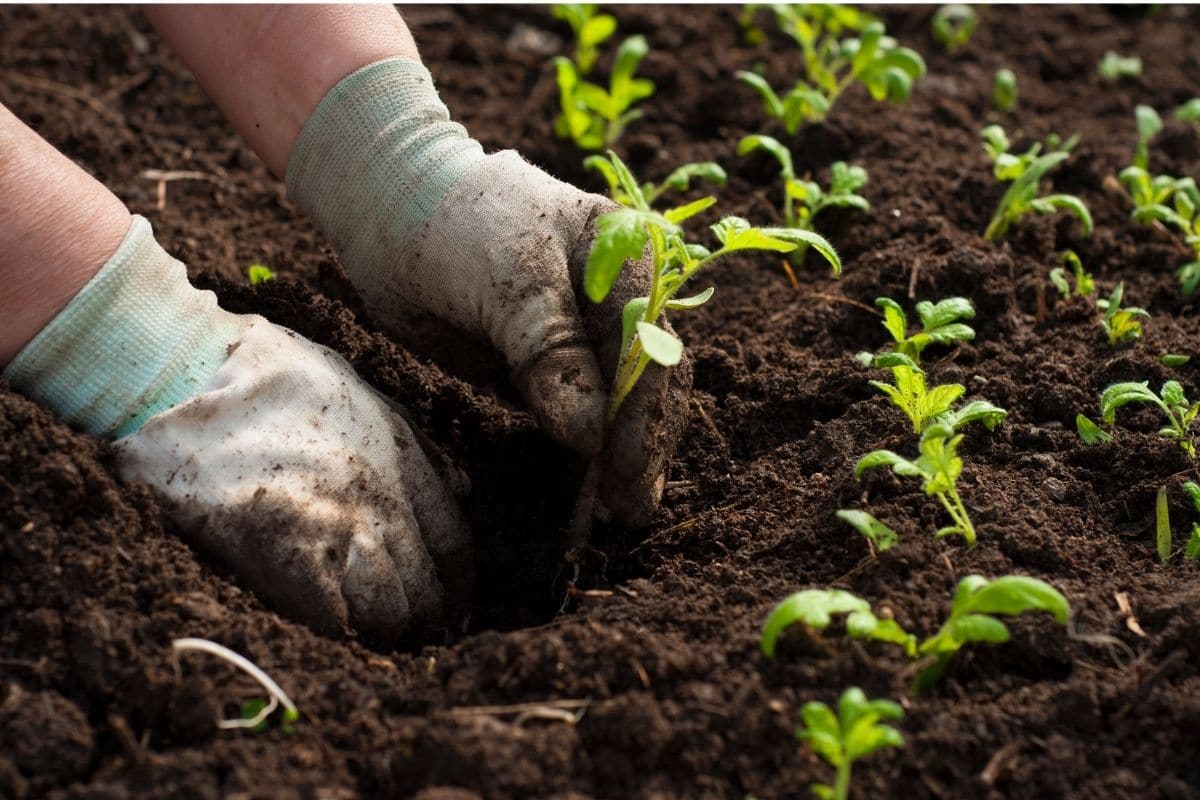
The hole that you use for transplanting should be pretty large. Consider measuring the pot that holds the plant and make the hole at least big or slightly larger. You will need to remove the plant from there and then add the plant, with the root, into the hole. This gives you plenty of room for a good fit while also allowing you to fill in if necessary.
7. Remove the Plant from the Container
Once the soil is ready to go, it's time to take the plant out of the pot and get to work. You can turn the pot upside down and slide the root out. Place your hand right on the top of the pot like we did before and make sure the plant is able to stick out between the fingers. Flip the pot so it's upside down and then tap the rim of the pot against a bench or table to get the plant to slowly slide out.
Note: If the plant is in a pot that is made out of paper or peat, then you can do this process a little bit differently. You can choose to cut the sides of the pot so that the roots have a chance to reach fresh soil faster. You can also tear off an inch or so of the pot to allow it a chance to sit below the soil when time to transplant it so that it can soak in the water early on.
In both of these methods, you can take some time to loosen up the root ball using your fingers. The ball is not a big issue, but you should try to loosen them up a little bit before adding to the soil. This will help the plant to grow a little bit better and soak up some of the nutrients and water that are nearby.
8. Place Carefully Into the Hole
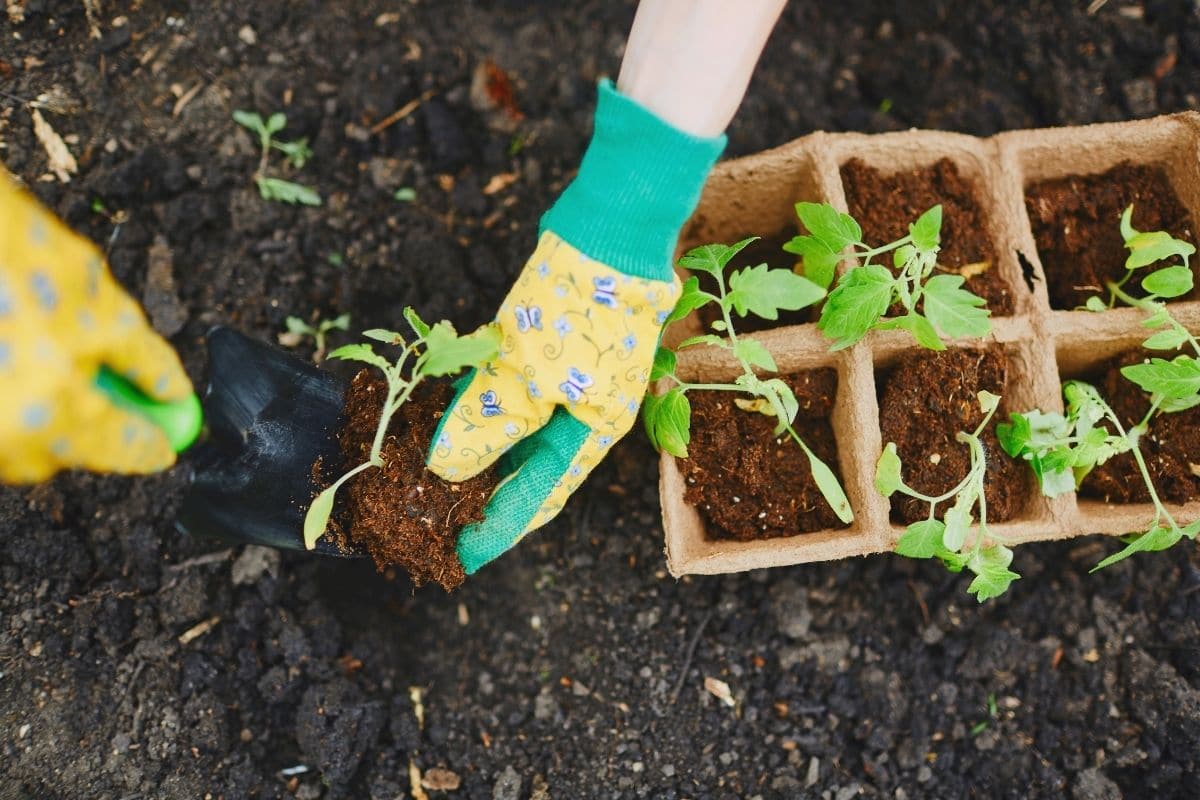
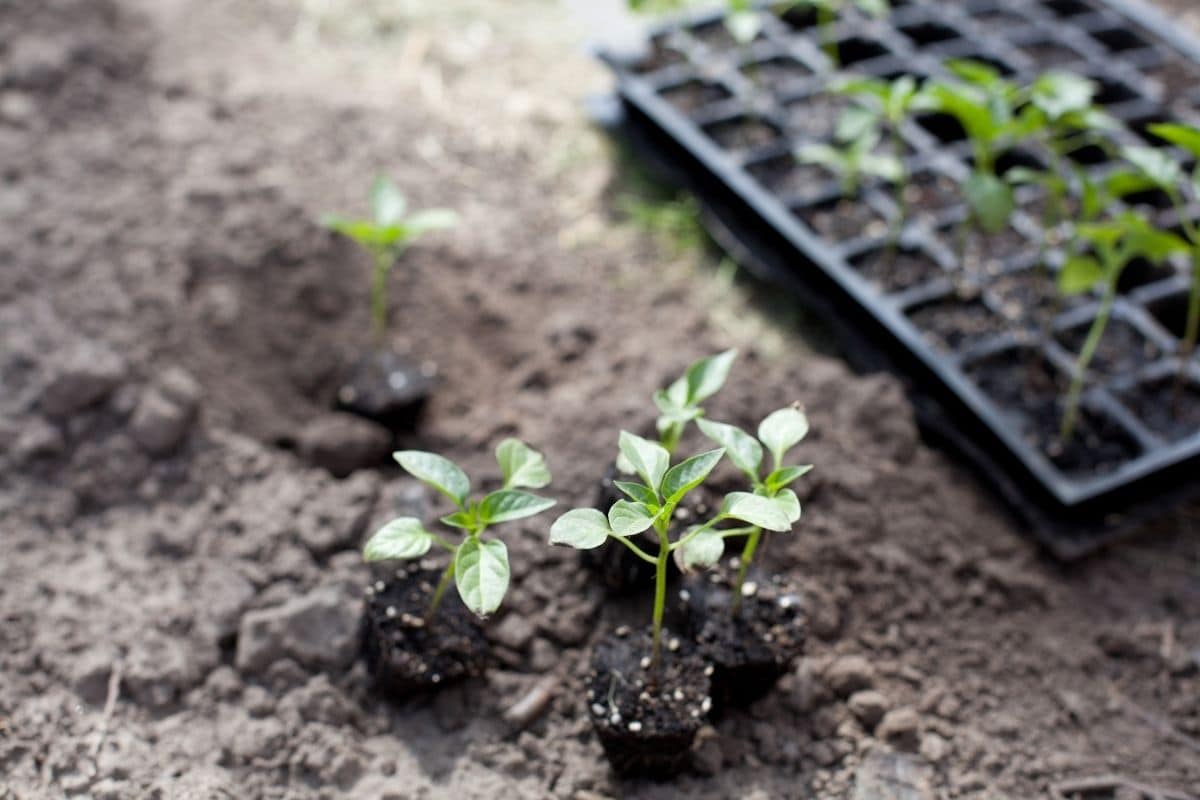
When you are ready, it's time to take the plant and add it to the hole. You want the top of the roots to be level with the top of the hole. If your hole ends up being too big, just add a few inches of the soil to the bottom. If you kept the plant in a paper or peat pot, just put the whole thing inside the hole.
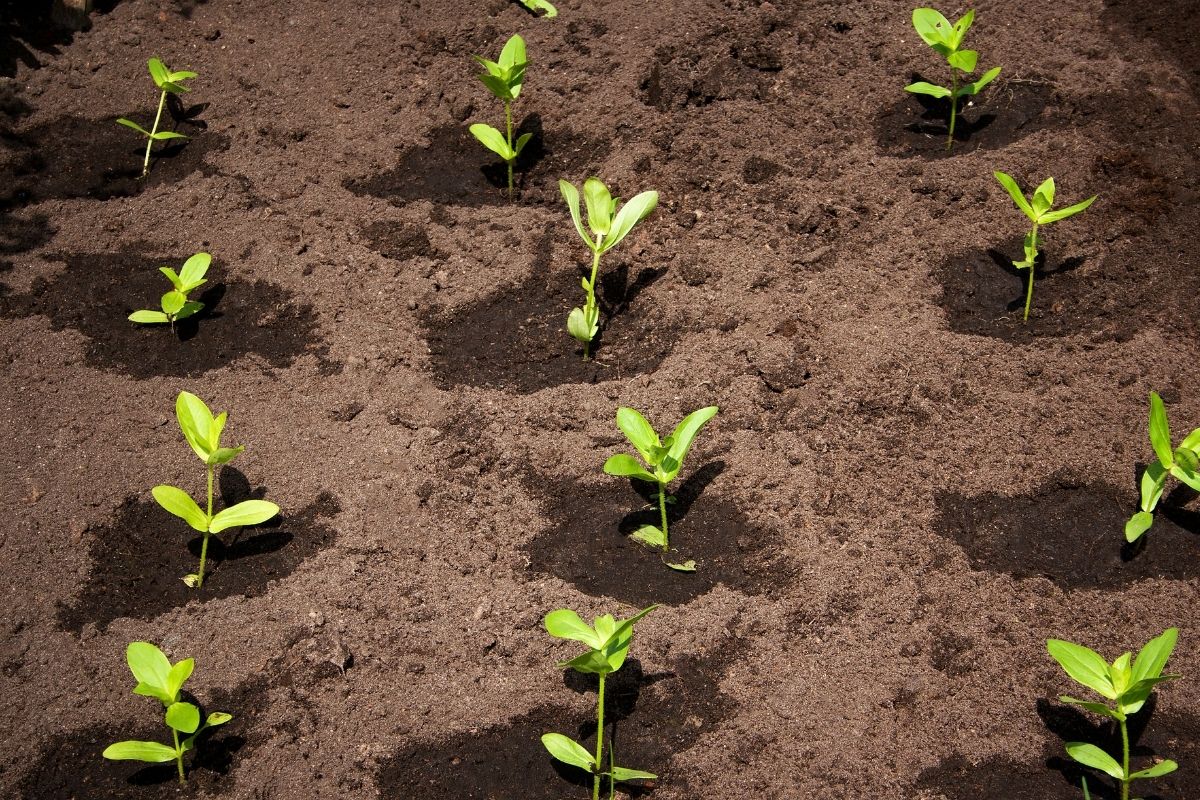
Fill in the space around the roots with a bit more soil, patting down as you go. it's likely that the hole you dug will be a little bit big, but just add some more dirt to fill in the space. Keep adding until the whole thing is filled in and the plant looks comfortable in its new home.
9. Water the Plant
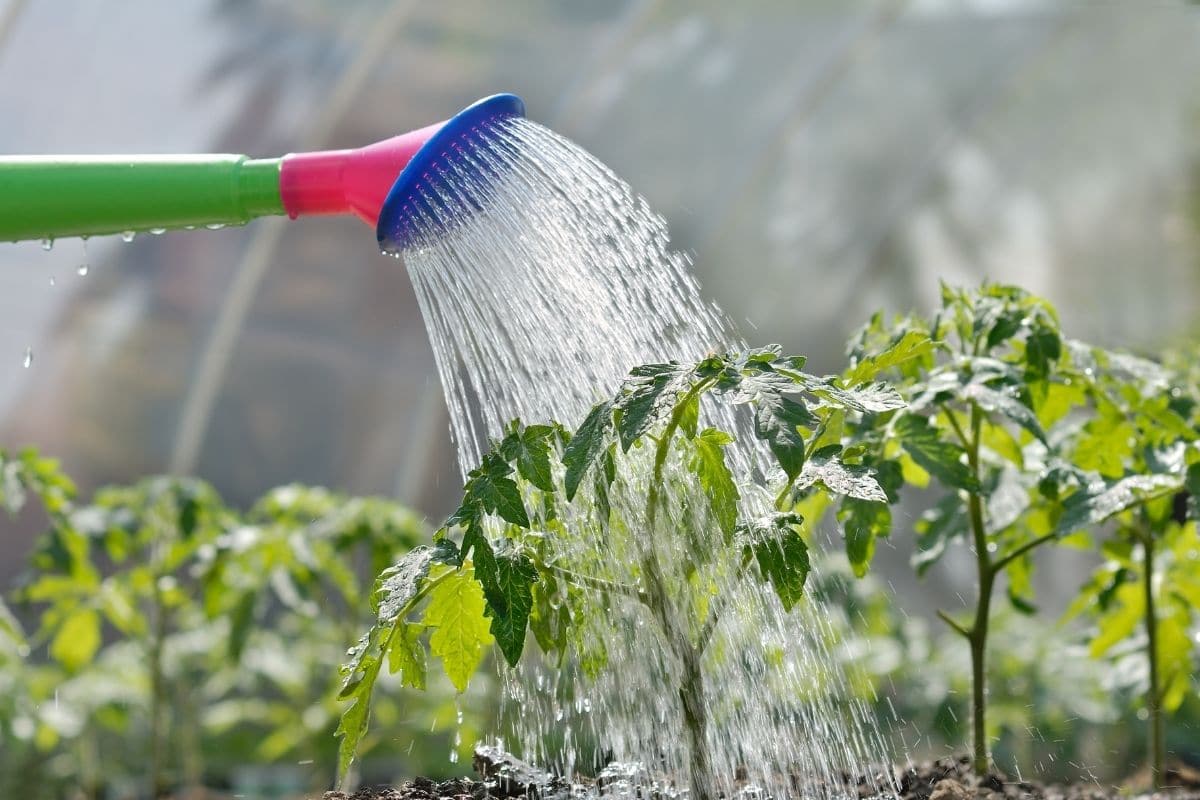
When all of this is done, you need to spend a few minutes watering the plant well. Once you are done with the initial watering, you can water the plant as often as possible. Each plant is different and it may depend on the weather and how many plants are nearby. You may need to do this weekly, daily, or just when you notice the topsoil is getting dry on you.
After you water the plant in the pot the first time after transplanting, check on it occasionally to see if it needs more water. If it does, a little bit of misting should be enough to get this done. You do not want to overdo it on the water, but regular misting can keep the plant adequately hydrated without oversaturating it.
10. Never Use Regular Gardening Soil.
Never use gardening soil. Your plant has most likely been inside in a pot. It will not be used for gardening soil and all the insects and other things that naturally come in it, including pathogens and other pests. Plus, it will not have the right drainage and moisture retention abilities that your fragile, developing plants need. Get some good potting soil or even seed-starting mixture instead.
11. Avoid the Stem
Do not grab the plant by the stem when you pull it out. This will break the plant and makes all of the work worthless.
12. Trim the Roots
As you transplant your plant, take a moment to cut away the rotten or dead roots. Clean and sharp scissors are the best way to get this done and can make the plant brand new and look good.
13. Try a Transplanting/Watering Hack
Consider a coffee filter inside a pot. This will keep the dirt in place if there is a hole in the bottom. But it also allows the water to flow right out so it won’t get stuck if you overwater.
14. Pick the Right Spot
Most plants will need a certain amount of shade and sunlight each day. If you put the plant in the sun too long, it may dry out and not thrive. But if you put it in the shade too much of the day, the plant will struggle to grow and will not complete photosynthesis. Each plant is unique so you will need to decide where to plant the garden based on how much sunlight and shade that particular one will need.
15. Get the Size Right
Transplanting your plants is a great way to give them the best start when you first grow them. Putting them directly into a big pot or into the big garden can make them feel overwhelmed and may kill off the plant. When you start out small, the plant has room to grow slowly and develop at its own pace, switching to a larger pot or to the garden only when it's time and the plant is ready.
Getting the Work Done with Transplanting Your Plant
No matter what type of plant you decide to grow, there are a few things to remember along the way to make the process a little more effective.
Using the right type of soil, watering the plant well, and not pulling by the stem will all help with inside plants.
By following these 15 tips for transplanting, you’ll have success no matter what it is that you decide to grow.





Leave a Reply