The loofah - the eco-friendly alternative to washcloths. If you've considered growing loofahs from seeds, then you are in luck!
Although most loofah sponges on the market today are synthetic, meaning they’re not made from the gourd plant form which they were originally modeled, growing your own loofah is actually quite easy to do. Grown from gourds of many sizes and shapes, these creations will help bring new life and enjoyment to your gardening routine.
Growing Loofahs From Seeds
Gardening isn't just about flowers and vegetables. Many different plants have multiple uses and the loofah is a great choice that anyone can grow with great success. If you are new to gardening, there are tons of tips for amending your garden soil, starting seedlings indoors, or just garden hacks for getting a larger harvest. Below you will find the best tips for how to grow loofahs to use in your own home or to sell at local farmers' markets!
What Are Loofahs?
Loofah gourds are plants of many names. You might see these plants referred to as luffa, luffa, loofah, or even luff.
These gourds can be somewhat hard to find, particularly if you wish to grow them from seedlings. However, if you’re willing to grow your plants from seed, you can buy them online and plant them early in the spring. I buy my loofah seeds on Etsy from reputable organic sellers. You may find them in your local farm supply store as well.
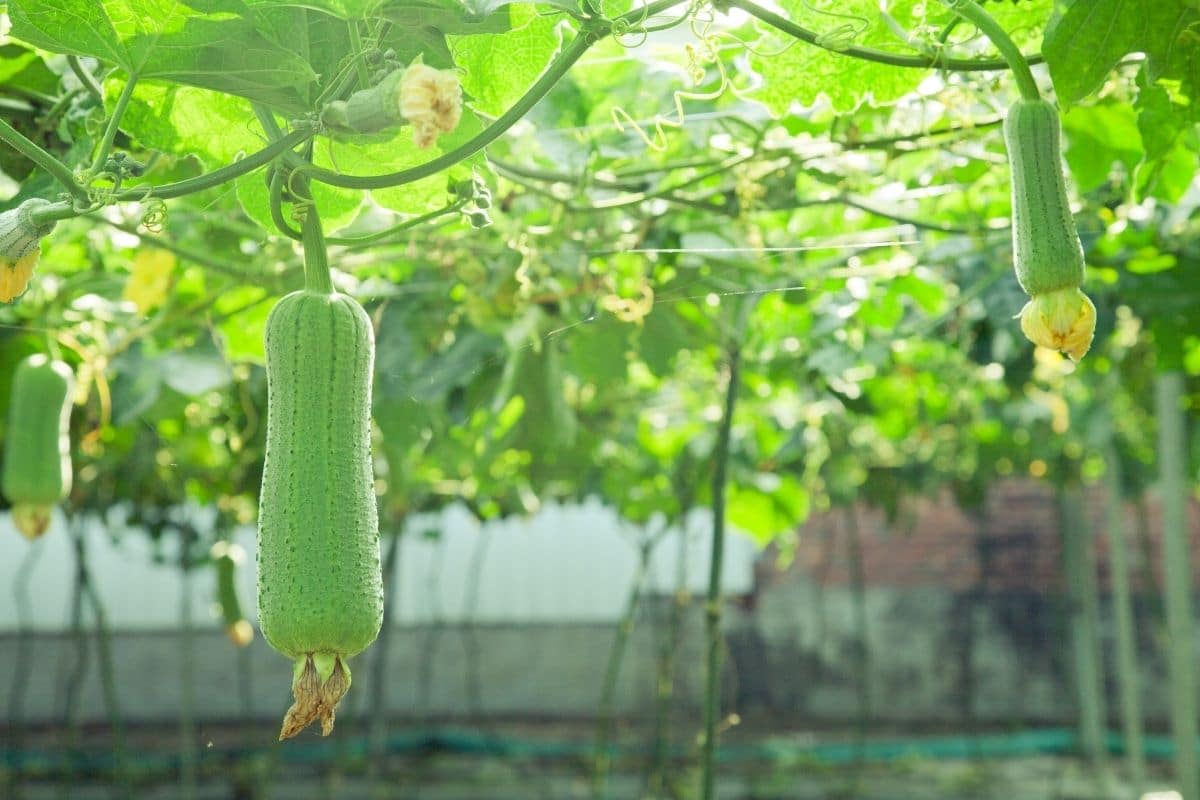
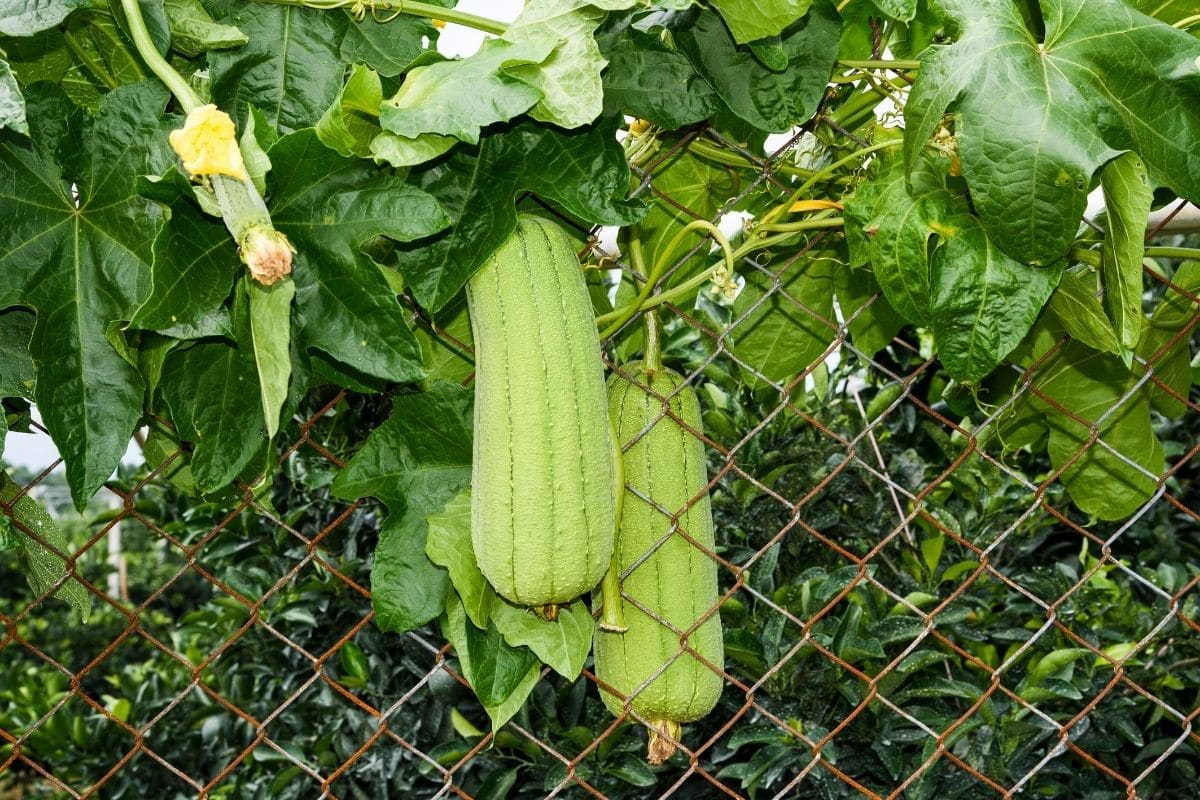
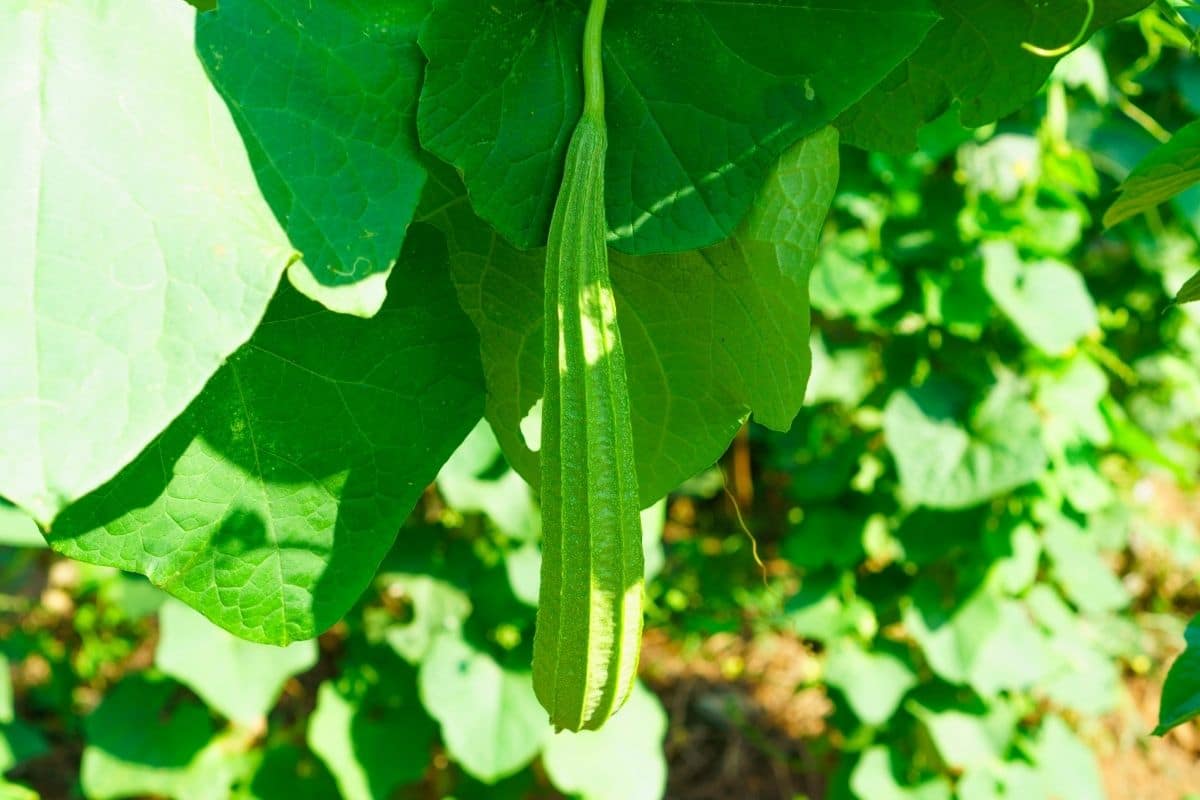
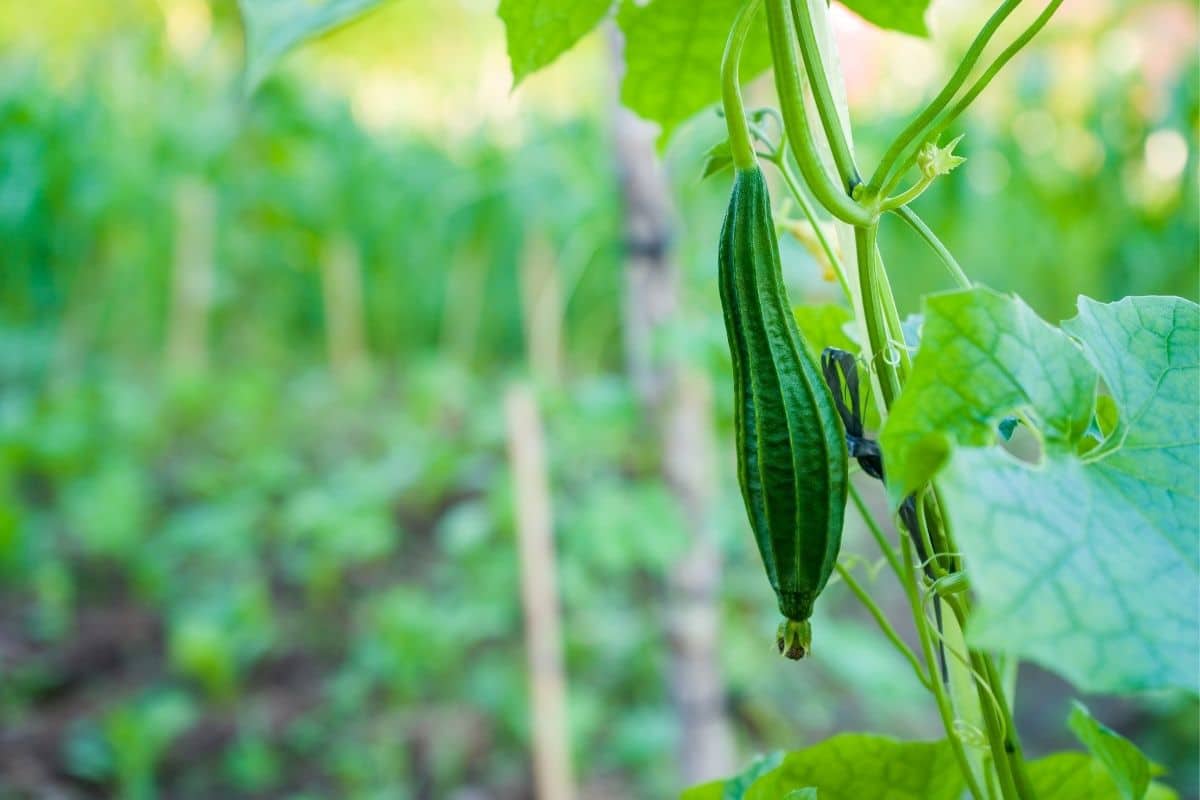
Loofah gourds can be harvested young to enjoy as vegetables, eaten in a similar way as you might eat winter squash or pumpkins. More commonly, though, gardeners will leave them to mature on the vine so that they can be used ornamentally as sponges (when they are around seven inches long).
Ready to grow your own loofah? Keep reading to learn how.
1. Start Seeds Indoors
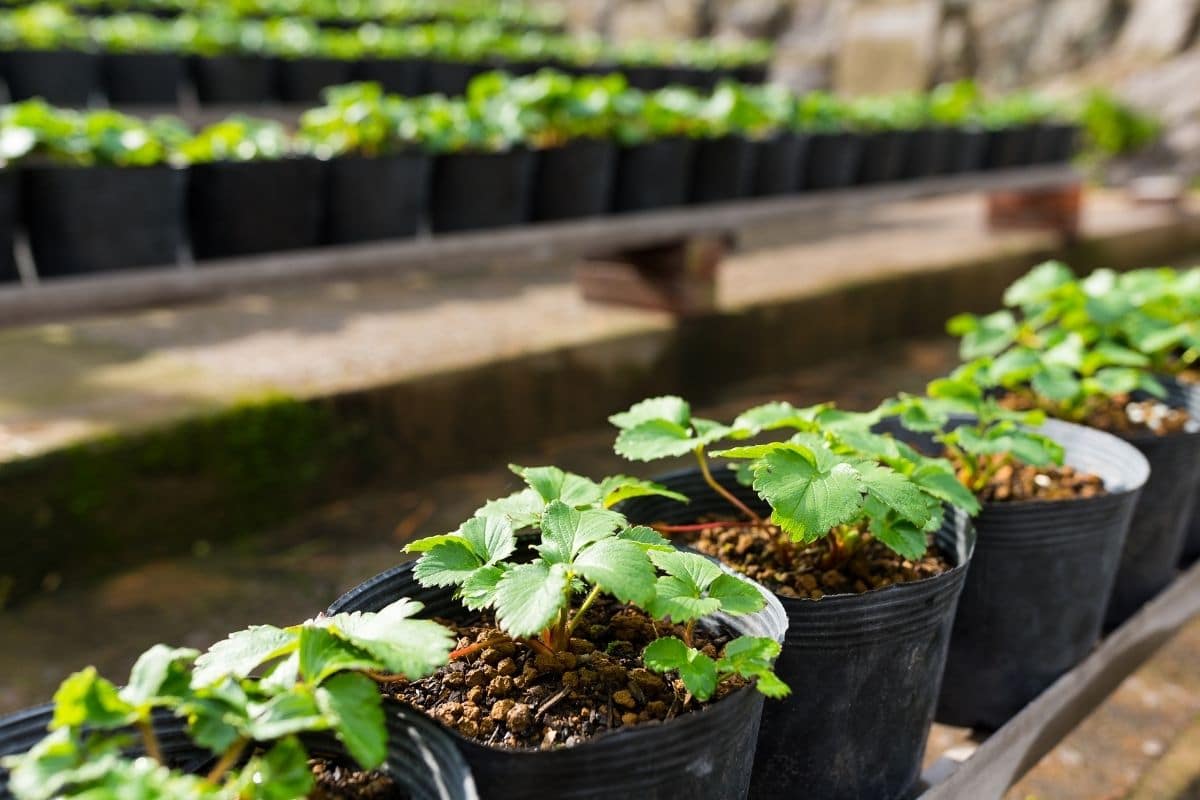
If you live in a cooler growing zone, you may want to start your loofah seeds indoors. Do this about six to eight weeks before the last frost date. It can help to soak your seeds in water 24 hours prior to planting. This will help soften the hard outer shell around each seed and make it easier for them to germinate.
Unlike seeds of other kinds of vegetables, loofah seeds don’t have a long, impressive shelf life. If you try to plant seeds that have been hanging around for several years, you probably won’t have much luck.
When starting seeds indoors, consider improving your odds of germination by starting them on a heating mat. Sow the seeds, then place them on the mat for warmth. You may want to plant your seeds in biodegradable or peat pots, too, which will reduce the risk of transplant shock when you put your transplants into the ground. Soil blocks are other good alternatives.
You may also want to check out these tips for preventing leggy seedlings as well as the reasons your seeds may not be germinating. Both can be the difference between a successful harvest of loofahs or a dud season.
2. Grow in Hills
When you’re ready to plant, you’ll find that growing loofahs is not unlike growing plants from similar species, like pumpkins and winter squash. You should plant your seeds in hills, each of which should be about a foot apart along a fence or something else that your loofah vines can climb.
You can plant just one seed per hill to give your plants plenty of room, or you can insert two seeds into each hill to increase your odds of a successful harvest. Once each plant is about two inches tall, thin to a single plant (choose the healthiest one).
You may want to look into raised beds or even a pallet garden for growing your loofahs if you are limited on space. Both can create a great harvest when used properly.
3. Harden Off
If you start your loofah seeds indoors, be sure to harden off the transplants before putting them in the garden. Wait until the weather is right - with warm air and soil - before you attempt to harden them off. Then, once the conditions are ideal, but the plants outside in a shelter location for an hour or so each day, adding an hour every day until the plants can be outside for the entire day.
If you want more detail, check out this post we shared with tips for hardening off seedlings. Tons of great information there that will help you keep your plants healthy for transplanting.
4. Prevent Deformed Fruits
Although you can usually prevent deformed fruits by practicing good watering habits, you’ll also want to keep an eye on the growth habit of the loofah plants to make sure they aren’t getting trapped in the fence. You should also make sure they are only on one side of the fence. Some will poke through gaps in the fence and grow on both sides - this can lead to serious flaws and may make it impossible for your plants to be harvested.
5. Prepare for Cold Snaps
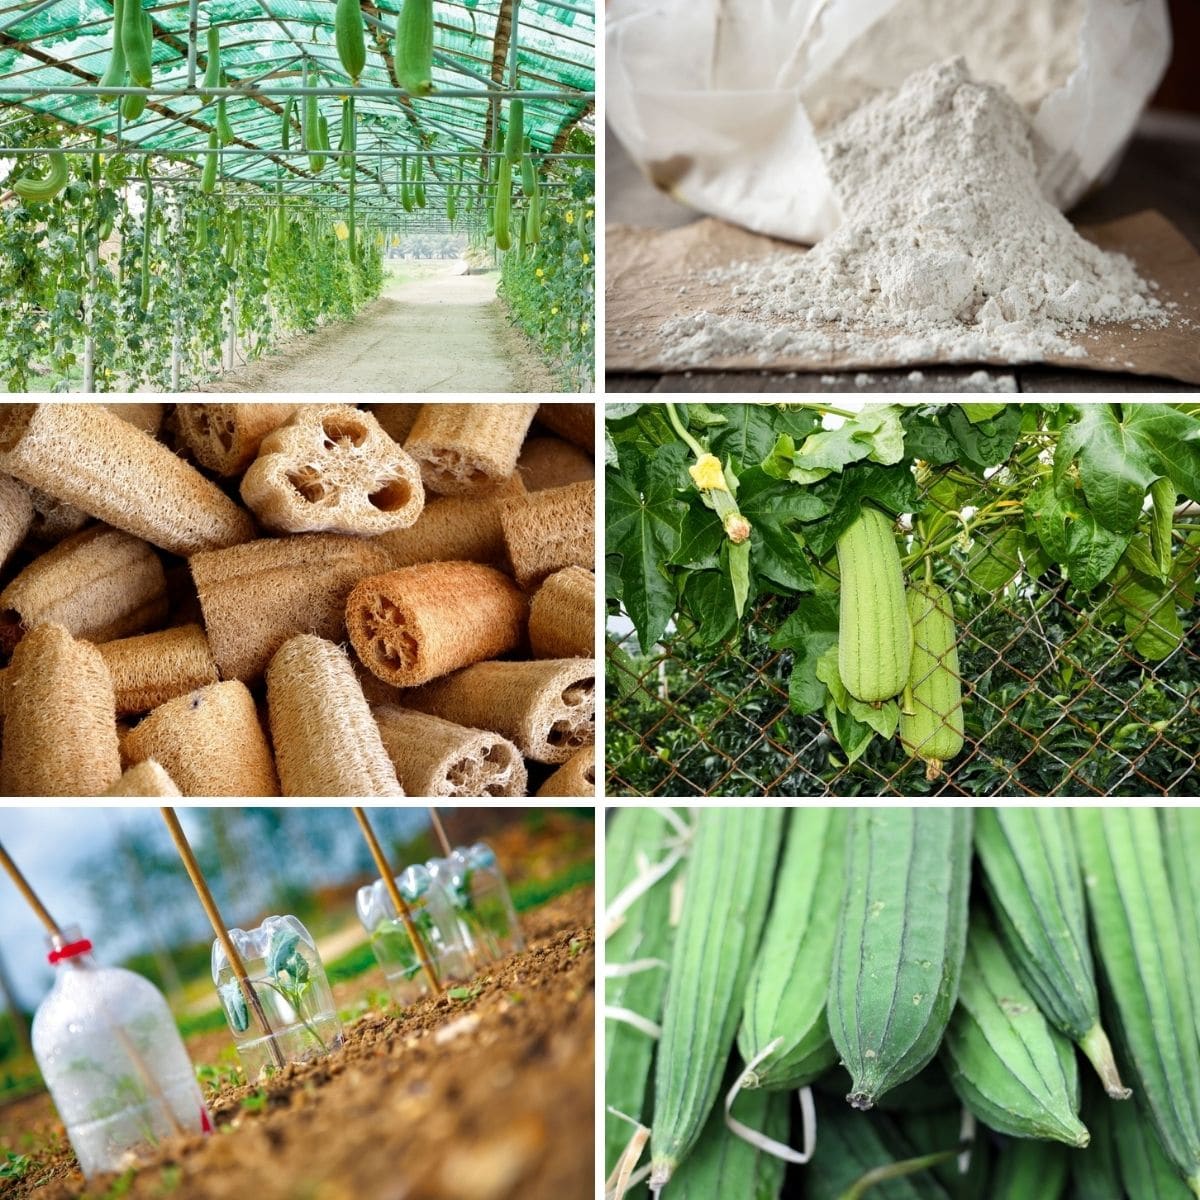
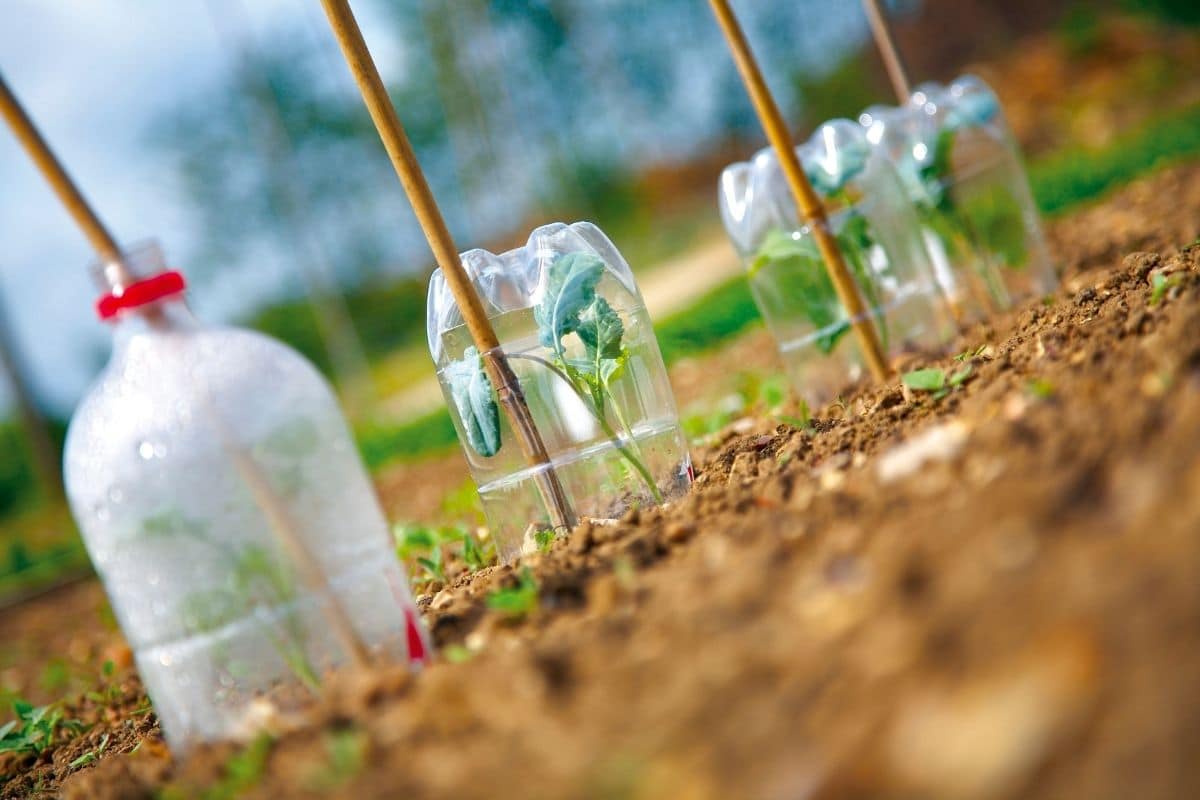
If you’ve already planted your loofah gourds and a cold snap threatens, take the extra step to protect your plants. Put a cloche over your seedlings - this can be as simple as a plastic soda bottle cut in half with a few air holes. Just a few days of cold weather can stunt a loofah plant’s growth and a frost can kill your seedlings - so make sure you take the appropriate steps to prevent them from being shocked by the cold.
I like this list of items to upcycle in the garden for ideas to use as plant covers. You can also get creative with things like old sheets, curtains, or tarps if you need to cover a larger swath of plants. These frost blankets are another great investment if you have larger areas to cover.
6. Choose the Right Variety
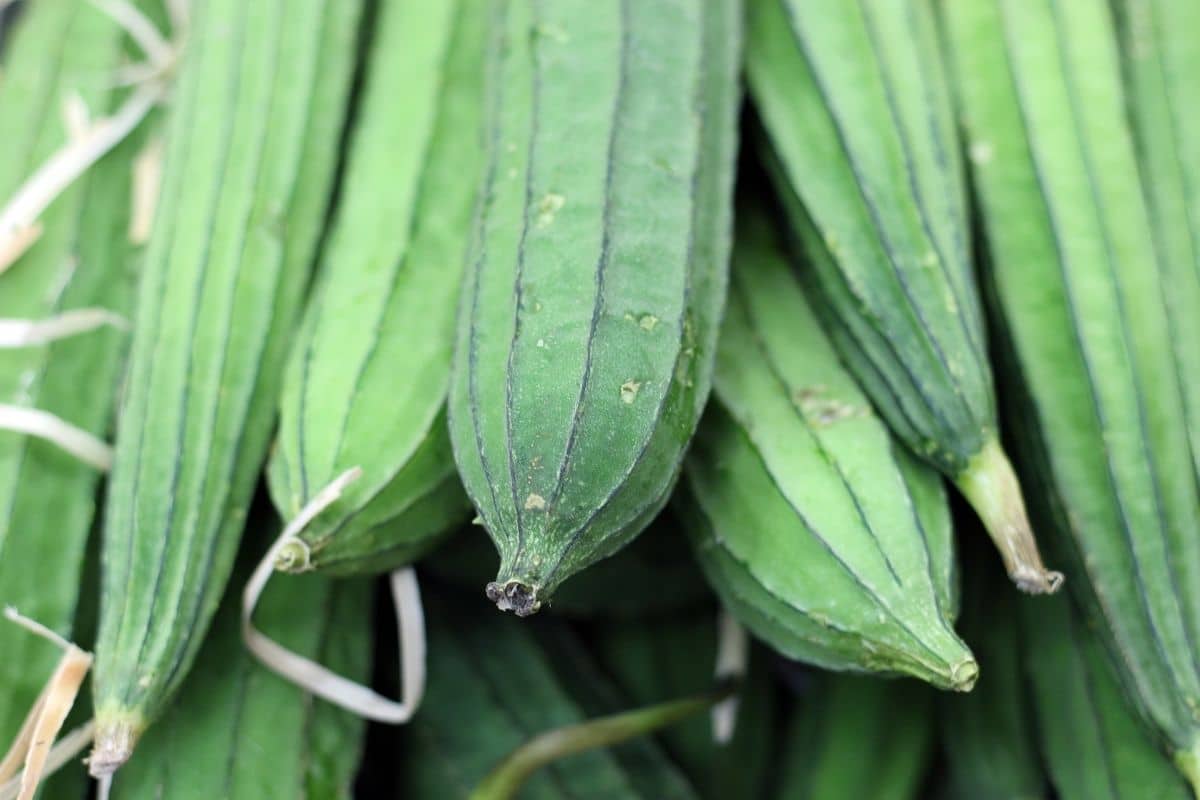
There are actually two species of gourds that are referred to as loofahs - Luffa aegyptiaca, also known as rigid luffa or angle luffa, Chinese okra, or vegetable gourd.
The Luffa acuntangular, also known as smooth luffa, Egyptian luffa, gourd luffa, or dishrag gourd.
Often, these varieties are referred to interchangeably. They are grown almost exactly the same, but the types and varieties vary in terms of their appearance.
7. Use Diatomaceous Earth in the Late Summer
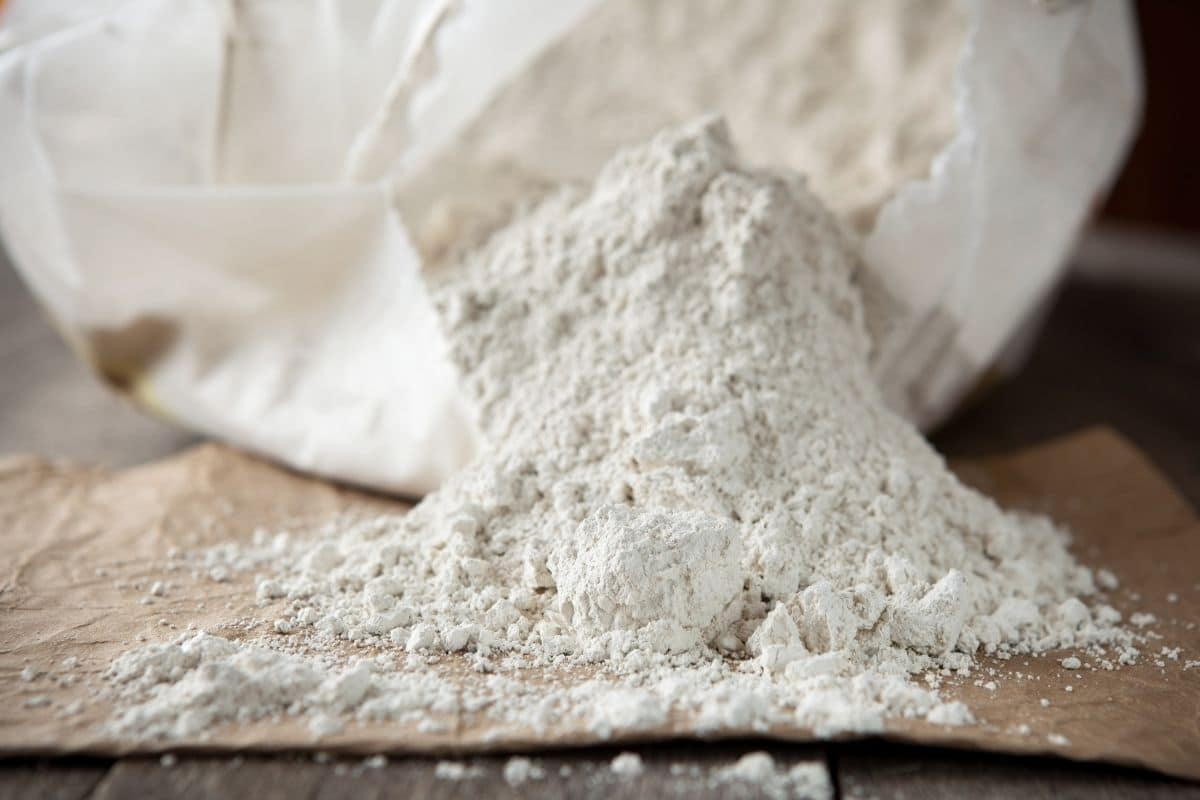
In the late summer and early fall, when your plants have produced fruits that are almost ready for harvest, you may want to apply a light dusting of diatomaceous earth. This will help prevent squash beetles, creatures who can decimate loofah plants. Don't worry if you have extra, there are tons of ways to use diatomaceous earth in your garden.
Tip: While you can buy diatomaceous earth in small containers, it is typically cheaper to buy a large bag. Nature's Hill Nurseries offers a small 7-ounce package, but the 4-pound bag of diatomaceous earth is actually only $2 more. A much better deal and it will last a long time when stored properly.
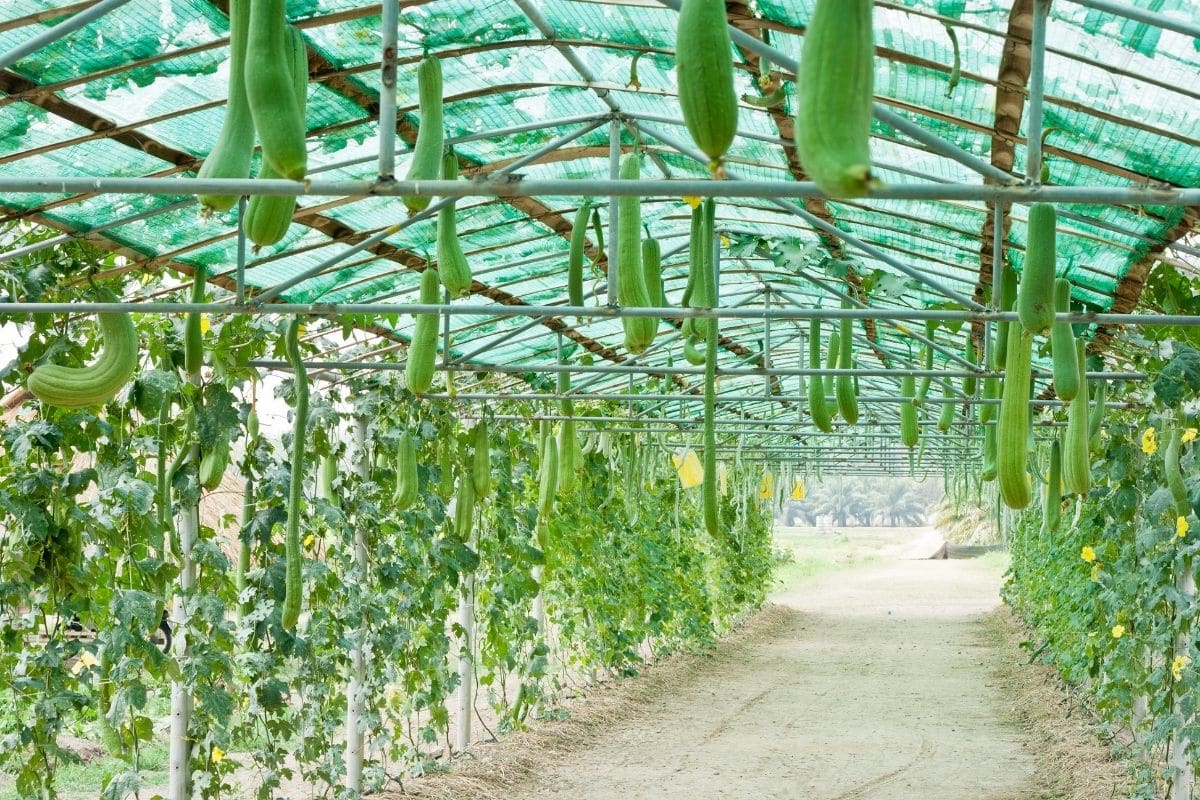
8. Consider Growing in a Greenhouse
Loofahs like conditions that are hot and moist - consider planting your loofah gourds in a greenhouse to make sure they have all the heat and sunlight they need.
You can use some of these ideas for DIY greenhouses, or you can buy greenhouse kits from Bootstrap Farmer that are amazing and super sturdy. Both can be perfect for your needs, but it depends upon the time you have and how handy you are if you want a ready-made option or not for your garden.
9. Time Your Harvest
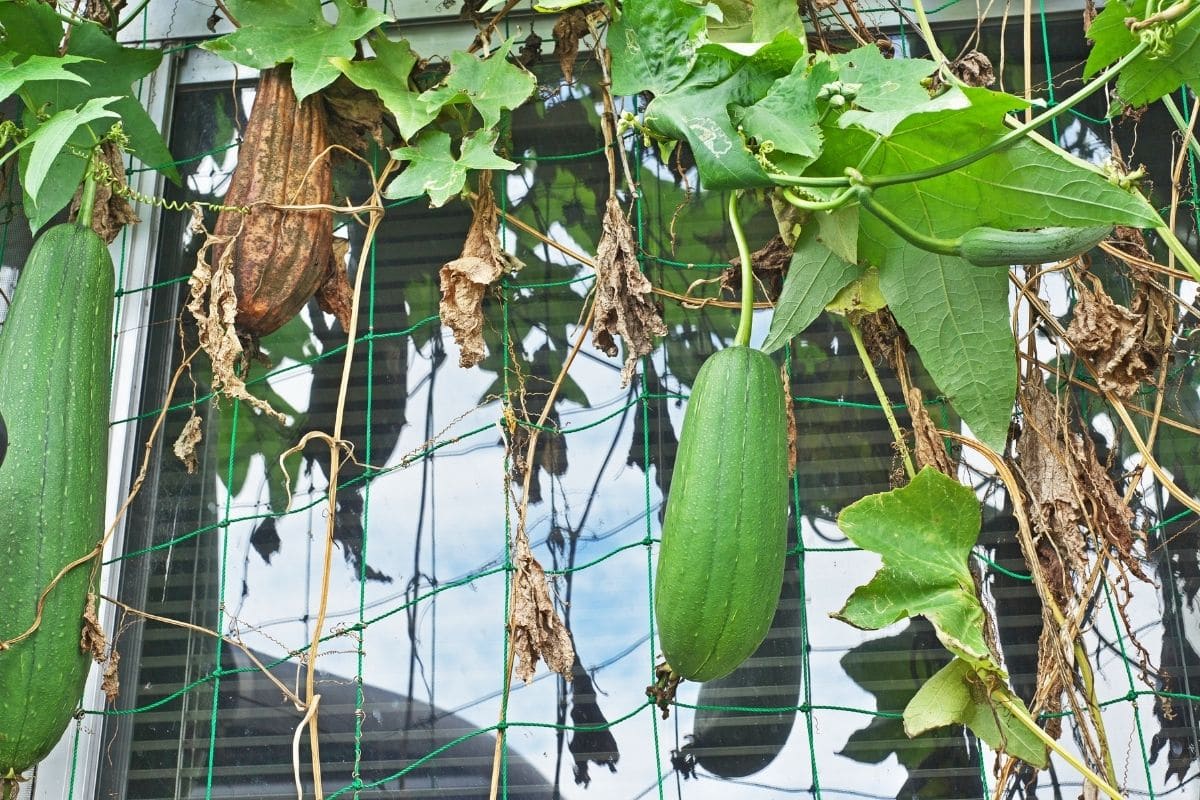
When it comes time to harvest, make sure you know the ideal time to do so. Usually, you will want to harvest once the vines have died back, before the first frost in the fall. To remove your loofahs, pinch or cut them off at the vine. This will leave the plant in good stead if there are other gourds that will need to ripen.
If you plan on eating the loofahs you harvest, you can do so earlier in the summer. You’ll eat them in a similar fashion as summer squash. Here are some summer squash recipes to consider if this is your plan.
One important thing to note - if a frost threatens, harvest your loofah sponges. Even if they are still green, it’s better to harvest them before the frost hits, as this will lead to premature rot.
10. Prepare Your Sponges
Unfortunately, growing loofahs that you intend to use as sponges are not as simple as pulling them from the vine and tossing them in the shower - you will need to do a bit of prep work to get your gourds ready for clean-up.
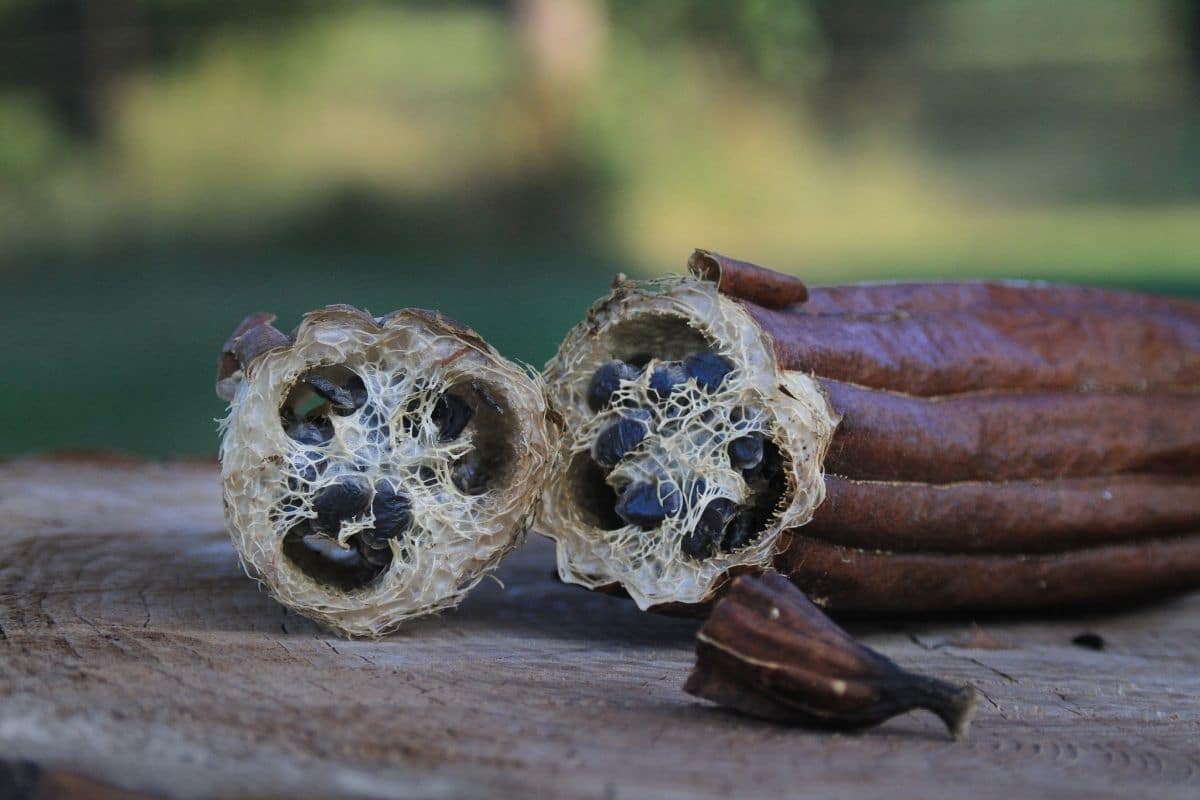
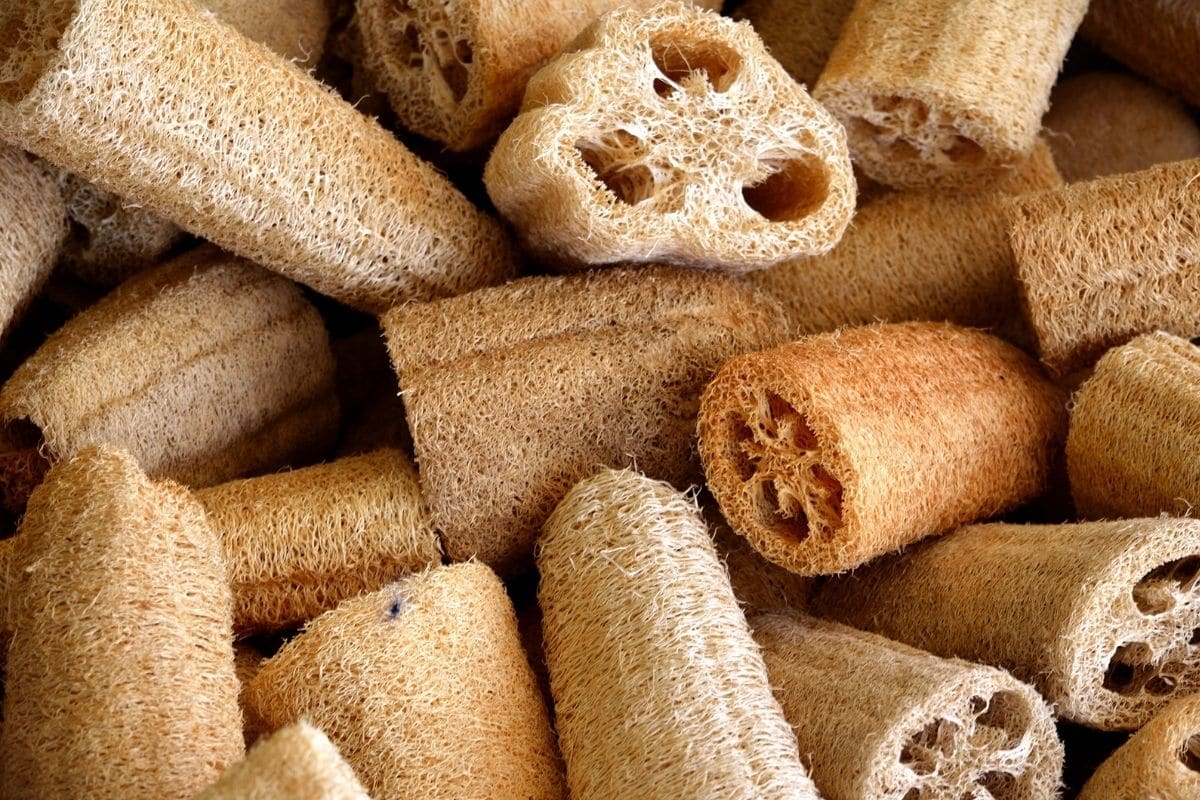
Start by positioning your luffa gourd on a solid, flat surface. Use a stone or a rolling pin to remove the dried exterior skin to the best of your ability. Some seeds may come loose, too - but don’t worry, this is what you want to happen.
If any skin pieces remain, you can use your fingers to remove them, or you can cut them off with some scissors or a pair of shears. Know that the ripper and more “aged” your gourd happens to be, the simpler it will be for you to peel. After you’ve removed both the seeds and the skin, there will be a black, brown, or yellow material underneath. It is fibrous to the touch.
You can then soak this material in a solution of bleach water. Rinse them afterward with a few squirts from a hose at high pressure. This will remove any remaining seeds, mold, or rotten material. Allow the loofahs to dry in direct sunlight and a light breeze for a couple of days. You can turn them regularly to make sure they dry evenly.
After they have been dried, you can store your sponges anywhere in your home that is dry and free from pests.
Why You Should Grow Loofahs in Your Garden
Most people grow loofahs for their ornamental value, but there are so many reasons to consider growing these plants for your home. Not only will they last indefinitely, but they can be used as a bath time exfoliator or for cleaning up around the house.
In fact, loofahs work wonders at cleaning porcelain, pretreating laundry, and cleaning grout. Some people use them on cast iron pans - and of course, some gardeners just like to eat them!
However, you choose to use your mature loofah gourds, know that growing them is quite simple. Follow these tips for growing loofahs, and you’ll have a unique garden crop that’s sure to astound all of the visitors to your home.






Patty
I started my seeds later in the summer and they are not yet producing fruit. I transplanted into a pot to bring it indoors for the winter months. Will it still mature inside the house over the winter months?