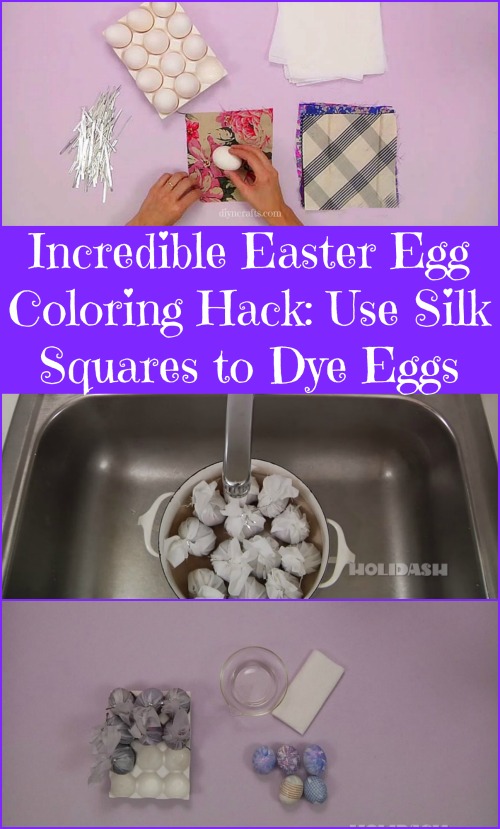
Video Instructions

You will need:
- Eggs
- 100% silk scarves or ties (look for cheap ones at local thrift stores or old ones in the back of your closet so that you don’t ruin your favorite scarf)
- ½ yard white fabric
- Twist ties
- 3 tablespoons white vinegar
- Vegetable oil (this is used to rub over the eggs at the very end to give them a nice shine)
Cut your silk material and white fabric into equal squares of 7x7in (that’s about 17.8cm), then wrap your eggs first with the silk and then with the white fabric, and secure with a twist tie. Next, put all your little egg parcels in a pot and fill it with water; add the vinegar and let it all boil for 15 minutes. Once that’s done, remove the eggs and unwrap them when they’ve cooled down enough. You’ll be surprised to see how well the pattern from the silk transfers on to the shells! And you can even use the same silk square two to three times, so don’t let any of it go to waste.
Video Tutorial by Holidash Video Youtube Channel.


ivan fajardo
muy lindas ideas gracias
Jennifer
Are the eggs still safe to eat after dyed with the silk? Just wondering because the dye is not "food safe" like traditional dyes we use during Easter.