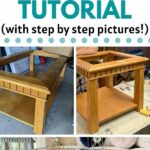
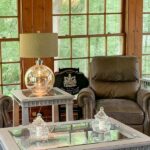
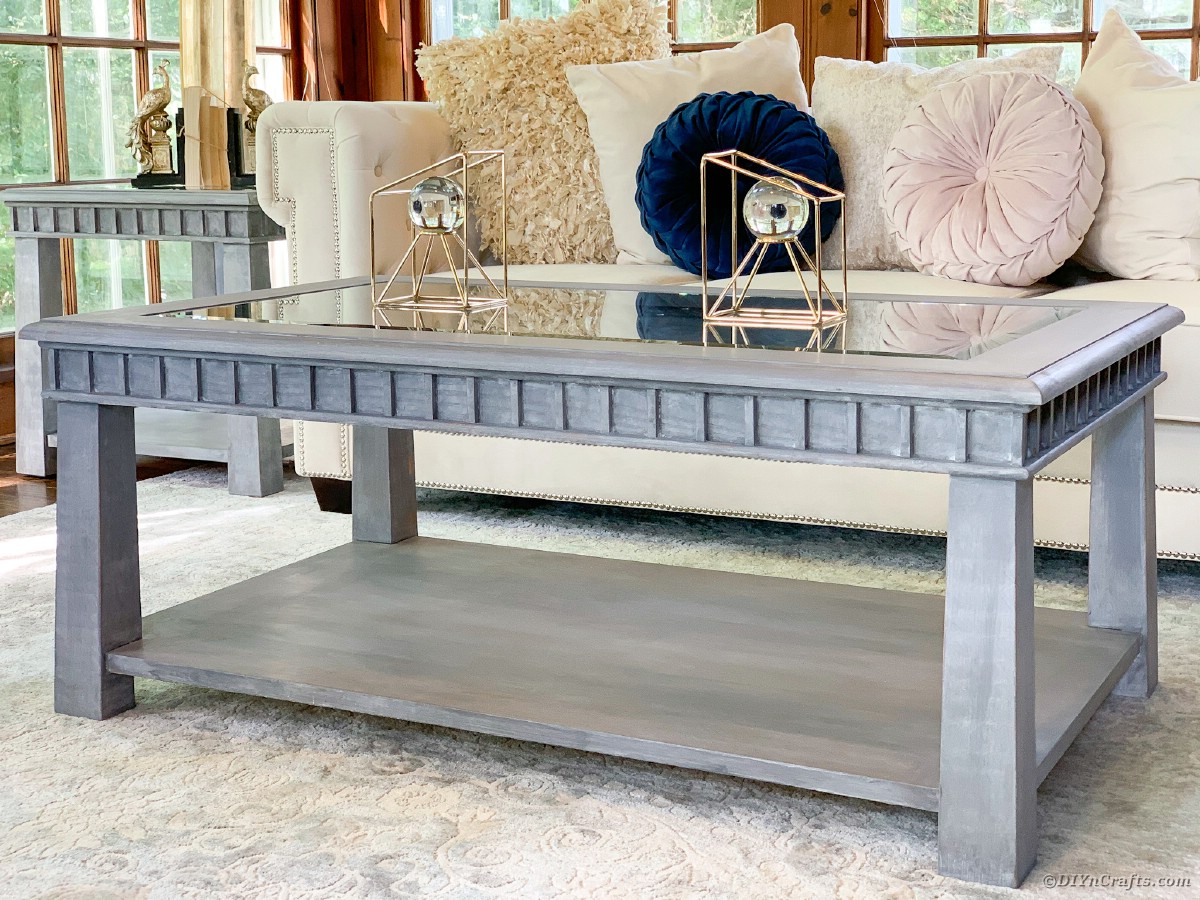
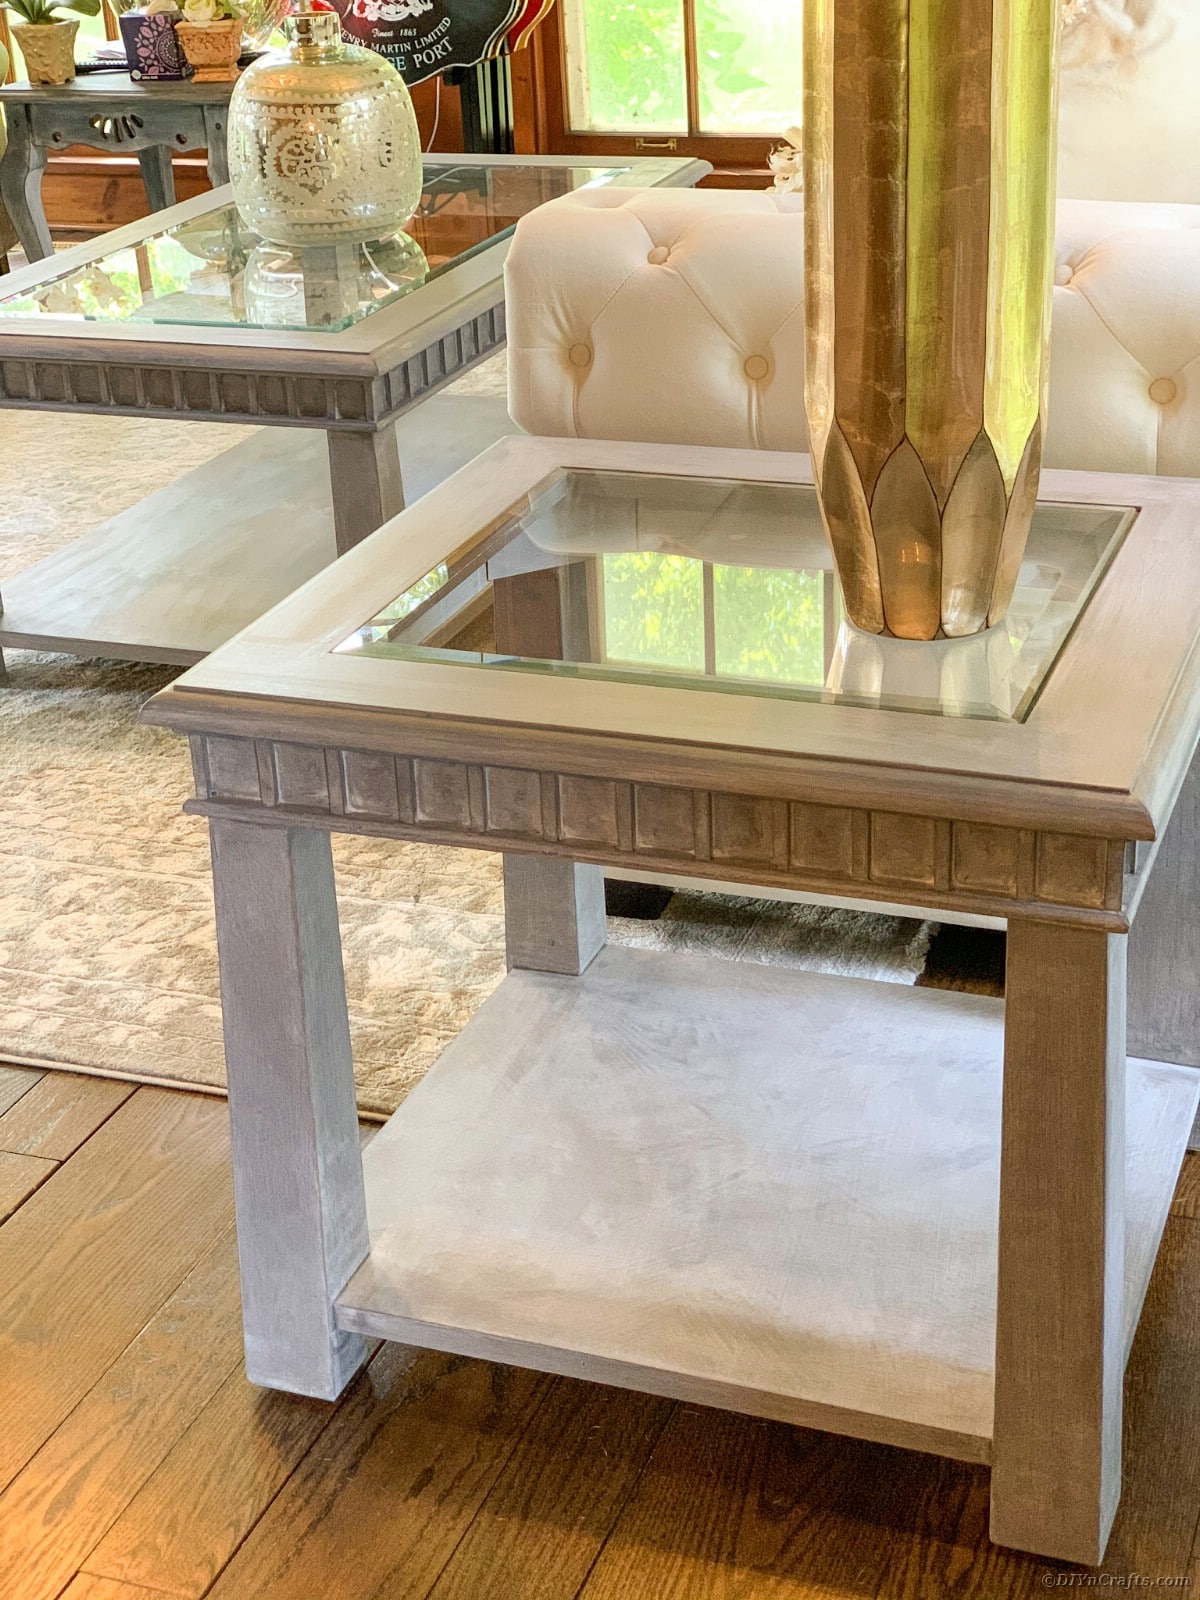
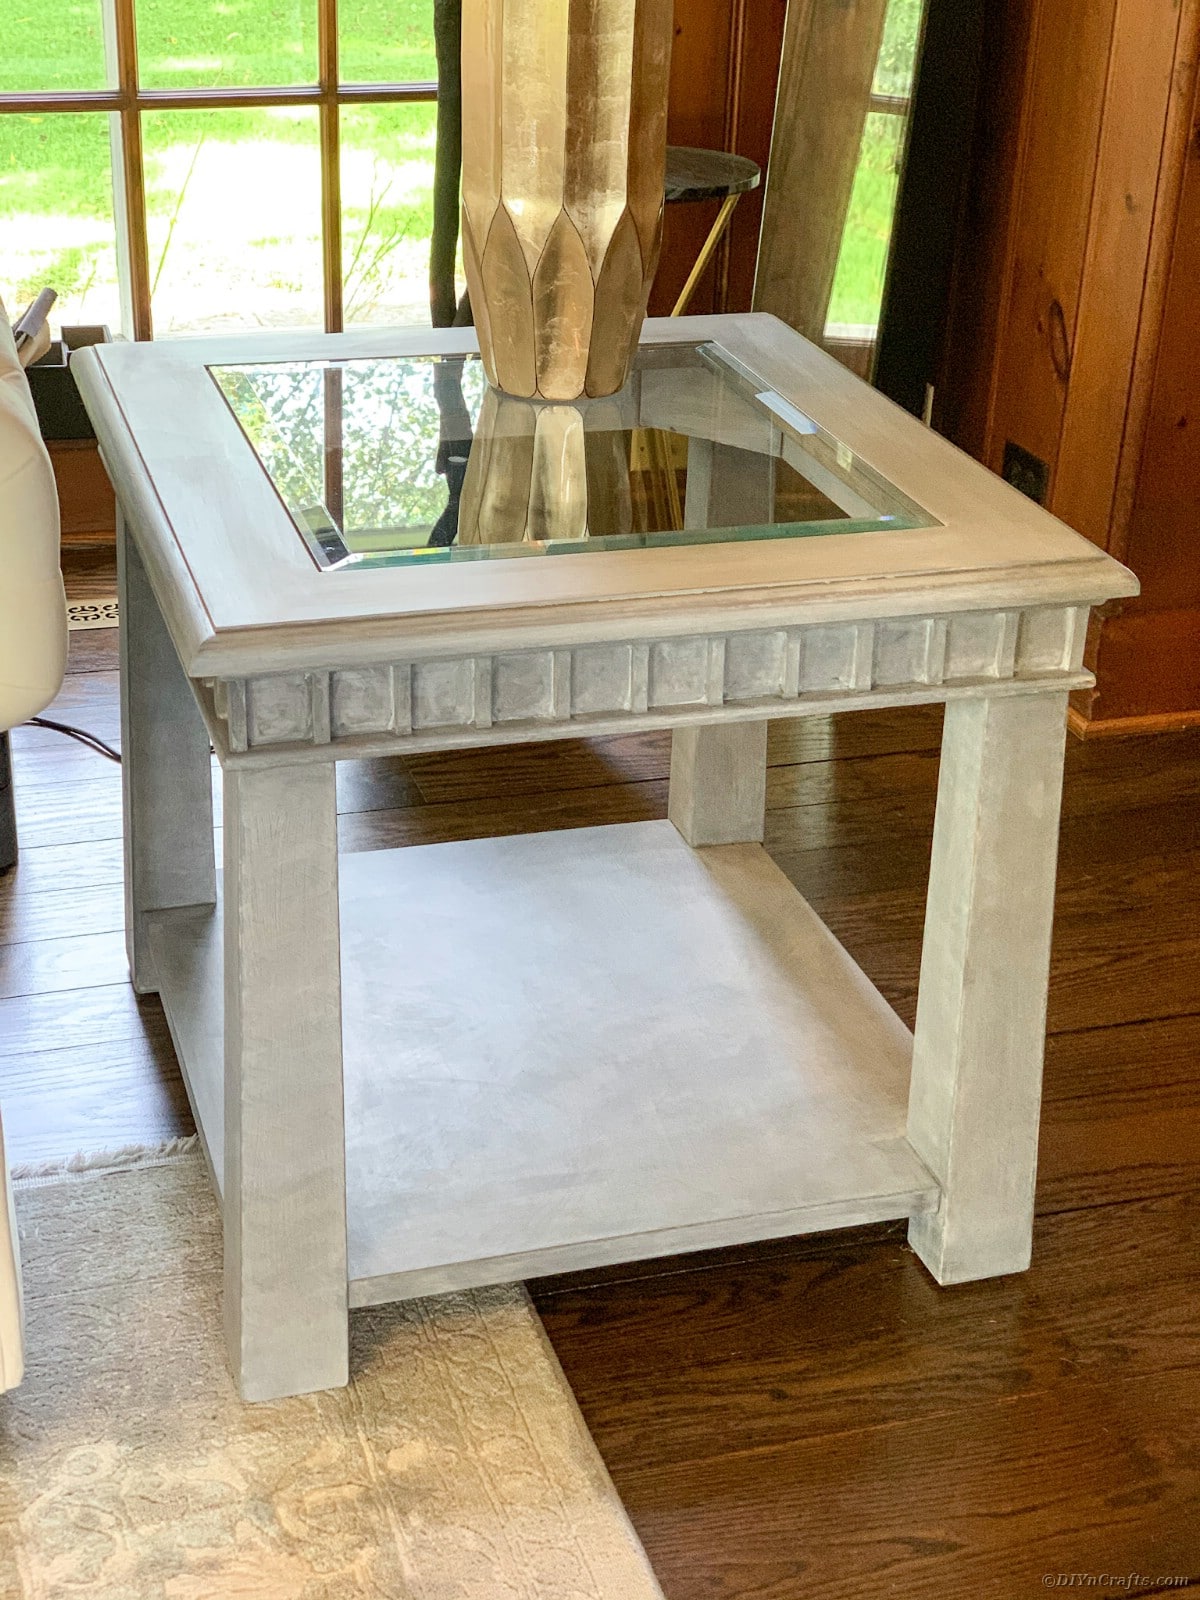
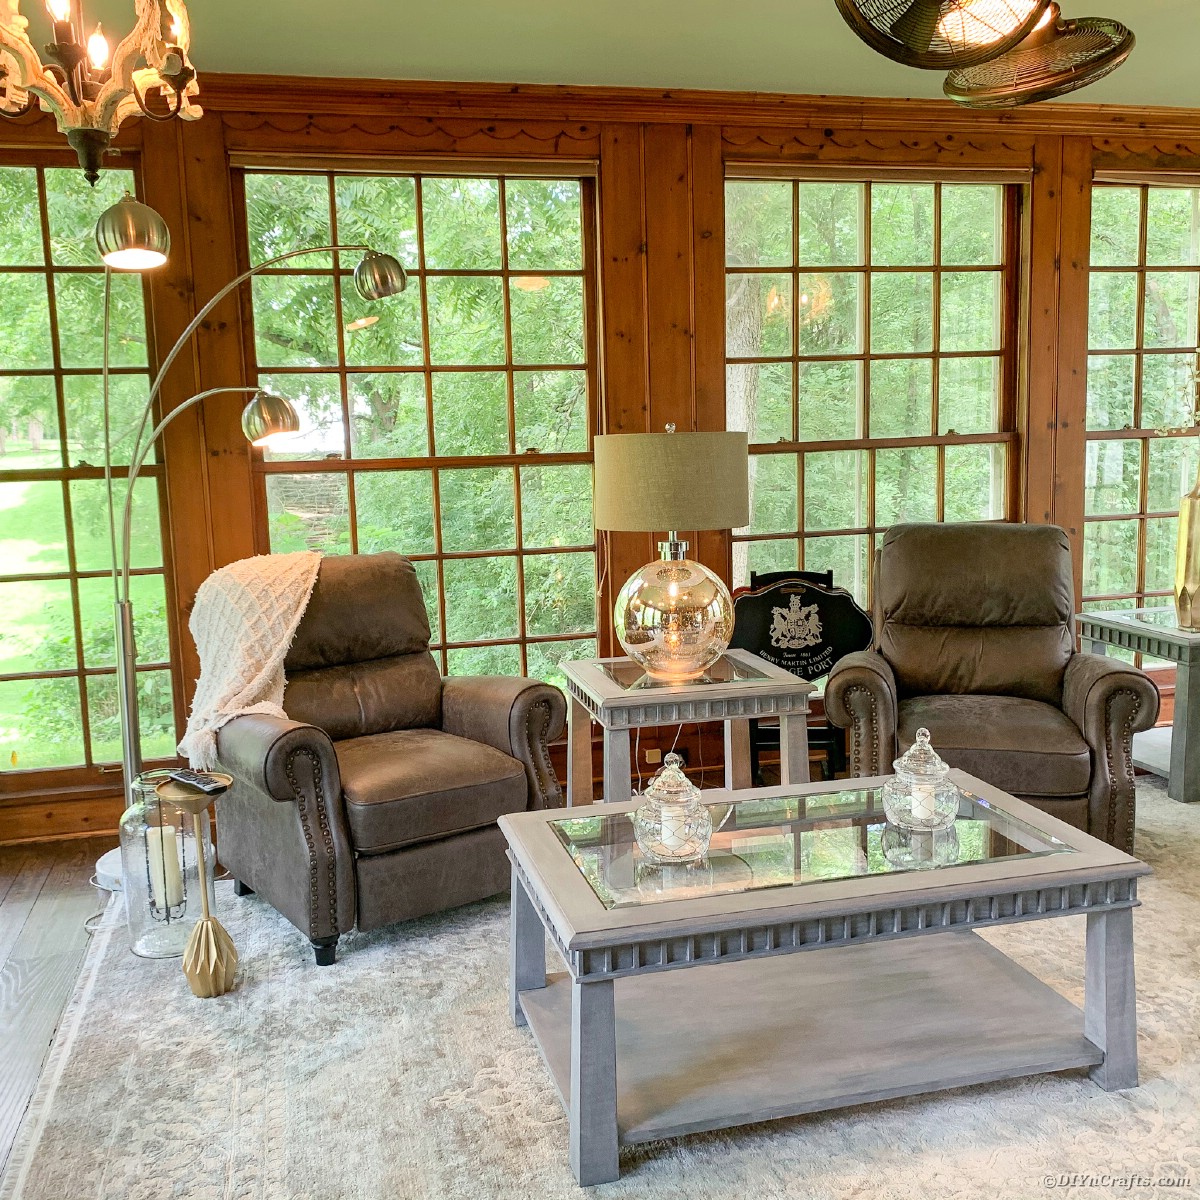
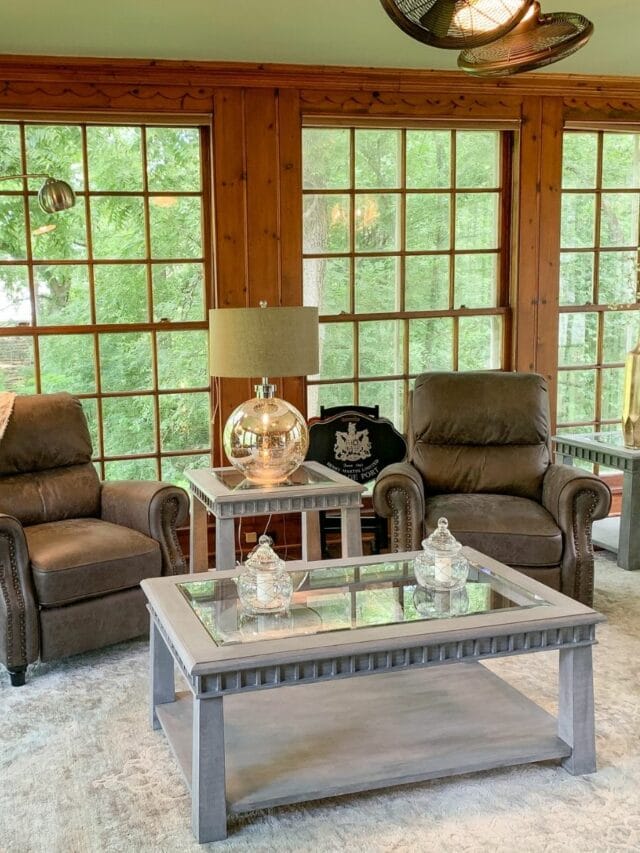
There is nothing more satisfying than seeing something old turn new again. This stunning restoration project turns a set of old glass top wooden tables into gorgeous modern farmhouse style home decor. A lightly distressed look is a lovely way to make what might be ordinary look truly beautiful. Bringing the popular farmhouse style to life adds charm and beauty to any space.
Glass Top Tables Restoration
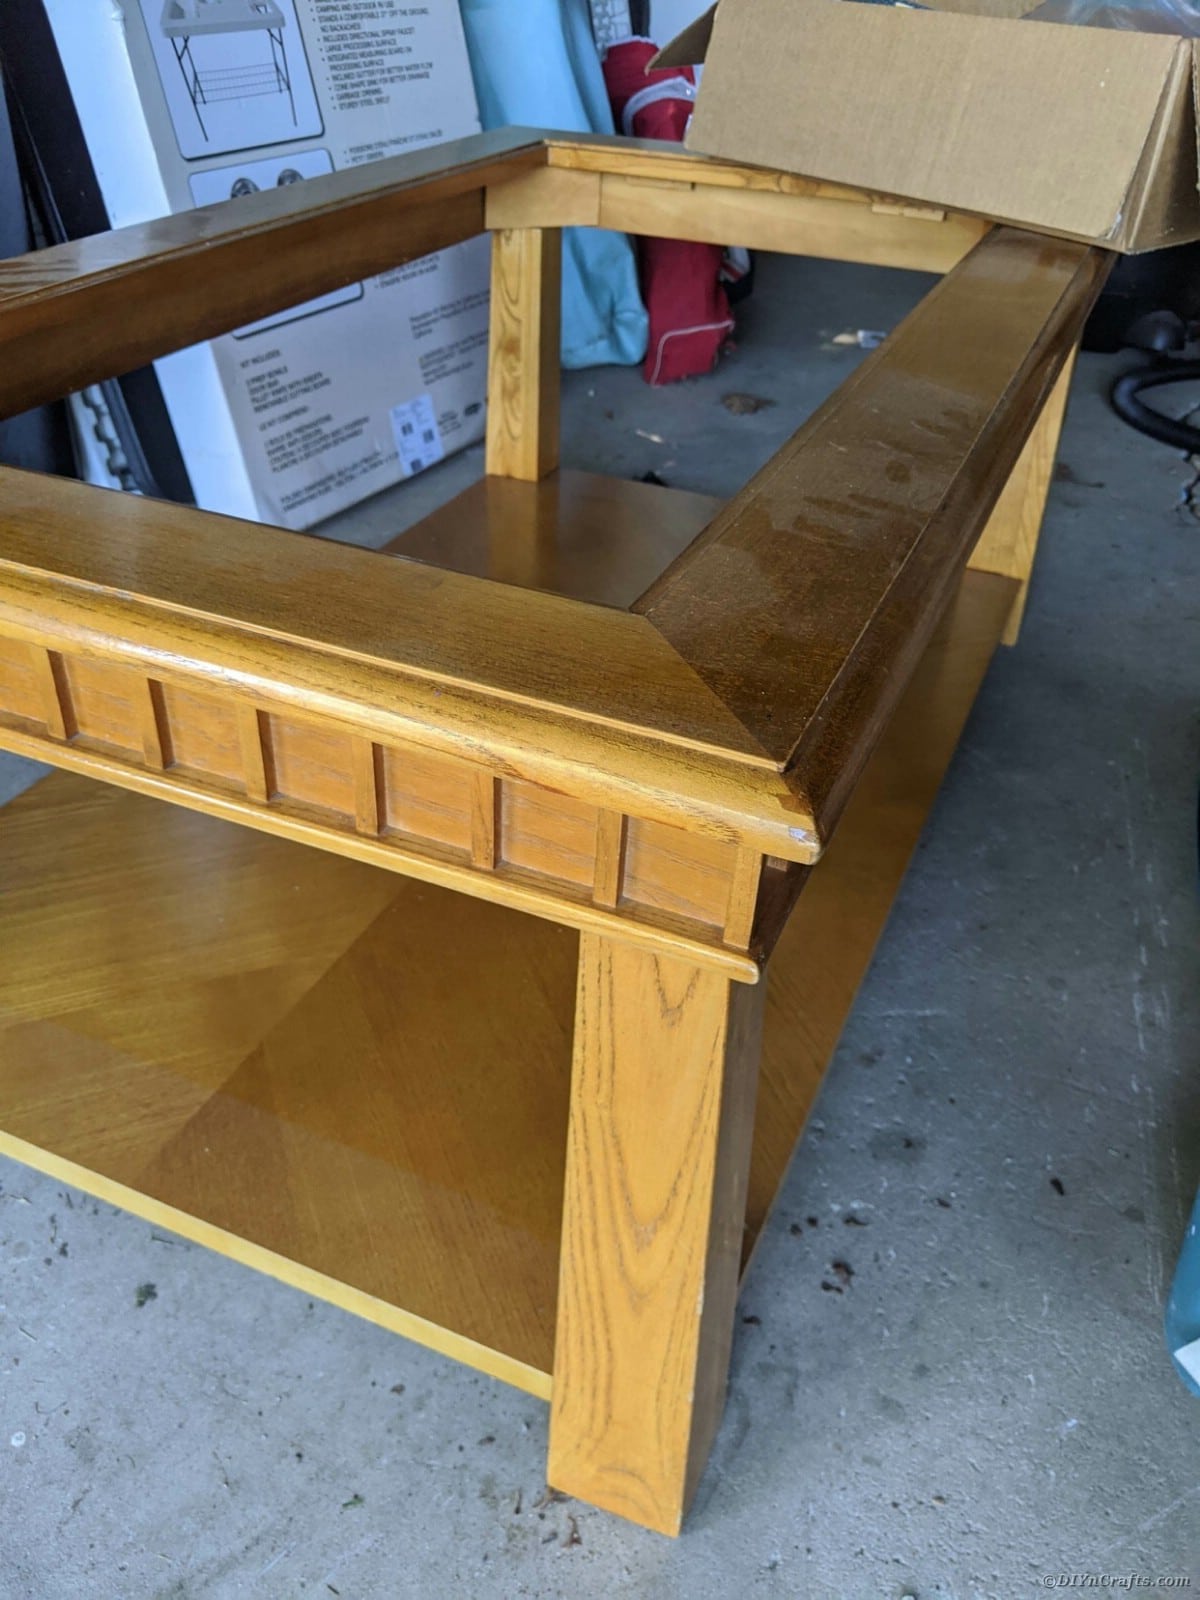
We've all seen these glass topped table sets and while they were a popular style for many years, they now look dated. Being able to turn a sturdy table into something new and beautiful is so much fun and rewarding. I love the distressed look and it fits beautifully into the popular modern farmhouse look.
More Restoration & DIY Projects
If you enjoy making old things new, create amazing new furniture pieces, or just the act of repurposing items, you have arrived at the right place. We love creating new things and sharing with you great ways to upcycle and DIY everything possible. Since that is the case, you can find a few more ideas below to inspire your next projects.
- Distressed Curio Cabinet Restoration with Farmhouse Style
- 25 Restoration Hacks That Turn Old Outdated Items New Again
- 35 DIY Pottery Barn Knockoff Tutorials for Easy Home Decor
- 30 Genius Ideas for Repurposing Old Bookcases Into Exciting New Things
What Tools Do I Need?
- Sandpaper or sanding block
- Spray bottle
- Natural bristle brushes for wax and chalk paint
- Natural bristle chip paint brush
- Lint-free cloths
- Drop cloth
- Disposable cup, plate, and fork
- Mineral spirits
- Dixie Bell paints
- Dixie Bell waxes
Prepare Your Work Space
Perhaps the most important part of doing any restoration project is preparing ahead of time by having everything needed on hand. Do not skip this part. Take the time needed to prepare everything so no detail is overlooked.
- Place the furniture in a clean workspace. If working in a garage be sure to sweep or blow all dirt and debris out of the area you will be working in. Lay a drop cloth down to ensure the paint does not drip and ruin your flooring.
- Take one lint-free cloth and dampen it with mineral spirits. Clean the entire piece of furniture with the spirits to remove any and all debris or oils that may be on the surface. Be sure to wipe down anywhere you will be painting, including the inside of drawers and/or doors. It is advised to wear a mask or be sure you are in a well-ventilated area.
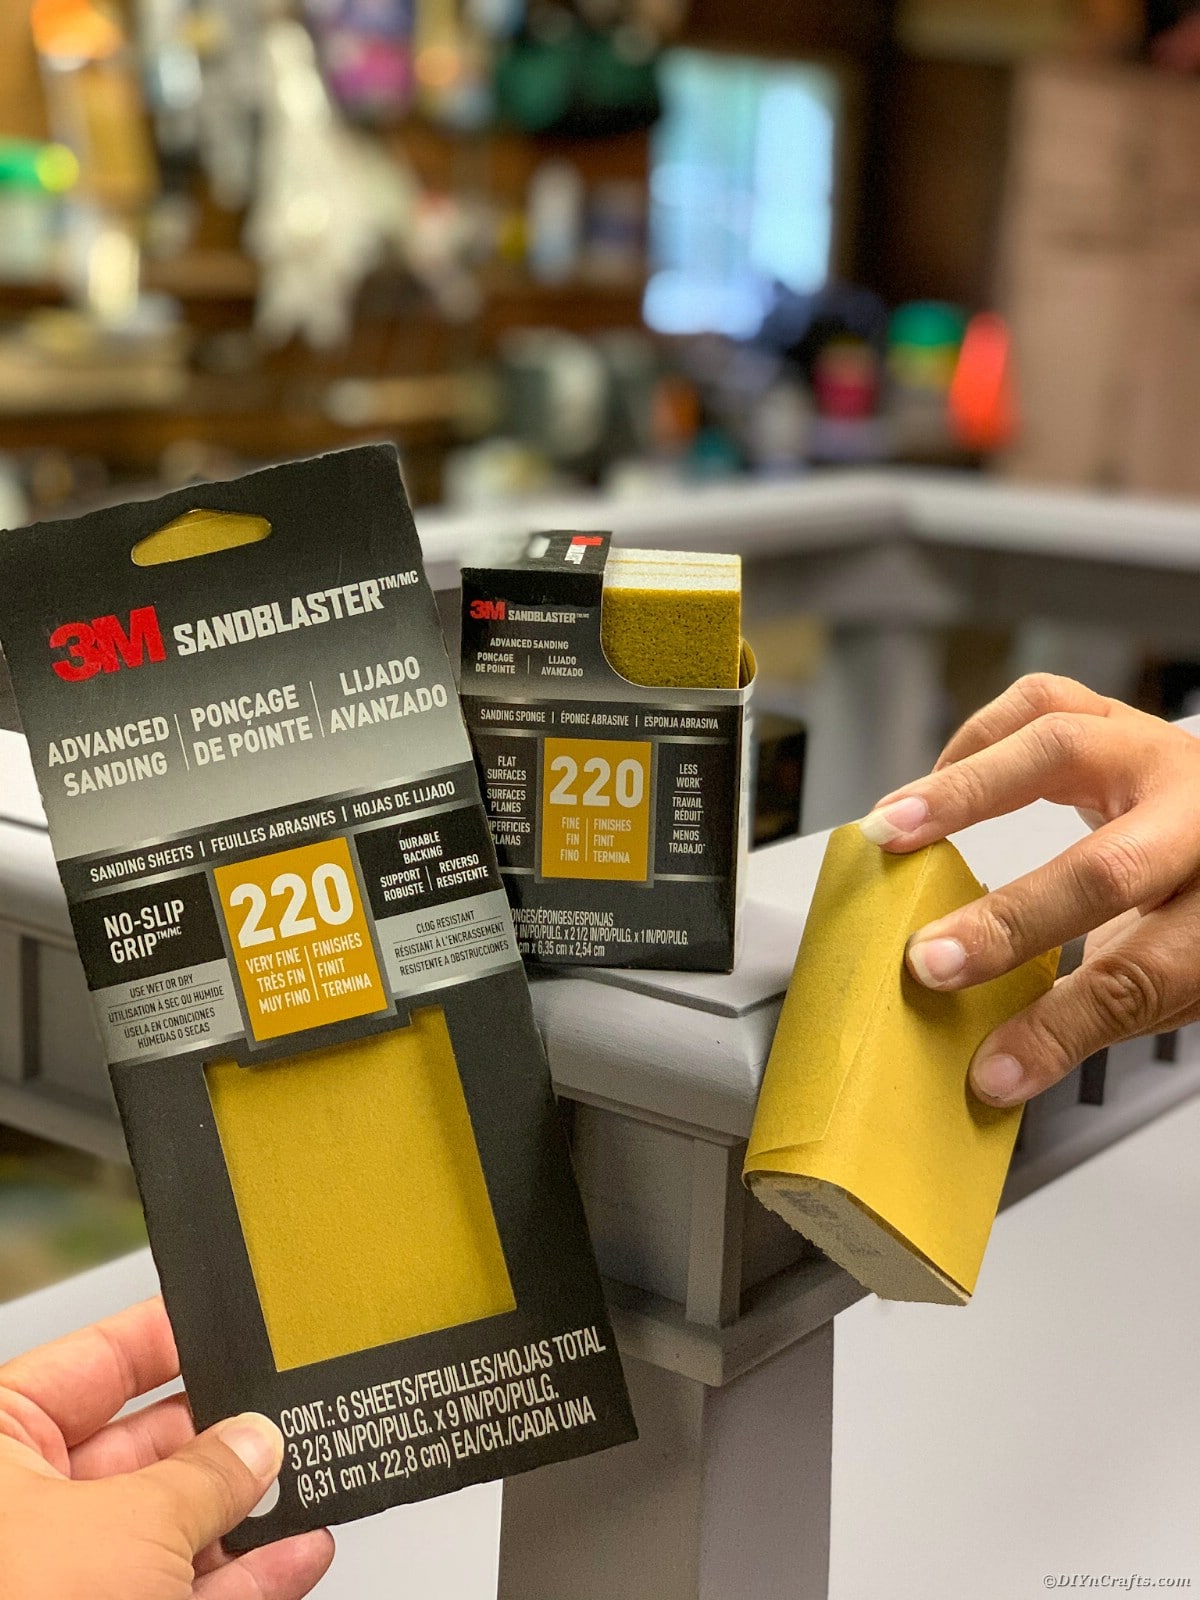
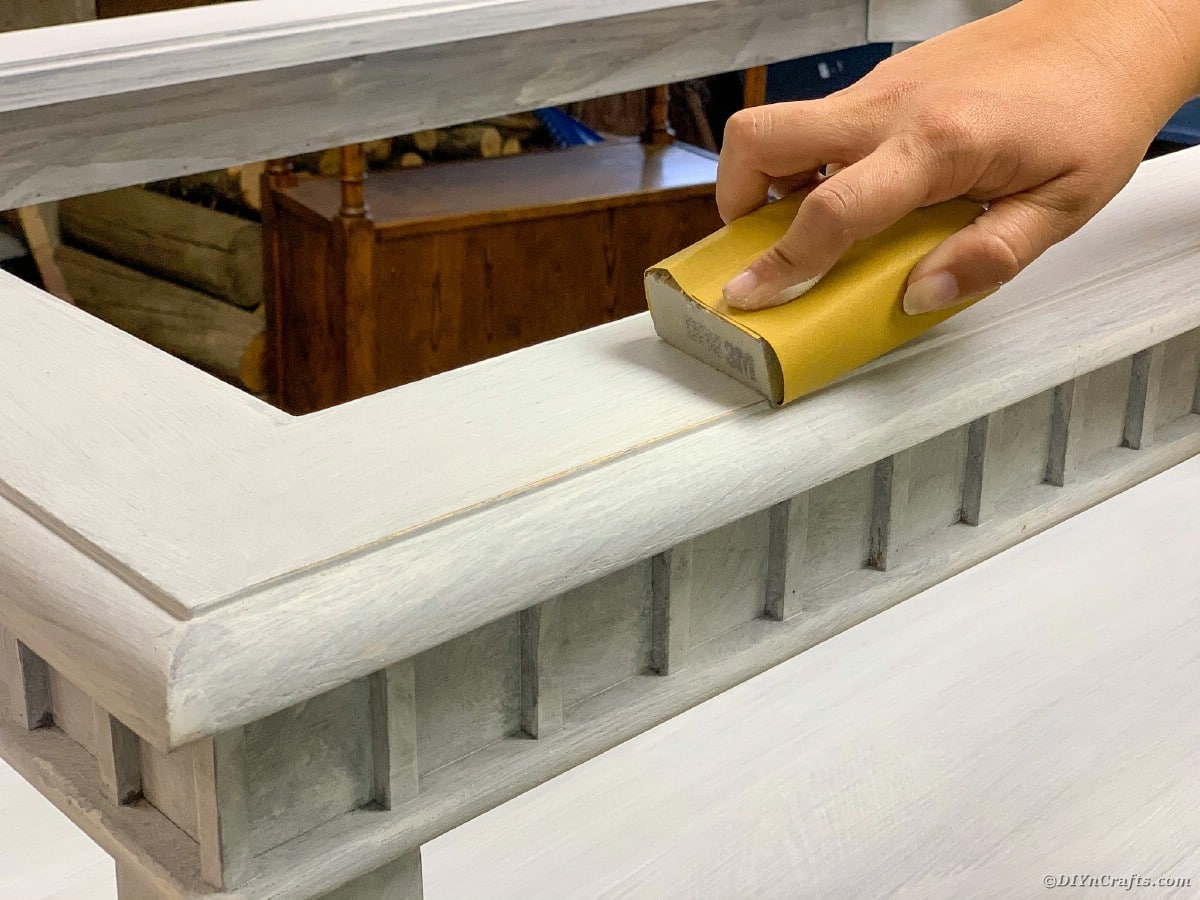
- Sand the entire piece using 220 grit sandpaper. If you have an orbital sander you can use this for the top of your piece and any larger areas to save you time and energy. If not, no worries sanding blocks and regular sandpaper will do just fine. Be sure to rough up the existing finish to expose the natural wood grain. Smooth out any imperfections and ensure your piece is smooth to the touch. Be careful around any small details. Sanding is all about the pressure you apply. Heavy pressure in areas that have a thick existing finish, light pressure on corners, and areas with detail you do not want to disturb.
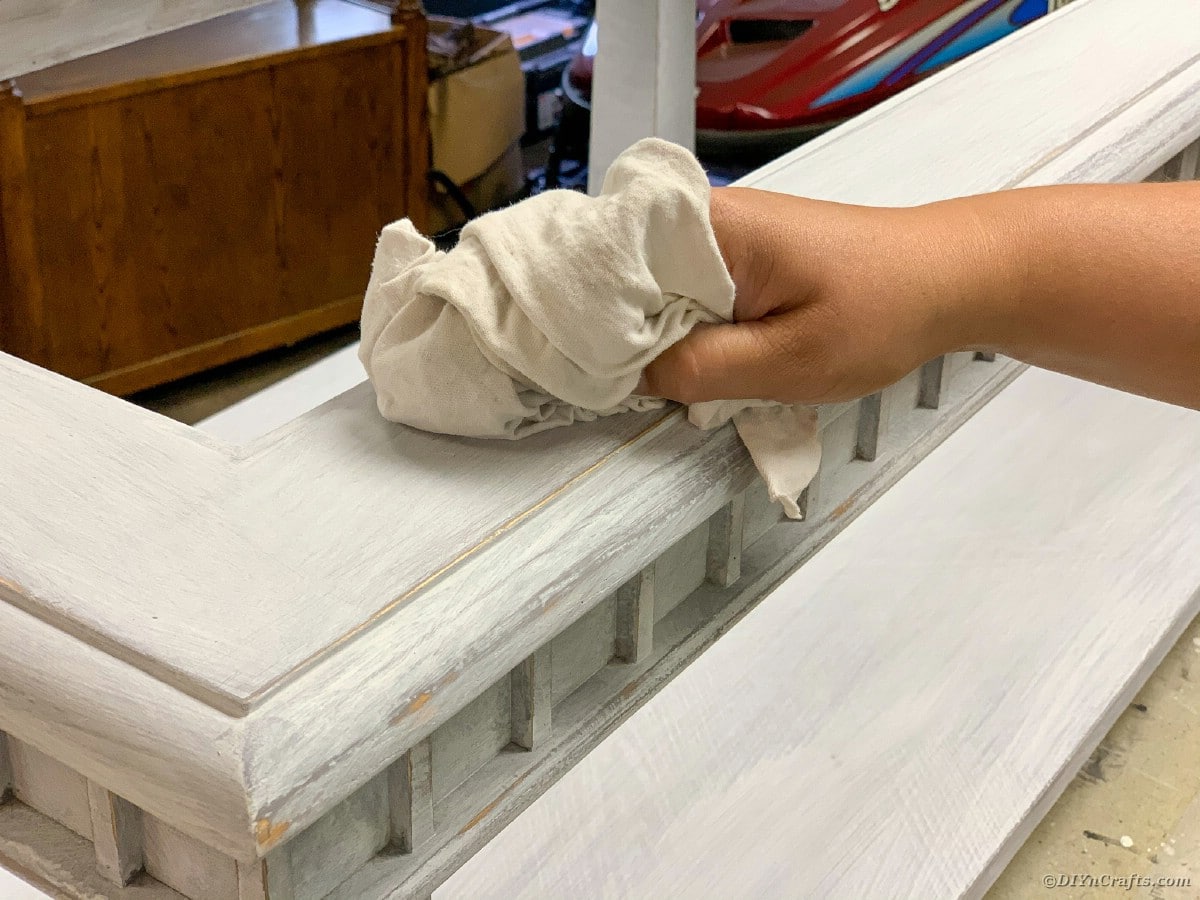
- Take another lint-free cloth and remove all dust particles from the sanding process. Take your time, you do not want any lingering particles that will live under your paint. If you have an air compressor gun you will be done in no time. Don’t miss the corners and crevices!
Begin Painting Your Glass Tables for Restoration
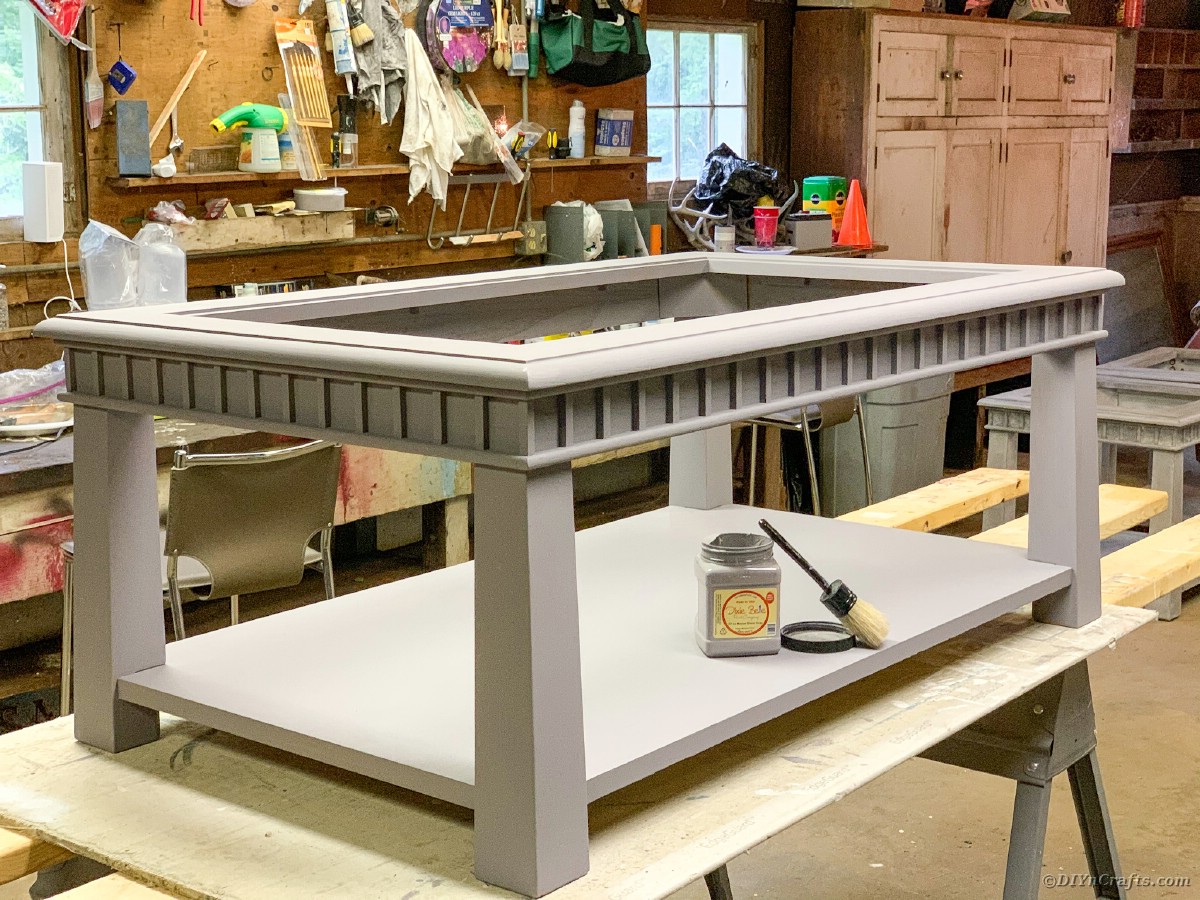
- Shake your Dixie Belle Mason Dixon Gray for 30 seconds.
- Pour Dixie Belle Mason Dixon Gray on to a paper plate. A little goes a long way. Best to add more to your plate as you go to ensure you do not waste.
- Using your Natural Bristle Chalk Paint Brush, coat the bottom of your brush and start painting the top of your piece. Be sure to work the paint in the same direction as the wood grain. Working from top to bottom will help minimize drips. Coat the entire piece. Don’t worry if the paint looks streaky it will all flatten out.
- Let dry for 30 minutes.
- Flip piece and paint underneath with Dixie Belle Mason Dixon Gray. Be sure to focus on any edges or areas that might be visible to ensure full coverage.
- Let dry for 30 minutes.
- Flip piece to have top of piece parallel with the ceiling.
- Let cure for 24 hours (depending on weather and humidity)
- If necessary, using 220 grit sandpaper lightly sand any areas of paint drips or build up.
- Using your lint-free dust cloth remove any debris.
- Shake your DIY Vintage Linen Chalk paint for 30 seconds.
- Pour DIY Vintage Linen and water using a 50/50 ratio into a solo cup. Mix thoroughly with a plastic fork.
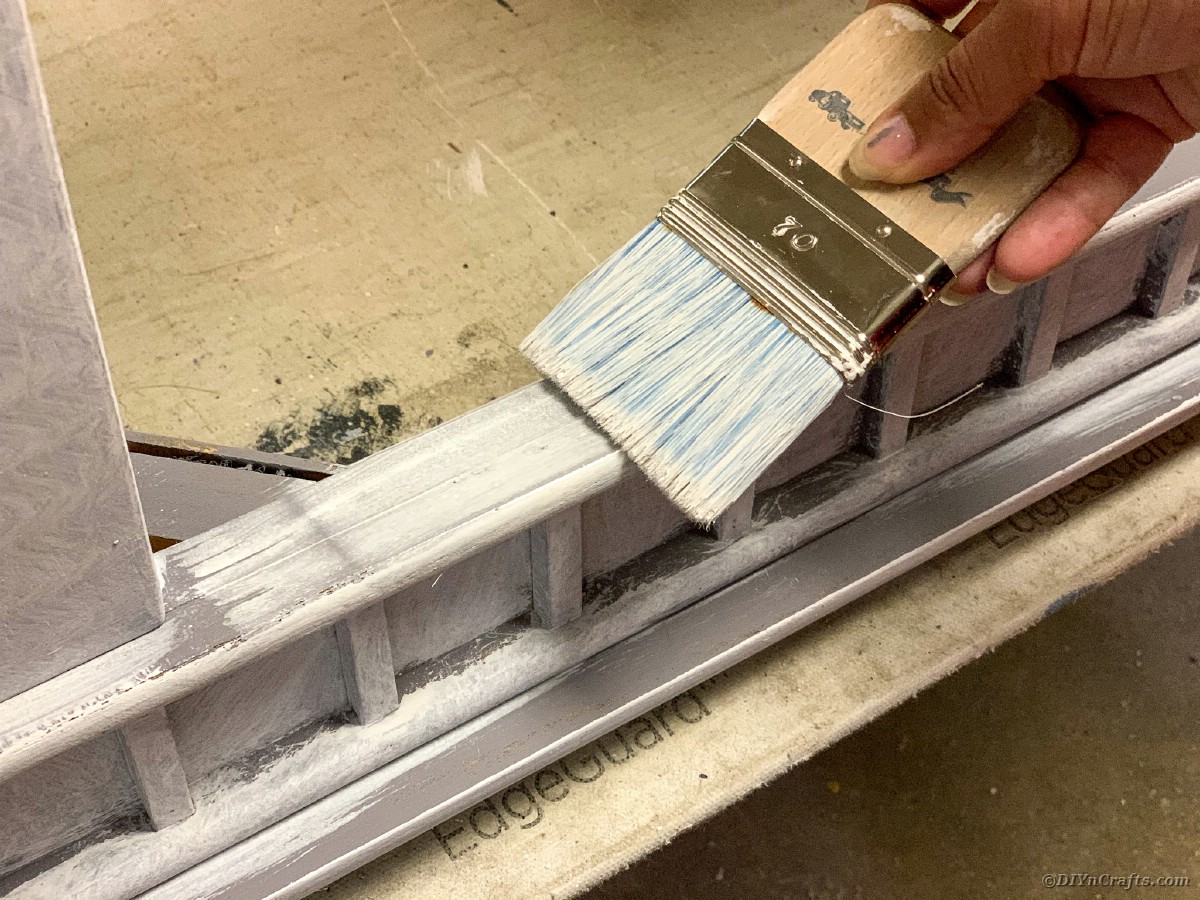
- It’s time to begin your Linenwash. Using your natural bristle chip brush, coat the bottom of your brush and start painting the top of your piece. Paint in the same direction of the wood grain. Work from top to bottom.
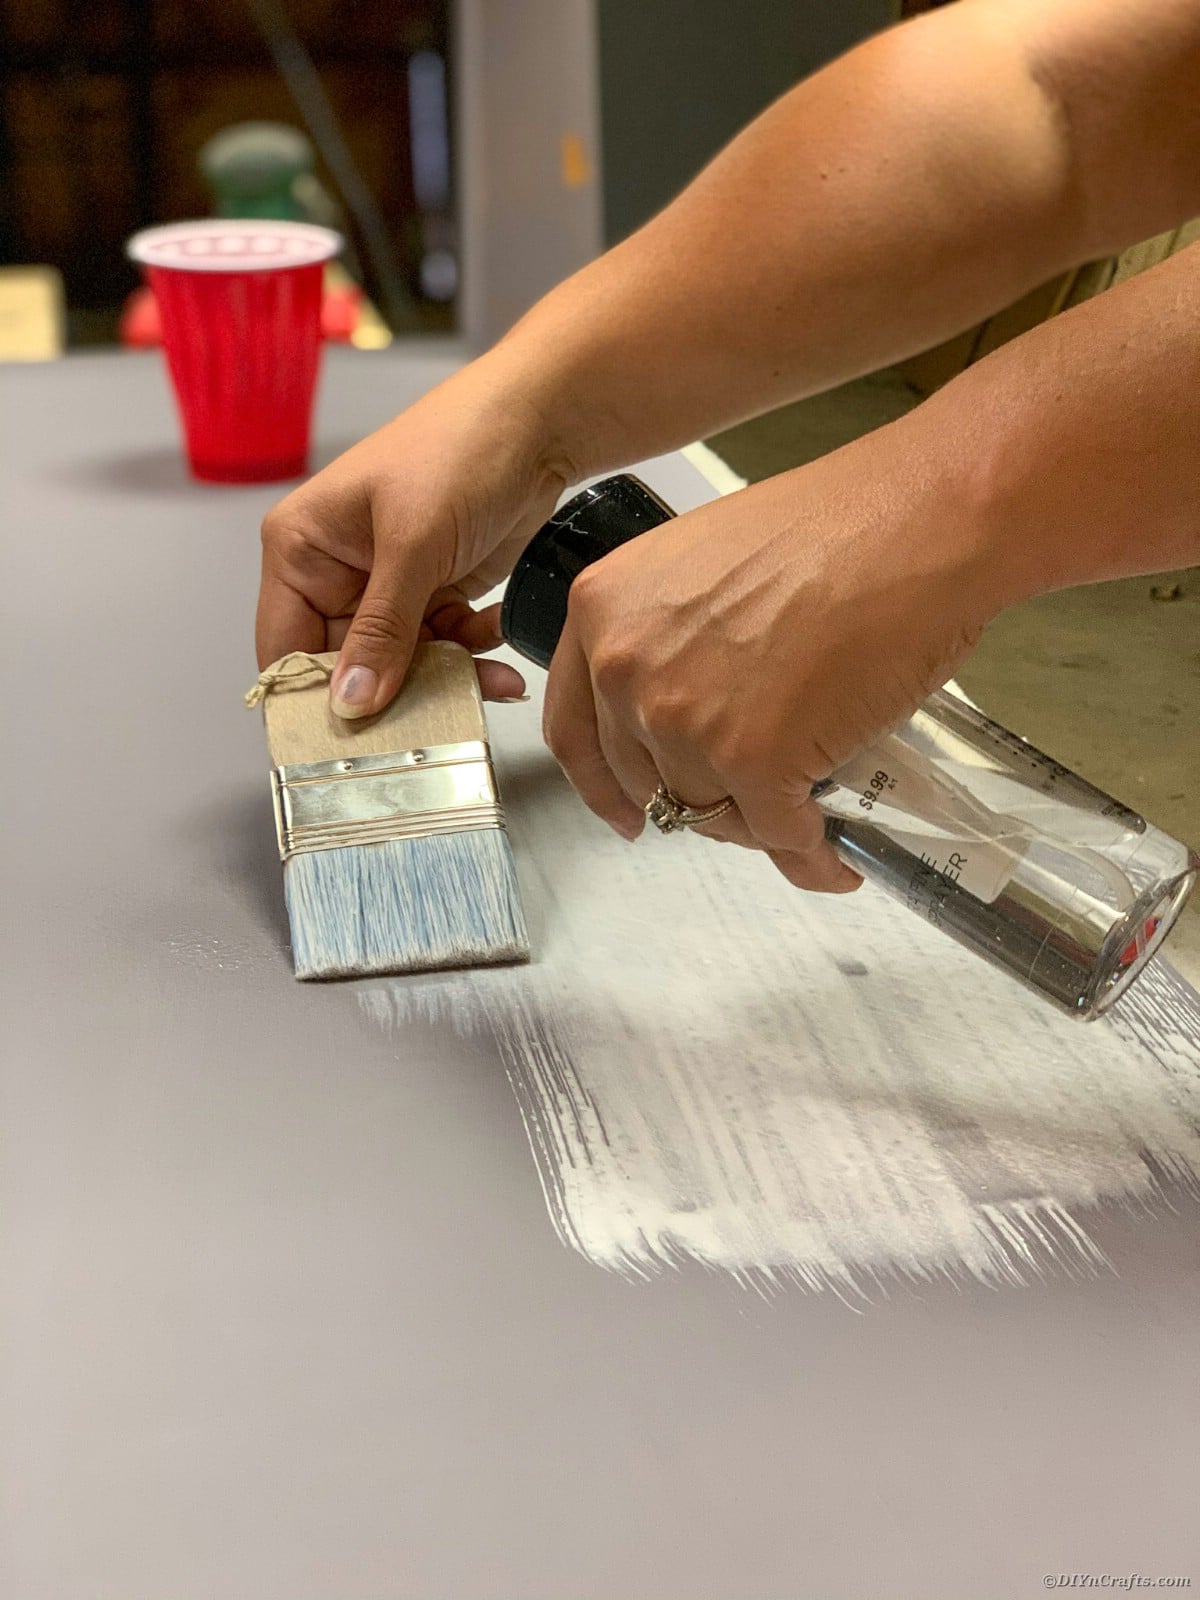
- Be sure to use light strokes and long strokes. Mist your paint with your misting spray bottle to keep the paint moving over your piece as it starts to dry.
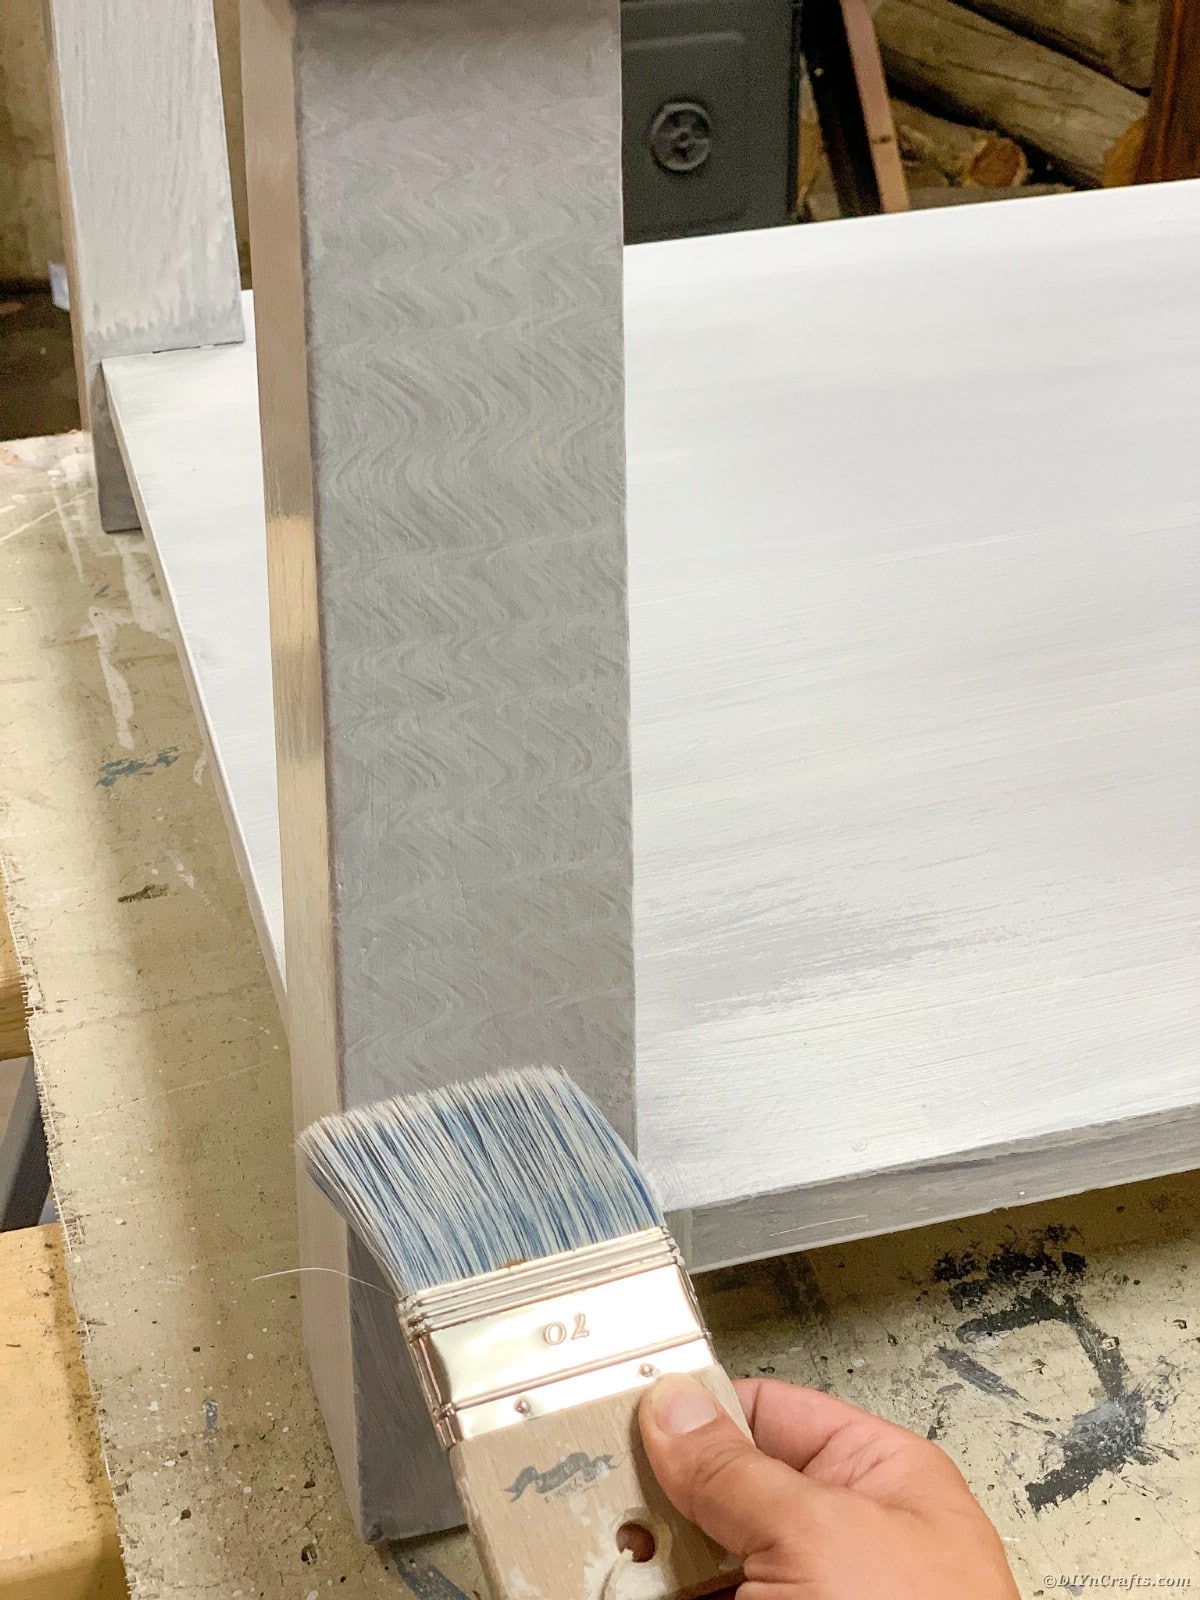
- On the legs add texture by starting at the top and working your way down the leg using an “S” formation. Work from left to right going down the leg. Your squiggles should carry the width of the leg all the way down to the bottom.
- Let dry for 30 minutes.
- Flip piece and Linenwash the underneath with DIY Vintage Linen and water 50/50 ratio.. Be sure to focus on any edges or areas that might be visible to ensure full coverage.
- Let Cure for 24 hours.
Add the Finishing Touches on Your Restored Furniture
- Using 220 grit sandpaper lightly sand the entire piece. Corners, legs, and drawers are a great place to distress. On the legs be sure to sand using the “S” technique so you do not lose the texture.
- Take your dusting lint-free cloth and remove all dust particles from the sanding process.
- Set a timer for 15 minutes. Start the timer when you begin the next step.
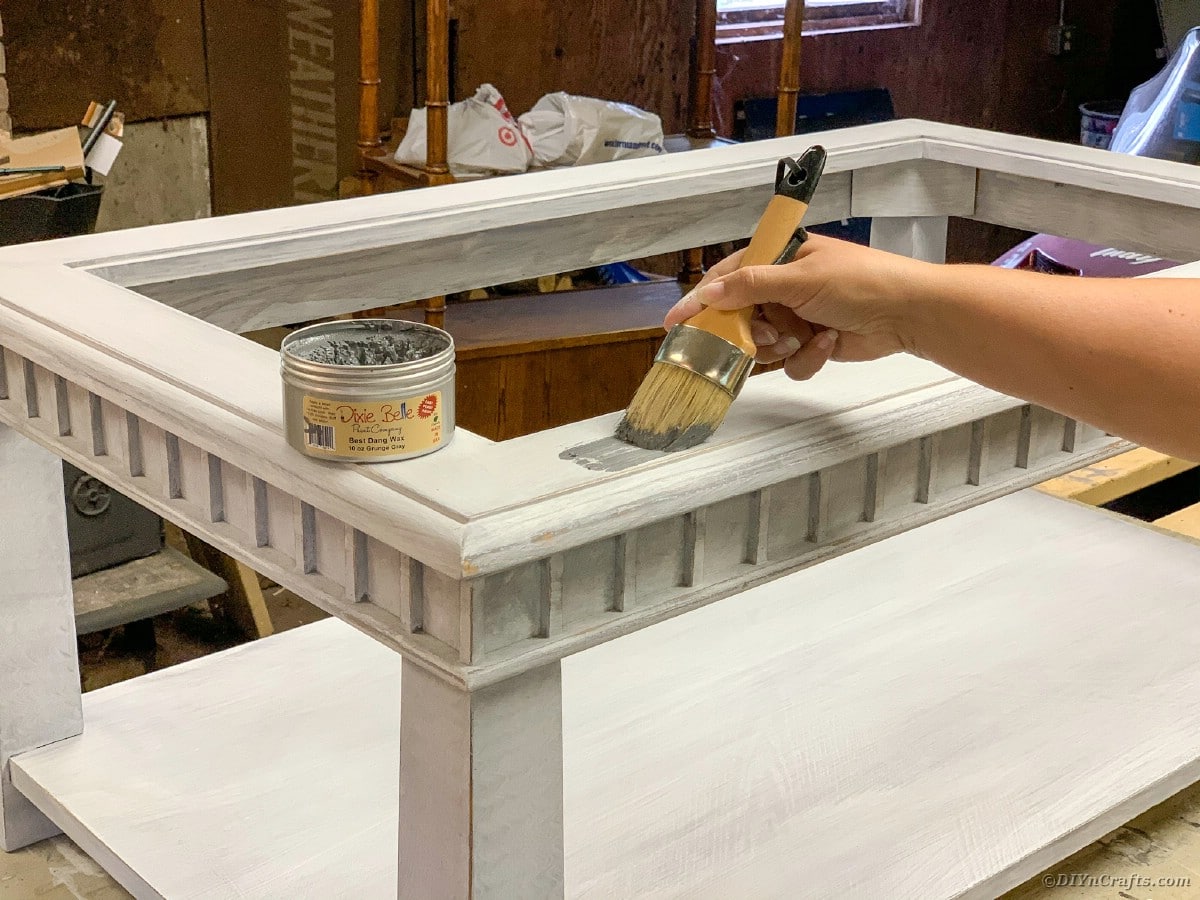
- Using your natural bristle wax brush and Dixie Belle Best Dang Grunge Gray Wax apply a thin coat to the entire piece. You can dip your brush right into the tin. Remember to apply a thin coat. Work quickly.
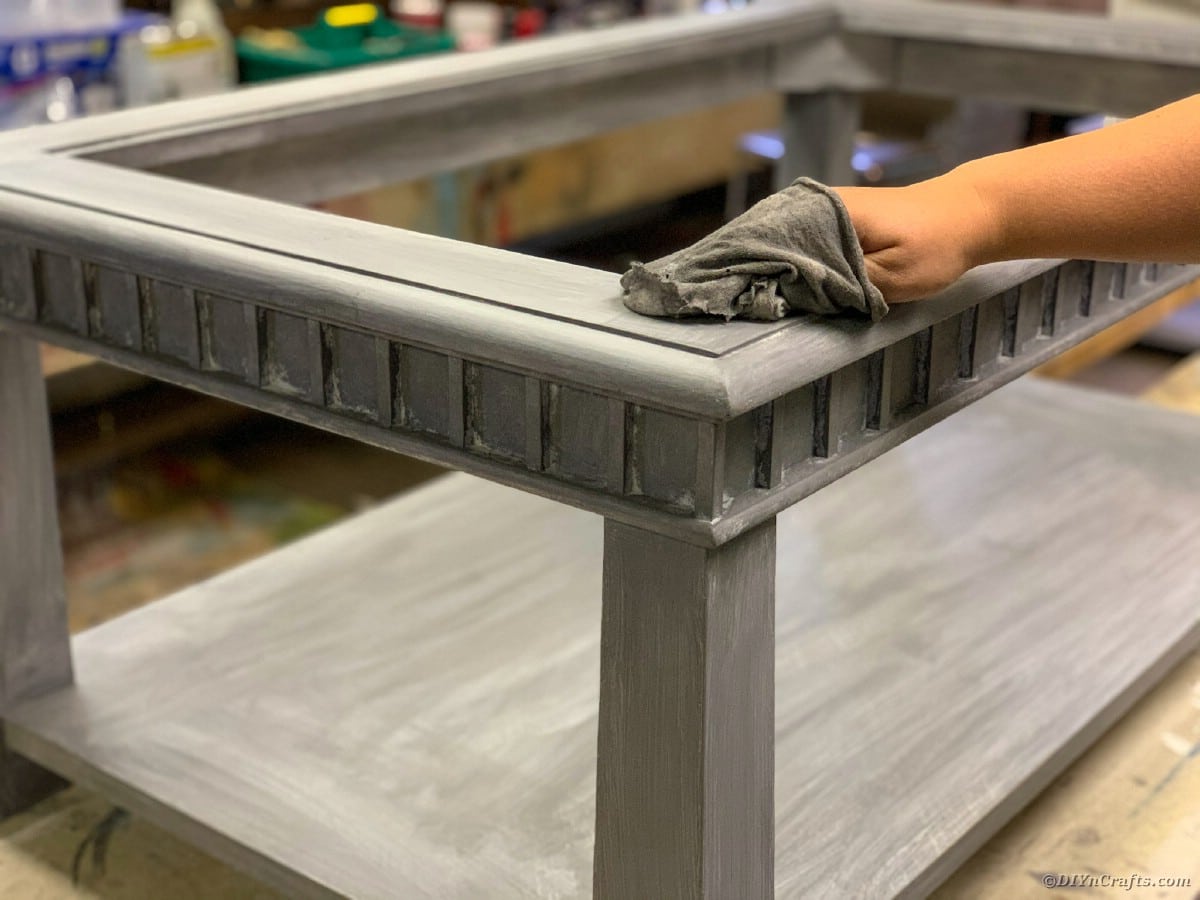
- Once the timer goes off you can start to rub in your wax. Work in the area that you applied to first. Using your last lint-free cloth rub your wax into your piece. Be sure to rub in all directions and press the wax into the wood. If you're not sweating you're not doing it right. This takes elbow grease.
- Let Cure for 24 hours.
- The full Cure time is 30 days. (You can gently use your furniture after the first 48 hours) Be sure not to clean or drag anything across your beautiful creation before your 30 days are up.
Don't Forget to Clean Up
- Clean all chalk paint brushes immediately after use with water. If buildup occurs you can gently clean with mineral spirits.
- Place wax brush in a ziplock bag. No need to clean your brush as long as you only use the same color wax with the same brush. Place in a ziplock bag immediately when you're done using.
- Double-check to make sure all leftover paint and wax are tightly sealed.
Distressed Glass Top Wooden Tables Restoration
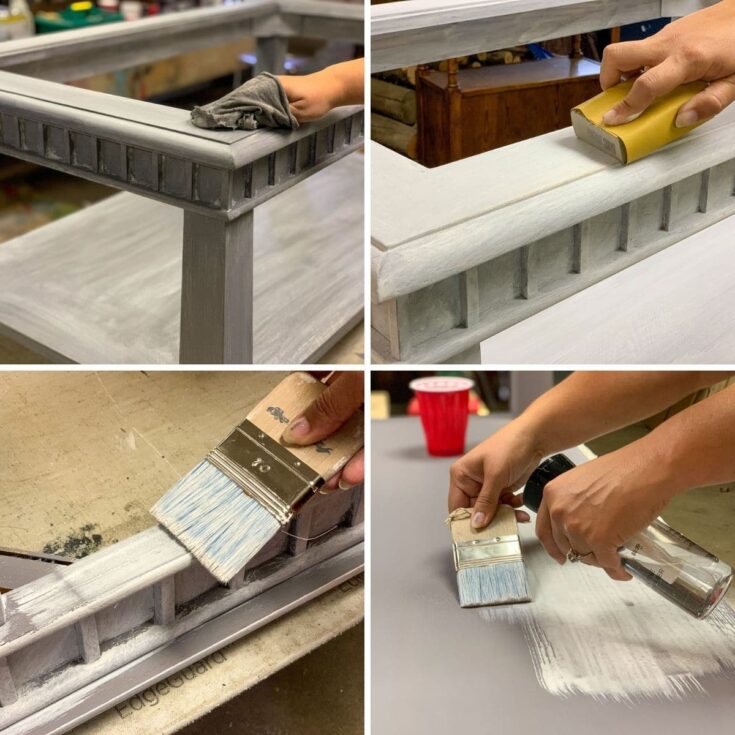
Follow this step by step tutorial to create your own distressed glass top wooden tables with stunning modern farmhouse style that is sure to please!
Materials
- 220 grit sand paper or sanding block
- Misting spray bottle
- Natural Bristle Chalkpaint Brush
- Natural Bristle Wax Brush
- Natural Bristle Chip Brush
- Three Lint Free Cloths
- Drop Cloth
- Tap water
- Plastic Fork
- Solo Cup
- Paper plate
- Mineral Spirits
- Dixie Belle Mason Dixon Gray Chalk Paint
- Vintage Linen Paint
- Dixie Belle Best Dang Wax Grunge Gray
Instructions
Prepare Your Work Space
- Perhaps the most important part of doing any restoration project is preparing ahead of time by having everything needed on hand. Do not skip this part. Take the time needed to prepare everything so no detail is overlooked.
- Place furniture in a clean workspace. If working in a garage be sure to sweep or blow all dirt and debris out of the area you will be working in. Lay a drop cloth down to ensure paint does not drip and ruin your flooring.
- Take one lint free cloth and dampen with mineral spirits. Clean the entire piece of furniture with the spirits to remove any and all debris or oils that may be on the surface. Be sure to wipe down anywhere you will be painting, including the inside of drawers and/or doors. It is advised to wear a mask or be sure you are in a well-ventilated area.
- Sand the entire piece using 220 grit sandpaper. If you have an orbital sander you can use this for the top of your piece and any larger areas to save you time and energy. If not, no worries sanding blocks and regular sandpaper will do just fine. Be sure to rough up the existing finish to expose the natural wood grain. Smooth out any imperfections and ensure your piece is smooth to the touch. Be careful around any small details. Sanding is all about the pressure you apply. Heavy pressure in areas that have thick existing finish, light pressure on corners and areas with detail you do not want to disturb.
- Take another lint free cloth and remove all dust particles from the sanding process. Take your time, you do not want any lingering particles that will live under your paint. If you have an air compressor gun you will be done in no time. Don’t miss the corners and crevices!
Begin Painting Your Glass Tables for Restoration
- Shake your Dixie Belle Mason Dixon Gray for 30 seconds.
- Pour Dixie Belle Mason Dixon Gray on to a paper plate. A little goes a long way. Best to add more to your plate as you go to ensure you do not waste.
- Using your Natural Bristle Chalk Paint Brush, coat the bottom of your brush and start painting the top of your piece. Be sure to work the paint in the same direction of the wood grain. Working from top to bottom will help minimize drips. Coat the entire piece. Don’t worry if paint looks streaky it will all flatten out.
- Let dry for 30 minutes.
- Flip piece and paint underneath with Dixie Belle Mason Dixon Gray. Be sure to focus on any edges or areas that might be visible to ensure full coverage.
- Let dry for 30 minutes.
- Flip piece to have top of piece parallel with the ceiling.
- Let cure for 24 hours (depending on weather and humidity)
- If necessary, using 220 grit sandpaper lightly sand any areas of paint drips or build up.
- Using your lint free dust cloth remove any debris.
- Shake your DIY Vintage Linen Chalkpaint for 30 seconds.
- Pour DIY Vintage Linen and water using a 50/50 ratio into a solo cup. Mix thoroughly with a plastic fork.
- It’s time to begin your Linenwash. Using your natural bristle chip brush, coat the bottom of your brush and start painting the top of your piece. Paint in the same direction of the wood grain. Work from top to bottom. Be sure to use light strokes and long strokes. Mist your paint with your misting spay bottle to keep the paint moving over your piece as it starts to dry.
- On the legs add texture by starting at the top and working your way down the leg using an “S” formation. Work from left to right going down the leg. Your squiggles should carry the width of the leg all the way down to the bottom.
- Let dry for 30 minutes.
- Flip piece and Linenwash the underneath with DIY Vintage Linen and water 50/50 ratio.. Be sure to focus on any edges or areas that might be visible to ensure full coverage.
- Let Cure for 24 hours.
Add the Finishing Touches on Your Restored Furniture
- Using 220 grit sandpaper lightly sand the entire piece. Corners, legs, and drawers are a great place to distress. On the legs be sure to sand using the “S” technique so you do not lose the texture.
- Take your dusting lint free cloth and remove all dust particles from the sanding process.
- Set a timer for 15 minutes. Start the timer when you begin step 4.
- Using your natural bristle wax brush and Dixie Belle Best Dang Grunge Gray Wax apply a thin coat to the entire piece. You can dip your brush right into the tin. Remember to apply a thin coat. Work quickly.
- Once the timer goes off you can start to rub in your wax. Work in the area that you applied first. Using your last lint free cloth rub your wax into your piece. Be sure to rub in all directions and press the wax into the wood. If you're not sweating you're not doing it right. This takes elbow grease.
- Let Cure for 24 hours.
- Full Cure time is 30 days. (You can gently use your furniture after the first 48 hours) Be sure not to clean or drag anything across your beautiful creation before your 30 days is up.
Don't Forget to Clean Up
- Clean all chalk paint brushes immediately after use with water. If buildup occurs you can gently clean with mineral spirits.
- Place wax brush in a ziplock bag. No need to clean your brush as long as you only use the same color wax with the same brush. Place in a ziplock bag immediately when you're done using.
- Double check to make sure all left over paint and wax is tightly sealed.
Notes
This process can be used on any wooden furniture piece.
Recommended Products
As an Amazon Associate and member of other affiliate programs, I earn from qualifying purchases.
-
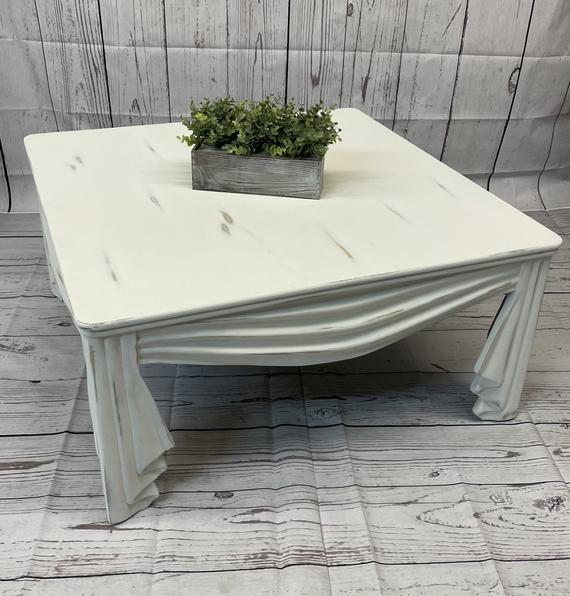 Farmhouse Coffee Table | Etsy
 -
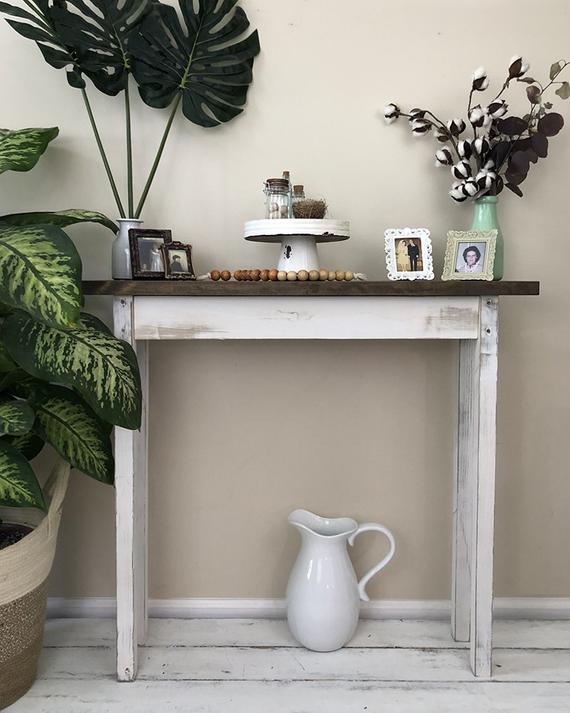 Farmhouse Console Table Sofa Table Hallway Table | Etsy
 -
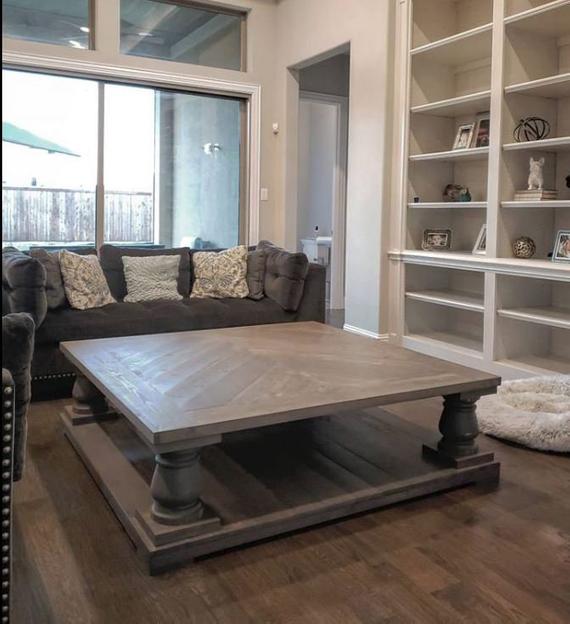 Restoration Hardware Inspired Balustrade Coffee Table | Etsy
 -
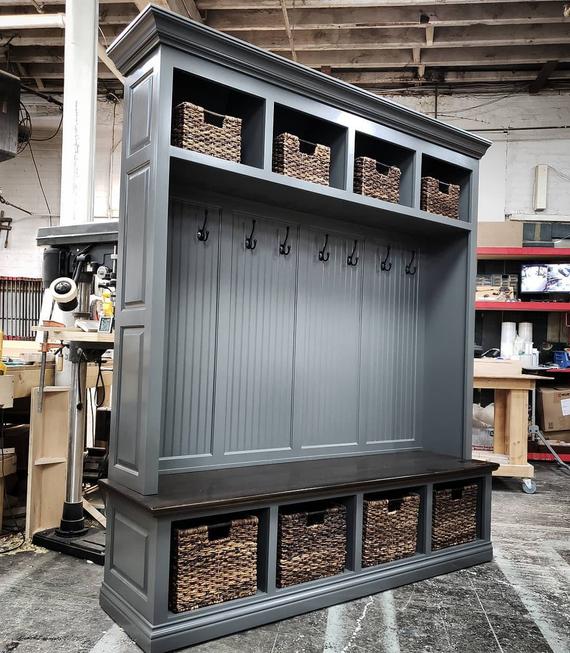 THE DUBLIN GRAY Mudroom Lockers Bench Storage Furniture | Etsy
 -
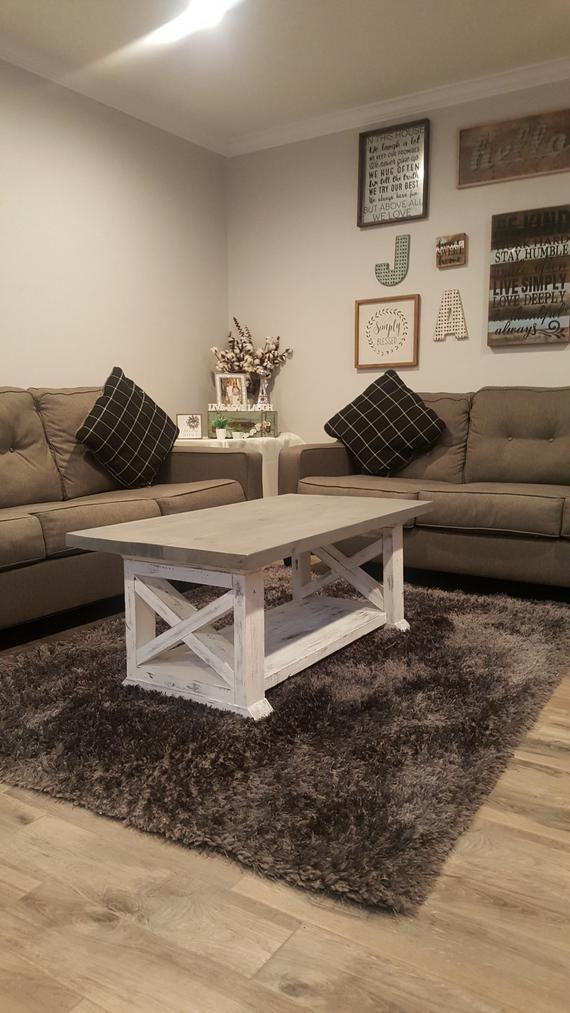 Custom Farmhouse Coffee Table Wooden Coffee Table Country | Etsy
 -
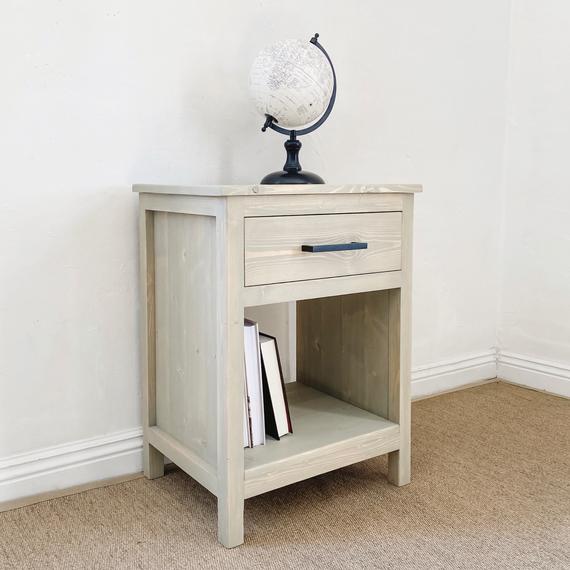 Farmhouse Nightstand // Light Grey Eco-Friendly Rustic | Etsy




Leave a Reply