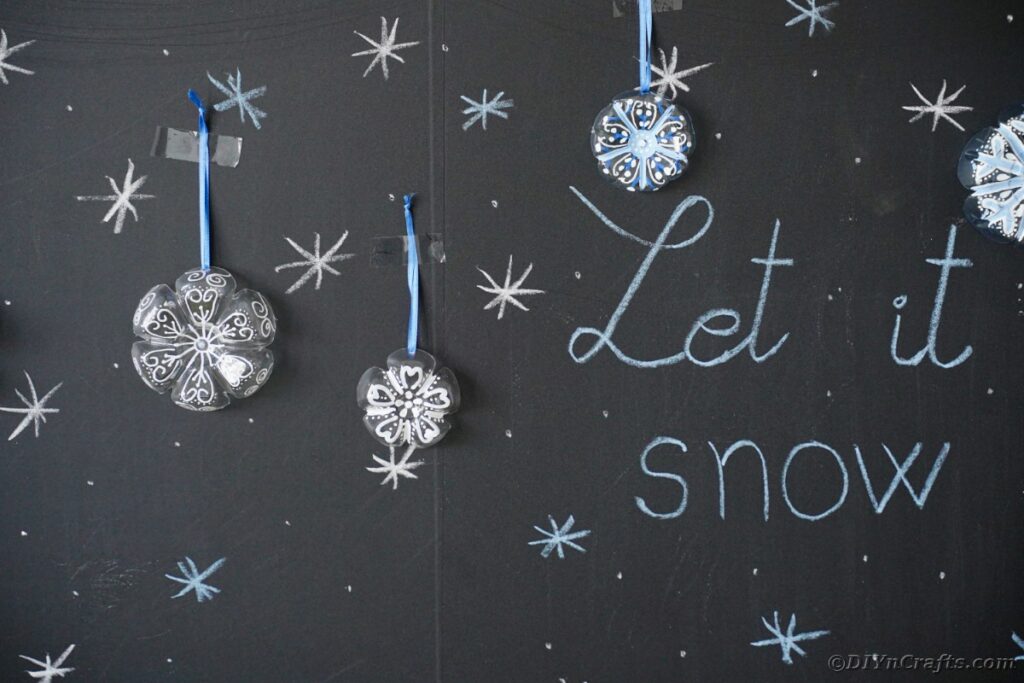
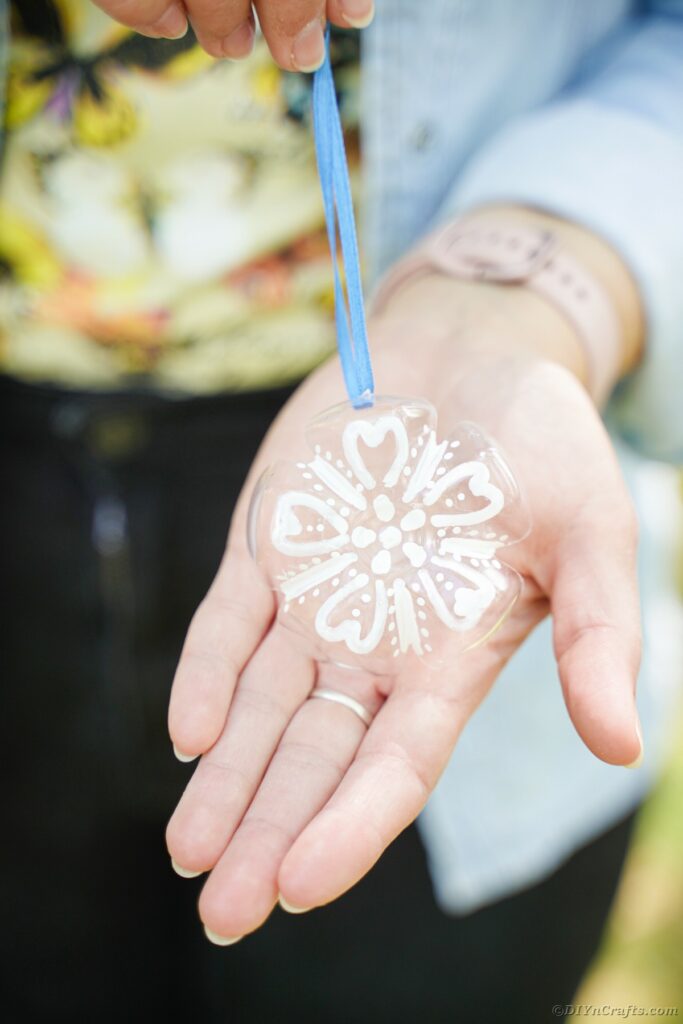
Growing up in the South, I always dreamed of snow in the wintertime. Moving to Michigan made those dreams come true, and I have fallen in love with the beauty of snow, and especially snowflakes. This year, you can add this snowflake ornament to your holiday decor! This little upcycled plastic bottle project is super easy for kids and tons of fun to get creative with different designs. No snowflake is the same as the next, so make your ornaments unique!
Snowflake Ornament from Upcycled Plastic Bottle
I love making upcycled items, and seeing plastic bottles in the recycling bin always motivates me to get creative. While I am a huge advocate for putting things into recycling if I can naturally reuse them around the house, why wouldn't I? This little snowflake ornament was a great choice inspired by the clear ornaments I have always loved that look like snowflakes.
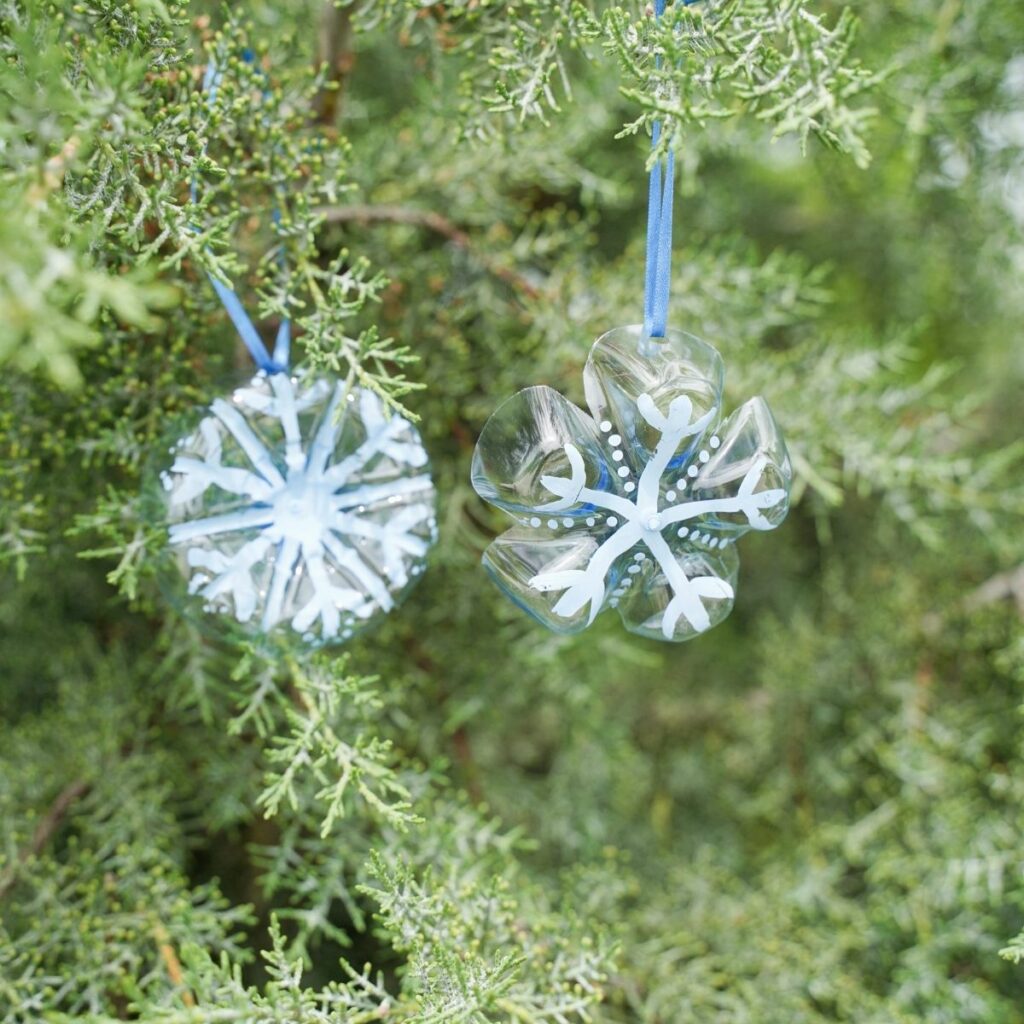
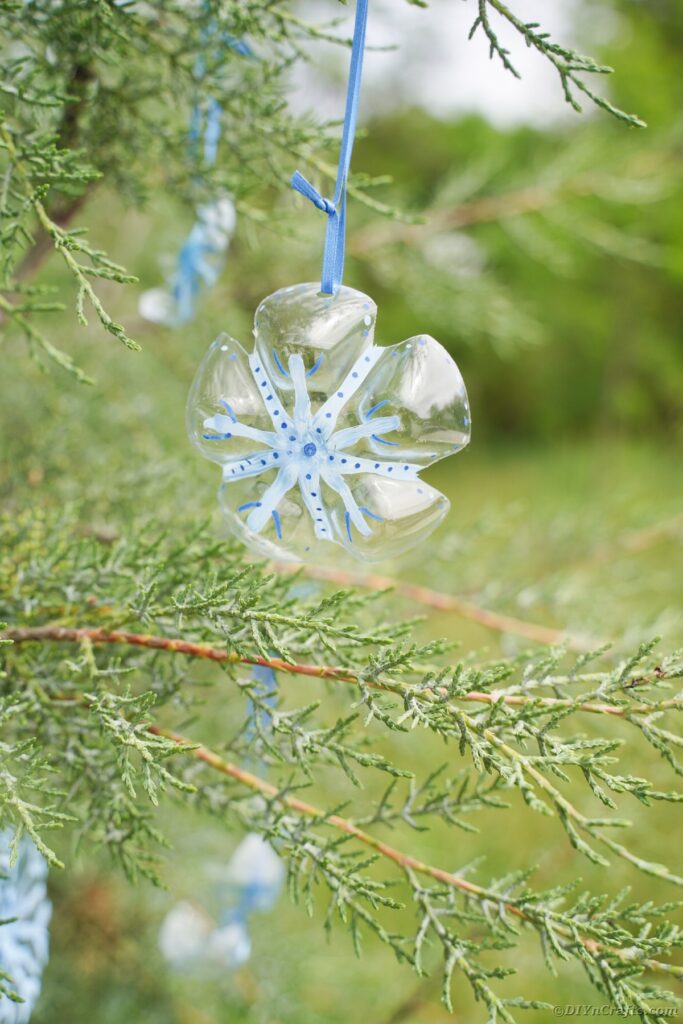
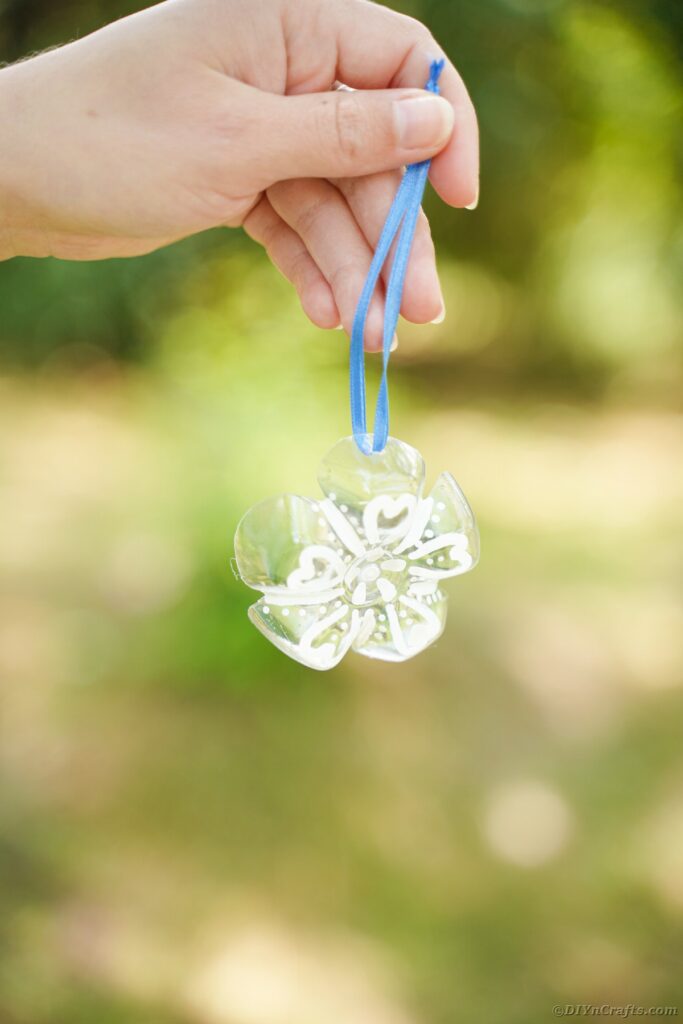
One of my favorite parts of this particular homemade ornament is that it can also be used outside! Since they are plastic and made to hold water, they are a natural choice to hang on trees outside or on your front porch. I love that they are great for decorating anywhere around your home or outside your home during winter and the holiday season. Remember, they aren't just for Christmas trees but for all winter!
What Way do You Cut a Hole In Plastic Bottles for Hanging?
One thing I struggled with was figuring out how to put a hole in the top to hang these on the tree. It needed to be small so as not to tear apart the plastic too much, but also large enough to fit a ribbon through. After a bit of trying, I figured out what worked best for me. Scissors ended up being best for me but you may want other ideas to cut through yours.
While it may seem difficult to make a hole in the bottles, it is actually not that difficult after all. You can use scissors just like I did. Alternately, you can use a large needle, a nail, or even a screwdriver to poke a hole. I've even used a craft knife for similar projects, and that would work just fine for this as well. If you have a strong paper punch or craft punch, this will also work to create the hole. If kids are creating this snowflake ornament, be careful what they use to create the hole, or have an adult to do it for them for safety.
If you want other kid-friendly ideas for making snowflakes, check out this easy pasta snowflakes Christmas ornaments tutorial. It's super easy and tons of fun to make. You could also have your kids make these 3D snowflake ornaments.
What Designs Should I Use for Snowflakes?
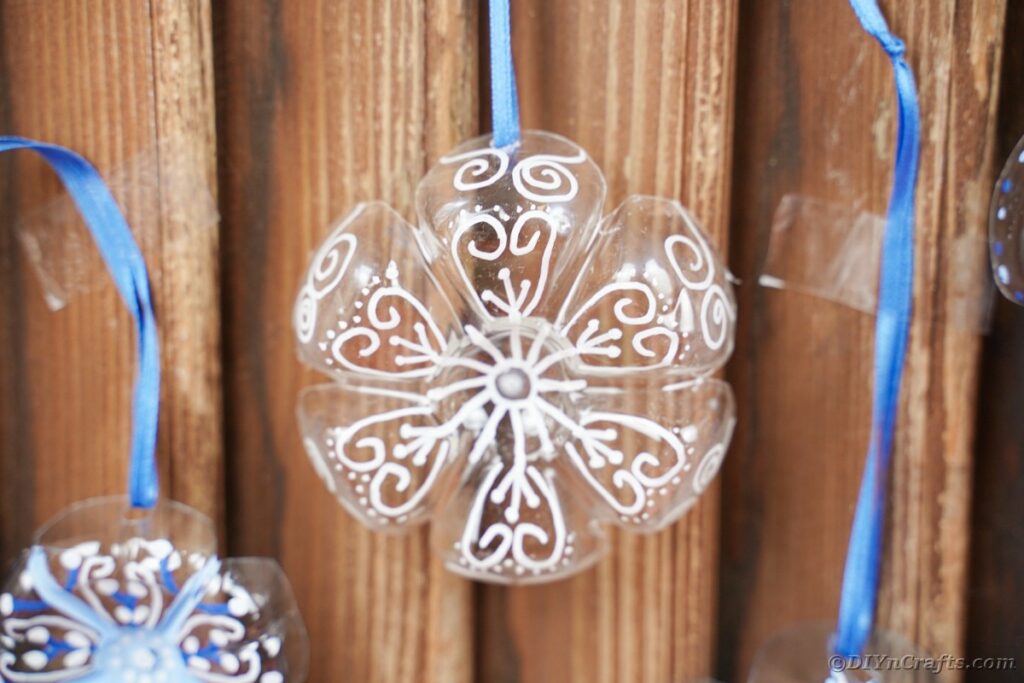
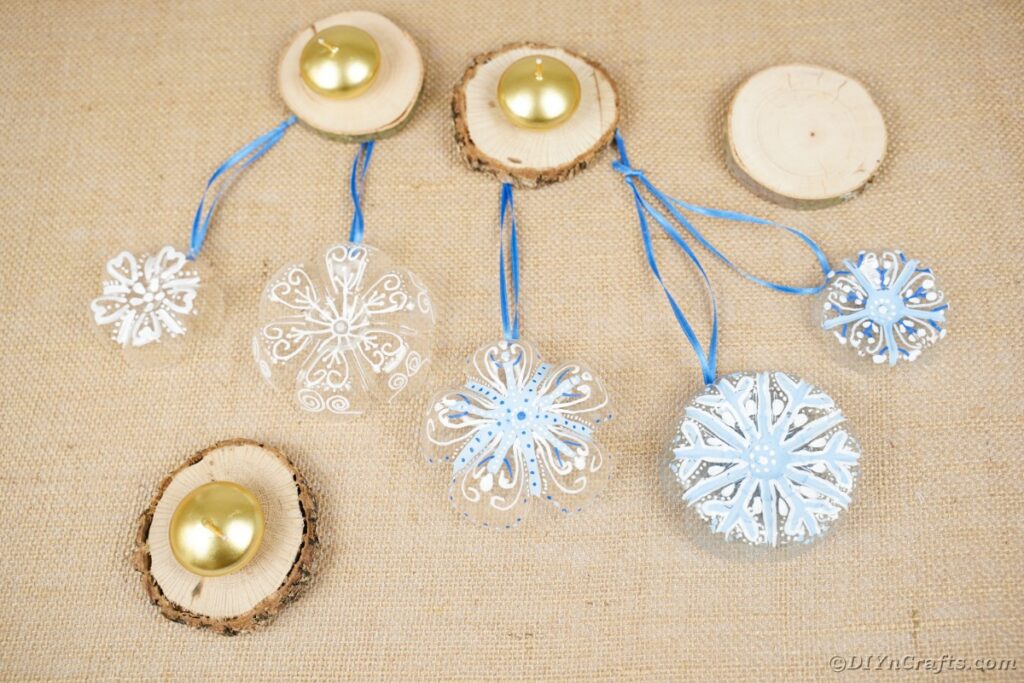
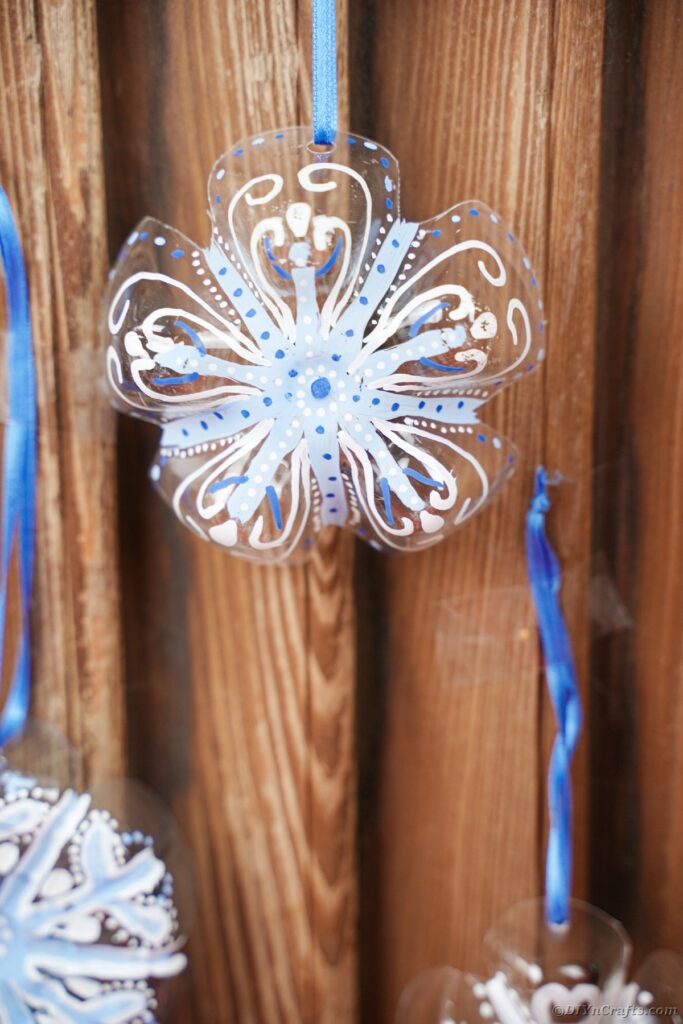
Like I mentioned before, snowflakes are never the same. No two are alike, and that is part of the beauty of this craft. You don't have to feel exact or like you are chasing after perfection when you are creating. That makes it a perfect craft for all ages.I like starting with basics like just following the lines of the bottles and adding little branches off the main lines, but below are some more ideas that can be fun for this project.
- Use white, blue, and silver paint on a single snowflake to add depth.
- Spray with glitter spray so they sparkle in the sunshine.
- Use swirls or circles instead of lines.
- Make a paisley pattern.
- Use dots instead of straight lines and connect them with a toothpick thin line of paint.
How do I Paint on Plastic Bottles?
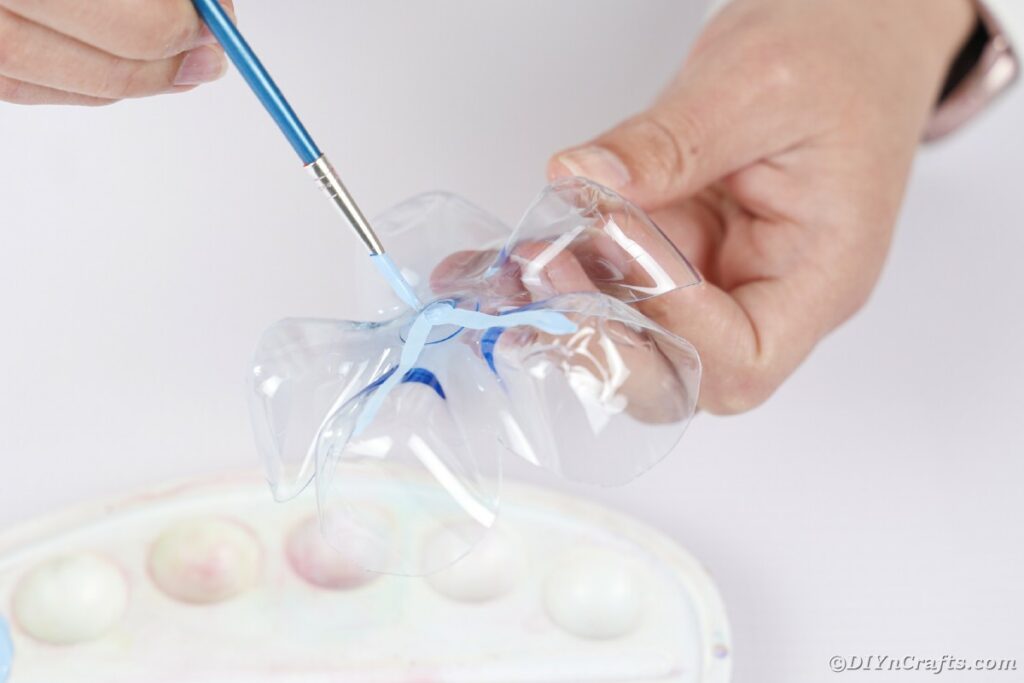
You will want to use craft or acrylic paint and a paintbrush to create the designs for these snowflakes. While you can use a foam paintbrush for most crafts I share, this is a little trickier and does not give the same accuracy.
Another option for painting this snowflake ornament, especially for small kids or a group of kids, is to use q-tips. This is a great option for easy cleanup or when a lot of paintbrushes are needed. I love the idea of this since it is cheap, readily available already, and super easy for kids to work with.
My favorite idea for accuracy though is to use paint pens. These can be pricier than other painting supplies, so totally understandable if you aren't able to grab them, but paint pens can really work great for this project to add details. Of course, you can use permanent markers but most of these tend to wipe off of plastic easily, so I prefer a paint pen instead.
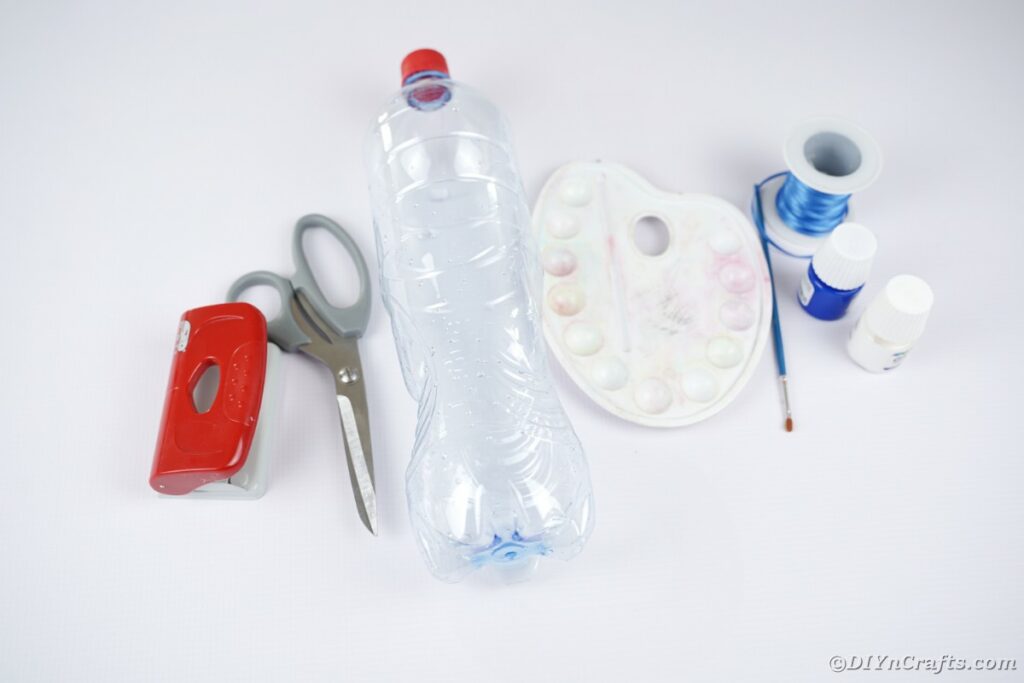
Supplies Needed
- Empty plastic bottle
- White craft paint
- Silver craft paint
- Blue craft paint
- Colorful ribbon
- Scissors
- Craft knife
- Paintbrushes
How to Make a Snowflake Ornament
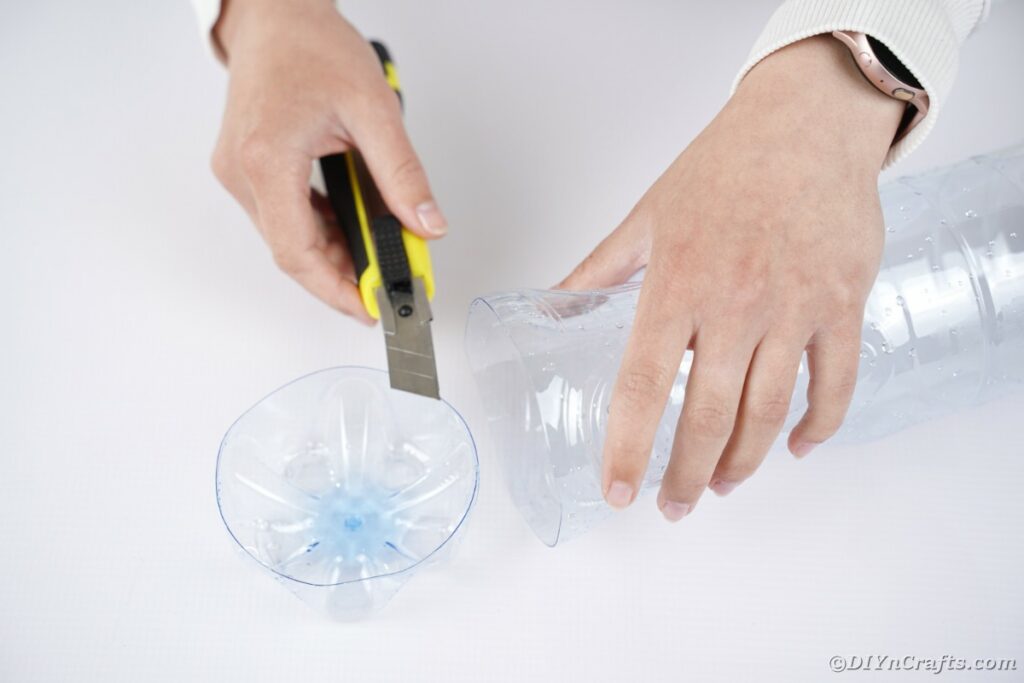
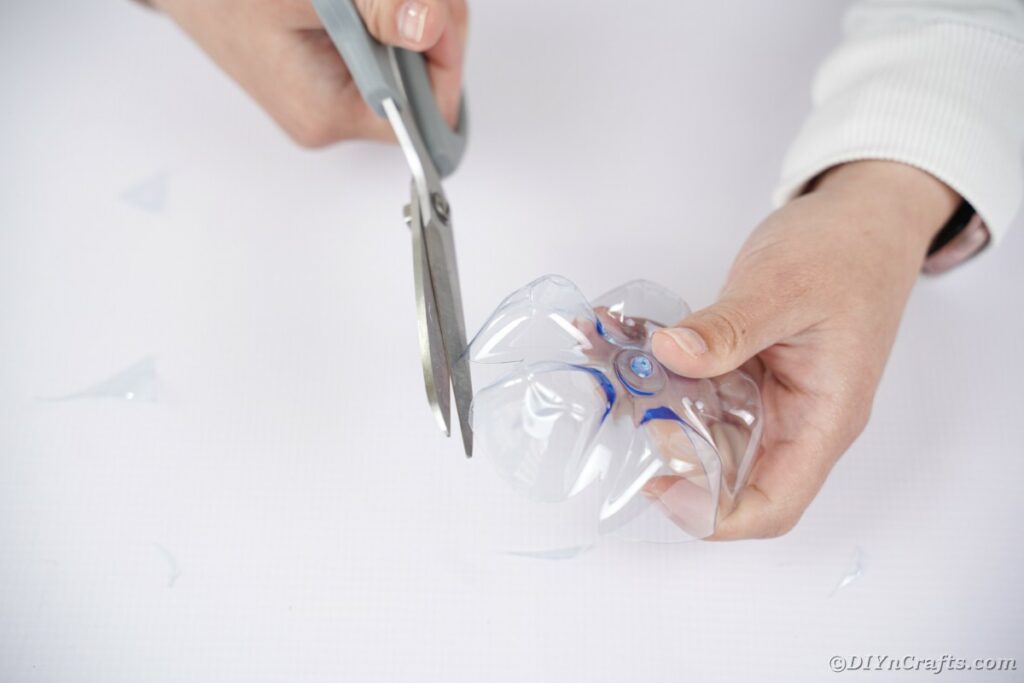
Using a craft knife, cut the bottoms off of several clear plastic bottles.
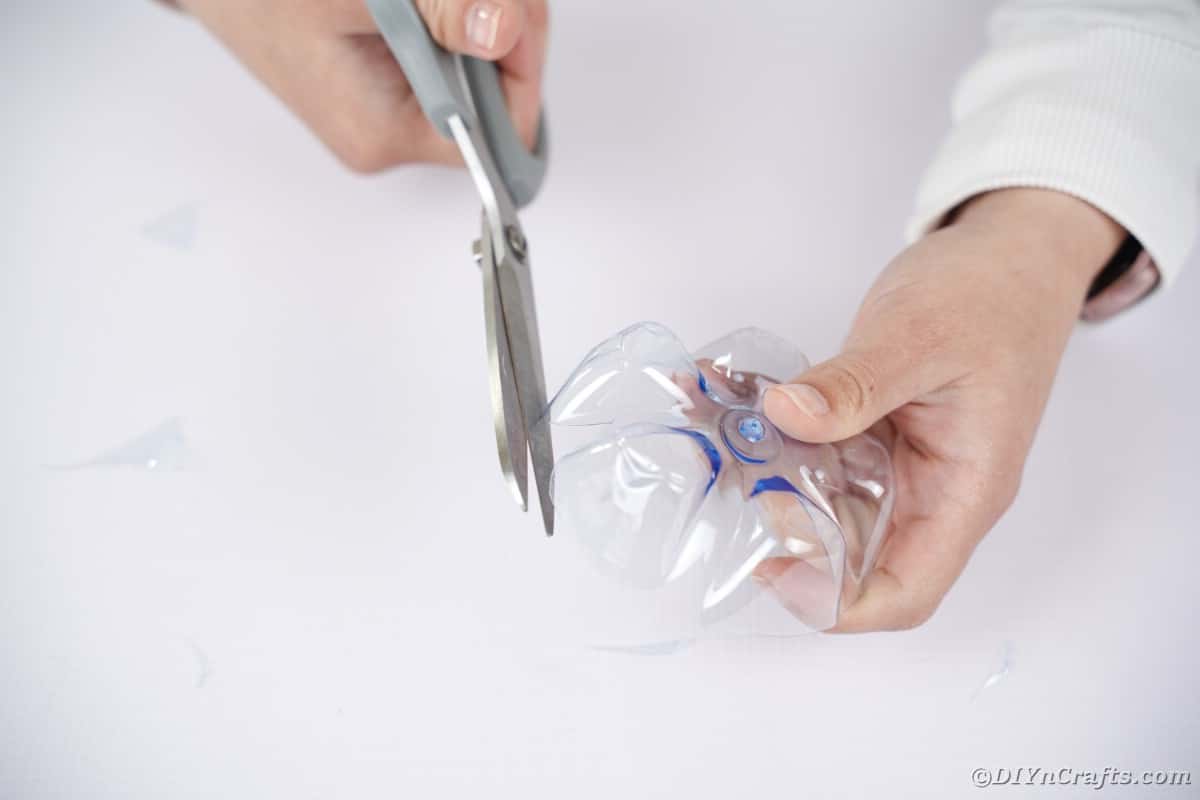
Trim around the edges to make it even and smooth.
Begin painting by following the lines and shape of the bottle bottom with a paint pen or a single color paint.
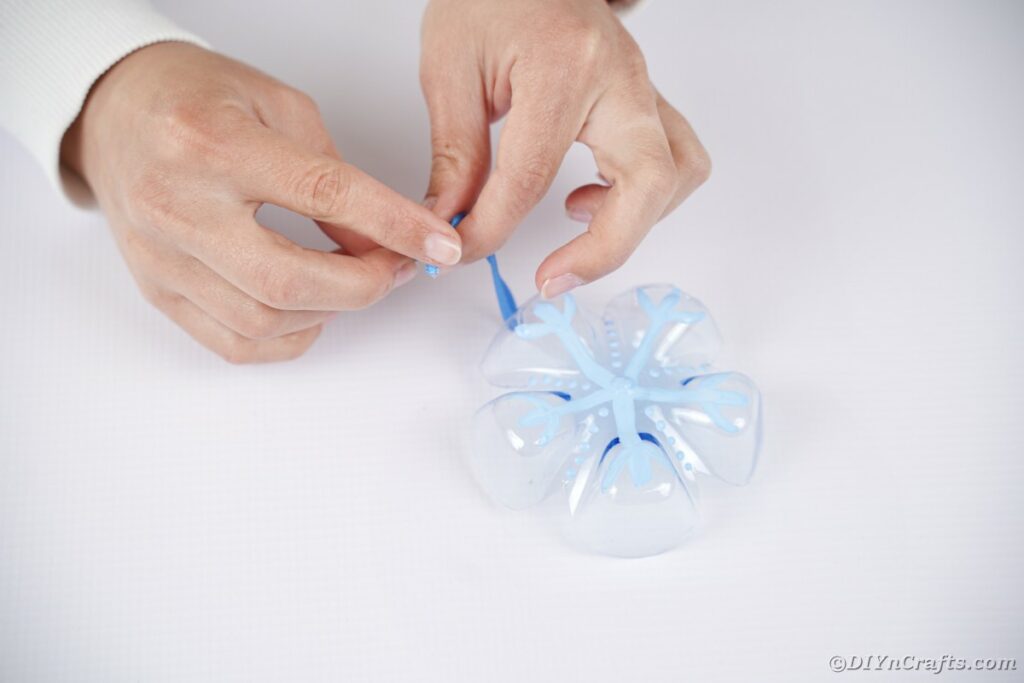
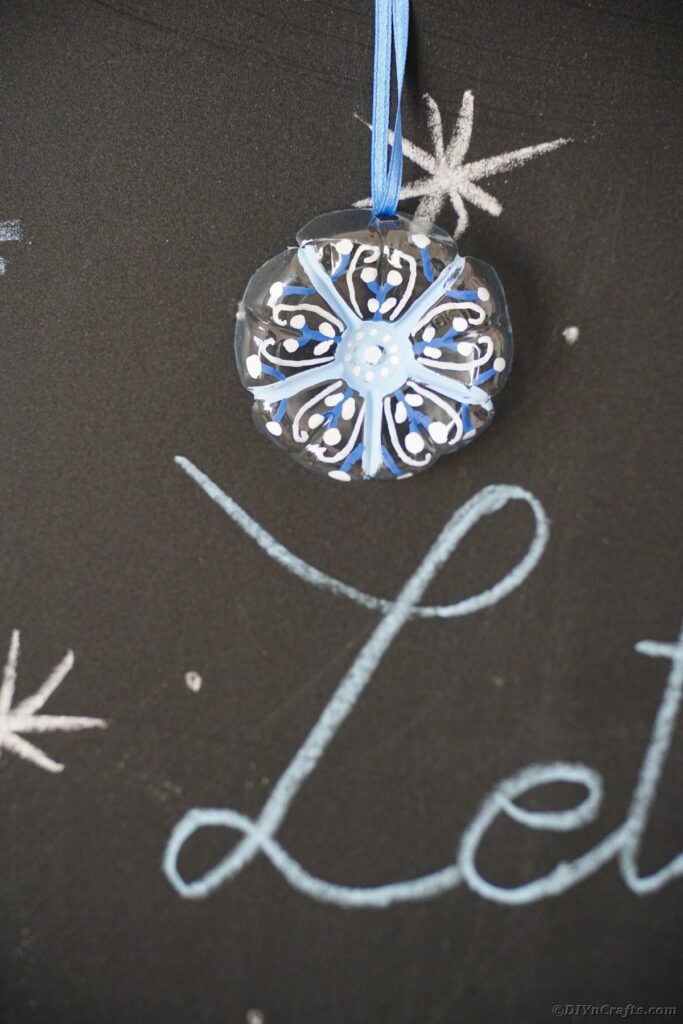
Add accents like dots, circles, different colors, or lines.
Continue painting until happy with the look and then set aside to dry.
Once the ornaments have dried, use a hole punch, scissors, or craft knife to cut a small hole to string the ribbon through.
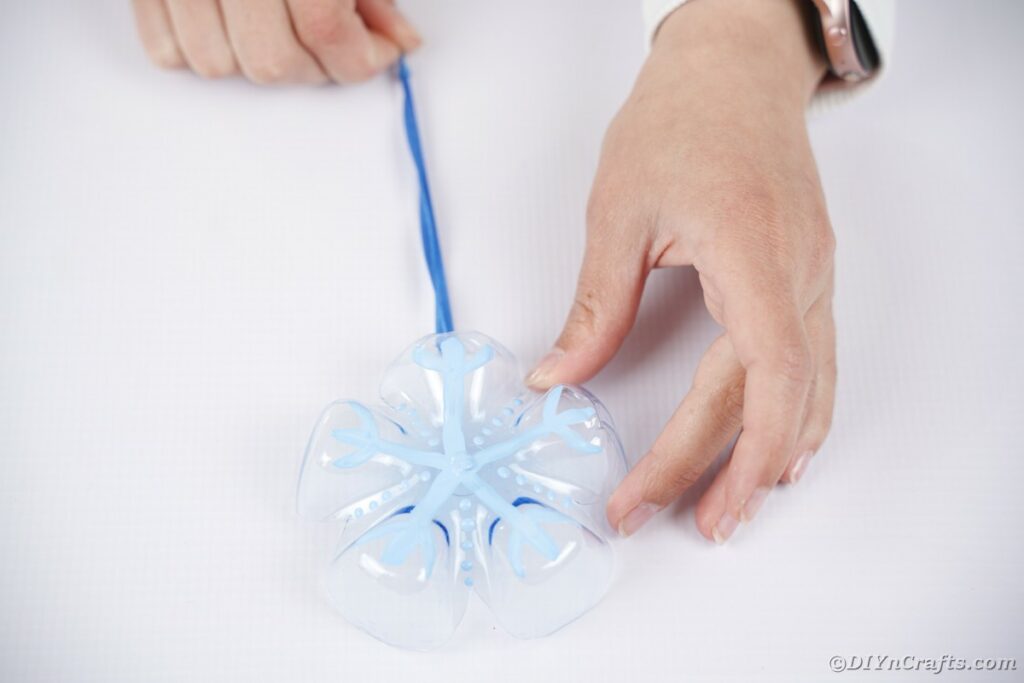
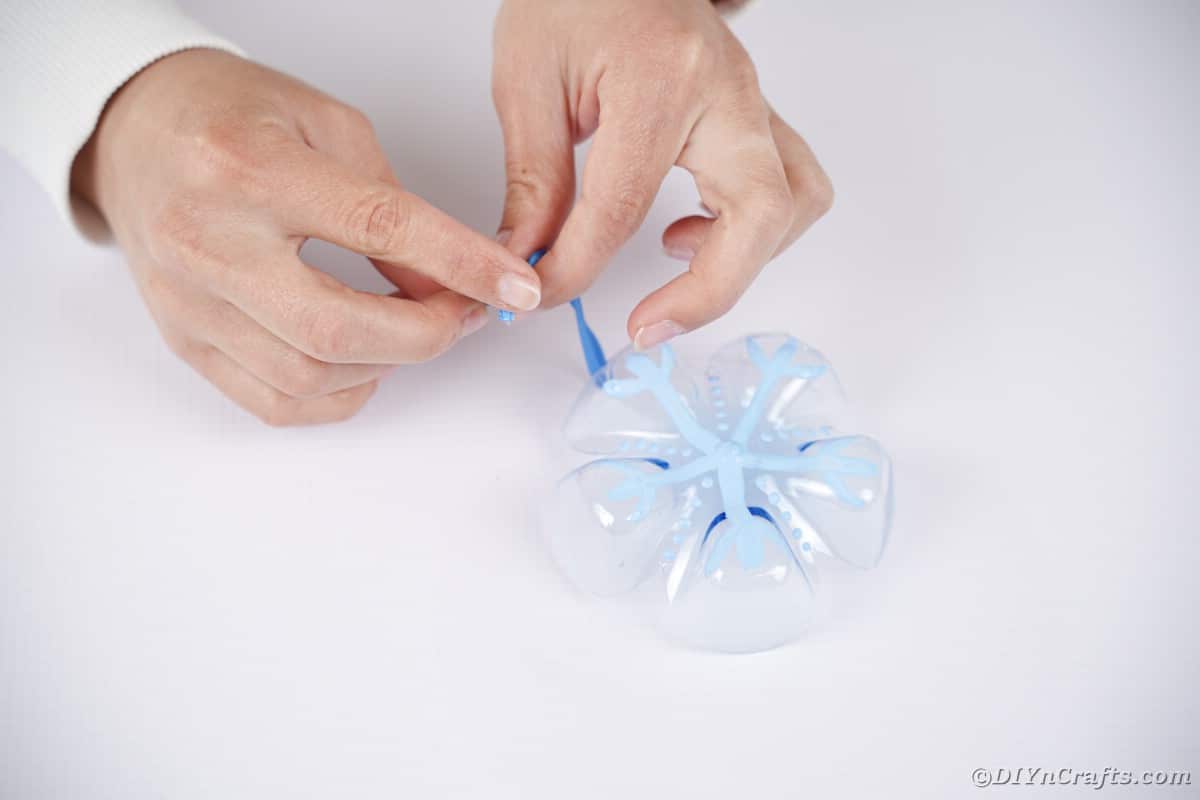
Add a ribbon through the hole you cut earlier.
Hang on the Christmas tree, trees outside, or as part of your holiday decor.
More Fun DIY Ornament Ideas
Christmas tree ornaments are one of my favorite things to make and trust me when I say I have tons of great ideas for you. If you want more to make and add to your tree this year, look no further than the ideas listed below!
- Adorable Christmas Tree Pom Pom Tree Ornament
- 20 Creative DIY Disney Christmas Ornaments Anyone Can Make
- Rustic Twine Wrapped Candy Cane Ornament
- Festive Ribbon and Lace Rustic Christmas Ornament
- 30 Easy Crochet Christmas Ornaments to Decorate Your Tree
- Charming Craft Stick Gingerbread House Ornament
Crafting Tip
When doing any paint projects with kids, it is well worth the investment to pick up painting smocks for kids. You can of course, use old t-shirts instead, but I love the idea of having custom ones for each kid to make them feel special.
Stunning Snowflake Ornament from Upcycled Plastic Bottle
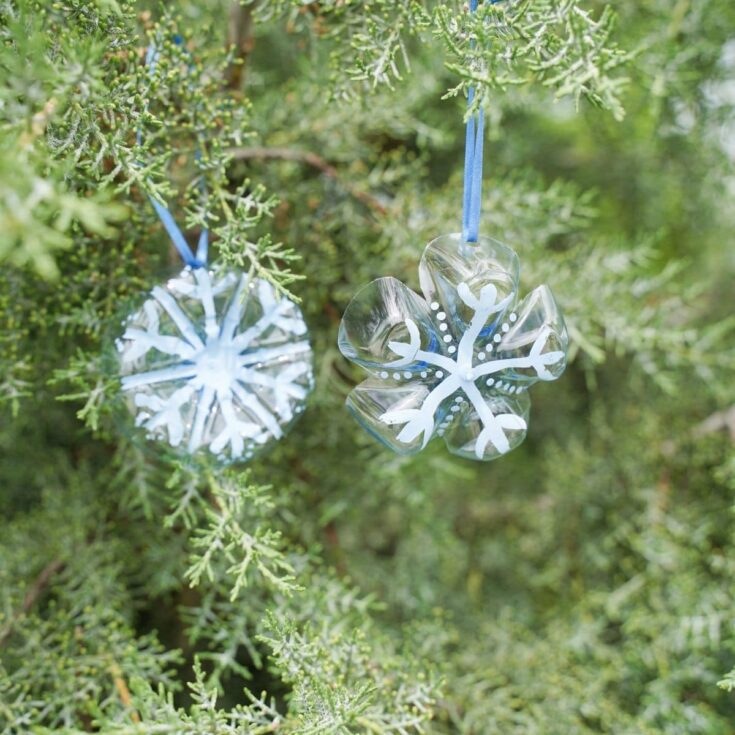
Grab empty bottles and turn them into stunning snowflake ornaments in minutes! A great kids' Christmas ornament craft!
Materials
- Empty plastic bottle
- White craft paint
- Silver craft paint
- Blue craft paint
- Colorful ribbon
Tools
Instructions
- Using a craft knife, cut the bottoms off of several clear plastic bottles.
- Trim around the edges to make it even and smooth.
- Use a hole punch, scissors, or craft knife to cut a small hole to string the ribbon through later.
- Begin painting by following the lines and shape of the bottle bottom with a paint pen or a single color paint.
- Add accents like dots, circles, different colors, or lines.
- Continue painting until happy with the look and then set aside to dry.
- Once the ornaments have dried, add a ribbon through the hole you cut earlier.
- Hang on the Christmas tree, trees outside, or as part of your holiday decor.
Notes
Make snowflakes using a variety of bottle sizes for a unique look on your tree this year.
Recommended Products
As an Amazon Associate and member of other affiliate programs, I earn from qualifying purchases.
-
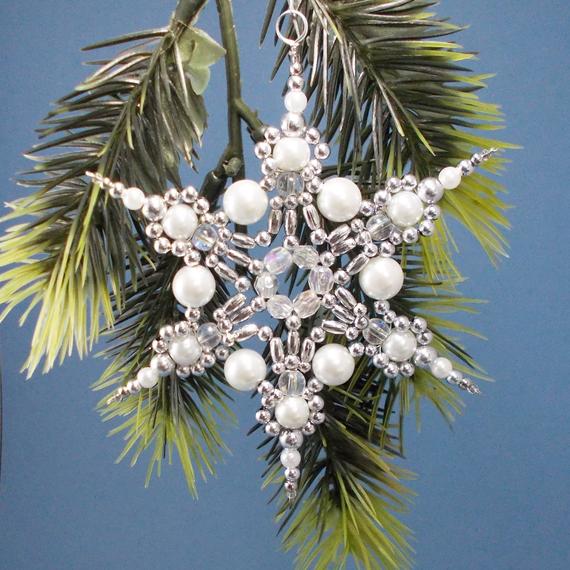 White and Silver Snowflake Ornament 007 | Etsy
 -
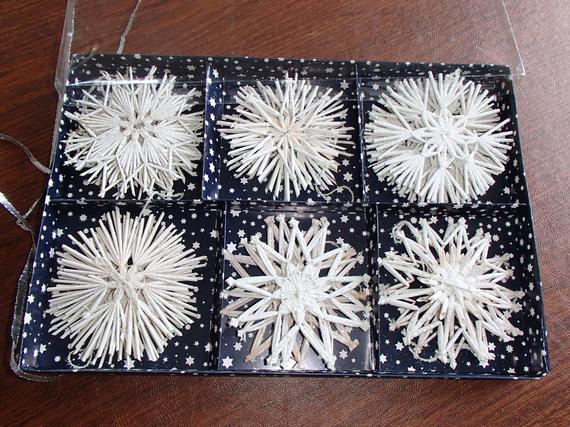 Scandinavian Straw Star & Snowflake Ornaments Box of 18 | Etsy
 -
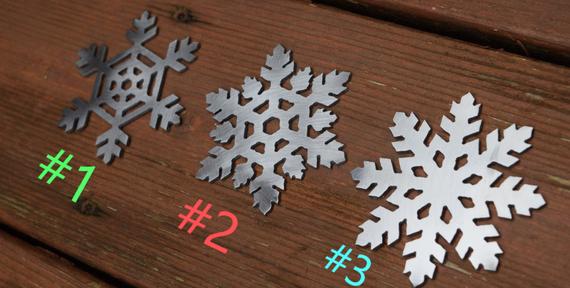 Snowflake Metal Ornaments Christmas Ornament Christmas | Etsy
 -
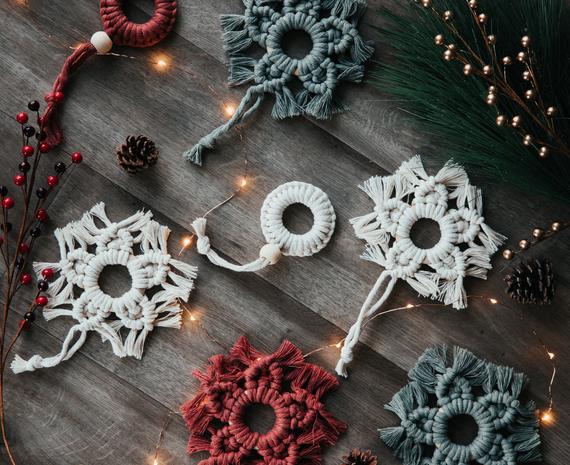 Macrame christmas ornaments snowflake ornament christmas | Etsy
 -
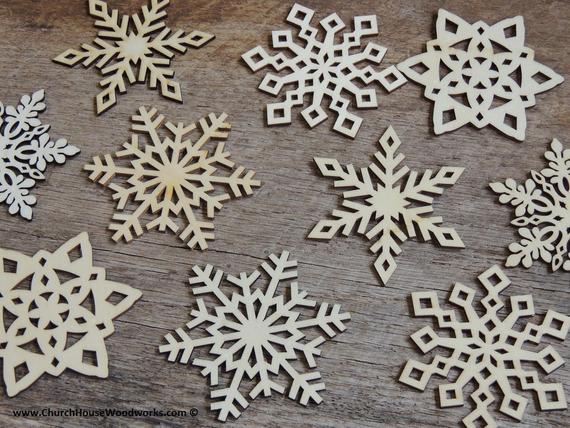 3 inch Snowflake Wood Christmas Ornaments 10 pack Style MIX | Etsy
 -
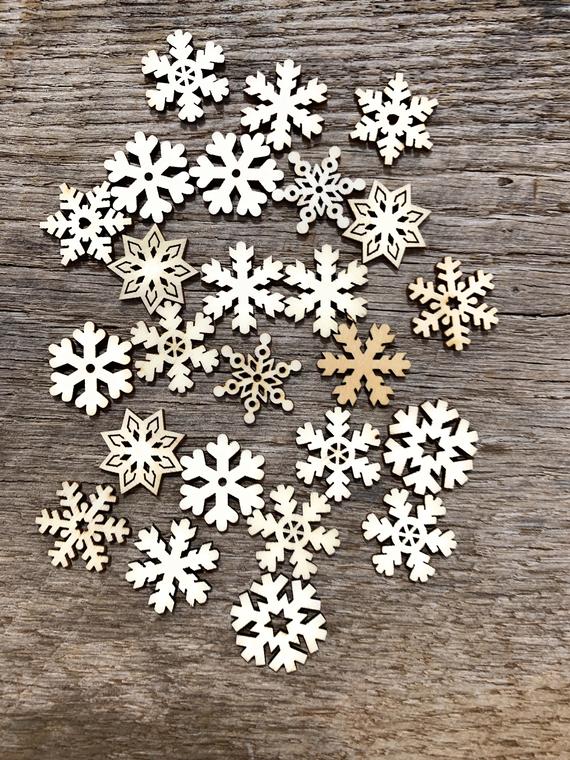 25 SMALL Snowflake Wood Christmas Ornament Supplies DIY Wooden | Etsy
Finished Project Gallery
I love the idea of making these as a family project and using a paint pen to add the date or name on the inside.
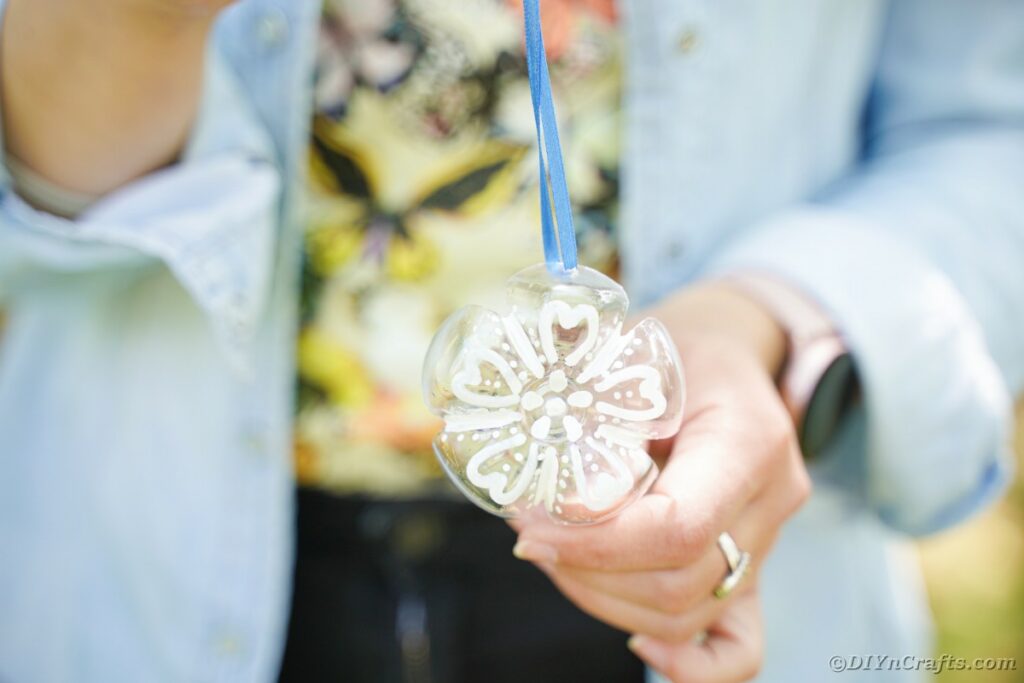
Hang them with any color ribbon you prefer.
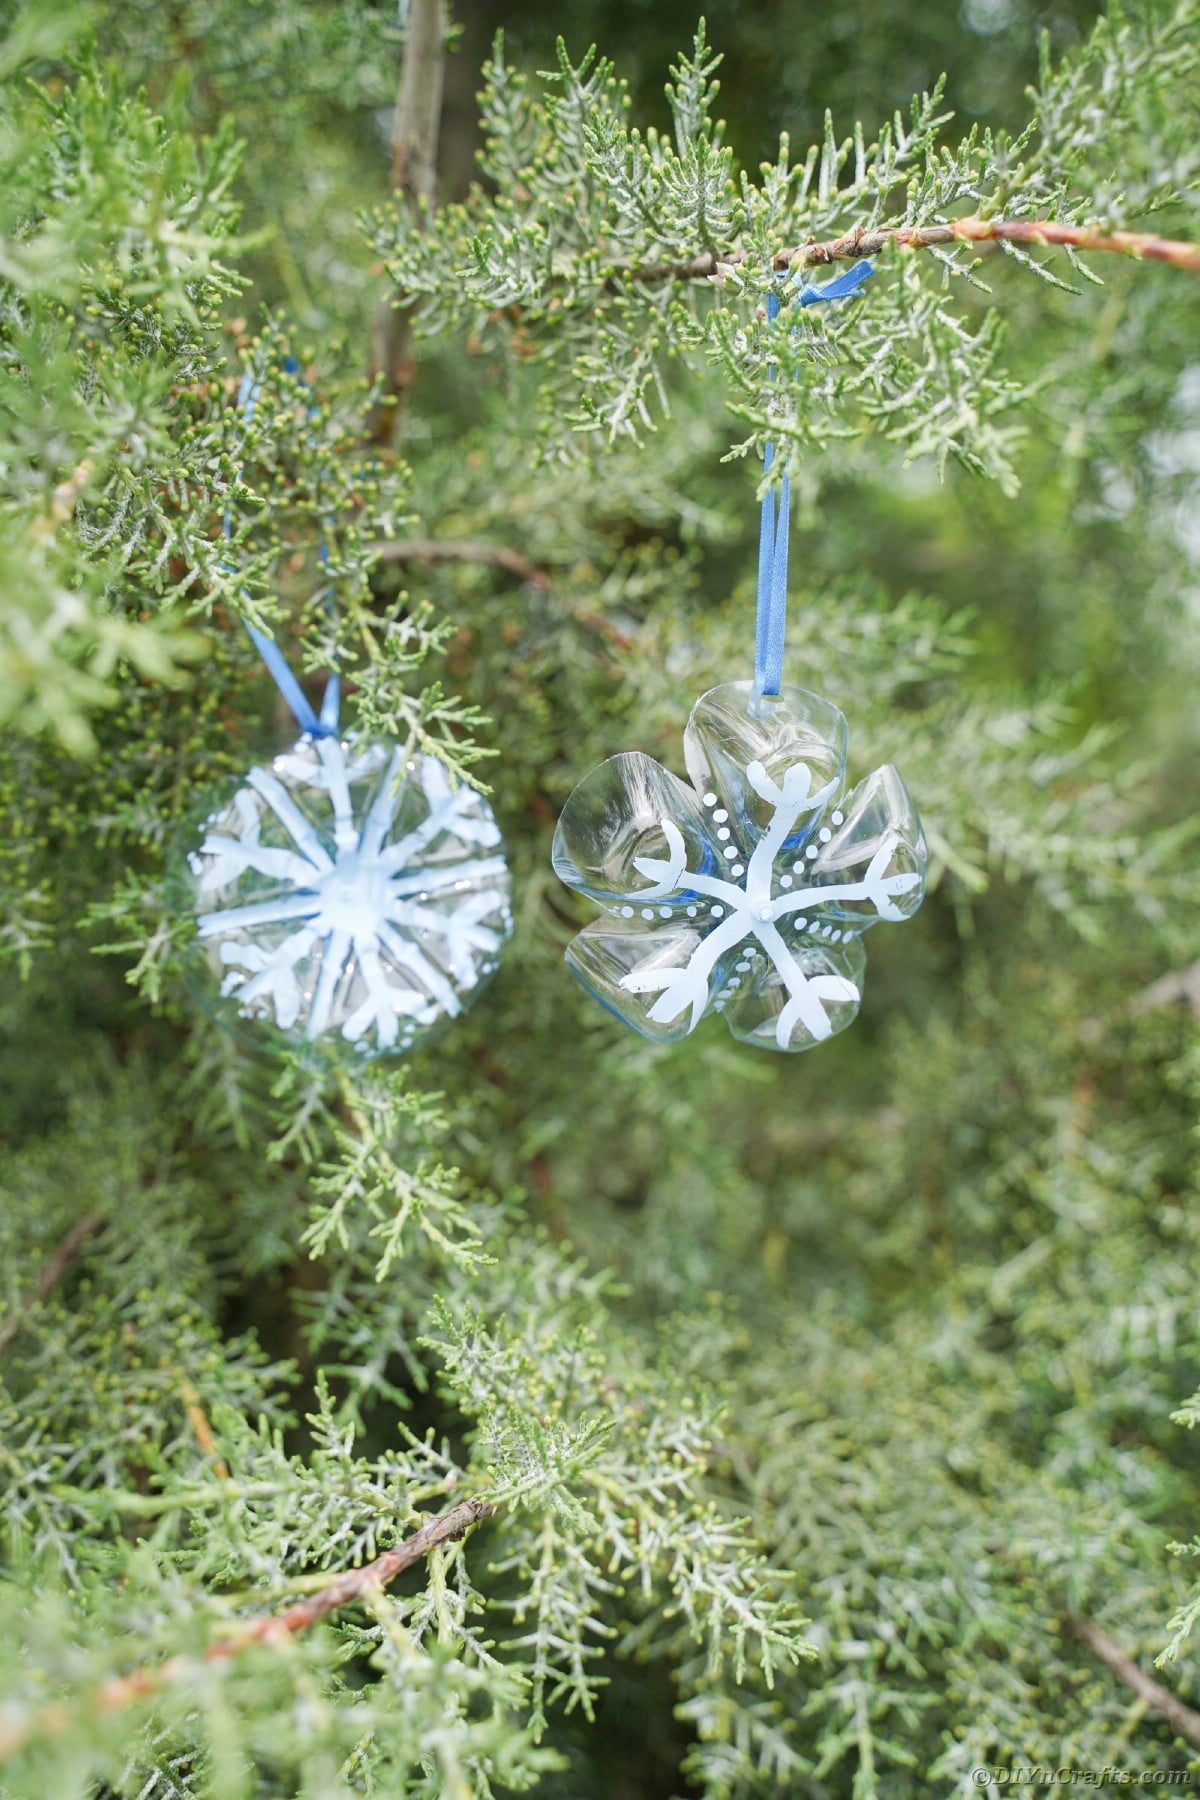
These are so fun to add to both indoor and outdoor trees!
You can even use these as a gift topper if you wanted.












Lisa's * Everyday Life
I love these. I am a Southern girl who moved to Michigan and moved back to the South. Anf these are perfect snowflake for outside.