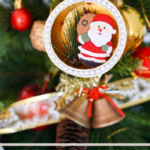
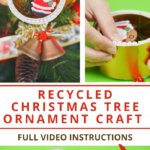
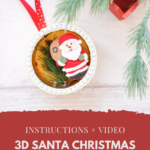
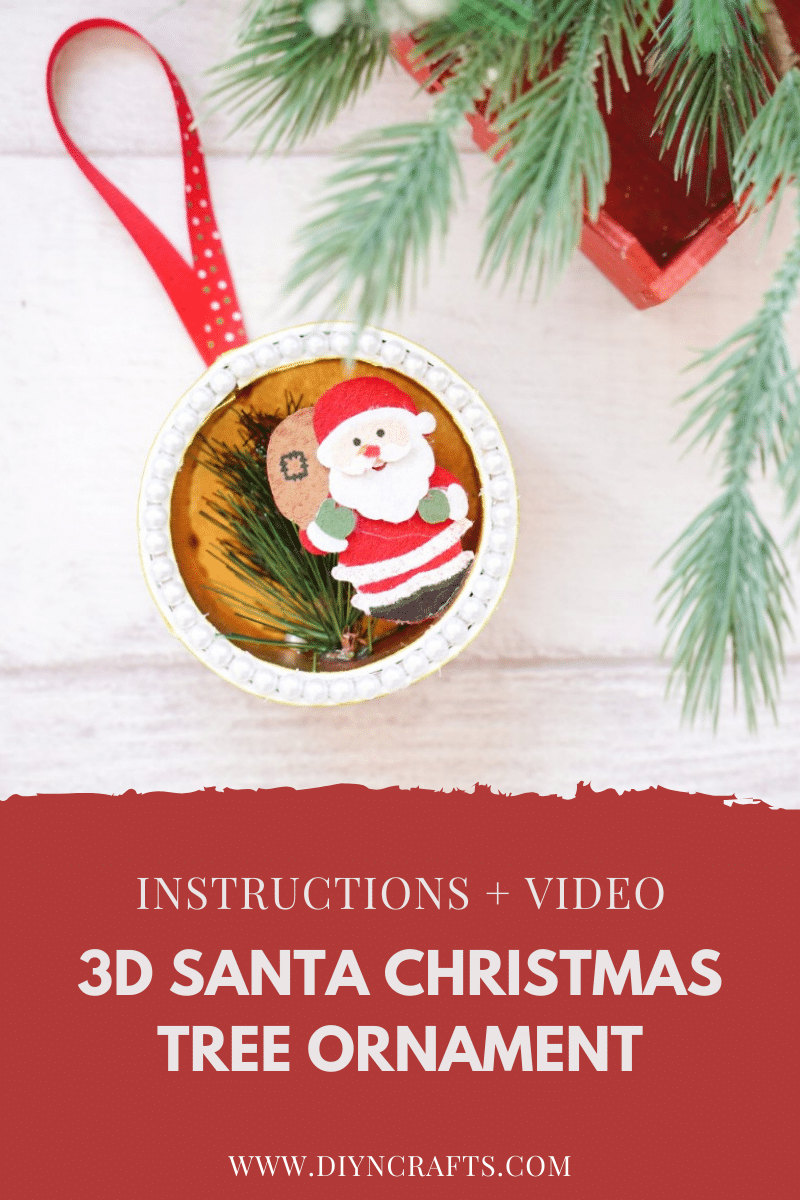
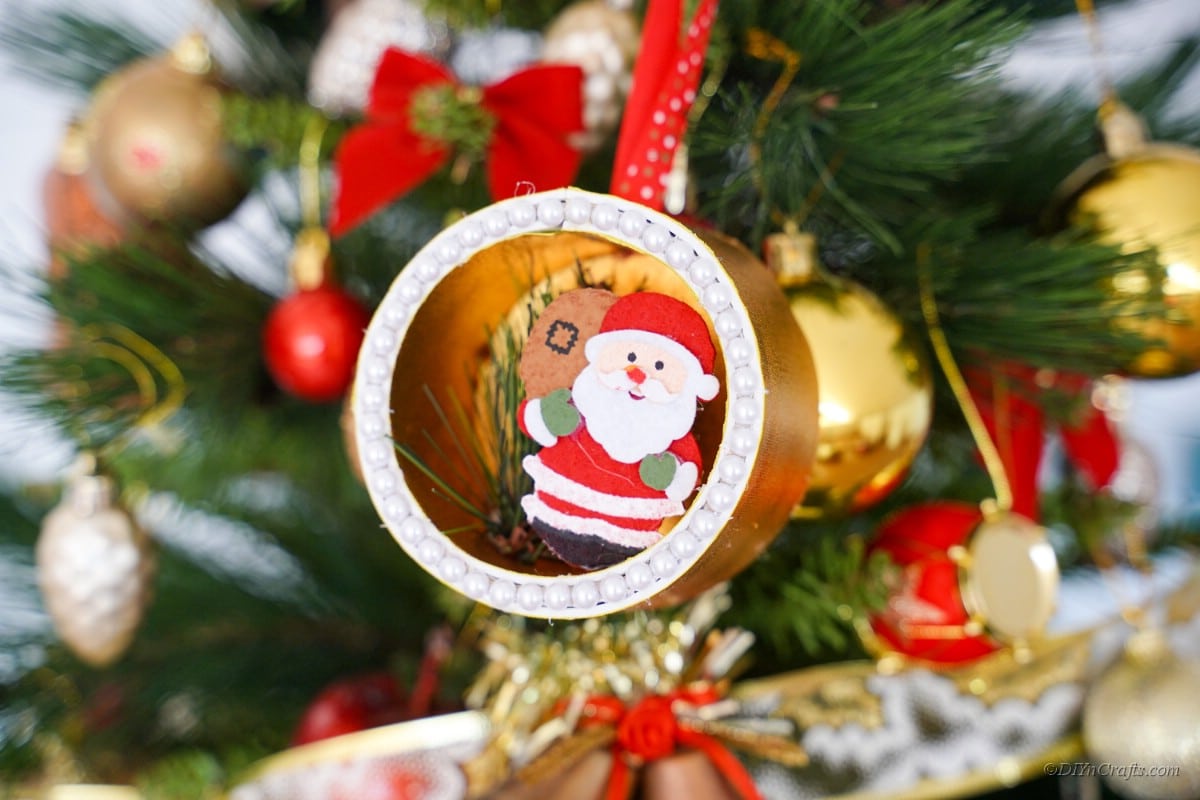
Now, this is a real crafter's upcycling project to add to your collection of handmade Christmas tree ornaments! Gather up your old tape rolls, (you just knew you'd need them, right?) This gorgeous upcycled 3D Santa Christmas tree ornament is going to add something special to your tree this year!
In our family, we love bringing a homemade touch to our decorations every year. This is an adorable and whimsical little diorama ornament that's an absolute joy to decorate and display on your tree.
Adorable Upcycled 3D Santa Christmas Tree Ornament
I'm a huge sucker for cute crafts that anyone can do, and these things are no exception! They're the perfect little touch to add to your Christmas tree decoration collection. It only takes a few basic supplies before you've got something adorable, fun to create, and remember each year.
Making upcycled crafts is a great way to use up some of the odds and ends you've collected over the past year. You can make room for new craft supplies while giving the old ones a new life! Once you get started, it's really easy to make a handful of these. Since it's upcycled, you've probably got most of what you need on hand, too!
What's the Best Way to Cut Glitter Foam Sheets?
For this craft you'll be using glitter foam sheets to decorate the tape roll with ease. This stuff is great to use since it's so convenient. However, it can be a little difficult to work with if you don't manage to cut it right the first time.
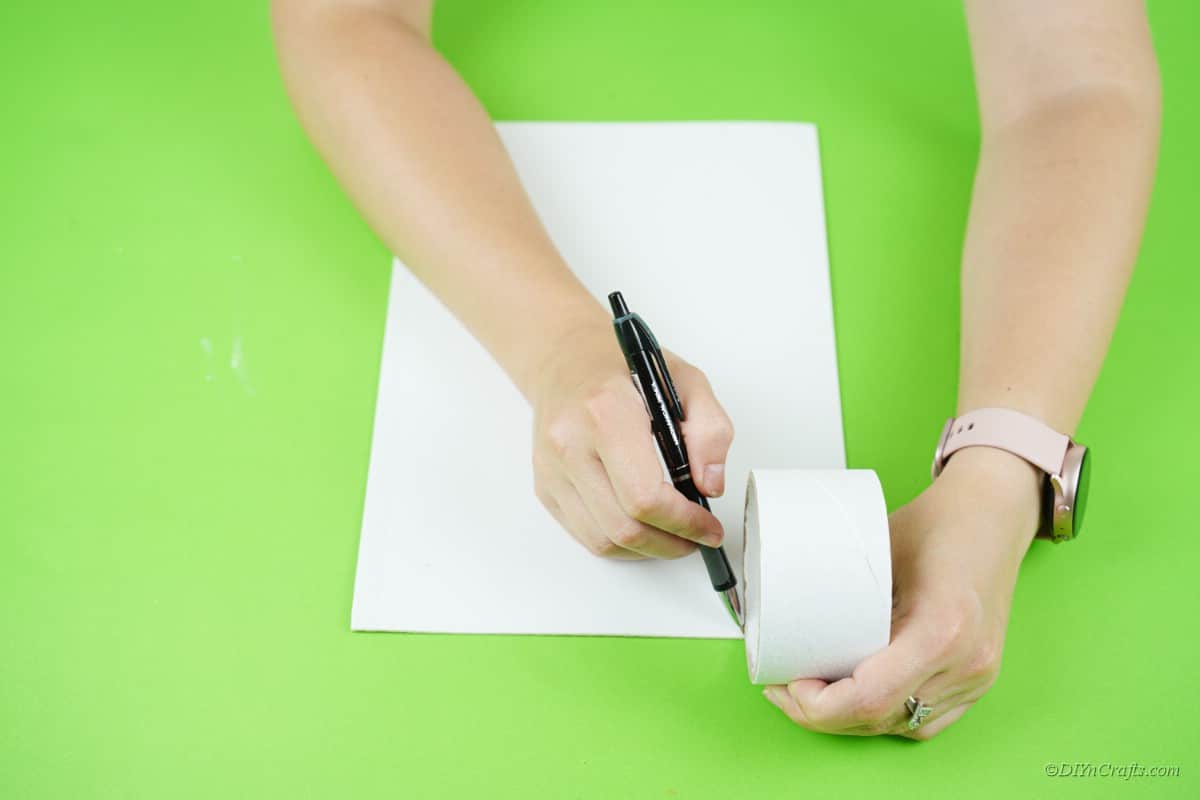
Do yourself a favor, and use the tape roll to mark the width of the piece you need on the back of the glitter foam sheets. After that, use a ruler to make straight lines off of those marks for you to cut on. This way, you'll end up with a perfect sized piece to attach to your tape roll.
We'll go into further detail in the step-by-step picture instructions below!
How Long Does it Take to Make These Ornaments?
This is a craft that's a lot more assembly than it is prep work. After you've collected everything you need, you're only a few cuts of paper away from being able to make these in short batches. All in all, this craft will probably take you around 10 minutes to create. Fun little decorations like these are perfect for Christmas eve crafts with the family, or friends! Or making in bulk while watching your favorite Christmas specials!
Can I Use Something Besides Glitter Foam Sheets?
If you've got some construction paper or decorative paper you'd like to use instead, you totally can! there are no limits to how much you can alter the medium on the outside of this tape roll. The reason forstickingwith these glitter foam sheets is because it's totally self-adhesive! If you don't already have a few sheets of your own, you'd be surprised just how useful these are for crafting!
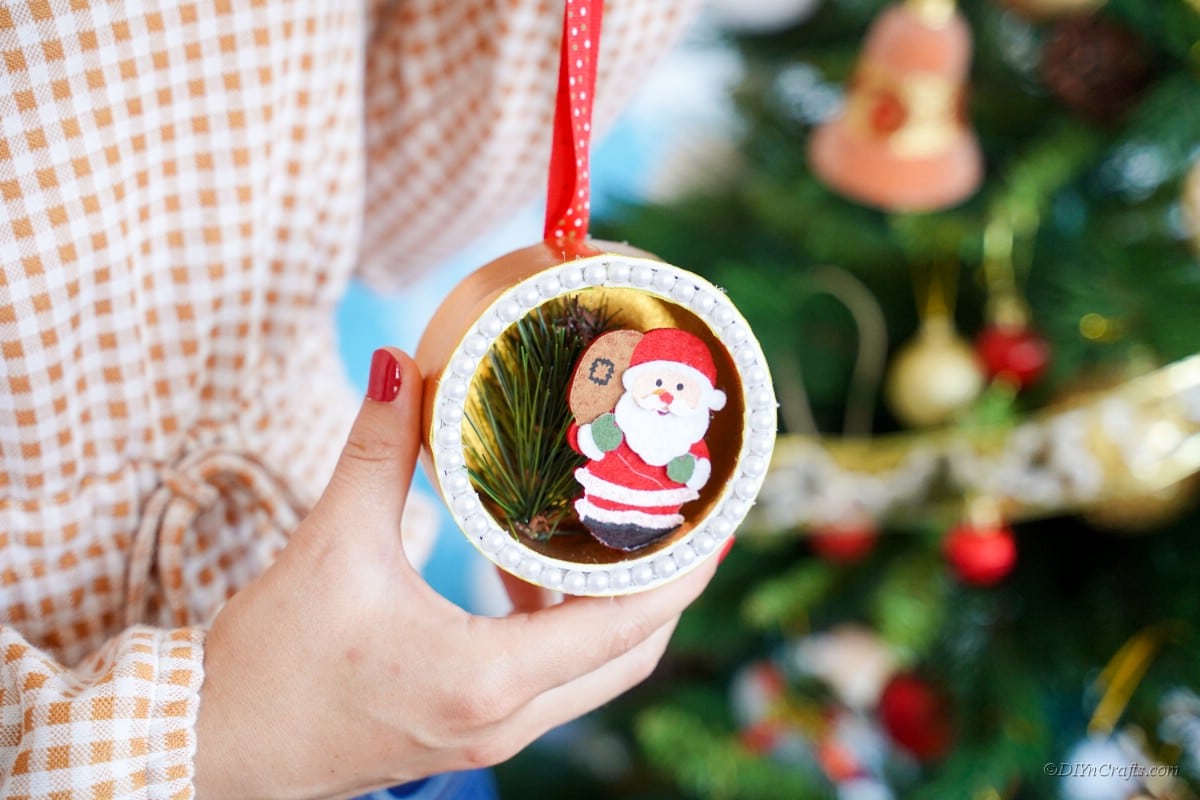
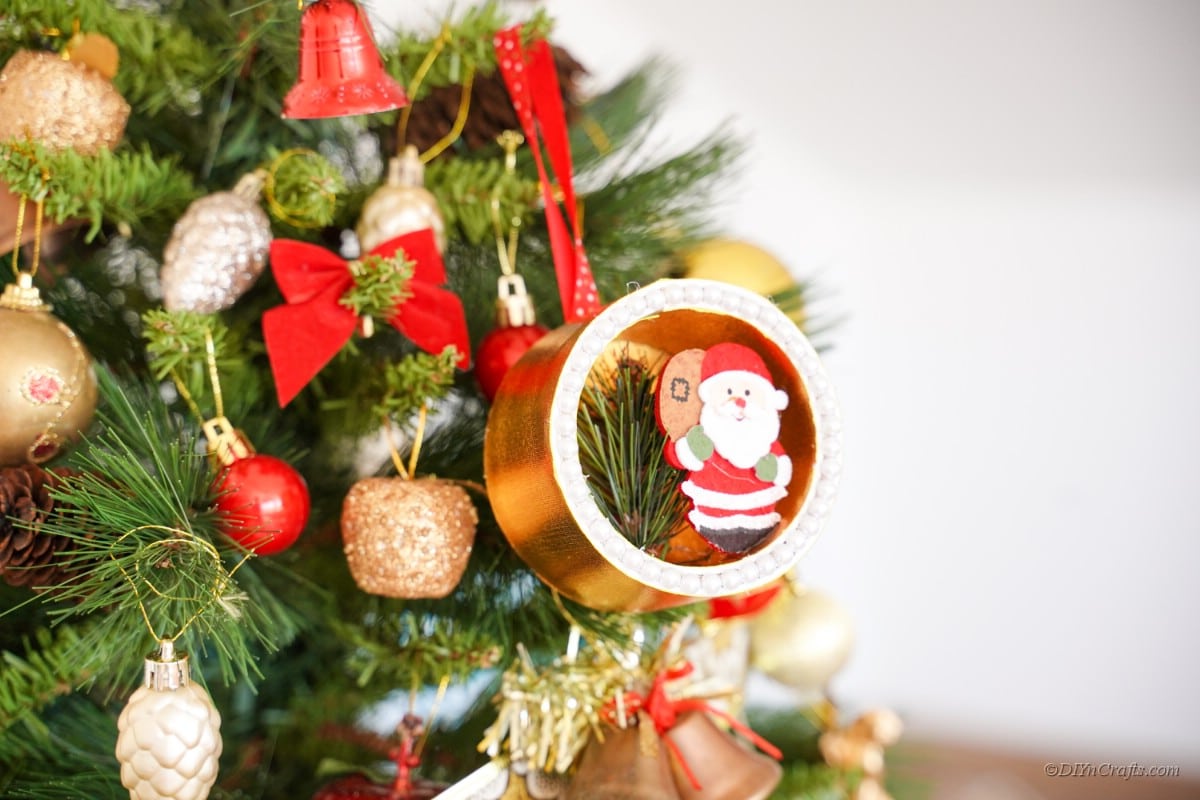
Not to mention the fact that it adds a shimmering effect to your upcycled 3D Santa Christmas tree ornament! This will catch the glow of your Christmas tree's lights nicely while it hangs from a ribbon.
What are Some Other Ways to Decorate These Crafts?
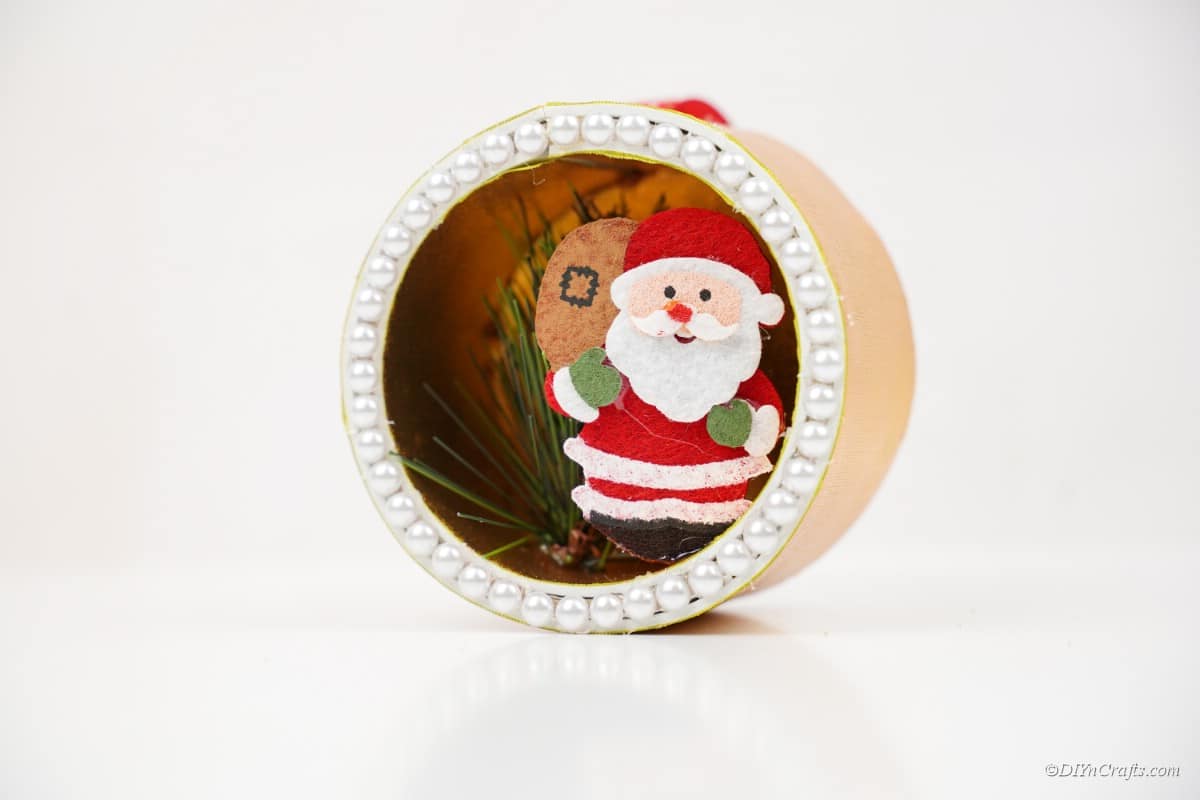
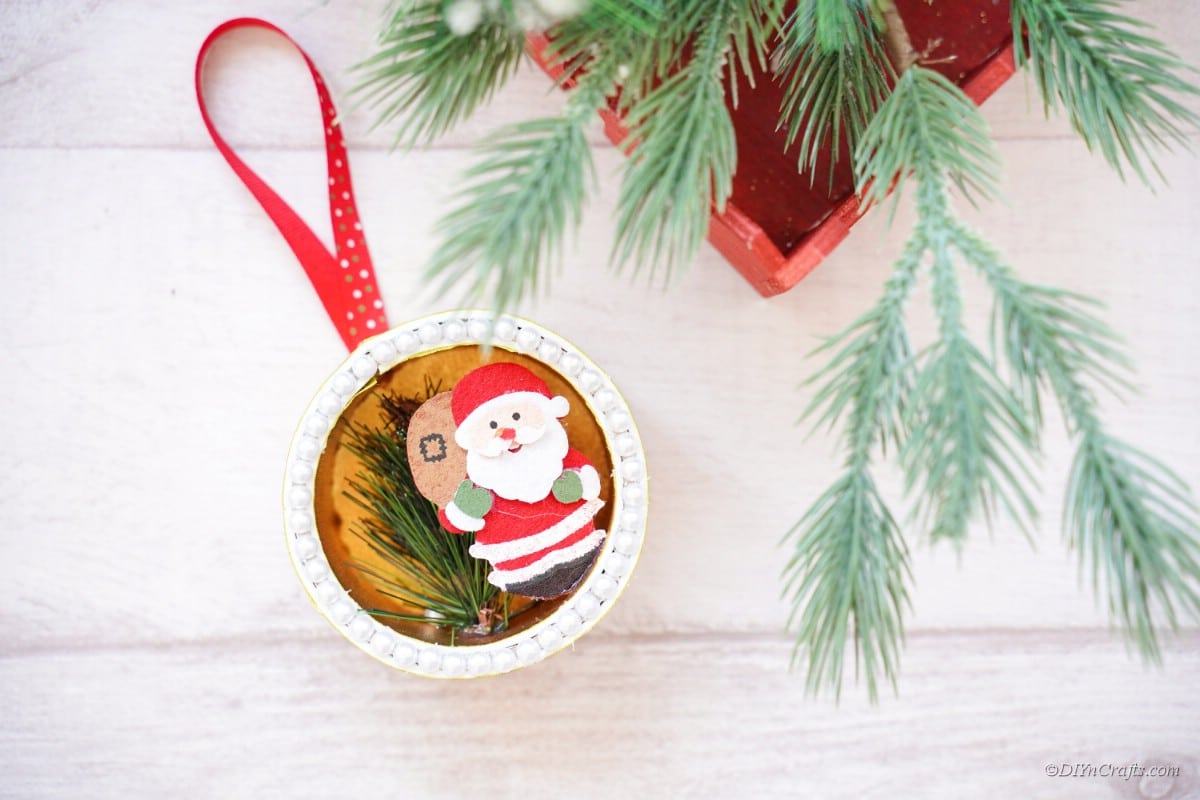
This little upcycled Christmas tree ornament is basically a miniature diorama. It uses the tape roll to create a 3D perspective, as well as a little sprig of the faux tree and a Santa decal. That being said there's a lot you can do tospruce up this hanging ornament. We'll dive into some instructions for creating your own below. But first, we'll give you some inspiration for personalizing your very own!
- Use fake snow and craft spray glue for a speckled, wintery effect
- Add tiny presents to your diorama using small candies
- Use a small LED tea light to light up the background
- Apply shiny silver adhesive foam for a bright ornament that will take on your Christmas tree lights
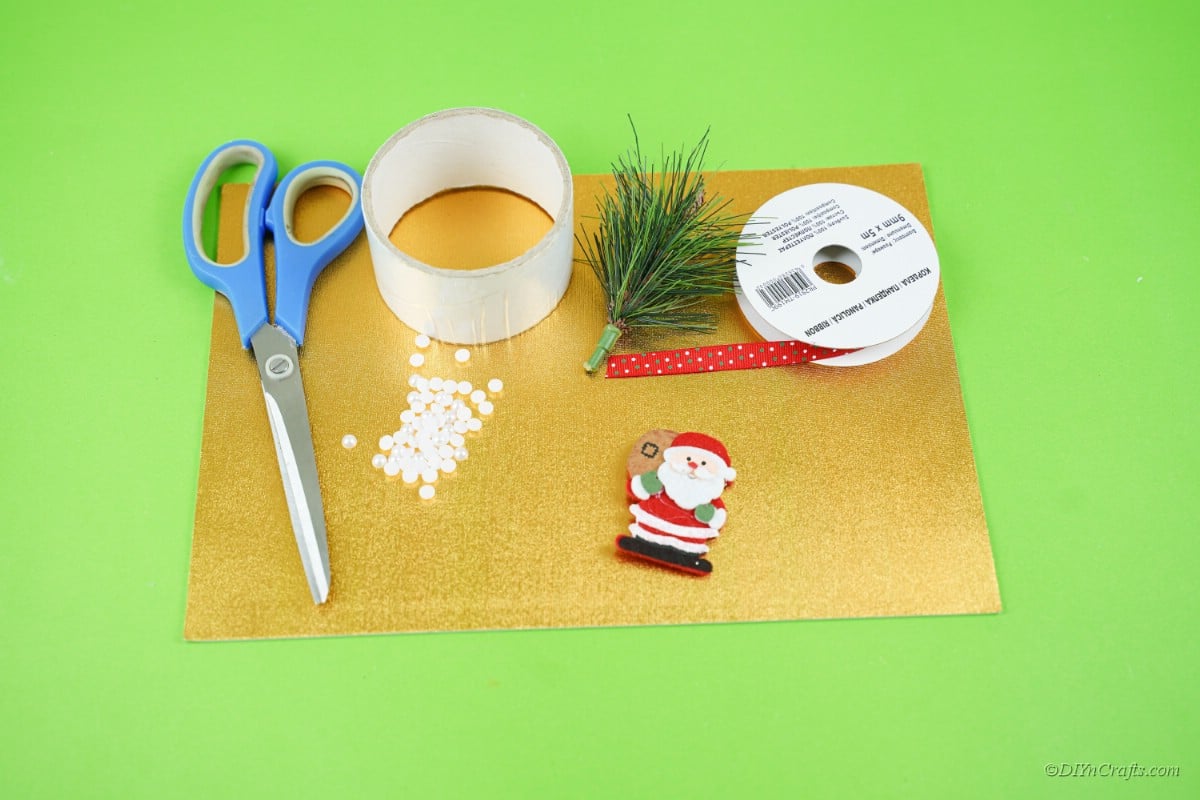
Supplies Needed
- Empty duct tape roll
- Sprig of faux pine (from a mini tree)
- Santa decal
- Small foam balls or fake snow
- Ribbon
- Gold glitter foam sheets
- Ruler
How to Make a 3D Santa Christmas Ornament
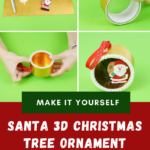
First, carefully measure the width of your tape roll. The easiest way to do this is to press the roll onto the paper and make a mark on either side of the wide of the roll. This way, you can get an accurate measurement for your foam craft paper.
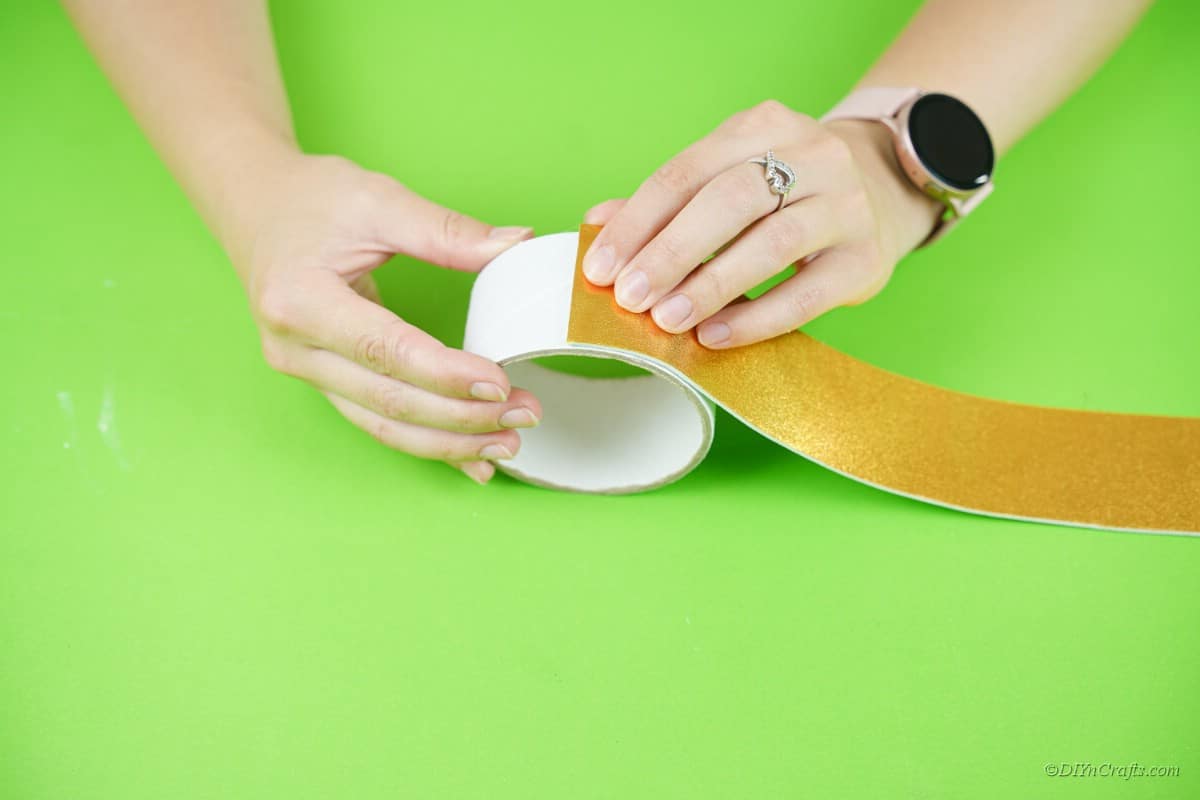
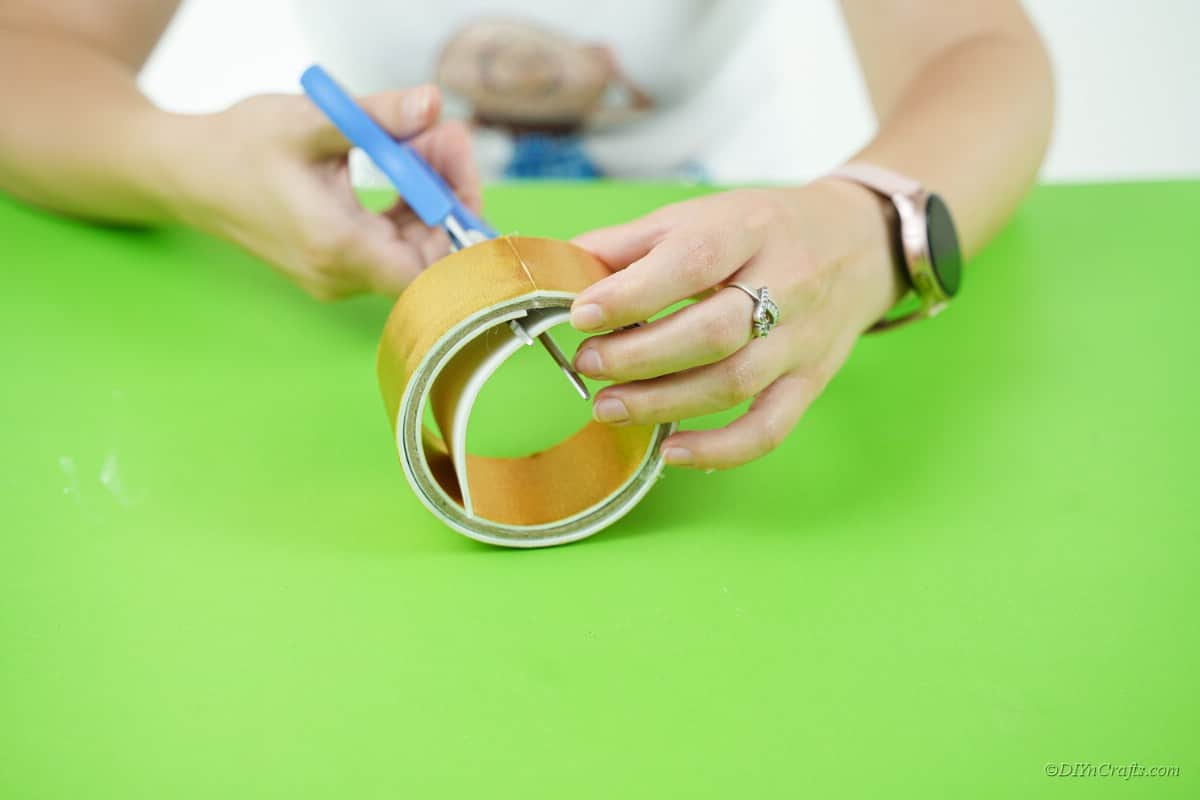
Next, carefully cut the strip of foam sheet. After that, you can place the adhesive side along the outside wall of your tape roll.
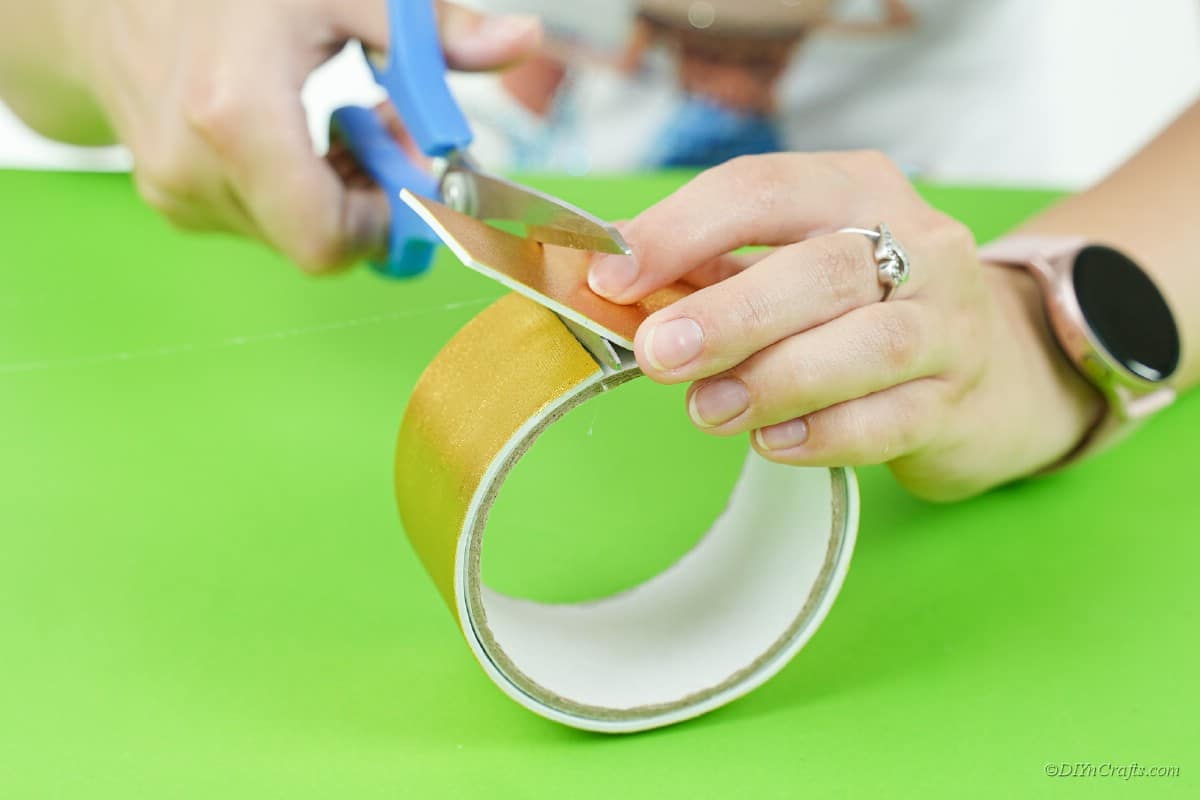
Once you reach the end, press down on the remaining piece of foam sheet to adhere to itself. Cut the excess as close as you can so it meets the other end.
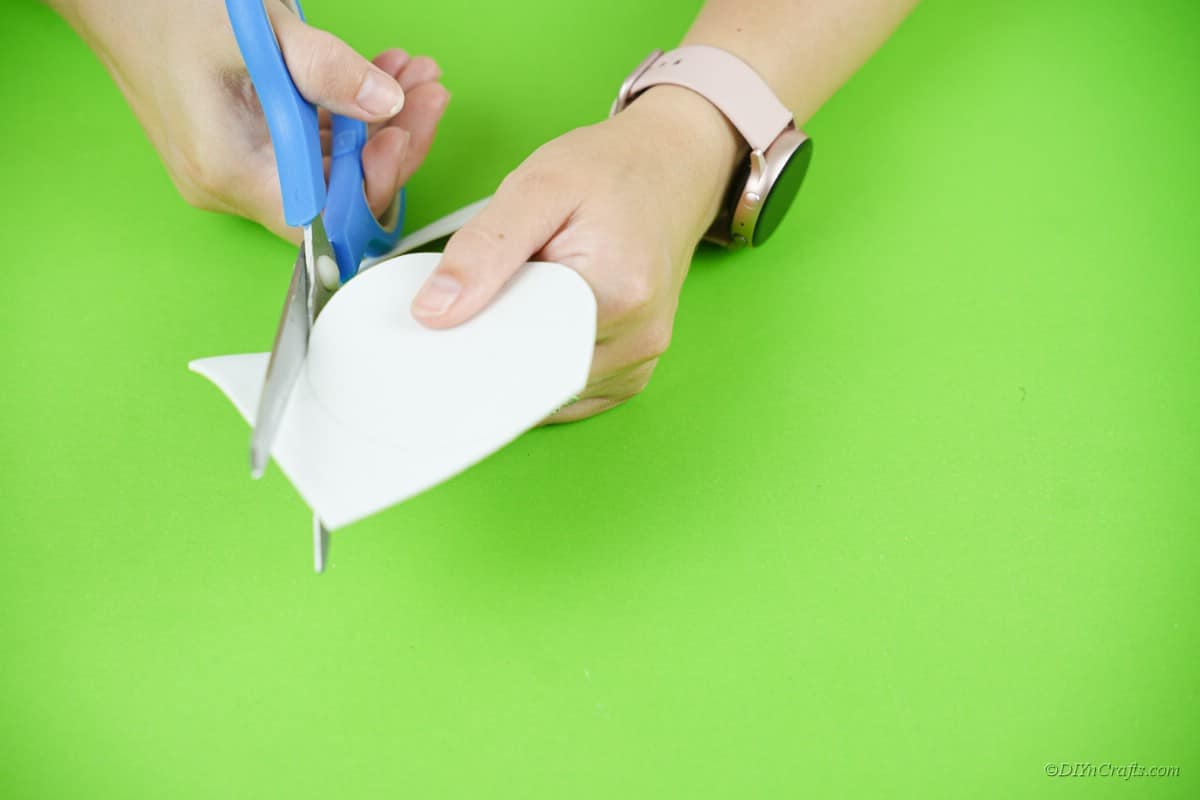
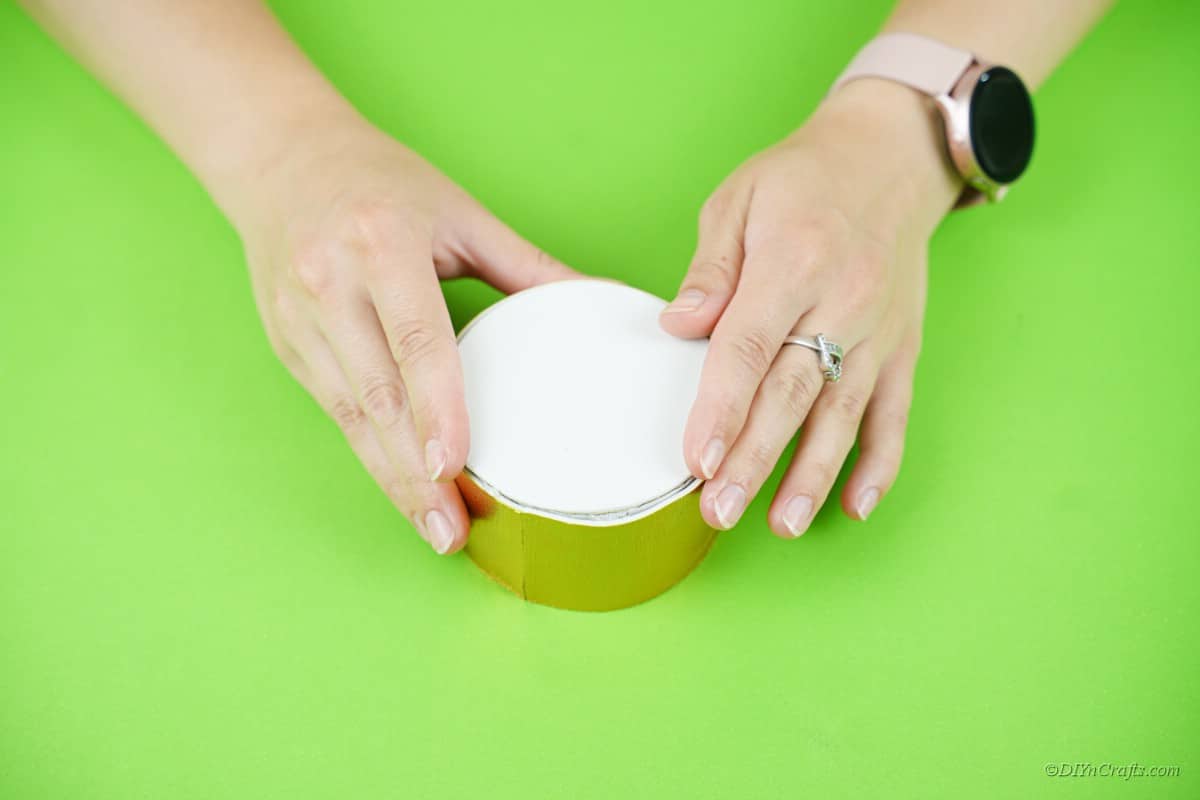
Next, you'll cut a round piece of foam sheet to form the back of the diorama. This can easily be measured and cut by tracing the outside of the tape roll on its side.
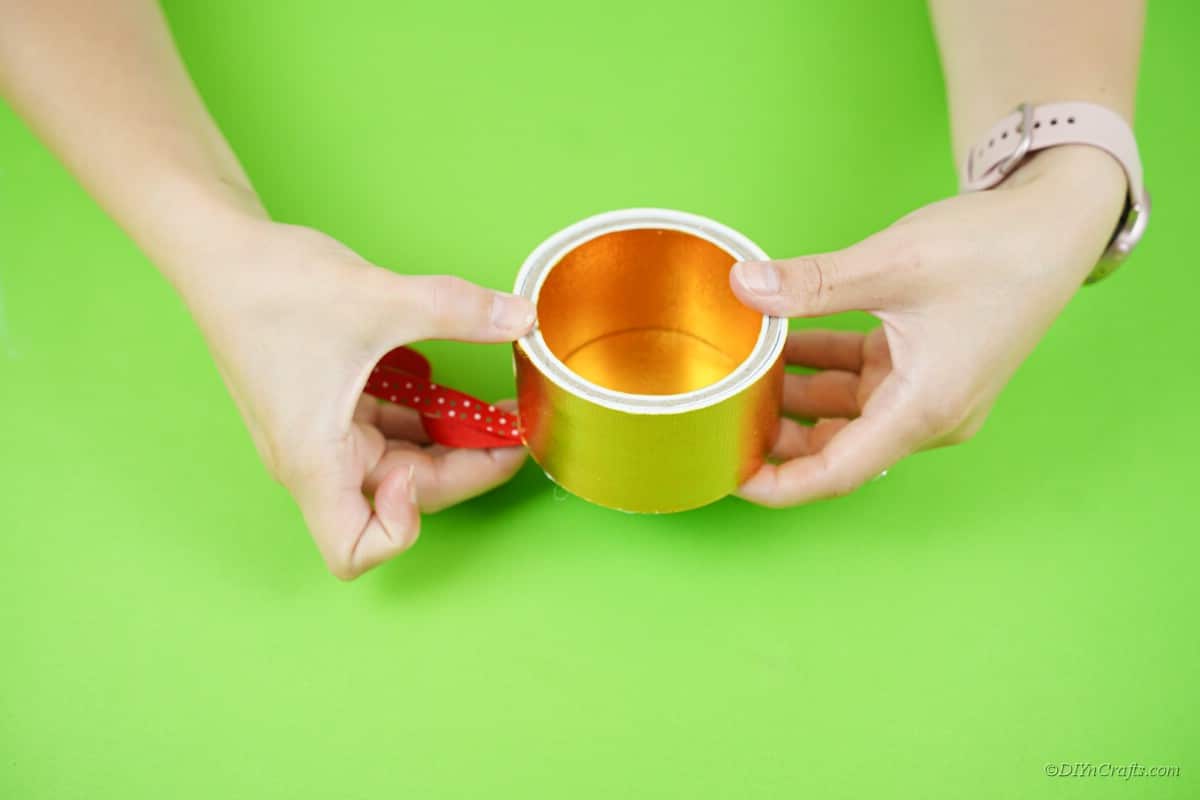
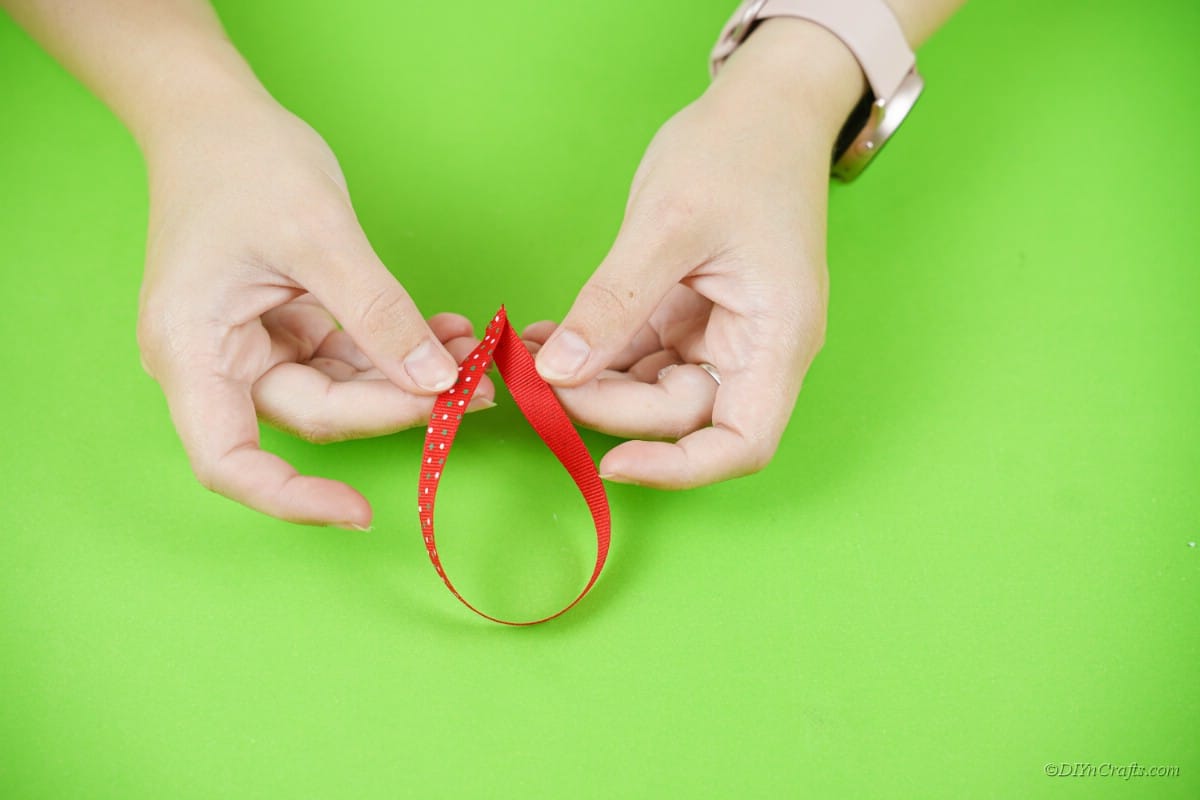
Adhere this to one side of your roll. While placing it on, you can add a looped piece of ribbon for hanging the craft once it's finished.
Place the 'tree' sprig into the center of the Christmas craft by either using glue or by piercing a small hole for it to sit in.
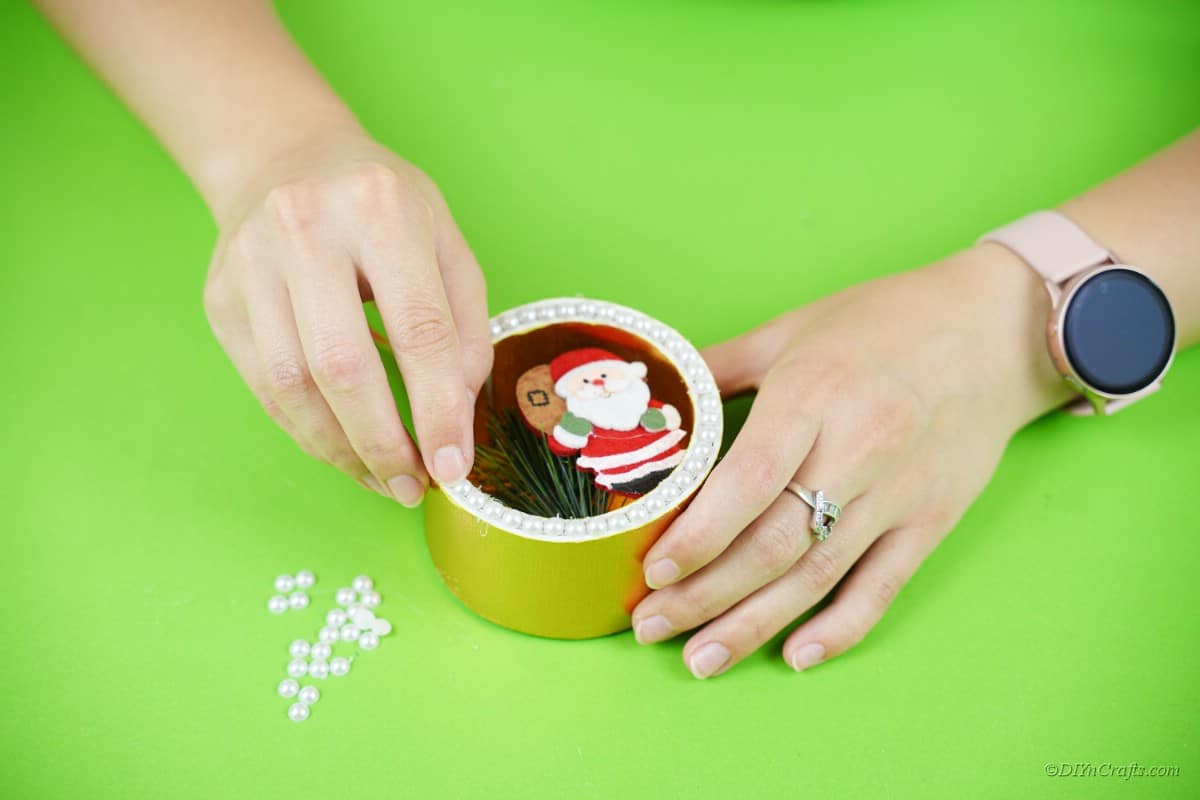
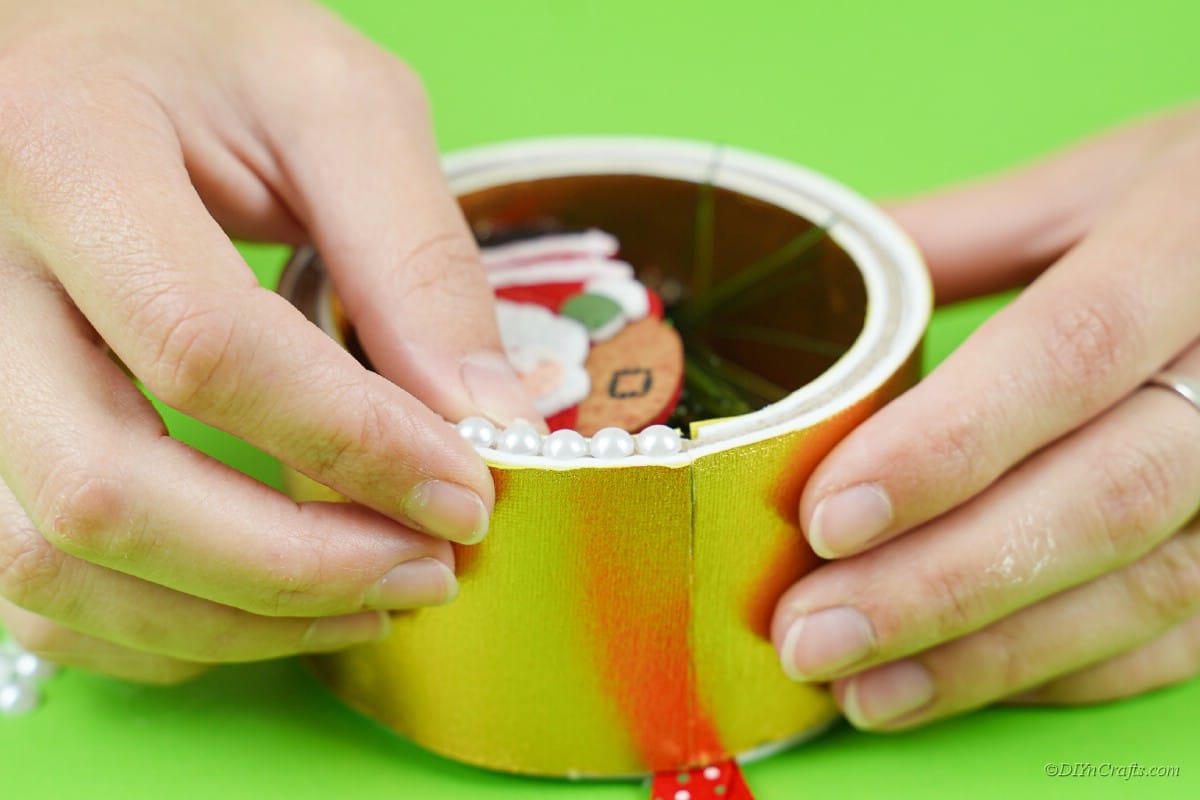
Place your small foam Santa character in the diorama, and begin to add decorations around the outside rim where the foam sheet meets the tape roll.
More fun Christmas Craft Ideas
There's nothing better than getting into your next craft project! It gives you an excuse to breakout thosewell organizedbins of craft supplies and turn them into something special. Upcycled projects like these are perfect for giving something some new life. Here are some other craft ideas that draw inspiration from something repurposed.
- DIY Rustic Hazelnut Christmas Ornaments
- Colorful Christmas Pinecone Ornaments
- Painted Christmas Light Bulb Penguin Decoration
- Miniature Pinecone Christmas Tree Decoration or Ornament
- Shiny Rudolph the Red-Nosed Reindeer Christmas Ornament
Upcycled 3D Santa Christmas Tree Ornament
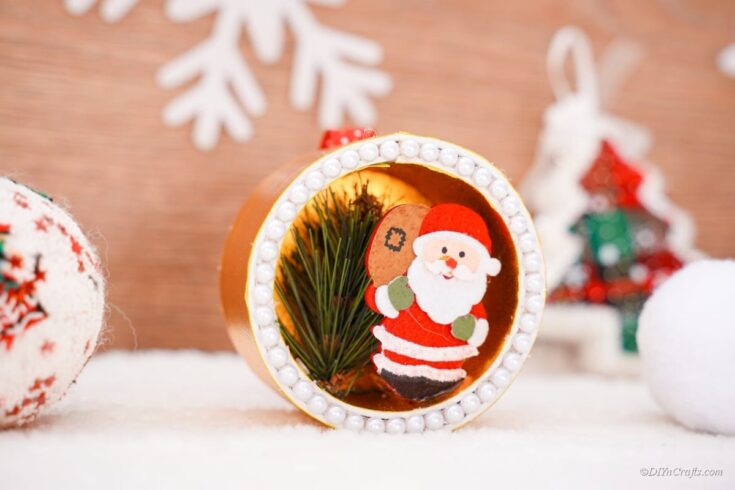
This is easily one of the cutest Santa themed crafts out there! Better yet? They're totally upcycled! Break out your empty duct tape cylinders for a lovely diorama project.
Materials
Tools
Instructions
- Using an empty roll of tape, mark the width of the cardboard standing up either side of the back of the foam craft sheet.
- Use a ruler to make straight lines off of those marks, and cut out the strip from the foam craft sheet.
- Next, attach the adhesive side of the foam sheet to the tape roll.
- Use the scissors to trim, the excess foam sheet, joining it at the end as closely as possible. Repeat steps 2-4 for the inside of the roll as well
- Next, cut a circular piece for the back of the roll. Trace the outside circumference of the tape roll and cut it our of the foam sheet.
- Adhere this piece to the back of the tape roll, with the gold side facing inside of the tape roll.
- You can place a loop of ribbon for hanging behind this piece if desired.
- Add the first piece of your diorama using your piece of fake pine. Create a small hole to lodge it in, or adhere it with some glue.
- Next add the Santa Claus foam sticker to the scene.
- After this, you can arrange foam beads, fake snow or gemstones around the edge of the tape roll to cover up the cardboard and decorate your craft.
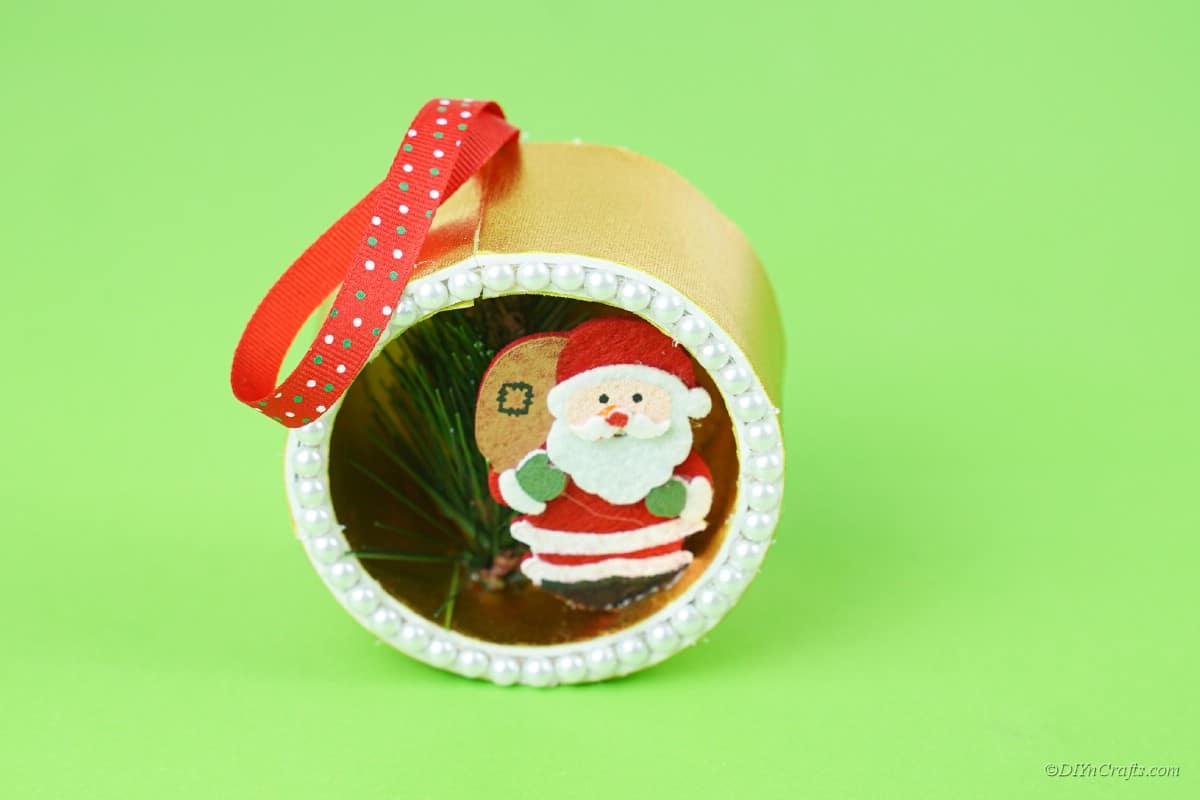
- Your craft should be complete! Hang it from the Christmas tree to enjoy all season long!
Recommended Products
As an Amazon Associate and member of other affiliate programs, I earn from qualifying purchases.
-
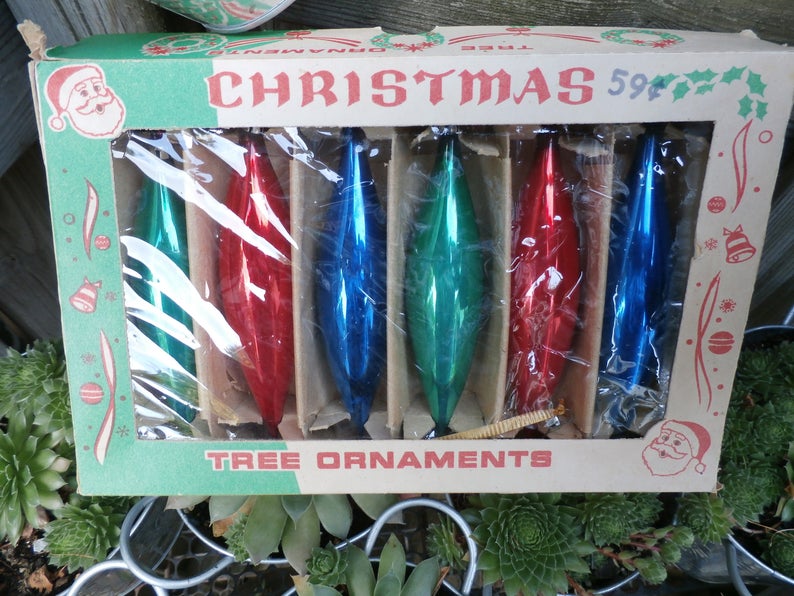 Vintage Christmas Tree Ornaments Tear Drop Glass
 -
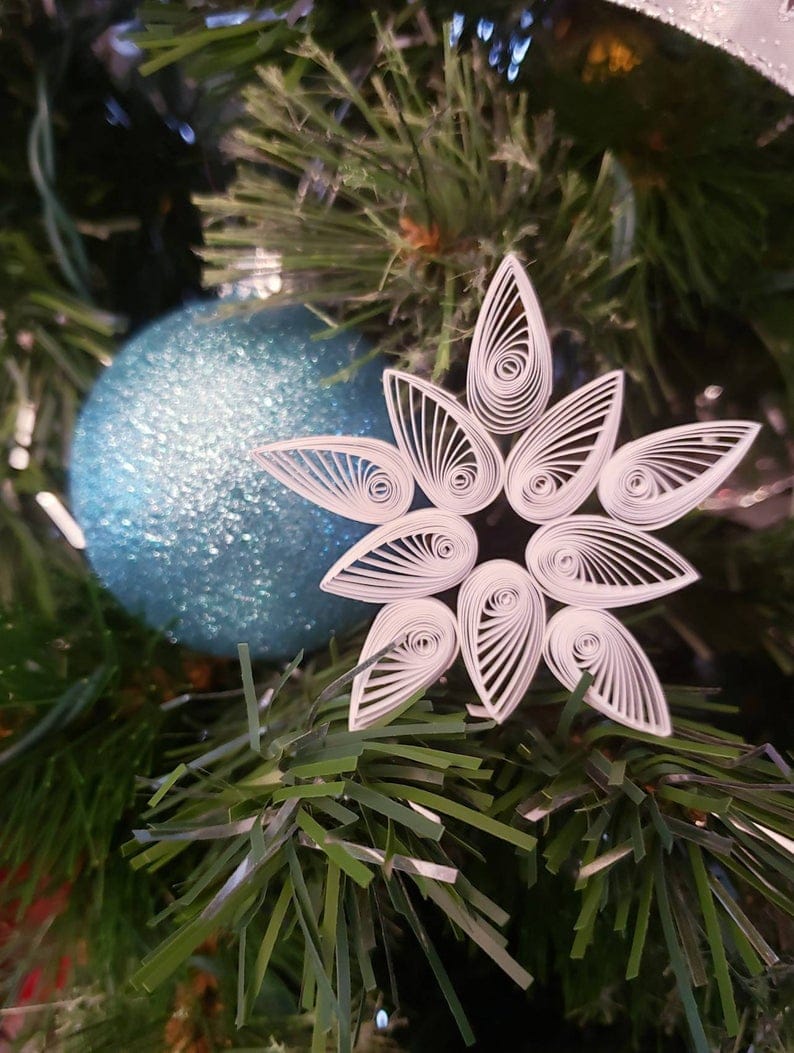 Set of 2 Quilled Snowflakes Christmas Ornaments - 3 inch
 -
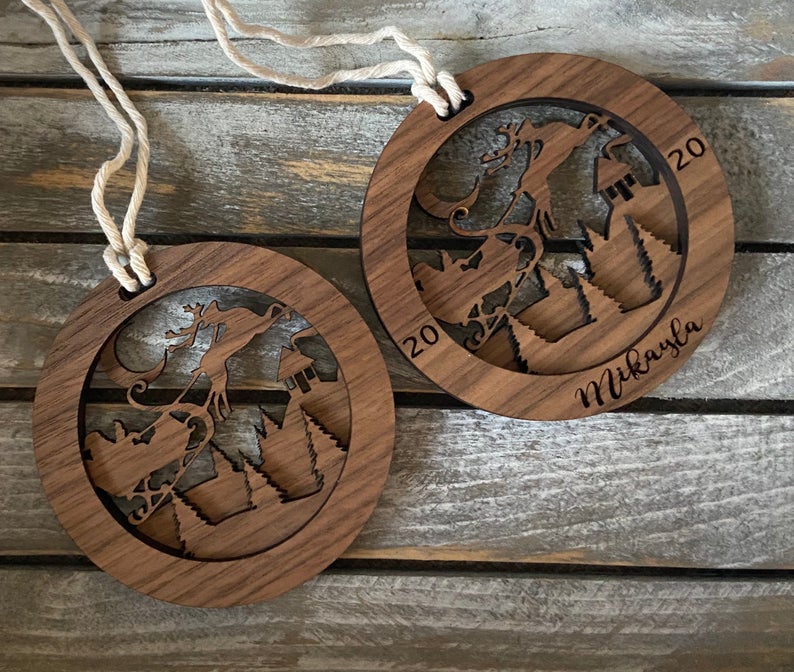 3D Christmas ornament, Santa & sleigh
 -
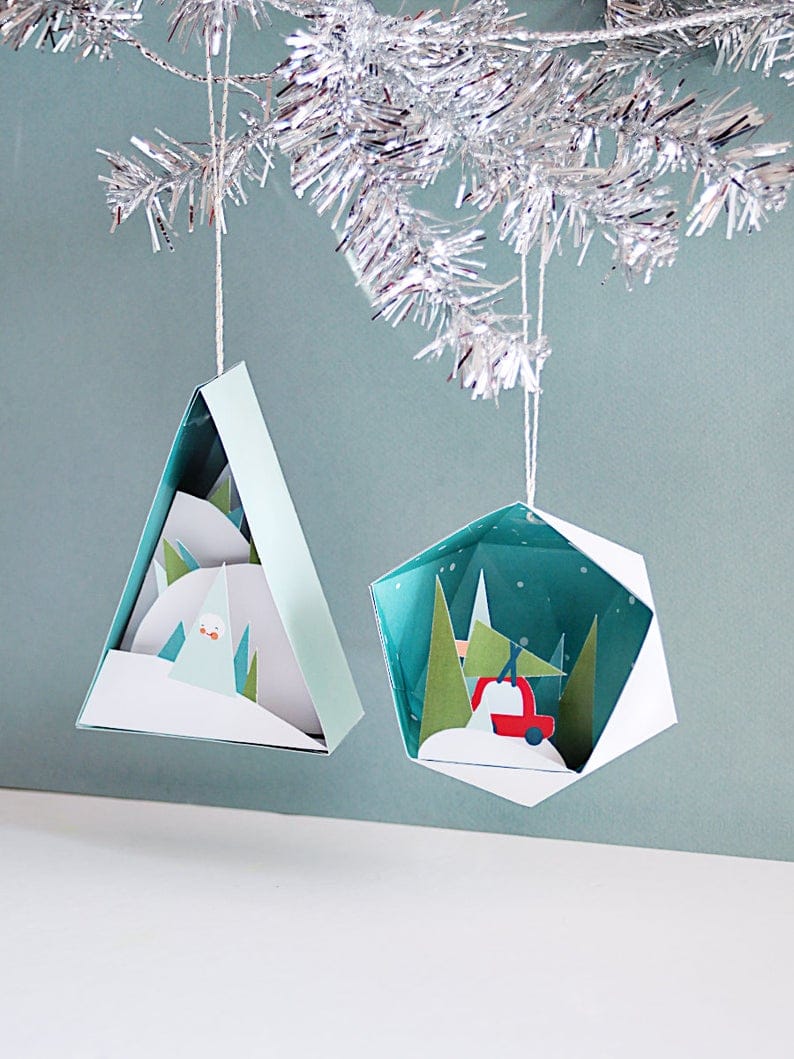 3D Christmas Ornaments #2 - 4 in a Set - Printable Paper Crafts
 -
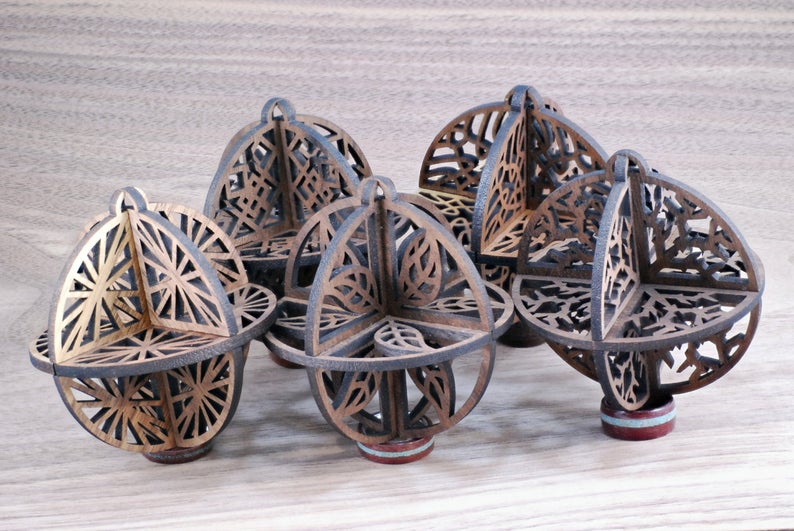 Five 3D Christmas Ornaments "Fireworks, Knots, Leaf, Shard, Squares" 3mm (⅛ inch)
 -
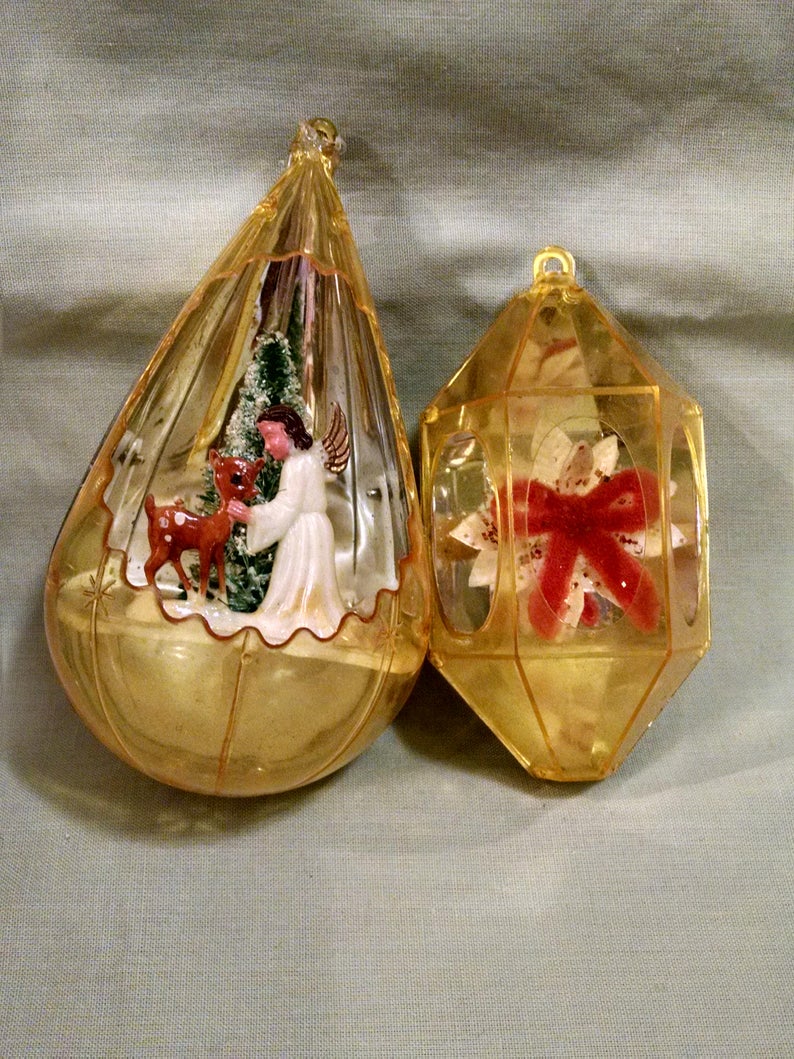 Pair Vintage 3D Christmas Ornaments Midcentury
Final Product Gallery
There are many ways to give this guy some adorable finishing touches or add small details.
You can of course, use this as inspiration to create more adorable 3D dioramas featuring other Christmas character favorites.
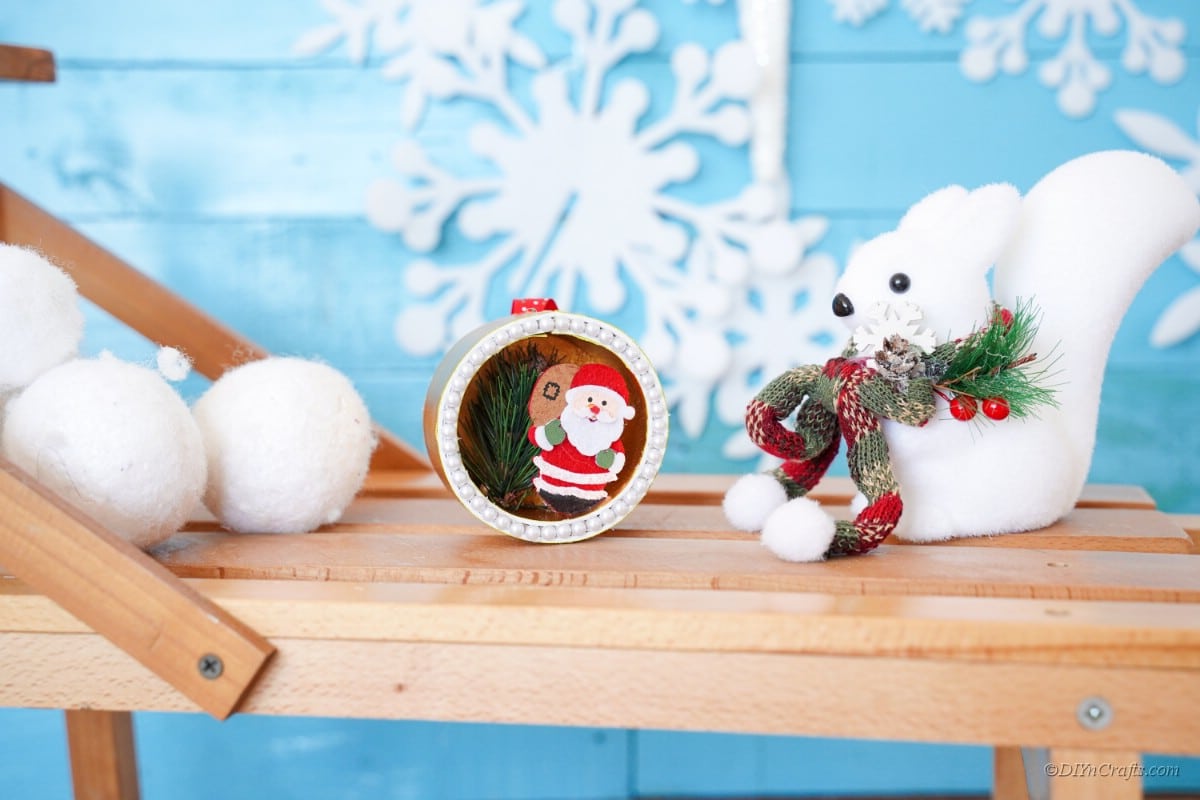
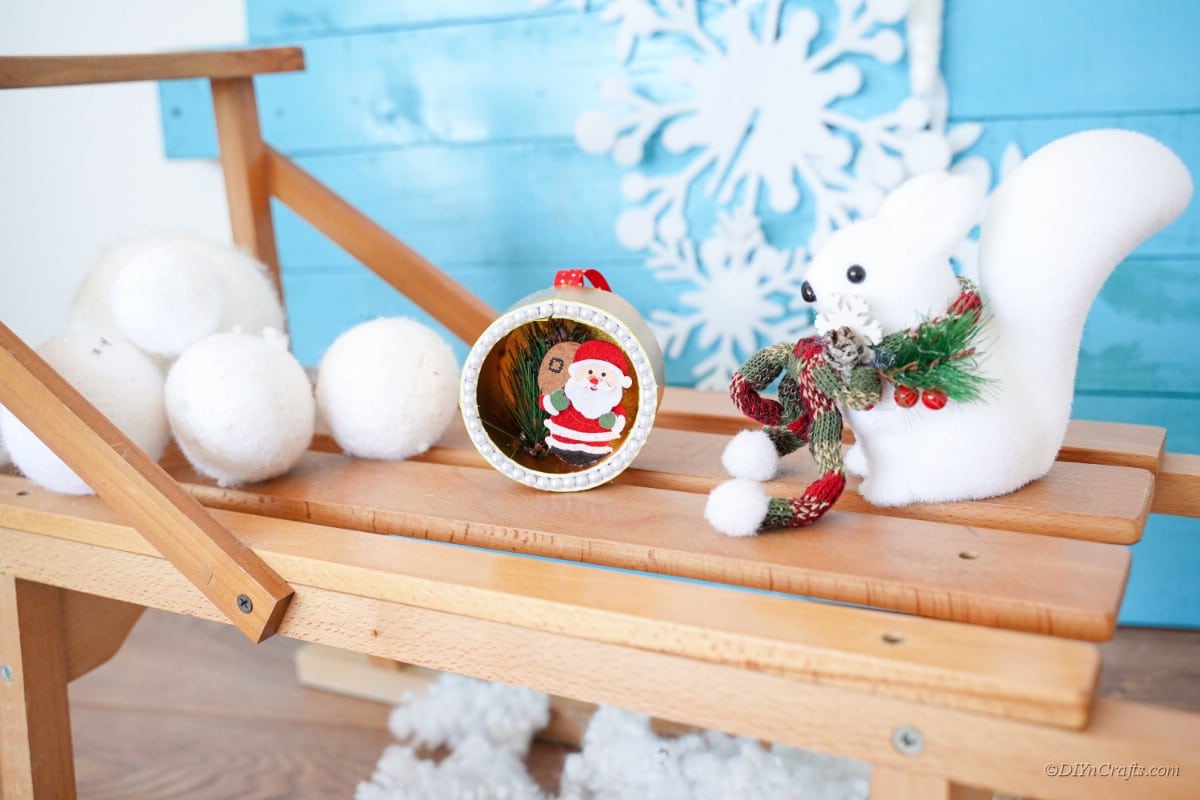
He's cute enough to go alongside just about any of the decorations around your home! If you want to match this craft to your particular Christmas theme, just swap out the foam craft sheet color.





Leave a Reply