Scarecrows are a must when decorating for fall, and this project is absolutely adorable! An easy-to-make upcycled lightbulb scarecrow easily becomes a key piece of your Fall, Halloween, or Thanksgiving decor. Customize your own scarecrow in a number of ways to make this truly unique for you and your home!
Jump to:
- Upcycled Lightbulb Scarecrow Decoration
- Do I Have to Use a Real Lightbulb?
- Ways to Customize My Scarecrow
- How Do I Decorate With This Scarecrow?
- What Paint Should I Use For This Craft?
- Supplies Needed
- How to Make Upcycled Lightbulb Scarecrow
- More Scarecrow Crafts
- Materials
- Tools
- Instructions
- Notes
- Recommended Products
- Finished Project Gallery
Upcycled Lightbulb Scarecrow Decoration
I will never forget the first scarecrows I saw as a child. They were not these fun and cute ones we make as decorations. Instead, they were the often oddly thrown together ones my grandpa put up in his garden. Usually, they included a pole or stake in the ground, an old shirt, perhaps a hat, and for color, you might see one of my Granny's scarves wrapped around the neck. They may not have been a burlap stuffed scarecrow-like many created, but they did the trick.
Whether you are decorating your home, adding a centerpiece to your Thanksgiving table, or just want to hang this from a Thanksgiving tree, a happy little scarecrow like this one is sure to be a hit. You can make this in no time, and it is easy to customize with unique looks for each one.
Do I Have to Use a Real Lightbulb?
No. While I often use old lightbulbs that are burned out for these projects, you don't have to do that. Since my home now has all-new shatter-resistant LED lightbulbs, I have a box of old-fashioned bulbs in my garage. While I could throw them out at designated locations, I love the idea of reusing them for something fun.
If you don't want to use a real lightbulb, you can usually find plastic ones at craft stores designed for this kind of project. There are also often various shapes of clear ornaments available around the holidays that can also be used for projects like this one.
Ways to Customize My Scarecrow
As I mentioned before, the fun part of making a scarecrow is that no two are identical. There are tons of ways to make them your own and add a fun spin on the classic look. Below are a few of my favorites that fit into the traditional fall theme but could carry over to many party and event needs.
- Paint the skin tone differently to match your own ethnicity.
- Add frowns, smiles, open mouths, teeth, or other expressions to your scarecrow to be different.
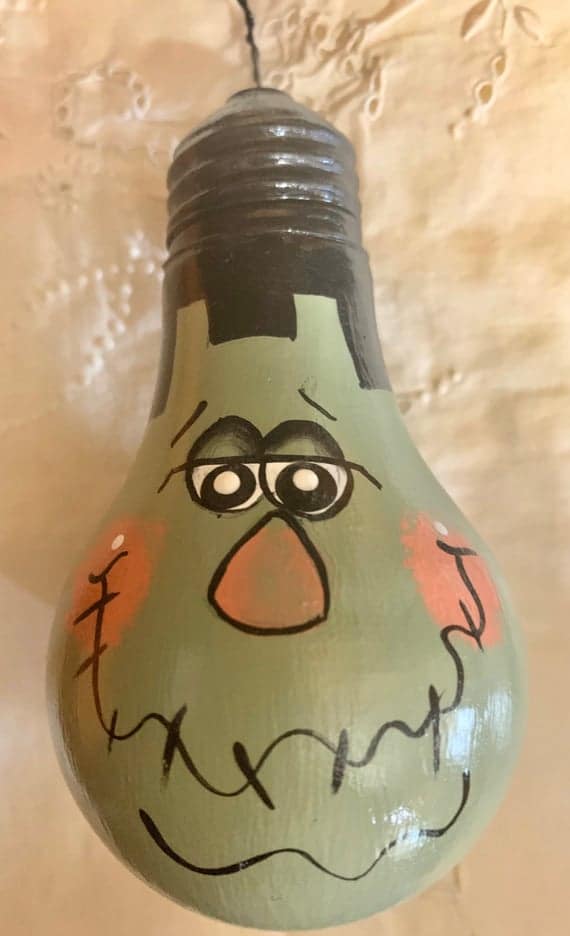
- Draw on stitches on the face to make it look sewn together.
- Add different ribbons or fabric colors to match themes or your preferences.
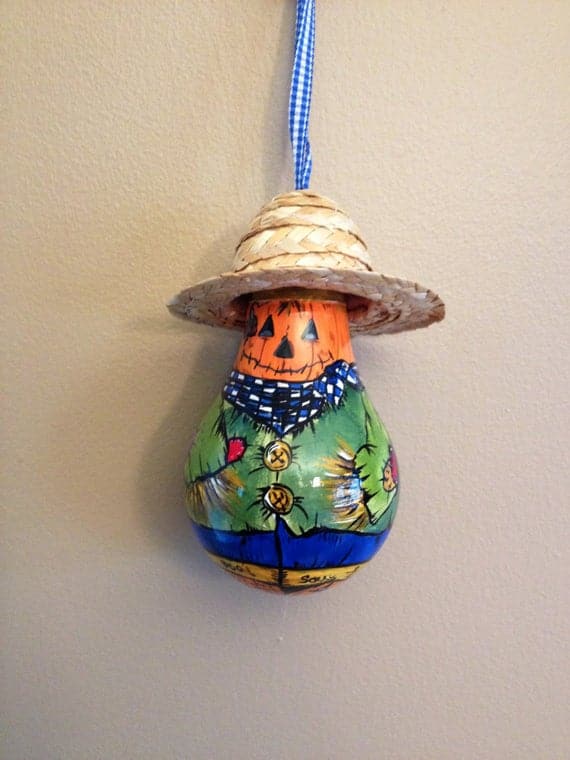
- Make a hat out of straw or felt to glue to the top of the scarecrow.
How Do I Decorate With This Scarecrow?
While this is adorable, you may be wondering how it actually fits into your Fall seasonal decor. Since it has a rounded base, it may not seem likely to just fit on a table or shelf. It can however be used in a ton of different ways that add to your existing decor. I love that it can stand alone as a statement piece, or be included with other items to really make your decor pop.
- Add ribbon or twine to the top and hang this from a Fall holiday tree or the ceiling.
- Glue to a wreath.
- Use an egg cup as a base to hold this on a table or shelf.
- Include as part of a centerpiece by propping against gourds or pumpkins.
- Glue to a picture frame and hang on the wall with a Fall-themed print or Thanksgiving saying.
What Paint Should I Use For This Craft?
Any basic craft paint works well on glass or plastic. I keep a wide variety of craft paints on hand for projects like this one. I also used a few paint pens to add the features to my scarecrow. They are one of my favorite tools for details when doing any painted craft.
You can also use spray paint if you want or need to coat multiple lightbulbs quickly. Just hang them up and spray all sides, then allow them to dry completely before adding the faces to the bulbs. While you could also use watercolor for a more transparent look, I don't like that for this project if I am using an actual lightbulb as the filament would show through the paint.
Supplies Needed
- Lightbulb
- Flannel fabric
- Twine or Raffia
- Cream craft paint
- Black paint pen
- Red paint pen
- Scissors
- Paintbrush
How to Make Upcycled Lightbulb Scarecrow
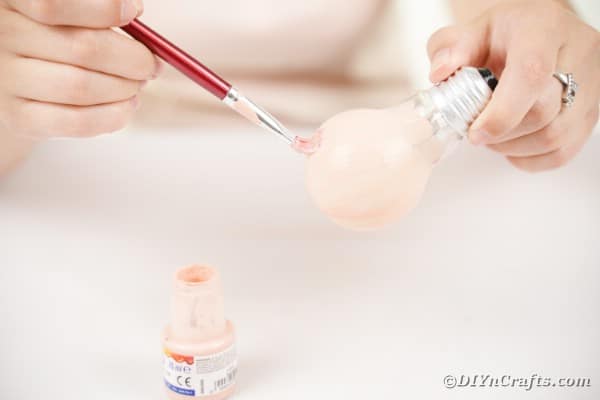
Paint all of the outside of the lightbulb cream or the skin color desired then set aside to dry.
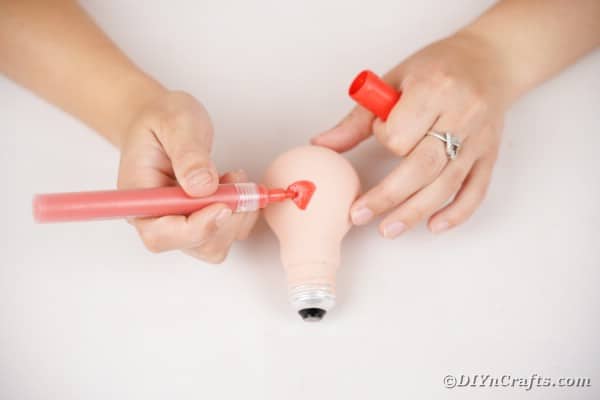
Once the paint has dried, use a red paint pen to draw a red triangle on the center of the bulb.
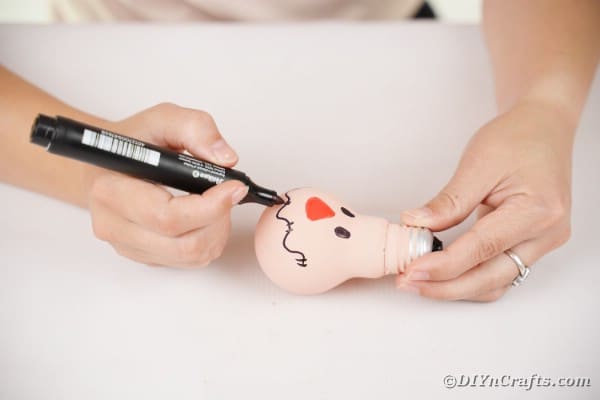
Use a black paint pen to draw on two oval eyes and a squiggle for the mouth.
Add a dab of red paint on each side of the mouth and use a piece of paper to dab to smudge.
Outline the nose with black marker.
Wrap raffia over the top of the bulb.
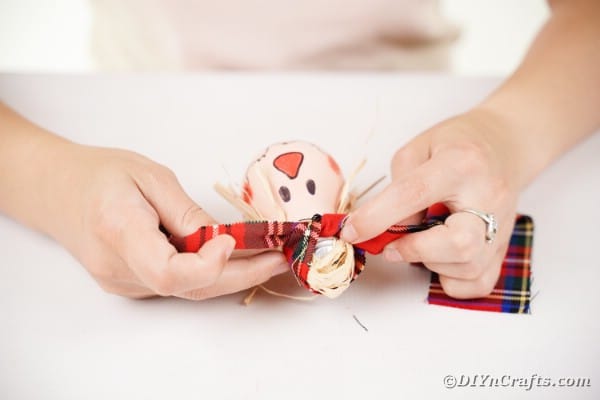
Secure the raffia with a strip of flannel cloth tied with a knot on one side or a bow if desired.
Trim the edges and add a ribbon or twine to the top for hanging.
Hang or display your scarecrow as desired throughout the Fall season and holidays.
More Scarecrow Crafts
Scarecrows are one of my favorite additions to Halloween and Thanksgiving. They are just too cute and fun to make! Below are a few more of my favorite scarecrow projects and crafts that I have created through the years. Check them all out and add the ones you love to your own decor this Fall.
- DIY Adorable Flower Pot People Scarecrow Craft
- Decorative DIY Scarecrow Clay Pot Lantern
- Recycled Straw Hat Lady Scarecrow Harvest Decor
- How to Make a Scarecrow Out of Popsicle Sticks
- Easy DIY Paper Scarecrow Kids Craft
- 16 Fun DIY Scarecrow Crafts for Fall Decorating
Crafting Tip
If you want to use plastic instead of glass, order plastic lightbulb ornaments on Etsy in bulk. This makes the scarecrow project much safer and easier to create. It also makes it a great kids craft that they can help customize as well.
Adorable Upcycled Lightbulb Scarecrow Decoration
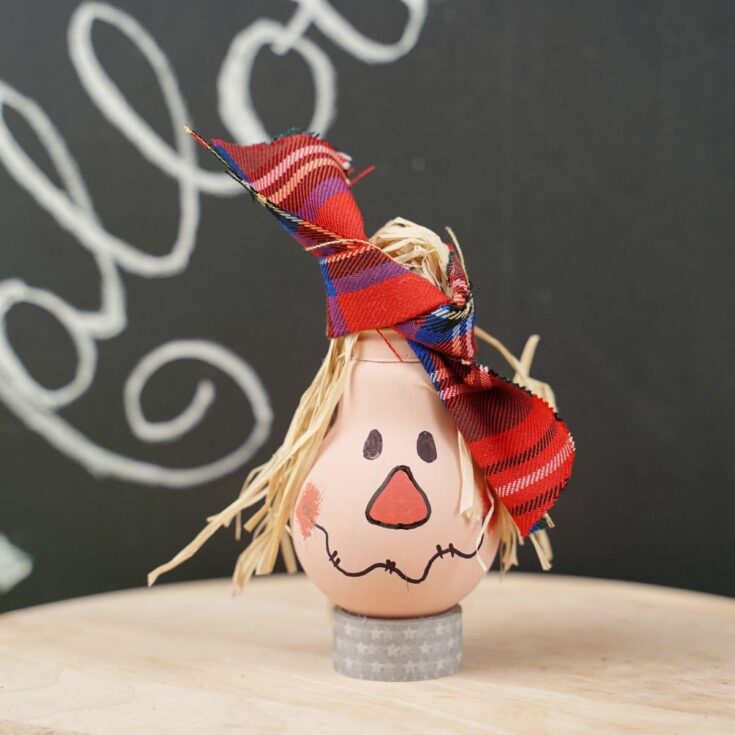
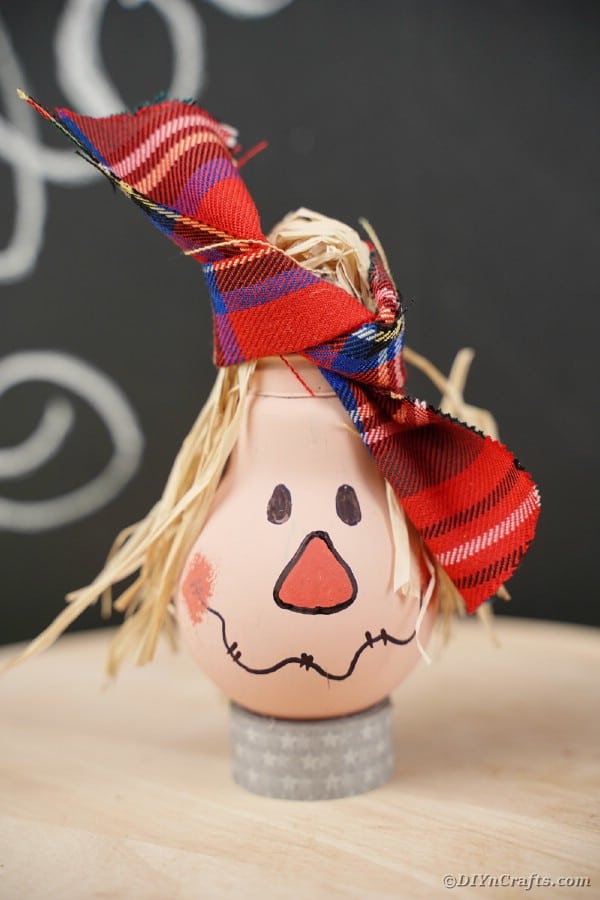
What an adorable little scarecrow creation! Turn an old lightbulb or even a plastic ornament shaped like one to create a lightbulb scarecrow decoration to add to your home decor.
Tools
Instructions
- Paint the outside of a teardrop or lightbulb shaped ornament cream and set aside to dry;
- When the paint is dry, use a red marker or paint pen to draw a triangle nose on the center;
- Next use a black marker or pen to draw on two round or oval eyes above the nose;
- Next draw a squiggly line below the nose to create a mouth;
- Outline the nose with black paint pen or marker;
- Glue raffia over the top of the bulb or ornament for hair;
- Tie a length of plaid flannel around the top of the bulb to secure;
- Add a twine or ribbon to hang or display as desired.
Notes
A length of ribbon, twine, or fishing line to the top for hanging on a holiday tree.
Recommended Products
As an Amazon Associate and member of other affiliate programs, I earn from qualifying purchases.
Finished Project Gallery
A simple plastic egg cup is a perfect way to display your scarecrow and keep it from falling over.
Another way to display them is to cut a small portion of a paper roll and sit it on top of that. Such an easy way to make it stand up on its own!
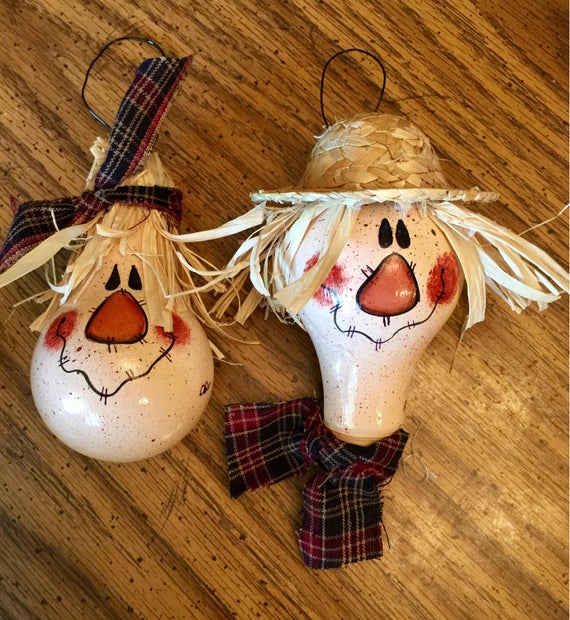
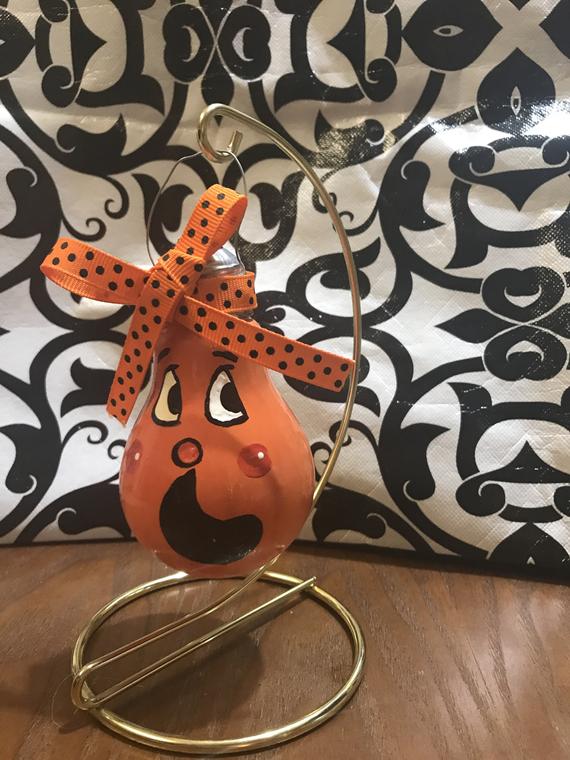
You can tie the top with any color ribbon or fabric. It doesn't need to be plaid or flannel.
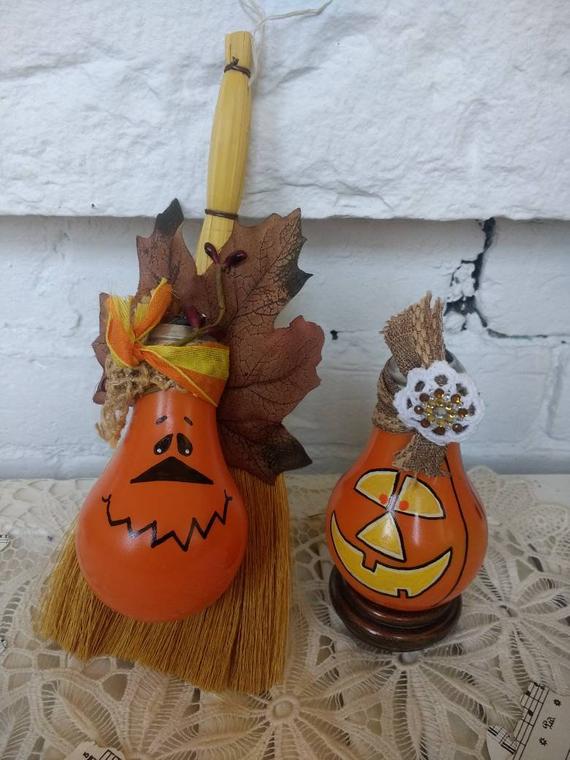
I love the idea of giving them different colors of hair to match your own family.





















Leave a Reply