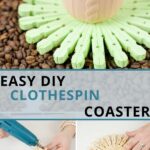
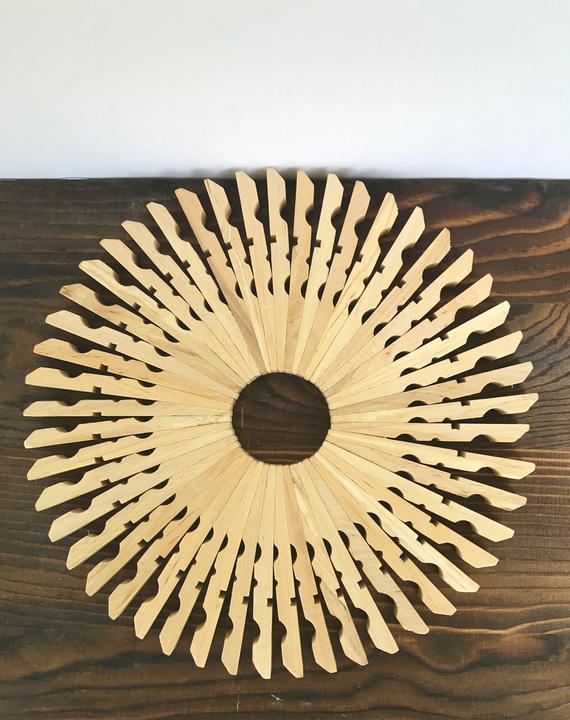
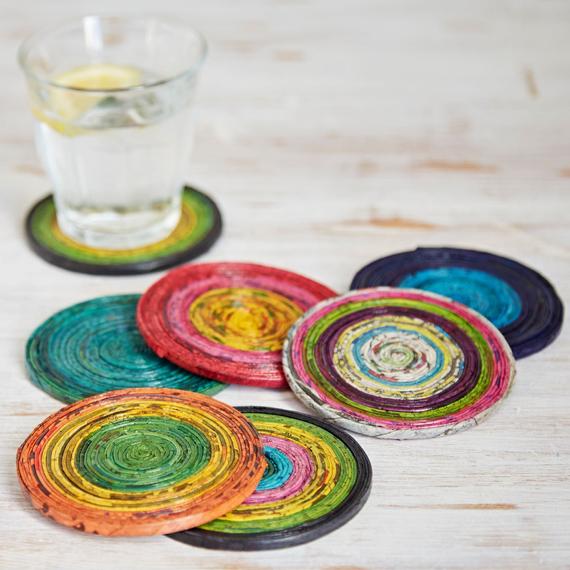
One of my biggest pet peeves is when my sons put a drink on the table without a coaster. So, making these adorable little painted clothespin coasters was a must! I love that I could make a ton of these for little to no out of the pocket expense. Now, I have more than enough coasters so every table, coffee table, side table, and even desk have some to use.
Jump to:
Clothespin Coaster Craft
Coasters don't have to be ugly utilitarian blocks of wood. When I was a kid, the ones I saw in homes were either ugly and stained or not very functional. I've made various versions of coasters through the years, but this one may be my favorite.
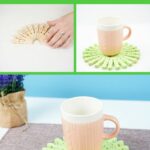
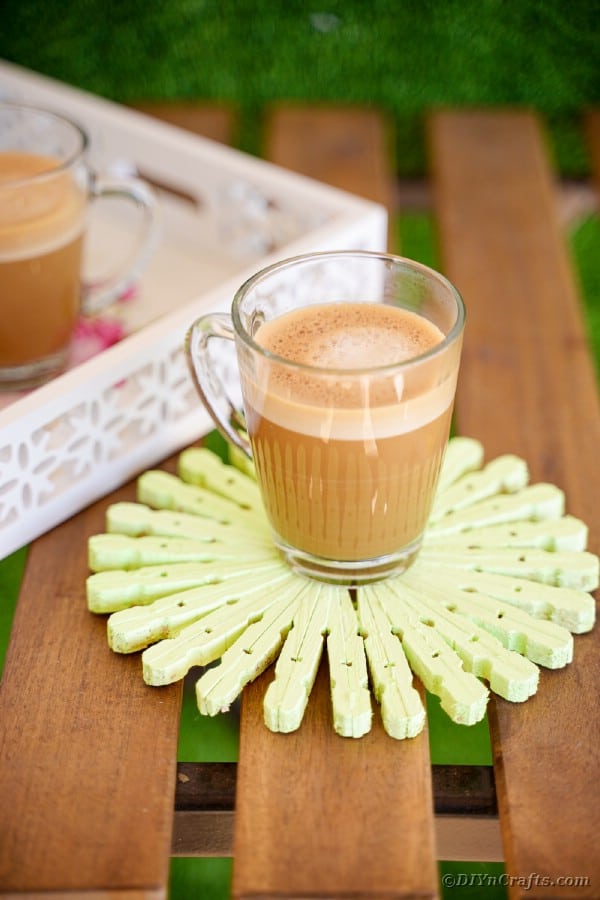
These coasters do a great job protecting your table all while looking adorable! I used a simple green that matched springtime decor, but you can easily paint these any color you want. You could even add some wood stain in a color you prefer to match the trim in your home.
How do I Paint Clothespins?
You don't have to paint this if you prefer the natural look of the wood, but I love being able to customize them with a pretty color. My boy's rooms have green coasters and blue coasters.
I have yellow and purple on my desk, and the ones on our coffee and end tables are this lovely green.
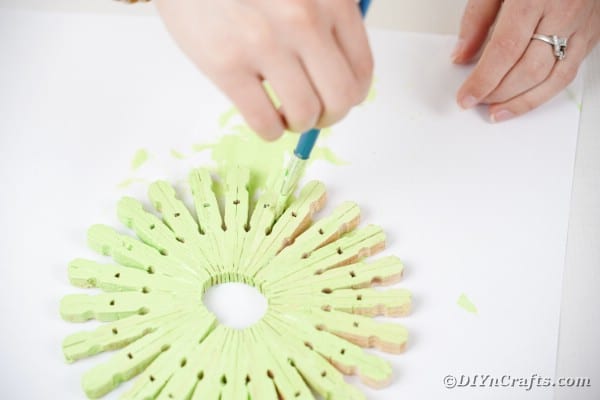
For this project, I used a simple craft paintbrush, but you can use foam brushes or even spray paint if you want. These are so super easy to make and customize. I do recommend painting around the edges to keep the look seamless.
Other ideas include sketching a design and painting it in more detail if you are talented in that way or painting the center one color and the edges differently, like a flower. Get creative. Add special quotes on the coasters.
Use Mod Podge and seal a paper napkin or scrapbook paper onto it for a fun pattern. Make each coaster your own!
Since you are typically only using one side of the coasters, you don't have to paint both sides. If you wanted, you could use markers around the edges for an easier color option.
Do I Need a Coat of Sealant?
When you make this clothespin coaster, you do not need to put a sealant coat over top of the paint. However, if you want to protect the coaster so that it lasts longer or you want it to have a bit of a shine, you can coat the coaster in a layer of Mod Podge or use a spray sealant.
I find that since this is such an inexpensive and easy project to make, I don't worry too much about it needing the sealant. If for some reason it's too damaged to continue using, it's less than $1 loss and I know I can easily make another one.
How to Gift These as a Gift
I wanted to share a fun idea I had for taking this project and making it into a gift. My friend group is always having a birthday party, house warming, or bridal shower. It can really kill my budget if I try to get a gift for every event I am asked to attend. So, I like to create unique gifts instead. Thankfully, my friends love these little ideas!
A few years ago, we shared this amazing list of gift baskets for every occasion. I've used inspiration from this list many times, and making a set of coasters is definitely something I could add to a gift basket.
Make a set of 6 coasters at a time then stack together and wrap them with a ribbon. You can add a nice burlap and lace ribbon or bow to them, then put into a gift basket with a few painted tumblers or a bottle of wine and give as a gift.
Supplies Needed
How to make Clothespin Coasters
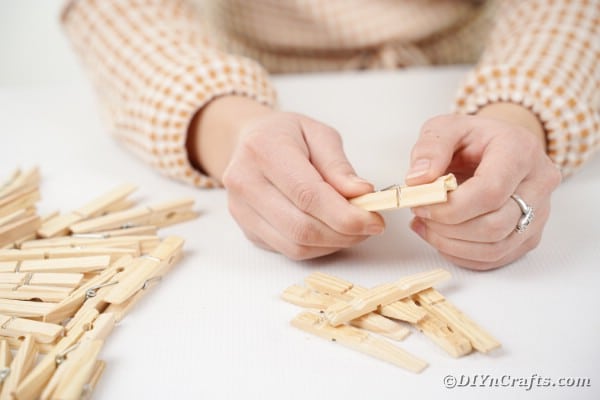
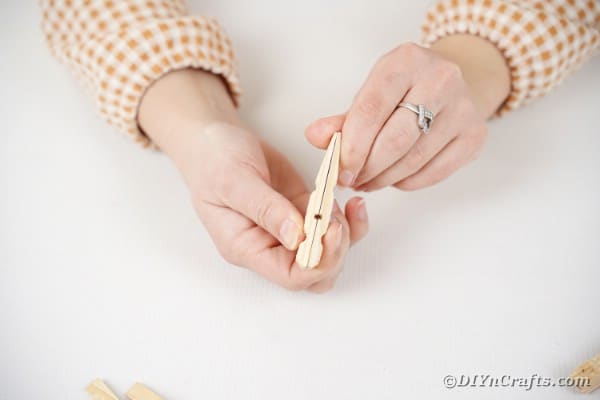
Begin by taking apart your clothespins to remove the wire. I used pliers, but you may be able to do this by hand.
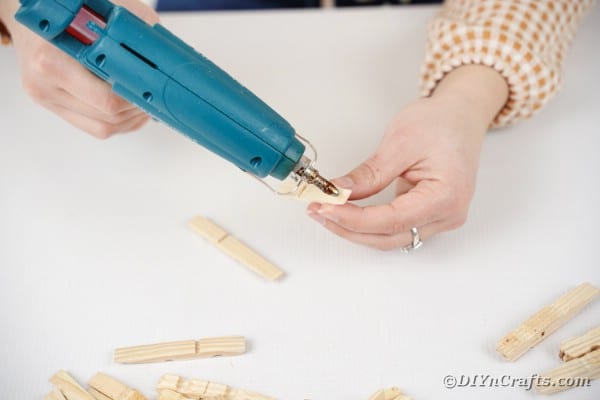
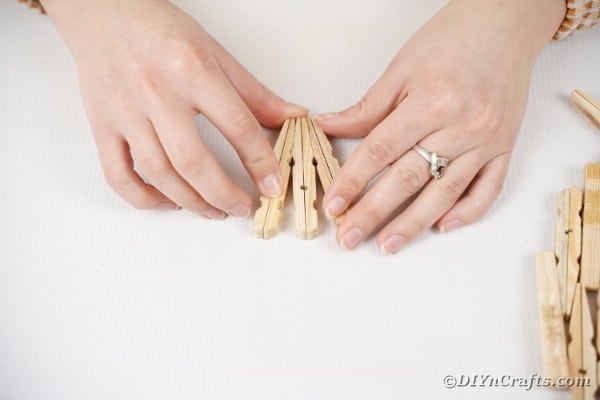
Next, you will turn the clothespins so they are facing opposites of what they normally would, and glue them together.
Continue gluing sets of clothespins together until you have 24 completed sets.
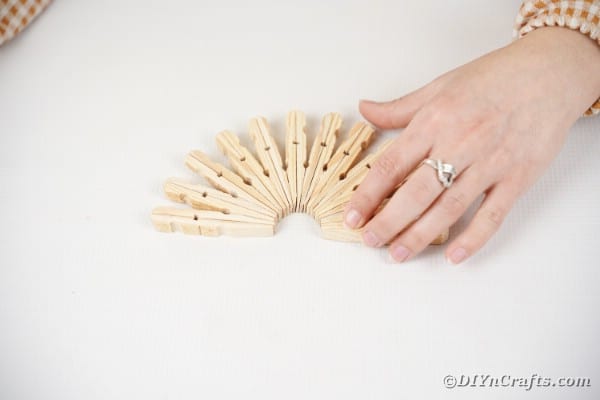
Now, you will glue the sets to each other.
Glue until you have 12 sets together, forming a half-circle.
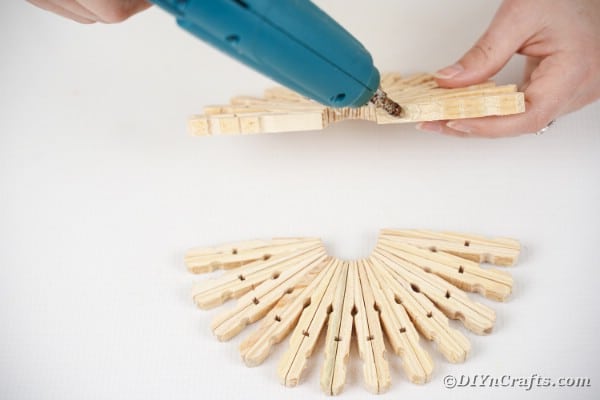
Repeat this process until you have two sets of 12 glued together.
Now, you will glue these sets together, forming a complete circle.
Once the glue has dried, you will begin painting the clothespins, whatever color you choose. I mixed a bit of green and white together to create this light green color.
Set aside the coaster to dry completely before use. You can seal it with Mod Podge if desired.
If you have extra clothespins lying around, you'll love some of my other favorite craft ideas. This tin can planter is a cute idea that uses clothespins to make a basic can look like a great little wooden barrel. You can also make this great lamp out of clothespins to continue the theme in your home. It's such a fun idea that nobody else will have!
For other rustic ideas, you can check out this burlap lace wrapped decorative storage can. Another favorite idea is this rustic woven basket tutorial. I love how it looks on the counter and how useful it is for storage. Of course, candles are a must in this house, so, this rustic wine glass candle holder is a perfect addition.
Crafter's Tip
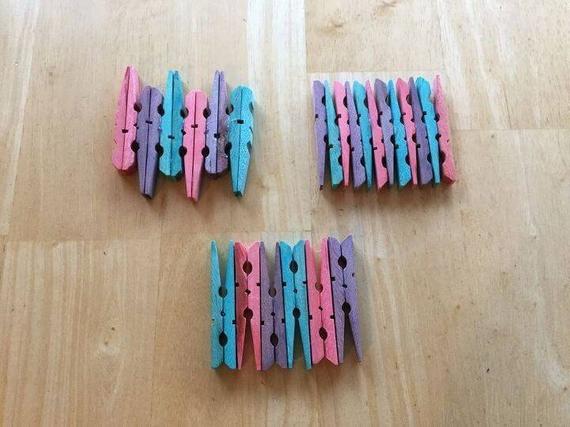
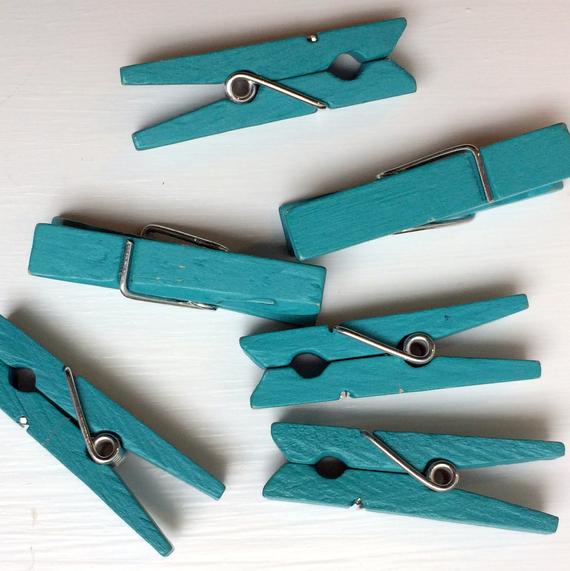
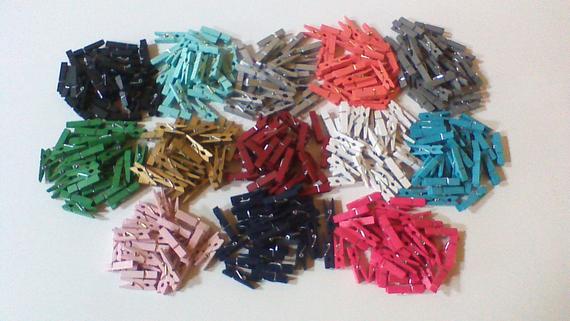
If you don't want to mess with painting clothespins, you can buy them already dyed. I found these teal clothespins and pink clothespins on Etsy. They also have tons of options for the mini clothespins in various colors if you want to make a miniature version of this project.
Adorable Painted Clothespin Coaster Craft
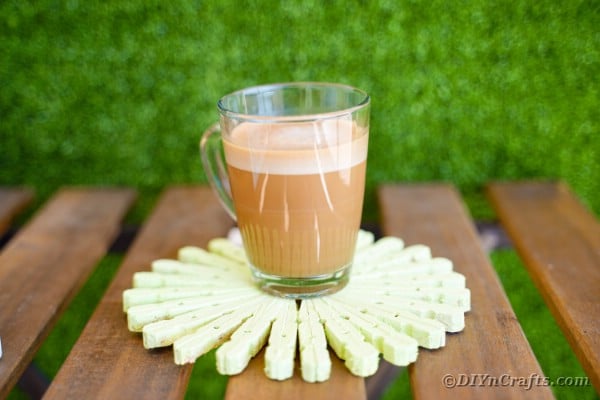
Grab the clothespins from your laundry room and turn into this adorable painted clothespin coaster! A great addition to keep your home!
Materials
Instructions
- Take your clothespins apart so the wire is removed and they are now in two pieces;
- Now, you will turn the clothespins flat sides against each other and glue them together;
- Glue 24 sets of clothespins together;
- Now, glue the sets together side by side;
- Glue two sets of 12 so each one makes a half-circle;
- Next, glue the two half circles together;
- Paint one side of the clothespins and set aside to dry;
- Once dry, you can add a coat of sealant if desired;
- Use or gift as desired.
Notes
I love the idea of making these in sets of six and gifting to friends!
Recommended Products
As an Amazon Associate and member of other affiliate programs, I earn from qualifying purchases.











Leave a Reply