Just imagine if you could plant vegetables once, and also enjoy them year after year. The good news is, you can! Perennial vegetables are a great way to boost your food supply while also taking some strain off your weekly food budget.
Just like perennial flowers, perennial vegetables can be planted once and enjoyed for multiple seasons, making them a valuable addition to your garden. Gardeners have been growing them for centuries, as they are ideal for most growing conditions and climates.Even gardeners with short growing seasons can enjoy perennial vegetables, and even those with limited space still have growing options. Whether you are a new gardener or have been gardening for years, there are options to suit your needs and abilities.
If you are curious about learning more about planting perennial vegetables, you have come to the right place. Below you will learn about which vegetable plants are perennials, where to find perennial vegetable plants, and of course, how to care for perennial vegetables.
So what are some of the benefits of growing perennial vegetables? Let’s explore them.
Here are 13 benefits of growing perennial vegetables:
- You can save seeds to use the following growing season, saving you money.
- Perennial vegetables can produce multiple pounds of produce from just one plant, which helps boost your food supply for less.
- Perennial vegetables can be canned, frozen, or dried for use during the winter months. This is an easy and efficient way to boost your stockpile.
- You can add perennial vegetables to borders and garden beds for visual appeal. They are plants that are functional while also being attractive additions to your landscaping.
- Perennial vegetables vary in size, so you can choose options that are ideal for small spaces and containers.
- Perennial vegetable varieties are more nutrient-rich than other vegetable varieties, they can add a nutrient boost to your diet.
- Better for the environment Growing these vegetables requires less water, so there is a smaller strain on growing resources.
- Whether you want to plant perennial vegetables to save time, save money, or just as a way to entertain yourself, here are some helpful tips to get you started.
- Perennial vegetables are low maintenance. After the first year of growing, the plants become strong and established requiring less and less daily care.
- Most perennial vegetables are pest resistant. Those that do attract pests are easy to treat. This means less time attacking bugs (and fewer chemicals) and high yield.
- Perennial vegetables can actually help feed neighboring plants. They send nitrogen into the soil and give companion plants a free boost.
- Perennial vegetables can actually help improve your soil. As they grow and die off over the years, they will add organic matter to the soil which helps build it up naturally.
- Perennial vegetables will extend your harvest season. You can plant in series and enjoy multiple harvests throughout the season.
- If you have wet and muddy landscaping, no worries. Some perennial vegetables can thrive in growing spaces that most annual vegetables wouldn’t last a week in.
Now that you know about the benefits of growing perennial vegetables, let’s talk about which plants you should add to your gardening plans. Here are the best perennial vegetables to try growing in your own space.
9 Perennial Vegetables Anyone Can Grow:
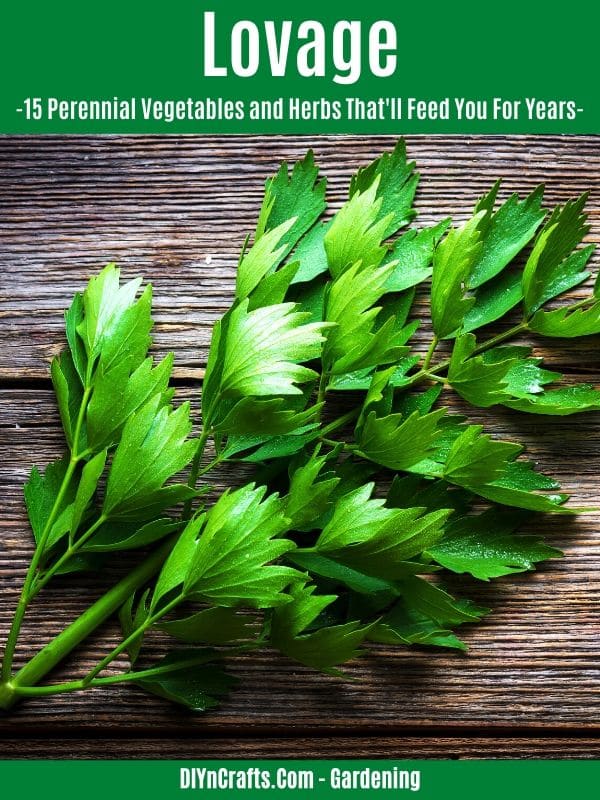
1. Lovage
Lovage plants produce bright green stems that are much like celery. In fact, they even taste like celery. Because of this, start lovage is best used just like you would celery, in salads, soups, and stews.How to grow Lovage:
Lovage is best grown from seed. To get your plants started, start seeds indoors 6 weeks before the final frost of the season. Plant your seeds ¼ in deep.
Spacing is not that important at this time because you will thin plants out when you are ready to transplant. Lovage does best when it is offered nutrient-rich soil, full sun, and compost as a nutrient boost.
Lovage can be transplanted once the threat of frost has passed. Just be sure to space plants at least 2 feet apart because they can easily reach 4 feet in height.
Once you transplant outdoors, keep the soil moist with 2 inches of water per week.
How to Harvest Lovage:
You can harvest lovage after about 90 days from the day you started the seeds. Simply snip the stems and foliage. You should then rinse them removing all debris.
Lovage can be enjoyed fresh, or you can freeze/dry them for later.
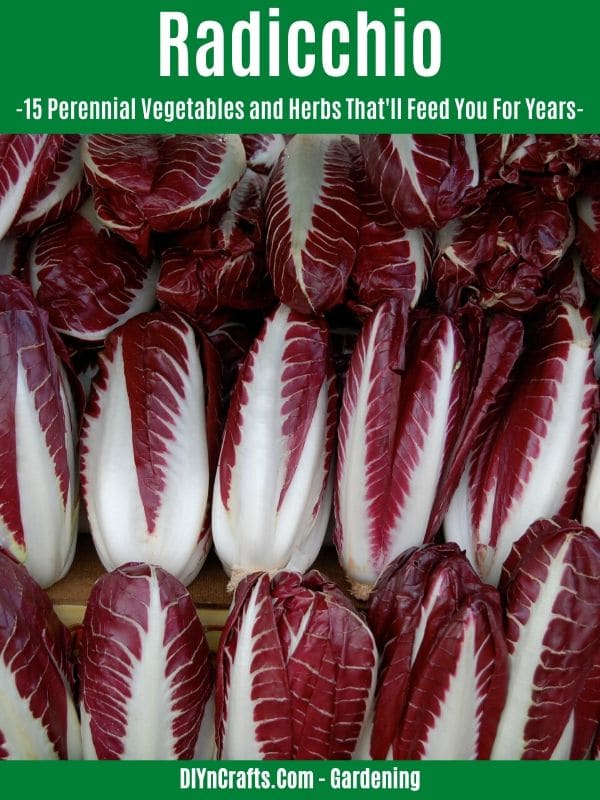
2. Radicchio
Radicchio looks much like purple cabbage and can be used in many of the same ways. It can add color and flavor to almost any dish and is often used in soups and stews.You can even use radicchio in homemade slaws and salads.
How to Grow Radicchio:
There is no need to start radicchio seeds indoors. Instead, you can plant them outdoors once the threat of frost has passed. Choose an area that offers well-drained soil and full sun.
Simply sow the seeds about ⅓ of an inch below the soil and cover with a light blanket of additional soil. It is best to plant radicchio in rows, and you are welcome to thin seedlings as they start to sprout two weeks later. Radicchio will benefit from 1 inch of water per week.
How to Harvest Radicchio:
Radicchio will produce cabbage-like heads in early fall. You can simply remove the foliage that is growing on top of the crown. Crowns will be ready about 60 days after planting and when crowns are firm.
You can enjoy radicchio fresh, or save it in an airtight container in a refrigerator for later.
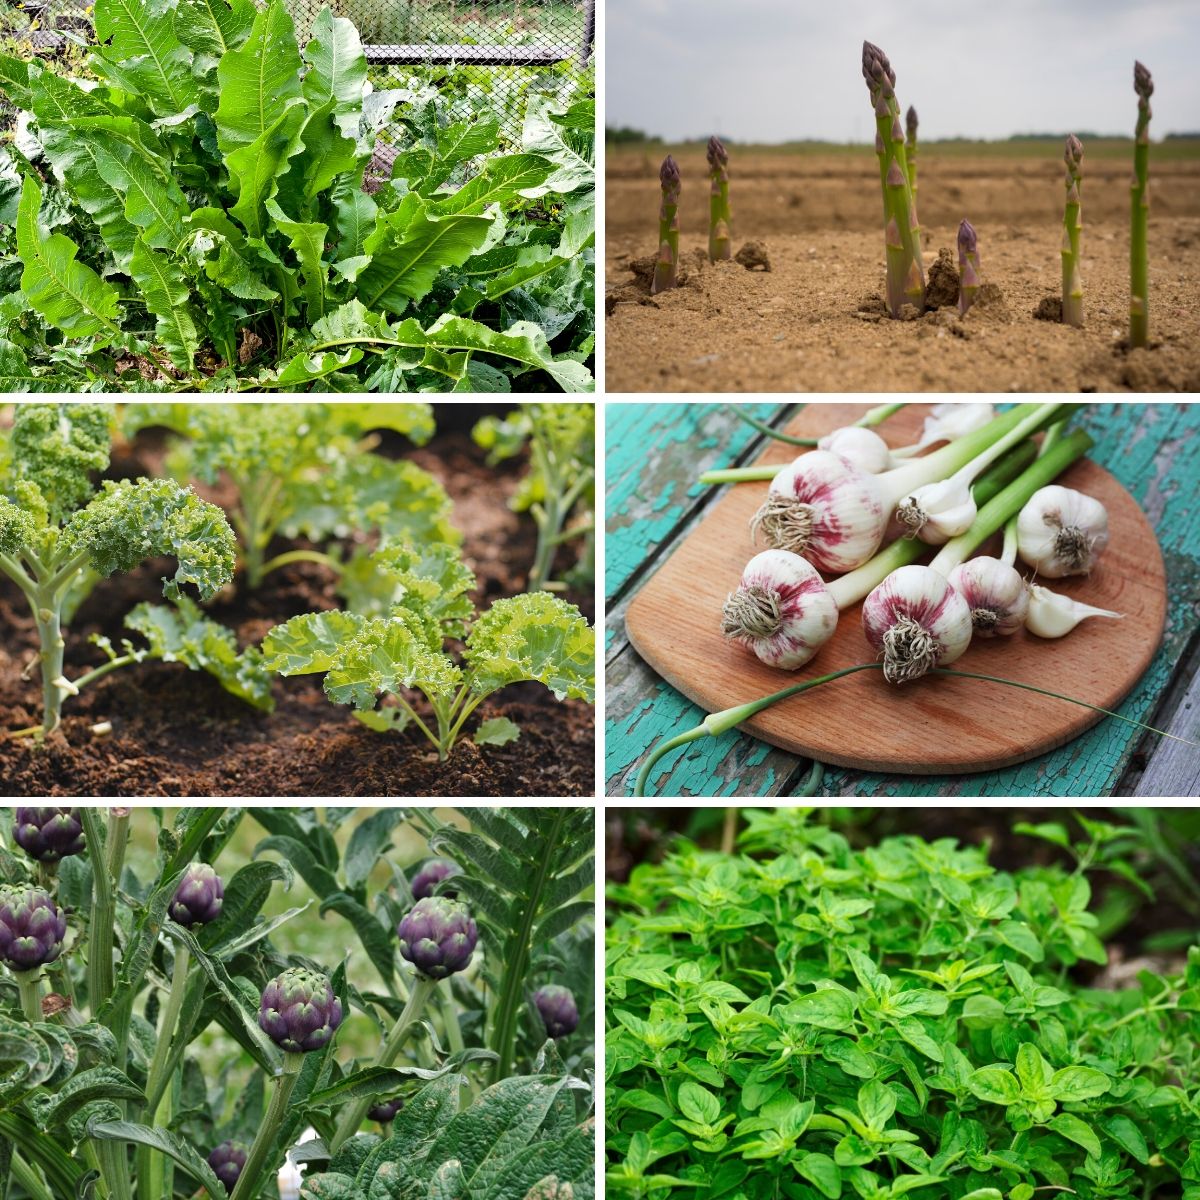
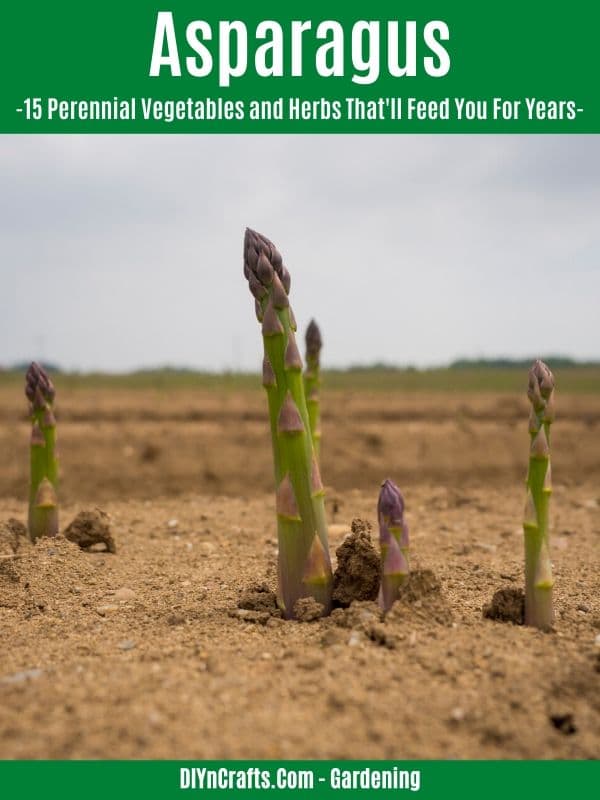
3. Asparagus
Who doesn’t love asparagus? Asparagus can be steamed, sauteed, or added to casseroles. Asparagus can be expensive to buy fresh, so growing your own is a budget-friendly option.How to Grow Asparagus:
It is best to grow asparagus is from crowns. Avoid planting seeds or seedlings. Crowns are the best and easiest way to give your asparagus a strong start. Asparagus crowns will thrive in a full sun area where the soil is nutrient-rich and given a compost boost.
To plant your crowns, dig a trench that is at least 12 inches wide. Each trench should be 6 inches in depth. It is best to soak the crown in a water and compost mix for a half-hour prior to planting.
Then, simply drop the crown in the trench, 2 feet apart, and top them with loose soil. You want to add more soil every few weeks until a mound forms. Feed with 2 inches of water per week.
How to Harvest Asparagus:
You have to be patient when it comes to asparagus. Avoid harvesting from the plant for two years. This gives them time to strengthen their roots.
Asparagus is ready to pick in early to mid-spring. At this time you can simply snip off the spears.
Spears can be cleaned and eaten right away, or you can freeze or can for later.
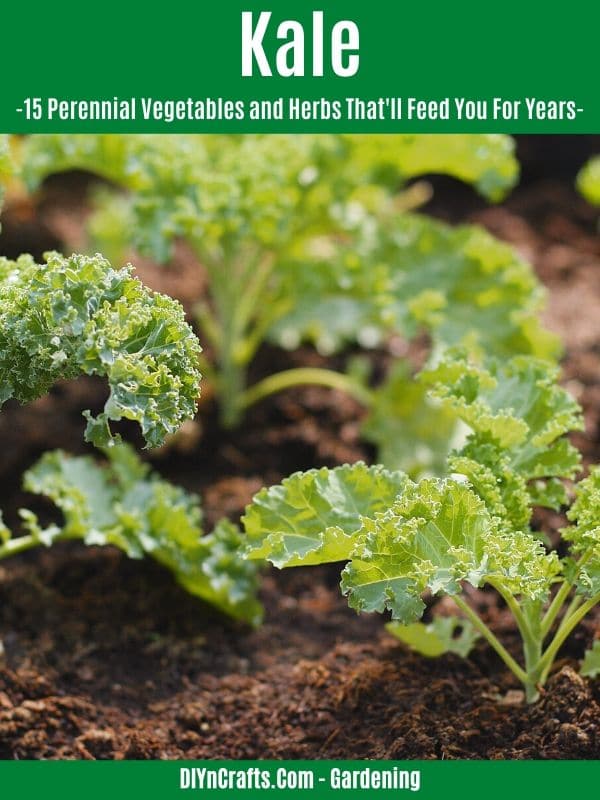
4. Kale
Kale is considered a superfood because it is rich in many of the vitamins and nutrients your body craves. It is simple to grow, and can even be grown and harvested in the cooler fall months, making it the perfect perennial vegetable for all growing seasons.How to Grow Kale:
You can grow kale from seeds or seedlings with little trouble. If you wish you can plant kale in the early spring, and again in the late summer for a fall harvest.
Kale can be planted by seed or seedling even before the threat of frost has passed. You can sow seeds or seedlings as early as 4-5 weeks before the last frost of the season and they will survive.
Choose a spot that is full sun, although some light shade is sufficient. Make sure you have nutrient-rich, as well as nitrogen-rich. Soil should drain well.
Seeds should be planted ½ an inch deep and thinned 12 inches apart. If planting seedlings, 12-18 inches apart is ideal.
What are the best Perennial Kale varieties?
Most kale varieties are biennials, meaning they will grow for two years before dying off. In order to enjoy your kale plants longer, you will need to make sure you choose a perennial variety and not a biennial variety.
If you want a kale plant that lasts longer, some of your perennial options include:
- Daubenton - This variety can actually be propagated from cuttings. As long as you continue to save cuttings and restart them, you can grow an endless supply.
- Sea Kale - If wet and sandy soil is an issue, sea kale is more forgiving. This perennial kale variety can grow in less than perfect soil conditions.
- Walking Stick - This kale variety gets its name from the long stalks and stems it produces. It not only offers you yearly harvests but visual appeal.
How to Harvest Kale:
One of the easiest ways to know when kale is ready to be harvested is to check the size. The foliage on the plant will typically be the size of your palm. At this time you can simply snip the leaves off.
Do not remove all of the leaves or touch the center of the plant where new growth forms. Kale can be rinsed and added to soups or salads, or even baked into kale chips.
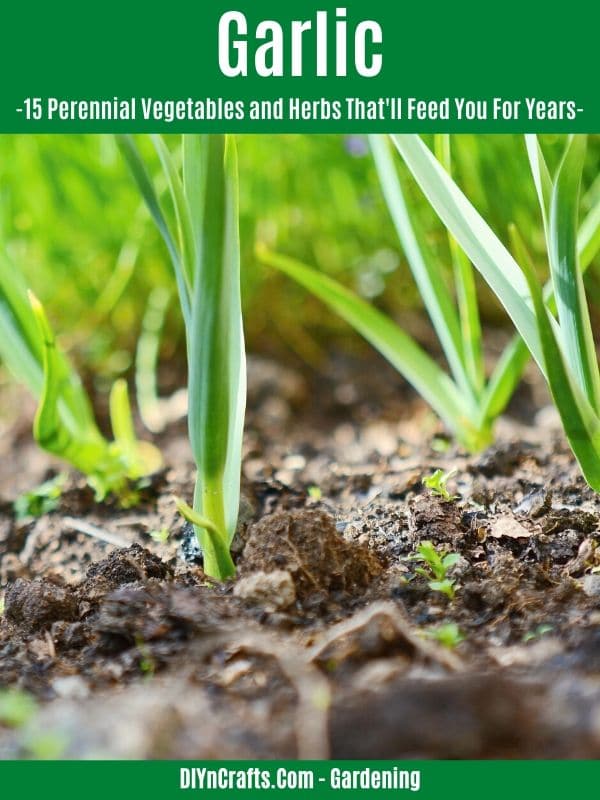
5. Garlic
If you love to cook, garlic is a must for your perennial vegetable garden. Garlic is quite versatile and can be used to add flavor to your everyday dishes.How to Grow Garlic:
Garlic is one of the easiest perennial vegetables to grow! You should pick a space that has well-drained soil, as wet or muddy areas can quickly cause the garlic to rot.
Choose an area that provides full sun, and make sure space has not been exposed to other onion plants in the last few growing seasons.
You want to plant garlic from bulbs. You can also plant individual cloves. Plant the bulbs/cloves in early spring or even early fall for a late harvest.
You should plant garlic cloves 4 inches apart, about 2 inches deep. Provide weekly 2-inch waterings, and give the plants a fertilizer boost once foliage starts to grow.
How to Harvest Garlic:
Garlic can be harvested in late July and early August. It may appear as though the plant has died, due to the brown foliage. This is actually the perfect time to harvest. At this time you can carefully dig the plants up and set them out to dry.
They should rest in a cool and dry place for two weeks. You can then bring them indoors for use. Until you are ready to use them, keep them in a cool and dry place that allows for air to flow. A wired basket is ideal.
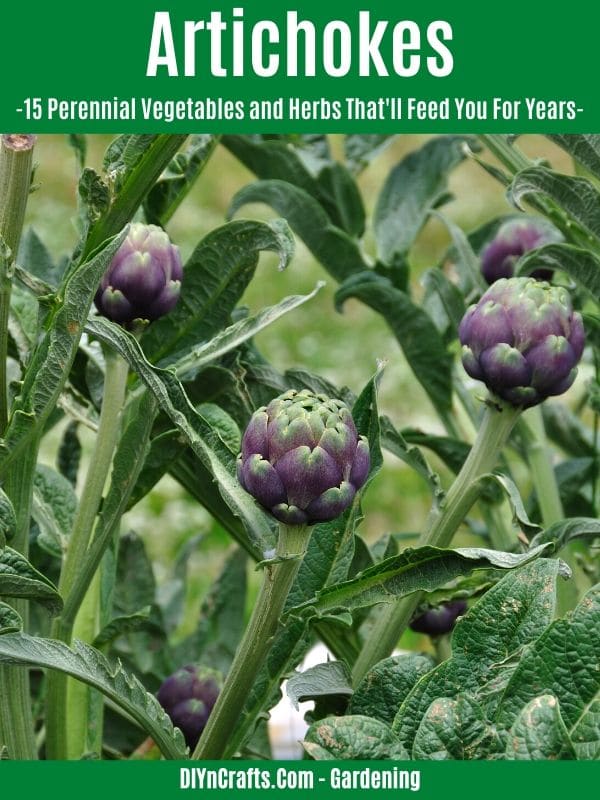
6. Artichokes
Artichokes are a delicious perennial vegetable and one that can add so much flavor and fun to your everyday recipes. You can get several artichoke heads from one plant, giving you some bang for your buck.How to Grow Artichokes:
Artichokes are typically grown from crowns. If you do buy a plant, make sure it is a mature plant that is at least two years old.
This way, you will experience growth that you can harvest as soon as possible. A globe artichoke variety is perfect for growing on your own!
You can plant artichokes in mid-spring or early fall. You want to choose an area that gets full sun and only full sun. The soil should be loose, well-draining, and nutrient-rich.
Plants should be spaced at least 4 FEET apart, while crowns should be planted at least 4 inches in depth.
Artichoke plants need lots of water. You should water your artichoke plant at least 2-3 times per week, giving it two inches of water directly at the base with each feeding.
Giving a fertilizer boost every few weeks will help, as will compost or mulch around the base of the plant.
What are the best Perennial Artichoke varieties?
Globe artichokes are ideal for perennial growth. Artichokes are hardy but they need protection from extreme cold. During the winter months, you want to protect your artichokes with coverings or mulch.
Trimming the stalks back in the spring can help them develop a more robust growth as the season proceeds.
How to Harvest Artichokes:
Your artichoke will be ready to harvest late summer, and late fall if you planted during July. To harvest, simply use a knife to cut the foliage from the head of the plant. You want to make sure you cut about 3 inches away from the crown.
Artichokes can be canned for consumption later, or you can eat them fresh in salads. They also make a wonderful addition to dips!
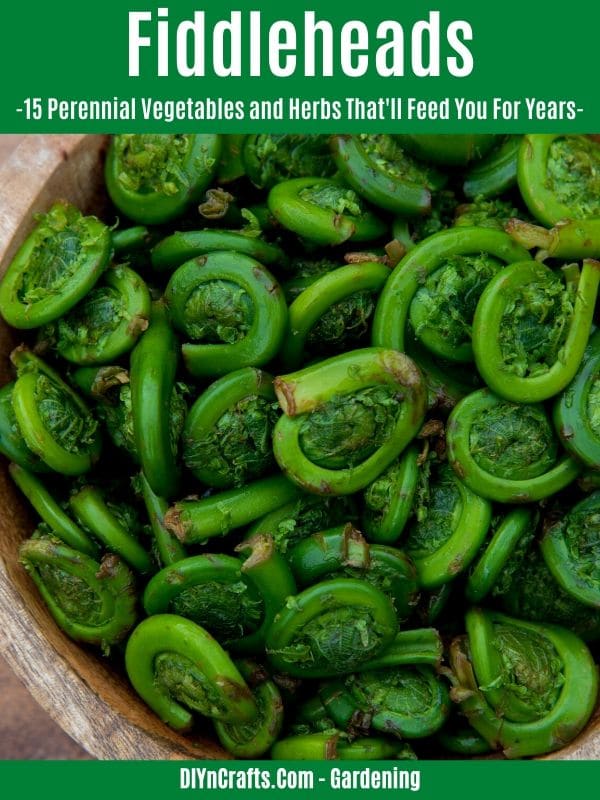
7. Fiddleheads
Fiddleheads are the tasty vegetable with the funny name. Their more formal name is Ostrich Ferns, but they are easily identifiable by their spiral shape. They tend to grow in early spring, and can often be found growing in the wild.Preparing them is as simple as sauteing them in oil or butter, or they can be baked into various dishes. In fact, they are quite a delicacy!
How to Grow Fiddleheads:
Fiddlehead ferns are unique in the sense that you plant them from “crowns” and not seeds or seedlings. Wait to plant directly outdoors after the threat of frost has passed.
These crowns should be planted in a full shade area where the soil will stay cool and moist. You can plant fiddleheads in full sun, but you MUST make sure you take extra care to keep the soil cool and wet.
Fiddlehead crowns should be planted 3 feet apart because their roots tend to spread out. Fiddleheads like moist soil, so are sure to provide 2 inches of water per week.
How to Harvest Fiddleheads:
You need to have some patience when harvesting fiddleheads. They typically are not ready for harvest until after the plant has been established for 2 years.
Fiddleheads can be harvested in mid-May by snipping off the recently uncurled fronds.
Only harvest a few at a time to give the plant time to recoup.
Fiddleheads MUST be cooked before eating in order to cook off the shikimic acid. They are best when sauteed or steamed.
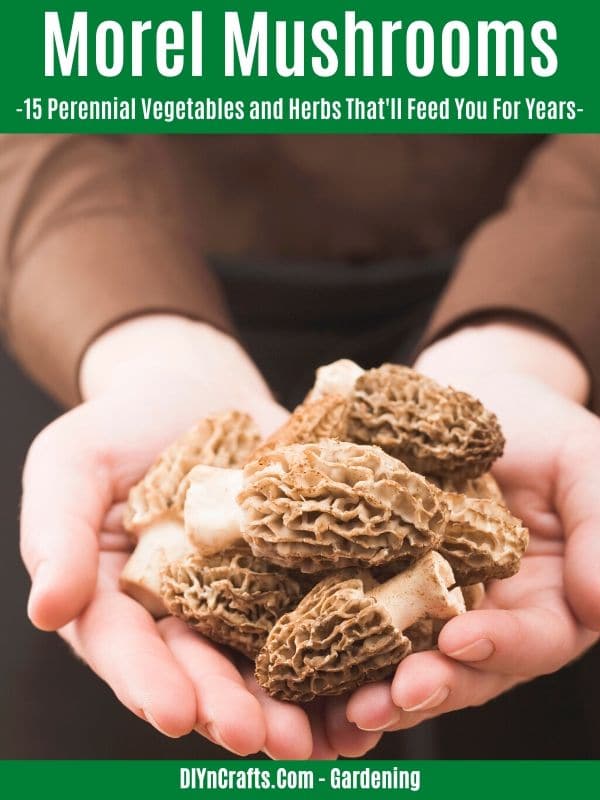
8. Morel Mushrooms
Morel mushrooms are a real delicacy! During the spring, morels can cost anywhere from $40-$60 a pound because they are hard to find and have such a short growing season.While growing your own morel mushrooms can be tricky, you can certainly give it a shot!
How to Grow Morels:
Morel mushrooms will need to be planted from morel spores. You can find morel spores via trusted online gardening companies. Or, you can harvest your own spores simply by rinsing a fresh morel and saving the water.
You may notice that many mushroom hunters use mesh bags, and that is because they hope for the spores to drop as they carry the bag.
How to Grow Morel Mushrooms:
Morels love shady, moisture-rich growing spaces. Those shady, cool spots that most plants hate are exactly where you want to sprinkle those morel spores.
Now that doesn’t mean you want muddy soil, as morels still like well-draining soil. They just don’t want dry, arid soil. They also do well when given the chance to grow trees such as ash and elm trees.
To harvest morel spores, you should soak a few fresh morel mushrooms in a bowl of water. Allow the mushrooms to soak overnight. You should then sprinkle the water in the areas we discussed above.
Then, be patient. It could take several years for your spores to “take” and to see results. You may seem some other strange growths pop up during this time.
How to Harvest Morels:
Morel mushrooms are ready to harvest in early spring. You can pick them by snipping them from the stem. Then, soak the morels well to remove all debris and bugs.
Morels can be enjoyed sauteed and even fried. They can be stored in the refrigerator for up to 5 days.
TAKE CAUTION when deciding which morels you wish to take spores from. You want to be sure it is in fact a true morel and not one of its poisonous cousins. A true morel will have a hollow inside and not a spongy inside.
Now that you know all about which vegetables are perennial and how to grow them, let’s talk about a few other tips you should keep in mind. Here are some perennial vegetable growing tips to help you achieve success.
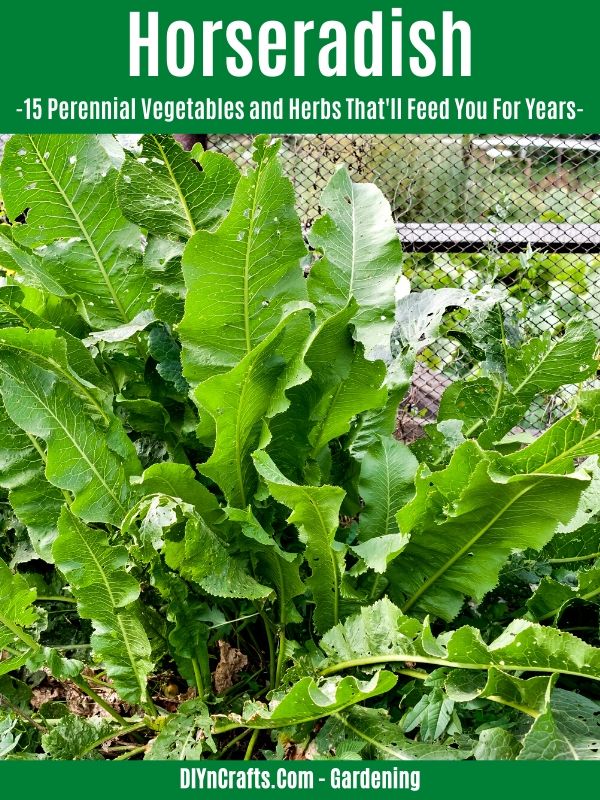
9. Horseradish
Horseradish is a spicy root that can be used in canning and cooking. Planting your own horseradish is simple, but it does spread quickly so consider planting it in roomy containers or in a secluded gardening area.How to Grow Horseradish:
Horseradish is grown from the root. To plant horseradish, place the roots in a gardening space that is full sun and nutrient-rich.
Horseradish is quite forgiving, so if you only have a pace that is part sun it will still survive, but may not thrive as much as it would in full sun.
Find the top of the root or crown, and place it 3-4 inches below the soil. If planting multiple roots, be sure to space them 2 feet apart.
Give the root some support by adding some compost, then cover with soil and water.
As the root starts to sprout foliage, you can cut the leaves back. This will help encourage the growth of the root.
Continue feeding with watering the plant at least 2 inches of water per week until harvest.
How to Harvest Horseradish:
Horseradish can be harvested in both spring and fall. If harvesting in spring, as long as any threat of frost has passed you are fine to harvest. In the fall months, you want to harvest before the first frost of the season.
Harvesting horseradish is as easy as digging up the entire root. Then, just brush away dirt and debris. You can store the horseradish root in a cool place or refrigerator until needed.
7 Tips for Growing Perennial Vegetables:
- Remember that perennial vegetables will grow in that space for 5+ years. You won’t be able to move your vegetables from year to year. Keep this in mind when you pick the space and be sure it is ideal for the vegetable you are growing.
- Fresh planting space is ideal. When planting perennial vegetables it is a good idea to pick a space that other plants have not been previously grown in. This is especially true if planting any type of onion.
- Use the outside of your garden for perennial vegetables. This way, you know these vegetables will provide a yearly border for your garden. You can reserve the inside for annuals. .
- Don’t be afraid to add perennial vegetables to borders. Certain perennial vegetables like radicchio and kale are so colorful and leafy! They can add interest to your flower beds and borders while also being functional.
- Keep mulch on hand. Most of these perennial vegetables like cool roots. Applying mulch to the base of the plant can help do exactly that.
- Compost is a great way to feed your plants for less. You want your perennial vegetable plants to establish strong roots, and compost is a great way to do just that. Apply compost throughout the gardening season to give plants a boost.
- Be patient. It may take a year for your perennial vegetable plant to become established. This won’t always be the case, but if you don’t see much in the way of harvest after the first year, don’t panic. This just means the plant is working on its root system and building up a strong foundation.
- As you can see, perennial vegetables are a wonderful addition to any garden! They offer you fresh produce year after year, can add nutrients to your diet, and can even be canned or frozen for later use.
6 Perennial Herbs to Grow:
Having fresh herbs on hand to flavor your perennial vegetables with is always ideal. Growing perennial herbs is just as easy as growing perennial vegetables, as you can plant them once and enjoy them returning year after year. Here are some of the best perennial herbs to grow in your garden this year.
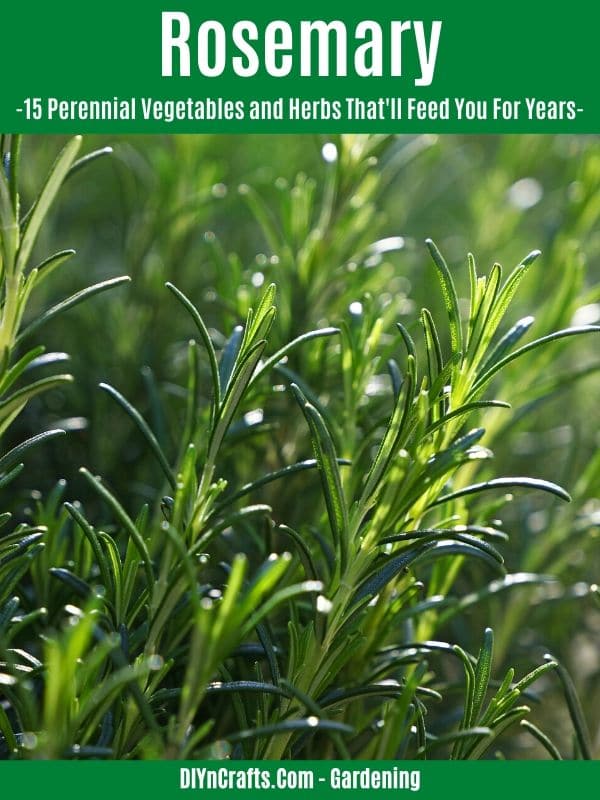
Rosemary:
Rosemary can be used to flavor vegetables as well as chicken and fish. It can be grown in pots as well as in your garden beds, and its deep green foliage makes it ideal for decorative borders and even window gardens.Start rosemary seeds indoors 4-6 weeks prior to the final frost of the season, or plant seeds or seedlings directly in the ground once the threat of frost has passed.
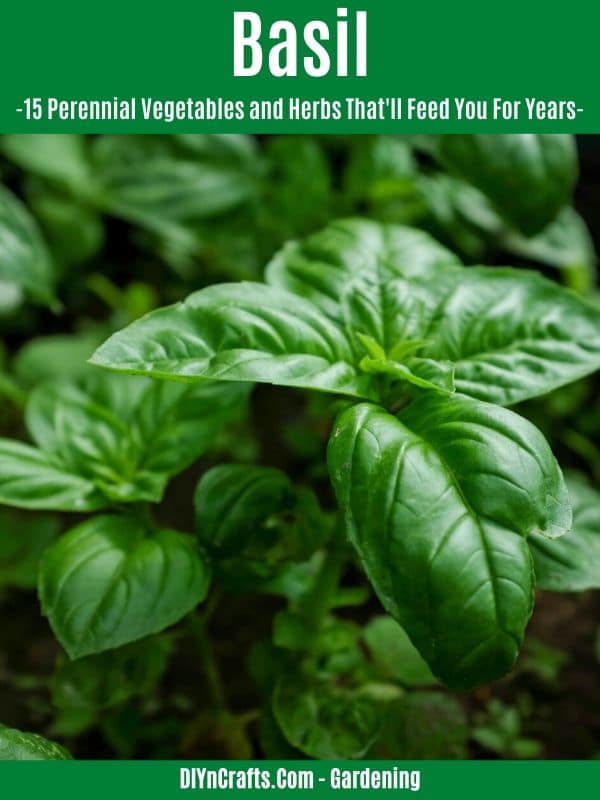
Basil:
Basil can be used in homemade sauces and even on pizza. You can choose from all sorts of various basil varieties, some spicier than others. Basil can be grown in pots or does well when grown in garden beds.Start your basil seeds indoors 4-6 weeks prior to the final frost of the season, or plant seeds or seedlings directly in the ground once the threat of frost has passed.
Basil can grow tall, so be sure to space it well and keep it away from plants that may otherwise shade it.
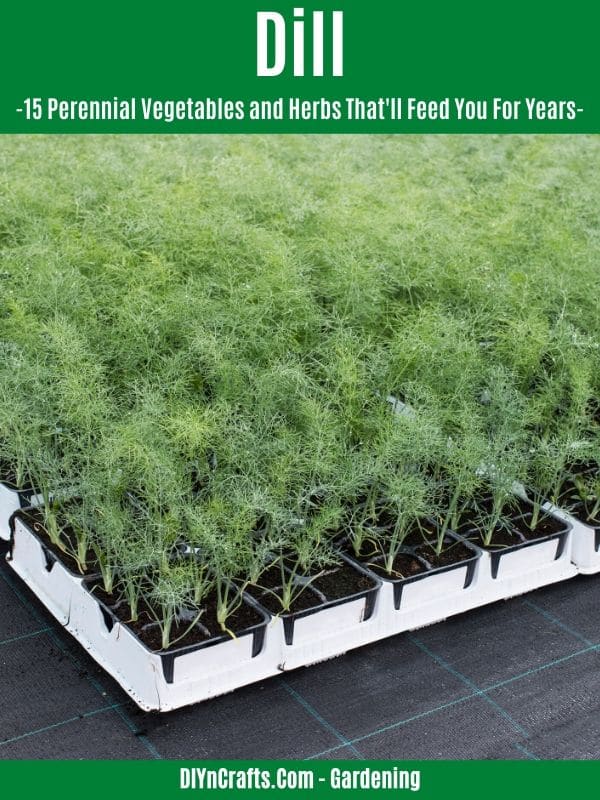
Dill:
Dill is excellent for seasoning fish or for pickling vegetables. If you like to can your produce, dill is a great herb to keep on hand. Dill offers beautiful green foliage as well as light yellow, airy blooms that can add interest to any garden bed.Start dill seeds indoors 4-6 weeks prior to the final frost of the season, or plant seeds or seedlings directly in the ground once the threat of frost has passed.
Dill does tend to grow tall and bushy, so be sure to space your seeds and seedlings by at least 8-10 inches.
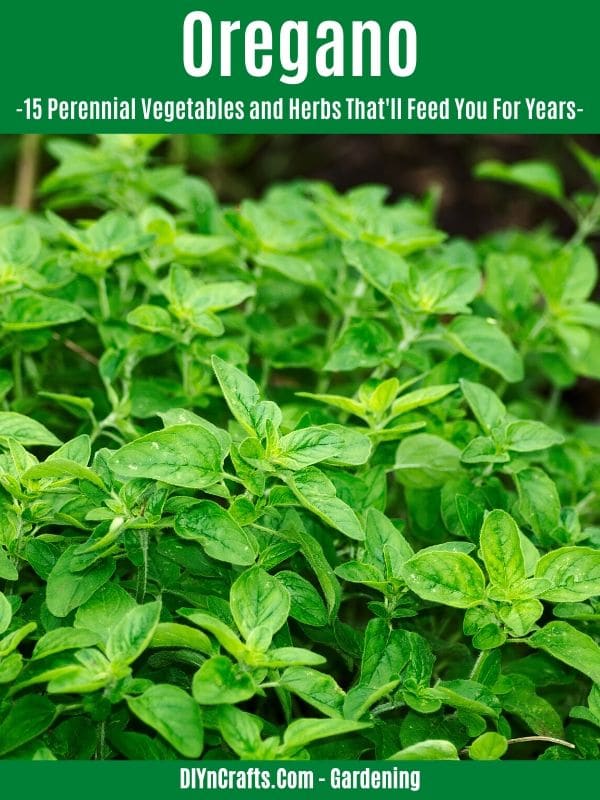
Oregano:
Oregano is ideal for seasoning sauces and vegetables, and it can even be added to the pizza. It does well if grown in pots, and can even be added to borders and window sill gardens.Oregano can be grown year-round indoors, so if you want a small countertop herb garden, grab some oregano seeds.
Are you ready to grow oregano? Start oregano seeds indoors 4-6 weeks prior to the final frost of the season, or plant seeds or seedlings directly in the ground once the threat of frost has passed.
While oregano isn’t notorious for spreading, it can stretch out almost like a ground cover. Keep it away from plants that may grow tall and shade it.
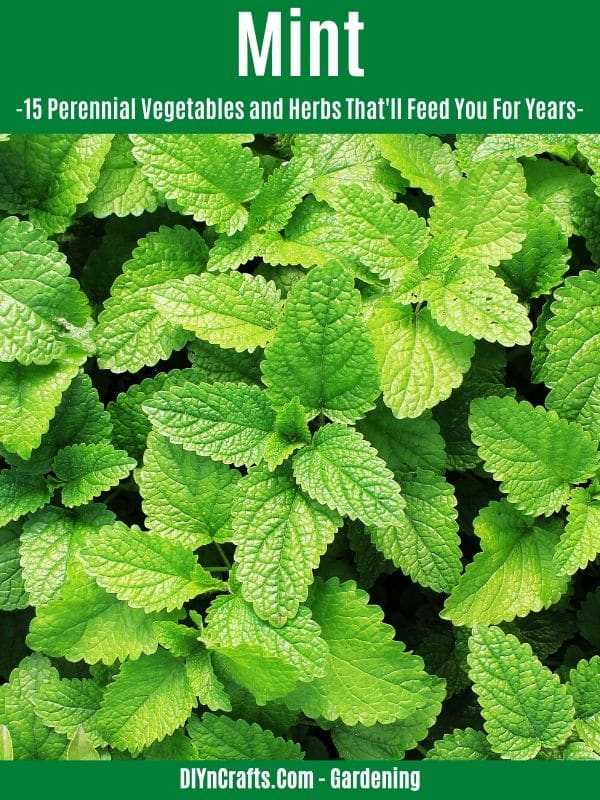
Mint:
Mint offers fresh flavors to beverages and desserts. Mint does tend to grow crazy, so it does best in containers where you can control it. There are many kinds of mint available, including chocolate mint, spearmint, and peppermint.Mint should be started indoors 6 weeks prior to the last frost of the season. If transplanting, you should put the seedlings in a large container with proper drainage so that you can control the spread of it.
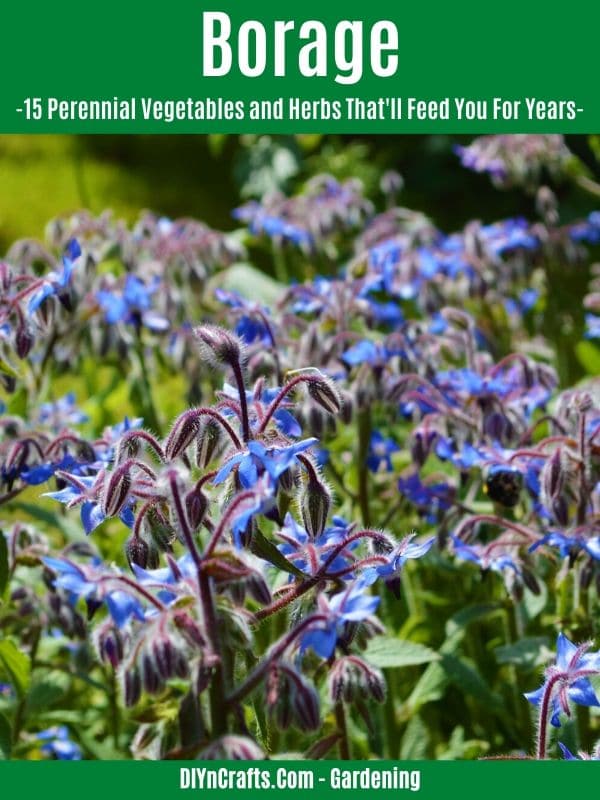
Borage:
Borage not only offers beautiful purple blooms, but it has a mild cucumber taste that is ideal in dips and salads.Borage is visually appealing making it ideal for your flower gardens, or you can grow it in containers if you are limited to small spaces.
Start your borage seeds indoors 4-6 weeks prior to the final frost of the season, or plant seeds or seedlings directly in the ground once the threat of frost has passed. Space properly, at least 8-10 inches as these seedlings can grow tall and spread.
If you want to enjoy the benefits and beauty that perennial vegetable plants offer, consider these perennial vegetable growing and harvesting tips. These examples are great for gardeners of all skill levels and climates, and with a little patience and care you are sure to enjoy success.
In conclusion:
Check out this garden filled with only perennials in this video:

As you can see, perennial vegetables are a wonderful addition to your garden! They offer you fresh produce year after year, can add nutrients to your diet, and can even be canned or frozen for later use.
If you want to enjoy the benefits and beauty that perennial vegetable plants offer, consider these perennial vegetable growing and harvesting tips. These examples are great for gardeners of all skill levels and climates, and with a little patience and care you are sure to enjoy success.
Will you be adding any of these perennial vegetable plants to your garden this spring? If so, be sure to tell us in the comments!



David Lewis
I'm surprised you didn't include Cardoon in this list.
jp
I don't know what zone you're referring to with some of these, but since you mention 'frost', I'm going to guess maybe zones 4, 5, or maybe zone 6? Whatever the case, I'm in zone 5, and neither Basil nor Rosemary plants will make it through winter here. I've planted both every year for the past 11 years. Unless you're aware of something I'm missing, this is inaccurate.
Also, really curious as to why you state that onion and garlic can't be planted near each other? Everything else I've read states that they're compatible.
Thank you so much for the read. 👍
Surys
WHERE TO GET THESE SEEDS IN INDIA