Making a homemade paper flower basket is tons of fun when using glittery pink foam paper. I love all things pink and glittery, and when I found this great foam paper, I decided to work it into as many crafts as I could. This little basket with flower accents is a great way to use the paper and add a cute decoration to your home.
Jump to:
DIY Paper Flower Basket
This paper basket is a cute upcycled idea. An old plastic bottle is cut down and turned into the base for this basket. Cutting and rolling simple pieces of glitter foam paper are all you need to make this come to life. While this is a small bottle, you can use a larger one and turn it into one of these great homemade gift basket ideas.
This paper lantern floral centerpiece is another great way to decorate a table easily with a repurposed item. I love ideas like these. They are so versatile and really cut the expenses of a party or event down to something more affordable.
Since this is better for a small gift or centerpiece, you can use this tutorial for how to make a rope basket for storage as a way to add a sturdier basket to your home decor. Still beautiful, but more functional.
Where Can I Find Glitter Paper?
Glitter paper or glitter foam paper is a great addition to any craft, as is obvious with this one. While most craft paper can be found at even a dollar store, this is one I have to go to a craft store to buy.
Hobby Lobby, JoAnn's, Michael's, and of course, the standby of Amazon is always good for this type of craft supply.
Pro Tip: While buying in your local store may seem the best way to get items like this, check prices online first. I found a large 30-sheet package of foam paper on Amazon for half the price I paid for just 10 pieces at Michael's!
Ways to use this Tiny Basket
You can use it for a decoration to welcome spring and flowers, or as a perfect little centerpiece at a garden party. I also love the idea of using this for Valentine's Day table decoration or way to share gifts. It may be small, but it is large enough to stuff with real flowers, pieces of candy, cute stones, or even a bunch of simple handwritten notes of love.
If you prefer, you could make this cute basket with different colors of foam paper. Pastel colors for Easter. Patriotic colors for the 4th of July. Orange and brown for fall and Halloween. Of course, you can always use green and red for Christmas. There are tons of ways to personalize this into the colors you want to make it fit your needs.
Use this alongside my tips for folding a napkin into beautiful roses to dress up your place settings! It truly makes it a gorgeous table setting.
Supplies Needed
- Empty plastic bottle
- Glitter foam paper in at least 2 colors
- Cardboard
- Small flower embellishments
- Scissors
- Pen
- Hot glue gun and glue
How to Make a DIY Paper Flower Basket
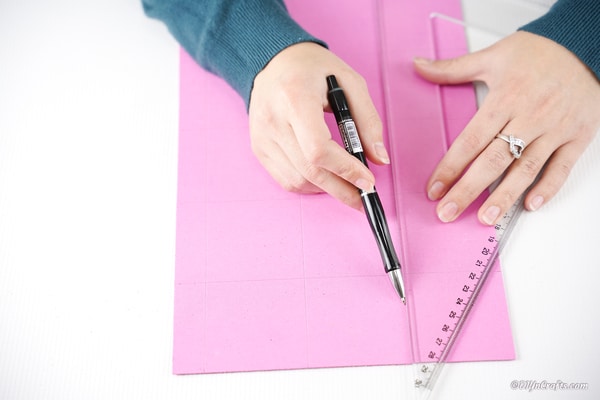
Begin by measuring how tall you want your basket to be, and then tracing that height, plus an extra inch, onto your foam paper in stripes to create the squares needed for glitter embellishments. You will also trace across those vertical lines to create horizontal lines that make squares.
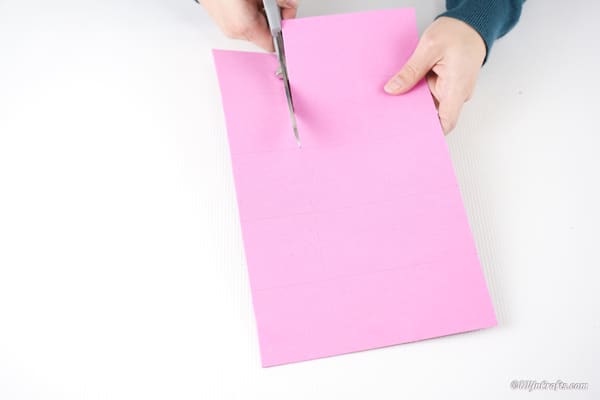
Cut each long strip of foam paper following your lines.
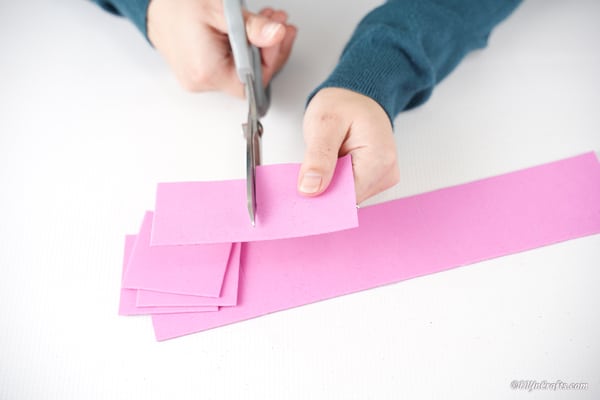
Now cut across the horizontal lines to create small foam paper squares as shown.
Note: At this point, you can also cut two 1" strips of an alternate color of glitter foam paper to use for covering the base of the basket and as a handle later down the road.
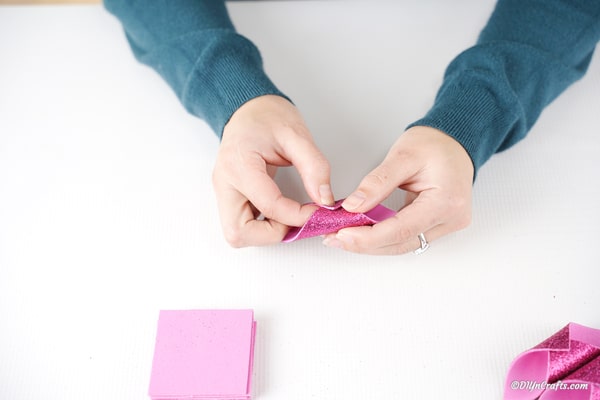
Roll the foam paper as shown so that the glitter side is folding inward to form a cannoli shaped tube as seen in the picture. You will secure the rolled paper in the middle with a dot of glue.
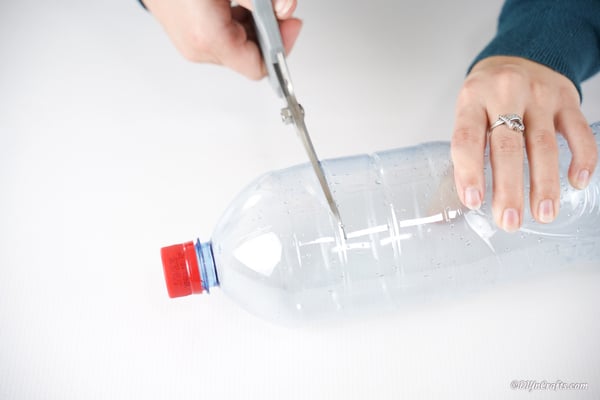
Now, you will cut down the plastic bottle so that the bottom becomes the base of your basket.
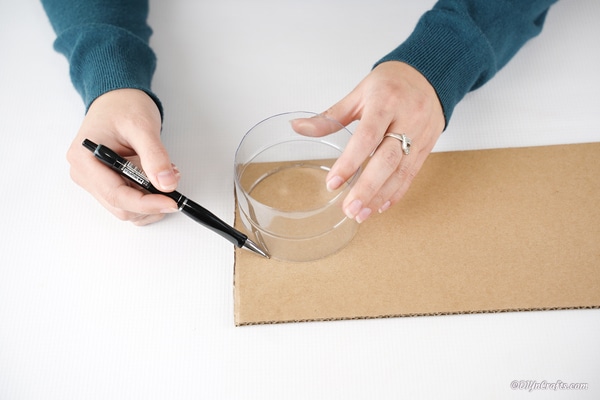
Using the bottom of the bottle, trace the circle of cardboard and cut it out to attach as a bottom to the basket.
Next, you will use the cardboard piece as a template to trace and cut out an alternate color of foam paper into a matching circle to glue onto the base of your basket.
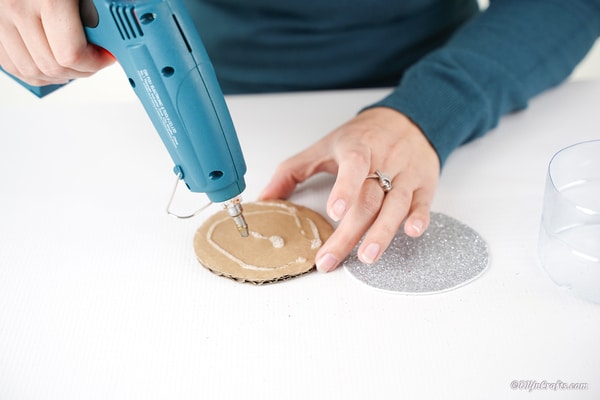
Attach the foam paper to the top of the cardboard piece, then attach this to the bottom of the bottle base.
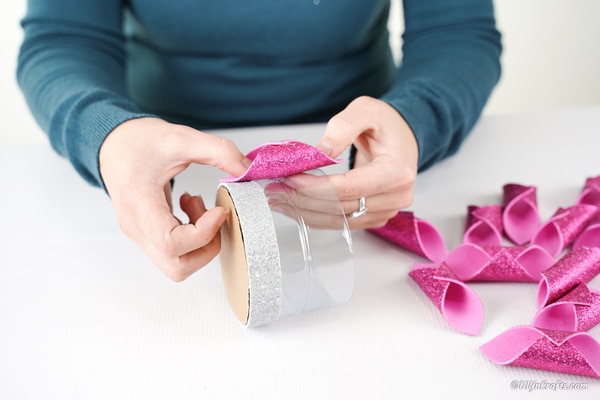
Now, you will attach that second color of glitter paper around the base of the bottle, as shown below.
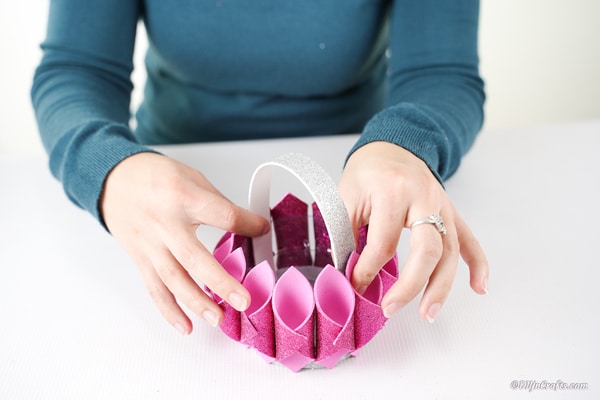
Next, you will attach the glitter foam paper pieces you created earlier to the outside of the bottle base.
At this point, you can also attach the extra strip of foam paper as a handle by gluing to the inside of the bottle base with glitter facing outwards.
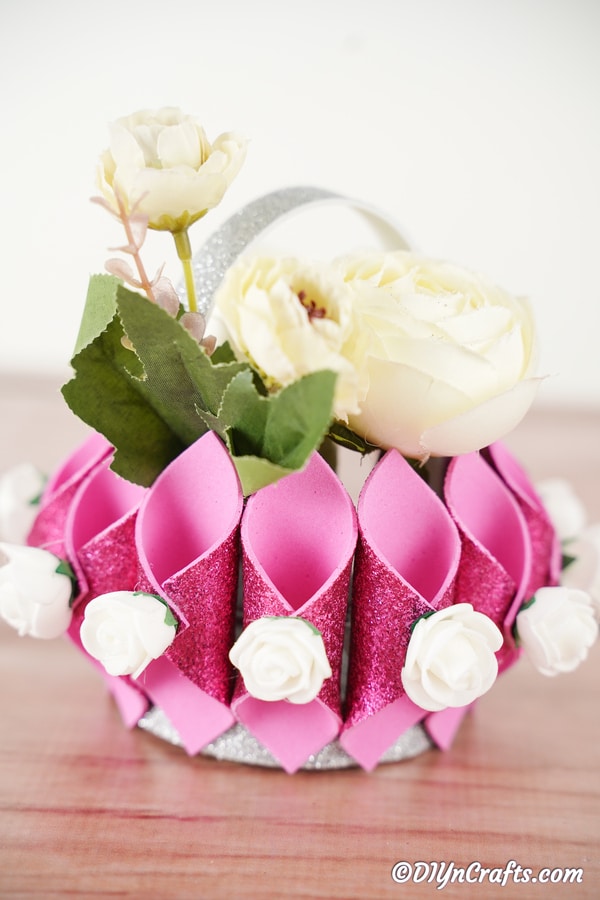
Once you have glued all of the glitter foam pieces around the outside of the bottle base, you will attach the small flower embellishments to the center of each foam piece.
Use this basket to display as a centerpiece or any of the fun methods mentioned above.
Printable Step-by-Step Tutorial:
Decorative Pink Glittery Paper Flower Basket
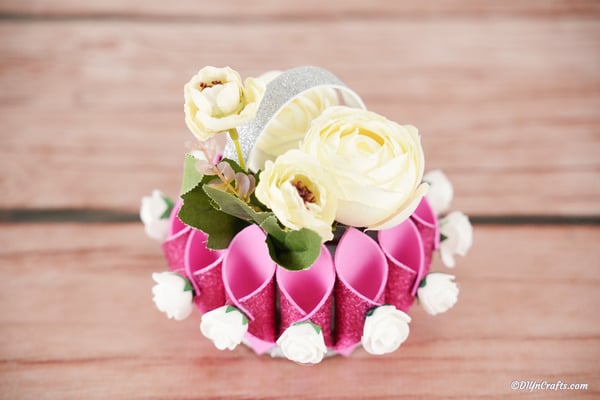
This adorable DIY paper flower basket makes a great centerpiece for your table! Upcycled items and simple steps make a gorgeous addition to your home decor.
Materials
- Glitter foam paper in at least 2 colors
- Plastic bottle
- Flower embellishments
- Cardboard
Tools
- Pen
- Scissors
- Hot glue guna nd glue
Instructions
- Begin by deciding how tall you want your basket. Once you've decided, you will take that height, add an additional inch, then measure and trace out verticle lines separated by that measurement onto foam paper;
- You will also measure out horizontal lines making squares that are slightly larger than the height of the base of your basket;
- Now, you will cut those lines down and across to create squares of foam paper;
- Roll the squares touching the sides together and gluing in place to create a cylinder/cannoli shaped tube with the glitter side on the outside;
- Now, you will cut down your bottle to the height you want the basket to be;
- Using the base of the bottle, trace a matching circle out of cardboard and an alternate color of glitter foam paper;
- Attach the circle of foam board to the cardboard, and then the cardboard to the base of the bottle;
- At this time, you can also cut out 2 strips of glitter paper around 1" wide to wrap around the bottom of the basket base and to use as a handle;
- Once you glue the strip around the base of the basket, you will begin gluing your pink glitter paper cylinders to the outside of the basket with the open side out;
- Once all are in place, attach the basket handle on the inside with glitter side facing outward with a dot of glue;
- Now you will attach the flower embellishments where the foam paper meets in the middle with a dot of glue;
- Display or use as desired.
Notes
Feel free to make this basket with any color combination you want.
Recommended Products
As an Amazon Associate and member of other affiliate programs, I earn from qualifying purchases.




Leave a Reply