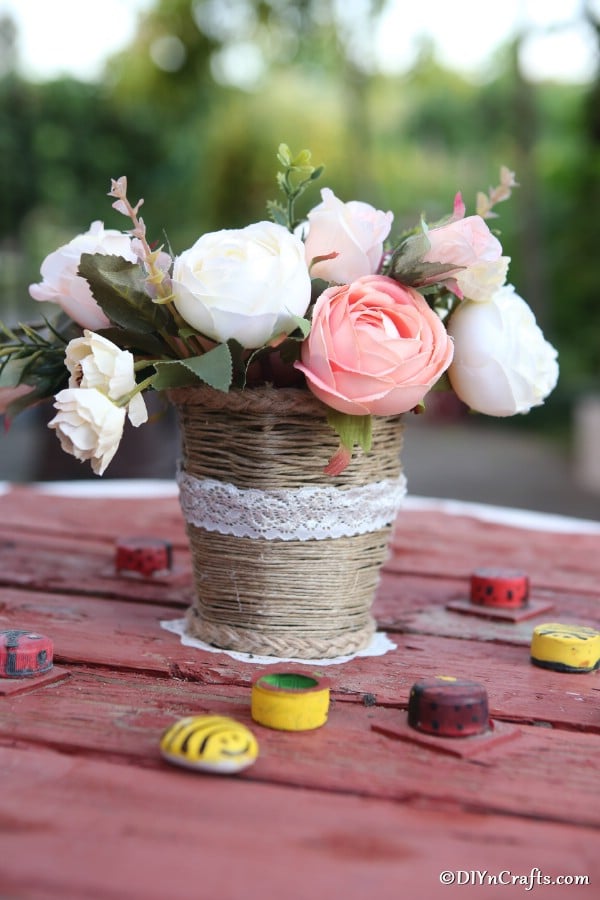
Get your crafting on with this adorable homemade rustic woven basket! I never thought I would be able to create my very own homemade basket, but I did, and it was easy!
This craft has several steps, but it really is a simple project. Set aside time this week to make your own unique woven basket.
This basket pairs wonderfully with my rustic rope covered bottle vase. They are a great pair to display on your mantle!
Jump to:
Woven Basket Tutorial
There was a time when I thought making my own baskets was impossible. Once I learned how easy thread weaving actually is, there was no looking back!
I've made tons of different woven rustic crafts, but love when something like this is also functional for holding things like flowers, craft supplies, or even extra candles or matches.
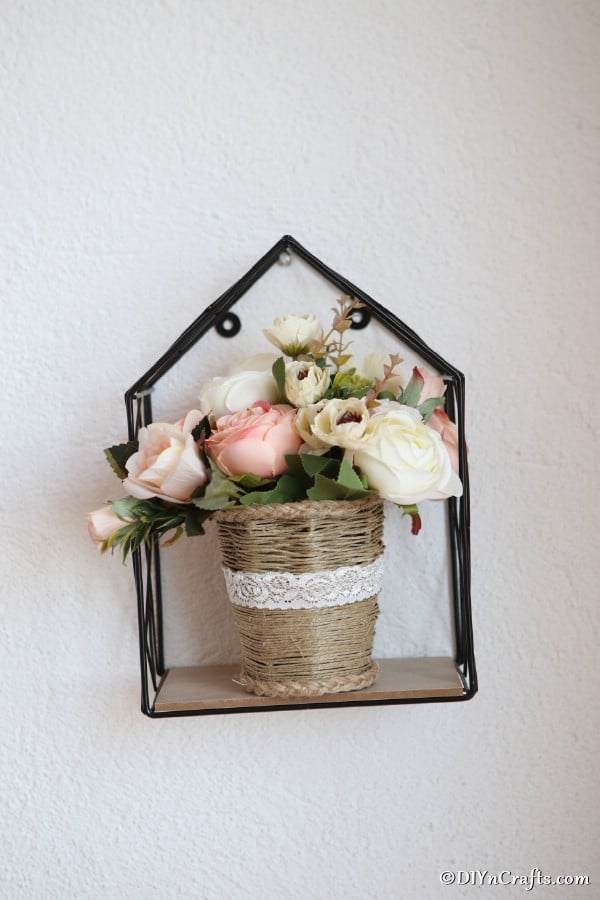
I love this rustic look set up on a table or mantle. You can add this basket to your mantle and fill it with flowers or even long matches for lighting your fireplace.
It looks great next to my rustic candle holder and the rustic wooden clock. There is something about the rustic look that is comforting to me. It just makes your home feel more peaceful and calm.
Can I Use A Different Color Thread?
My preference for making something rustic is this tan or brown twine. If you prefer ribbon or colored threads, you can definitely follow the same tutorial to make a basket with a different color.
This is a tutorial that you could even use to make holiday-specific baskets. Weave green and red ribbons into the basic basket for Christmas. Orange and black would look great for Halloween.
You could even add in blue and silver for the new year. There are tons of different colors you could easily add to the weaving process to make your basket unique.
What Should I Use My Basket For?
This really depends upon how large you make the basket. A smaller basket is ideal for using for flowers, or even on your dinner table for utensils.
You could also use it for a basket to hold scarp fabric in your craft room or crayons and markers for your coloring books.
Think outside the box. Need a place to stash something out of site? Make a woven basket in the size you need!
Supplies for DIY Woven Basket
- Plastic can or flower pot
- Rustic thread
- Wooden dowels
- Lace
- Hot glue gun and glue
- Scissors
How to Make a Rustic Woven Basket
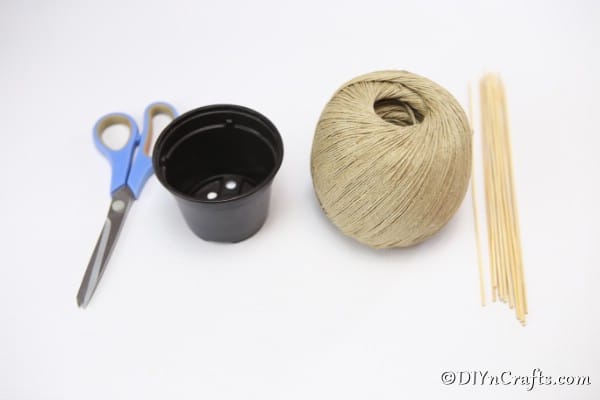
Gather your supplies and pick out a plastic can, container, or flower pot to use as the base of your basket.
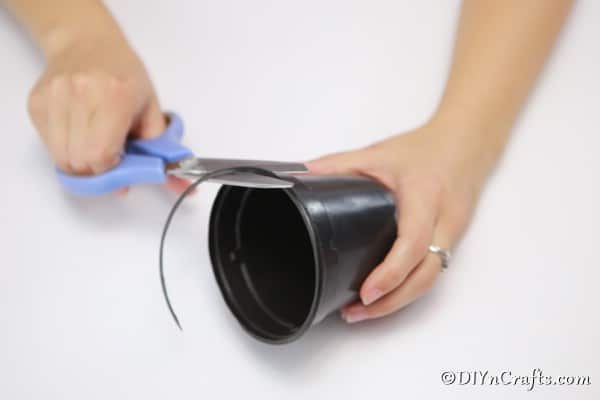
You will cut the upper lip of the flower pot off if that is what you chose. Otherwise, you will make sure that the top of your can or pot is even and smooth without a lip or overhang.
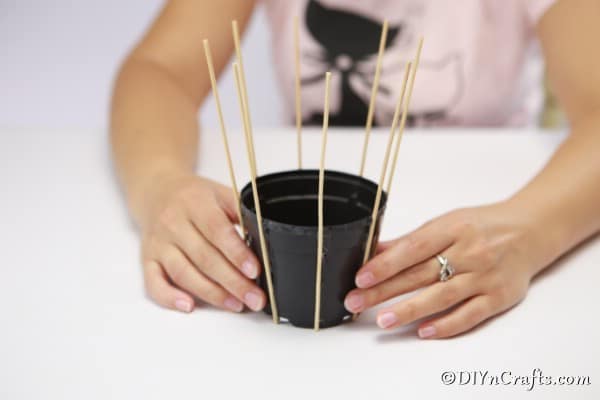
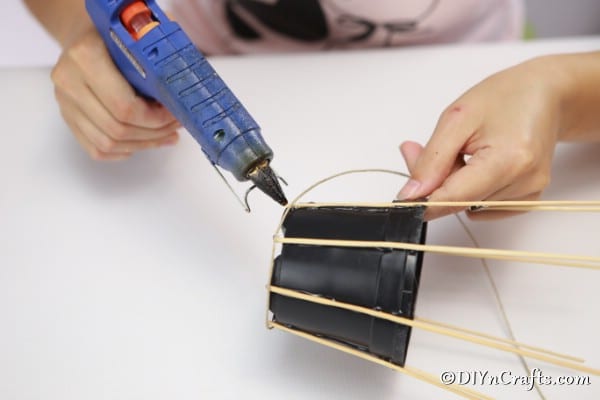
Next, you will take the dowels and attach them to the plastic can with hot glue. I recommend trimming the wooden sticks to the same length and how tall you want the basket to be before you begin gluing in place.
You will leave at least 1cm between each stick as you glue them in place.
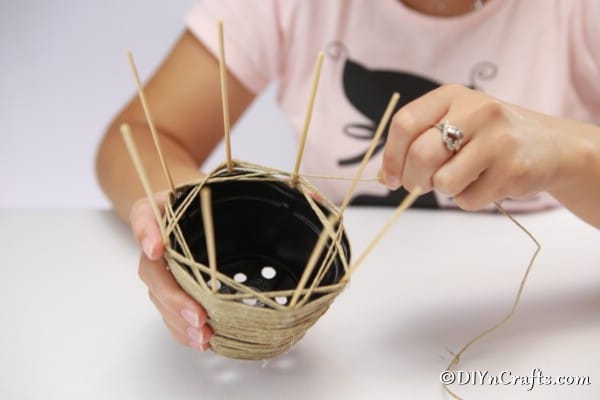
Begin at the bottom of the can and glue one end of your thread to the bottom edge over the sticks.
You will then begin to weave the thread inside and out of the wooden sticks gluing every few inches to secure the thread to the can and sticks.
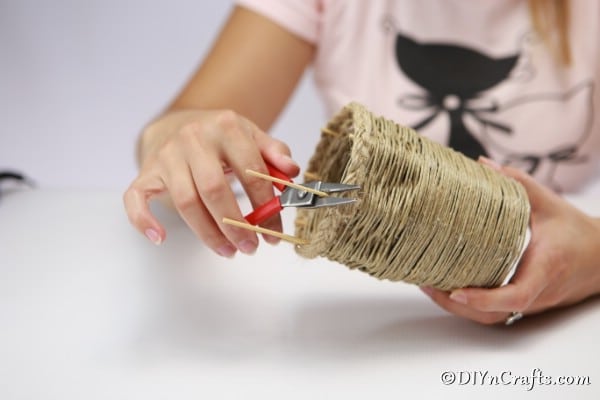
Continue this process until you have woven the basket as tall as you want it to be. When you are done, clip the end and glue in place.
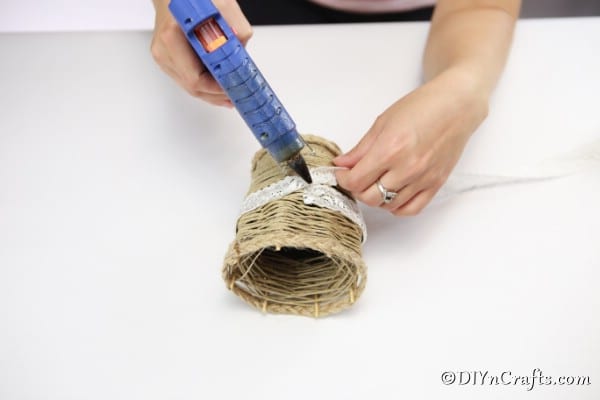
For decoration, you can braid some of the thread and then glue the braid around the top and bottom edges of the basket. You may also want to add lace, cloth flowers, or other similar decorations to accent the basket.
Video Tutorial:
Printable Step-by-Step Photo Tutorial:
Decorative Rustic Woven Basket Tutorial
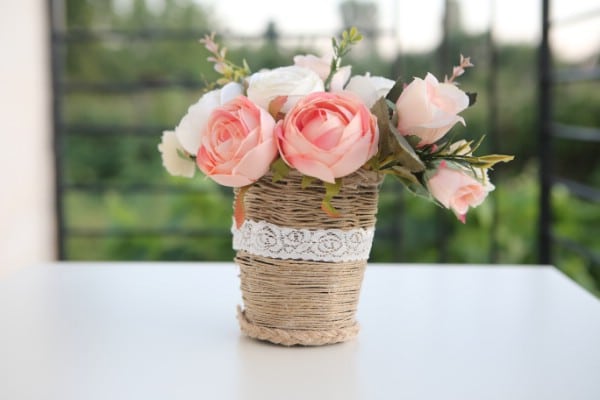
Grab your supplies and make this amazing rustic woven basket to display with flowers, or use it as a beautiful new storage item.
Materials
- Plastic can or flower pot
- Rustic twine, thread, or ribbon
- Wooden dowels
- Lace or other embellishments as desired
Tools
- Hot glue gun and glue
- Scissors
Instructions
- Before you begin, gather your supplies and set up your workspace. Make sure you have everything you need in place before you begin;
- Start by using your scissors or a craft knife to trim the lip off of the flower pot or can. Make sure the top is smooth and even with the rest of the can;
- Next, you will attach the dowels or wooden sticks to the pot with hot glue. Place them every ½"-1" apart;
- Once the sticks are in place and the glue has dried, you will start gluing the thread or twine starting at the bottom and working your way up;
- You will weave the thread inside and out around the sticks pulling it tightly together and gluing every few inches;
- Weave until you are happy with the height of the basket. Once you are done, clip the end of the thread and secure with another drop of hot glue;
- If you want to add embellishments, now is the time to glue on lace, cloth flowers, or similar on the basket;
- Finish by displaying your basket with flowers.




Leave a Reply