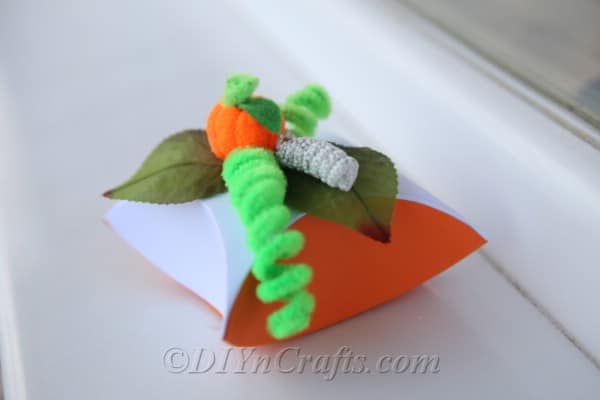
Have you ever made a DIY gift box? This one is such a cute idea to make for fall gifting. Adding some orange and green accents makes it look like a pumpkin, and turns it into an ideal gift box for candy, treats, and cookies. I love using this to make fun pumpkin recipes to share with my friends and family.
I've already upcycled a cardboard box into a storage basket, so using pieces of cardboard or cardstock paper makes sense.
Jump to:
DIY Fall Pumpkin Gift Box
A homemade gift box is a great way to save money when gifting. I love customizing them for different holidays or celebrations. This one is perfect for harvest and fall gifts. It is especially nice to gift pumpkin candies and cookies.
Personalizing gifts to the receiver is something I have always loved doing. Typically I will make customized DIY gift baskets, but sometimes I just want to give a friend a little something to show them I care. So, this smaller gift box made from cardstock is a perfect solution. Since I already keep these supplies in my craft closet, it takes no time to create.
What Can I Use this Gift Box for?
Gift boxes are great for so many things! Something small like this is a great way to share those homemade treats or candy. You could also use this in place of a card to gift money or a gift card. I especially love the idea of using a DIY gift box to gift jewelry. A small necklace, watch, bracelet, or even a ring could slip into this and be a fun surprise!
If you plan to use it for Halloween, you could make a few of these and fill them with stickers, plastic rings, and candy to give to the kids in your life.
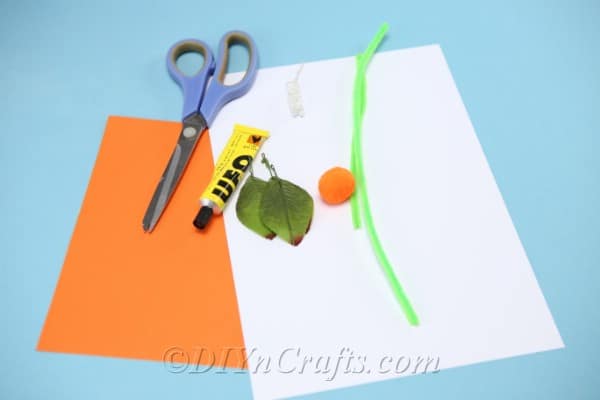
Supplies for Making a Homemade Gift Box
- 1 piece orange card stock
- 1 piece white card stock
- Artificial leaves
- 2 green pipe cleaners
- 1 orange pom pom
- Ruler
- Scissors
- Paper glue
- Pencil
- Thread
- Medium bowl (for tracing)
Note: For this project, you need heavier paper. Card stock can be found in most craft stores in a variety of colors and prints.
How to Make a DIY Gift Box
Set up your supplies on your table so they are easy to grab when you need them. For this craft, you will need a medium-sized bowl as well as the crafting supplies. A cereal bowl is a good choice for this.
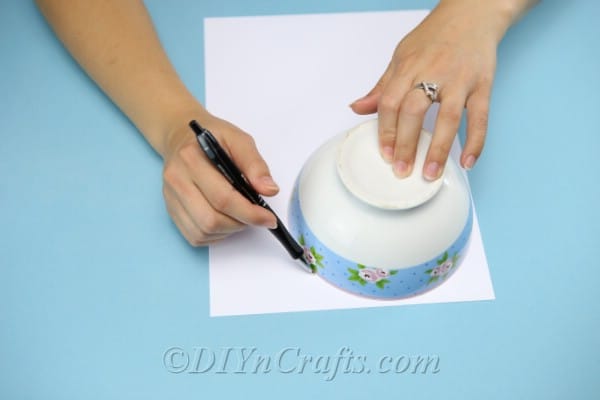
Lay your cardstock or cardboard piece on the table, and use the bowl to trace a circle onto the paper. You will do this on both the white and orange papers.
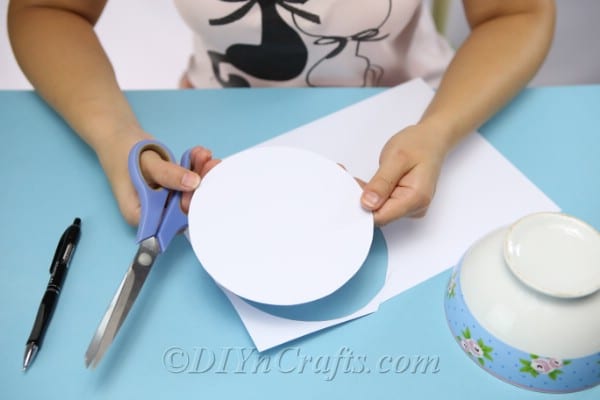
Cut the circles out of the card stock and discard the excess card stock for later crafts.
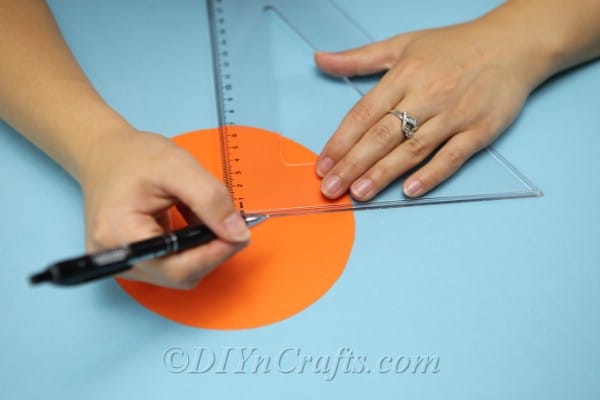
Using a ruler, draw two diagonal lines on each circle. You will want these lines to have a 90-degree angle between them.
Use the bowl to create an arc between the two lines.
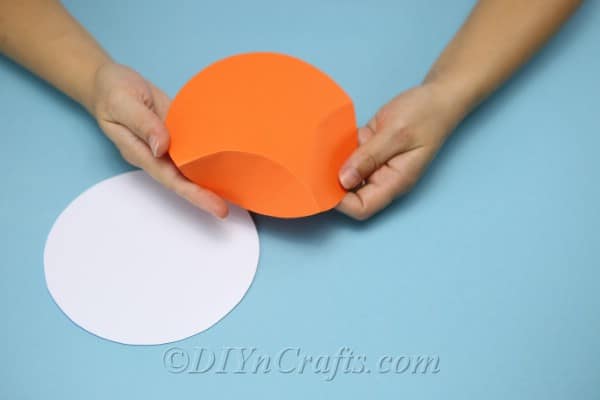
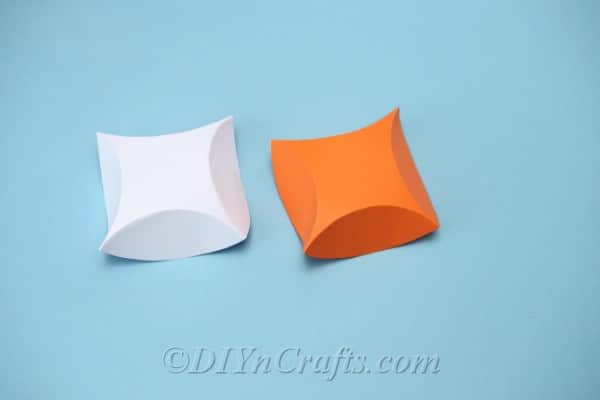
Now you will use those arcs you have drawn as a guide to fold the cardstock. You will fold each line to create a crease. Repeat this on both circles.
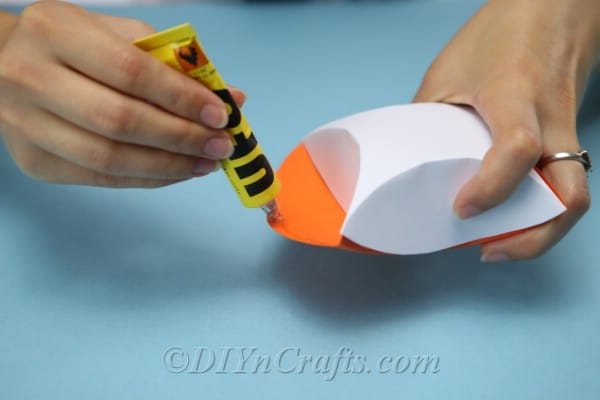
Next, you get to assemble the box. Place the two circles on top of each other. You will attach these with glue. Make sure to leave one section open so you can stuff it with candy or treats before it is glued to seal.
Tip: If you are using regular glue to seal the box, it may come apart if your treats are a bit heavier. I recommend using craft glue or hot glue on all sides but the final side of the box. This keeps it together and stronger.
How to Decorate a DIY Gift Box
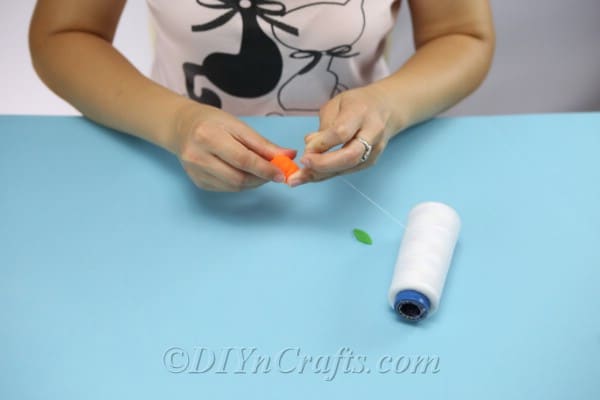
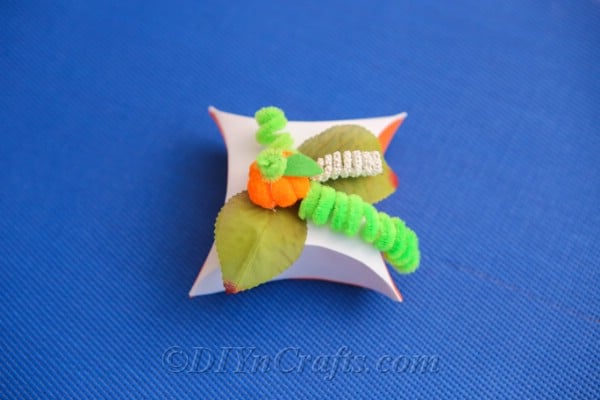
Your last steps are to add the decorations to the top of the box. I used a pom-pom and wrapped it with a piece of thread a few times so it looked more like a pumpkin. You can glue the thread in place.
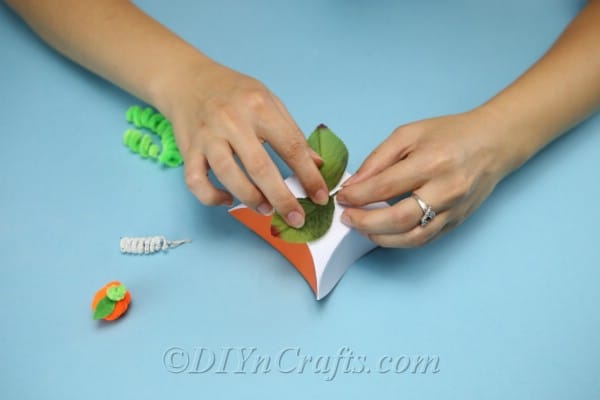
Glue the artificial leaves to the top of the pumpkin gift box.
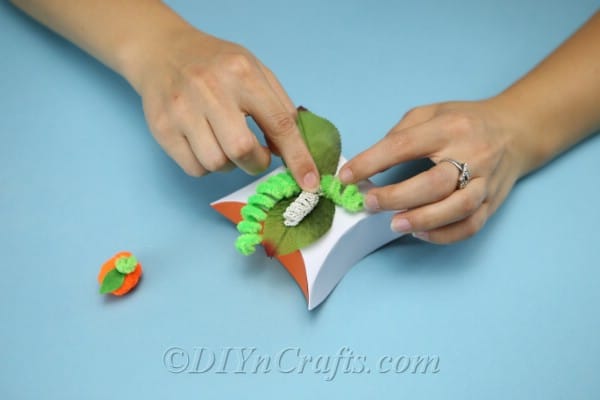
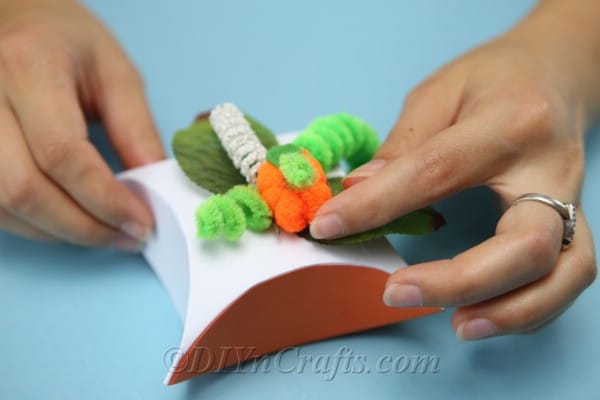
Your last step will be to wrap your pipe cleaners around a pen or pencil to create a curly stem. Remove them from the pencil, and attach to the top of the box, then glue the pumpkin in place.
Video Tutorial:
Printable Step-by-Step Photo Tutorial:
Easy DIY Harvest Pumpkin Gift Box
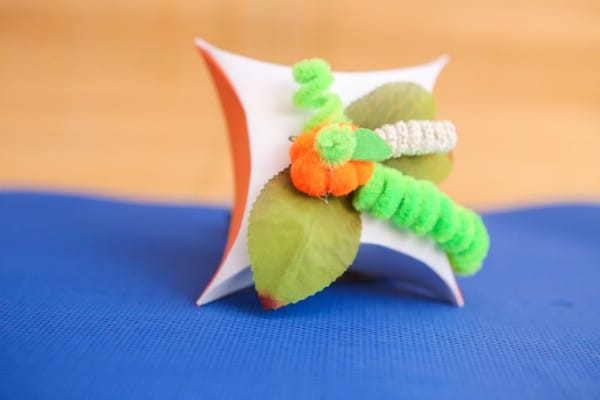
This pumpkin-themed DIY gift box comes together in minutes with just a few pieces of card stock, some pipe cleaners, leaves, and glue! Make this to share your favorite fall treats with friends.
Materials
- 1 piece white cardstock
- 1 piece orange cardstock
- 2 green pipe cleaners
- 1 orange pom pom
- 2 artificial leaves
Tools
- Scissors
- Paper Glue
- Ruler
- Thread
- Optional: hot glue or craft glue
Instructions
- Once you have your craft supplies set up on your work area, you will want to also grab a medium bowl from the kitchen to use for tracing;
- Begin by tracing a circle around the bowl on each piece of card stock;
- You will next cut the circles out of the paper and discard the remaining or save for future crafts;
- Using a ruler, you will draw two diagonal lines at a 90-degree angle on each circle. This will more or less be two triangles - one on each side - of the circle. This is to help you fold and create the creases needed;
- Now you will begin by folding the arc inwards on the sides of the cardstock;
- Continue folding until both circles are now turned into folded squares;
- Next, you will place the two folded pieces of cardstock on top of each other. These should fit together to form a square box. Once you have it in place, you will then glue the flaps together, leaving one side open to fill with treats;
- Once the box has been glued, you will attach your decorations to the top;
- Start by wrapping thread around the pom-pom to create a pumpkin look. Secure it at the bottom with a drop of hot glue;
- Next, you will glue your artificial leaves to the top of the box;
- Wrap your pipe cleaners around a pen or pencil, then gently pull them off and attach on top of the leaves with glue;
- Your final step is to top the pumpkin with a bit of felt or a bit of pipe cleaner to resemble the stem;
- Glue the pumpkin on top of all, and you are ready to fill the box with treats;




Leave a Reply