How do you like to display your family photos? In a frame, right? Well, maybe most of the time. Sometimes, you might be looking for a unique way to display a photo, especially if you want to give it to someone as a gift.
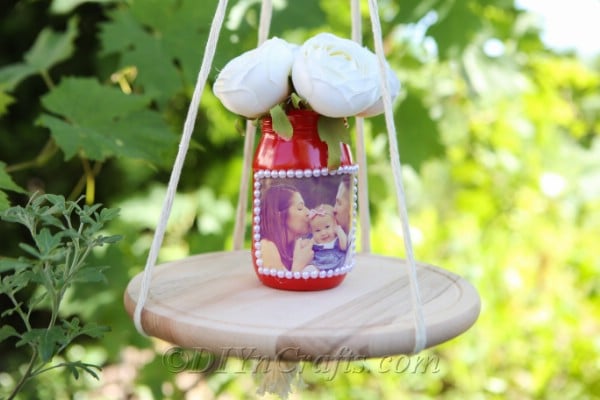
Instead of putting your photo in a frame, why not try displaying it as part of a lovely handcrafted vase? I’m going to show you exactly how to make your own in this easy DIY tutorial.
Jump to:
How to Make an Easy DIY Vase
This project is super fast and easy, and I think it is one that just about anyone should be able to make with no hassles! In fact, it is great for all ages.
How to Make a Vase From an Old Jar
Let’s talk about the materials and tools that you are going to need to craft this simple vase project. For tools, you’ll need a pair of scissors and a hot glue gun.
For materials, you are going to require a jar, some spray paint in a color you like, some faux pearls (or other beads, if you prefer), some flowers (fake or real), and a family photo or any other picture you really love and want to display.
How to Display Your DIY Picture Vase
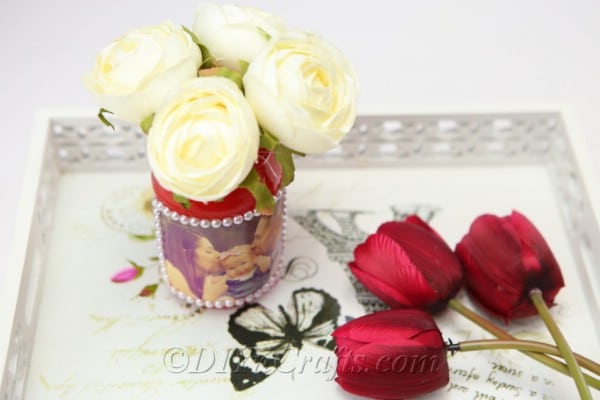
Once you have finished creating your DIY vase displaying a family photo, you can display it anywhere. It can make a lovely centerpiece for a table, perhaps for a celebratory occasion.
It also can look great on a shelf or mantelpiece. Not only can it be a great addition to your own home, but it can also make a lovely gift for a loved one.
DIY Photo Vase Step-by-Step Video and Photo Tutorial
Now that you are excited to make your own DIY photo vase let's dive into the video tutorial. Below, you can view the materials and tools you need to create this project and a quick reference list along with written steps to accompany the video.
How to Make a Beautiful Photo Jar Vase
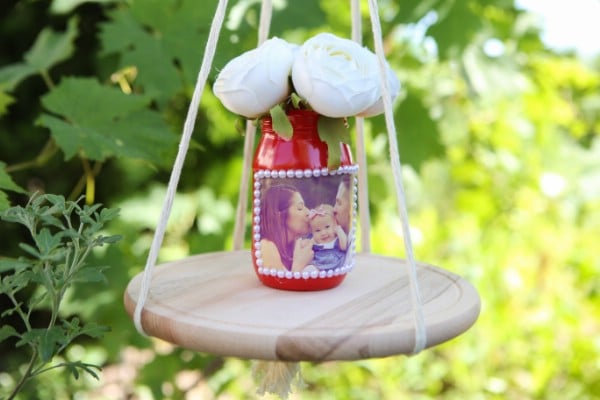
Learn how to make this gorgeous diy photo jar vase easily with our step by step photo and video tutorial.
Materials
- Jar
- Spray paint
- A family photo or other picture
- Flowers
- Faux pearls
Tools
- Hot glue and glue gun
- Scissors
Instructions
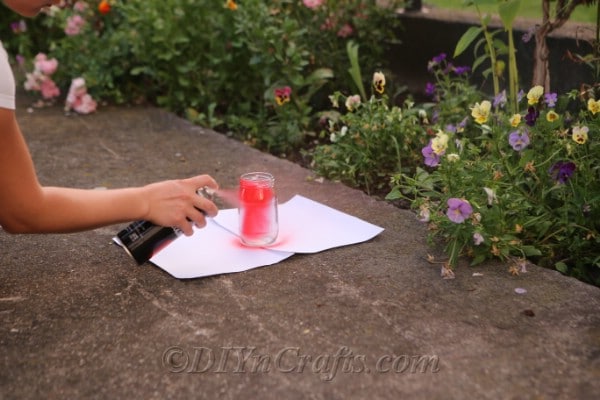
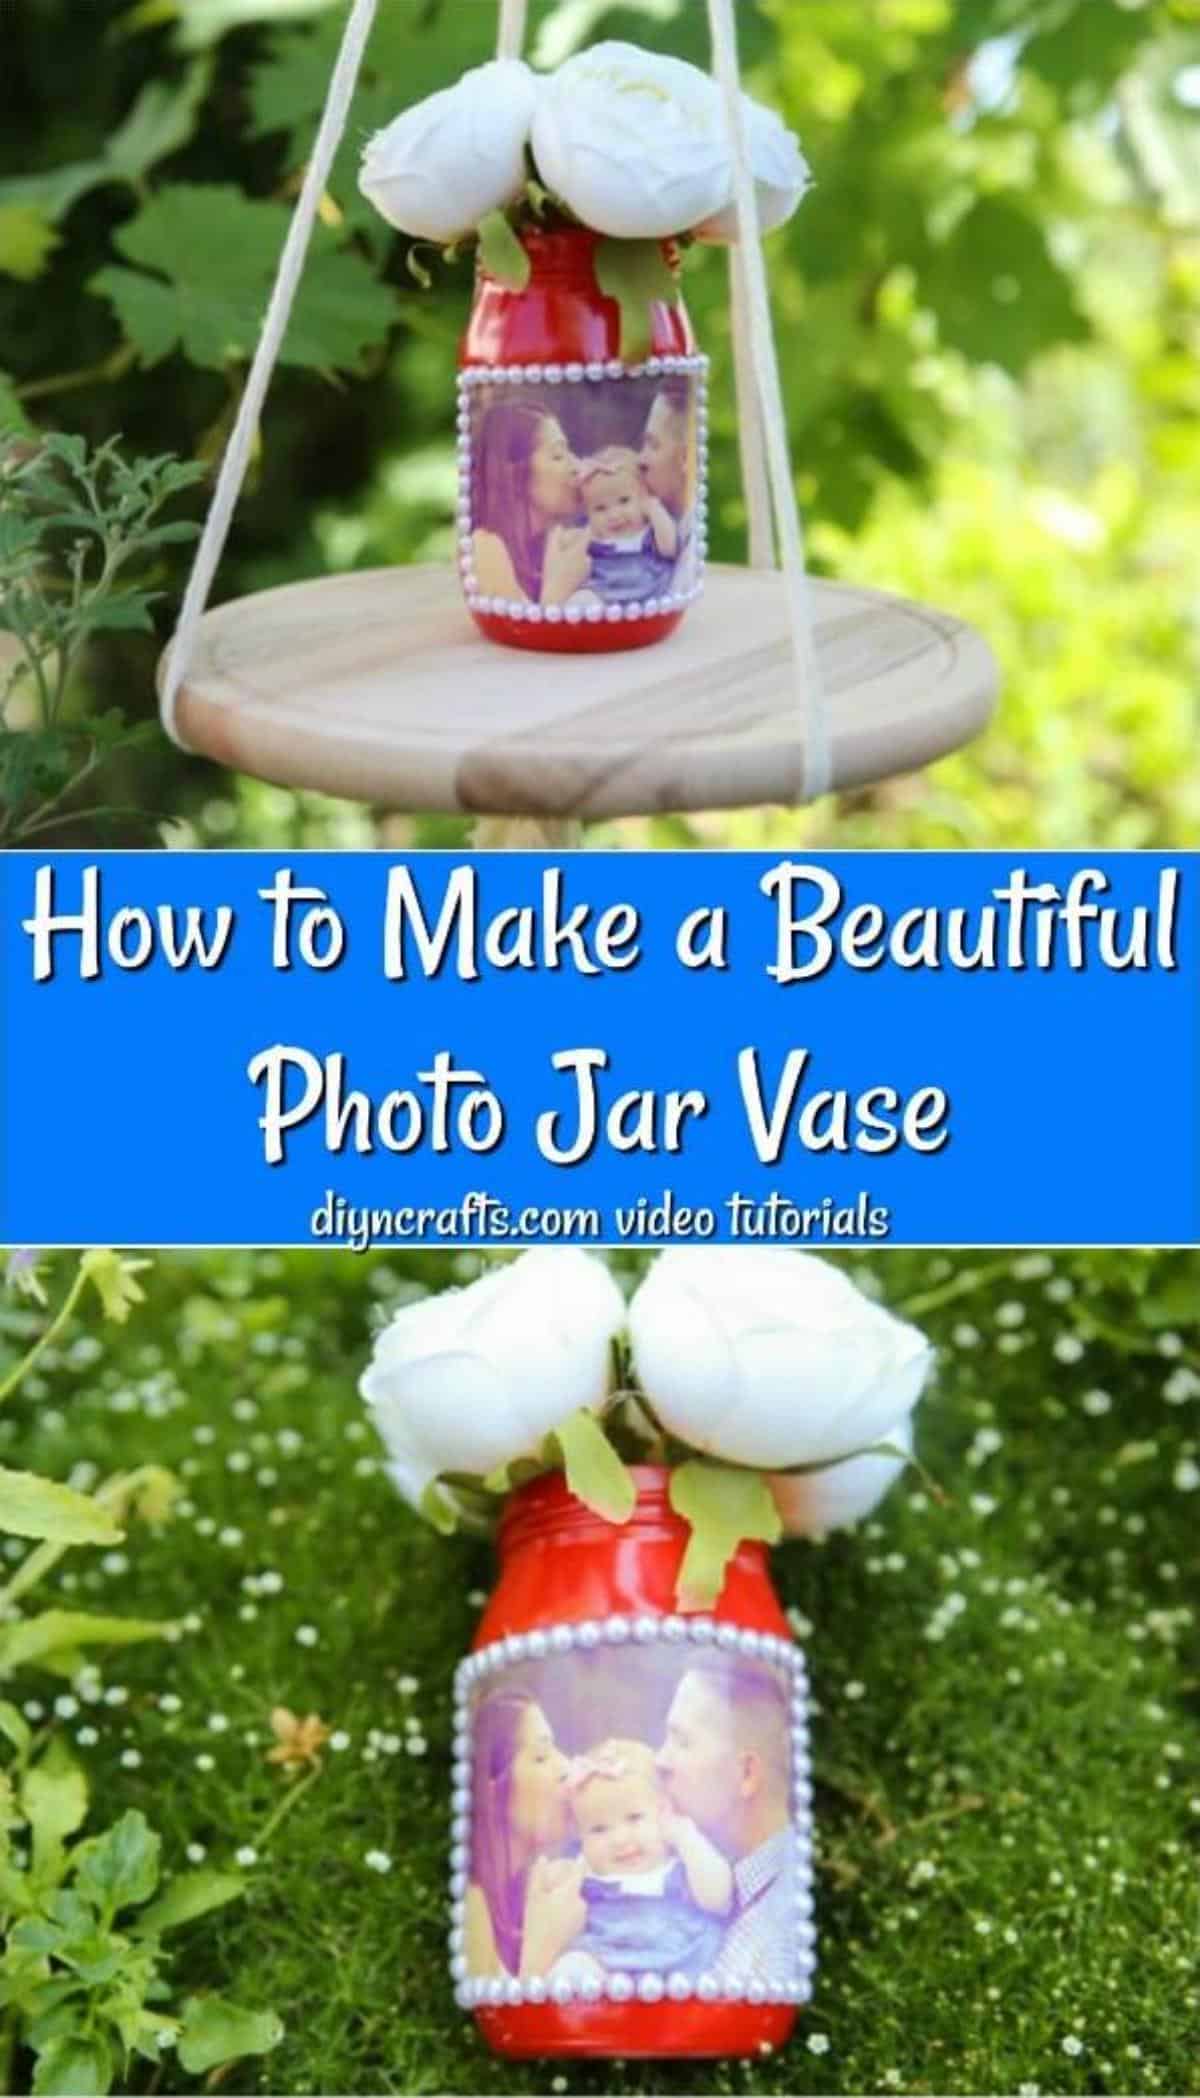
- The first step of this fast and easy DIY project is simply to spray paint your jar in a color of your choice. I chose red, but you can pick any color you want. You might want to coordinate the paint color you choose with a color in the photo you have selected. After you have covered the entire jar in spray paint, wait for it to dry before proceeding.
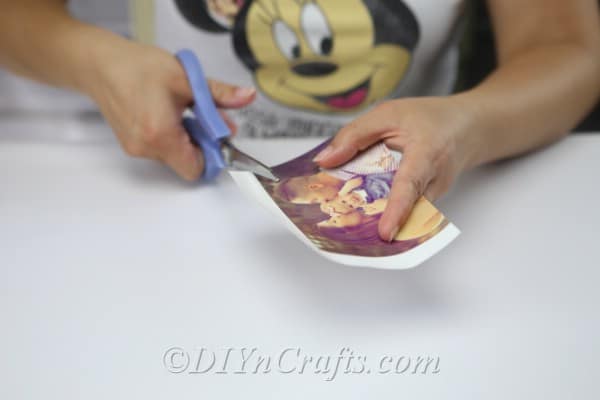
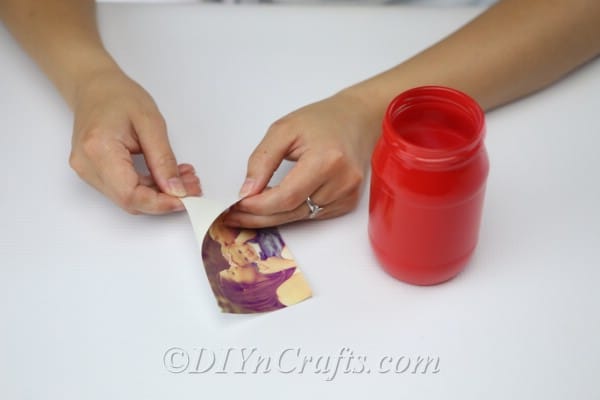
- Next, you will need to get a photo to attach to the outside of your jar. This could be an old-fashioned film photo if you have one. If you have a digital photo, you will need to print out a copy and then cut it out to use. If possible, try and print it out on sticky paper.
- What if you do not have sticky paper? This is not a big deal. You can use double-stick tape to attach the photograph to the jar. Alternately, you could glue the photo to the jar.
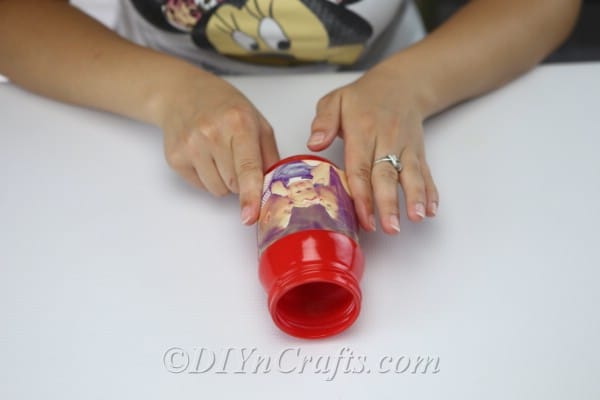
- If you used sticky paper for your photograph, peel off the backing and apply the photograph directly to the jar.
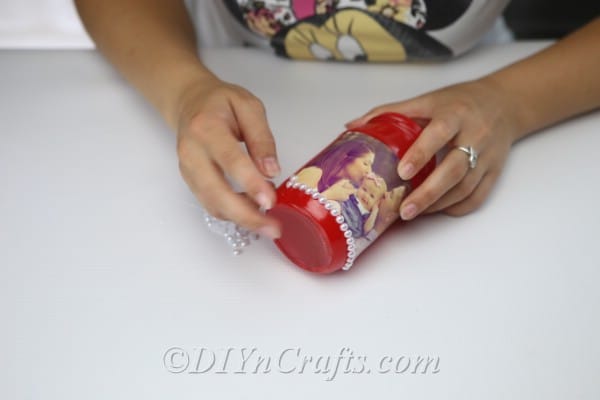
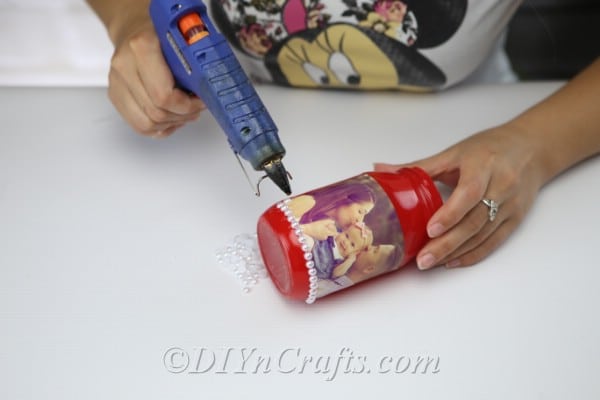
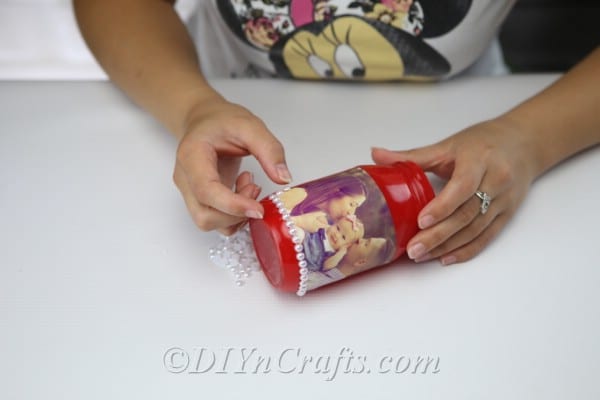
- Using hot glue, form a border of faux pearls around the photograph. You can also use any other types of beads or decorations that you want.
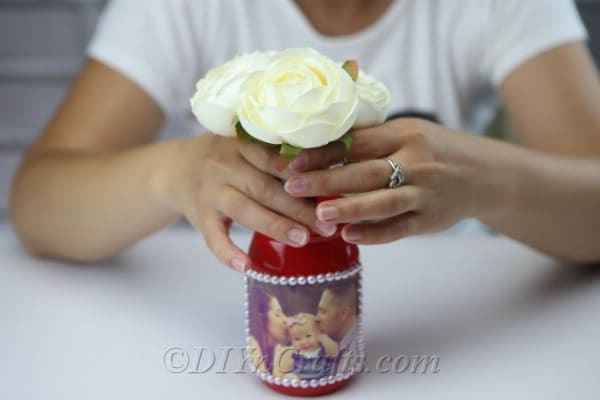
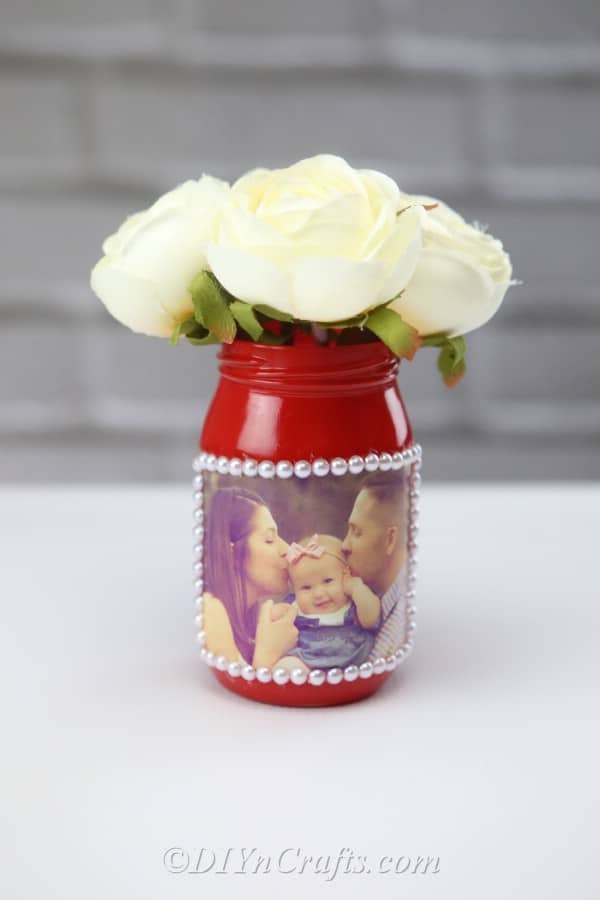
- The final step is just to put some flowers in your vase and set it out to display.
Recommended Products
As an Amazon Associate and member of other affiliate programs, I earn from qualifying purchases.
What to Make Next After Your Family Photo Vase
If you had fun doing this project but are still trying to scratch your DIY itch, we have a few other projects we especially recommend.
If you liked the decorative hanging shelf you saw the vase displayed on in one of the final project photos we shared, guess what? You can make your own! Find out how in this easy video tutorial.
The result is elegant, but it is arguably one of the simplest video tutorials we have put together to date.
Maybe you are in search of some other creative and original ways to display your family photos. One thing you can try is making glowing photo luminaries. You can also use lids to make a photo wreath.
And if you are still in search of more, we've put together a list of 25 decorative handmade photo crafts to keep you busy all day.
Pin this project:
Have fun with all of these simple DIY craft tutorials and ideas. And be sure to check back with us again soon to see what other projects we have added for you to enjoy.





Leave a Reply