The day after school lets out for the summer, my kids are bored. They always have been, and I would bet that this won’t change as they get older. So, I spent a lot of time those last few weeks of school looking for fun DIY crafts and projects to keep them busy during the summer, which is how I found the idea for this adorable DIY upcycled soda bottle floating turtle.
Jump to:
- Is This Upcycled Bottle Craft Educational?
- What You Need To Make This Upcycled Bottle Turtle
- Can Kids Make This Upcycled Bottle Turtle?
- What Ages Can Make This DIY Floating Turtle?
- How To Make A Floating Turtle From An Upcycled Soda Bottle
- Materials
- Tools
- Instructions
- What Else Can You Make From Upcycled Bottles?
- Pin this project:
Is This Upcycled Bottle Craft Educational?
In a word…yes. The girls over at Deceptively Educational made this and it can be very educational. You can use the craft not only to teach your little ones about recycling, but about turtles and their natural habitat, as well.
What You Need To Make This Upcycled Bottle Turtle
I used an empty 2-liter bottle to make my DIY floating turtle, and it worked out perfectly. The bottom of the bottle is the perfect shape and size for a floating turtle.
Aside from the bottle, you do need a few basic craft supplies, but if you’re like me, you already have those craft supplies on hand…I even added to my stash when I knew the kids would be out for summer soon.
Can Kids Make This Upcycled Bottle Turtle?
Yes! Kids can absolutely make this. For younger children, I do recommend that you do the cutting yourself. You will need to remove the bottom from your soda bottle, and for toddlers and preschoolers, this is something that requires a lot of supervision.
Once you have the supplies ready, though, kids can definitely do most of the work of putting this craft together.
What Ages Can Make This DIY Floating Turtle?
As I said, if you have toddlers or preschoolers, you need to supervise them pretty close with the cutting on this craft. Other than that, kids can almost do this one completely on their own if they want.
It’s perfect for kids from preschool to teenagers, and it’s a really quick and simple craft. Plus, it’s so much fun for kids to see their turtle float when they get him finished.
How To Make A Floating Turtle From An Upcycled Soda Bottle
If you need something to keep the kids busy this summer, this DIY floating turtle that you can make from an empty soda bottle is just perfect.
Not only will they have a blast making this turtle, but they’ll also have hours of fun playing with him over the summer months!
How To Make a Floating Plastic Bottle Turtle
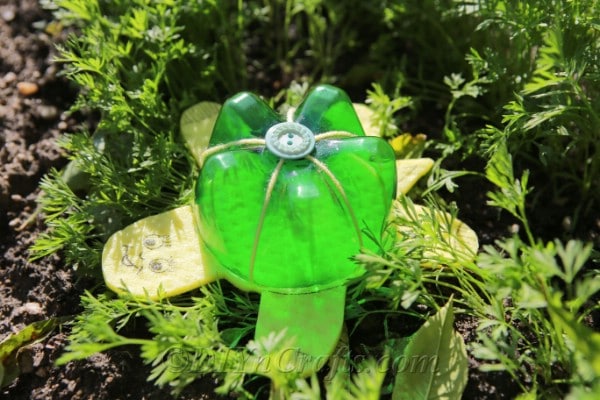
Get the kids excited about crafts this summer with this DIY floating turtle that you make from an upcycled soda bottle. The step-by-step tutorial shows you how.
Materials
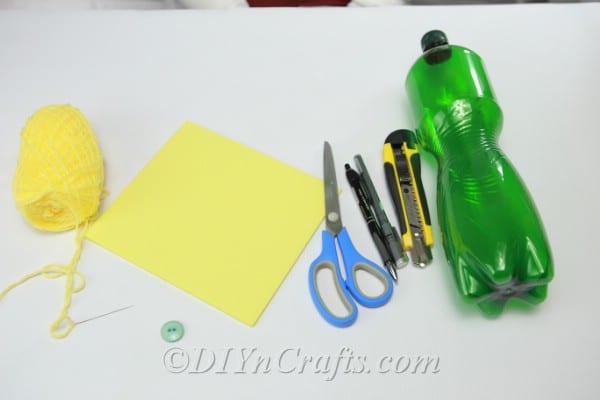
- Empty Soda Bottle
- Craft Foam
- Yarn Or Twine
- Button
Tools
- Scissors
- Hot Glue Gun
- Markers
- Craft Knife
- Needle
Instructions
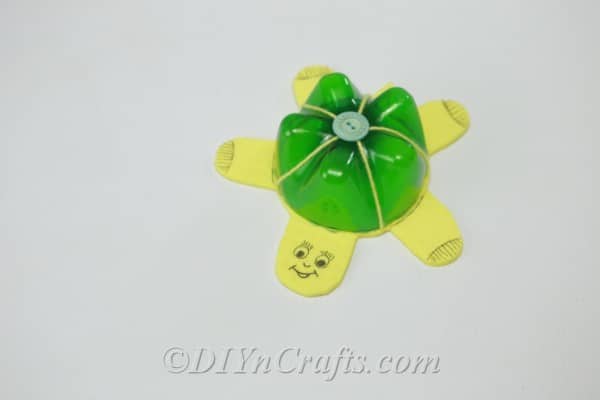
- Note that you can do your DIY floating turtle in any color that you want. I used a combination of green soda bottle and yellow craft foam to give him “turtle” colors.
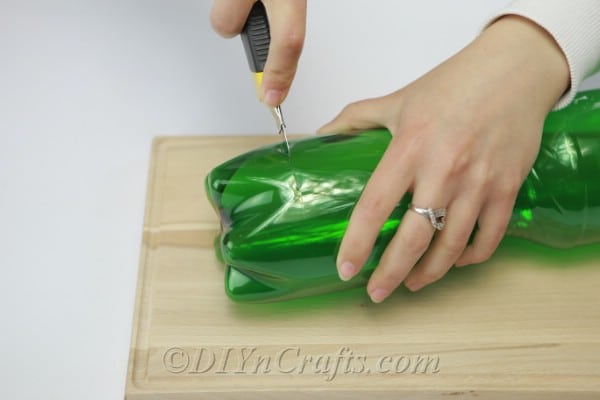
- First, you need to cut the bottom off of a plastic 2 liter soda bottle using your craft knife.
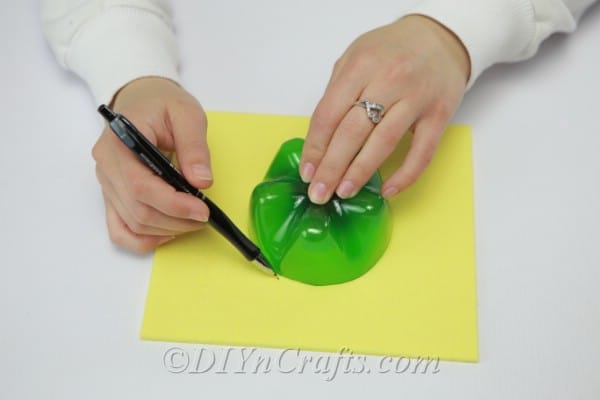
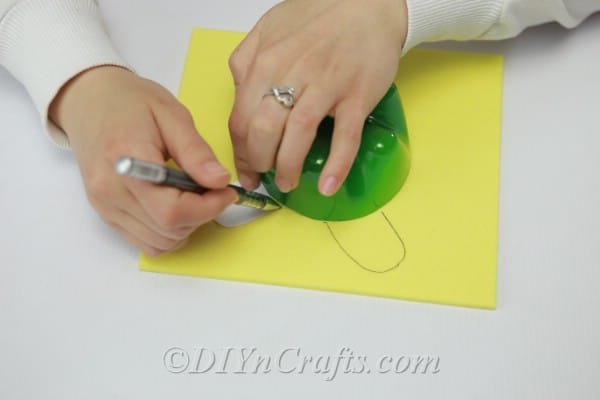
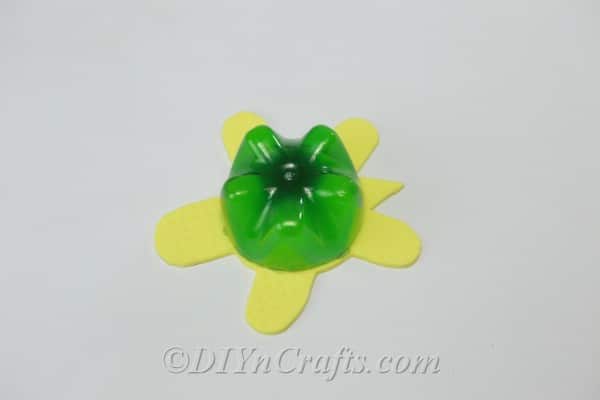
- When you have the bottom removed from the soda bottle, place the bottom on your craft foam and draw around it to create your turtle’s shape.
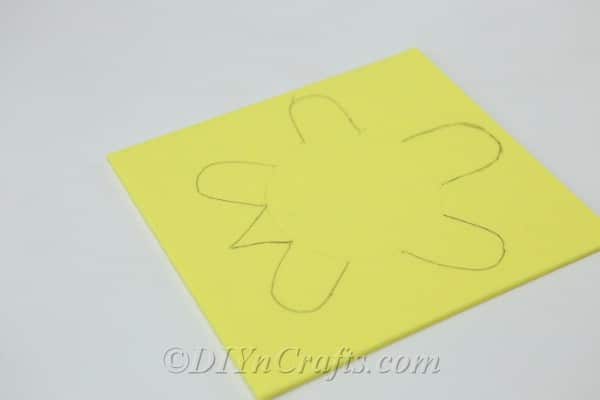
- Draw around the bottle for the shell and then add in your legs, tail and head.
- Note that your turtle’s head should be a bit larger than his legs and you need the tail to have a rather sharp point – But, this is your turtle, so you can design him however you want.
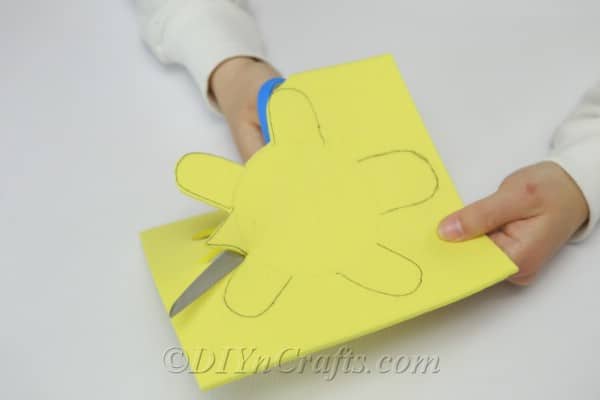
- Cut out your turtle from the craft foam.
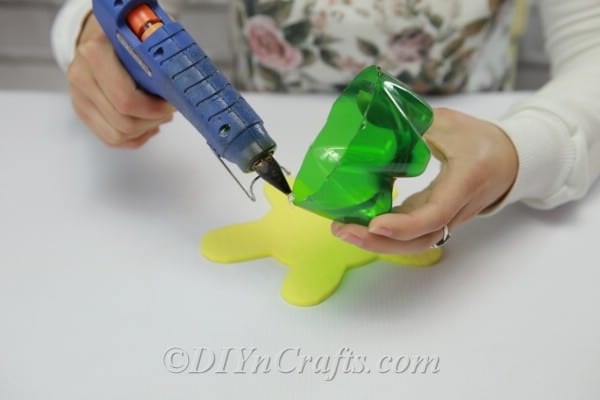
- Glue the bottom of your bottle onto the middle section of the turtle that you drew on to the foam. You want the cut off edges of the bottle to be glued to the foam.
- Add just a bit of hot glue to keep it all in place.
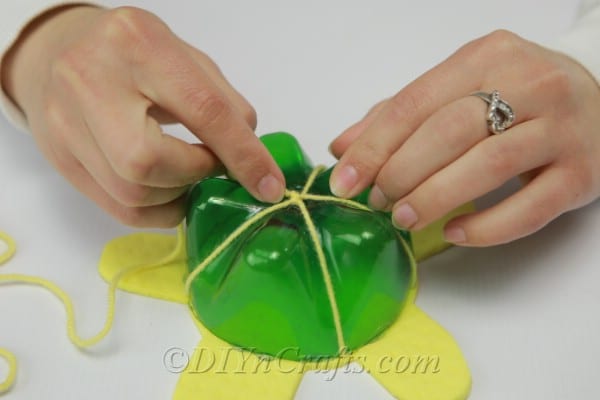
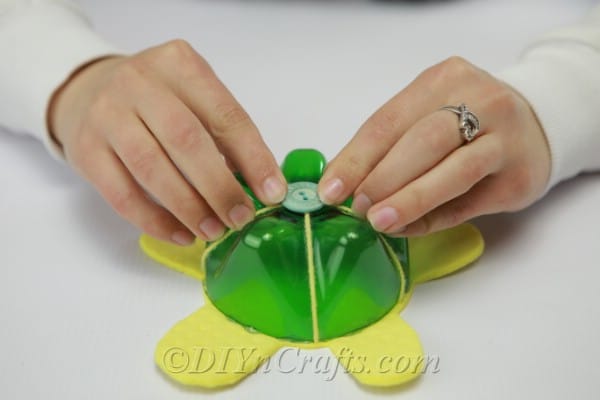
- With your needle and yarn or twine, sew the bottle onto the foam by crisscrossing the thread over the bottom of the bottle so that it will stay in place. This also gives it a bit of design.
- Glue your button onto the center of the “shell” with hot glue.
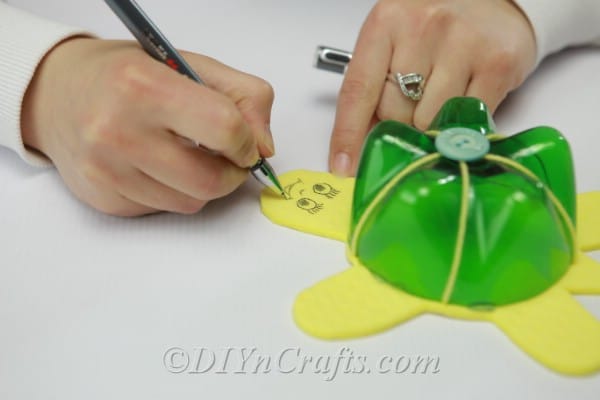
- Now, you just need to personalize your turtle. Do this by drawing on some eyes and a mouth on the head. You can also add some toenails if you want, or if you are doing a girl turtle, by all means give her some summery nail polish.
- Place your turtle in water and watch him float the day away.
- When finished, your little turtle should look something like this one:
What Else Can You Make From Upcycled Bottles?
So many things! If you haven’t already, I suggest you take a look at these 5 creative ways to upcycle plastic bottles. I’ve also shown you a great way to make a fairy castle from an empty bottle, and if you are just looking for something to keep the little ones busy this summer, be sure to check out my 50 popsicle crafts for kids. If you do a craft a day, you’re almost set for all summer!




Paula Rosa Martínez Rojas
Muy bonita manualidades!!! Soy de RD y me gusta mucho trabajar las manualidades!!!
Felicidadestan bello trabajo!!