I love adding rustic crafts to my home décor. That farmhouse look is super popular and for good reason…it’s gorgeous! If you have always wanted to add some rustic charm to your decorating, but you just aren’t sure where to begin, I have a great tutorial for you. I’m going to show you how to make these beautiful rope covered vases!
Jump to:
How to Repurpose a Bottle Into a Vase
For this project, we’re going to be repurposing a glass bottle. Kirsten over at Red Leaf Style uses a Snapple bottle and a water bottle to make her rustic rope covered vases, but you could use a wine bottle or any glass bottle that you have on hand.
Or, if you want something with a wider opening, you could totally do this with pickle jars or mason jars using the same technique.
Decorating Your DIY Rope Covered Bottle Vase
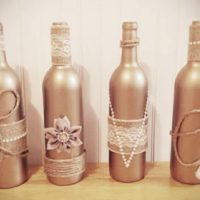
I used burlap ribbon to make a rustic-looking flower on my vase, but you could decorate these with any number of other things, like:
- Artificial Flowers
- Gingham Ribbon
- Pearls and Gems
- Feathers
Just match your own decorating style!
How To Make This Rustic Rope Covered Bottle Vase
I love how simple this DIY rustic bottle vase is to make. You don’t need a lot of materials or a lot of time to create one of these, and they are perfect for adding some farmhouse flair anywhere in the house.
You could even use these to decorate for weddings!
How To Make a Rustic Rope Covered Bottle Vase
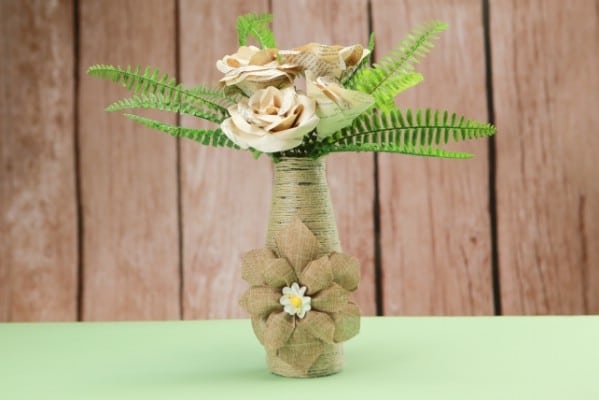
Learn how to make these rustic vases using rope, glass bottles and just a few additional supplies. The video tutorial makes creating your own DIY rustic vase quick and easy.
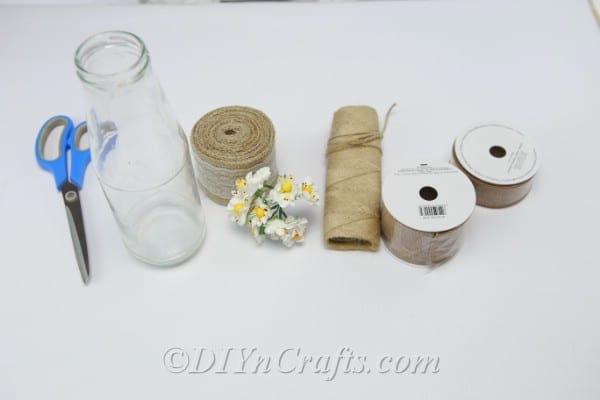
Materials
- Glass Bottle
- Thin Rope or Twine
- Rustic Ribbons or Burlap
- Artificial Flowers
Tools
- Scissors
- Hot Glue Gun
Instructions
- Start by choosing your bottle. You can use any bottle of any size or shape, as long as it’s a glass bottle. Hot glue tends to melt plastic bottles, so be sure that you are using a glass one for this craft.
- Make sure that you have enough rope or twine to cover the entire bottle. Natural jute twine works really well, or you could use regular rope as long as it’s thin enough.
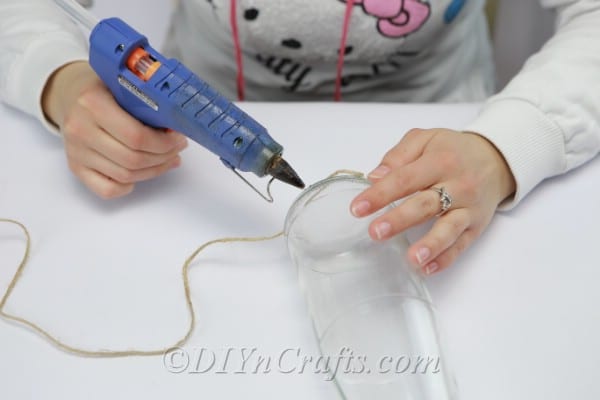
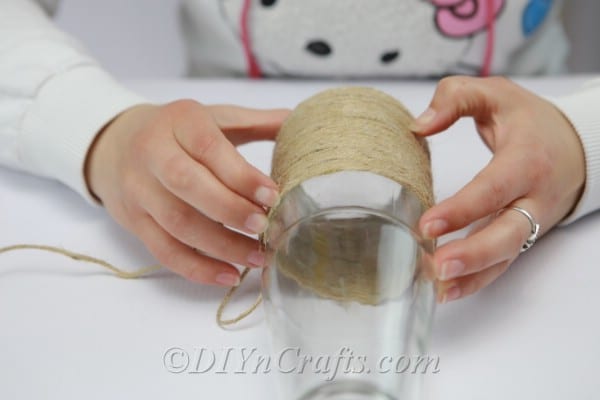
- Begin at the bottom of your bottle. Note that you are not covering the very bottom, just the bottom sides. Start there and begin gluing down the twine.
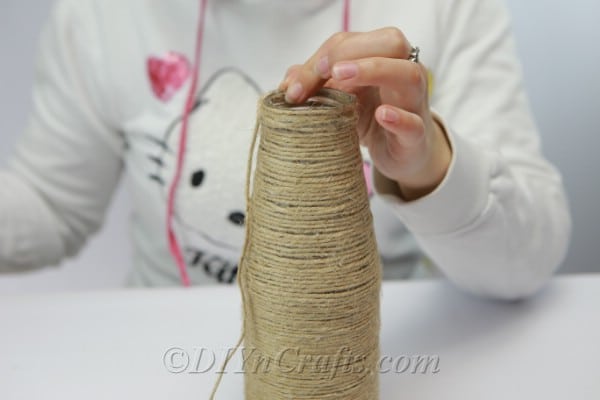
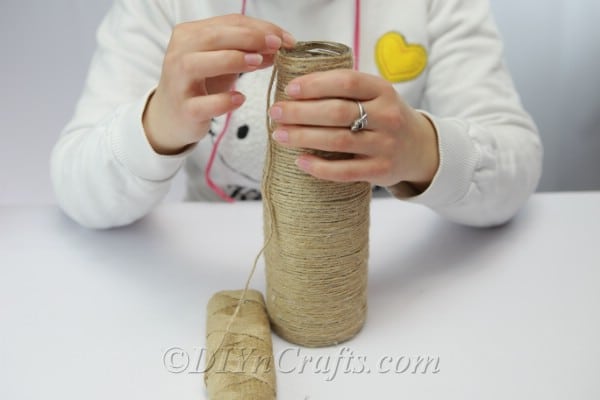
- Wrap the twine all the way around the bottle from bottom to top, making sure to glue it down as you go.
- That’s the hard part. Now comes the fun part…decorating!
- Decide what you’re going to use to decorate your rustic bottle. I chose burlap ribbon and a little artificial flower, but you can use whatever you want.
- If you are making the ribbon like I did, you need to make sure that you get burlap ribbon that has wire in it so that you can easily create the flower.
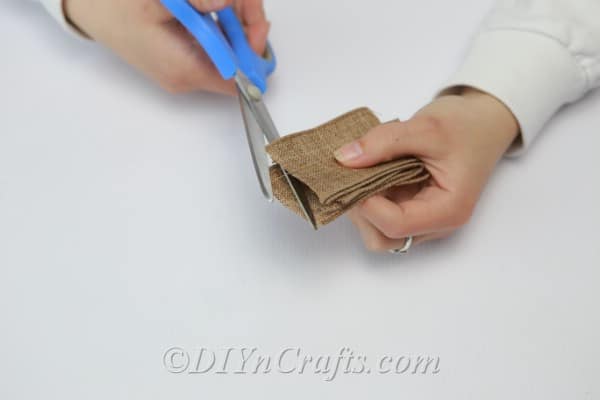
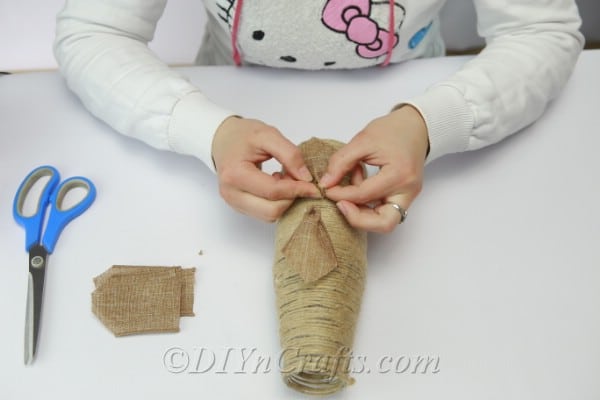
- You need to cut several squares of the ribbon and then trim all of the edges off to create the flower shape.
- I used a wider ribbon for the outside and a bit thinner one for the middle, then I added a little flower to that burlap flower.
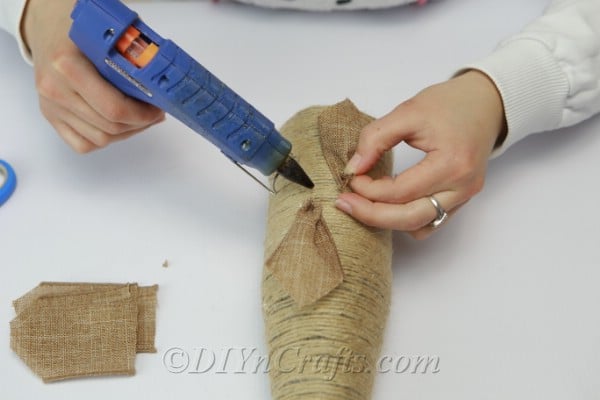
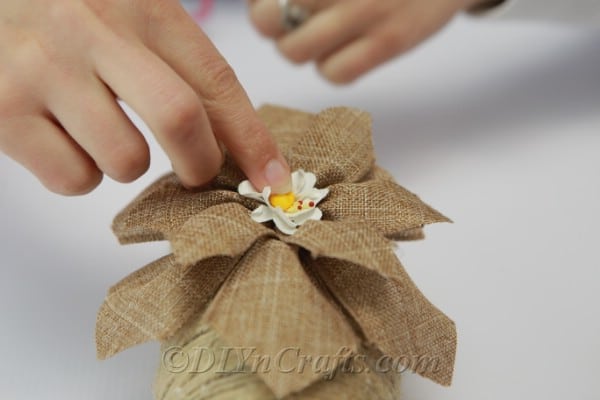
- Pinch the ends of each square and glue them onto your bottle to create a circular pattern.
- If you want, you can add a small artificial flower to the center of your burlap flower.
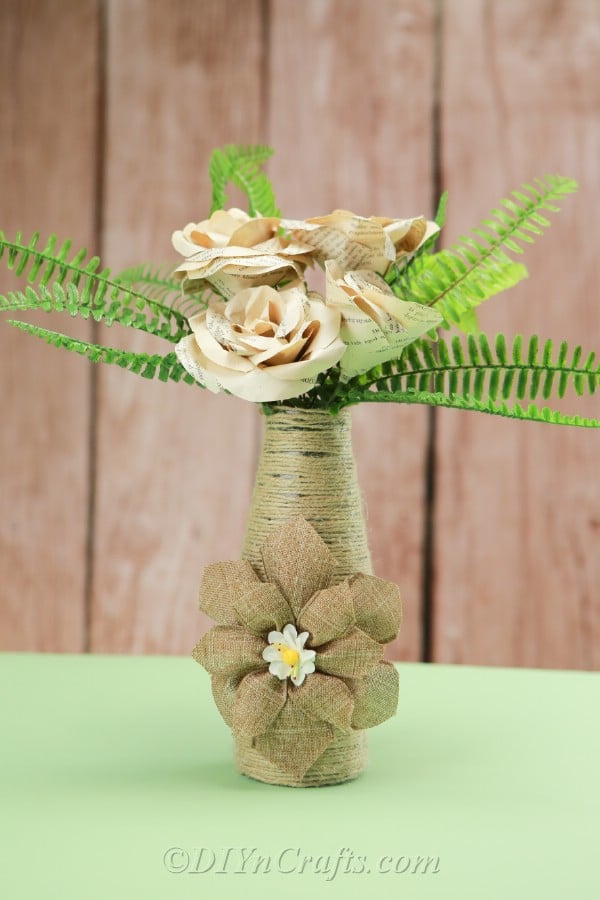
- Once you are finished, your DIY bottle vase should look something like this one:
Recommended Products
As an Amazon Associate and member of other affiliate programs, I earn from qualifying purchases.
What Other Rustic Décor Can You DIY?
Rustic decor is so in right now, and I don’t look for that fad to change any time soon. If you want to add some great farmhouse decor to your home on the cheap and easy, check out how to make this wood slice clock.
You can also find tons of ideas in these 20 rustic DIY kitchen signs, and check out these DIY rope baskets that you can make for decorative storage.
What’s your favorite DIY rustic craft?





Leave a Reply