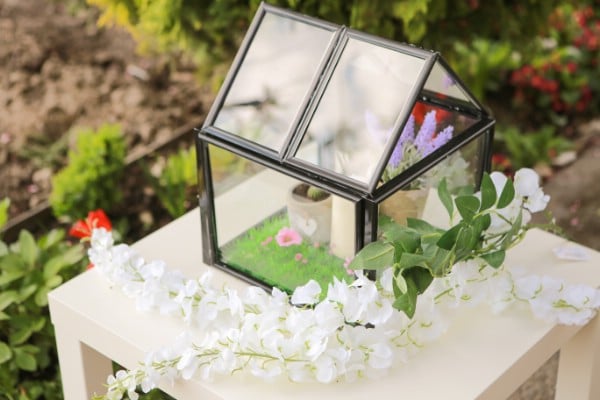
Do you know what I love most about spring? I get to go outside and plant flowers and plants! I love working in my gardens, and I love growing things indoors, too. I am so excited to show you all this fantastic DIY greenhouse that you can build from inexpensive picture frames!

Jump to:
What Can You Do With This DIY Greenhouse?
I made this to set in my garden with my flowers, but you can use it indoors, too. Once you get it built, it’s perfect for showcasing those indoor plants and flowers. Use this little DIY terrarium to grow your own flowers, herbs, or anything else that you want.
- Build a Fairy House
- Showcase plants, flowers
- Decorate with candles
What You Need To Build This DIY Greenhouse
The best thing about this DIY picture frame greenhouse is that you don’t have to spend a lot of money to make it. You can head out to the Dollar Tree and get all of the supplies that you need.
Essentially, you need four relatively large metal picture frames and four smaller ones. You can build this entire greenhouse for under $10!

What Else Can You Make From Picture Frames?
There are so many beautiful ways to repurpose a picture frame. I’ve shown you how to make this framed jeans pocket organizer – which is currently on my desk. I’ve also shown you some great, resourceful ways to repurpose picture frames.
And let's not forget that I've got some great plans for making your own full-sized DIY greenhouses. I've given you some fantastic ways to spend your time outdoors this spring!
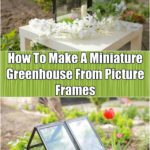
How To Make A Miniature Greenhouse From Picture Frames
Build your own mini greenhouse from inexpensive picture frames. This step-by-step video tutorial shows you how to turn those frames into the perfect terrarium for your home or yard.
Materials
- 4 large sized picture frames – 8X10s will work nicely
- 4 smaller picture frames – 5X7s work here
Tools
- Hot glue gun
Instructions
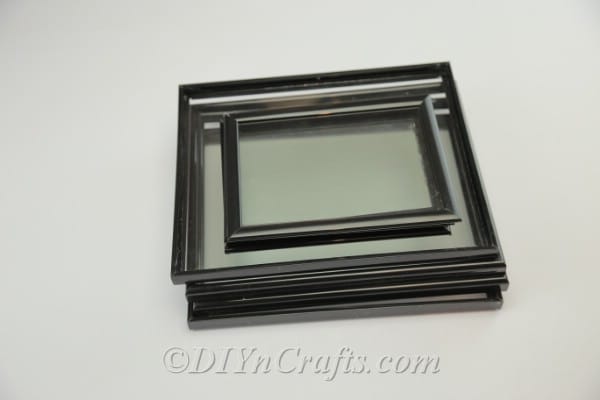 When choosing your frames, note that the smaller frames should be the same width when 2 of them are attached as 1 larger frame.
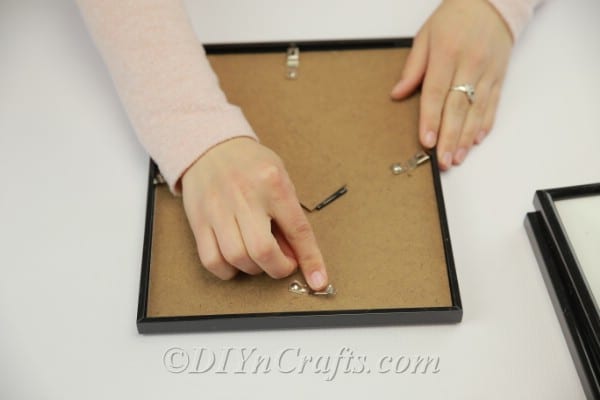
- You start by taking your frames and removing the cardboard section on the back. Save this cardboard for other DIY crafts, as you only need the actual frames and glass for this DIY greenhouse.
- Choose any color of frame that you want. I used black ones here, but they make multiple colors in metal frames. You can also paint the frames if you wish.
- If you are going to paint your frames, do this before you assemble the greenhouse. Simply remove the glass and spray paint the color that you want. Allow plenty of time for the paint to dry before you begin the assembly process.
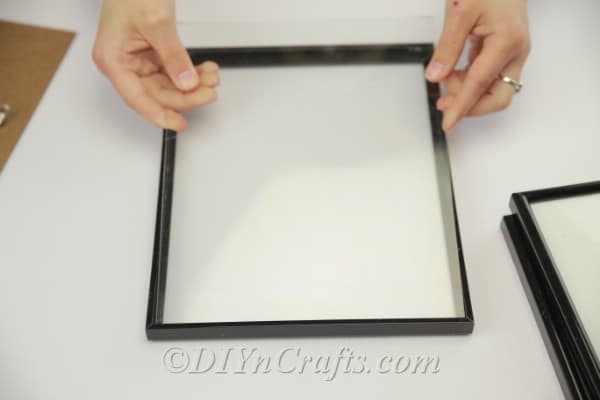
- You need to secure the glass to the frames. You will do this with your hot glue gun. Add just enough hot glue to make the glass stick securely into the frame, without using too much. You don’t want a lot of glue coming out the side of your greenhouse.
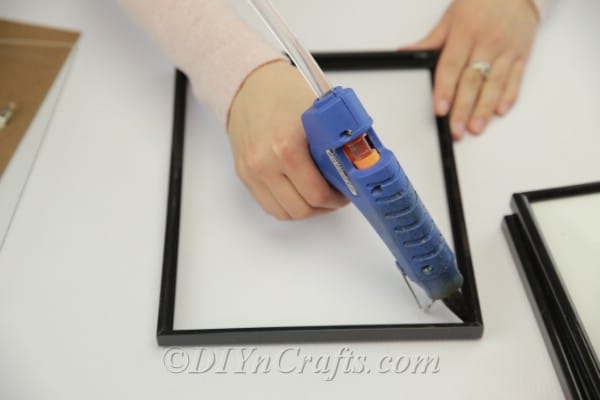
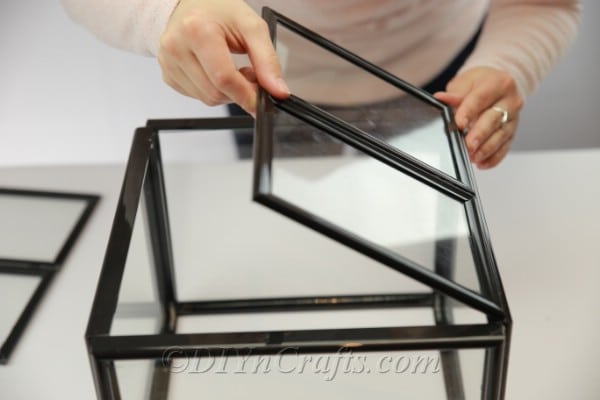
- Once the glass is securely in place, it’s time to put your greenhouse together.
- Glue the 4 large frames to each other, creating the frame for your house.
- You’re going to make a large square with these larger frames.
- Once you have the base together, you will need to glue the smaller frames on to create the roof.
- Glue 2 of the smaller frames together, and then repeat with the remaining 2 frames.
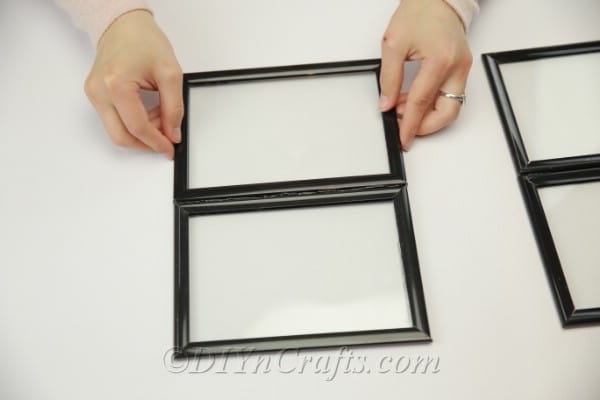
- Glue the frames onto the larger frames, creating a roof shape.
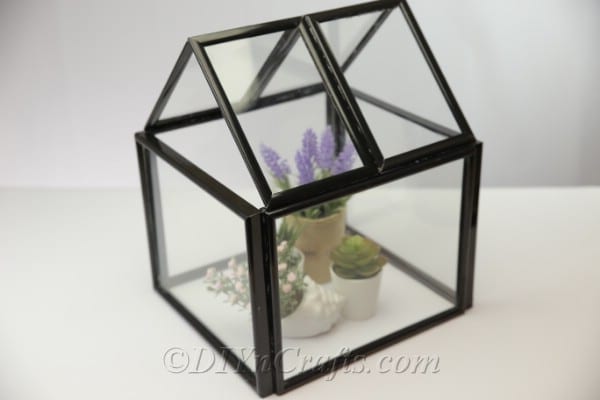
- That's all there is to it. Your finished DIY greenhouse should look a little something like this:


Lisa
What a great idea,I would of never thought of using picture frames!
Hannah
Love this craft! I'll definitely need to make this during the summer for my dorm room in the fall.
Hannah
Love this idea! I'll definitely have to make it for my dorm room and plants this summer!