Over the Easter holidays, we tend to give out a lot of candy. Most of it goes to our kids, of course, but you might also gift candy to your friends, co-workers, and other family members.
While plastic eggs and the traditional Easter basket are fun, wouldn’t it be awesome if there were some other cute, crafty ways you can share Easter candy?
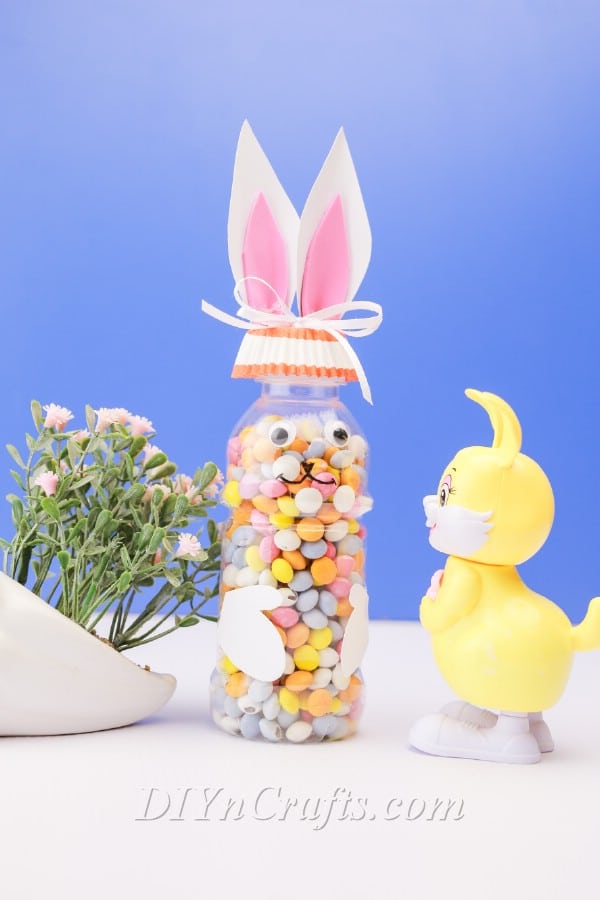
Now there is! In this Easter craft tutorial video, I show you how you can take a plain old plastic bottle and give it new life as a cute DIY Easter Bunny stocked with treats.
Jump to:
The materials and tools you will need to make this Easter bunny craft are really cheap and simple. Some of them are likely already in your crafting space now, but you might need to fetch a few things that may not be handy, like paper candy cups and pink foam sheets.
Regardless, you probably will only spend a few dollars stocking up on what you require. For the plastic bottle, you do not need a specific size or shape, but a standard water bottle should suffice.
You can read all the materials and tools you need below, along with written instructions to help you follow along as you watch the video. Let's get started on this cute and easy Easter craft.
Step-by-step photo tutorial
How to Make a Cute Easter Bunny Candy Bottle
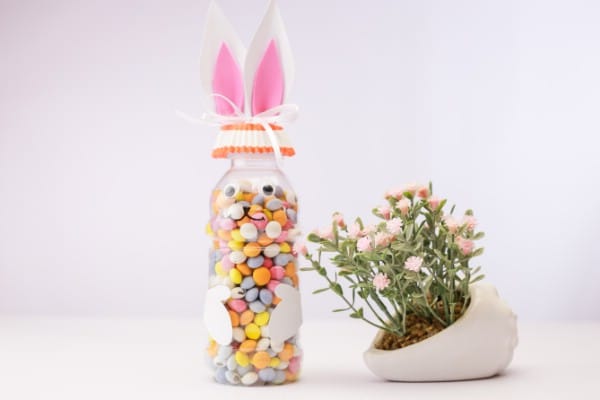
Easter is a time to share treats and sweets with friends and loved ones. Instead of just using plastic eggs and a regular Easter basket, why not get crafty this year? In this video tutorial, you can learn how to turn an ordinary plastic bottle into a cute bunny bottle with Easter treats!
Materials
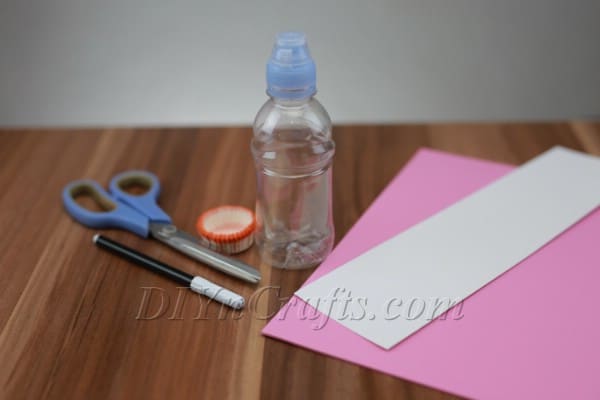
- Plastic bottle
- Pink foam sheet
- Candy cup
- White cardboard or cardstock (or even paper would be fine)
- Googly eyes
Tools
- Scissors
- Hot glue and glue gun
- Black marker
Instructions
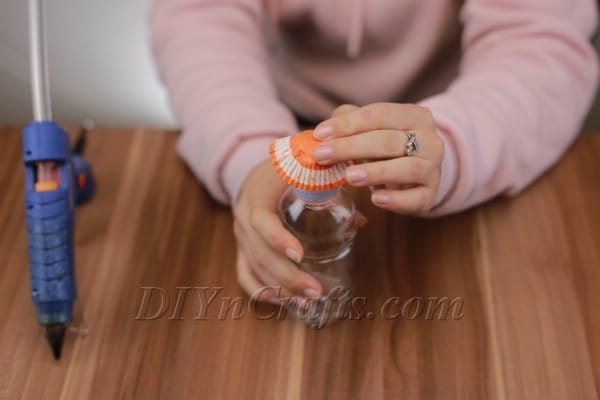
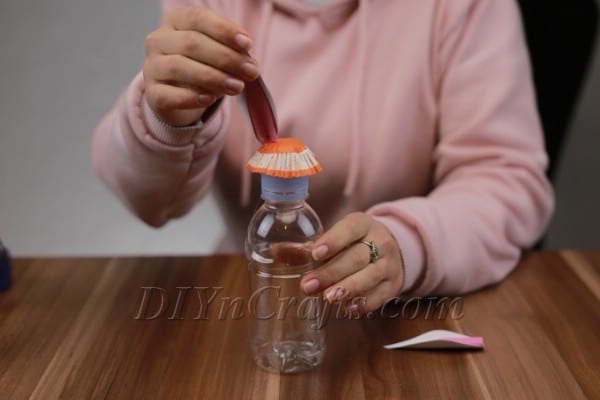
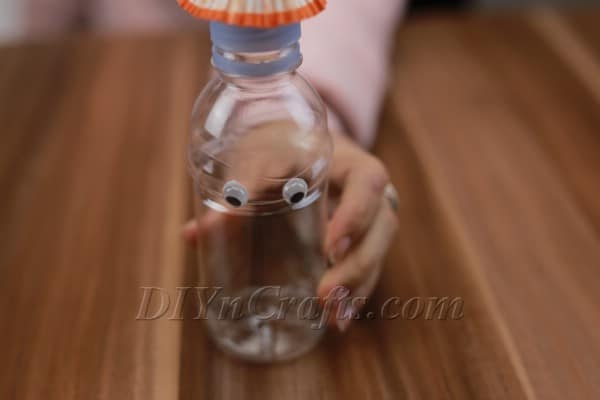
- First, get the candy cup and glue it to the top of the bottle cap.
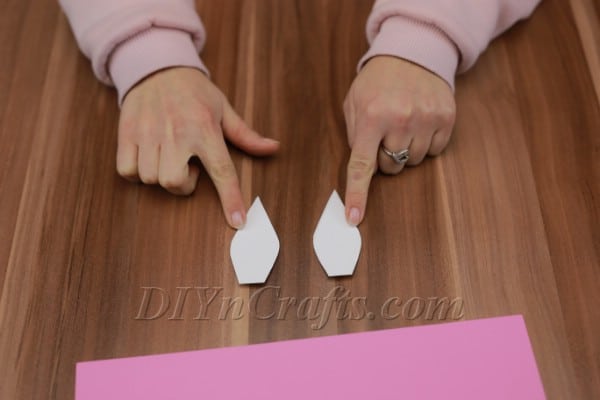
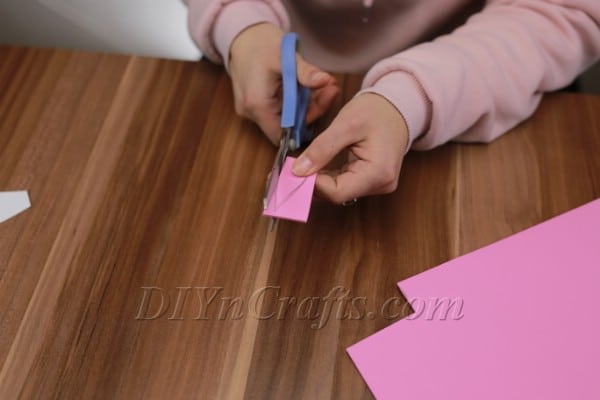
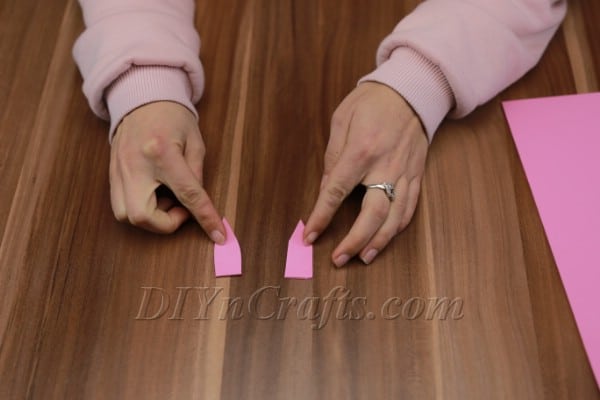
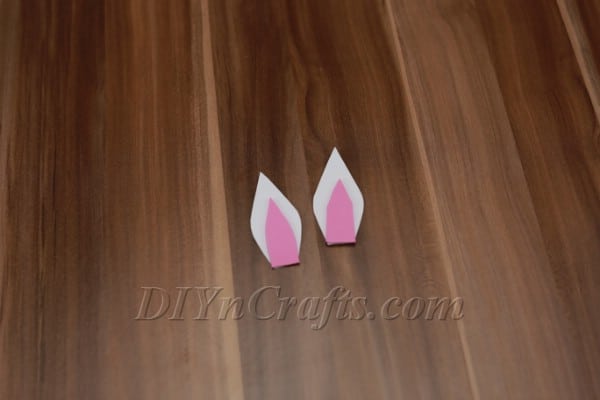
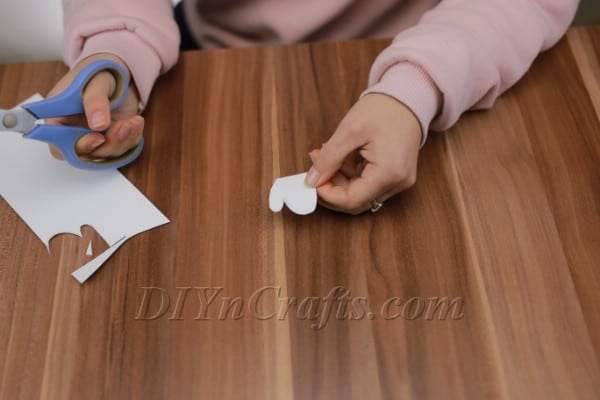
- Next, you will create the bunny's ears. To do this, you will need to cut out the shapes of the ears. First, cut them out of the white cardboard, card stock, or paper you are using. Next, cut out the same shapes, but smaller, from the pink foam sheet.
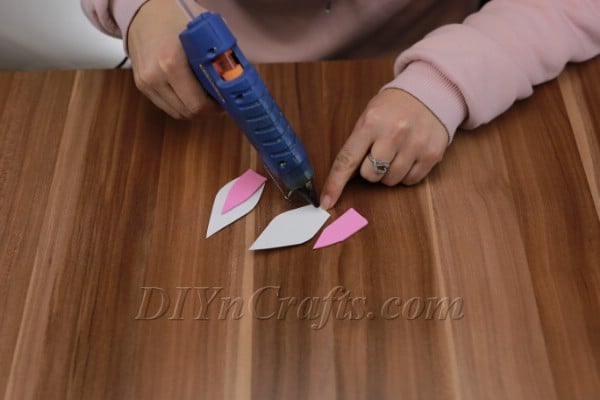
- Use hot glue to attach the pink pieces of foam to the white pieces of cardboard.
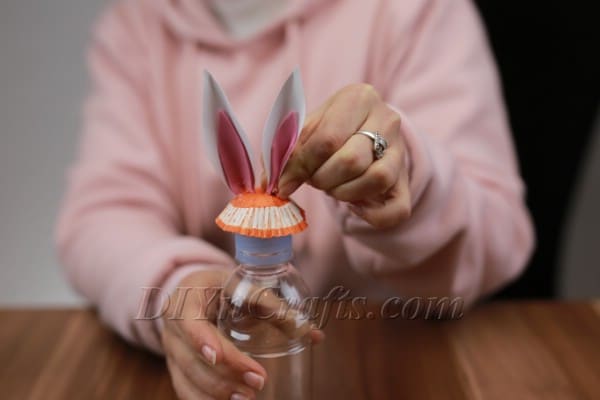
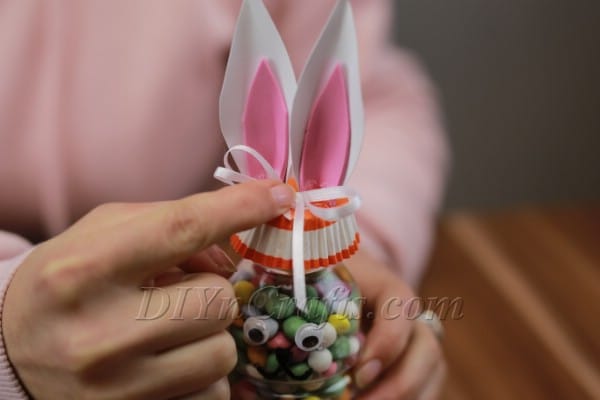
- Now you need to attach the ears to the top of the candy cup. You can do this with the hot glue as well.
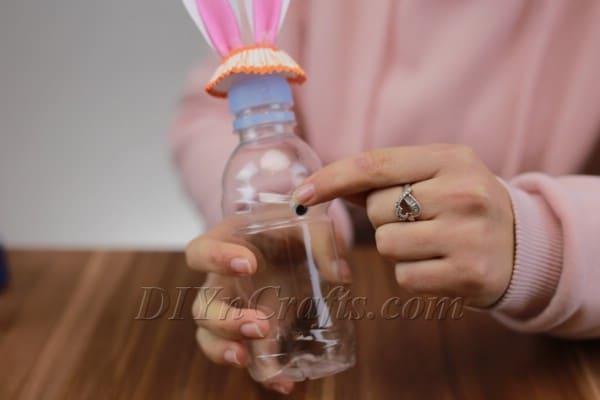
- Next, use hot glue to attach the googly eyes to the side of the bottle. It does not matter which side you put them on as the bottle is identical all the way around (at least if you have this type of bottle). Space them however you like, but just make sure they are both clearly visible on one side of the bottle.
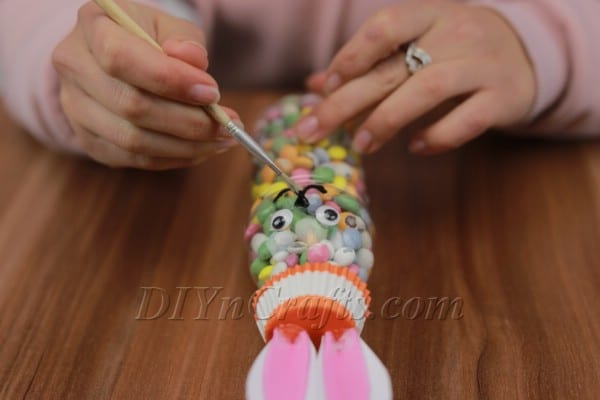
- Use the black marker to draw on the bunny’s nose and mouth below the eyes.
- Cut out a couple of paw shapes from the white piece of cardboard. Hot glue these to the sides of the bottle.
- If you want, you can attach a small ribbon or bow to the top of the bunny’s head.
- You can now carefully uncap the bottle (see the notes section below) and pour in whatever type of candy you want. Your candy bottle bunny is now ready to be given as a gift!
Notes
While I suggest using hot glue for this project, technically I see no reason why you would have to go with this type of glue. You should be able to use regular Elmer’s glue too if you want. This might make it a more accessible project for younger kids who cannot use hot glue safely.
When should you pour the candy into the bottle? Should you wait until the end of the project, or should you do it at the beginning before you even start crafting the bottle into a bunny?
I do not think it is overly important when you choose to do it, but there are a couple of considerations. If you are planning on attaching the candy cup right to the top of the bottle and discarding the cap for whatever reason, obviously you would have to put the candy in first.
But so long as you are attaching the candy cup to the cap, you should be able to remove the cap or screw it back on at any point during or after the project is completed (this is smarter both for convenience and so that the bunny can be re-used after the candy is eaten).
Recommended Products
As an Amazon Associate and member of other affiliate programs, I earn from qualifying purchases.
Video Tutorial:
Share the Joy of Easter Treats in This Cute Bunny Bottle
Once you have finished creating your bunny bottle craft, you can give it to a recipient of your choice. Whoever you choose should be delighted by the effort and time you took to present the candy in such a cute and original fashion.
Of course, just because you have tried out this craft does not mean that you do not also want to learn how to make a traditional Easter basket from scratch. Want to discover how to do so using equally cheap and mundane supplies? Check out how to craft an Easter basket out of paper.
Easter Projects
Have fun, and make sure that you check back with us again in the near future. I have a whole bunch of DIY Easter projects in store for you and will be offering lots more video tutorials in the weeks leading up to Easter.



Leave a Reply