It's hard to believe just how quickly the month of January has been passing by. But that means that we can look forward to Valentine's Day coming up fast. To get ready for Valentine's Day, I would like to share a video tutorial with you that will teach you how you can create a beautiful heart decoration for your wall using pistachio shells.
Pistachios, I am sure you are aware, have become hugely popular. For years now, they have been enjoyed as a trendy, healthy snack food. But recently, they have been finding their way into the crafting world.
This isn't the first pistachio craft that I have shared on DIYnCrafts. In another recent video, I showed you how you can use pistachio shells to create elegant wall art.
Why are so many people crafting with pistachio shells? Firstly, they are surprisingly versatile. You can make all kinds of remarkable crafts out of them. Secondly, they are cheap. You are already purchasing pistachios to eat, and if you do not use the shells, they simply go to waste.
Thirdly, pistachio shells are a nice natural material to work with and can help add some rustic charm to your DIY craft projects.
Oh yeah—the fourth reason why it is awesome to craft with pistachio shells is that you get to indulge in a delicious snack while you are working on your project! It is not like anyone needs an excuse to eat pistachios, but more pistachios are always good.
If you are ready to get started, you can find the list of materials and tools you need to create this pistachio Valentine's Day heart craft below. You can also find written instructions there to accompany the video tutorial.
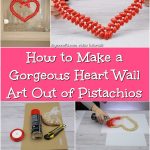
How to Make a Gorgeous Heart Wall Art Out of Pistachios

Crafts made out of pistachios are all the rage right now! If you’re looking for a fun pistachio DIY project to celebrate Valentine’s Day, check out our latest video tutorial. You’ll learn how you can make a beautiful heart decoration out of pistachio shells!
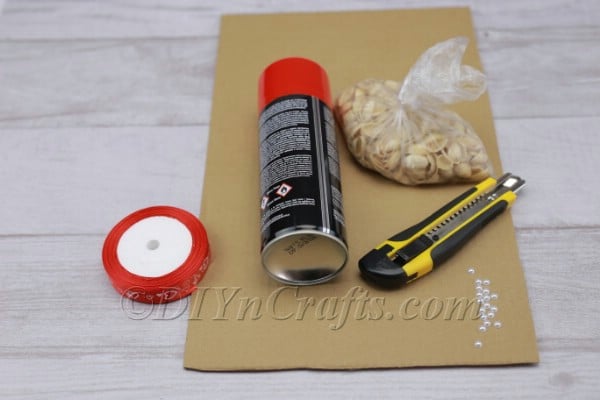
Materials
- Cardboard
- Pistachio shells
- Satin ribbon
- Red spray paint
- Pearls
Instructions
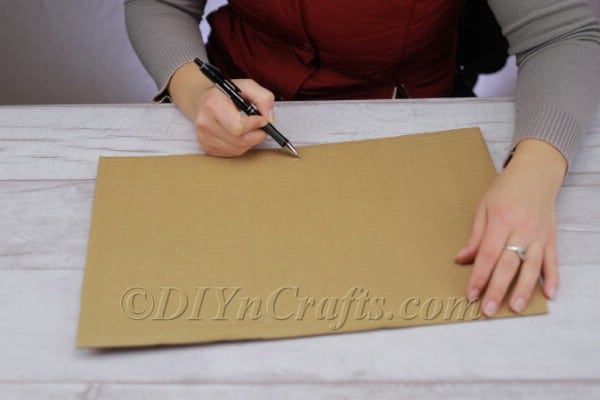
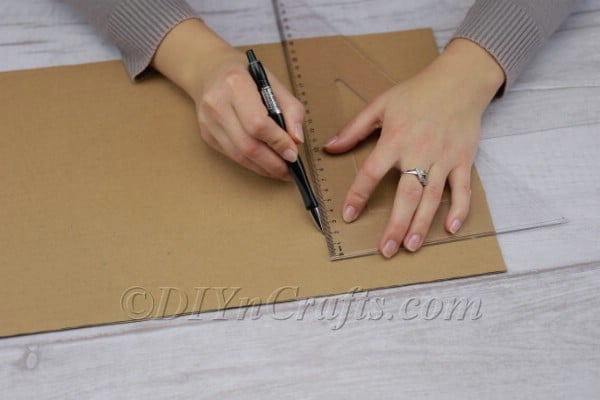
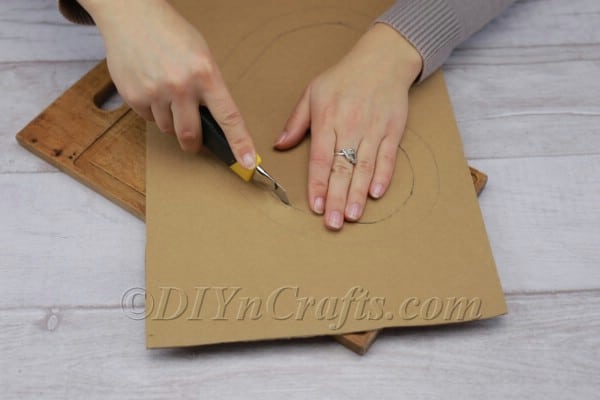
- The first supply which you need for this project a simple cardboard, like that from a box. You do not need to invest in any sort of high-quality cardboard. You will not see it in the finished result. Begin by drawing the shape of a heart on the cardboard. You will need to make a larger heart shape enclosing a smaller one, because you're going to cut out the heart like you would a wreath, with a hole in the center (in fact, you could call this a DIY wreath project). You can attempt to eyeball the shape, or you can use drafting tools to assist you with this step if you want a more precise result.
- Next, use a precision cutting tool to cut out the heart. All you need to do is follow the lines that you have drawn carefully. Take your time with this step so that you get tidy results.
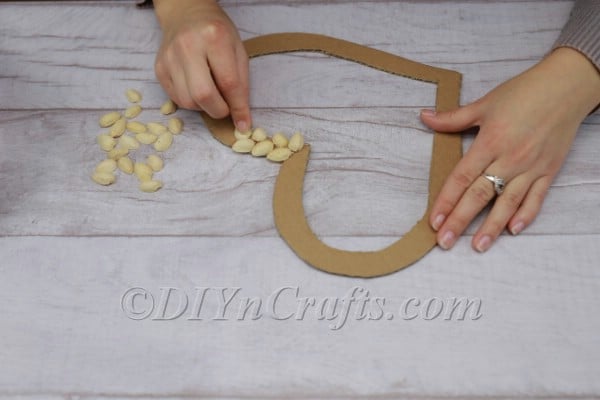
- Now it is time to use the pistachio shells. After you have removed the pistachios from the shells, break the shells in half so that they are ready to use.
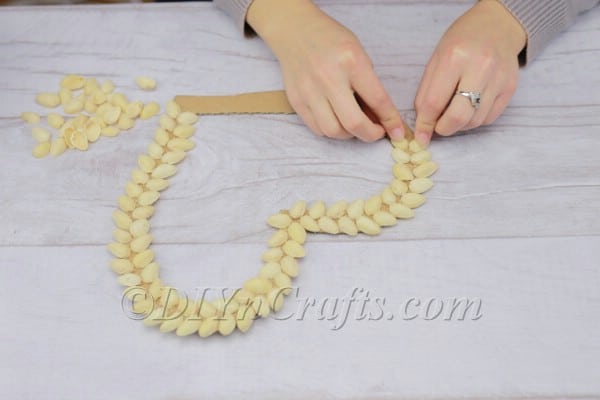
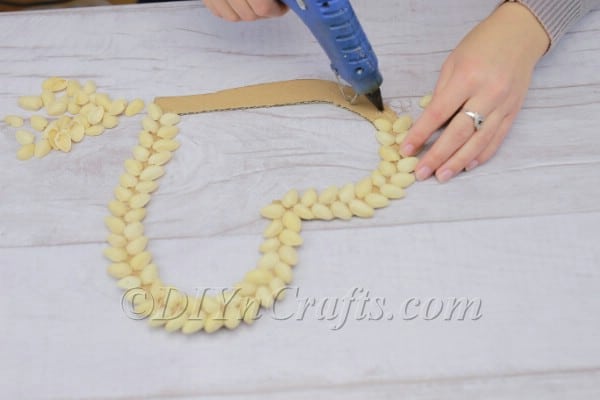
- Use hot glue to create however many rows of pistachio shells you need to cover the shape of the heart. In my case, I used two rows to do this. How many you require will depend on the width you decided on for your heart decoration. I highly recommend that you start your rows at one of the points (I started at the top point). In order to make your rows of pistachio shells look nice and neat, make sure that you angle them in some consistent fashion. I chose to angle the shells in each of my rows outward and upward. So while they are angled differently in each row, they achieve a symmetrical effect, and there is no variation in how the shells are angled within each row.
- Remember how I mentioned that I angled my pistachio shells outward and upward when working from the top point of the heart? You will notice in this photo that I did this on both sides. I worked on each side separately to create a mirror effect in the symmetry. I did not simply start at one point and then work my way all the way around. I worked from the top to the bottom of the heart on one side, and then did the exact same thing on the other side. It is best if you simply look at the photos and watch the video to try to understand what I'm saying here. It is much easier to show symmetry than it is to describe it.
- After you have glued the pistachio shells in place around the heart, wait for the glue to dry.
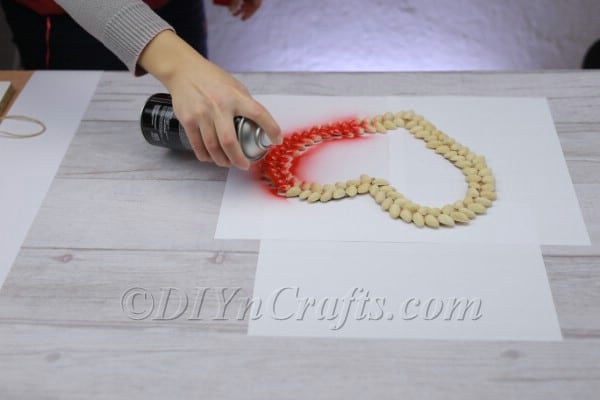
- Once the glue is dry, the next step is easy. Simply get a can of red or pink spray paint and use it to paint the entirety of the heart. There are two good reasons for using spray paint instead of regular paint and a paint brush. The first is that it saves time. The second is that it makes it much easier to get full coverage of the pistachio shells. With a brush, it would be difficult to get into the small spaces between the shells.
- Wait for the spray paint to dry completely.
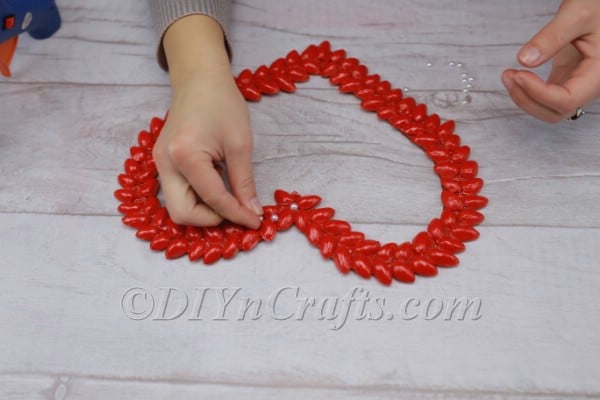
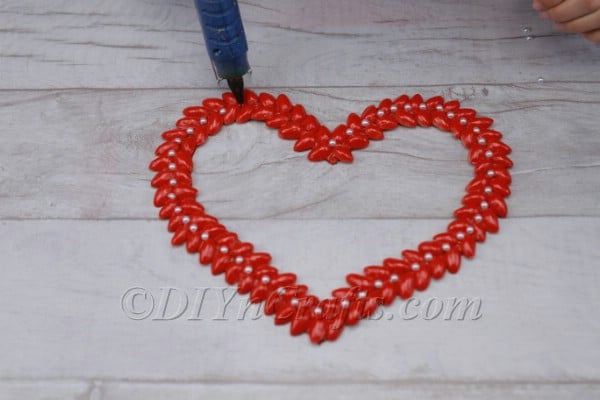
- The next step is to hot glue some faux pearls between the pistachio seeds all the way around the heart. This really glams up the project and gives it an elegant look.
- Finally, use ribbon to create a bow at the top of the heart, and to make a loop to hang it by. Display it anywhere to celebrate Valentine’s Day!
Recommended Products
My favorite Etsy heart items (Affiliate links)
Video Tutorial:
Enjoy the Simple But Stunning Valentine’s Day Decoration You Have Created Out of Ordinary Pistachios
You now know how you can create a DIY Valentine’s Day decoration using the simplest, cheapest of supplies: some pistachio shells, some cardboard, and a little spray paint and hot glue with a few faux pearls!
If you enjoyed doing this project, make sure that you watch some of our other Valentine’s Day DIY craft video tutorials.











Candace Parker
Heart is beautiful.