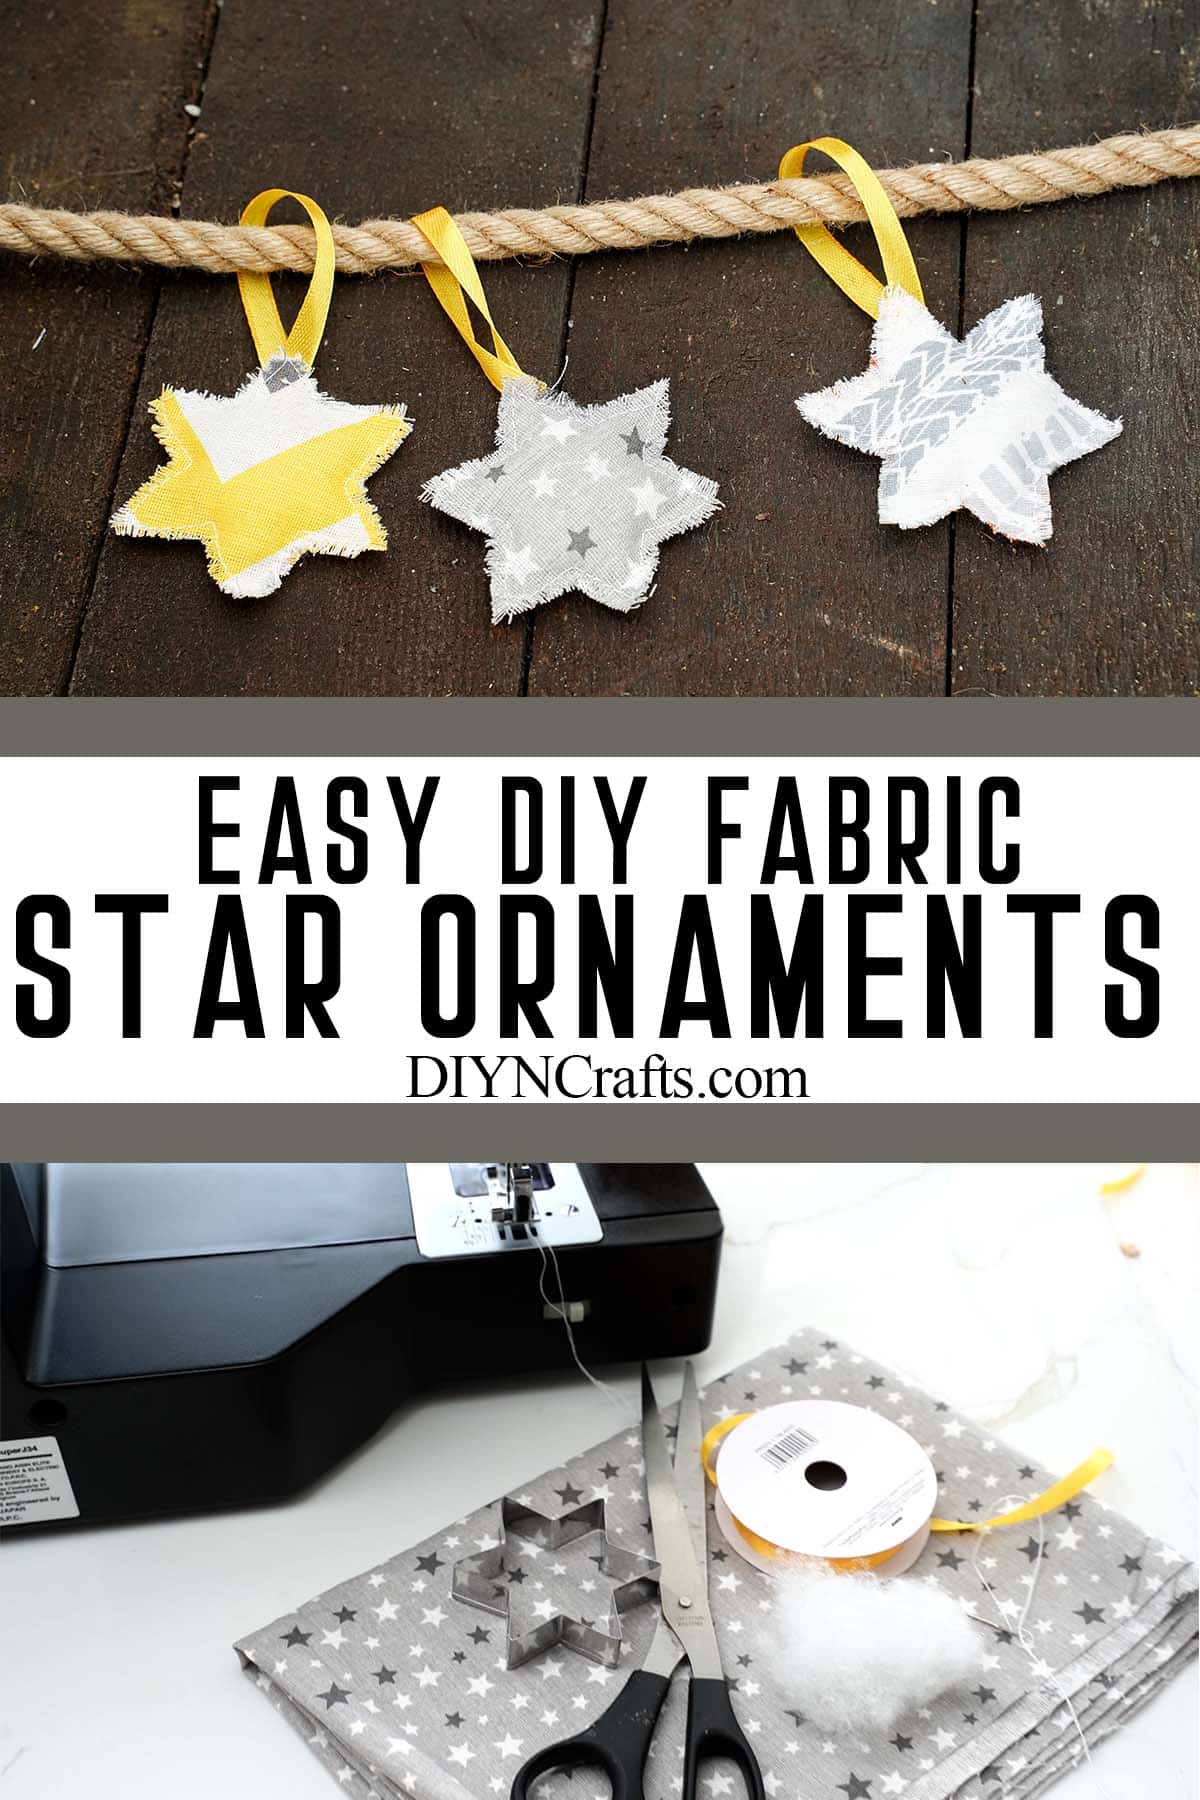
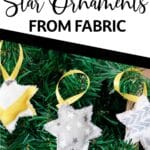
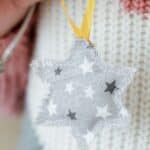
This holiday season, why not add a little extra sparkle to your Christmas tree with some DIY fabric star ornaments? These star ornaments are easy to make and will add a unique touch to your holiday decorations.
Jump to:
- Fabric Star Christmas Ornaments
- Supplies Needed
- How to Make Fabric Star Christmas Ornaments
- Personalizing Your Fabric Star Ornaments
- Sewing Tips to Make Handsewn Christmas Ornaments
- What Are Different Fabric Ornament Designs You Can Make?
- More DIY Holiday Gift Ideas and Tutorials
- Materials
- Tools
- Instructions
- Recommended Products
Fabric Star Christmas Ornaments
Making your own fabric star ornaments is a great way to add a personal touch to your Christmas decorations. Need more fun gift ideas for the holiday season? Check out this huge list of Gifts from Leftover Yarn that People Love.
Supplies Needed
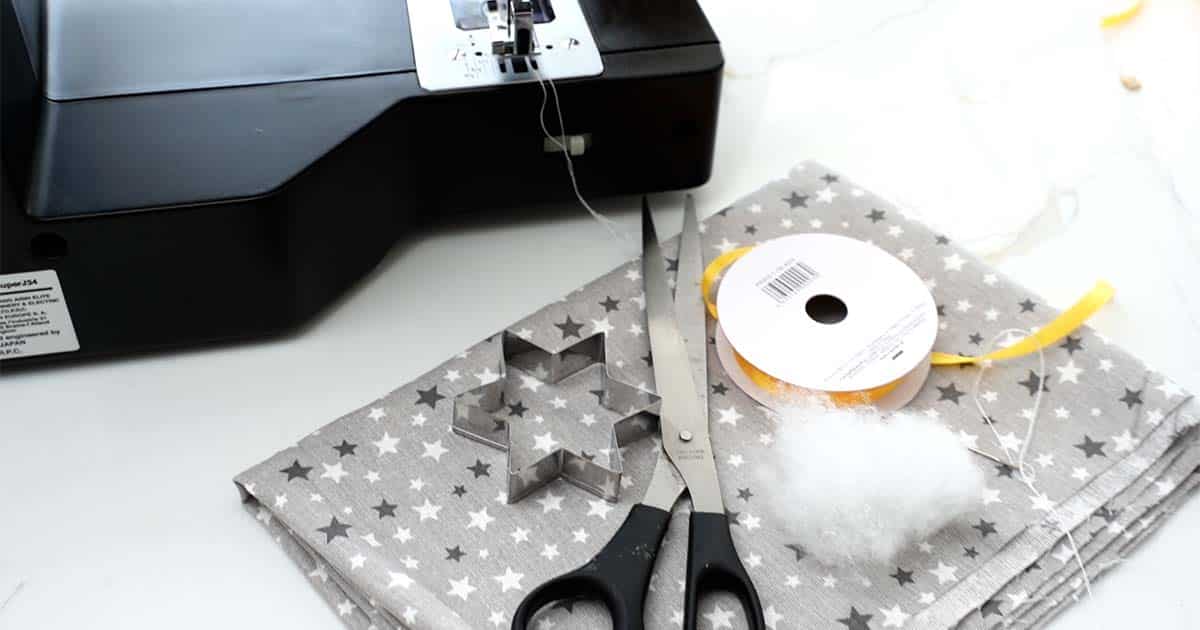
Creating fabric star ornaments is a great way to add a unique touch to your Christmas decorations. These DIY star ornaments are easy to make and can be customized to fit any style. All you need is:
- Sewing machine
- Star mold (or star template from cardboard)
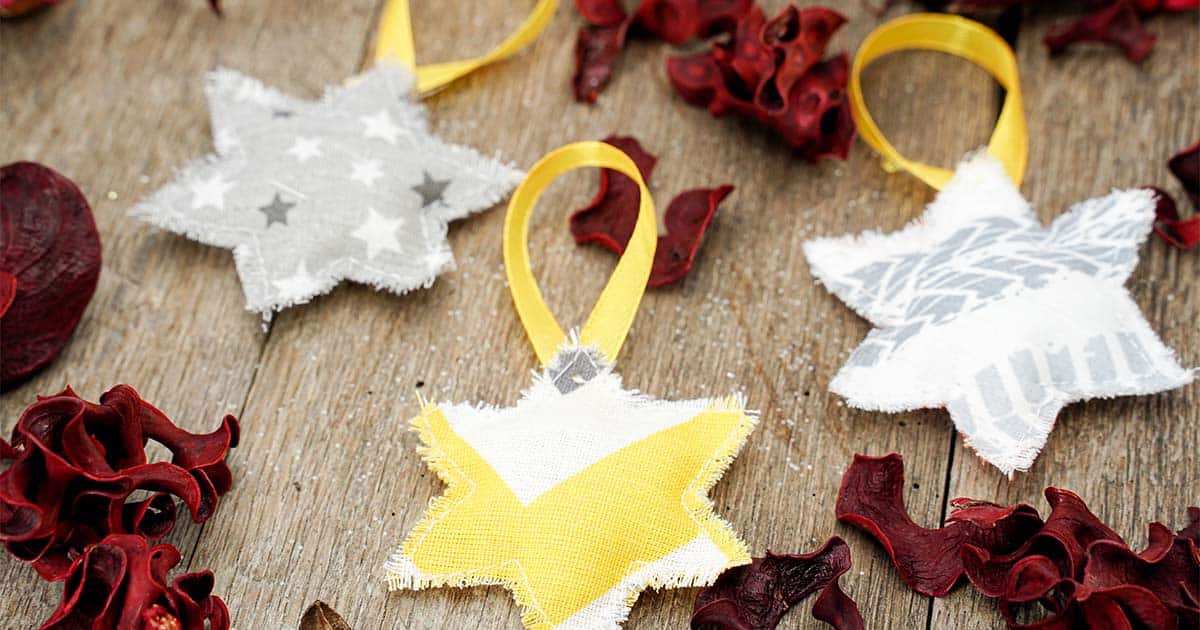
- Fabric (patterned or one color)
- Scissors
- Satin ribbon
- Needle and thread
- Pillow filling
- Pen or pencil
How to Make Fabric Star Christmas Ornaments
Video Tutorial:
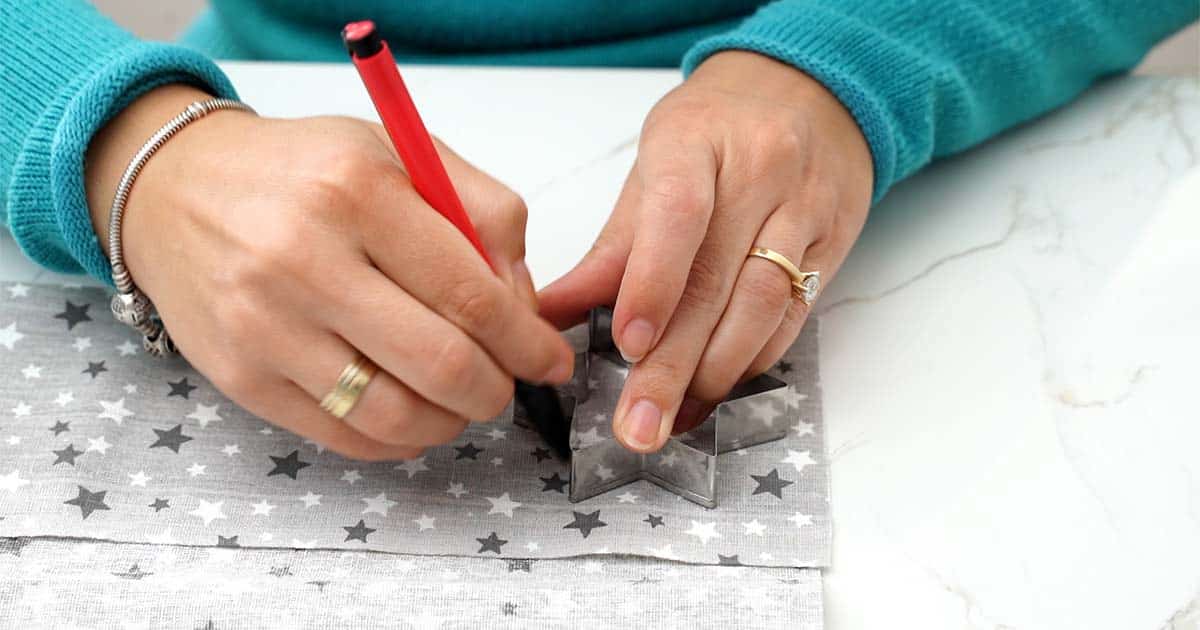
Fold the fabric in half, place the mold or the template you will be using, and draw the star shape on the fabric using a pen or pencil.
Cut the fabric using good scissors.
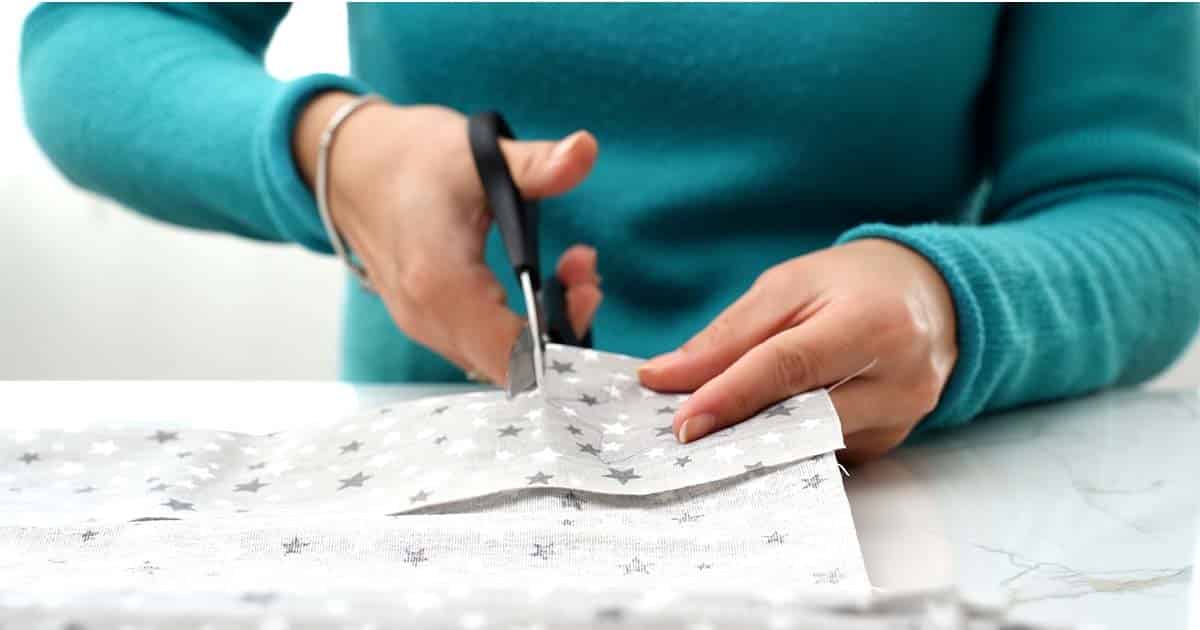
When you have the two stars start sewing them together on the machine leaving some space from the edge.
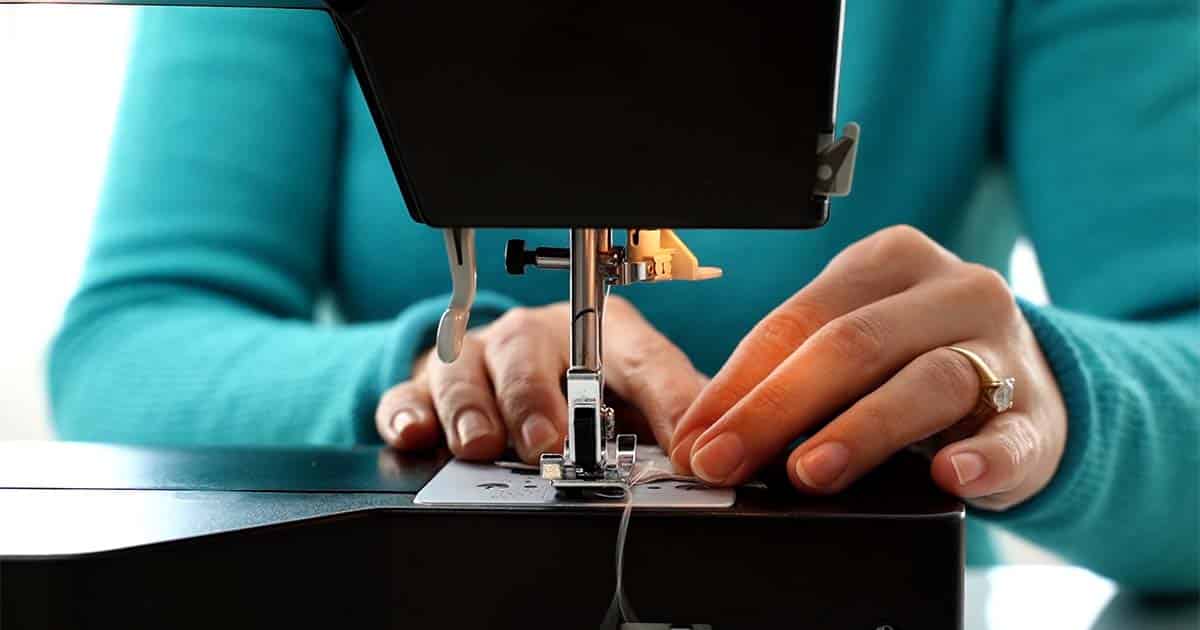
Stop before you reach the end and fill the star with a small amount of pillow filling. Continue sewing to close the star.
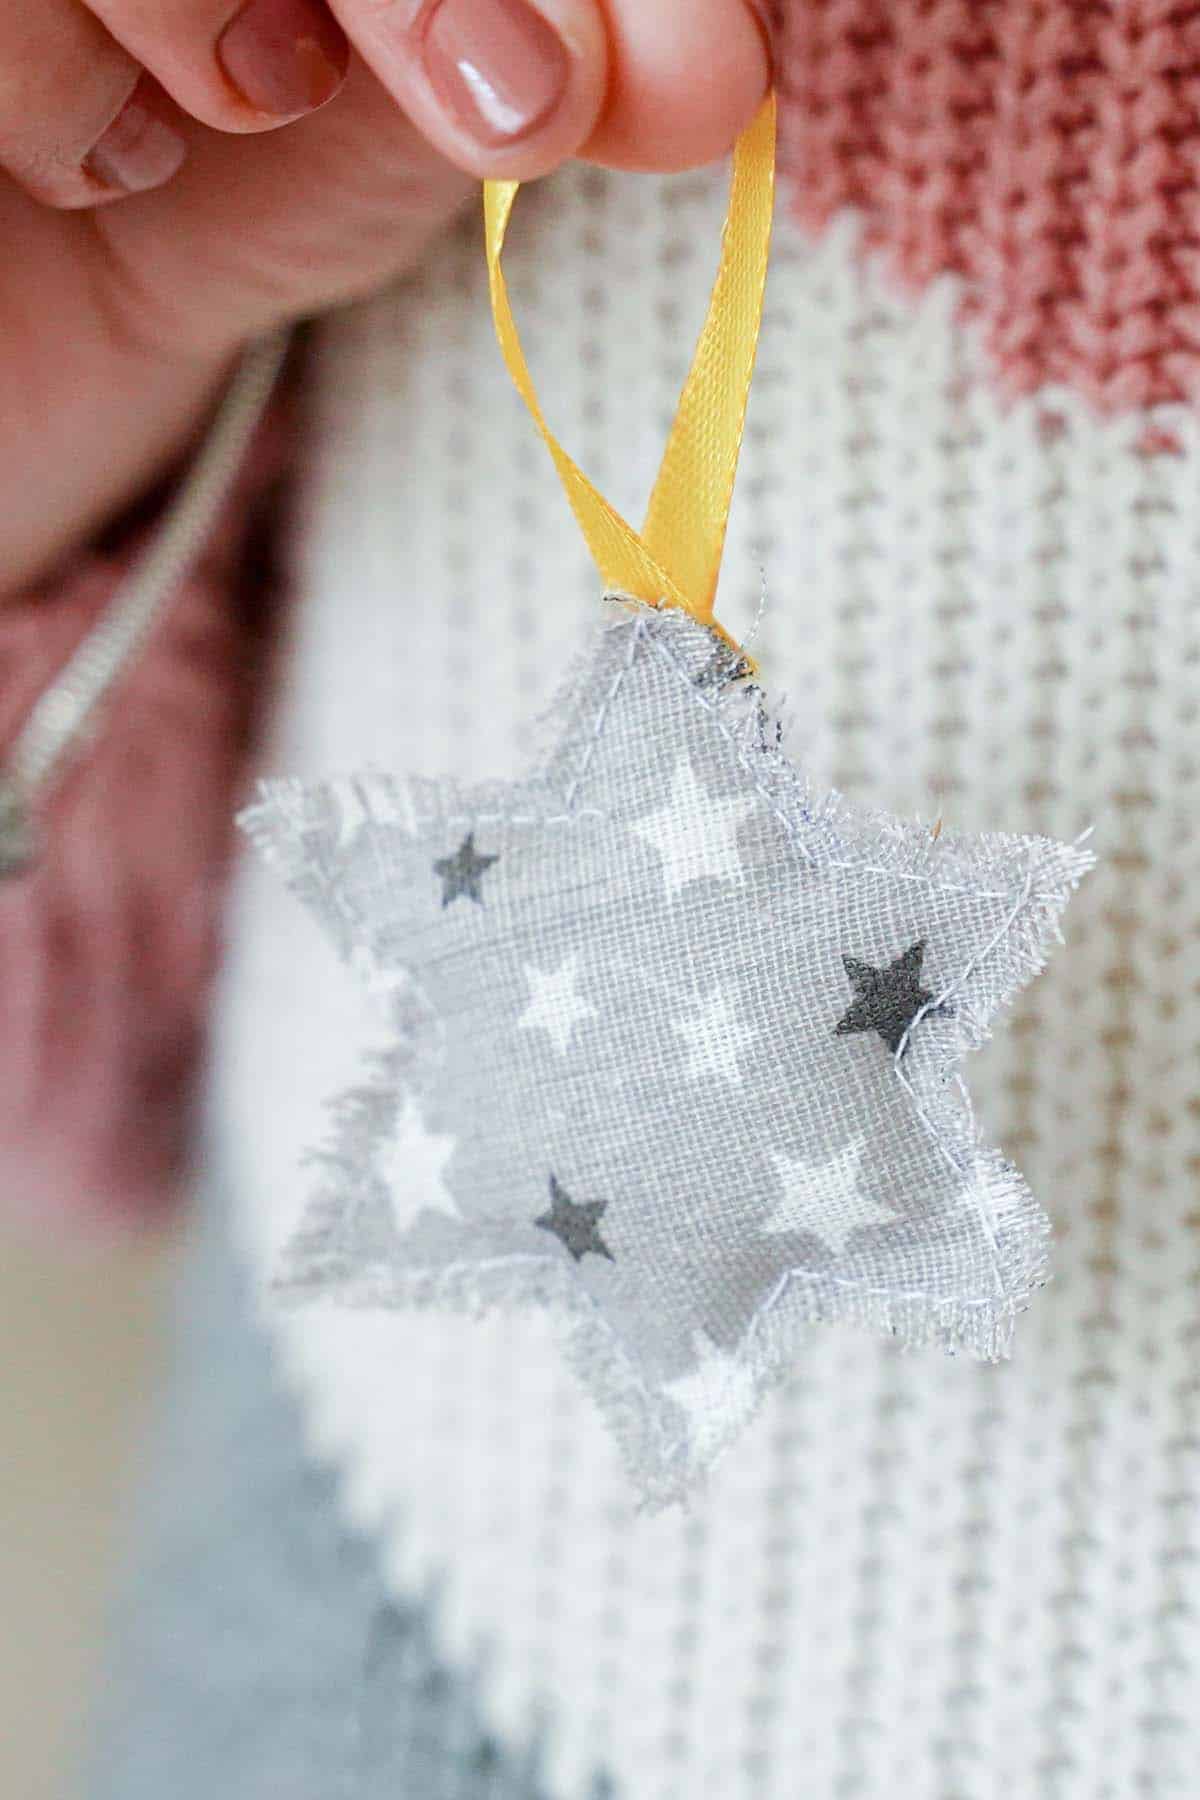
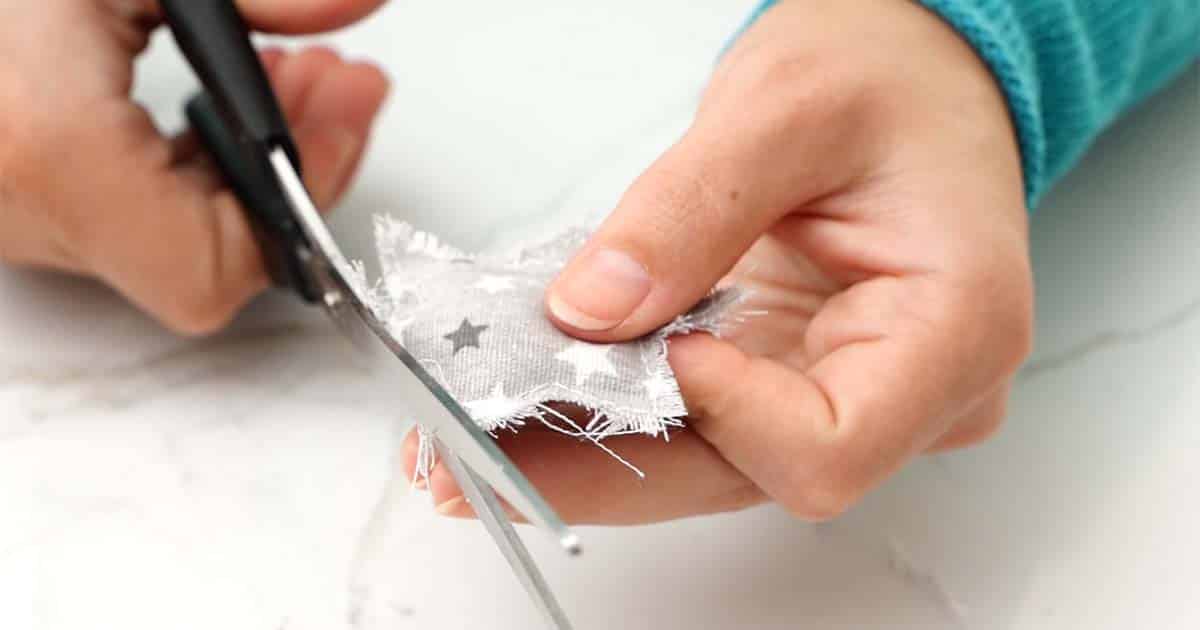
Go around the edges of the star and loosen the ends of the fabric to make it look fluffy and cottage. If there are any longer ends, cut them using scissors.
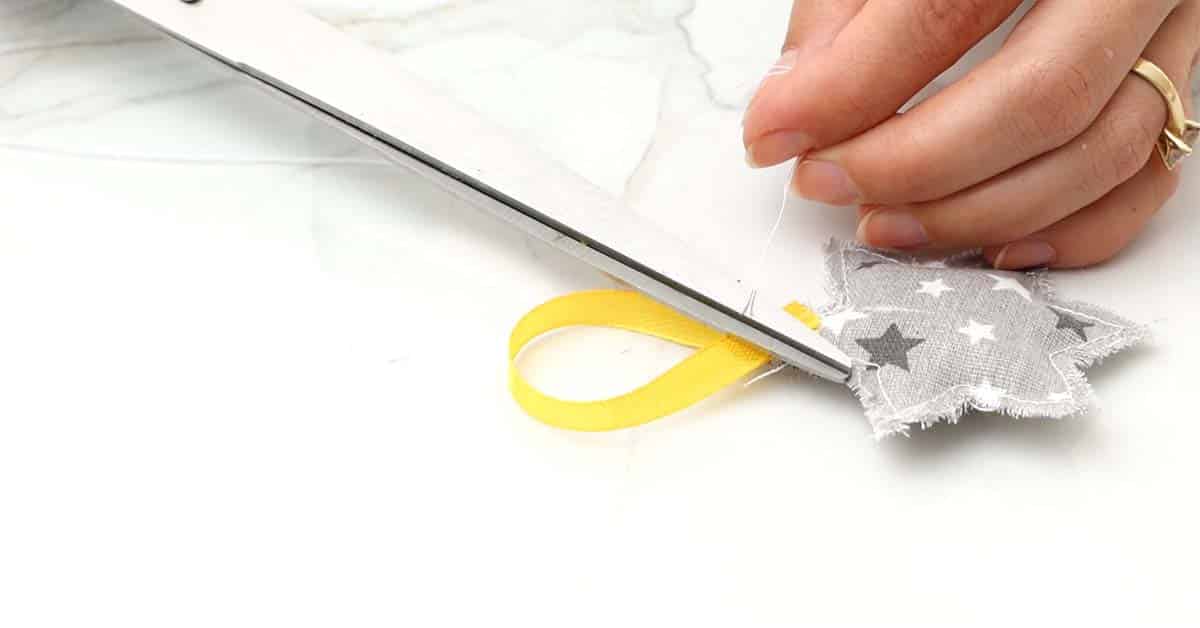
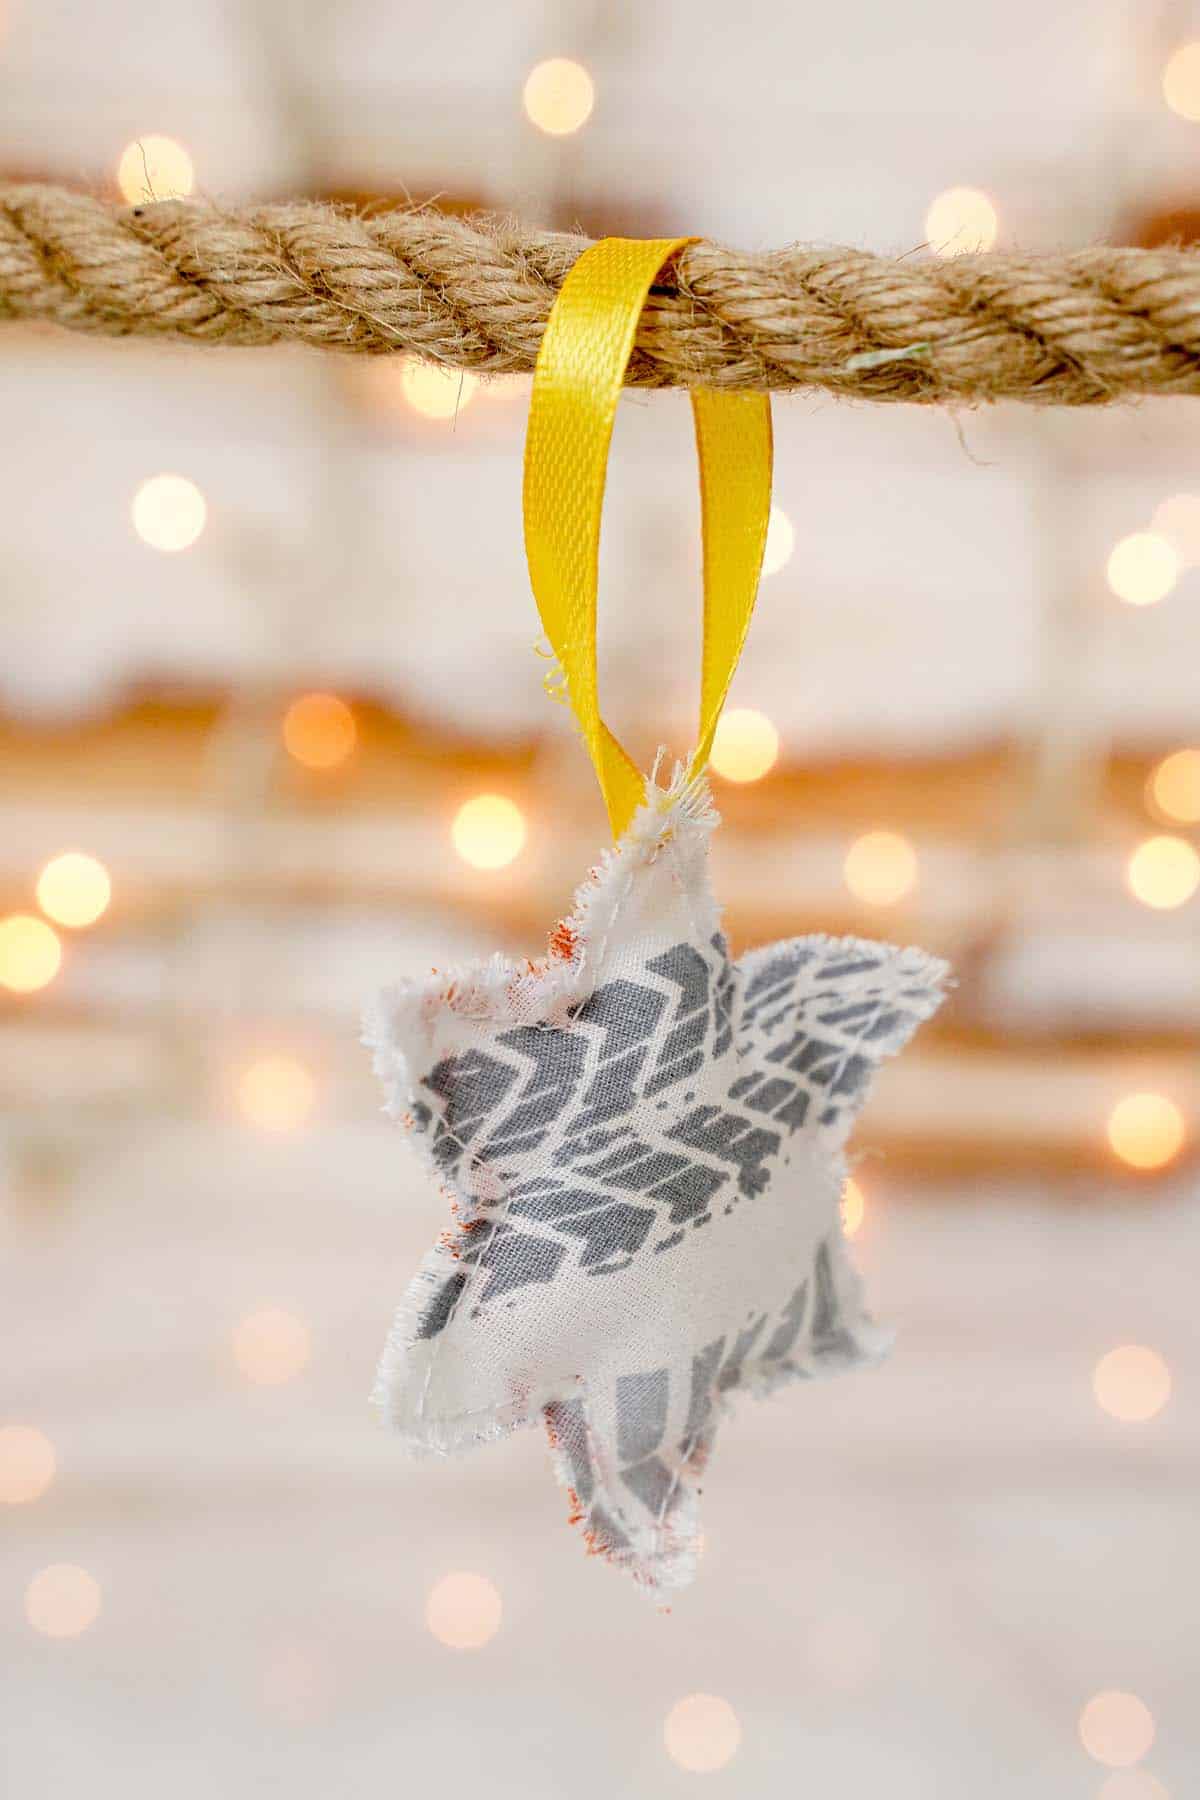
Cut a small piece of satin ribbon, fold it in half and sew it on the back side of the star so you can hang it. Repeat the procedure to make as many stars as you want and hang them on the Christmas tree or make a garland.
Personalizing Your Fabric Star Ornaments
Adding personal touches to your fabric star ornaments can make them even more special. If you're looking to add a bit of pizzazz to your ornaments, consider using embroidery or fabric paint to customize them.
Embroidery can be a wonderful way to add detail and texture to your fabric stars. You might choose to embroider the edges of the star, or perhaps add a monogram or special date in the center. When embroidering, ensure you have an embroidery hoop to keep the fabric taut and use a variety of stitches like the running stitch, back stitch, or chain stitch to create interesting designs.
Fabric paint, on the other hand, offers a world of creative possibilities. Use it to add dots, stripes, or even hand-drawn designs to your stars. For a more personal touch, consider creating a stencil of a favorite symbol, letter, or number, and use fabric paint to apply it to the stars. Remember to place a piece of cardboard or plastic inside the ornament when painting to prevent the color from seeping through to the other side.
By using embroidery or fabric paint, you can turn your DIY fabric star ornaments into personalized works of art that reflect your unique style and holiday spirit.
Sewing Tips to Make Handsewn Christmas Ornaments
When it comes to making your hand-sewn ornaments, mastering some basic sewing techniques can make the process easier and more enjoyable. Here are a few tips:
Choosing the Right Needle: For most fabrics, a universal needle is suitable. However, for heavier fabrics like denim or corduroy, you might need a heavier-duty needle.
Thread Selection: The color and quality of your thread are important. Choose a color that complements your fabric, and opt for a high-quality cotton or polyester thread for durability.
Knotting Your Thread: To prevent your thread from coming undone, make sure to knot it securely. You can do this by making a loop at the end of the thread and pulling the end through it.
Running Stitch: This is one of the most basic stitches and is perfect for beginners. Simply weave your needle in and out of the fabric in a straight line.
Backstitch: This is a stronger stitch that starts like a running stitch but goes back on itself for added strength. This is useful when sewing parts of the star that might need a little extra stability.
Finishing Your Stitches: To finish off, make a small backstitch and then thread the needle through the loop before pulling tight. This will secure your stitch and prevent it from coming undone.
Remember, practice makes perfect. Don't be discouraged if your first few attempts don't turn out as you'd like. With patience and practice, you'll soon be sewing like a pro!
What Are Different Fabric Ornament Designs You Can Make?
Fabric ornaments offer a fantastic opportunity to experiment with different designs and styles, reflecting your personal tastes and the theme of your holiday decor. Here are a few fabric ornament designs to inspire your creativity:
1. Patchwork Ornaments:
Patchwork ornaments are a great way to use up fabric scraps while creating something beautiful. Combine different colors, patterns, and textures to make your ornament stand out. You can stick to a traditional star shape, or try other festive shapes like hearts, trees, or even snowflakes.
2. Appliqué Ornaments:
Appliqué involves sewing smaller pieces of fabric onto a larger piece to create a picture or pattern. You could create a holiday scene, a festive symbol, or even a monogram. The sky's the limit with appliqué!
3. Quilted Ornaments:
Quilted ornaments bring the charm and texture of quilting to your Christmas tree. These ornaments involve sewing pieces of fabric together in a pattern, then stitching through all layers in a decorative design. Quilted ornaments can be as simple or as intricate as you'd like, making them a perfect fit for any skill level.
4. Fabric Ball Ornaments:
Fabric ball ornaments are a classic choice that can be customized in countless ways. Wrap fabric strips around a foam or styrofoam ball, secure them with pins or glue, and add a ribbon for hanging. Mix and match fabrics for a diverse and interesting look.
5. Fabric Tassel Ornaments:
Fabric tassel ornaments bring a touch of whimsy and fun to your holiday decor. Cut strips of fabric, gather them at one end, and secure with a knot or ribbon to create a tassel. These can be made with one color or multiple colors for a more playful feel.
Each of these designs offers a unique aesthetic and gives you the opportunity to express your creativity and style. So, pull out your fabric stash and start creating your fabric ornaments today!
More DIY Holiday Gift Ideas and Tutorials
Below are more adorable and fun ideas to make and gift this holiday season. Pick your favorites and bookmark them to make soon!
- 20 Easy Jams and Jellies that Make Great Gifts
- 100 DIY Holiday Gifts that People Actually Want
- 25 DIY Hostess Gifts That Will Definitely Get You Invited Back
- 30 Festive Gifts in a Jar to Make the Perfect Holiday Gift
- 30 Unique DIY Gifts for Men for Any Occassion
Fabric Star Christmas Ornaments
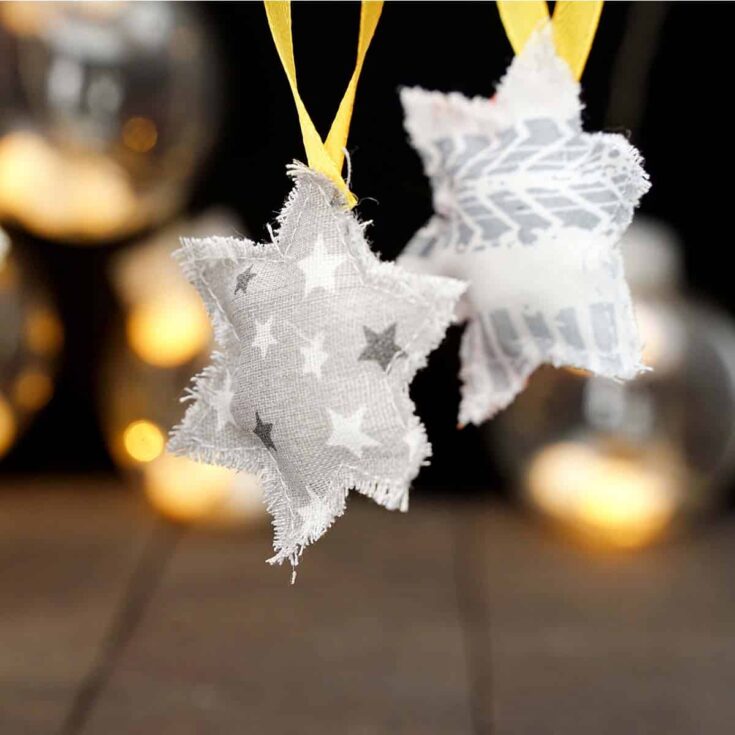
These DIY fabric star ornaments are easy to make and will add a unique touch to your tree. All you need is some fabric, scissors, and a bit of creativity.
Materials
- Fabric (patterned or one color)
- Satin ribbon
- Pillow filling
Tools
- Sewing machine
- Star mold (or star template from cardboard)
- Scissors
- Pen or pencil
- Needle and thread
Instructions
- Fold the fabric in half, place the mold or the template you will be using and draw the star shape on the fabric using a pen or pencil.
- Cut the fabric using good scissors.
- When you have the two stars start sewing them together on the machine leaving some space from the edge.
- Stop before you reach the end and fill the star with a small amount of pillow filling. Continue sewing to close the star.
- Go around the edges of the star and loosen the ends of the fabric to make it look fluffy and cottage. If there are any longer ends, cut them using scissors.
- Cut a small piece of satin ribbon, fold it in half and sew it on the back side of the star so you can hang it. Repeat the procedure to make as many stars as you want and hang them on the Christmas tree or make a garland.
Recommended Products
As an Amazon Associate and member of other affiliate programs, I earn from qualifying purchases.









Leave a Reply