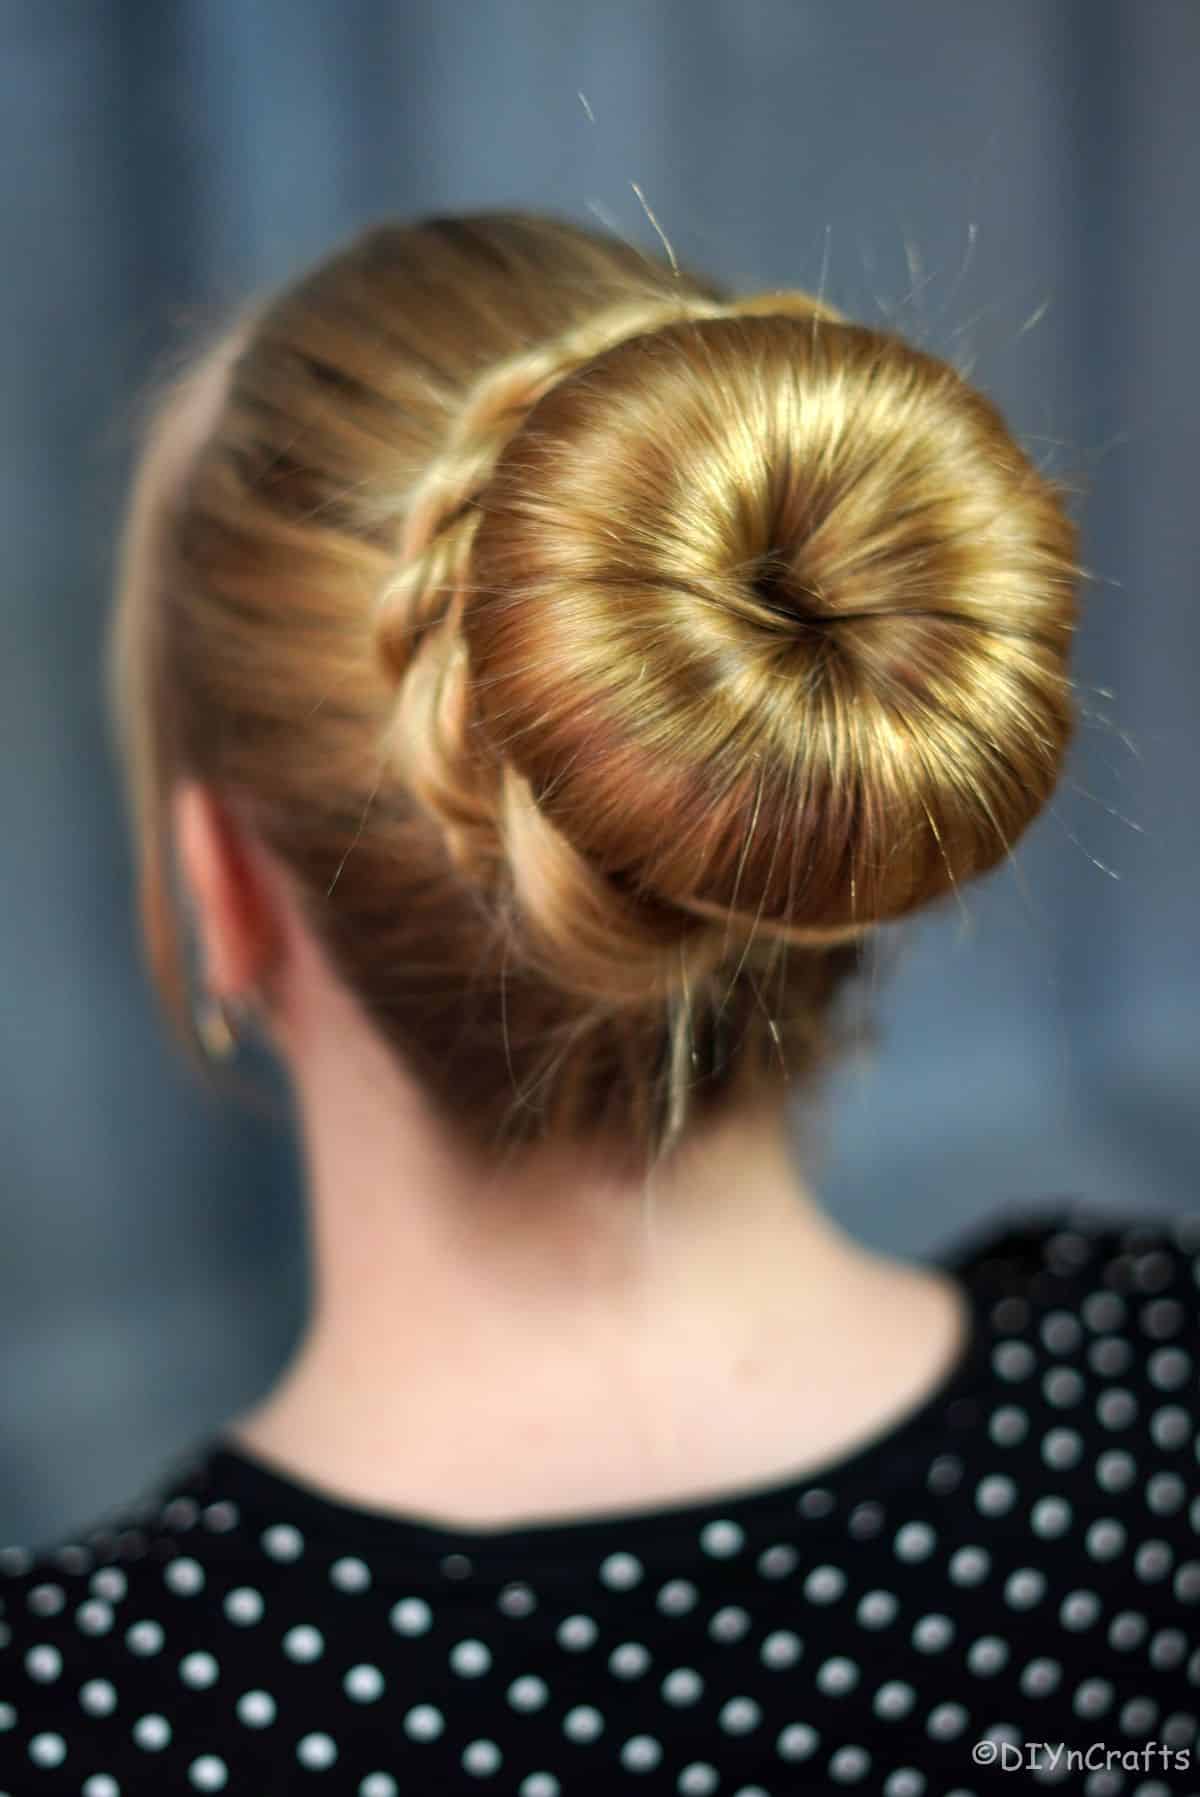
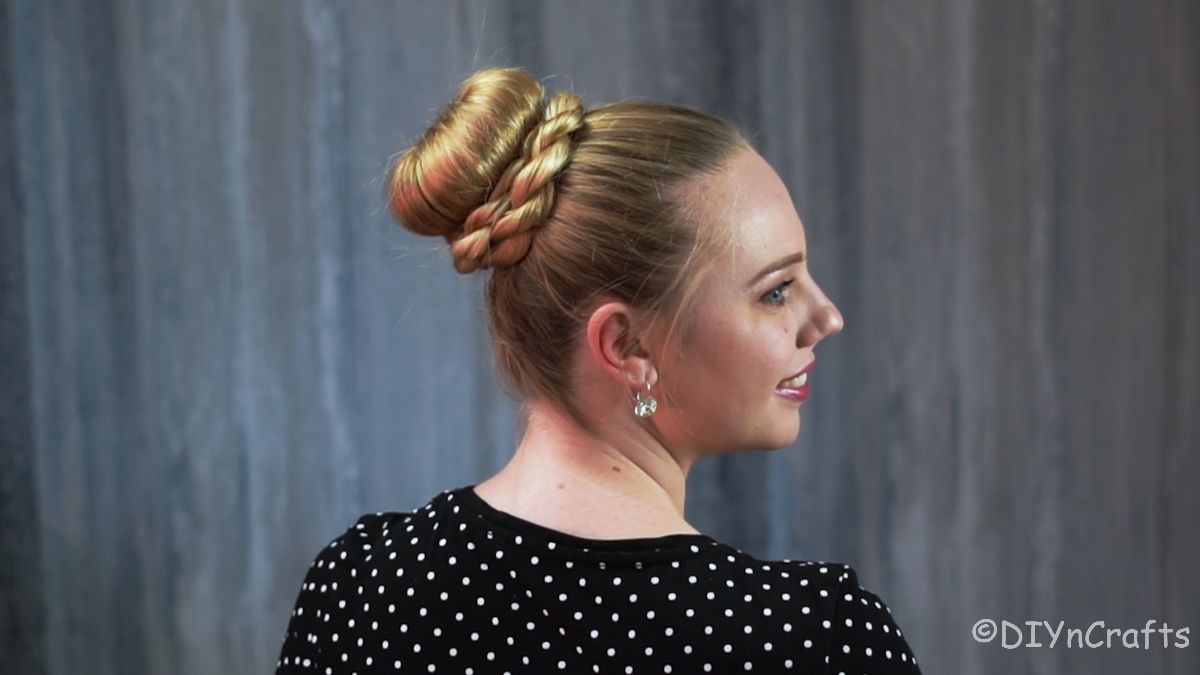
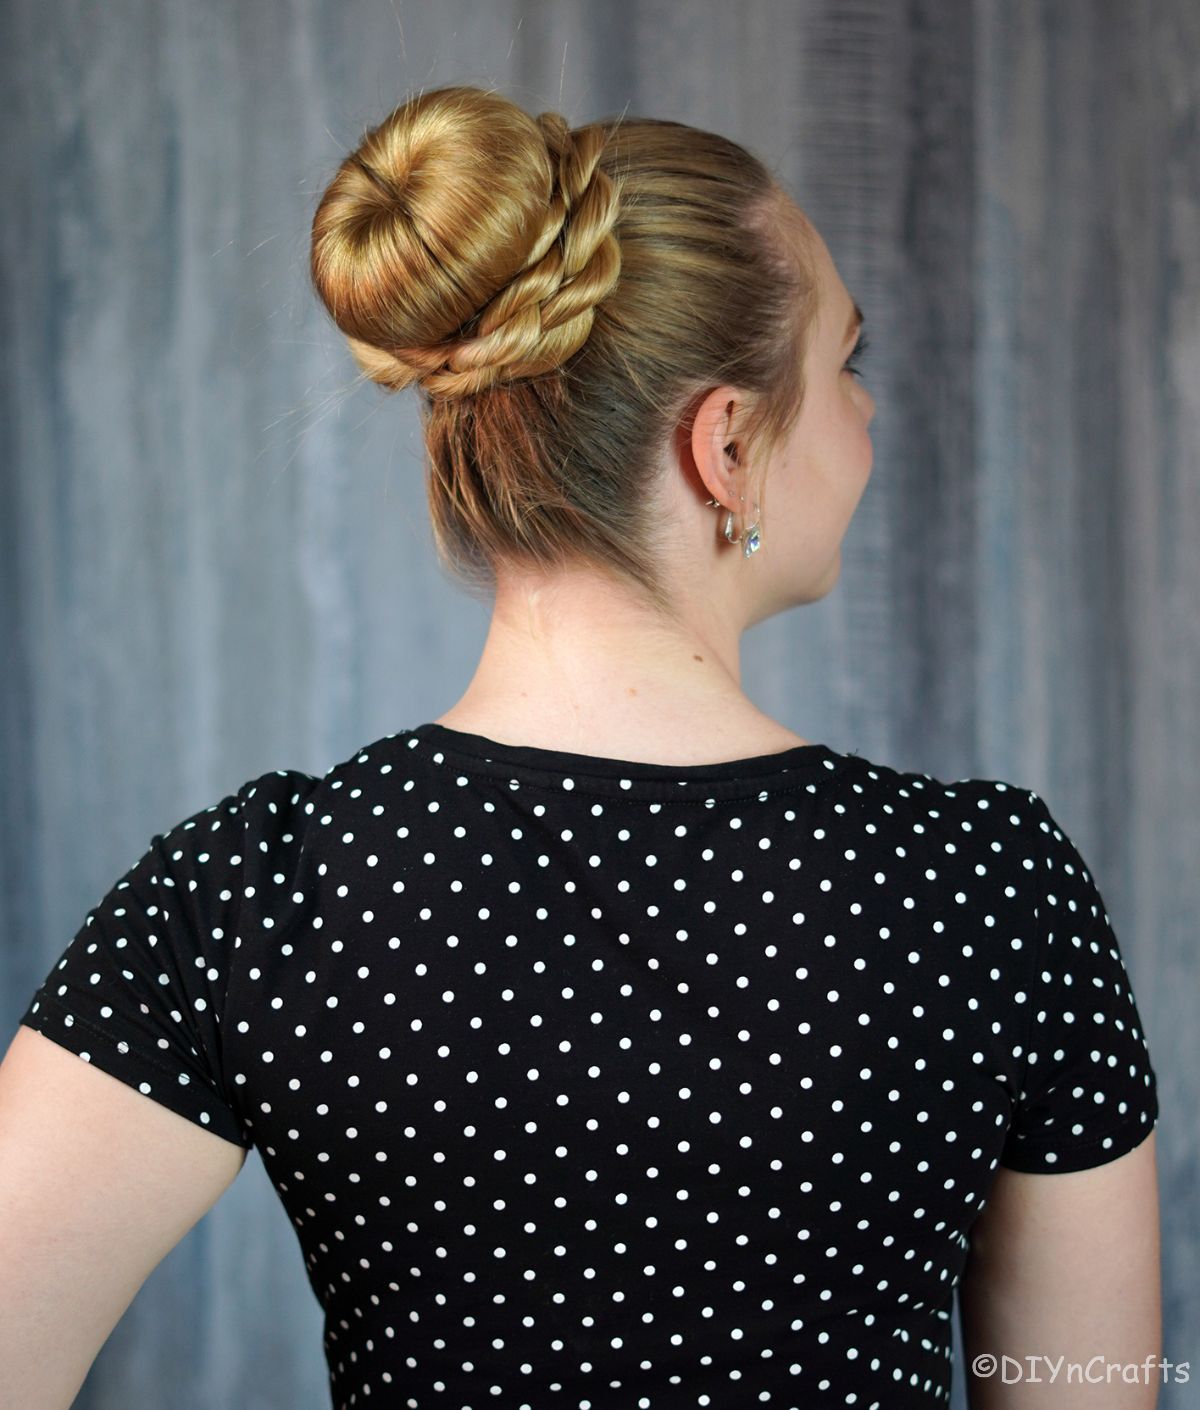
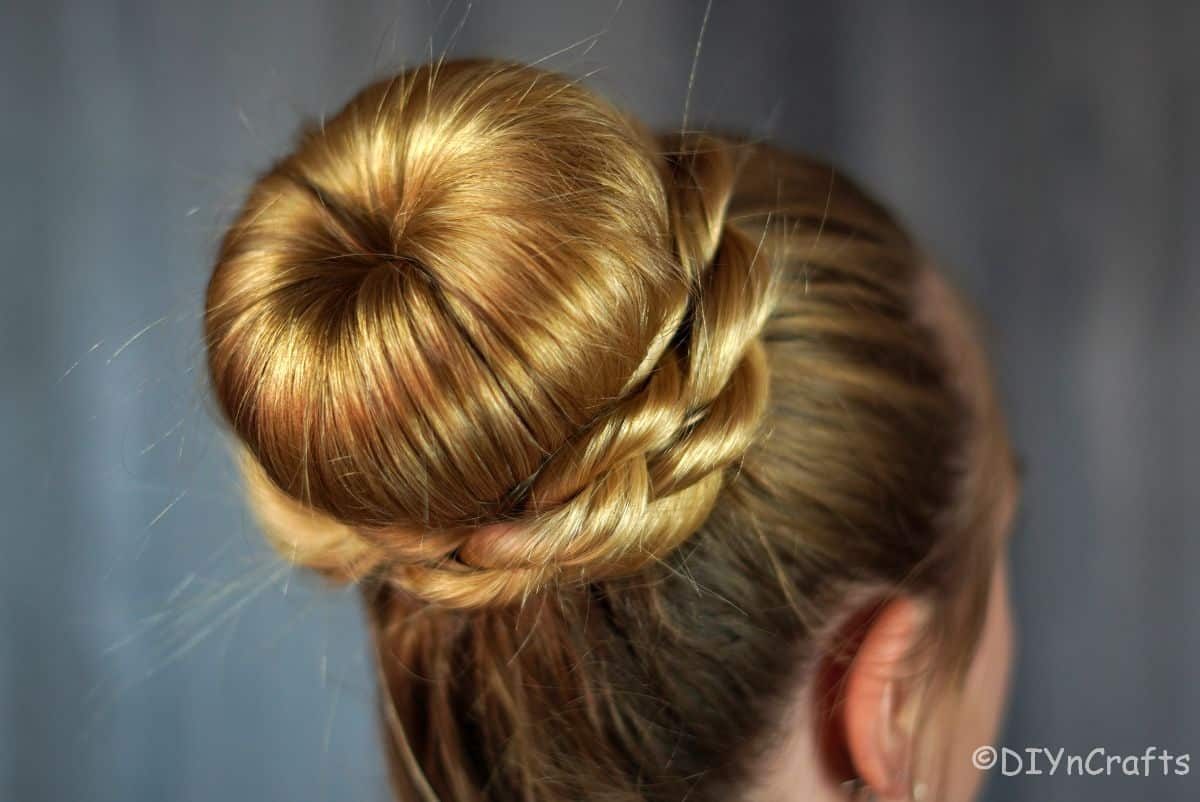
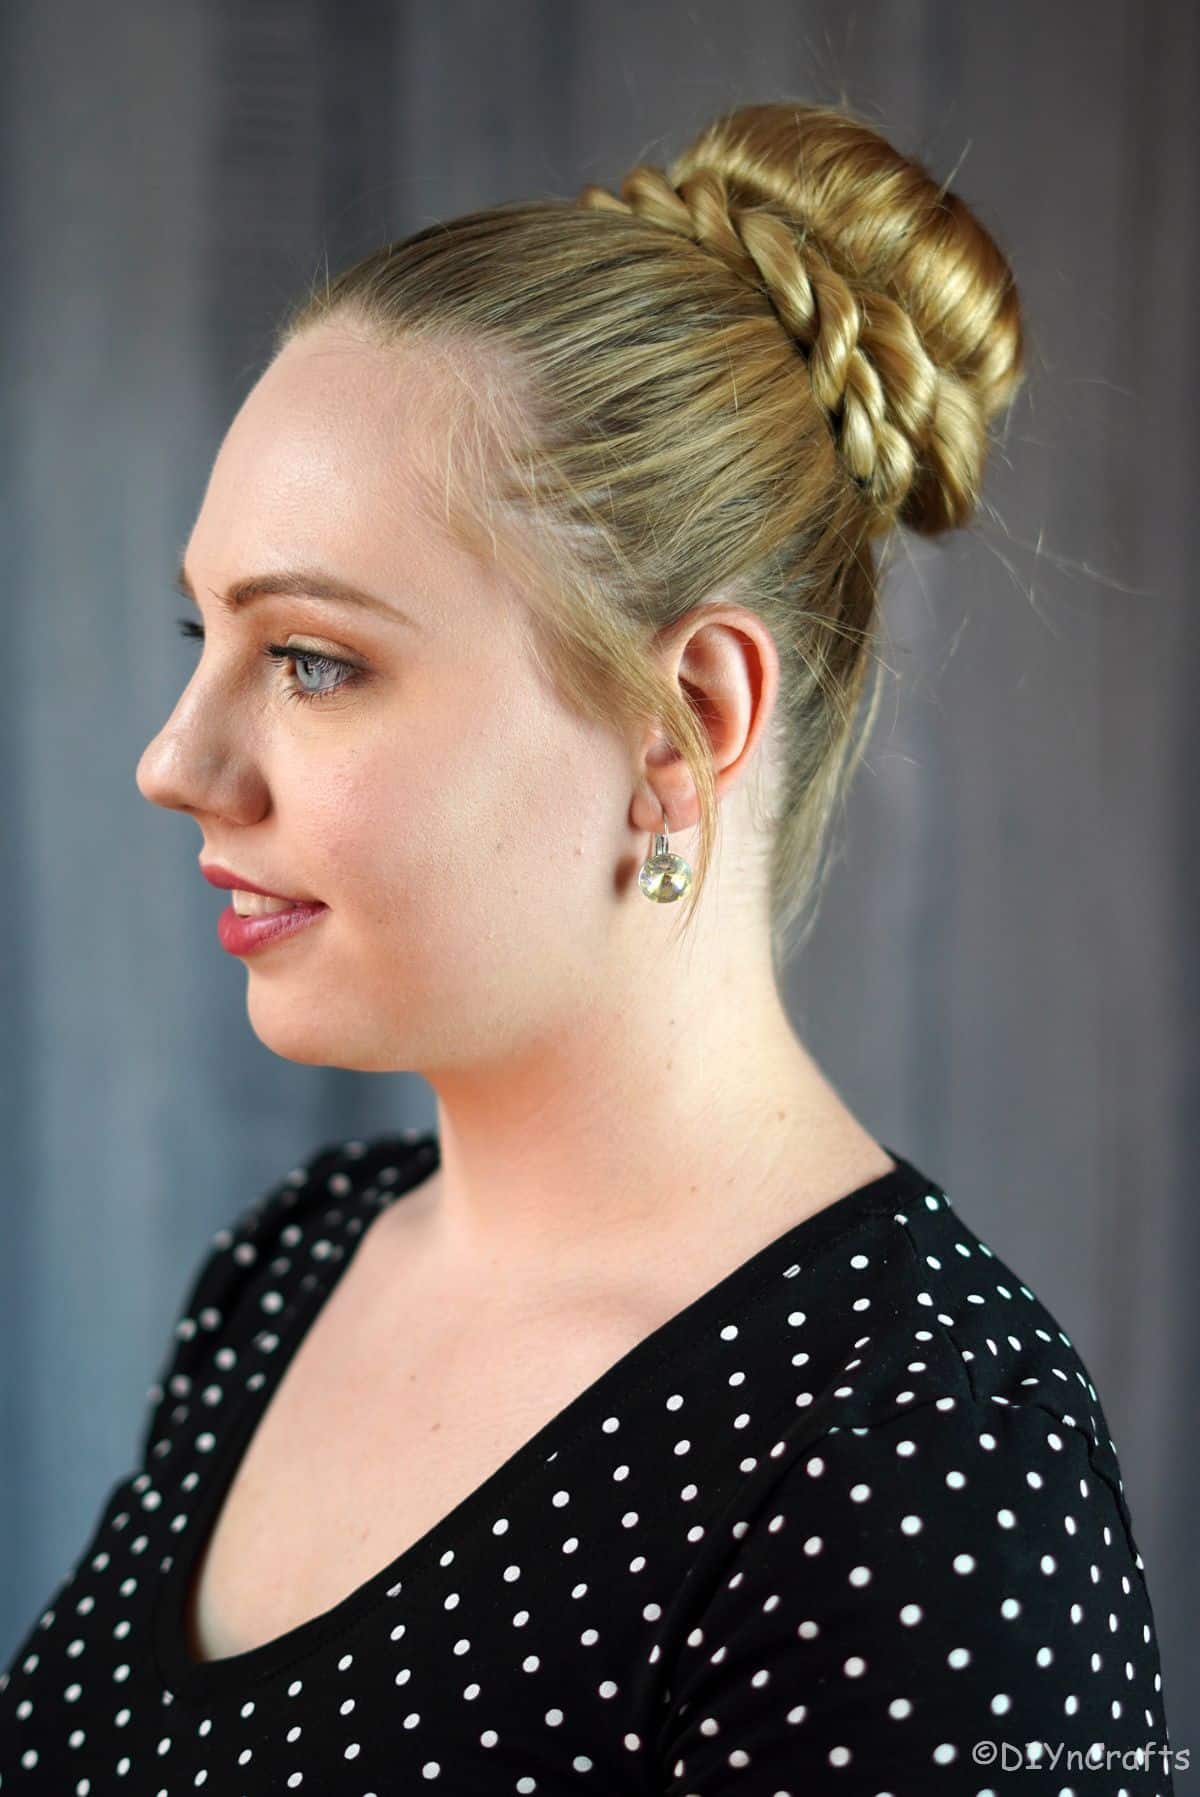
Have you ever used a hair donut? It sounds silly, but this braided bun using a hair donut is a great way to give your hair volume and create a beautiful updo. A simple ponytail is turned into a stunning bun that can be done in just 15-minutes but looks beautiful enough that you can wear this to any event. It could even be a wedding hairstyle!
Bun Using Hair Donut
The first time I heard of a hair donut, I didn't know what to think. My brain could only see my favorite glazed donut covered in hair. Yuck! But, this little hair accessory is a great addition to your routine. A mesh piece that is donut-shaped, goes easily over a ponytail to create added volume and a sleek look for your next bun.
I love this idea, but if you want something a little more casual, check out this low-bun hairstyle. It is fast, easy, and definitely more relaxed, but can be updated to look elegant for any event you attend.
What Do I Need to Create This Bun?
While it doesn't need a lot of items to create, you will need three specific items. A hair band or tie, the hair donut, and bobby pins or hair pins. These items are a must to get this look and secure your hair into place. Below are a few more items I keep on hand, but not all are needed for this tutorial.
Tools I Use
While the items below are not necessary for every hairstyle, or this one, I do recommend considering them should you want to start doing more things with your hair. A quality brush and a few accessories are always a good investment for your beauty routine.
- Wide-tooth comb
- Detangling brush
- Hair rubber bands
- Satin hair ribbon (optional)
- Topsy Tail braiding tool (optional)
Other Items I Love:
Braided Bun Tutorial
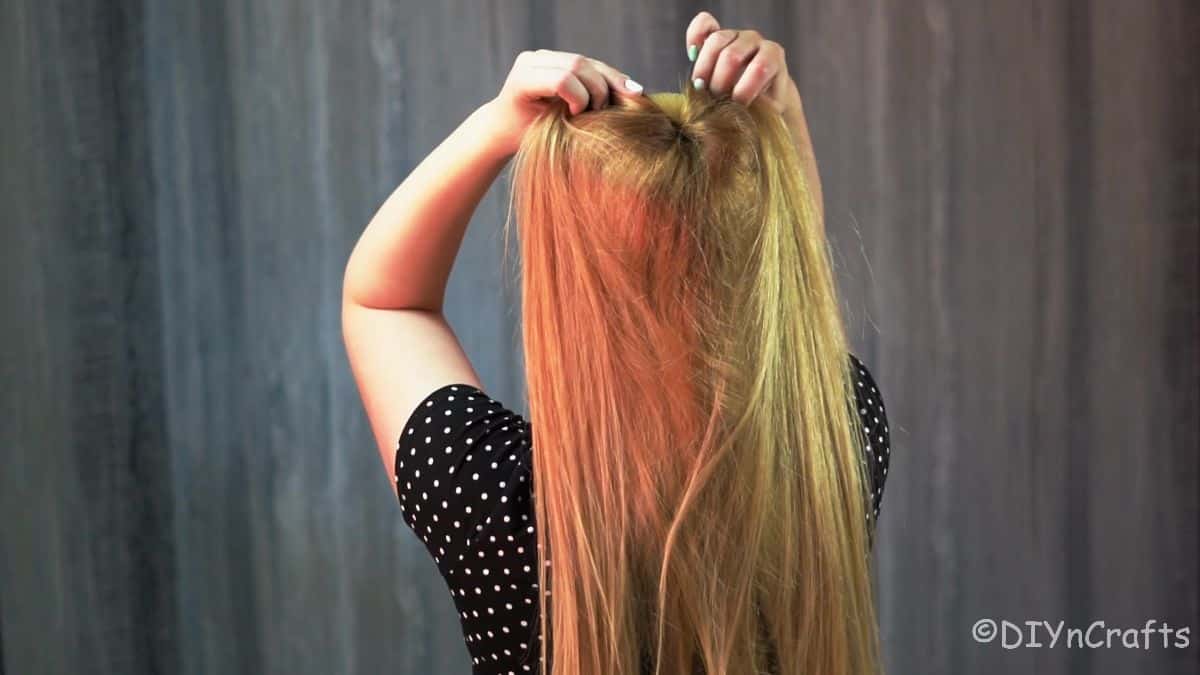
Before you begin making your bun, gather all of your tools and then comb your hair to remove any tangles. You can add mousse or gel to your hair before doing this if you want extra hold, but it is not necessary.
Step 1
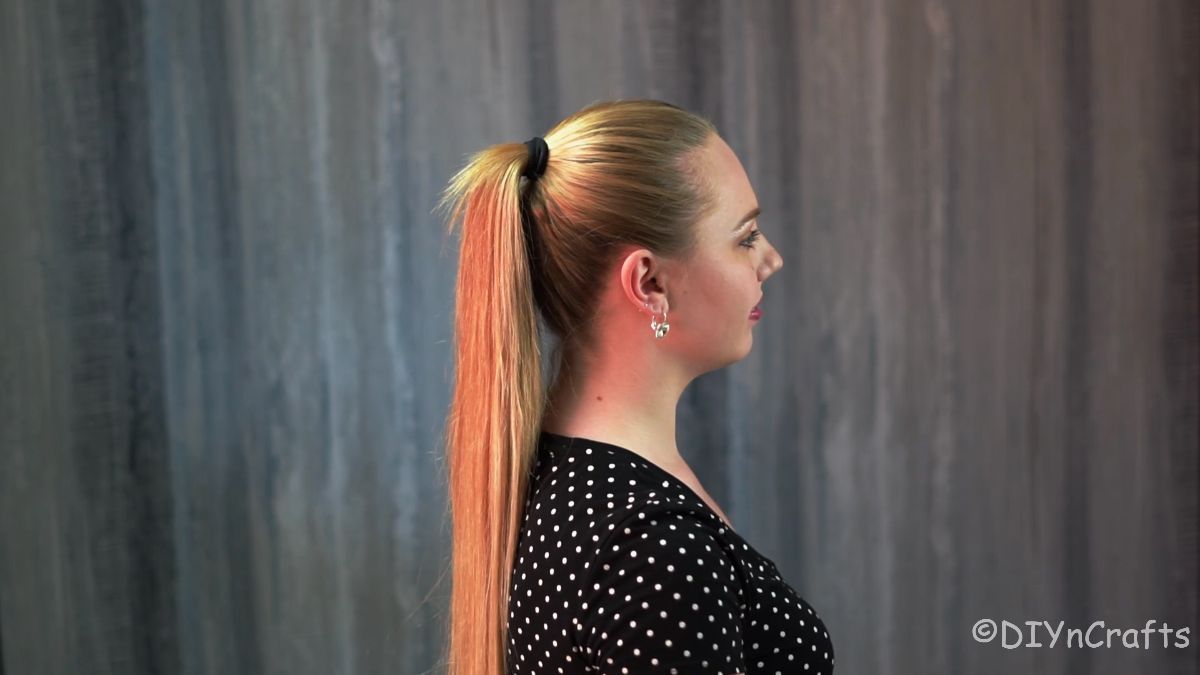
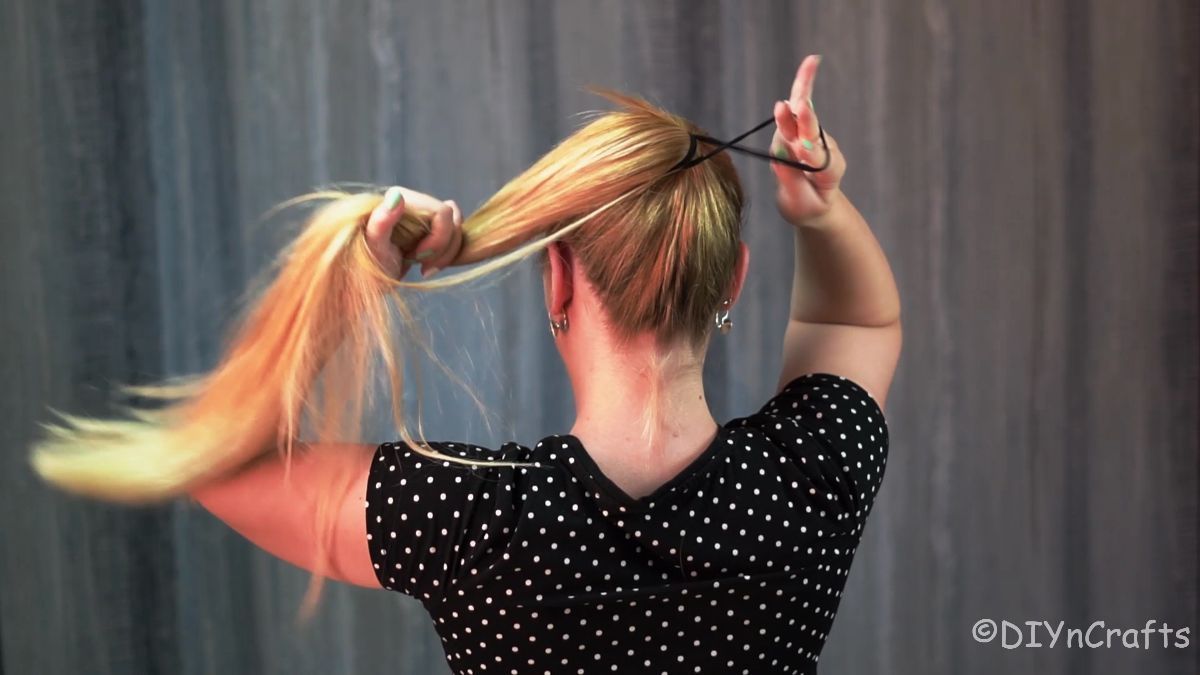
Pull your hair into a high ponytail and secure it with an elastic hair tie. Smooth any flyaways and make sure the hair is untangled that is hanging down. Use a thick hair tie for this to hold it snuggly against your head. A fresh hair tie is more likely to hold securely and not let the bun sag downward.
Step 2
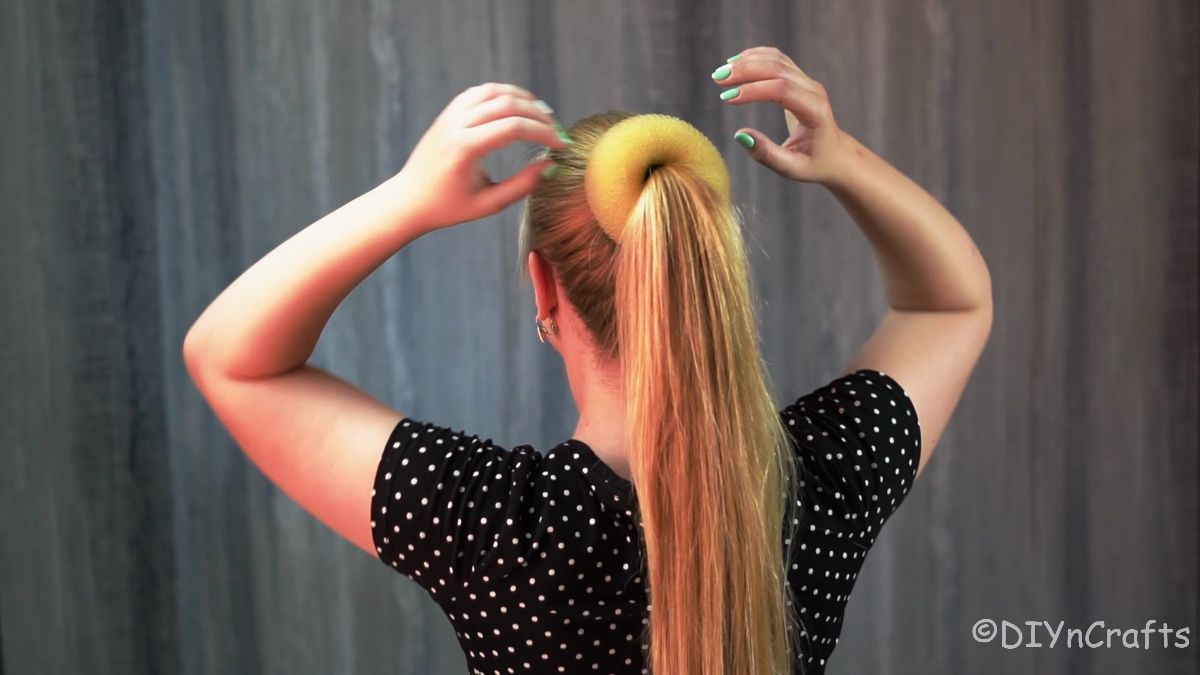
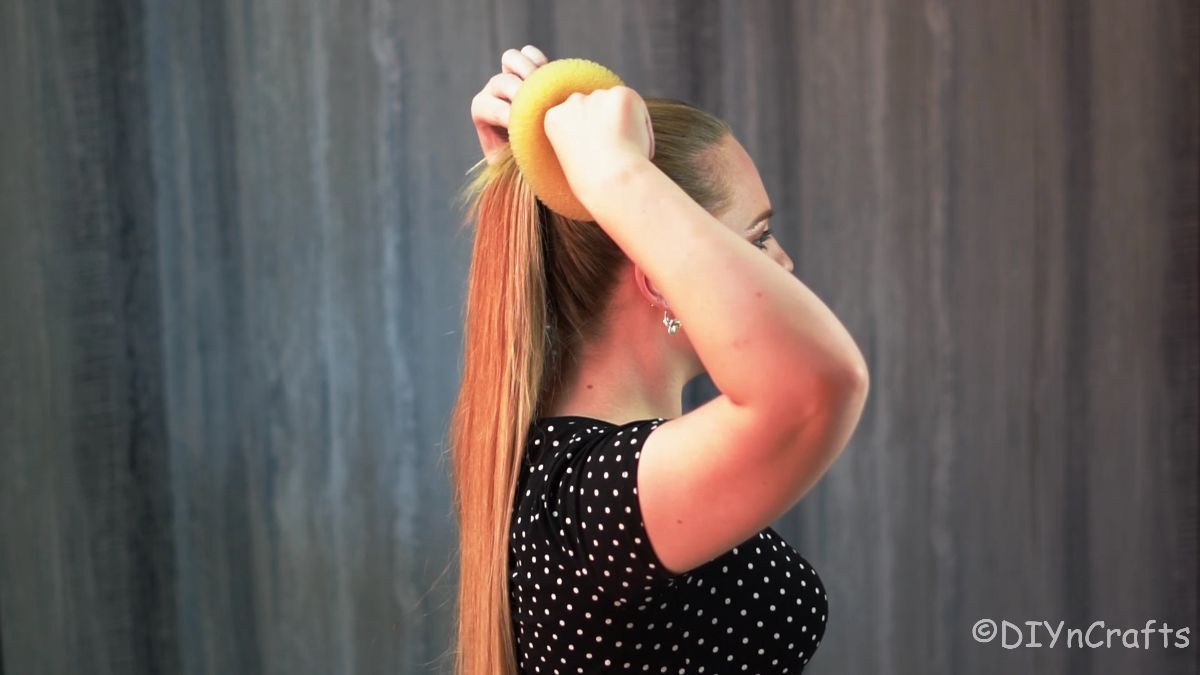
Now, slip the hair donut over the ponytail and rest it snugly against your head where the ponytail is secured. If desired, secure it to your scalp with a few bobby pins, but this is not necessary.
Step 3
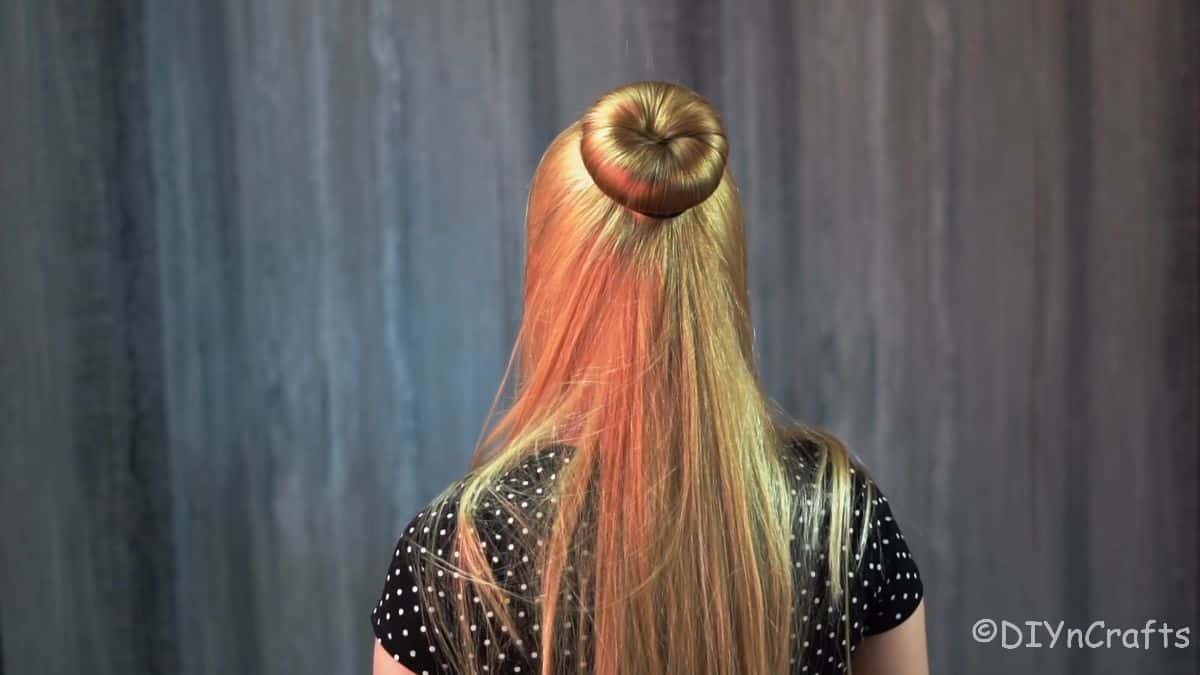
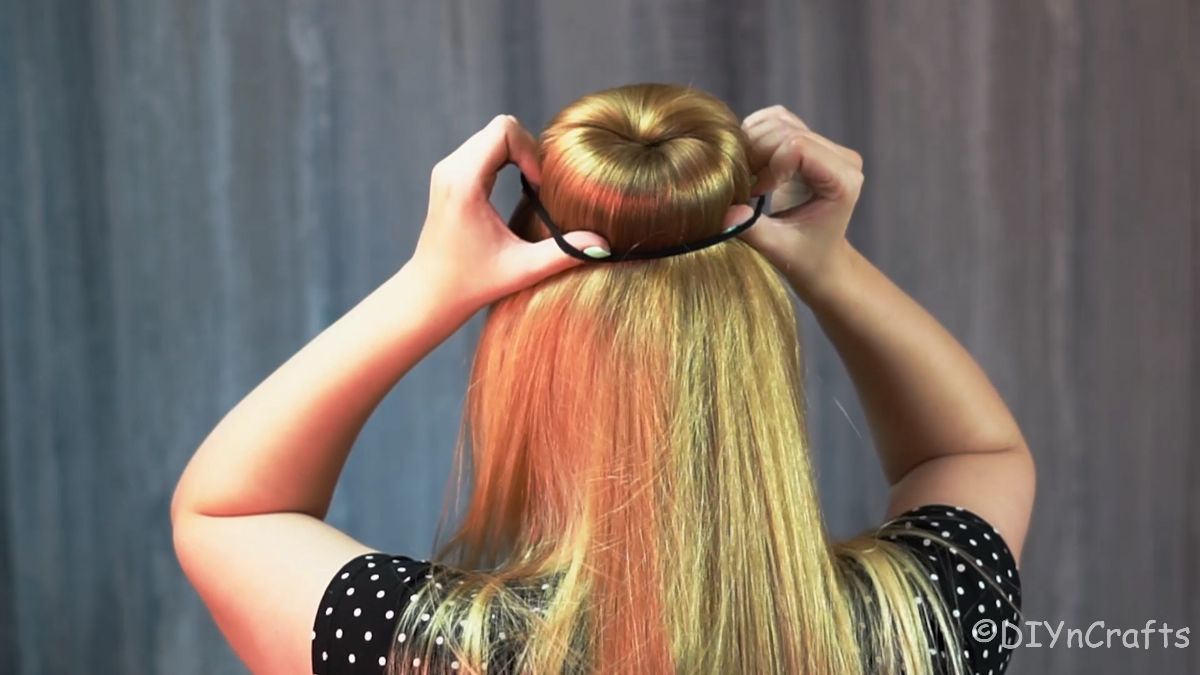
Next, you will spread the hair out over the donut so it is completely covered. Just pull sections of hair up and over the top, sides, and bottom of the donut. Try to spread the hair evenly, but once secured, you can arrange more if needed.
Then secure it with a hair elastic that goes around the base of the donut to hold the smoothed hair into place. Smooth down any hair as needed with a comb or finishing spray.
Step 4
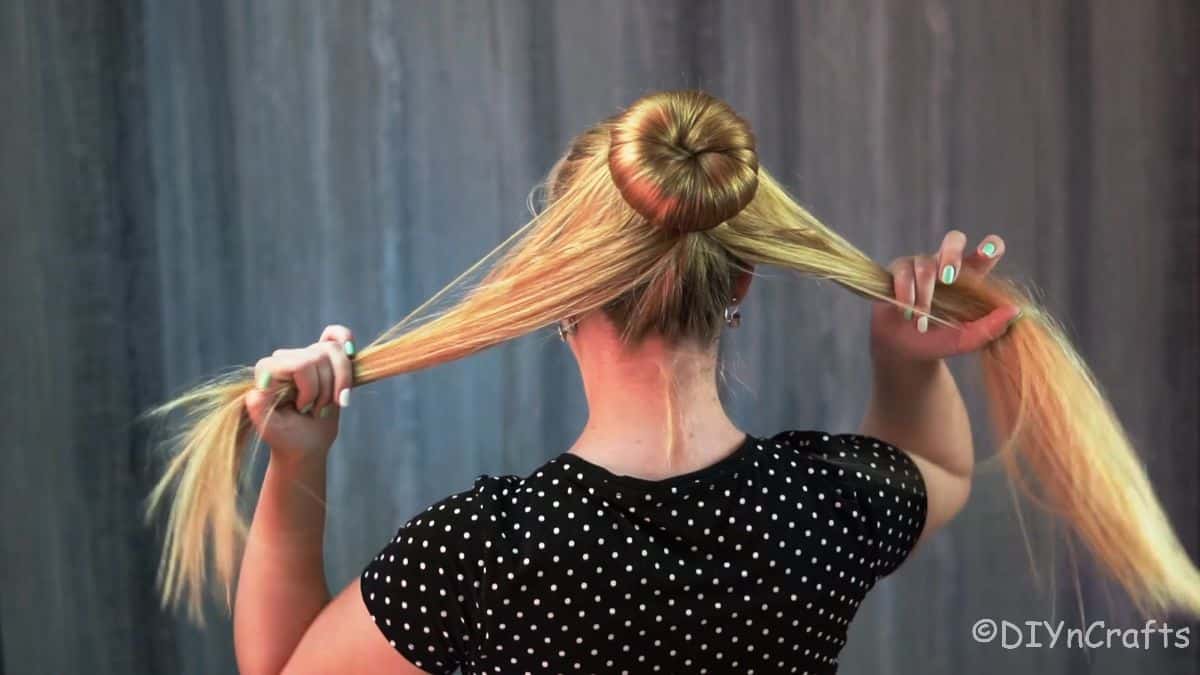
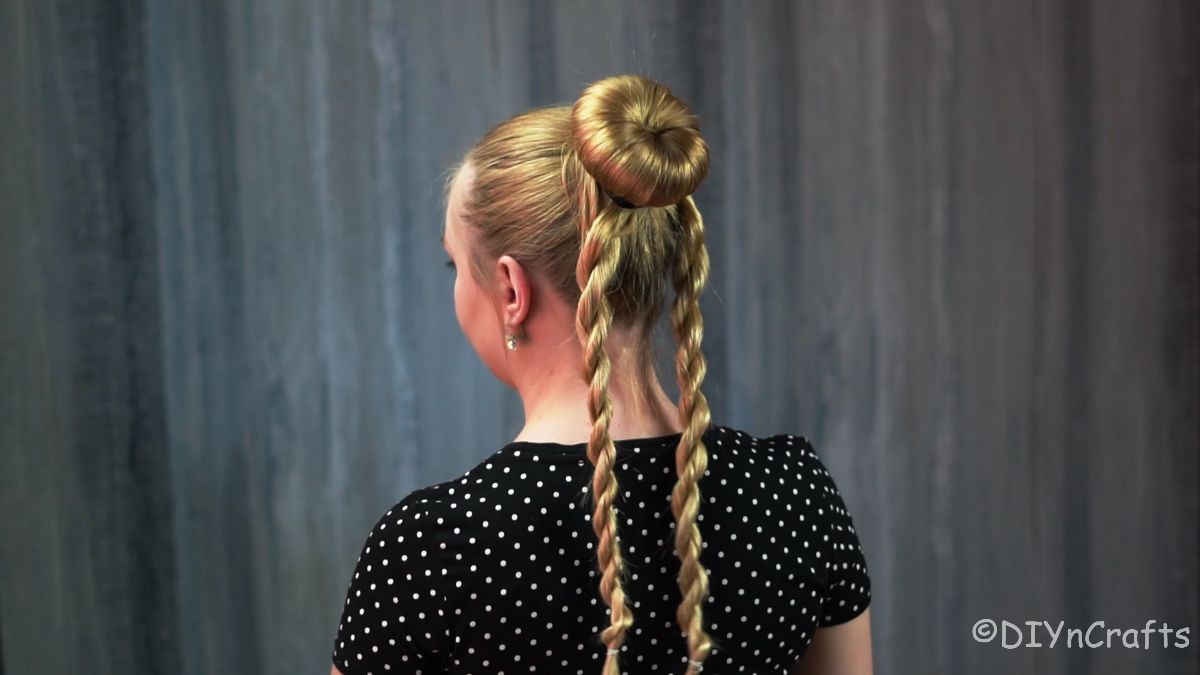
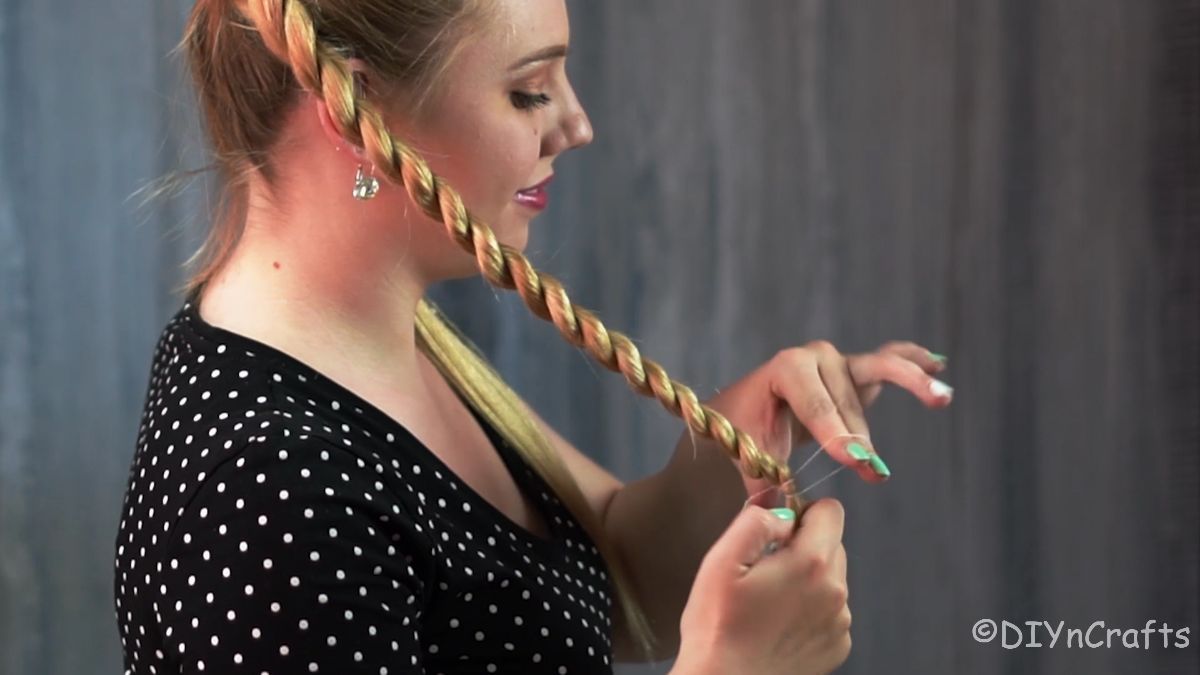
Now, divide the hanging hair into two equal sections to create the twisted braids. I like the twist look, but if you prefer, you can do a basic 3-strand braid on both of these sections.
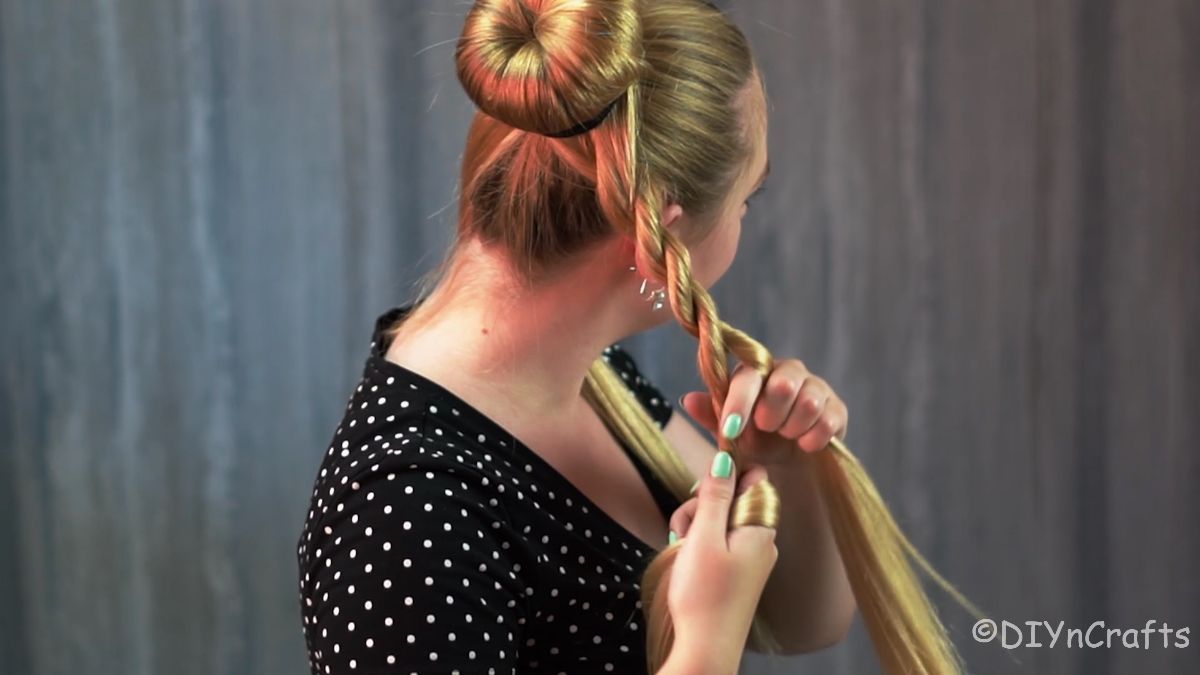
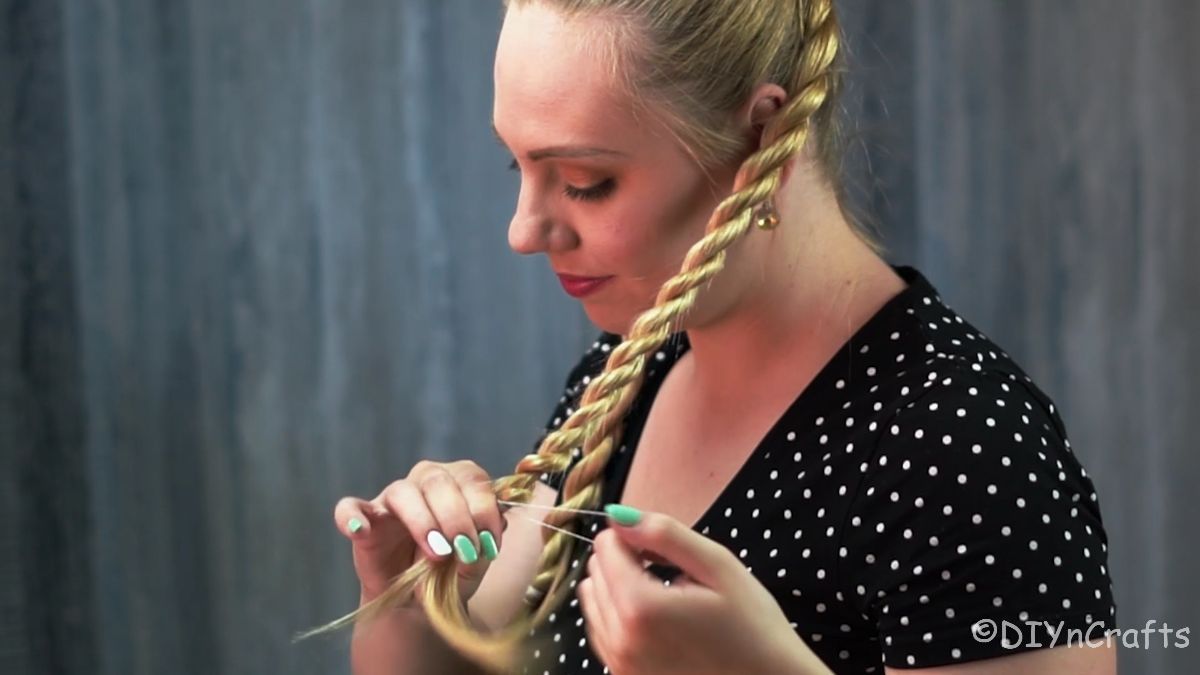
Separate one of these sections into two sections. Now, begin twisting these around each other. Twist each section, then wrap it around itself.
Continue doing this until you are to the end of the sections, then secure with a hair band. Repeat this on the other section of hair you separated earlier.
Step 5
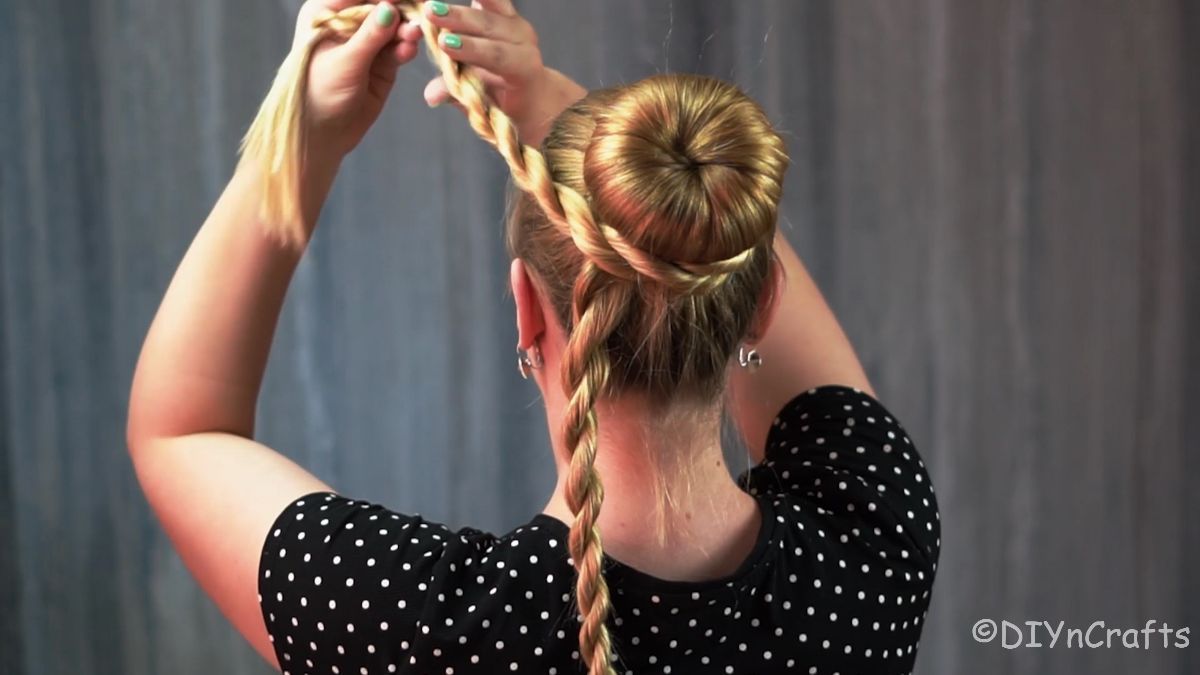
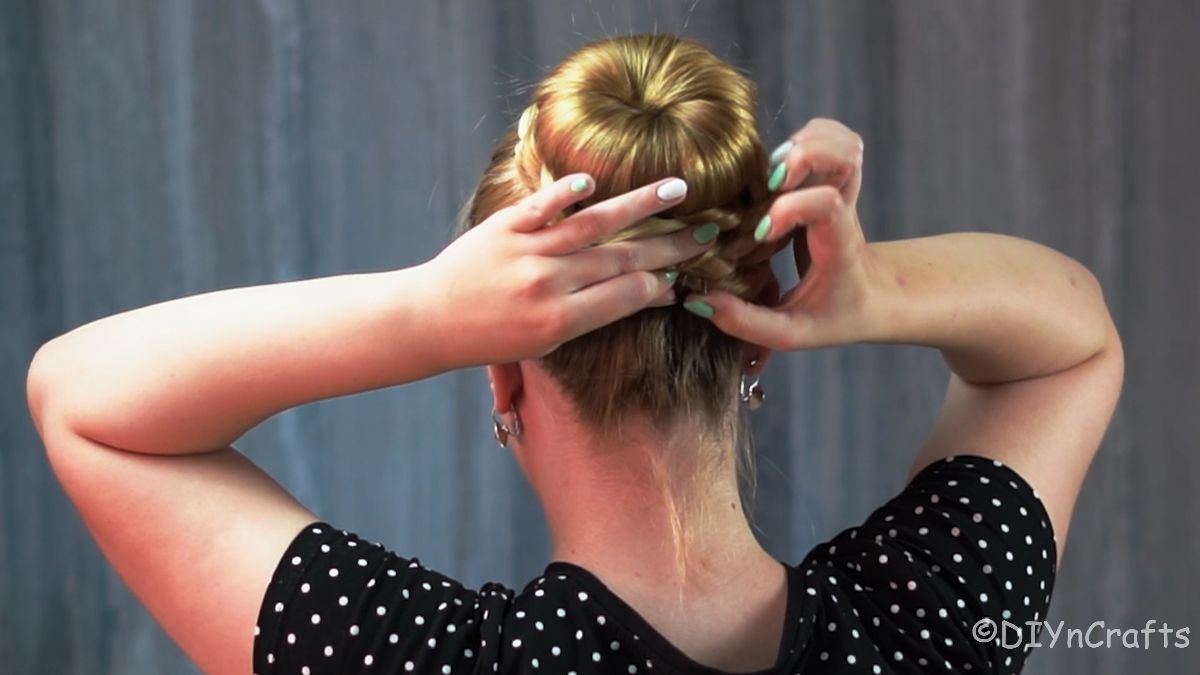
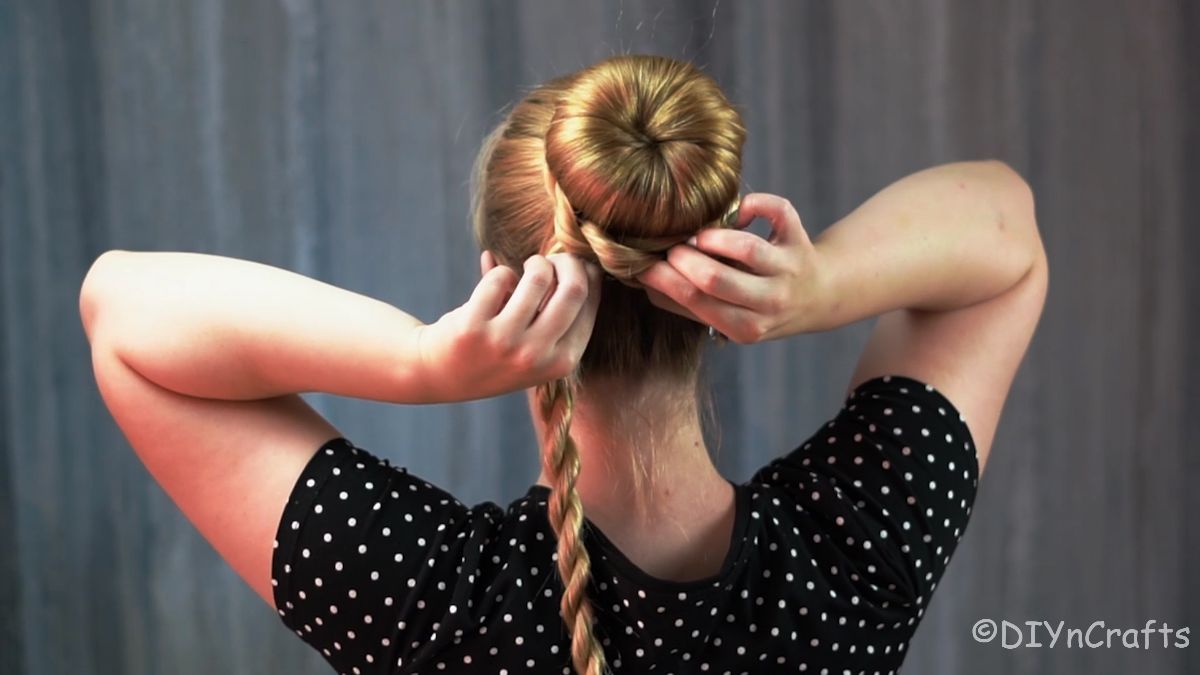
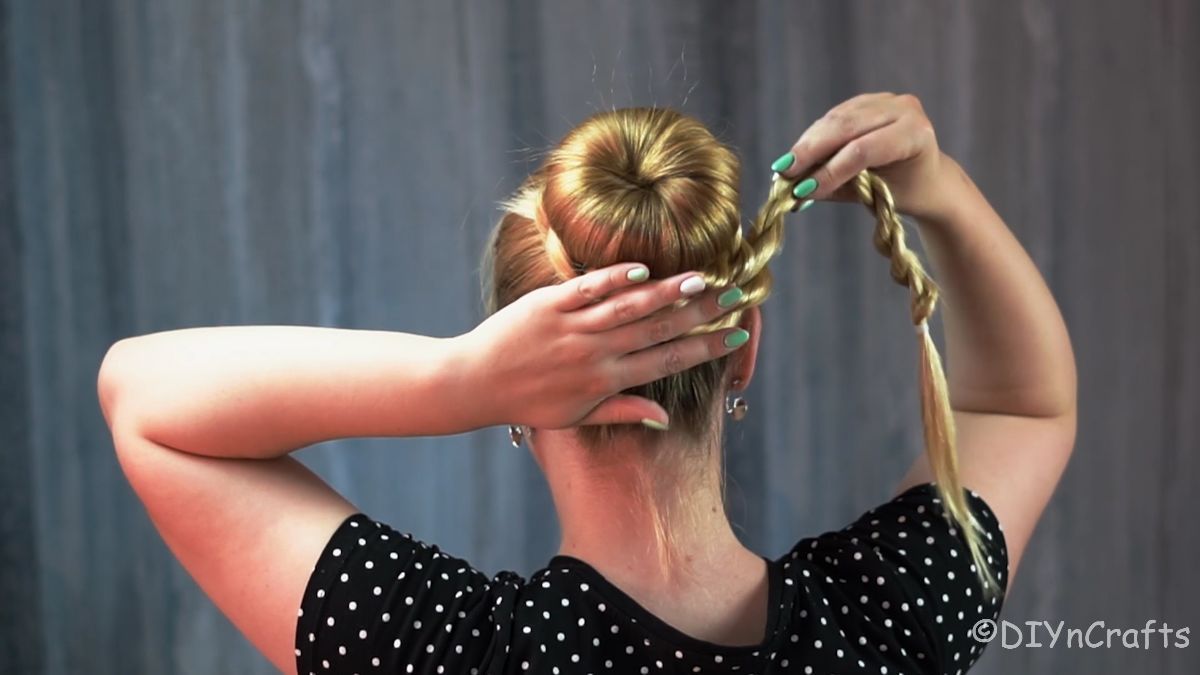
Now, you will wrap these twists around the base of the bun, just at the base of the donut. I like to wrap one around and secure it with a pin, then wrap the second one going the opposite direction.
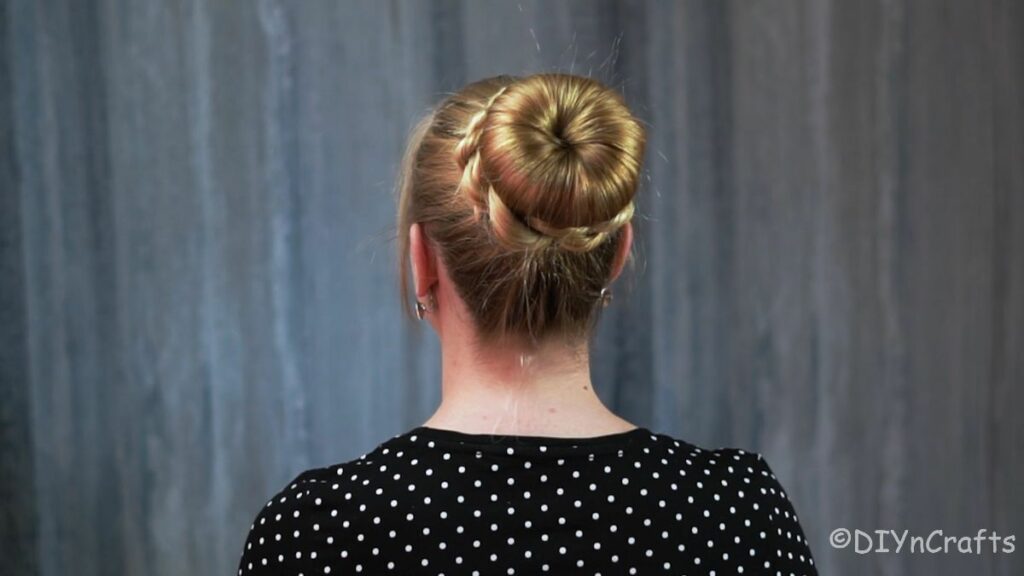
Use bobby pins or hair pins to secure any extra pieces into place, and then spray with hairspray to set them into place.
If desired, add a bow, hairpin with a decorative edge, or a decorative comb to the top or side of your bun.
Tips For Using a Hair Donut For a Bun
If you are unfamiliar with a hair donut, you'll find it in multiple colors to fit your hair color. Typically it can be found in a blonde, brown, or black color. While it is best to get a donut that closely matches your hair color, any color can be used if you work carefully with the hair to cover it. Below are a few tips for making it just a bit easier to use for a bun.
- Thread the hair through the center of the bun, and for extra security, add 2 to 3 bobby pins to the donut just at the back of your scalp to hold it into place against your head. Keeping it secure before you start arranging the hair makes it just a bit easier.
- Once the bun donut is in place, pull your hair over the sides, top, and bottom. The easiest way to get this smooth is to use a comb and comb the hair down over the top.
- After you pull the hair over the donut, go ahead and secure it with a hair tie around the base. Then, go back and adjust to smooth hair evenly, remove any bumps, and make sure the entire donut is covered.
- Add an extra layer of bobby pins at the base once the hair tie has the hair in place. This adds extra security while you twist and braid the hair into place.
More Beautiful Hairstyle Tutorials
If you are like me and get bored with the same old hairstyle every day, then you are in luck. This list below has some great ideas for ponytails, braids, or half-up hairstyles that are everything from cute for kids to fun or elegant for a party. Take the time to bookmark the ideas you like, print out their tutorials, or just pin them to a hairstyle board on Pinterest so they are easy to find when you are ready to braid!
- Elegant Braided Side Ponytail Hairstyle
- Single Twist Half-Up Prom Hairstyle
- Braided Dual Top Knots Half-Up Hairstyle
- Spring Inspired Half Up Half Down Hairstyle
- Half Up Half Down Hairstyle Tutorial with a Twist
- Easy Bubble Braids Festival Hairstyle
- Lazy Day Knot Braid Hairstyle
Elegant Braided Bun Using Hair Donut
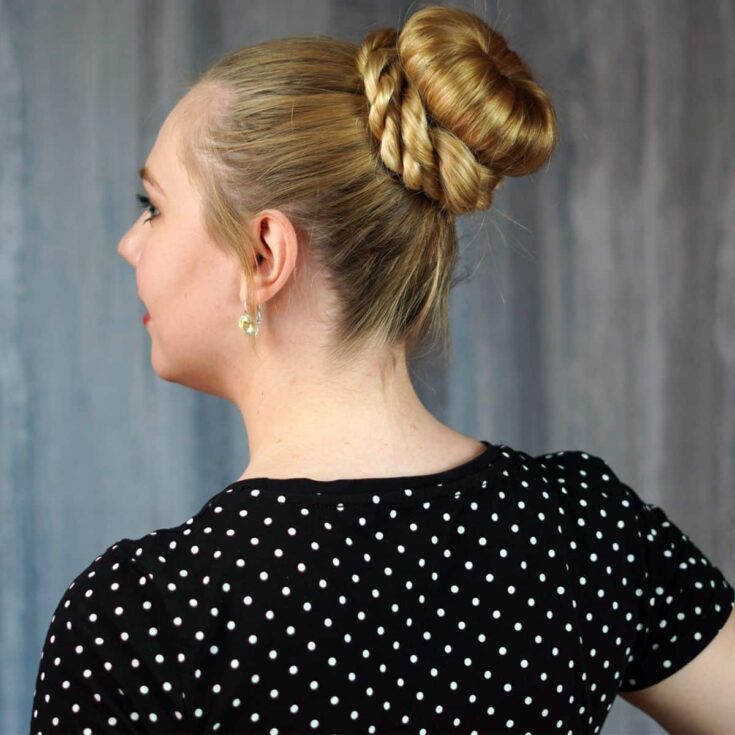
This braided bun using hair donut tutorial is a perfect addition to your weekly hair routine. Fast, easy, and sleek every time!
Materials
Instructions
- Comb your hair to remove any tangles, then pull it into a high ponytail. Smooth any flyaways and secure with a hair elastic.
- Now, slide the hair bun donut over the ponytail and rest it against your head.
- Smooth the hair from the ponytail over the bun evenly. Secure this into place with an additional hair tie.
- Divide the hair into two sections. Twist-braid both of these sections.
- Once braided, wrap them around the base of the donut bun, going in opposite directions, and then secure around the base with bobby pins or hair pins.
Notes
Use hair pins or bobby pins to hold the bun together and prevent fly aways.
Recommended Products
As an Amazon Associate and member of other affiliate programs, I earn from qualifying purchases.
-
 Multy-Colored Hair Ties for Thick Hair, 120 PCS Large Hair Elastics, No Damage Ponytail Holders for Women, Men and Girls
 -
 U Shaped Hair Pins, IKOCO 2.4 inch Hair Pins for Buns Ballet Bun Hair Pins for Women with Storage Box
 -
 Hair Bun Maker Set, FANDAMEI Donut Bun Maker Set With 4pcs Dark Brown &4pcs Beige(2 extra-large,2 large,2 medium and 2 small), 5 pieces Hair Elastic Bands, 40 pieces Hair Bobby Pins (Brown and Gold)
 -
 Crave Naturals Glide Thru Detangling Brush for Adults & Kids Hair - Detangler Hairbrush for Natural, Curly, Straight, Wet or Dry Hair (TURQUOISE)
 -
 Youxuan 1000-Pack Elastic Hair Ties Non-slip Rubber Hair Bands for Girls, Clear
 -
 The Honest Company Conditioning Hair Detangler | Leave-in Conditioner + Fortifying Spray | Tear-free, Cruelty-Free, Hypoallergenic | Sweet Orange Vanilla Everyday Gentle, 4 fl oz


Leave a Reply